

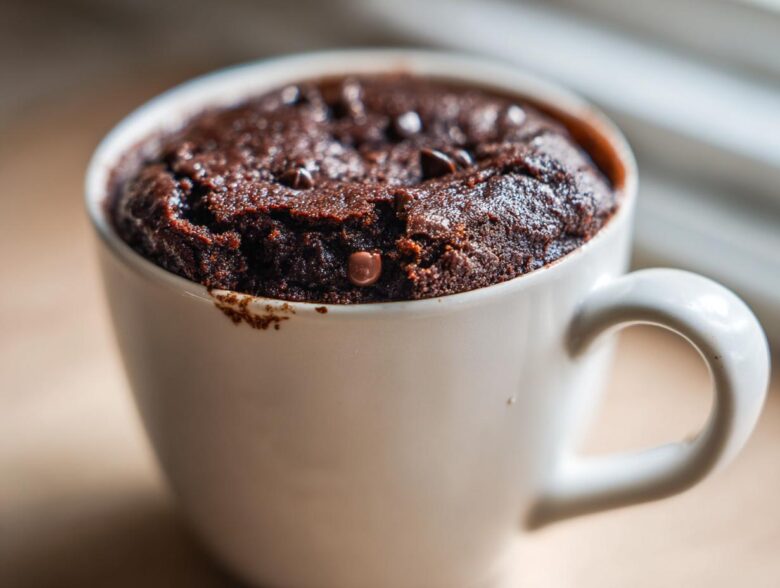
You know that moment, right? You’ve had a perfectly planned day—meetings done, lists checked off—and suddenly, BAM! The deepest, fudgiest chocolate craving hits, and you need something *now*. Jacob usually handles these spontaneous urges with his intuition, but sometimes, even I, the planner, need instant gratification without turning on the oven.
That’s why I spent an entire afternoon developing what I humbly call the “Emergency Chocolate Fix”: the Cottage Cheese Microwave Brownie. Seriously, this thing is our new secret weapon for those 7 PM sugar emergencies. It’s single-serving, it’s packed with protein (thanks to the cottage cheese!), and it goes from ingredients on the counter to hot, gooey dessert in under seven minutes total.
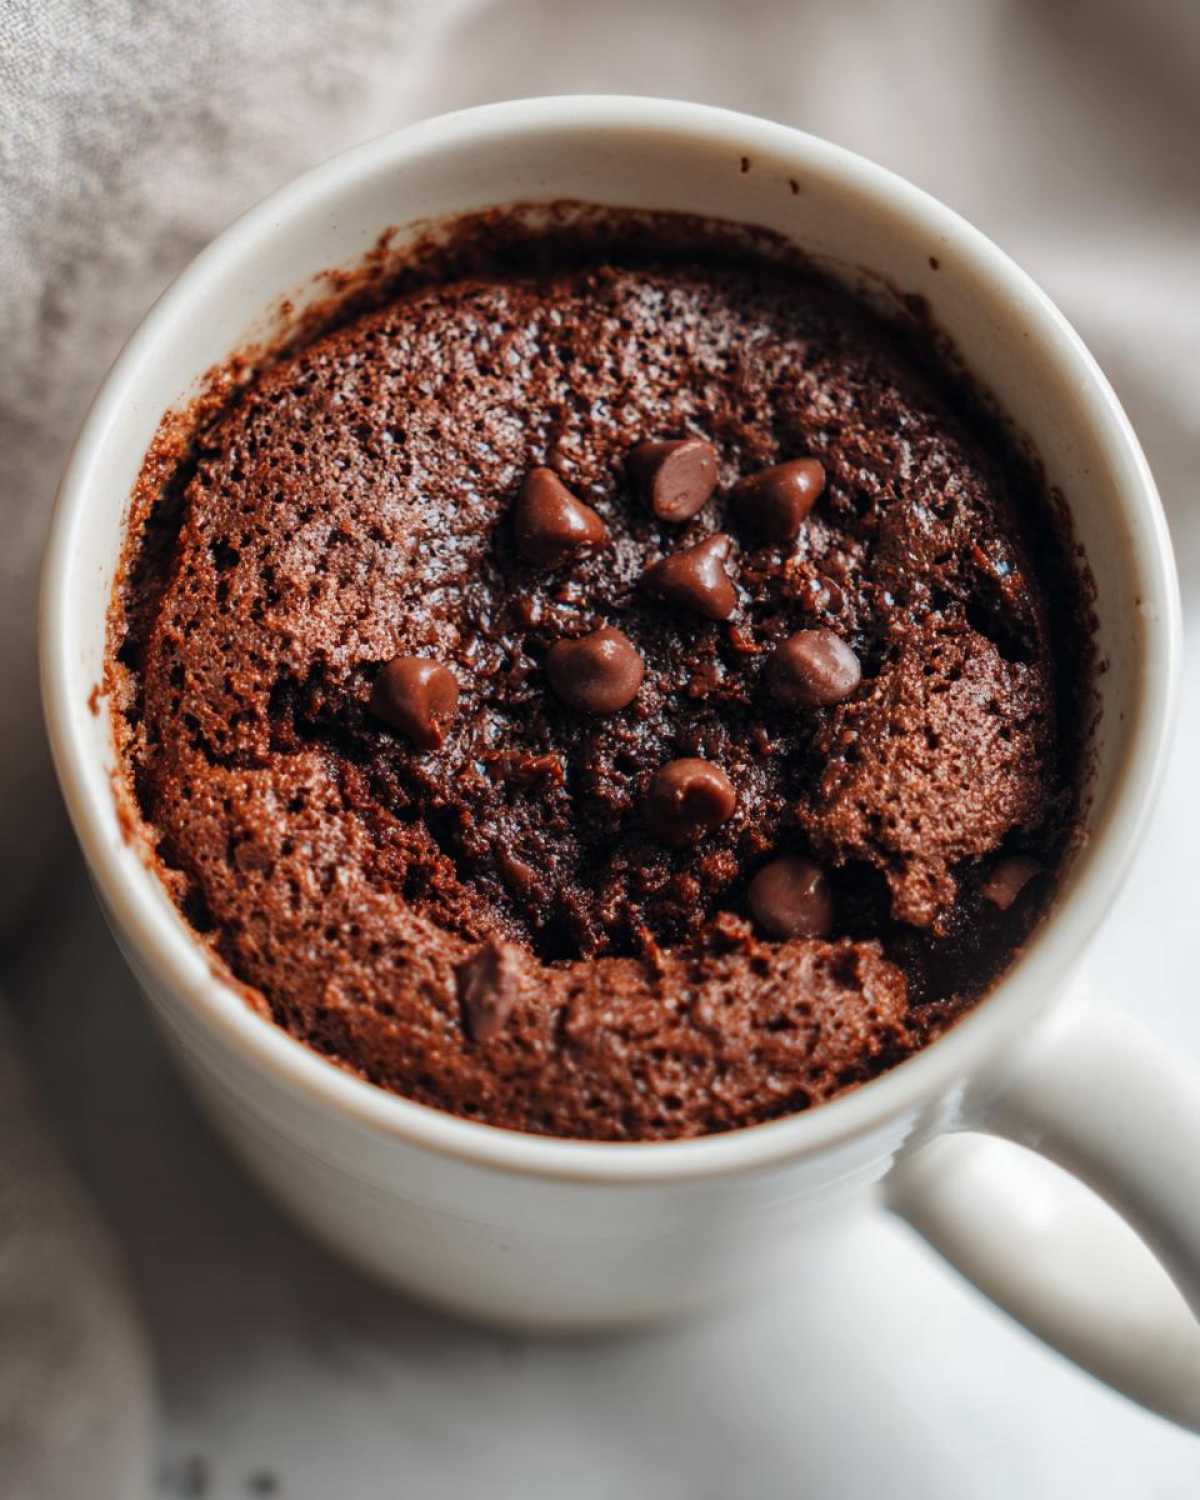
If you, like me, love structure but need speed, trust this blueprint. We’ve tested this recipe until it was flawless—no rubbery texture, no weird savory notes. It’s fudgy, rich, and ready before you can even talk yourself out of it. Welcome to one of our favorite newly curated projects! For more of our kitchen experiments, check out the main blog page right here.
Why This Cottage Cheese Microwave Brownie is Your New Go-To
When Jacob asks what we’re making tonight, and I tell him a Cottage Cheese Microwave Brownie, I always get a raised eyebrow. But then he tastes it, and the skepticism vanishes! This recipe isn’t just fast; it delivers exactly what a quick craving needs.
- Total time is less than ten minutes—seriously!
- It’s the perfect single-serving portion, meaning zero leftovers drama.
- It uses actual pantry staples, no niche baking supplies required.
- It tastes incredibly rich, hiding the secret healthy ingredient!
The Health Benefits of Our Cottage Cheese Microwave Brownie
This is where my planner brain gets excited! Because this is a High Protein Microwave Dessert, we’re getting a major nutritional boost without sacrificing flavor. The cottage cheese miraculously boosts protein content—we’re talking close to 20 grams in one serving sometimes, depending on your brand. It melts down so perfectly that it adds an amazing creaminess and moisture you usually only get from loads of fat, so it’s a real win-win for us.
Gathering Ingredients for Your Cottage Cheese Microwave Brownie
Okay, for any microwave recipe—especially something that relies on a specific texture like this fudgy delight—measurements are non-negotiable. Trust me, I learned the hard way: eyeball the cocoa powder and you might end up with something dusty! Since we only get one shot with the microwave, treating this like a serious baking project is key. This list is short, which is the beauty of the Cottage Cheese Microwave Brownie, but precision matters heavily here.
You’ll need the cottage cheese, an egg, cocoa, a little fat (I use coconut oil, but melted butter is great too!), vanilla, flour, baking powder, salt, sweetener, and your favorite chocolate chips if you’re feeling decadent. Every single thing goes right into one mug, which is another point for team fast and clean!
Ingredient Notes and Smart Substitutions
This is where Jacob adds his spontaneous flair, but I always insist on these checks first. The cottage cheese absolutely needs to be blended smooth with the egg *before* anything else goes in. If you leave those little curds, you’ll get pockets of savory cheese in your perfect brownie. We’ve tried it!
When it comes to sweeteners, I usually stick to maple syrup because I love that slight caramel note it brings, but if you are leaning toward a low carb microwave brownie ideas night, zero-calorie granulated sweeteners work just fine. Just know that the volume changes how the batter sets up, so if you swap sweeteners, keep an eye on the mixing consistency.
For flour, all-purpose is standard, but almond flour works perfectly if you want to keep it gluten-free without changing the cook time too drastically. If you use almond flour, sometimes I reduce the maple syrup by just a tiny bit since almond flour absorbs liquid differently!
Step-by-Step Instructions for the Fastest Protein Brownie Recipe
Alright, time to put the plan into action! Remember how I said precision matters? Well, for this Cottage Cheese Microwave Brownie, the first step is where 90% of the success lies. We are tackling that cottage cheese texture head-on because nobody wants cottage cheese lumps in their fudgy treat.
First, grab a sturdy, microwave-safe mug—one that’s wide, not too tall, is usually best. Toss in your cottage cheese and the egg. Now, you have to work this mixture until it is completely velvety. If you have one of those little immersion blenders, use it! Three quick zaps and you are pureed perfection. If you only have a fork, whisk it like your life depends on it for a full minute. Seriously, eliminate those curds!
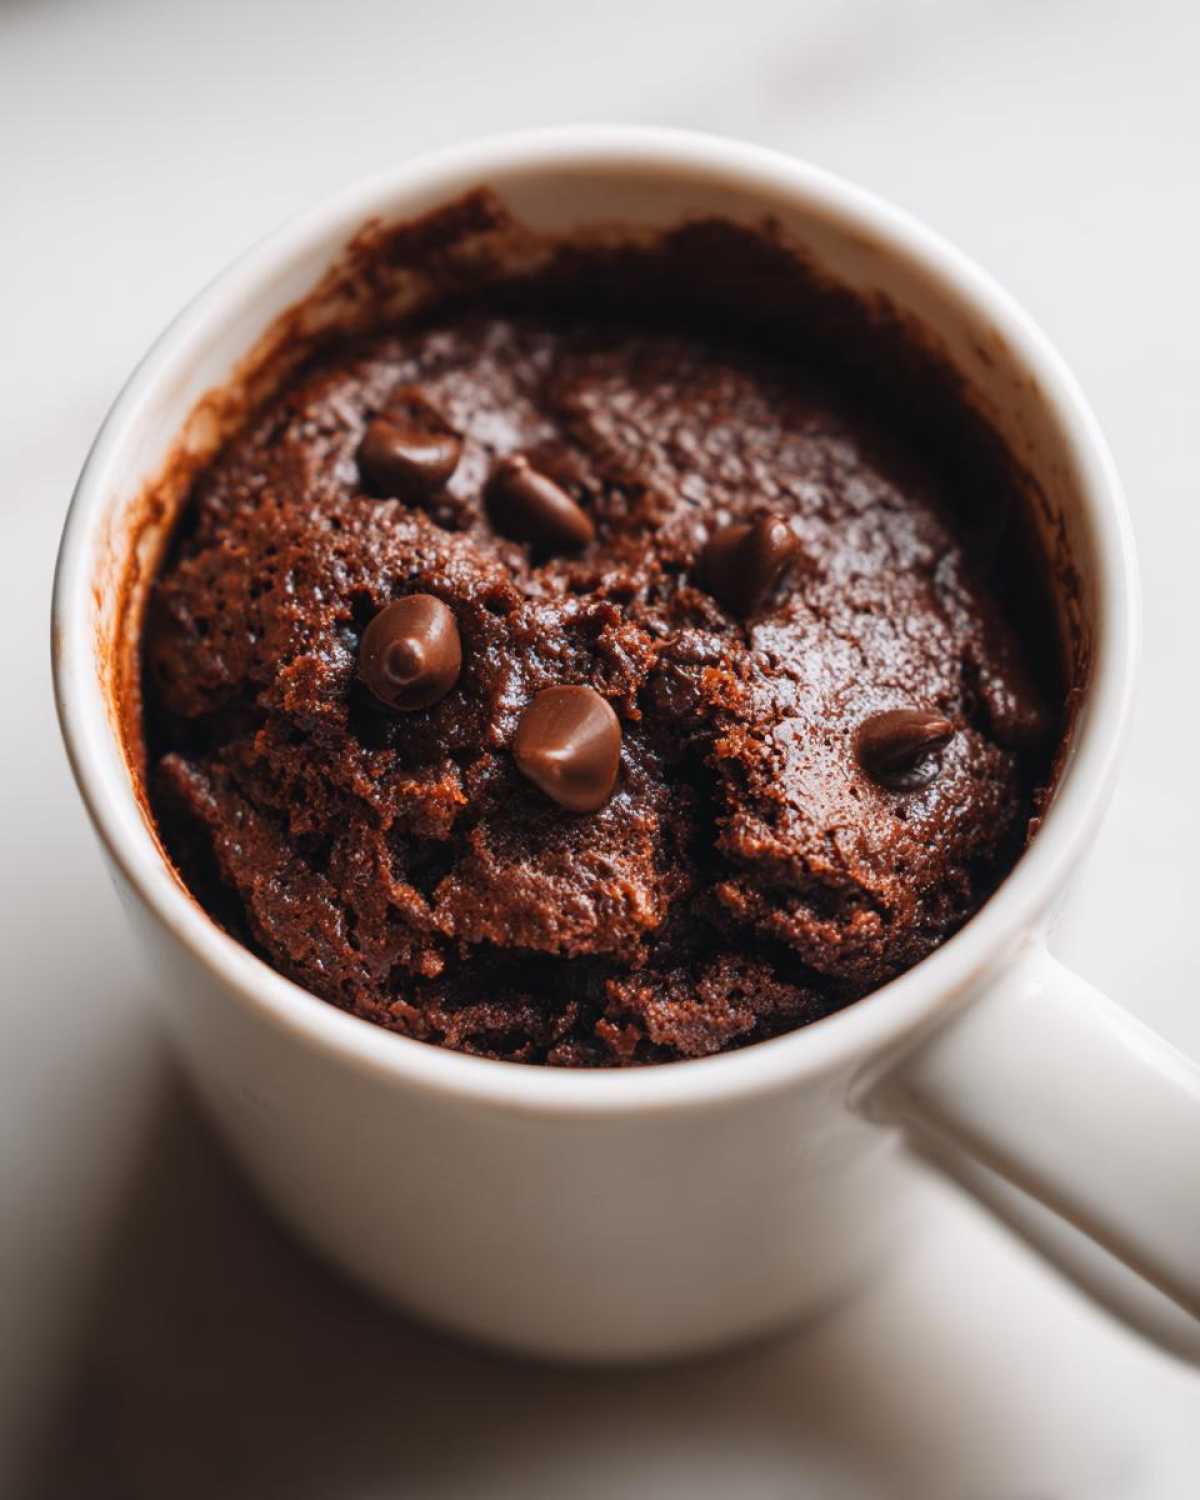
Once smooth, you can add the flavor boosters: cocoa powder, your maple syrup, the melted oil, and the vanilla. Stir that until it looks like actual chocolate batter. Then, in a separate, tiny bowl (because organization, right?), whisk together your flour, baking powder, and salt.
Gently fold those dry ingredients into the mug mixture. Don’t stir hard! We are just combining them. Once it comes together, toss in those chocolate chips if you’re indulging. Then, this whole assembly goes straight into the microwave. Quick tip: if you want to see some great examples of fast, easy desserts, check out our guide on Easy Protein Mug Cake ideas!
Achieving Perfect Texture in Your Mug Brownie Recipe No Oven
This is Jacob’s favorite part where he usually tries to take over. I might hand him the fork and say, “Just combine them evenly, honey,” but he sometimes gets too enthusiastic during the final mix. He wants to whip it, but we absolutely cannot whip the flour!
My precise instruction is always: fold until the last streak of white flour just disappears. Overmixing develops gluten, and gluten in the microwave equals instant rubber hockey puck fudge. That’s the opposite of what we want in our Mug Brownie Recipe No Oven. We need that creamy structure from the blended dairy to carry the bake, not tough flour development. Fold gently, respect the batter, and you will avoid the dreaded toughness!
Microwave Cooking Times for Your Cottage Cheese Microwave Brownie
Okay, deep breath. This is the moment of truth for your Cottage Cheese Microwave Brownie. Everything until now has been prep work; this is where we either achieve fudgy heaven or accidentally create a tiny chocolate hockey puck. It is so easy to overdo it in the microwave, and trust me, I have sacrificed many batches to the rubbery gods when I wasn’t paying attention!
We are aiming for a range between 60 and 90 seconds on high power. My own microwave is 1000 watts, and it usually hits perfection right around 75 seconds. But every microwave is built differently, right? That’s why you absolutely have to check at the 60-second mark.
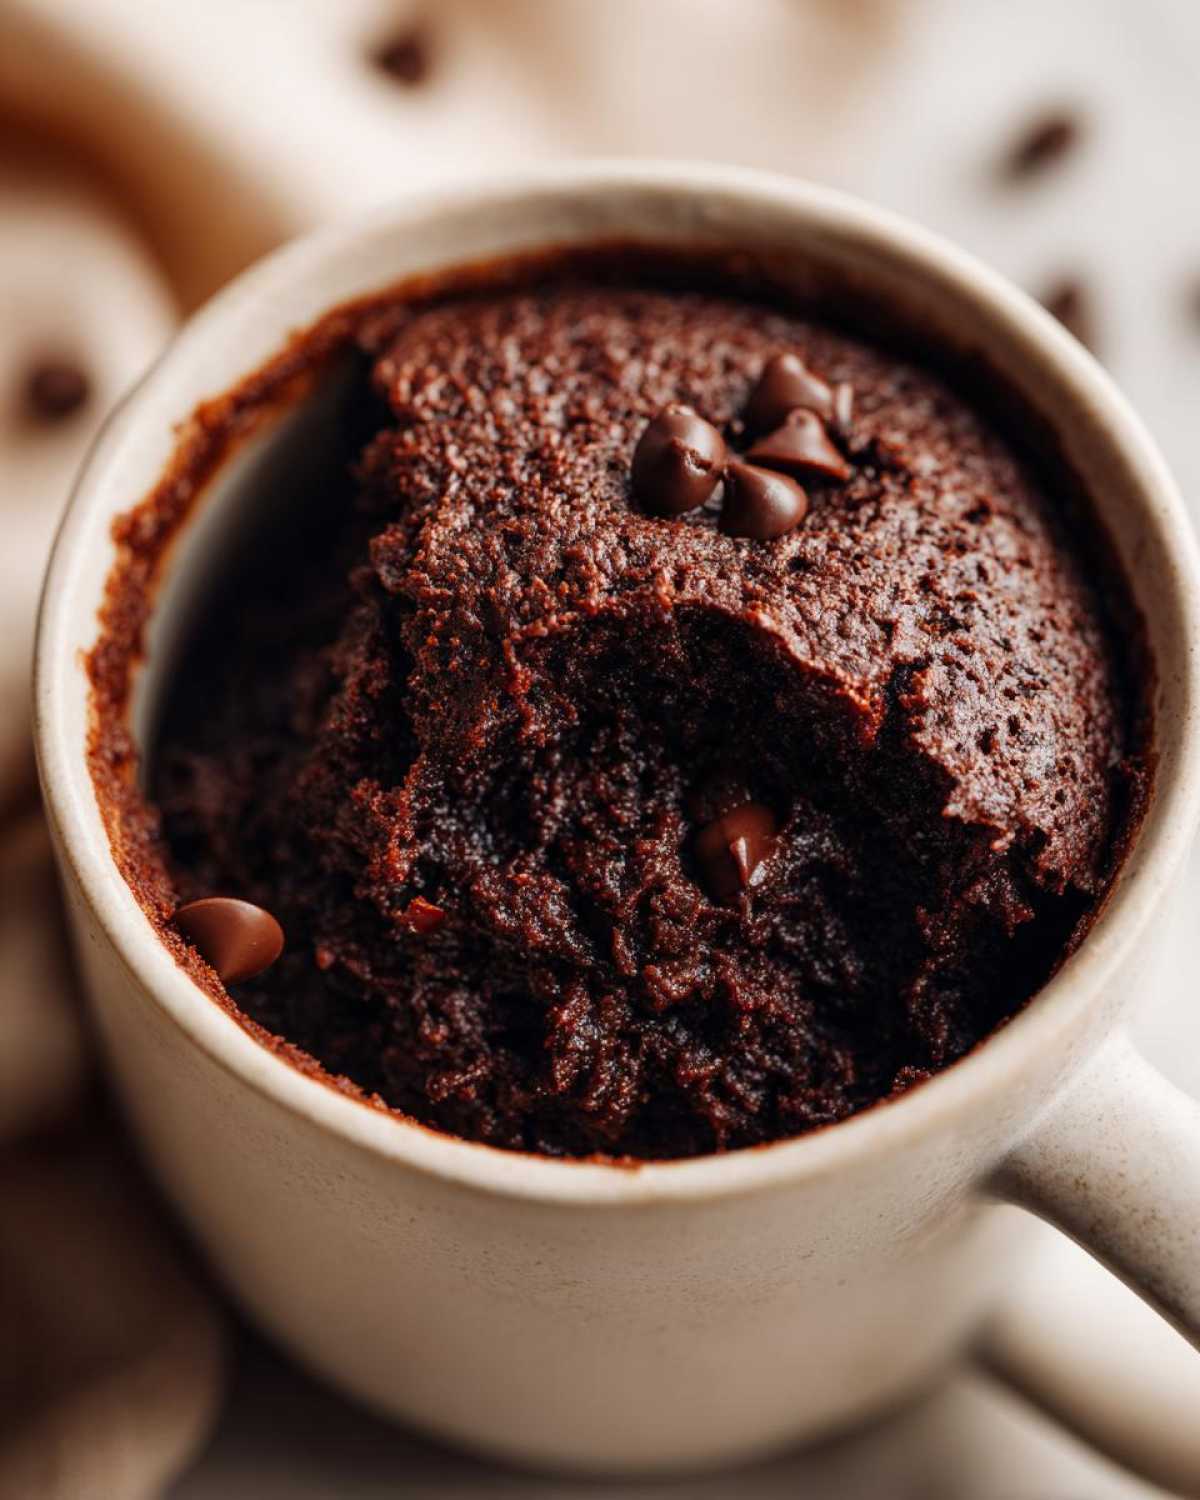
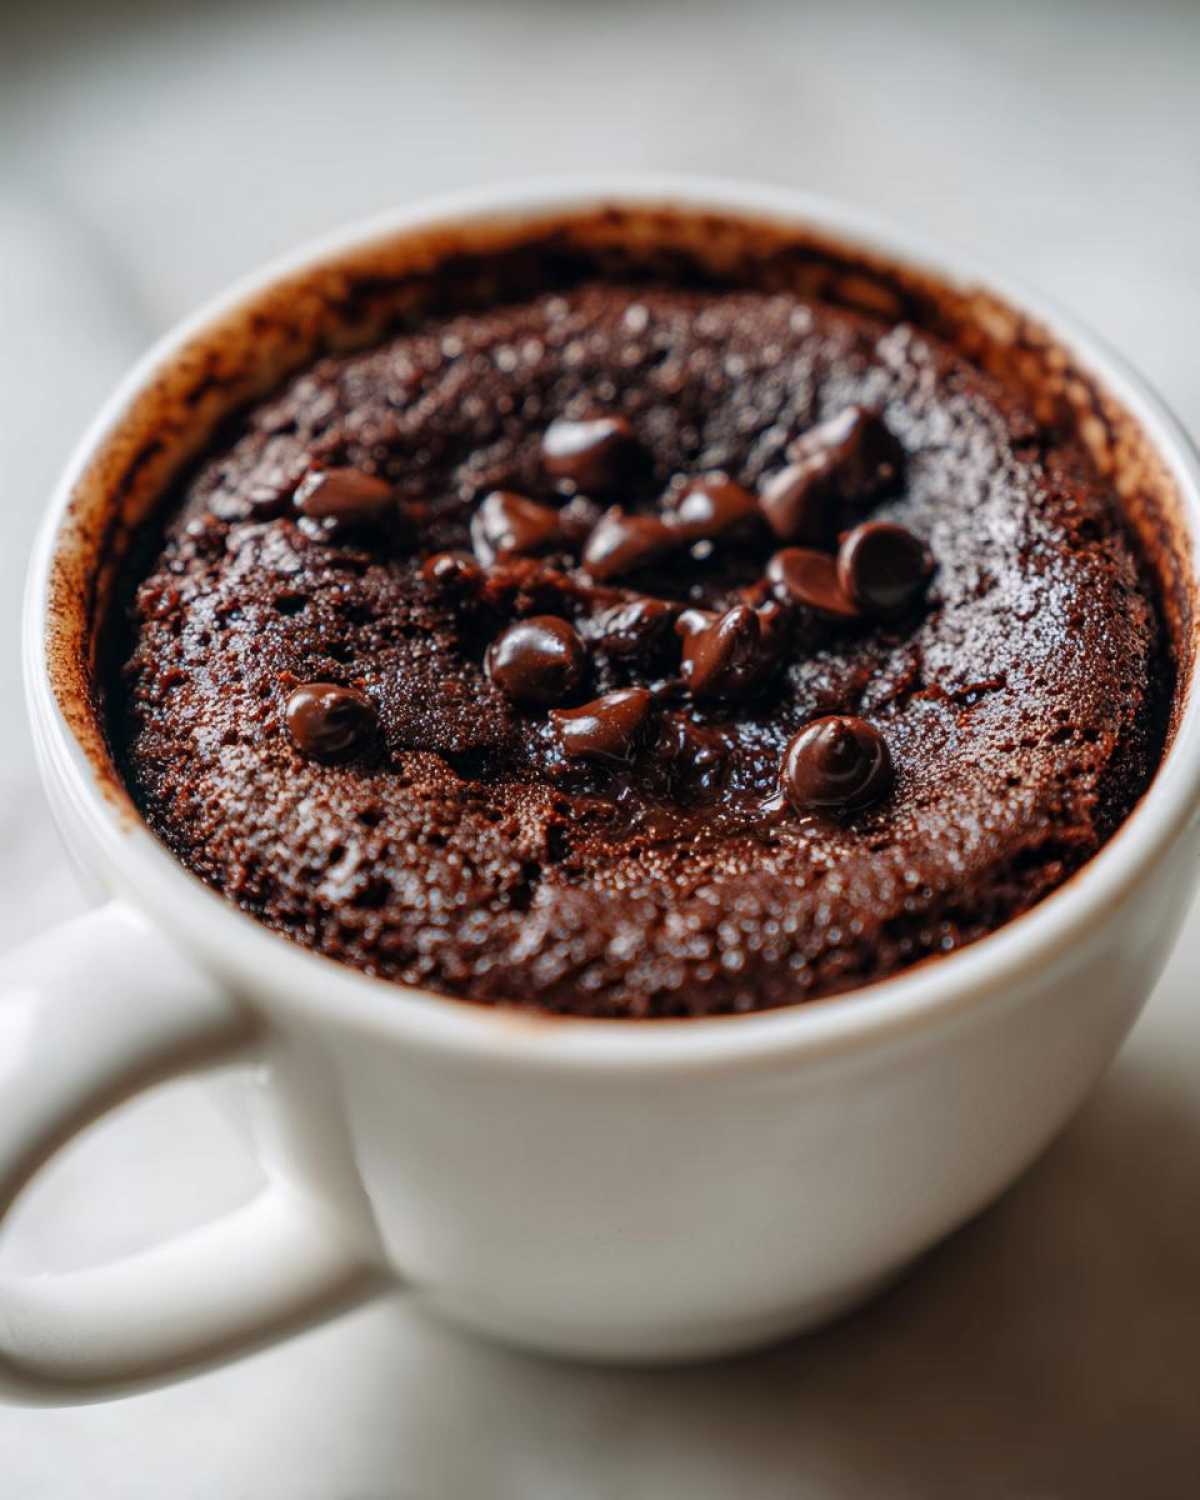
When you are looking at the brownie, you want the edges to look set, maybe just barely pulling away from the sides of the mug, and the very top should look dry, but the center should still look slightly wet, almost shiny. If you see no shininess at all, you’ve gone too far!
Why the obsession with undercooking slightly? Because residual heat is still going to cook this thing for a good minute outside the magnetron. If you wait until it looks completely done in the microwave, by the time you sit down to eat it, it will be tough and spring back when you poke it. A too-long microwave session removes all the moisture the cottage cheese worked so hard to give us, turning that beautiful protein-packed base hard and chewy in the worst way. Err on the side of underdone; it’s the secret for a truly fudgy result!
Tips for Success with This Quick Cottage Cheese Recipe
I learned these tricks the hard way—lots of slightly burnt, mostly rubbery early attempts before Jacob and I nailed the blueprint for this Quick Cottage Cheese Recipe. Since we want you to skip straight to the delicious part, here are my top tips for ensuring your brownie comes out perfect every single time.
First, don’t skip the resting period! I know it’s hard when you are desperate for chocolate, but letting the mug sit on the counter for two minutes after it comes out of the microwave is crucial. This allows the residual heat to finish setting the center gently. If you scoop it out immediately, it will deflate into a puddle, and you lose that beautiful rise the baking powder gave you!
Second, think about your mug choice. If you use a mug that is very tall and narrow, the heat distribution is uneven. The sides cook much faster than the middle, guaranteeing you get that dry edge while the center is still goopy. I much prefer using a wider, shallower ramekin or a wider-bottomed mug. It gives the heat a better chance to cook everything evenly, which is essential for our Healthy Chocolate Microwave Snack.
Third, if you are planning on topping this with Greek yogurt or a drizzle, make sure you save a few of those chocolate chips you whisked in earlier. Don’t put them in the batter! Sprinkle just three or four on top right after it finishes microwaving. They melt slightly while the brownie cools, creating a beautiful, glossy, melted chocolate finish on top. It looks way fancier than the five seconds it took to execute!
Finally, remember that the protein often makes these dry out faster than traditional flour-only cakes once they cool completely. So, if you are making this ahead of time (which I rarely do, let’s be honest), wrap the cooled brownie tightly in plastic wrap. For reviving it later, reheat in 5-second bursts. For more tips on keeping baked goods tender (even though this is totally different!), you can check out my notes on making moist muffins over here.
Serving Suggestions for Your Healthy Chocolate Microwave Snack
Since this is the Fastest Protein Brownie Recipe we could design, we don’t want to ruin the speed by spending twenty minutes making a fussy ganache! The beauty of this little treat is that it pairs perfectly with super simple toppings that keep the protein count up or enhance that chocolate punch without adding a ton of fuss.
Think of the warm brownie coming out of the microwave; it’s the perfect base for something cool and creamy. My absolute favorite, especially since we’ve already packed in protein from the eggs and cottage cheese, is a small dollop of plain Greek yogurt. The slight tang from the yogurt cuts through the richness of the cocoa powder beautifully. It’s like having sophisticated sour cream frosting, but way faster.
If you need a little more staying power for a late-night snack, a tablespoon of peanut butter, almond butter, or even sunflower seed butter warmed for about five seconds next to the brownie in the microwave is divine. You just drizzle that nutty goodness right over the top. It melts perfectly into the cracks! If you’re keeping it incredibly simple, just grab your powdered sugar or sweetener and dust the top lightly. It gives it that professional bakery look in literally two seconds.
These simple additions transform it from just a quick fix into “I can’t believe I made this dessert this fast” status. Enjoy watching it cool just enough so your topping doesn’t melt completely away!
Storage and Reheating Instructions for Single Serving Desserts
Now, I have to be completely real with you. Because this entire recipe is designed for instant gratification, the absolute best way to enjoy your Cottage Cheese Microwave Brownie is hot and fresh out of the mug. It tastes the fudgiest, the texture is set just right, and you get that immediate satisfaction—which, as a planner, I know is sometimes the most important metric!
But, life happens, right? Maybe you made two (sneaky!); or maybe you only managed to eat half before a call interrupted you. If you need to store it, the key is moisture protection. Since these are already dense, wrapping it tightly prevents it from absorbing any weird fridge odors or drying out on the counter.
For short-term storage (up to two days), I wrap the entire mug tightly in plastic wrap, or if you removed the brownie from the mug, wrap the piece itself very snugly. Honestly, I usually just cover the top of the mug with a small piece of foil and leave it on the counter. Room temperature is okay for a day, but if it’s humid, move it to the fridge.
Reheating this Microwave Single Serving Dessert requires the same caution as cooking it! Put it back in the microwave, but this time, we are using short bursts only. Start with 5 seconds on 50% power. Check it. If it’s not warm enough, go for another 5 seconds. The danger zone is 10 seconds or more, because that’s when the residual moisture zaps away and you’re back to that stiff, rubbery texture we worked so hard to avoid.
If you absolutely have to warm up a larger piece, I sometimes run the bottom of the mug under very hot tap water for about 15 seconds while holding it with a towel. That gentle external warmth wakes up the fudge without exposing the delicate structure to harsh microwave radiation. Stick to immediate consumption if you can, but these tips make saving leftovers totally possible!
Frequently Asked Questions About the Cottage Cheese Microwave Brownie
I always get a flood of questions whenever we post a quick recipe like this one. It makes sense; when you’re dealing with specific appliances like the microwave, you want reassurance before you commit your precious ingredients! Jacob usually has the best practical questions, which helps me build this FAQ section for all you planners out there. If you have any other thoughts, maybe check out some of our other quick hits over at our dip collection!
Can I make a low-carb version of this Cottage Cheese Microwave Brownie?
Yes, absolutely! That’s one of the great things about this ultra-adaptable recipe. If you are focused on keeping carbs down, you can easily swap out the maple syrup for a granulated zero-calorie sweetener—erythritol or monk fruit blends work well here. This falls right in line with what a lot of people are looking for when searching for Low Carb Microwave Brownie Ideas. Just be mindful that sometimes the texture can be a touch drier with granular sweeteners instead of liquid syrup, so don’t push past that 60-second cook time!
How do I prevent my Microwave Single Serving Dessert from getting tough?
This is 100% the most important question for any Microwave Single Serving Dessert! The key to keeping this fudgy relies on two main things we discussed. First, blending the cottage cheese and egg until they are completely smooth—no lumps allowed! Second, the cooking time. You MUST stop the microwave when the center is still slightly underdone and wet. The residual heat will finish the cooking process perfectly. If it looks done inside the microwave, I promise you, it will be tough and springy when you go to eat it.
How can I get the best chocolate flavor from this High Protein Microwave Dessert?
Great question! We use standard unsweetened cocoa powder, but if you want drama—pure, deep chocolate flavor—upgrade to Dutch-processed cocoa powder. It has a smoother, often richer profile that cuts through the inherent slight tanginess of the cottage cheese better than natural cocoa. Adding a tiny pinch more salt can also intensify the chocolate flavor payoff without tasting salty, which is a trick Jacob taught me!
Share Your Taste Portfolio Project
Now that you have the blueprint for this incredible, lightning-fast Cottage Cheese Microwave Brownie, it’s time for you to make your mark! Remember, Jacob and I treat every successful recipe here as a finished piece for our Taste Portfolio. This is your chance to add your success story to our collection.
Did you tweak the sweetener? Did you find the perfect microwave wattage for absolute fudge-factor perfection out of curiosity? I want to hear every detail! Head over to the recipe card, give it a rating if you loved it, and let us know how quickly you demolished your single serving!
If you absolutely crushed this recipe and want to tackle something a little less instant (but equally delicious), you should check out our very fudgy brownies made with dates—they are worth the oven time! You can find that blueprint for a slightly slower project right here. Happy cooking, and please share your brownie success!
PrintHigh Protein Cottage Cheese Microwave Brownie in a Mug

Make a quick, fudgy, high protein brownie instantly using cottage cheese and your microwave. This single-serving recipe is perfect for fast chocolate cravings.
- Prep Time: 5 min
- Cook Time: 1.5 min
- Total Time: 6.5 min
- Yield: 1 serving
- Category: Dessert
- Method: Microwave
- Cuisine: American
- Diet: Vegetarian
Ingredients
- 1/4 cup cottage cheese (full fat or 2%)
- 1 large egg
- 1 tablespoon unsweetened cocoa powder
- 1 tablespoon maple syrup or sweetener of choice
- 1 teaspoon melted coconut oil or butter
- 1/4 teaspoon vanilla extract
- 1 tablespoon all-purpose flour or almond flour
- 1/4 teaspoon baking powder
- Pinch of salt
- 1 tablespoon chocolate chips (optional)
Instructions
- Combine the cottage cheese and egg in a microwave-safe mug. Use an immersion blender or fork to blend until completely smooth. You want no visible curds for the best texture.
- Add the cocoa powder, maple syrup, melted oil, and vanilla extract to the mug. Stir well until fully incorporated.
- In a small separate bowl, whisk together the flour, baking powder, and salt.
- Gently fold the dry ingredients into the wet mixture in the mug until just combined. Do not overmix.
- Stir in the chocolate chips, if using.
- Microwave on high for 60 to 90 seconds. Start checking at 60 seconds. The brownie is done when the top looks set but the center is still slightly moist.
- Let the brownie cool in the mug for 2 minutes before eating. This helps the texture set.
Notes
- For a fudgier result, use slightly less cooking time. If it seems rubbery, you likely overcooked it.
- If you prefer a richer chocolate flavor, use dark cocoa powder.
- Top with a small dollop of Greek yogurt or peanut butter after cooking for an extra treat.
Nutrition
- Serving Size: 1 brownie
- Calories: 250
- Sugar: 10
- Sodium: 150
- Fat: 12
- Saturated Fat: 6
- Unsaturated Fat: 6
- Trans Fat: 0
- Carbohydrates: 22
- Fiber: 3
- Protein: 18
- Cholesterol: 80