

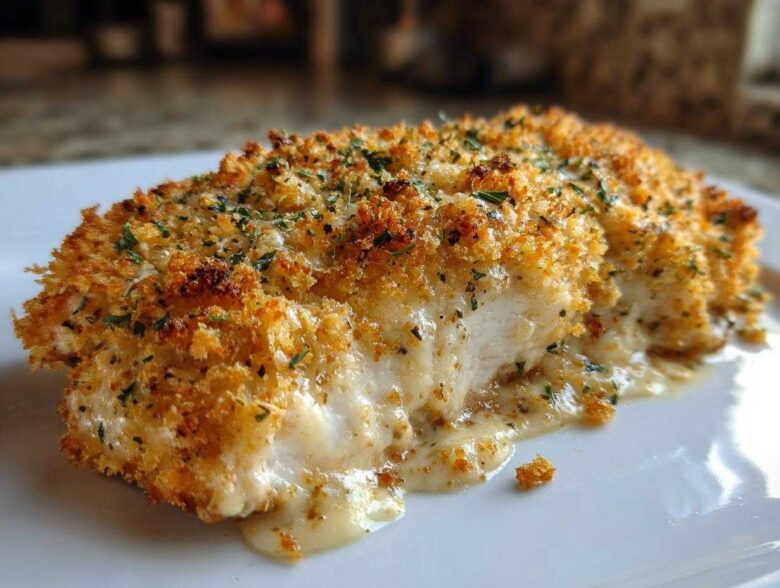
You know that feeling, right? It’s 5:30 PM, Amelia is already stressing about the calendar synchronization, and I’m staring into the fridge wondering how to turn random items into something that actually feels like a win. For weeks, Amelia kept trying to organize the perfect weeknight savior, and I think we finally cracked the code. Forget complicated searing or stovetop babysitting; this Baked Caesar Chicken with Creamy Parmesan Sauce is the absolute answer. Seriously, this is one of the easiest baked chicken dinners we’ve ever perfected here at the Portfolio because it just tastes so ridiculously decadent.
When Amelia first pitched the idea of trapping all those sharp, savory Caesar salad flavors on a chicken breast, I admit, I was skeptical. But look, I’m the Lead Artist here, and I can tell you this recipe is solid. It requires almost zero moving parts—just a quick mix and into the oven it goes. We’ve tested this batch recipe until it was foolproof, ensuring you get that cheesy, juicy result with hardly any effort on your end. This isn’t just a recipe; it’s a perfected project designed to save your sanity on a busy Tuesday. Need more inspiration while you’re here? You can check out all our other perfected creations over on the main blog!
Why This Baked Caesar Chicken Recipe Works for You
Look, I get it. Weeknights are chaos. You want something that tastes like you spent all day on it, but you only have, like, forty minutes tops. That’s why this Caesar Chicken Recipe became an instant favorite for Amelia and me. It hits all the right notes: big flavor, incredible comfort food appeal, and it keeps the cleanup super manageable. It’s the definition of a Quick Chicken Meal that doesn’t taste rushed, I promise! If you need another fast fix later, check out our honey garlic chicken for more inspiration.
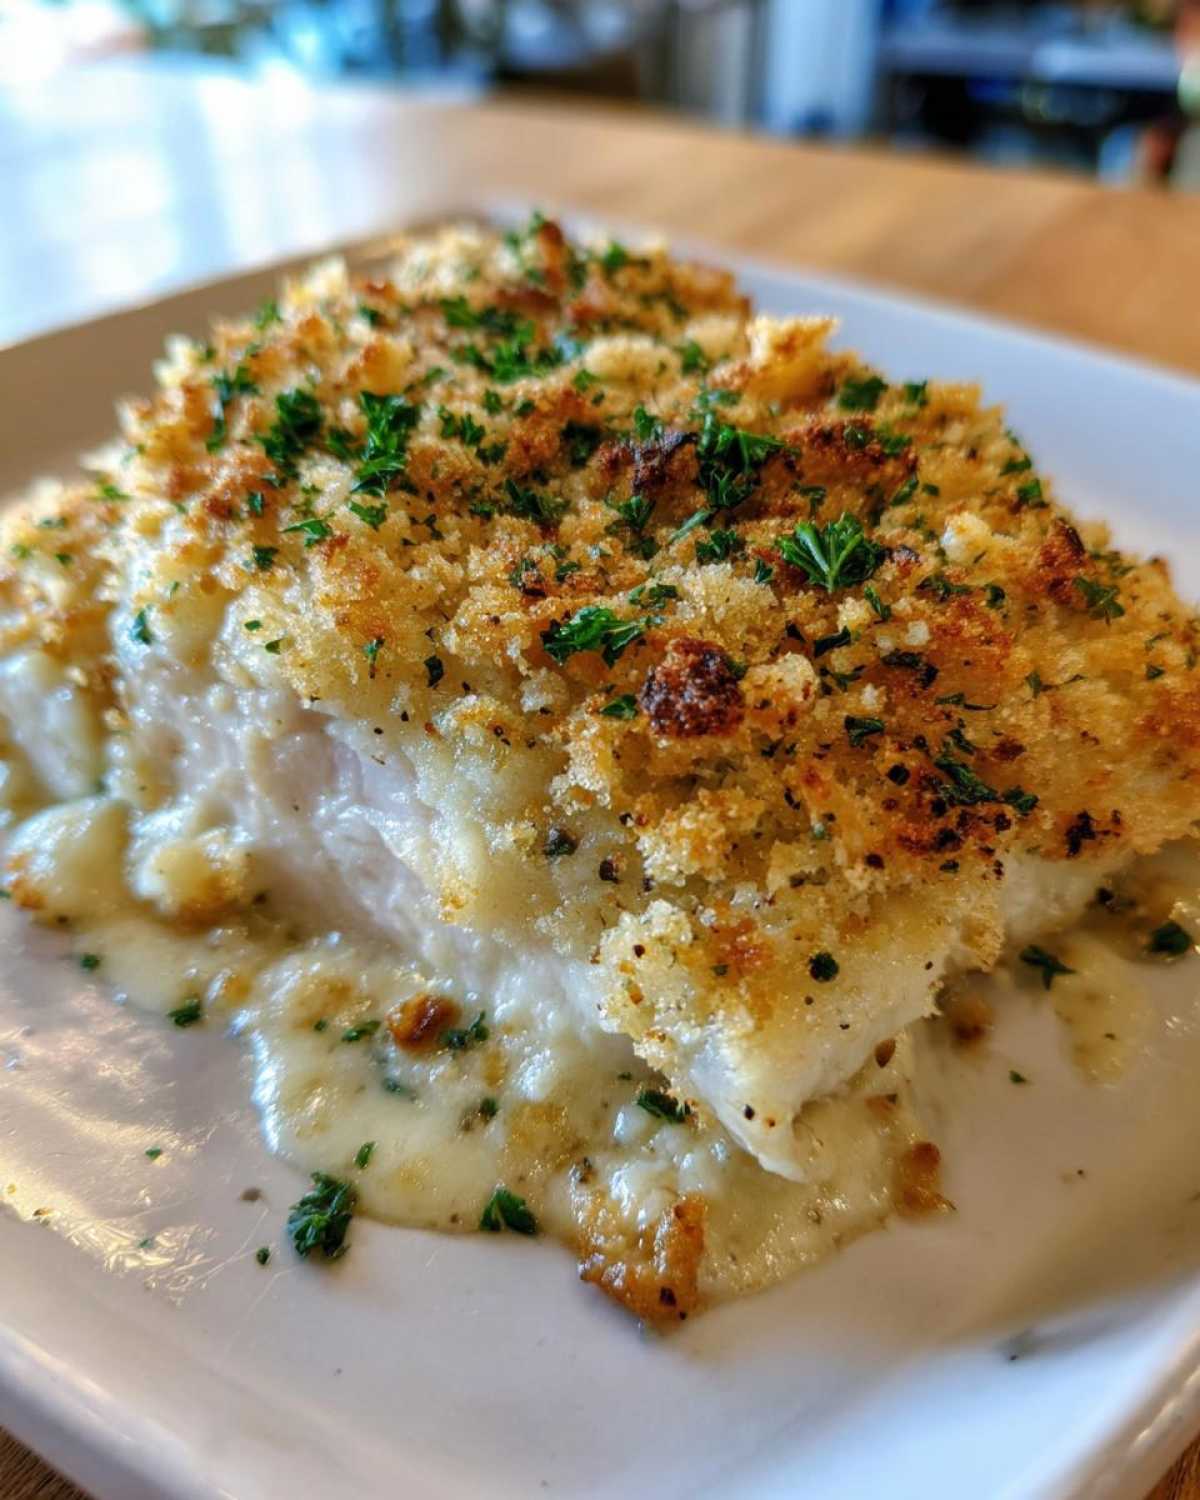
Achieving Juicy Baked Chicken Breasts Every Time
The absolute key to never having dry chicken again is this creamy coat! That thick blanket of dressing and Parmesan does heavy lifting; it seals in all the natural juices while everything bakes. We are aiming for an internal temperature of 165°F, of course, but the sauce just ensures that moisture stays put. You want Juicy Baked Chicken Breasts? This is how you get them without fail.
The Secret to Low Effort Dinner Ideas
Prep time is only ten minutes, people! Ten! That’s faster than deciding what to watch on TV. You mix the sauce, dump everything in the dish, and let the oven work its magic. If you are looking for truly Low Effort Dinner Ideas, this fits the bill perfectly. Honestly, it borders on being a One Pan Chicken Dinner because everything cooks together beautifully in that single baking dish.
Gathering Ingredients for Your Caesar Chicken Dinner
Okay, let’s talk about what you need for this incredible caesar chicken. Amelia is all about precision, so listen up: the ingredient list is short, but quality matters! Don’t just grab anything; we need specific things to get that perfect texture boost. I always lay everything out first, like setting up my canvas before I start painting. This keeps the prep time down to just ten minutes, which is glorious.
Key Components for the Creamy Parmesan Chicken
The backbone of this dish is the sauce, obviously. You need one cup of really good, creamy Caesar dressing—no watery stuff! Then, we mix in half a cup of proper grated Parmesan cheese. Make sure it’s grated finely, not the stuff that looks like flakes. We also sneak in two minced garlic cloves and that Italian seasoning mix. A little squeeze of fresh lemon juice cuts through all that richness perfectly, giving the sauce that slight tang common in Creamy Parmesan Chicken.
Building the Crispy Topping for Caesar Chicken
This is where we talk texture contrast! We keep the topping super simple so it doesn’t burn before the chicken cooks through. Grab your breadcrumbs—I insist on Panko if you can find them because they stay light and crisp—and toss them with just one tablespoon of olive oil. That little bit of oil helps them toast up beautifully when they hit the heat. This small detail keeps your Caesar Chicken from being just a soggy bake.
Step-by-Step Instructions for Perfect Caesar Chicken
Alright, this is the fun part where the planning turns delicious. While Amelia usually handles the research, getting the timing right on the bake is absolutely my domain as the chef. We’re keeping the heat high—preheat that oven to 400°F (200°C) right away. Make sure your baking dish is ready; I like to spray mine down lightly or use parchment paper so cleanup is truly minimal. You won’t believe how easy it is to pull off this amazing caesar chicken, just follow these steps closely!
Mixing the Caesar Dressing Chicken Coating
Grab a medium bowl—no need to drag out the stand mixer for this! We’re combining the Caesar dressing, that grated Parmesan, your minced garlic, the Italian seasoning, salt, and pepper. Now, don’t skip the lemon juice! Just two tablespoons—it adds a zip, a little brightness that cuts through the richness of the creamy coating. It keeps the whole dish tasting fresh, not heavy. Mix it all until it’s one lovely, savory dream. This is your winning sauce base for this Caesar Dressing Chicken.
Baking Time and Temperature for Oven Baked Chicken
Take your (preferably evenly thickened) chicken breasts and nestle them right into that prepared dish. Smother them! Pour that creamy sauce over every surface. Next, sprinkle that oily breadcrumb topping right over the top—this is what gives us that gorgeous texture contrast against the creamy interior. Pop it into the 400°F oven for about 20 to 25 minutes. But here’s the important thing Amelia always reminds me of: always check that temperature! You stop baking when the thickest part hits 165°F (74°C). For more tips on making sure your Oven Baked Chicken stays perfect, check out this great guide on getting that perfect bake.
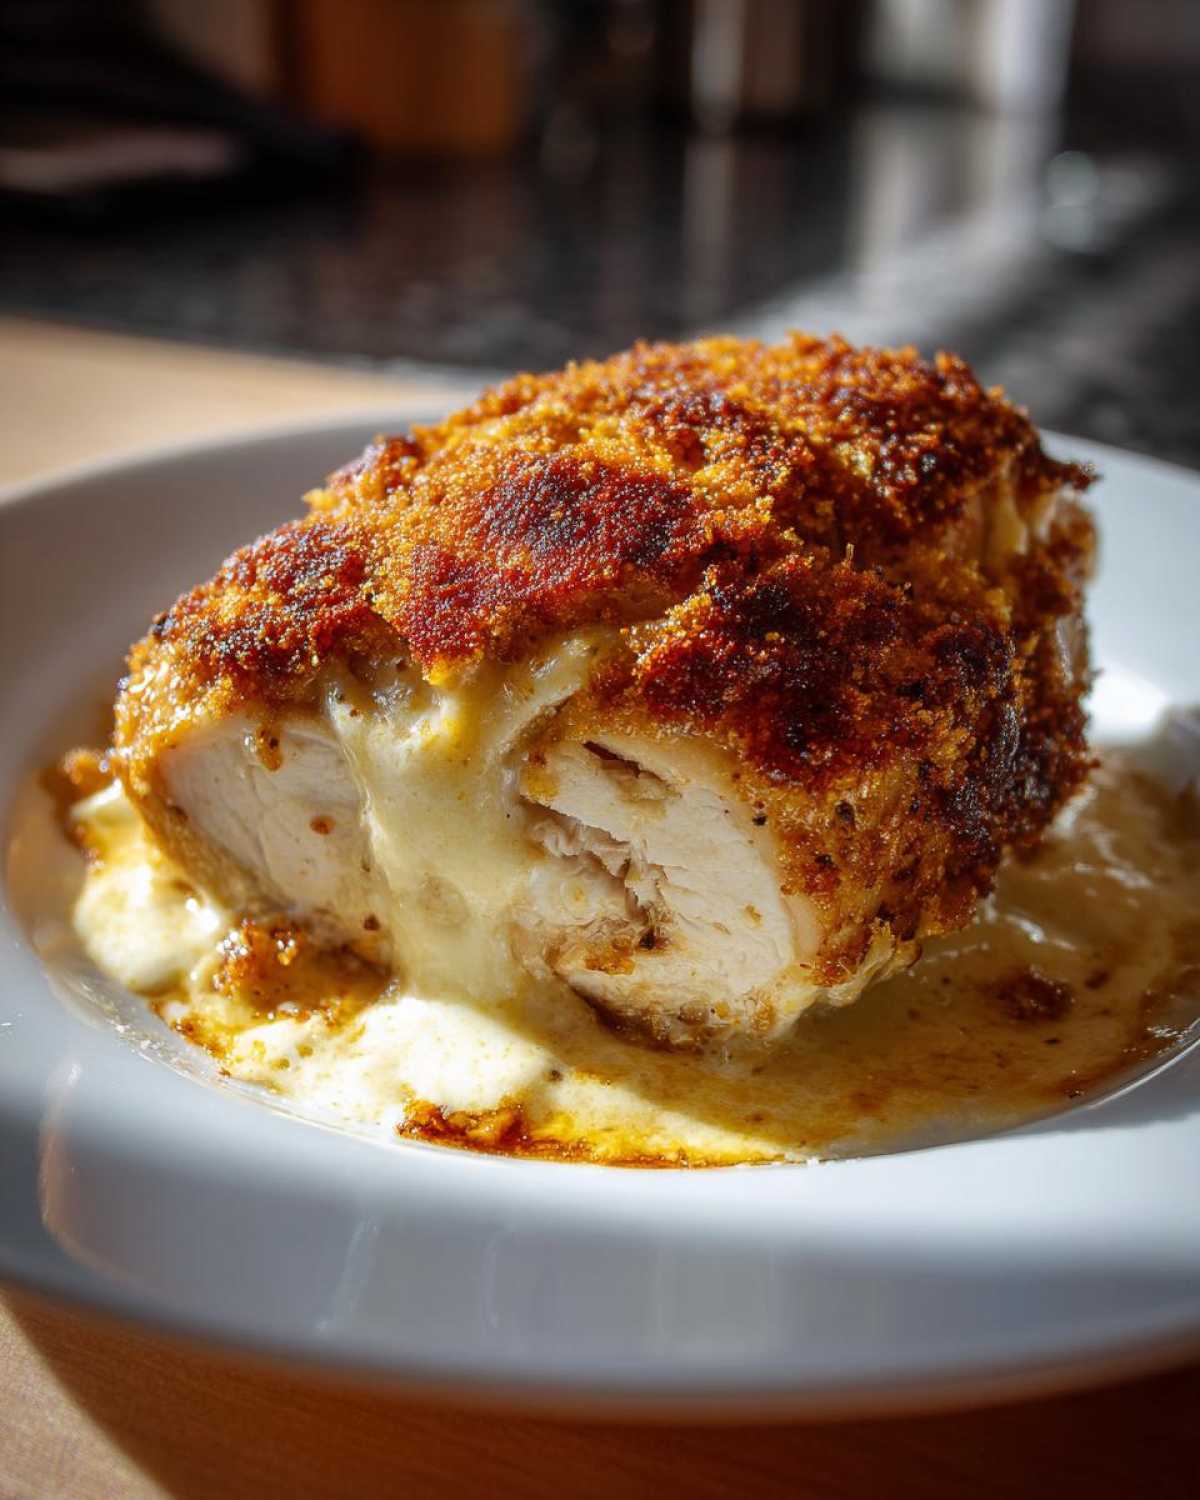
One final, essential Jacob move: let it rest! Seriously, pull that beautiful dish out and let the chicken sit for five minutes. All those juices redistribute, making sure when you slice into it, you get everything you dreamed of. If you want to see another quick oven winner, take a peek at my favorite oven baked BBQ chicken recipe too!
Tips for Success When Making Caesar Chicken
Even with a recipe this simple, those little tweaks can move a meal from “good” to “must-make-again.” Since Amelia and I treat every recipe like a meticulously planned project, we learned a few things along the way that I think really elevate this caesar chicken from standard weeknight fare to something truly special. Trust me on these; they are the chef’s notes you look for!
First off, if you are struggling with uneven cooking—you know, thin parts dried out while the thick middle is *barely* cooked—you absolutely must pound those chicken breasts. It sounds fussy, but slapping them between two pieces of plastic wrap and gently smoothing them out to an even thickness (about 3/4 inch is perfect) makes a world of difference in a 25-minute bake. This ensures you get that perfect internal temperature across the board.
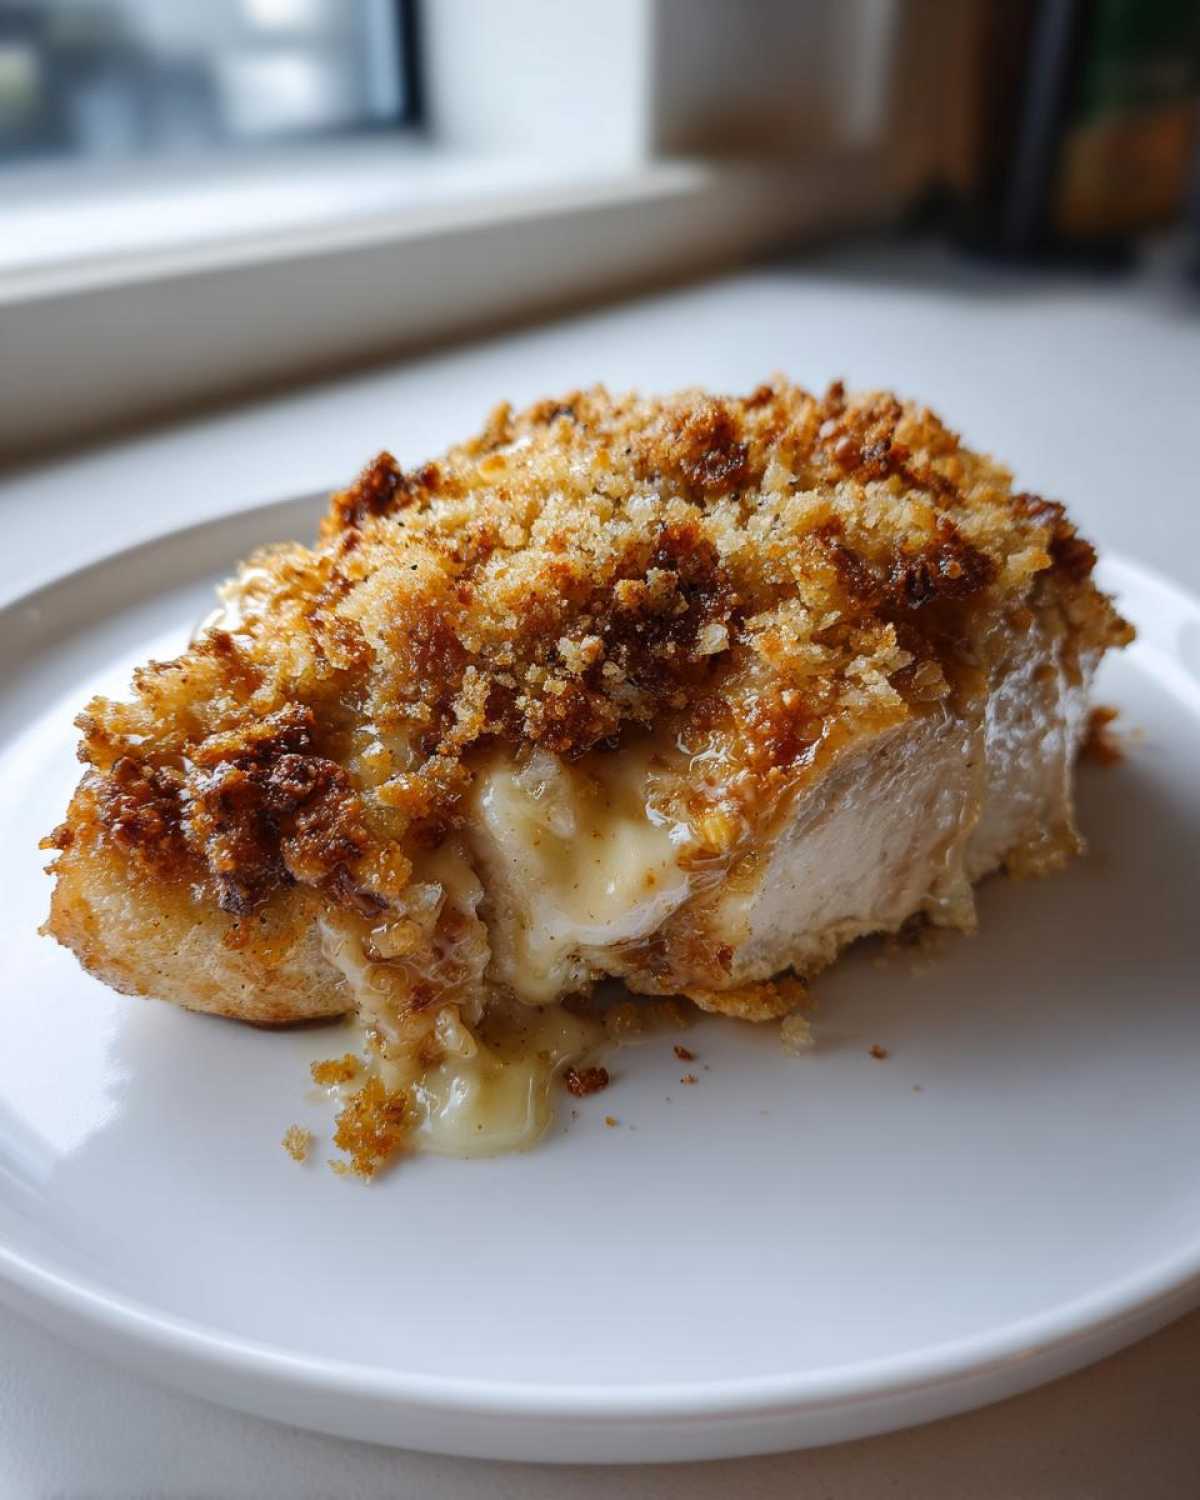
Also, the recipe notes mention adding mozzarella, and I wholeheartedly encourage you to try it sometime! If you’re craving an extra cheesy experience—a real cheesy chicken bake—just sprinkle about a quarter cup, plain or mixed with the Parmesan, over the top during the last five minutes of baking. Watch it closely, though, because that extra dairy can brown fast! It adds a little extra richness that pairs amazingly with the Parmesan flavor profile. For more ideas on using Parmesan, you should definitely peek at our garlic parmesan masterpiece recipe.
If you want to see how another amazing cook handles a creamy bake like this, check out the inspiration on Mix Meal Magic. They have a great perspective on keeping things simple but delicious!
Serving Suggestions and Pairing for Caesar Salad Flavors
Now that you’ve mastered the main event—this incredible, flavor-packed caesar chicken—the next project is building out the rest of the plate. Since this creamy Parmesan chicken is so rich and savory, we need sides that either soak up that extra sauce or give us a nice, clean contrast. I look at it like seasoning an already perfect sauce; you just need the right vehicle to carry it!
For me, the way to handle leftovers or just to stretch this into a bigger meal is serving it right over pasta. A simple fettuccine or even penne works perfectly. Toss the warm pasta with a tiny bit of butter or olive oil, and then let those chicken juices and extra sauce mix right in—it becomes an instant, fast, and decadent dinner!
The Pasta Route
If you go the pasta route, keep the sauce on the pasta simple. You don’t want to compete with the Caesar flavors coating the chicken. A little bit of extra lemon zest in the pasta water goes a long way. Or, if you’re feeling extra, some roasted broccoli tossed in the pasta water works wonders. Did you know we have an awesome recipe for creamy garlic butter chicken and broccoli? This creamy Caesar chicken shares that same vibe!
Vegetable Pairings That Pop
If you prefer keeping it lighter, you absolutely have to pair this with something roasted and crisp. High heat roasting brings out the sweetness in vegetables, which balances the salty Parmesan perfectly. Asparagus, green beans, or even Brussels sprouts are fantastic choices here. They cook right alongside the chicken or in about the same amount of time. Thinking outside the box? Even something like my roasted cauliflower tacos—if you just roast the cauliflower plain—would offer a great texture contrast to the juicy chicken.
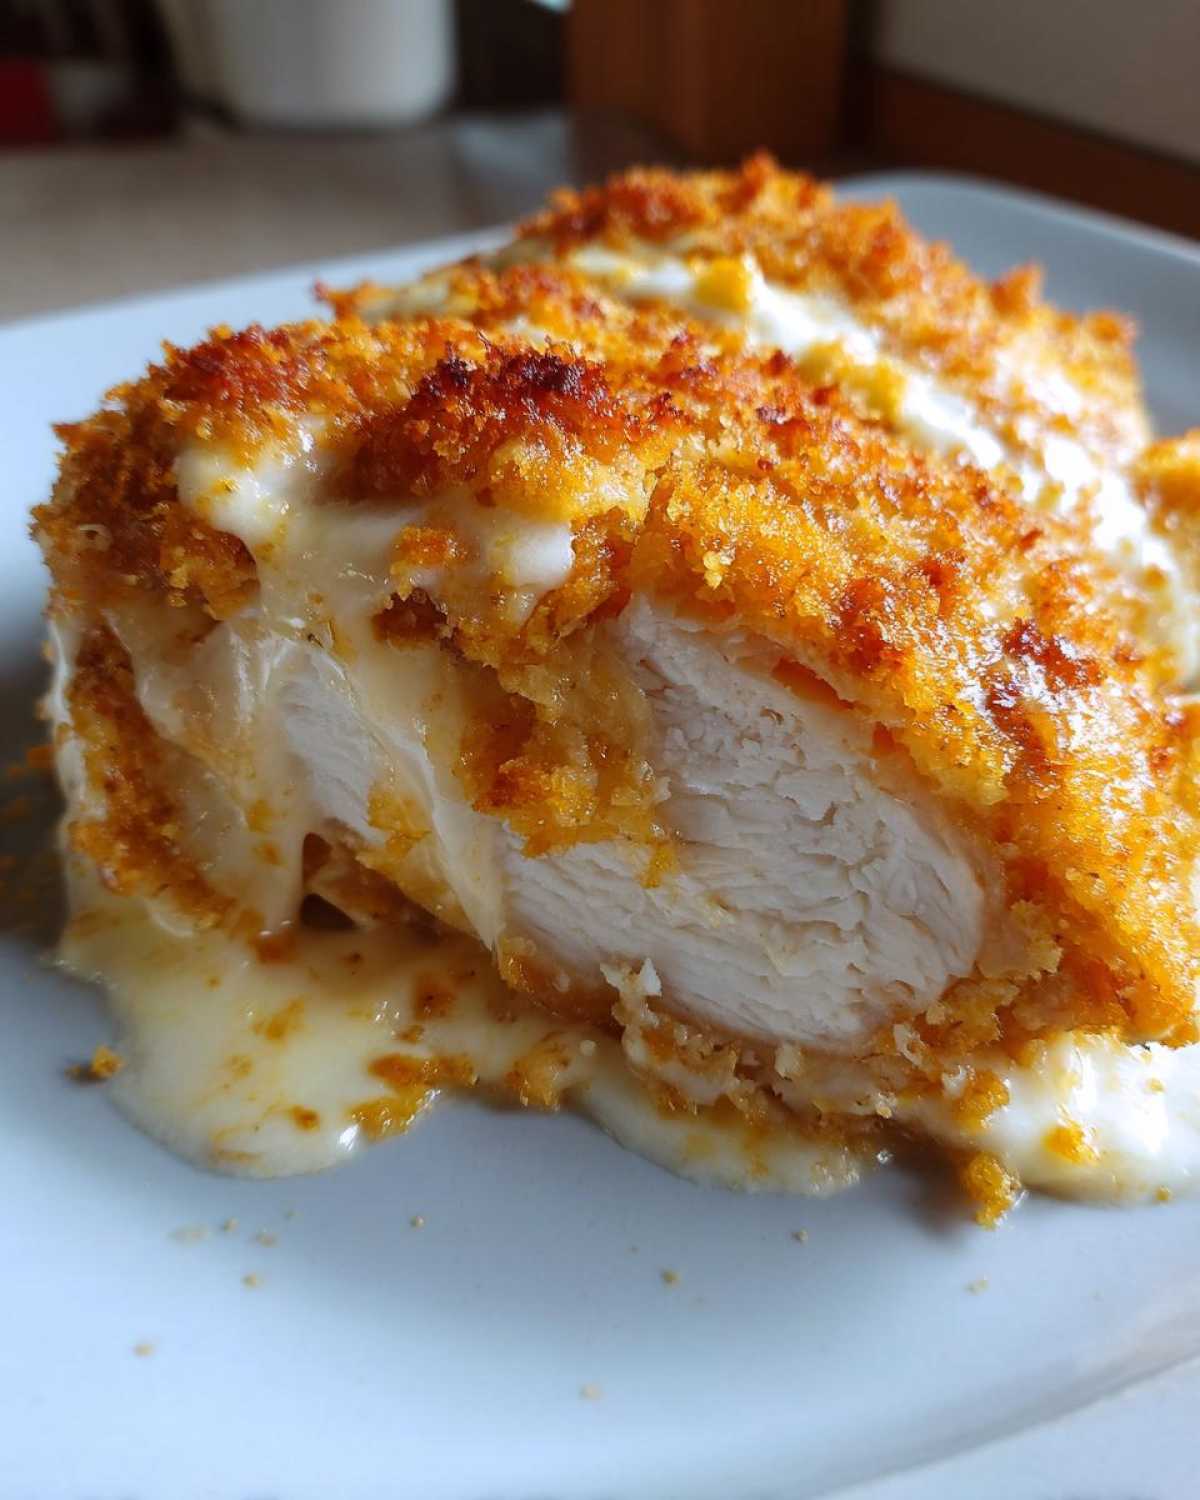
The goal is to maximize those incredible Caesar Salad Flavors we worked so hard to achieve, so don’t overcomplicate the sides. Let that cheesy, creamy chicken be the star!
Storage and Reheating Instructions
Look, this chicken is so good you might actually have leftovers, which is a win! Store any remaining baked Caesar chicken in a completely airtight container. It’s good in the fridge for about three to four days. I always say, if you didn’t eat it all on day one, you’re doing great!
When it’s time to reheat, don’t just nuke it on high power; that ruins the juiciness we worked so hard to capture! The best way is in a moderate oven—maybe 325°F—covered loosely with foil. This gentle heat warms everything through while keeping the topping from getting totally soggy. If you must use the microwave, use 50% power in short bursts.
Frequently Asked Questions About This Easy Weeknight Chicken
I love hearing from you all once you make our projects! Amelia and I read every comment, so if you have questions about turning this into other Quick Chicken Meals or tweaks for the sauce, just drop them below. Here are a few things we usually get asked about this amazing Creamy Parmesan Chicken!
Can I use chicken thighs instead of breasts in this recipe?
You absolutely can! Chicken thighs are actually really forgiving because they have a little more fat, so they stay moist even if you nudge the cooking time a bit. Just know they take a little longer than the breasts to reach that magic 165°F internal temperature. I usually give them an extra 5 to 8 minutes, so check the thickest part with a thermometer!
What if I don’t have Panko breadcrumbs for the topping?
Don’t panic! If you don’t have Panko, just grab your regular dry breadcrumbs. They will still brown up nicely and give you a coating. Honestly, if you’re really in a rush or just prefer zero crunch, you can skip the breadcrumb step entirely, mix the olive oil into the sauce instead, and you’ll still have a luscious, saucy chicken bake!
How can I make this a complete Caesar Salad Flavors meal?
That’s a great suggestion! The best way to lean into that Caesar Salad Flavors aspect is to serve the hot chicken right over a bed of cold, crisp chopped romaine lettuce. Mix the lettuce with just a splash of extra Caesar dressing and some shaved Parmesan. The heat from the chicken slightly wilts the lettuce, which is fantastic! Or, if that sounds too complicated, a very simple green salad with a bright vinaigrette works too.
If you’re looking for more quick comfort dishes that come together beautifully, you have to check out our creamy garlic butter chicken and broccoli post next!
Estimated Nutritional Snapshot
Okay, Amelia always reminds me that even though this Caesar Chicken tastes like pure Friday night indulgence, it’s actually pretty solid for a Tuesday night. Now, I’m no dietitian, and I didn’t calculate these numbers myself—I used the recipe calculator Amelia set up in the background! But based on the 4 large breasts and the ingredients list, here’s a general idea of what you are working with per serving.
Remember, this is just the chicken itself, not the pasta or veggies you serve with it! Think of this as a baseline for your amazing, flavorful Oven Baked Chicken.
- Calories: Roughly 410
- Fat: Around 25g (A good amount comes from that Parmesan and dressing, naturally!)
- Protein: A whopping 38g—great for keeping you full!
- Carbohydrates: About 10g
Please know that these figures are just estimates based on our specific brand choices for the dressing and cheese. If you swap out ingredients, the numbers will change. But honestly, when the food tastes this good, I try not to dwell on the small print too much. It’s comfort food comfortingly accounted for, you know?
Share Your Perfected Caesar Chicken
Wow, we made it! If you followed along, you should have one of the most delicious, low-effort dinners sitting on your cooling rack right now. This Easy Baked Caesar Chicken really is one of our favorite perfected projects, and sharing the result is the best part for us!
I’d absolutely love to see how yours turned out! Seriously, snap a picture. Amelia and I check our DMs constantly because seeing your finished dishes makes all our recipe research so worth it. Tag us when you post it online so we can admire your beautiful Caesar Chicken!
And if it lived up to the hype—and I know it did—please head over to the recipe card and give it a solid five stars. That feedback is crucial and helps other home cooks find Quick Chicken Meals that actually work. If you run into any snags or have ideas for what we should tackle next, feel free to shoot us a message over on the Contact Page!
If you’re looking for some similar inspiration right now, check out what my friends over at Recipe Ideas are doing with their version of Baked Caesar Chicken—always good to see how others approach our favorite projects!
PrintEasy Baked Caesar Chicken with Creamy Parmesan Sauce
You will love this simple recipe for juicy baked chicken breasts coated in a rich, creamy Caesar and Parmesan sauce. It is a perfect, low-effort dinner for busy weeknights.
- Prep Time: 10 min
- Cook Time: 25 min
- Total Time: 35 min
- Yield: 4 servings
- Category: Dinner
- Method: Baking
- Cuisine: American
- Diet: Vegetarian
Ingredients
- 4 large boneless, skinless chicken breasts
- 1 cup creamy Caesar dressing
- 1/2 cup grated Parmesan cheese, plus extra for topping
- 1/4 cup dry breadcrumbs (Panko recommended for crispness)
- 2 cloves garlic, minced
- 1 teaspoon dried Italian seasoning
- 1/2 teaspoon black pepper
- 1/4 teaspoon salt
- 2 tablespoons fresh lemon juice
- 1 tablespoon olive oil
Instructions
- Preheat your oven to 400°F (200°C). Lightly grease a baking dish or line it with parchment paper.
- In a medium bowl, mix together the Caesar dressing, 1/2 cup Parmesan cheese, minced garlic, Italian seasoning, pepper, salt, and lemon juice. This is your creamy Parmesan sauce.
- Place the chicken breasts in the prepared baking dish. Pour the creamy sauce evenly over the chicken, making sure each piece is well coated.
- In a small bowl, toss the breadcrumbs with the olive oil until lightly coated. Sprinkle the breadcrumbs evenly over the sauced chicken breasts.
- Bake for 20 to 25 minutes, or until the internal temperature of the chicken reaches 165°F (74°C) and the topping is golden brown.
- Let the chicken rest for 5 minutes before serving. You can sprinkle a little extra fresh Parmesan on top if you like.
Notes
- For an even juicier result, you can pound the chicken breasts to an even thickness before coating them.
- Serve this baked Caesar chicken over cooked pasta or alongside roasted asparagus for a complete meal.
- If you want a richer topping, add 1/4 cup of shredded mozzarella cheese over the breadcrumbs during the last 5 minutes of baking.
Nutrition
- Serving Size: 1 breast
- Calories: 410
- Sugar: 3
- Sodium: 650
- Fat: 25
- Saturated Fat: 7
- Unsaturated Fat: 18
- Trans Fat: 0
- Carbohydrates: 10
- Fiber: 1
- Protein: 38
- Cholesterol: 125