

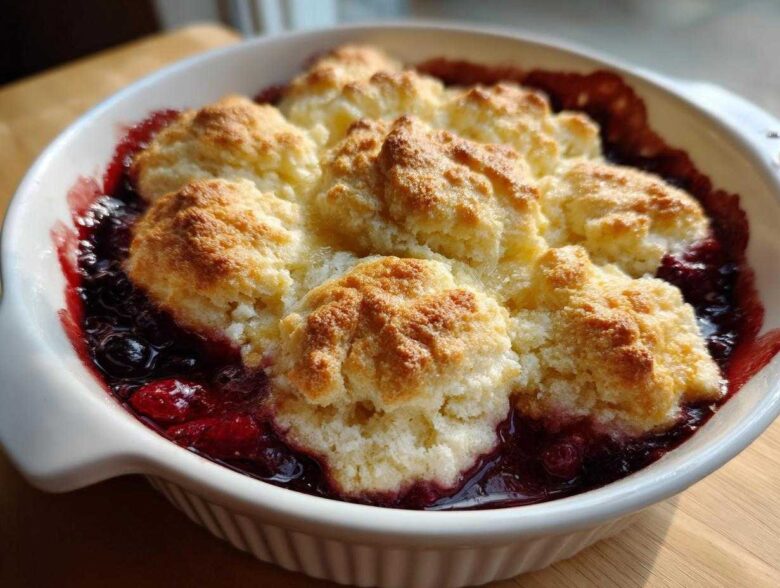
When you need that perfect, warm hug from a dessert, nothing beats a bubbling, sweet fruit filling tucked under a golden, soft blanket. That’s exactly what our **berry cobbler** delivers! I’m Amelia, the planner, and for every project, I build the blueprint—but Jacob, my talented partner, brings the intuition. This recipe is where my meticulous planning meets his artistic touch. Seriously, this is the absolute easiest **berry cobbler** you’ll ever tackle, and the best part is that it works flawlessly whether you have beautiful fresh berries or just pulled some out of the freezer. If you loved our approach to the classic snickerdoodles, you’ll adore this quick fruit dessert. This homemade cobbler recipe gives you that perfect biscuit topping!
Why This is the Best Berry Cobbler Recipe You Will Make
I know, I know, everyone claims theirs is the “best,” but hear me out. Jacob and I meticulously tested versions until we landed on this gem because it checks every box for a great mixed berry cobbler. It’s truly one of the easiest comfort food desserts we’ve ever developed. We promise you, once you make this, it’ll be your go-to quick fruit dessert.
- It comes together in just 15 minutes of prep time.
- It requires no fuss—seriously, no fancy techniques needed here!
- It handles whatever fruit you have on hand beautifully.
When Amelia first started planning our recipe collection, she wanted something reliably delicious without needing ingredients delivered daily. This cobbler is the result of that planning meeting his intuitive baking! You can see some of the other great things we’ve made by checking out our pistachio muffins, too.
Perfect for Any Season: Fresh or Frozen Berries
This is my favorite part about this recipe; you almost never have to wait for perfect berries. Whether you pull out a bag of frozen fruit from last summer’s haul or grab fresh ones at the farmer’s market, it doesn’t matter! The cornstarch in the filling is our secret weapon; it grabs all that extra liquid from frozen bags and thickens up the juices so your **berry cobbler** isn’t watery when you pull it out. So easy!
The Ideal Cobbler with Biscuit Topping
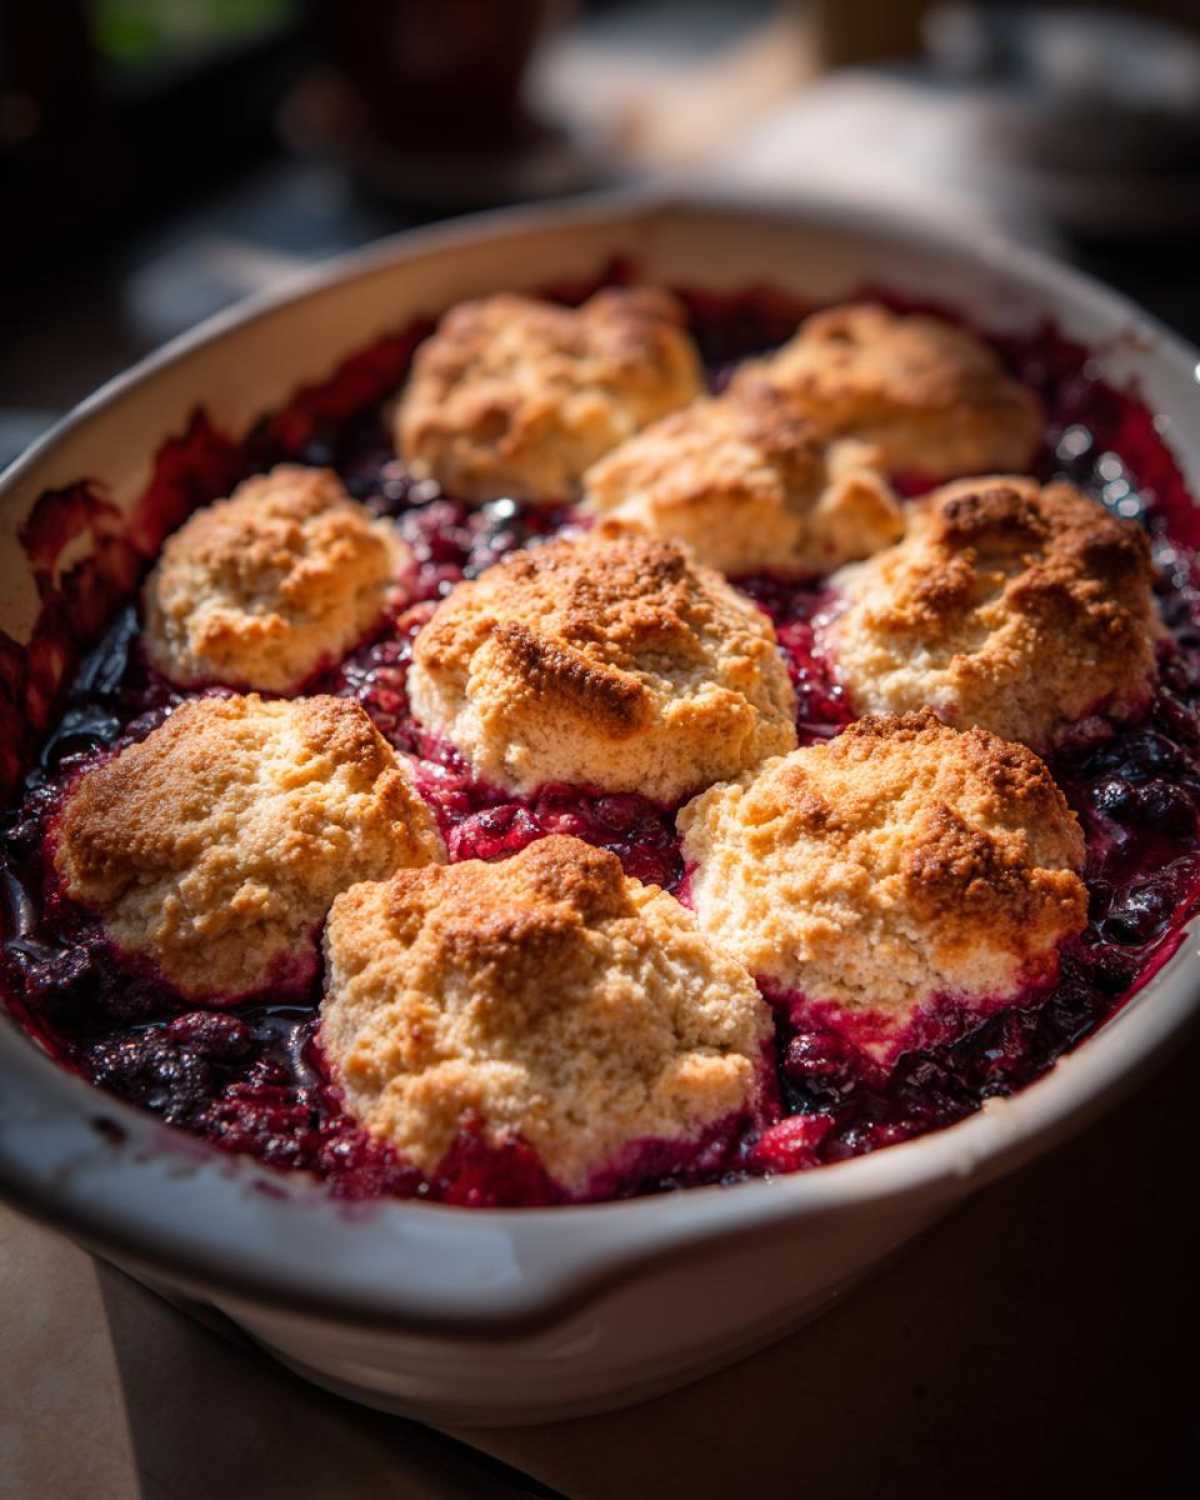
Forget crumbles that use oats, or crisps that scatter everywhere. When you want a true **berry cobbler**, you need that tender, slightly sweet, biscuit-like topping, and this recipe delivers it perfectly. It bakes up golden brown and soft, creating that delicious contrast against the hot, jammy filling. Since the mixing for the topping takes no time at all, we pull this whole dessert out of the oven in under an hour total.
Gathering Ingredients for Your Easy Berry Cobbler Recipe
Okay, project managers, it’s time to assemble everything we need! I like to have all these laid out before I even grease the dish, which is part of my detailed planning, naturally. Jacob just laughs and says I color-code the spice jars, but hey, it prevents mid-bake scrambling! We’re keeping this **berry cobbler** simple, using ingredients you probably have right now, which is why it works so well as a last minute dessert idea. Everything is going into one pie dish, so let’s organize our components.
Filling Components for the Berry Cobbler
For that gooey, deeply flavorful fruit base, you need exactly 6 cups of mixed berries. I usually grab a mix of whatever looks best, but feel free to stick to a triple berry cobbler recipe if you prefer! Make sure you include 3/4 cup of regular granulated sugar, 2 tablespoons of cornstarch to handle all that wonderful berry juice, 1 tablespoon of lemon juice for brightness, and just a teaspoon of vanilla extract. That’s it for the filling. Simple!
Biscuit Topping Ingredients for this Homemade Cobbler Recipe
Now for the magic—the biscuit topping! We start with 1 1/2 cups of all-purpose flour, 2 tablespoons of granulated sugar, 1 tablespoon of baking powder because we want some lift, and half a teaspoon of salt to balance the sweet. The critical fat component here is 1/2 cup (that’s one whole stick, folks!) of cold unsalted butter, which you must cut into small pieces. Lastly, you’ll need 1/2 cup of cold milk to bring it all together, plus one large egg, beaten, just for brushing the tops, and maybe a sprinkle of coarse sugar for that sparkle.
Step-by-Step Instructions for the Perfect Berry Cobbler
This is where my love of a good blueprint really shines, but don’t let the steps scare you! Baking this **berry cobbler** is simple, I promise. First things first, always preheat your oven to 375°F (190°C) and get about 15 minutes on the clock for prep time, so it’s ready to pop in right away. Make sure you grease your 9-inch pie dish—Jacob always uses a little leftover butter and flour in the bottom, which helps things release nicely. If you want to check out another great cobbler recipe inspiration, you can see the ideas found over at Julie’s Eats & Treats.
Preparing the Fruit Filling and Dish
Take your gorgeous mixed berries—whether fresh or frozen—and put them into a big bowl. Here’s the delicate part: gently toss them with the sugar, cornstarch, lemon juice, and vanilla. You want to coat everything, but don’t mash those berries! We want them whole to burst when they bake. Once they are evenly coated, pour that glistening fruit mixture right into your prepared dish. It’s looking good already!
Making and Placing the Cobbler with Biscuit Topping
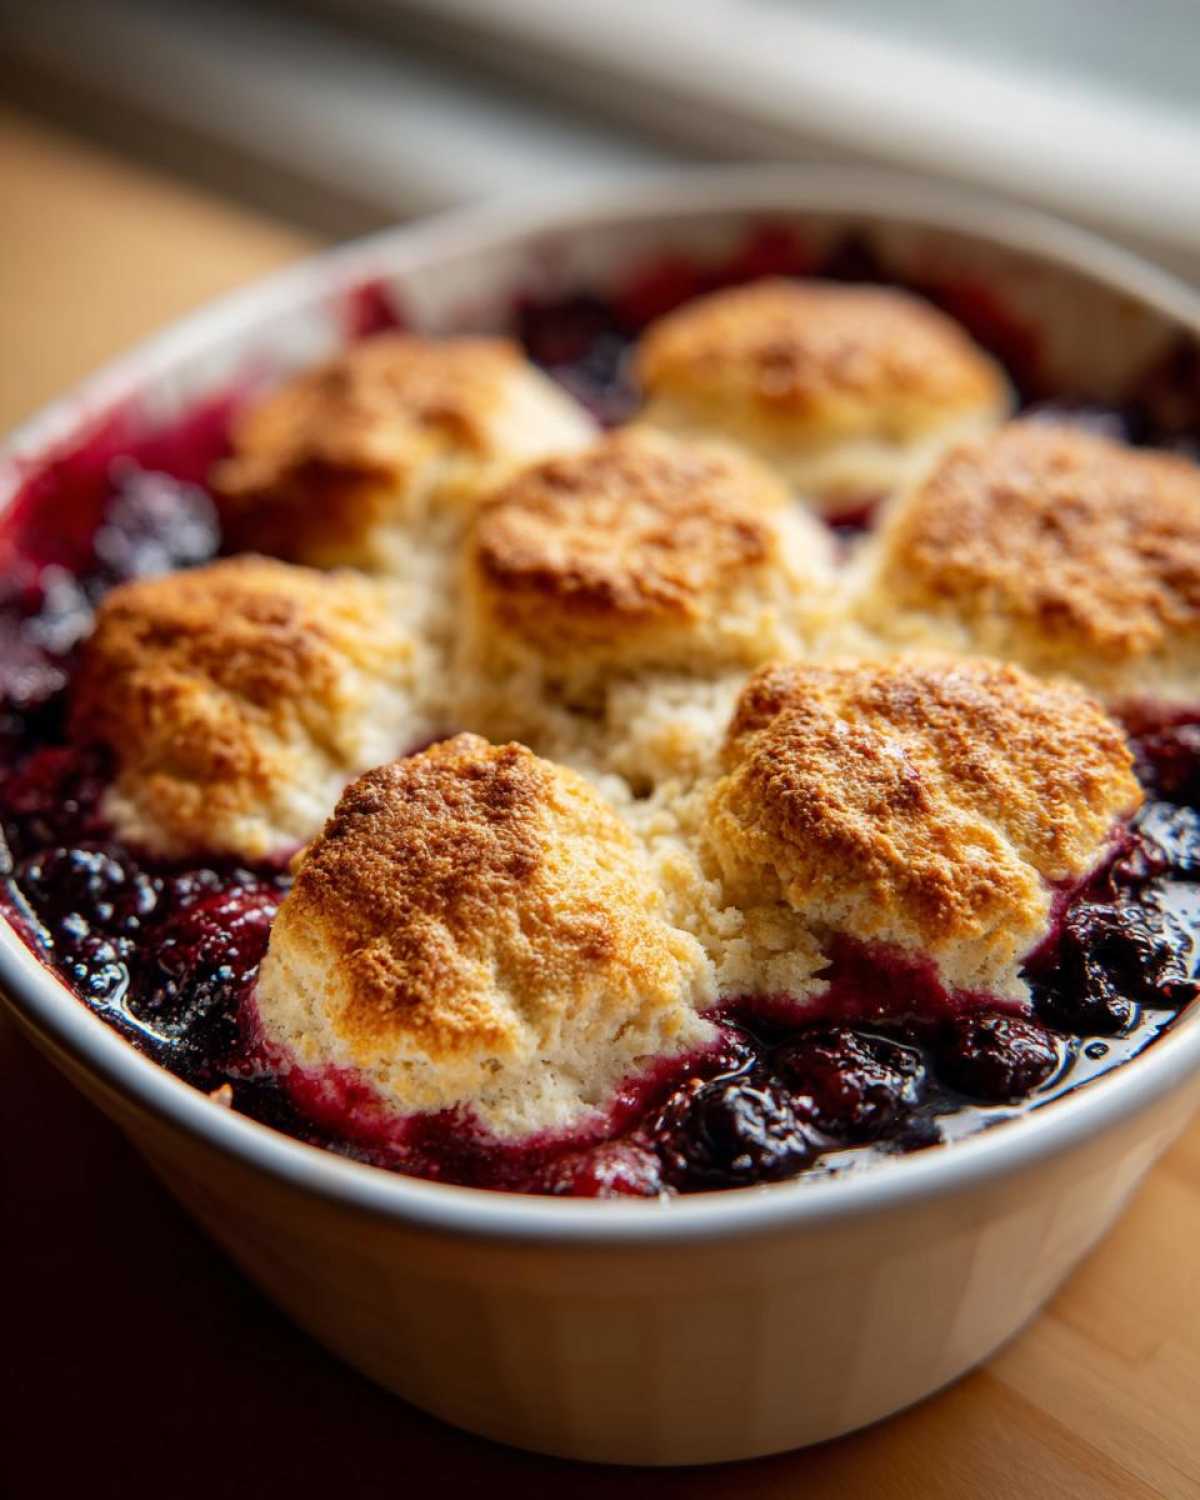
Now for the topping! In a separate bowl, whisk the dry stuff first—flour, sugar, baking powder, and salt. Then, you have to cut in that cold butter. Use your fingers or a pastry blender until you see crumbs, some the size of little peas. This next part is vital: add the milk and stir *just* until a shaggy dough forms. Seriously, stop mixing! If you overmix the biscuit dough, it gets tough, and we want these biscuits tender. Jacob loves to just drop spoonfuls of this dough haphazardly over the fruit. Don’t worry about covering every inch! Gaps are intentional in a true **berry cobbler** because we want that bubbly fruit filling peeking through, giving you the best look for a rustic, homemade cobbler recipe.
Baking and Cooling Your Warm Berry Dessert
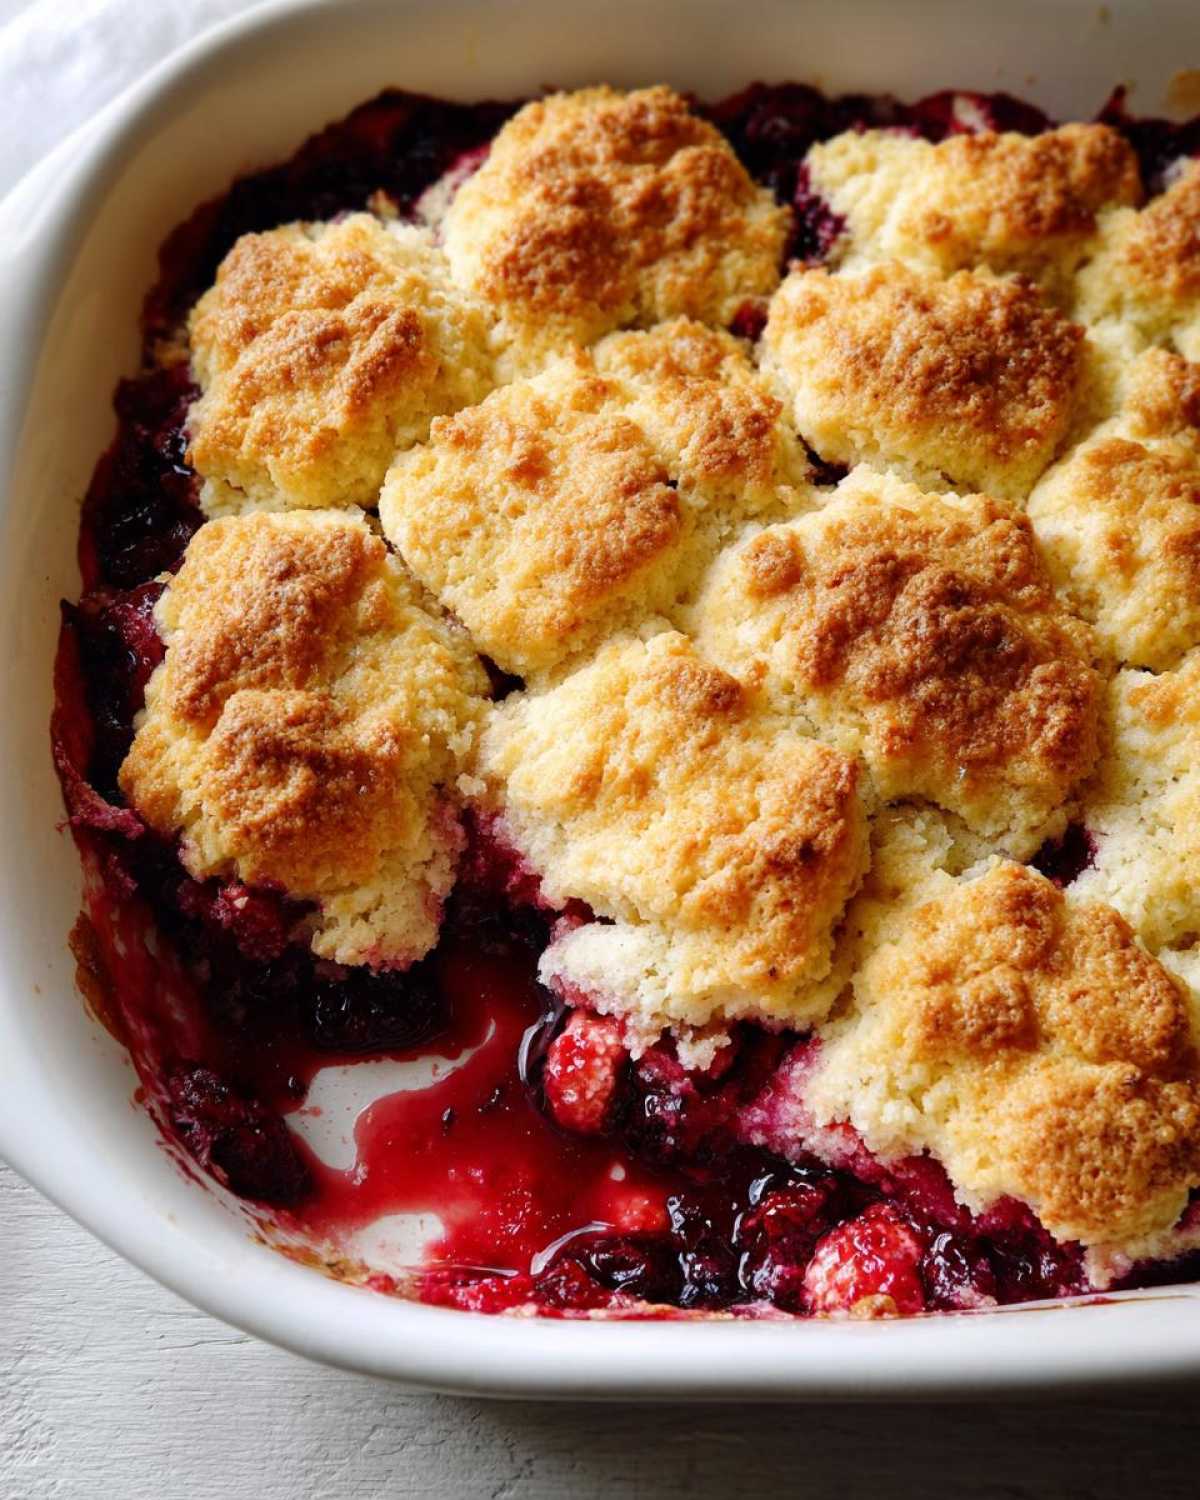
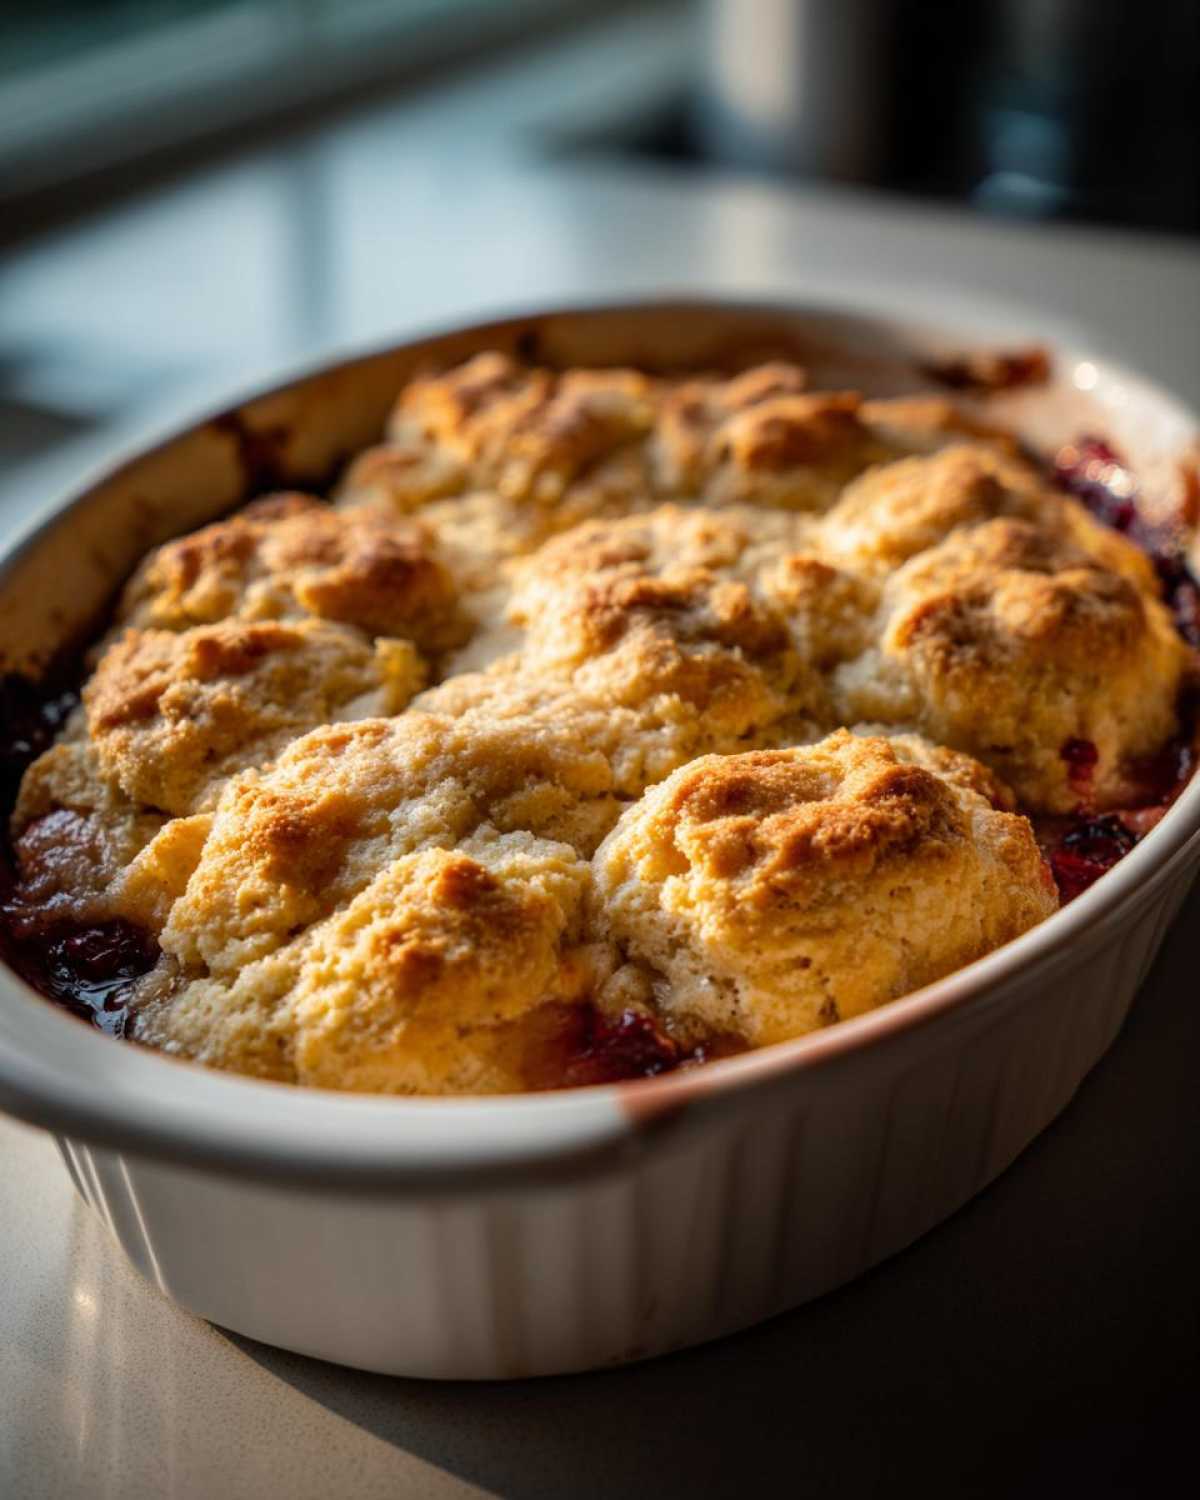
We finish the topping by brushing the tops lightly with the beaten egg and scattering on that coarse sugar for crunch. Bake it all for about 35 to 45 minutes. You’re looking for two signs of perfection: the topping needs to be golden brown and firm to the touch, and the berry filling underneath must be actively bubbling around the edges. Once you pull it out, you absolutely have to let it rest for 15 minutes on a wire rack. This resting time lets the juices settle a bit, so you don’t burn your mouth or have the filling run everywhere! We’ve got a great recipe for buttermilk cornbread if you need another warm baking project!
Tips for Success Making a Berry Cobbler
Even though this is one of our easiest **Simple Baking Recipes**, there are a few little secrets Jacob and I follow to guarantee it’s spectacular every time. Remember, this recipe is designed to be forgiving, which helps when you’re looking for those quick fruit dessert ideas!
First, let’s talk fruit again—if you are using frozen berries, don’t even think about thawing them first. Just toss them straight from the freezer into the bowl! The cornstarch handles the extra moisture perfectly. This is one of the best **Frozen Berry Cobbler Ideas** out there because it cuts down on prep time significantly.
Jacob always reminds me that if you are using very tart berries, like wild blackberries, you should taste your filling mixture before you top it. You might need an extra tablespoon or two of sugar to balance things out. Taste as you go—that’s the key to any great recipe!
And finally, for a truly tender topping, be gentle with that biscuit dough. If you overwork it, Amelia’s perfect planning results in a tough topping, which we absolutely don’t want on our warm treat. If you want to see how we encourage lift in our biscuits here at the portfolio, check out our guide on getting the secret for tall, fluffy scones!
Serving Suggestions for Your Mixed Berry Cobbler
There is simply no way any **berry cobbler** is complete without a topping, right? We love this warm berry dessert piping hot from the oven, but Jacob insists it’s only truly perfect when paired with a huge scoop of vanilla ice cream. That cold, creamy melt mixing with the hot, sweet berries? Perfection! It’s the ultimate **Dessert Topped With Ice Cream** experience.
If you’re making this after dinner and don’t feel like fetching ice cream, a big dollop of fresh whipped cream or even a drizzle of thick vanilla icing works wonderfully. Honestly, this rustic dessert is even lovely the next morning alongside a fresh cup of coffee—it feels a bit like cheating, but I won’t tell! Speaking of morning treats, if you need another amazing recipe to get your day started, you have to check out our fluffy, old-fashioned pancakes recipe!
Storage and Reheating Instructions for Leftover Berry Cobbler
If you manage to have any leftovers of this irresistible **berry cobbler**, fear not! I always count a win if we save enough for breakfast the next day. Since this recipe has a tender biscuit topping rather than a crunchy crumble, it needs a little care to keep it tasting its best.
First off, flavor wise, it’s best served the day it’s made. If you have leftovers, the topping will start to absorb moisture from the fruit filling. You can leave it out on the counter at room temperature, covered loosely with foil or plastic wrap, for about a day. Just make sure your kitchen isn’t super hot! After that, you absolutely need to move it into the fridge, where it will stay safe for about three to four days.
Now, reheating is key if you want that amazing “warm berry dessert” feeling back! Jacob hates the microwave for baked goods because the topping gets rubbery, but I admit, it’s fast. If you’re in a rush, microwave a slice until it’s just warm—maybe 20 to 30 seconds depending on your microwave power. Be cautious, though!
For the absolute *best* result, reheat slices in a lower oven. Pop your slice onto a baking sheet—or even better, a tiny oven-safe dish—and heat it at about 325°F (160°C) for about 10 minutes. That little bit of dry heat brings back the tenderness to the biscuit topping, making it taste almost freshly baked again. It’s so worth the extra five minutes! Speaking of great leftovers, if you want a real treat the next day, you should check out my recipe for creamy, no-fail maple fudge—it keeps forever!
Common Questions About Making a Berry Cobbler
I know you planners have questions! That’s totally fair; we wouldn’t add something to our Taste Portfolio unless we were confident in the details, right? Jacob and I get asked about substitutions and variations all the time. Since this is our favorite **Comfort Food Dessert**, we want your experience to be perfect, even if you’re looking for a simple baking recipe.
What is the difference between a berry cobbler and a berry crisp?
This is a big one, and Jacob always jumps in to explain this! The difference is all in the topping. A **berry cobbler** has a biscuit topping—it’s thick, soft, and slightly cakey, dropped in dollops over the fruit. Think of it like a Southern Style Cobbler. A crisp or a crumble, on the other hand, usually has a streusel topping, often made with oats, flour, butter, and sugar rubbed together until crumbly. We like the structure of the biscuit better, but if you’re curious about the other style, you can check out the ultimate berry crumble link to see a comparison!
Can I use just blackberries or raspberries in this berry cobbler recipe?
Absolutely, yes! This is why we call it our **Mixed Berry Cobbler** recipe—it’s flexible. If you only have a huge haul of blackberries or raspberries, go for it! The only thing you need to watch for is the tartness, especially with blackberries. If your fruit tastes super sharp—maybe you’re making a **Blackberry Raspberry Cobbler**—I’d bump up that initial fruit sugar by one extra tablespoon just to make sure we balance the flavor before baking. It’s an easy adjustment for a fantastic treat!
If you have other questions about any of our recipes, feel free to head over to our main blog page and drop a comment!
Nutritional Estimates for This Easy Berry Cobbler Recipe
As a planner, I feel like I need to give you all the details, even the numbers! Jacob finds this stuff tedious, but it’s important to know what you’re diving into when you make one of our favorite **Comfort Food Desserts**. Remember, every baking project is a little different—the exact berries you use, how much sugar sticks to the sides of the bowl, you know how it goes.
So, please take these figures below as a solid estimate based on the recipe JSON we used. This should give you a good baseline for what one serving of this **Easy Berry Cobbler Recipe** looks like. I always say planning means knowing the ingredients, and these details are part of the project plan!
If you ended up making a slightly different version—maybe you cut back on the butter in the topping—the numbers will shift! For more detailed recipes that we’ve planned out, you can peek at our smoked salmon dip recipe.
- Serving Size: 1 serving
- Calories: 380
- Sugar: 35g
- Sodium: 250mg
- Fat: 15g
- Saturated Fat: 9g
- Unsaturated Fat: 6g
- Trans Fat: 0g
- Carbohydrates: 60g
- Fiber: 4g
- Protein: 5g
- Cholesterol: 45mg
It’s a decadent treat, but totally worth it when you’re enjoying that **Warm Berry Dessert** fresh from the oven!
Share Your Perfect Berry Cobbler Creation
So, that’s it! We’ve done the planning, Jacob has brought the artistic magic, and now you have our favorite, super easy **berry cobbler recipe** sitting warm in your kitchen. The best part of this whole project is seeing what you all create!
We truly hope you loved that tender, biscuit-like topping and the bubbly, jammy fruit underneath. Seriously, go grab that vanilla ice cream—you earned it! This **homemade cobbler recipe** is one we are incredibly proud to add to our Taste Portfolio.
Now it’s your turn to contribute to our collection. Did you use all blackberries? Maybe you tried swapping the milk for buttermilk? We want to know every little detail! Please leave a rating for us—five stars if it made your house smell like summer! Drop your experiences, your best tips for cutting off the first slice, or your favorite way to enjoy your **Warm Berry Dessert** down in the comments below.
If you ever have a question about the blueprint or want to send Amelia a note about your planning process, feel free to reach out anytime via our contact page. Happy baking, and we can’t wait to see what delicious projects you tackle next!
PrintThe Easiest Mixed Berry Cobbler with Biscuit Topping (Uses Fresh or Frozen Berries)

Make this easy mixed berry cobbler using fresh or frozen berries for a warm, comforting dessert. The biscuit topping bakes up tender and golden, perfect for serving with vanilla ice cream.
- Prep Time: 15 min
- Cook Time: 40 min
- Total Time: 55 min
- Yield: 6 servings
- Category: Dessert
- Method: Baking
- Cuisine: American
- Diet: Vegetarian
Ingredients
- 6 cups mixed berries (fresh or frozen)
- 3/4 cup granulated sugar
- 2 tablespoons cornstarch
- 1 tablespoon lemon juice
- 1 teaspoon vanilla extract
- 1 1/2 cups all-purpose flour
- 2 tablespoons granulated sugar
- 1 tablespoon baking powder
- 1/2 teaspoon salt
- 1/2 cup (1 stick) cold unsalted butter, cut into small pieces
- 1/2 cup milk
- 1 large egg, beaten (for brushing)
- 1 tablespoon coarse sugar (for sprinkling)
Instructions
- Preheat your oven to 375°F (190°C). Lightly grease a 9-inch pie dish or similar baking dish.
- Prepare the berry filling: In a large bowl, gently combine the mixed berries, 3/4 cup sugar, cornstarch, lemon juice, and vanilla extract. Pour this mixture into your prepared baking dish.
- Prepare the biscuit topping: In a separate medium bowl, whisk together the flour, 2 tablespoons sugar, baking powder, and salt.
- Cut in the cold butter using a pastry blender or your fingertips until the mixture resembles coarse crumbs with some pea-sized pieces of butter remaining.
- Pour in the milk and stir just until a shaggy dough forms. Do not overmix.
- Drop spoonfuls of the biscuit dough evenly over the berry filling. You do not need to cover the entire surface; gaps are fine.
- Brush the tops of the biscuits lightly with the beaten egg and sprinkle with coarse sugar.
- Bake for 35 to 45 minutes, or until the topping is golden brown and the berry filling is bubbly.
- Let the cobbler cool on a wire rack for at least 15 minutes before serving warm with vanilla ice cream.
Notes
- If you use frozen berries, do not thaw them first; use them straight from the freezer.
- For a different flavor, substitute half the berries with sliced peaches or rhubarb.
- This recipe works well as a quick fruit dessert when you need a last minute dessert idea.
Nutrition
- Serving Size: 1 serving
- Calories: 380
- Sugar: 35
- Sodium: 250
- Fat: 15
- Saturated Fat: 9
- Unsaturated Fat: 6
- Trans Fat: 0
- Carbohydrates: 60
- Fiber: 4
- Protein: 5
- Cholesterol: 45