

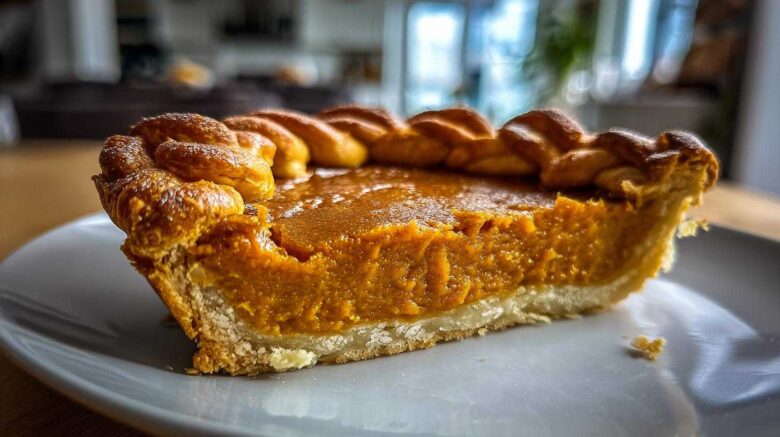
The holidays are almost here. It’s time for cozy nights. It’s time for family gatherings. It’s also time for pies. Lots of delicious pies. We all know pumpkin pie is a classic. But what if you want something extra special? What if you want to wow your guests? We love making our pies look as good as they taste. That’s why we’re so excited to share this technique. Learn how to create a beautiful braided edge for your pumpkin pie crust. It’s a simple trick. It adds so much elegance. This braided edge pumpkin pie crust is a showstopper. Amelia and I perfected this together. It’s a true Taste Portfolio project. Get ready to elevate your holiday baking.
Why You’ll Love This Braided Edge Pumpkin Pie Crust
- It’s surprisingly easy to make. You don’t need to be a pastry chef.
- It adds a beautiful, professional touch. Your pies will look stunning.
- This design elevates a classic dessert. It’s perfect for holiday gatherings.
- Impress your friends and family. They’ll think you spent hours on it.
- It’s a fun way to get creative in the kitchen. Baking becomes an art form.
Braided Edge Pumpkin Pie Crust: A Taste Portfolio Project
This recipe for a braided edge pumpkin pie crust is a perfect example of our collaboration. Amelia, the planner, found the idea. She loves making things look amazing. I’m the artist. I love bringing her ideas to life in the kitchen. We saw this decorative pie crust technique. We knew it would be a great addition. We tested different methods. We tweaked the strip widths. We practiced the folding. It took a few tries. But we got it just right. This braided edge pumpkin pie crust is now a family favorite. It’s a piece we’re proud to share.
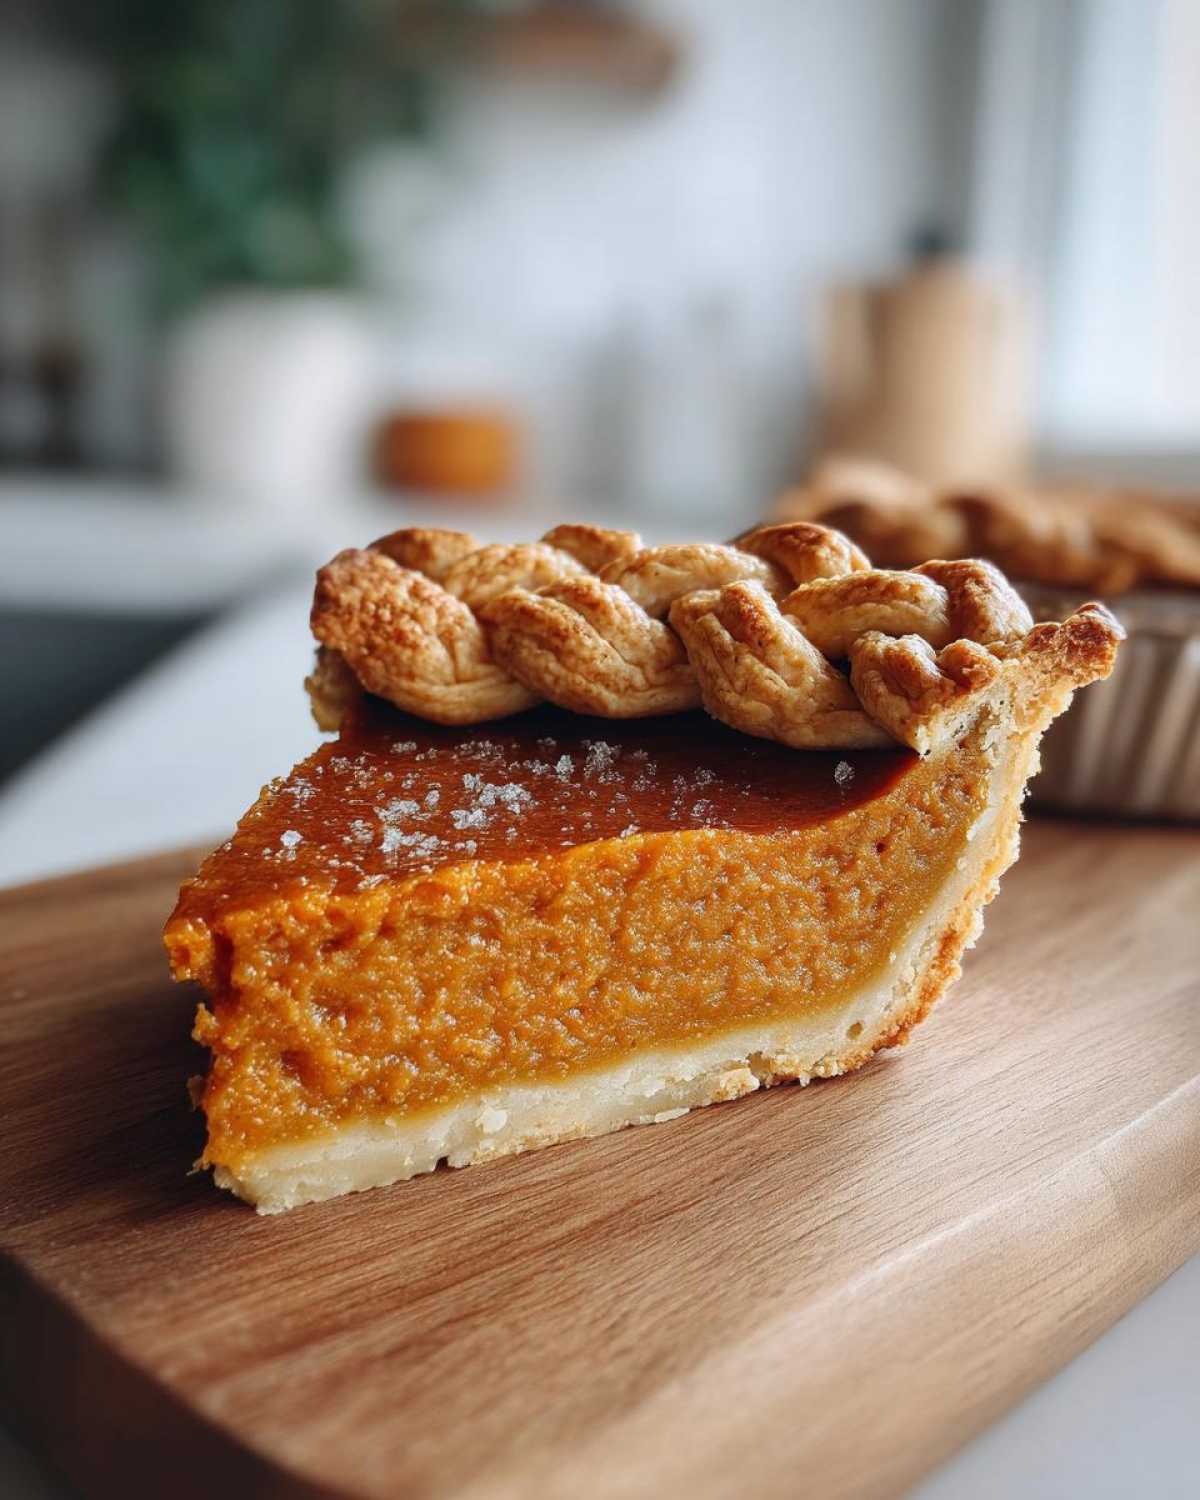
It truly represents our journey. We started with takeout. Now we create beautiful food together. This project shows our growth. It’s about shared passion. It’s about making memories.
Meet the Curators Behind Your Braided Edge Pumpkin Pie Crust
I’m Jacob, the lead artist in our kitchen duo. Amelia is the project manager. She researches and plans every detail. I bring her visions to life with my intuitive touch. When we discovered the braided edge pumpkin pie crust, Amelia loved the visual. I loved the challenge of executing it perfectly. Together, we refined the technique. We wanted it accessible for everyone. This recipe is a testament to our teamwork. It’s how we build our Taste Portfolio.
What You Need for Your Braided Edge Pumpkin Pie Crust
Getting ready to make your beautiful braided edge pumpkin pie crust is simple! You really only need one key thing. But having a couple of extra tools makes the job much easier. It helps everything look neat and tidy. This project is all about the crust. So, let’s gather what you need. We want your pie to be a masterpiece.
Essential Ingredients for the Perfect Braided Edge Pumpkin Pie Crust
- 1 recipe for pie crust dough (chilled)
Helpful Equipment for Your Braided Edge Pumpkin Pie Crust
- Sharp knife or pizza cutter
- Rolling pin
- Pie plate
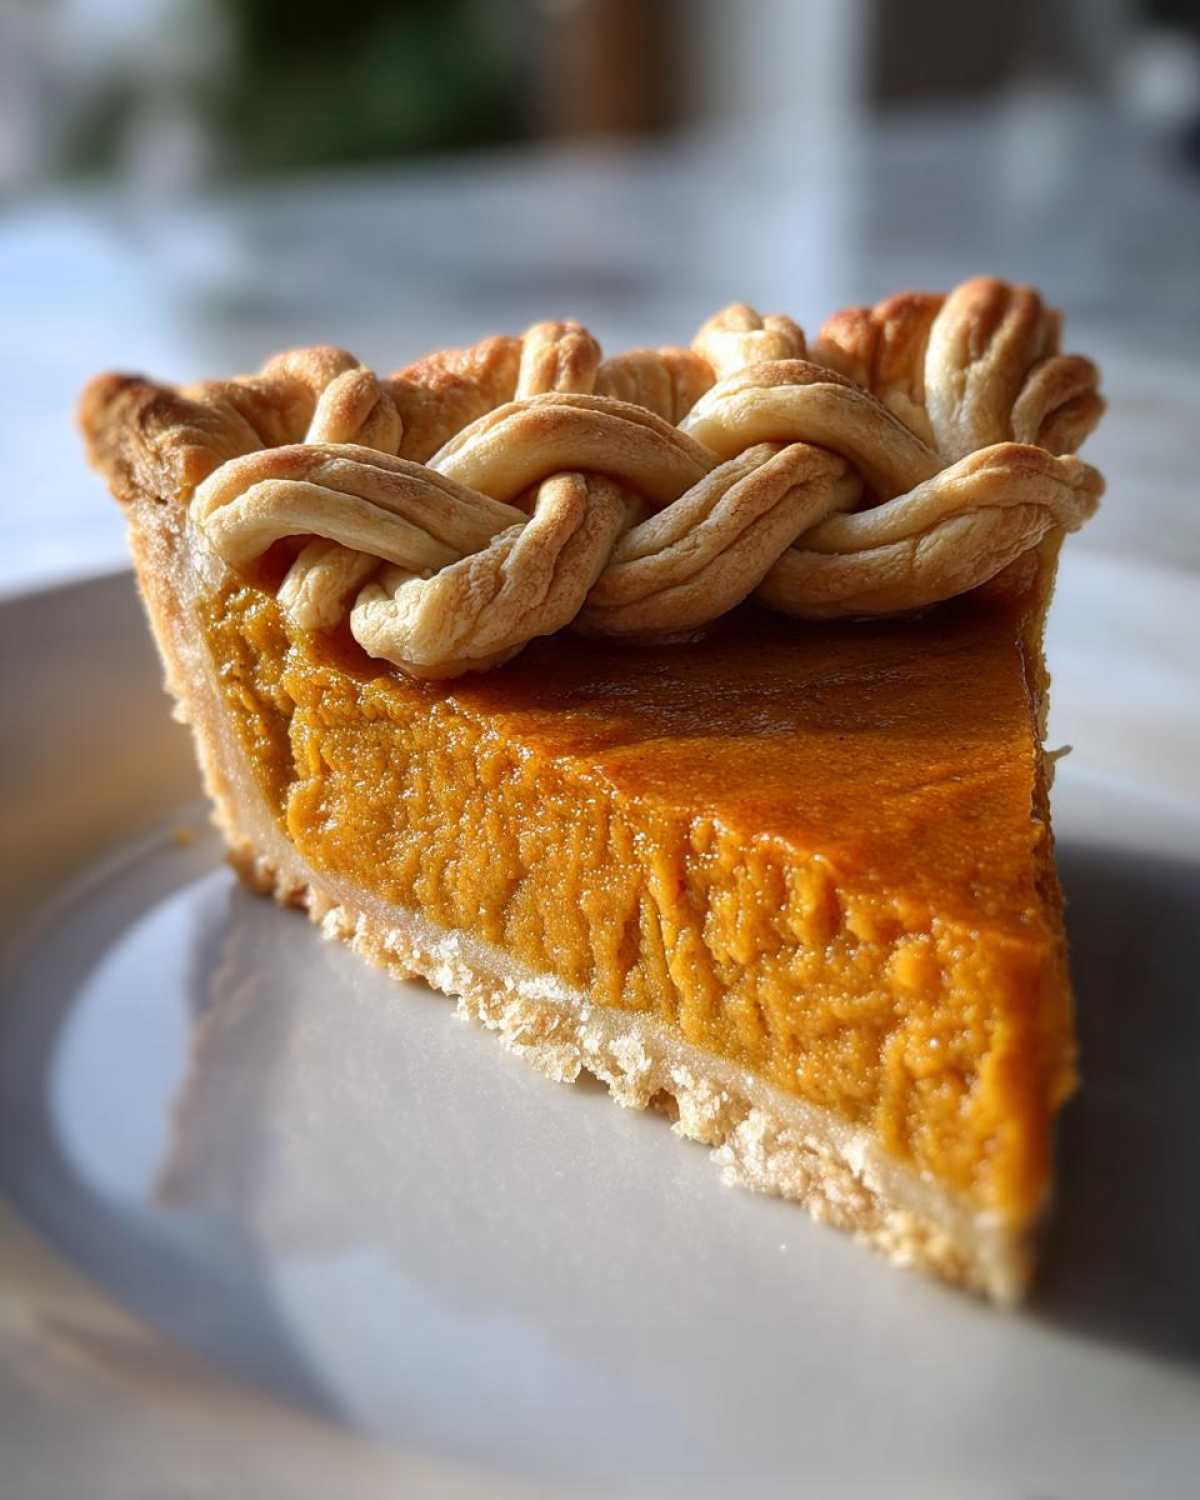
Step-by-Step Guide to Creating Your Braided Edge Pumpkin Pie Crust
Let’s get our hands a little doughy! Making a braided edge pumpkin pie crust is easier than you think. I love this part. It’s where Amelia’s plan really comes alive. Follow these steps. You’ll have a stunning pie crust in no time. Don’t worry if it’s not perfect. The charm is in the handmade look.
Preparing Your Pie Crust Dough
First, grab your chilled pie crust dough. Roll it out on a lightly floured surface. Aim for an even thickness. You want it large enough for your pie plate. Gently place the dough into your pie plate. Press it lightly into the bottom and up the sides. Trim any excess dough. Leave about a 1-inch overhang. Now, fold this overhang under itself. This creates a thicker edge. It gives us something substantial to work with for our braid. Make sure it’s even all around. This forms the base of our beautiful braided edge pumpkin pie crust.
Cutting and Folding for Your Braided Edge Pumpkin Pie Crust
Now for the fun part! Take a sharp knife or a pizza cutter. Cut even strips along the folded edge. About half an inch wide is perfect. You’ll cut all the way around the pie. Don’t cut all the way to the pie filling. Stop at the edge of the pie plate. Now, take one strip. Fold it back towards the center of the pie. Then, take the next strip. Fold it back in the opposite direction. It should overlap the first strip. Continue this pattern. Fold alternate strips back and forth. This creates that lovely braided effect. Gently press each braid down. This helps secure them. You’re building your own edible art piece.
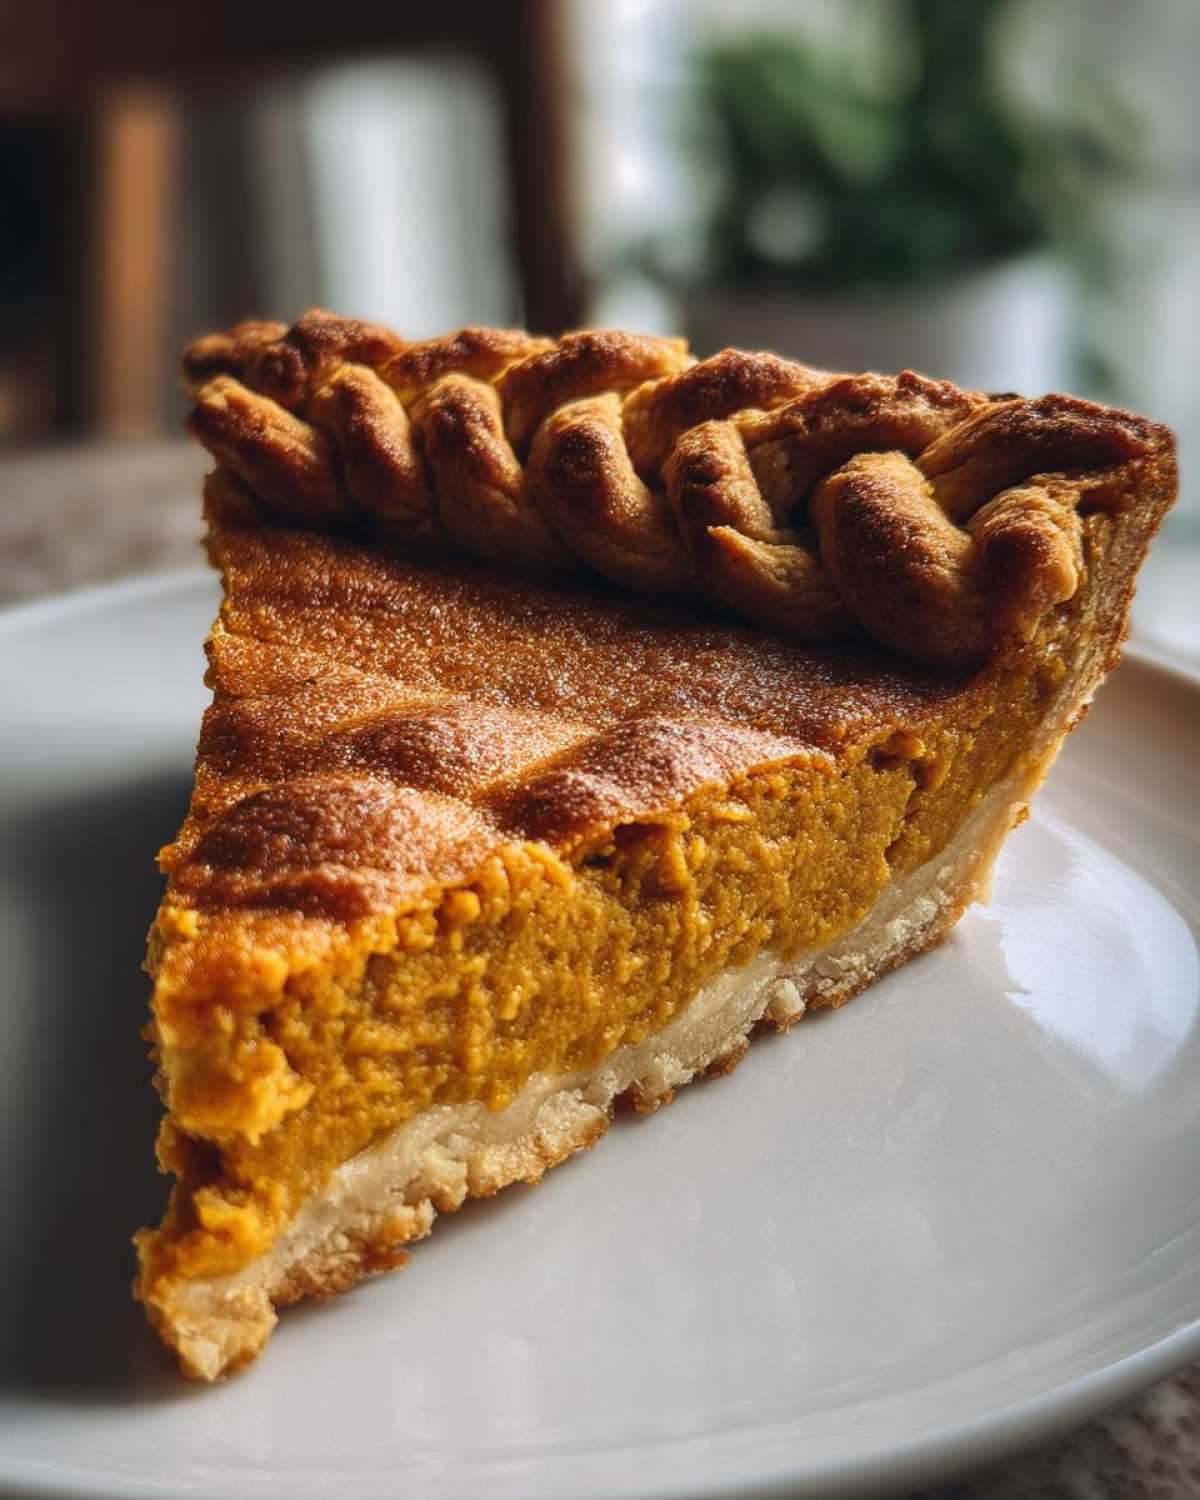
Finishing Touches for Your Braided Edge Pumpkin Pie Crust
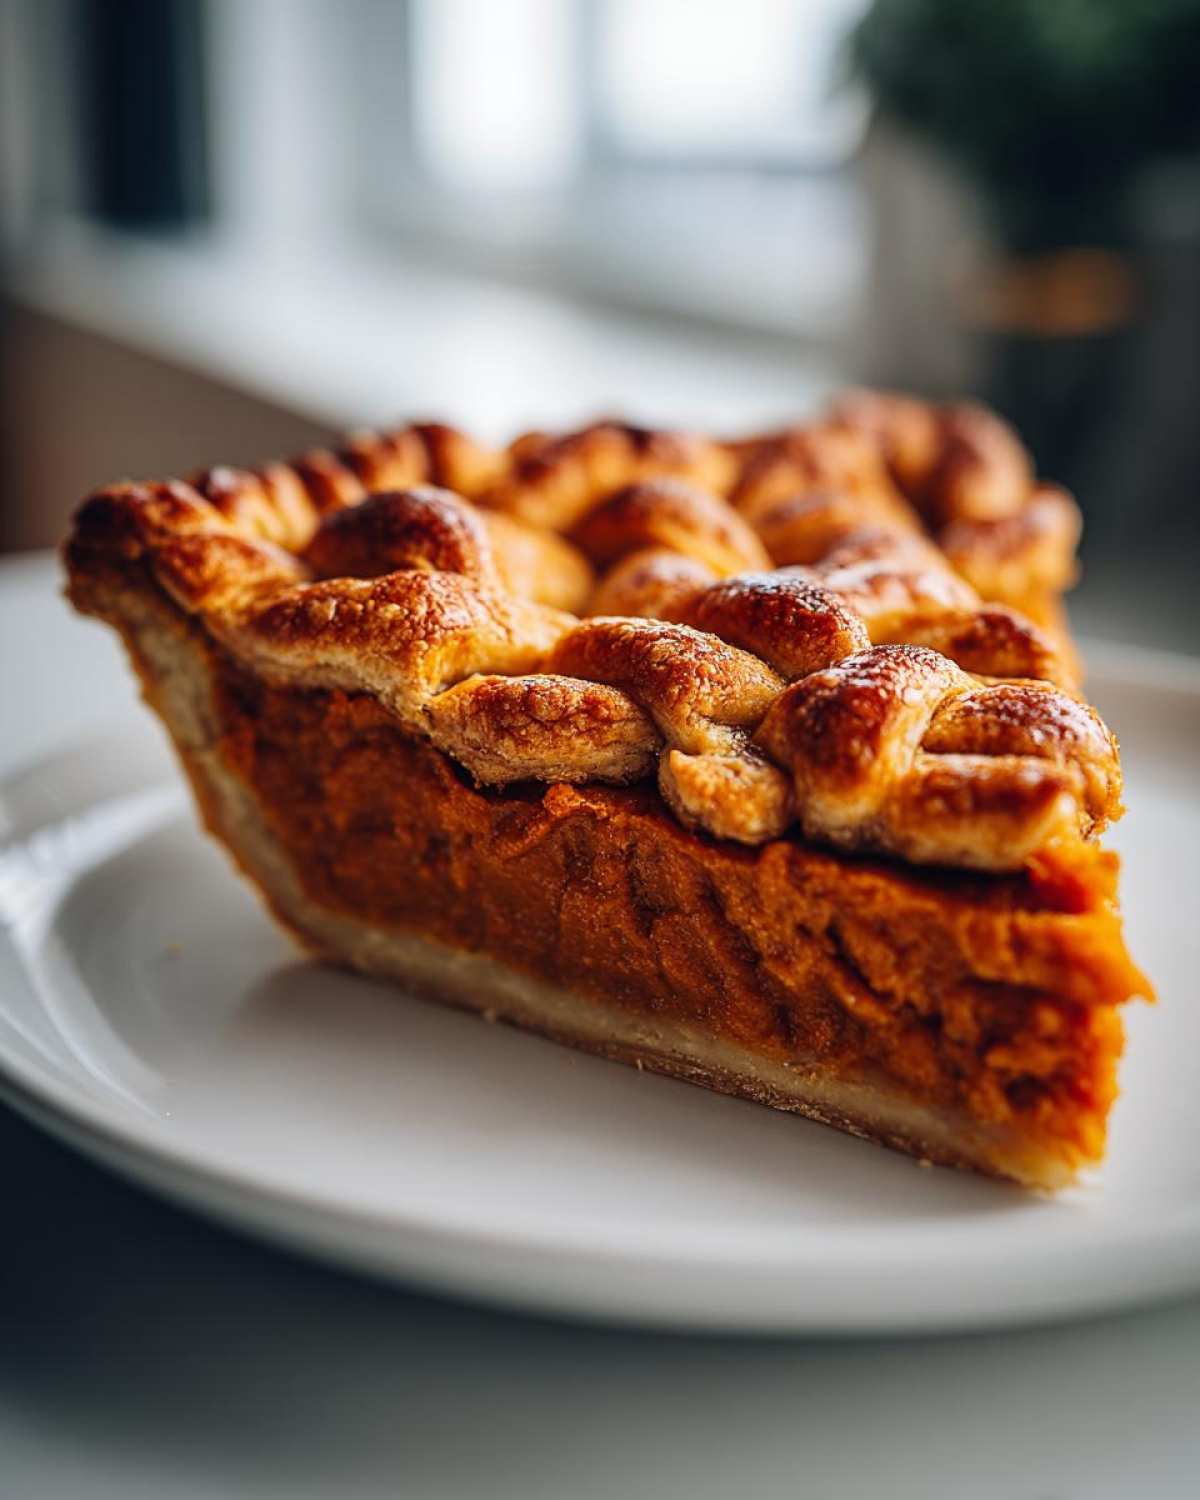
You’re almost there! Now that your braided edge pumpkin pie crust is formed, you can add more detail. If you like, crimp the edges. Use your fingers or a fork. This adds another layer of decoration. It also helps seal the braids. Make sure everything feels secure. Now your pie is ready for filling. Pour in your favorite pumpkin pie filling. Follow your recipe for baking. The braided edge pumpkin pie crust will bake up golden and beautiful. It’s a simple technique, but it makes a huge difference.
Tips for a Flawless Braided Edge Pumpkin Pie Crust
Making a beautiful braided edge pumpkin pie crust doesn’t have to be tricky. A few simple tips can make all the difference. We’ve learned these lessons ourselves. They help ensure your pie crust looks amazing. It’s all about patience and a little technique. Follow these pointers for success.
Dough Handling for Your Braided Edge Pumpkin Pie Crust
The secret to easy pie crust handling is keeping it cold. Chilled dough is much less sticky. It also holds its shape better. If your dough feels too soft while working, pop it back in the fridge for 15 minutes. This prevents tearing. It makes cutting and braiding much smoother. Cold dough is your best friend for this braided edge pumpkin pie crust.
Cutting and Precision for Your Braided Edge Pumpkin Pie Crust
A sharp tool is key for clean cuts. Use a sharp knife or a pizza cutter. This prevents dragging the dough. It gives you neat strips for your braid. If you’re new to this, don’t worry! Practice cutting and folding on a small piece of scrap dough first. This helps you get a feel for it. You’ll see how the strips behave. Soon, you’ll be a pro at this braided edge pumpkin pie crust.
Frequently Asked Questions About Braided Edge Pumpkin Pie Crust
Got questions about crafting your perfect pumpkin pie crust? We’ve got answers! Making a decorative pie crust can seem daunting, but it’s quite manageable with a few tips.
Can I use store-bought pie crust dough?
Absolutely! While we love making our dough from scratch, a good quality store-bought dough works great. Just be sure it’s well-chilled before you start. It’s still a fantastic way to create a beautiful braided edge pumpkin pie crust.
My dough is too sticky. What should I do?
This is common, especially on warmer days! The key is keeping everything cold. If your dough becomes soft or sticky while cutting or braiding, place the pie plate back into the refrigerator for about 10-15 minutes. This firms it up, making it much easier to handle for your pie edge design.
What if my strips aren’t perfectly even?
Don’t stress! A perfectly uniform look isn’t necessary for a charming braided edge pumpkin pie crust. The slight variations add to its homemade appeal. The most important thing is that the strips are consistent enough to fold over each other nicely.
Can I make the braided edge ahead of time?
It’s best to create the braided edge just before you plan to bake the pie. Dough can dry out if left uncovered for too long. However, you can prepare and chill the fully formed pie (with filling) for a few hours before baking if needed.
Storage and Reheating Your Braided Edge Pumpkin Pie Crust
Leftover pumpkin pie with its beautiful braided edge pumpkin pie crust is a treat! Store any remaining pie loosely covered. Plastic wrap or foil works well. Keep it in the refrigerator for up to 3-4 days. This helps maintain the crust’s texture.
To reheat, a gentle approach is best. You can warm individual slices in the oven. Set your oven to 350°F (175°C). Place a slice on a baking sheet. Warm it for about 10-15 minutes. This crisps the crust again. Avoid the microwave. It can make the crust soggy. Enjoy your pie again!
Nutritional Information
When it comes to enjoying a slice of pie, we know you’re curious about the details. Please keep in mind that the nutritional values for our braided edge pumpkin pie crust are estimates. They can really change depending on the specific ingredients you use. Things like the type of flour or fat can affect the final numbers. We always recommend using fresh ingredients for the best taste and results. For precise information, it’s best to use a nutrition calculator with your exact ingredients.
PrintBraided Edge Pumpkin Pie Crust: Sweet, Stunning Finish

Learn how to create a beautiful braided edge for your pumpkin pie crust, adding a decorative touch to your holiday baking.
- Prep Time: 20 minutes
- Cook Time: 40-50 minutes
- Total Time: 1 hour - 1 hour 10 minutes
- Yield: 1 pie crust
- Category: Baking
- Method: Baking
- Cuisine: American
- Diet: Vegetarian
Ingredients
- 1 recipe for pie crust dough
Instructions
- Prepare your favorite pie crust dough and roll it out.
- Line your pie plate with the rolled-out dough. Trim the excess dough, leaving about a 1-inch overhang.
- Fold the overhang under to create a thicker edge.
- Cut the dough edge into even strips, about 1/2 inch wide, all the way around.
- Take one strip and fold it back towards the center of the pie.
- Take the next strip and fold it back in the opposite direction, overlapping the first strip.
- Continue this process, folding alternate strips back and forth, to create a braided pattern.
- Gently press the braids to secure them.
- Crimp the edges if desired for extra decoration.
- Fill with pumpkin pie filling and bake according to your pie recipe instructions.
Notes
- Ensure your dough is well-chilled for easier handling.
- Practice on a small piece of dough first if you are new to this technique.
- A sharp knife or pizza cutter works best for cutting the strips.
Nutrition
- Serving Size: 1 slice of pie