

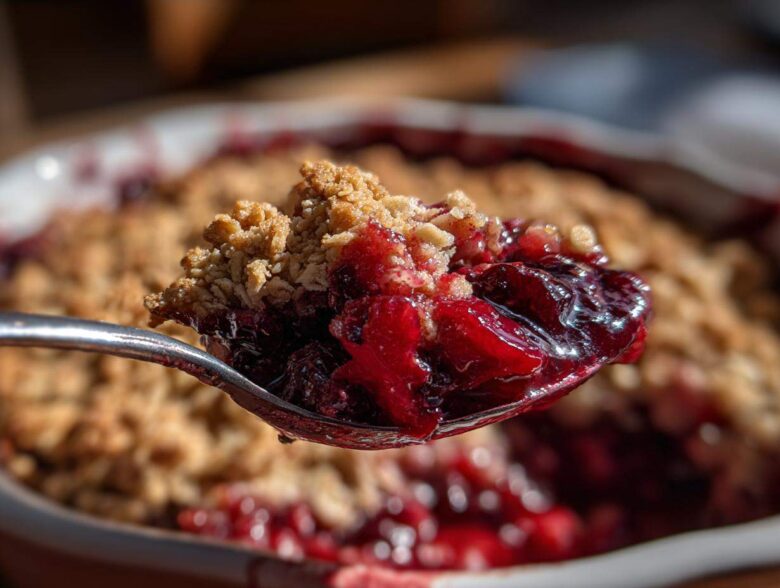
Oh, you know those moments when you get your hands on perfect, tart cherries? It’s pure magic! I live for that beautiful tension between the sharp fruit and the buttery, sweet crumble topping. Forget fussy pie crusts; this easy **sour cherry crisp** is the answer to my dessert prayers every single summer. It’s rustic, it comes together fast, and it smells unbelievable baking away on the counter.
It’s honestly my go-to rustic baked fruit dessert because it requires zero precision when it comes to the topping. We’re just aiming for delicious chaos up there! If you need a showstopper that takes less than 15 minutes of actual work, you’ve found it. Trust me on this one; it’s the best.
Why This is the Best Sour Cherry Crisp Recipe
Honestly, this recipe is a lifesaver when you need dessert fast but want something that tastes like you slaved away for hours. It’s the perfect combination of ease and flavor.
- It requires fewer than ten core ingredients. What a win!
- The topping stays buttery and crisp even when served warm.
- It’s totally adaptable to whatever cherries you manage to find. You can see more baking tips over at our favorites here.
Quick Prep Time for Your Sour Cherry Crisp
You absolutely will not believe how fast this comes together. We are talking 15 minutes, tops, to get the filling mixed and the topping sprinkled on your **sour cherry crisp**. So efficient!
Perfectly Balanced Tart and Sweet Filling
Sour cherries are wonderful, but they can really pucker you up if you aren’t careful! I love that this recipe uses just enough sugar to tame the tartness, but you taste the cherry first. It lets you adjust that sugar based on how tart your haul was.
Gathering Ingredients for Your Sour Cherry Crisp
Okay, let’s talk ingredients. You don’t need anything fancy here, which is why I consider this the ultimate weeknight dessert! Everything is divided into two groups: just a few simple things to wake up those cherries, and then the elements for that amazing oatmeal topping.
For the fruit base, grab your 6 cups of sour cherries—and yes, you can use frozen, don’t even sweat it! We need granulated sugar, cornstarch to thicken up all that lovely juice, and just a tiny splash of lemon juice to punch up the sour notes. I always encourage you to check out how we handle similar fruit mixes in my berry cobbler post.
For the topping, it’s flour, rolled oats (make sure they are rolled, not instant!), dark brown sugar for depth, cinnamon, salt, and the star—that cold butter! Make sure that butter is cut into little cubes, ready to be worked into the dry mix.
Ingredient Notes and Substitutions for Sour Cherry Crisp
If you’re using frozen cherries for your **sour cherry crisp**, I always tell people: put them straight from the freezer into the bowl! Don’t worry about thawing; the oven handles it beautifully, though you might add an extra five minutes to the bake time. If you need a **gluten free cherry crisp option**, just swap the regular flour for your favorite 1-to-1 gluten-free blend. Easy peasy!
How to Prepare the Crisp Topping for Tart Cherries
This is where we build the architecture of the crunch! If you want that perfect, buttery crumble texture, you cannot rush this step. We are aiming for something that shatters deliciously when you take a bite. This **crisp topping for tart cherries** is what separates the good crisps from the great ones.
You’ll mix your dry components—flour, oats, brown sugar, cinnamon, and salt—in a nice bowl. Then comes the cold butter. I cannot stress this enough: your butter must be cold, almost hard, and cut into small cubes. If it’s soft, you’ll end up with a paste, not crumbs!
You have to work the butter into the dry mix quickly. I prefer using my fingertips because they warm up slower than a pastry blender, but either works! Keep rubbing, pinching, and squeezing until you stop seeing butter chunks and start seeing coarse crumbs. If you’re looking for other ways to work cold fats, my friend’s recipe for chewy oatmeal cookies has great tips on this technique.
Achieving the Perfect Oatmeal Crisp Topping Recipe
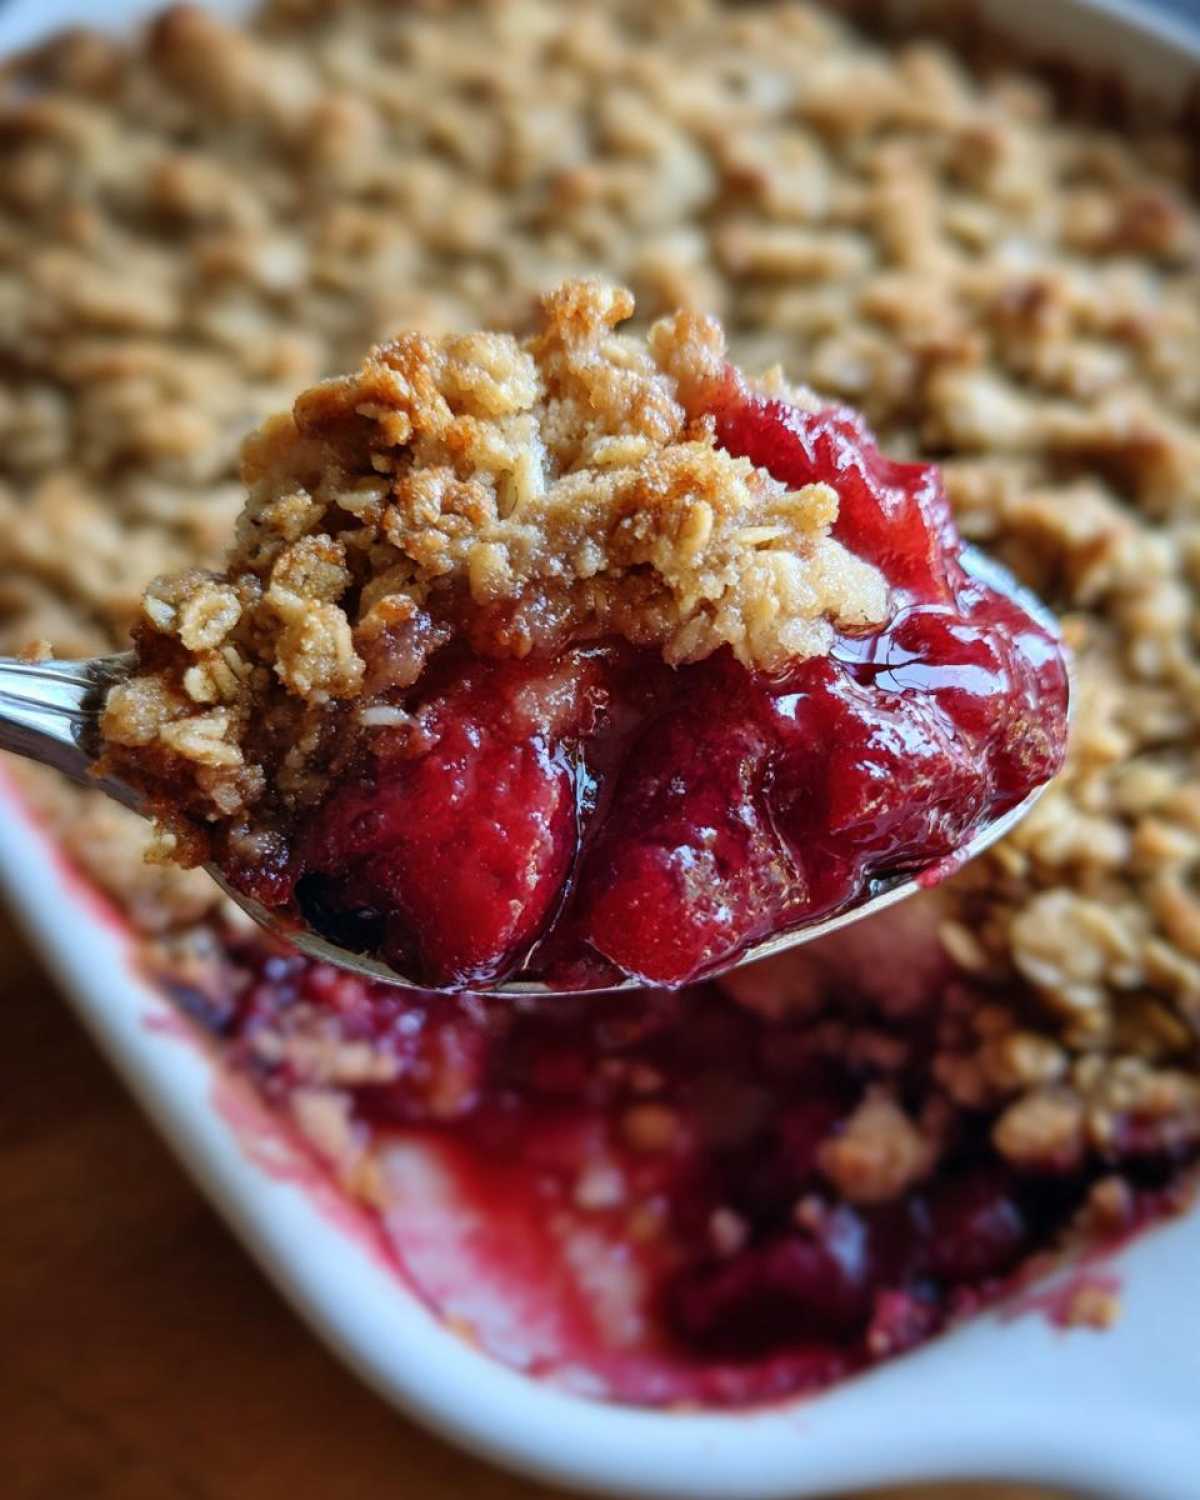
When you think you’re done, press the mixture between two fingers. If it clumps together slightly, you’ve hit the sweet spot! We want those varying textures—some fine dust mixed with pea-sized butter pockets. Those little pockets melt into pure, golden richness while baking, giving you that wonderful separation between the dry oats and the buttery goodness. That contrast is everything!
Step-by-Step Instructions for Your Sour Cherry Crisp
Alright, time to bring this beautiful thing together! It’s so intuitive, I promise you won’t even need to stop and read the steps twice. First things first: get that oven preheated to 375 degrees Fahrenheit, and make sure you’ve lightly greased that 8×8 dish. I always use a bit of butter on a paper towel to rub around the edges.
Next, let’s focus on the filling. Dump those 6 cups of gorgeous sour cherries—whether they are frozen or fresh—into a bowl. Sprinkle over your granulated sugar, cornstarch (this is the secret to not having soup at the bottom!), and that tiny bit of lemon juice. Gently fold it all together; we don’t want to smash the fruit, just coat it nicely. Pour that brilliant red mix into your prepared dish.
Now, take that crumbly topping we just perfected and sprinkle it generously and evenly over those cherries. Don’t pack it down! We want air pockets in there for maximum crispness. If you want to see how I manage similar streusel toppings for my coffee cakes, check out my sour cream coffee cake recipe!
Baking Time and Temperature for the Sour Cherry Crisp
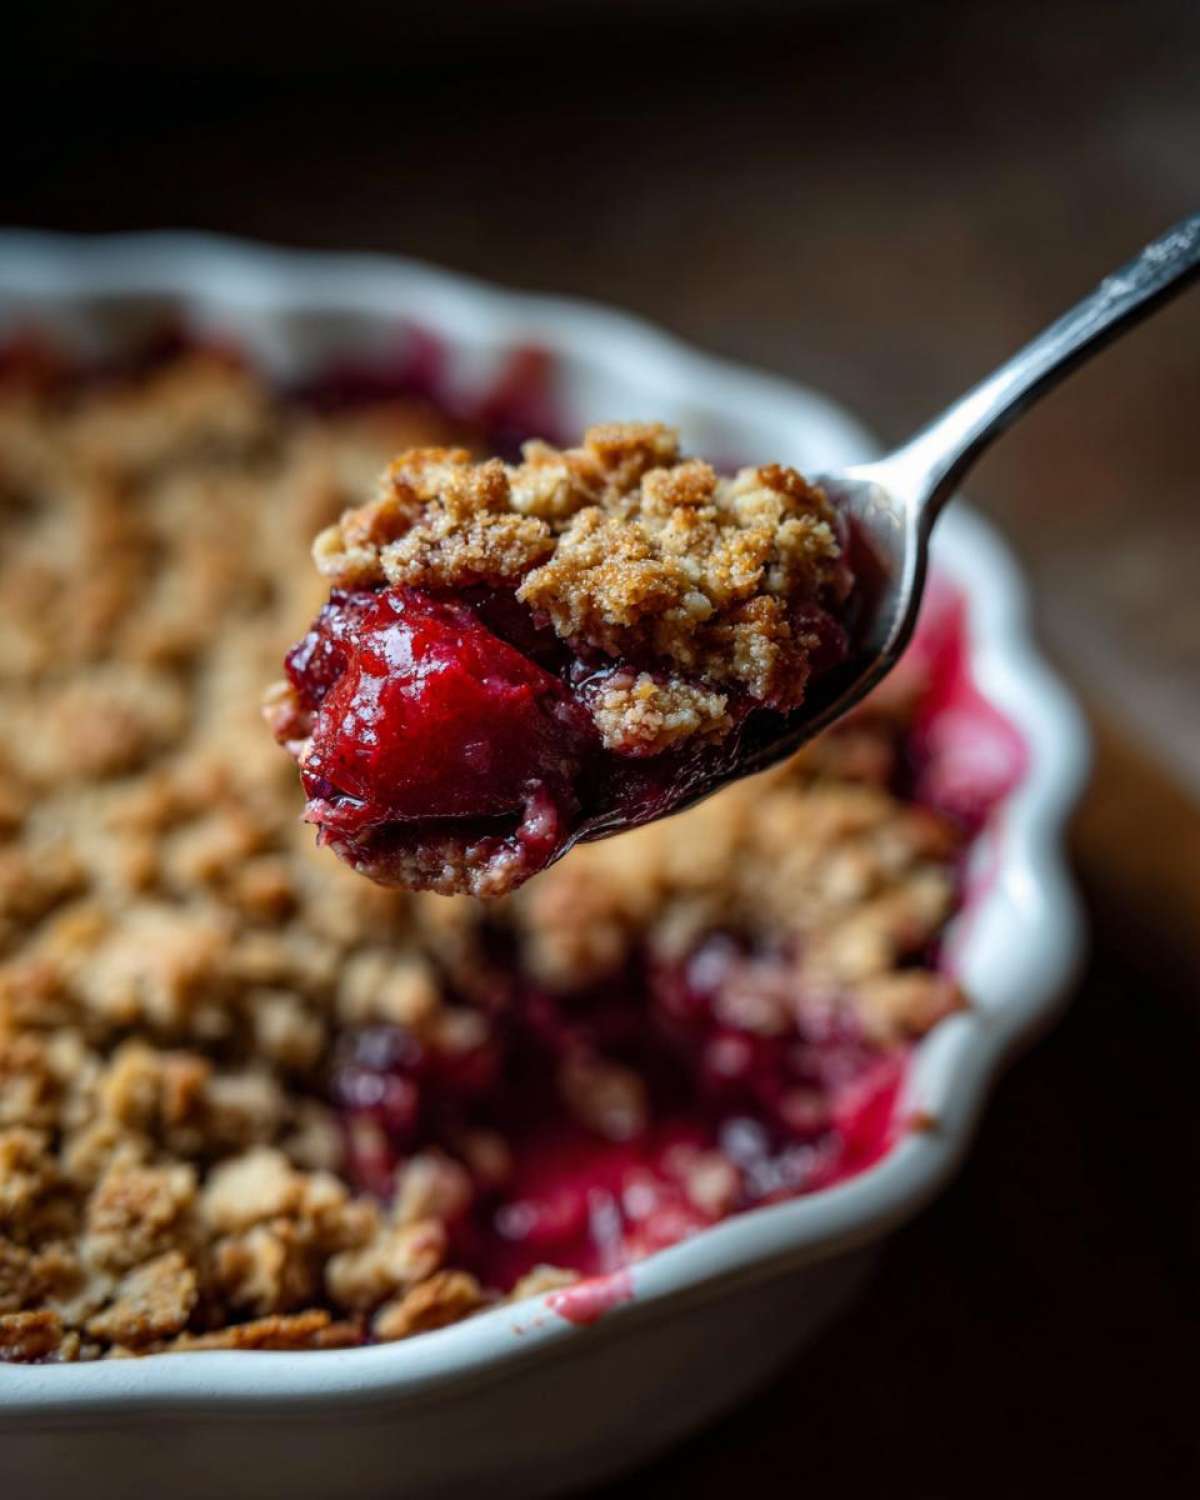
Your **sour cherry crisp** needs to bake at 375°F for about 40 to 45 minutes. You’ll know it’s honestly done when the topping is golden brown and you can see the filling bubbling excitedly all around the edges. Don’t pull it out early!
When it comes out, this is the hardest part: you must let it rest! Give it at least 15 minutes to calm down before you even think about serving it. This lets the juices settle so you get fruit with the crisp, not a runny mess.
Tips for Success When Making a Sour Cherry Crisp
Most of the time, this crisp just works its magic without any intervention, but sometimes things happen! If you get to the 35-minute mark and your filling still looks a little shy and isn’t bubbling, just slide a piece of foil underneath the dish. Don’t cover the top, though! We still need that beautiful golden color.
Now, if the gorgeous oatmeal topping is browning way too fast—super common if your butter was extra cold—just make a loose tent of aluminum foil over the top. That protects the oats while letting the heat focus on getting the fruit base cooked through. If you are looking for other ways to handle different fruit bases, I have some great tips on handling slightly wetter fruits in my berry cobbler post. Patience is key here—don’t rush that resting time!
Serving Suggestions: What to Serve with Cherry Crisp
Okay, the crisp is out of the oven, it’s still steaming gently, and it smells like heaven. Now comes my favorite part: deciding how decadent to go! A hot crisp is fantastic on its own, but honestly, it sings when paired with something cold and creamy.
The classic, can’t-go-wrong choice for **what to serve with cherry crisp** is a big scoop of vanilla ice cream. The cold hitting that hot, tart fruit base is just perfection. I always use a high-quality vanilla ice cream because the flavor really comes through, but you can find my favorite simple, moist homemade recipe if you feel ambitious here!
If you aren’t an ice cream person, or maybe you just want something a little less sweet, a generous drizzle of heavy cream works wonders. Just pour it right over the top—it melts slightly and mingles with the cinnamon and cherry juices. Sometimes, if I’ve made this during the holidays, I’ll even whip the cream slightly myself and add a tiny dash of almond extract for a little flair. Either way, don’t skip the topping; the fruit needs that cool, creamy contrast!
Storage and Reheating Instructions for Leftover Sour Cherry Crisp
Don’t worry if you have leftovers—this **sour cherry crisp** tastes fantastic the next day, though the topping won’t be *quite* as crunchy. The best way to store it is to let it cool completely on the counter first, then cover the dish tightly with plastic wrap or transfer portions to small airtight containers.
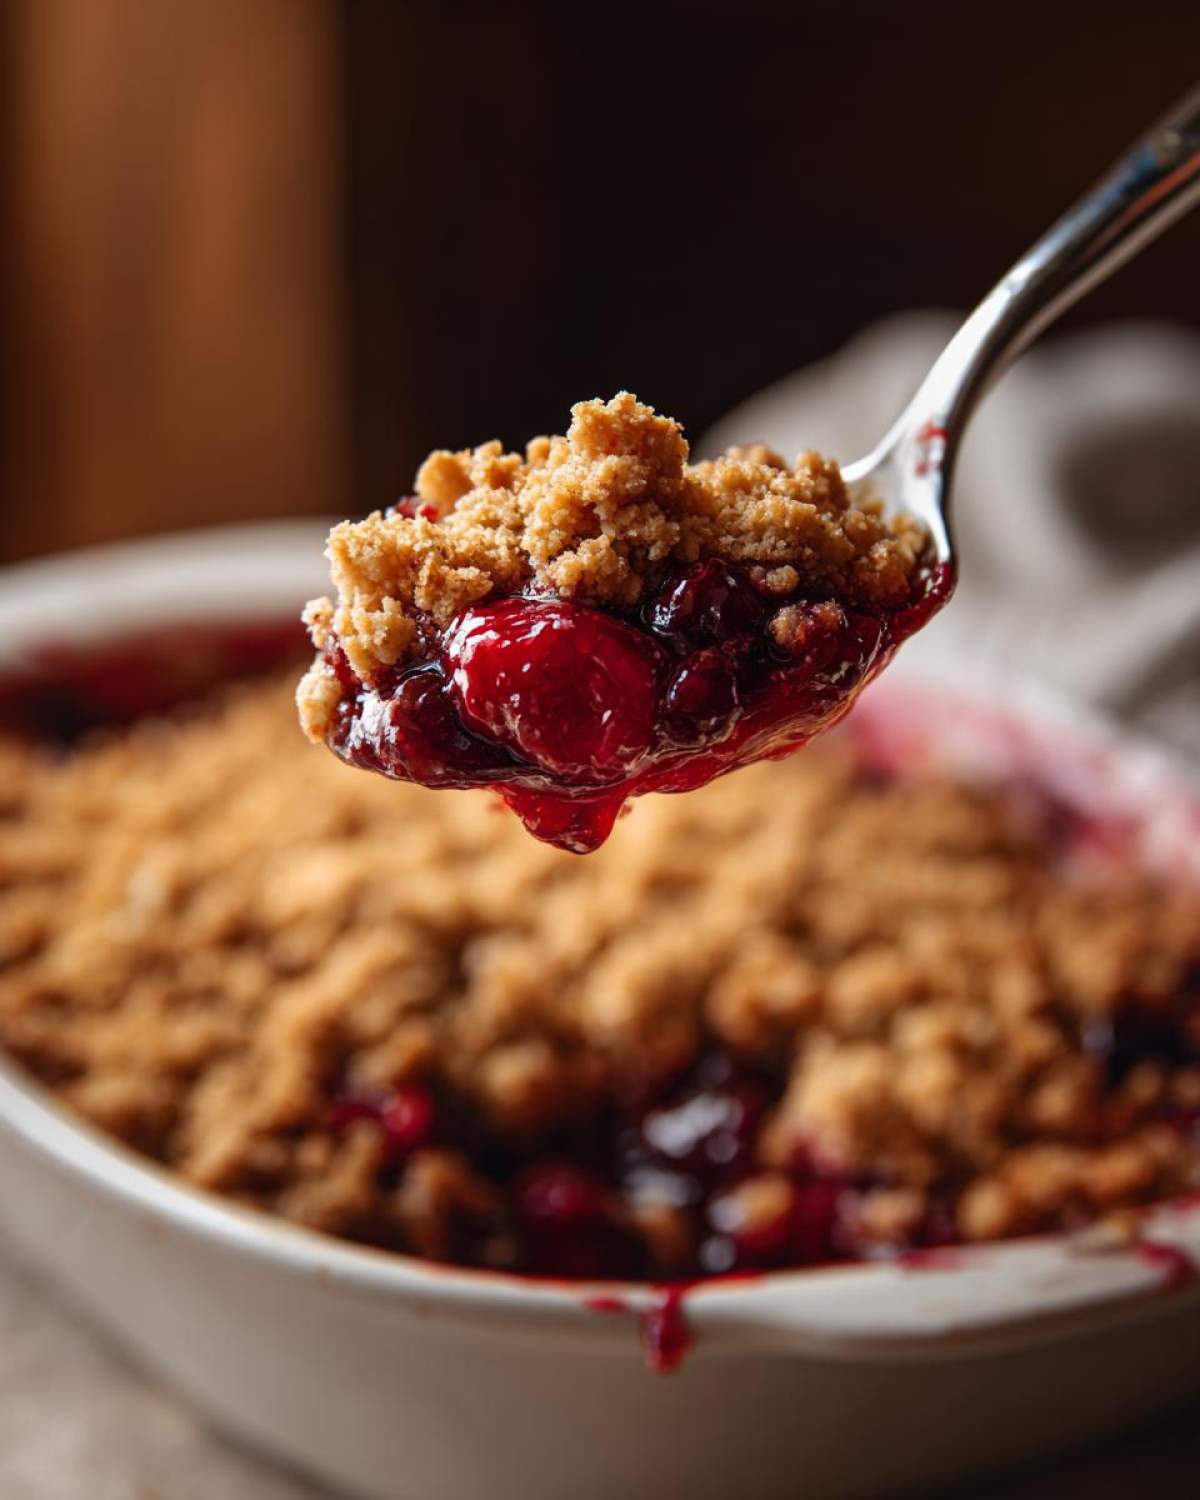
I always suggest keeping it in the fridge if it’s going to be more than a day. When you warm it up, skip the microwave if you can! Pop a portion on a baking sheet at 350 degrees for about ten minutes. That gives the topping a chance to crisp right back up.
Frequently Asked Questions About This Sour Cherry Crisp
I get so many questions whenever I post this recipe, which just tells me how much everyone loves a good, easy fruit dessert! Here are the ones I hear most often from folks wanting to bake this at home.
Can I use sweet cherries instead of sour cherry crisp?
You totally can, but you might need to adjust that sugar level way down! Sweet cherries are already much higher in sugar than the tart ones. If you use sweet cherries, I suggest cutting the granulated sugar in the filling down to maybe 1/4 cup, or even less, and then tasting the mix before baking. You want that sharp cherry flavor to shine, not just taste like cherry jam.
How do I make a gluten free cherry crisp option?
This is such an easy swap! If you are making a **gluten free cherry crisp option**, you just need to substitute the 1/2 cup of all-purpose flour in the topping with a good quality 1-to-1 gluten-free baking blend. Make sure your oats are certified gluten-free, too, if you have Celiac concerns. After that swap, the rest of the process is the exact same!
What is the best way to store my sour cherry crisp?
It needs to be cooled first, then covered tightly. It’s fine on the counter for a day if your house isn’t too warm, but honestly, I prefer the fridge for up to three days. If you’re looking for a foolproof recipe for making ahead, I always point people toward my tips for making custard pies, which also require careful chilling!
Nutritional Estimates for This Baked Cherry Dessert
I always get asked about the “healthiness” of our desserts, and while I focus mostly on taste, it’s good to have a general idea, right? Keep in mind that these figures are just estimates. They truly depend on what kind of sugar you use, how much butter soaks into the fruit versus staying in the topping, and if you load it up with extra cream!
For one serving of this baked fruit dessert, here is what we are generally looking at:
- Calories: Around 350
- Total Fat: About 18 grams
- Carbohydrates: Roughy 48 grams
- Protein: Around 4 grams
- Sugar: You’re looking at roughly 35 grams of sugar per slice.
As always, please see our full disclaimer regarding nutrition estimates over at our official page. If you use fresh berries and skip the ice cream, you can certainly play around with those numbers to fit your needs!
PrintSimple Sour Cherry Crisp

A straightforward recipe for a baked dessert featuring tart sour cherries topped with a buttery, crisp oatmeal topping.
- Prep Time: 15 min
- Cook Time: 45 min
- Total Time: 60 min
- Yield: 6 servings
- Category: Dessert
- Method: Baking
- Cuisine: American
- Diet: Vegetarian
Ingredients
- 6 cups sour cherries (fresh, frozen, or canned, drained)
- 1/2 cup granulated sugar (adjust based on cherry tartness)
- 2 tablespoons cornstarch
- 1 teaspoon lemon juice
- 1/2 cup all-purpose flour
- 1 cup rolled oats
- 1/2 cup packed brown sugar
- 1/2 teaspoon ground cinnamon
- 1/4 teaspoon salt
- 1/2 cup (1 stick) cold unsalted butter, cut into small pieces
Instructions
- Preheat your oven to 375 degrees Fahrenheit. Lightly grease an 8×8 inch baking dish.
- In a bowl, combine the sour cherries, granulated sugar, cornstarch, and lemon juice. Mix gently until the cherries are coated. Pour this mixture into the prepared baking dish.
- In a separate medium bowl, whisk together the flour, rolled oats, brown sugar, cinnamon, and salt.
- Cut in the cold butter using a pastry blender or your fingertips until the mixture resembles coarse crumbs. Do not overmix; some pea-sized pieces of butter are fine.
- Sprinkle the topping evenly over the cherry mixture in the baking dish.
- Bake for 40 to 45 minutes, or until the topping is golden brown and the cherry filling is bubbly around the edges.
- Remove from the oven and let the crisp cool for at least 15 minutes before serving.
Notes
- If using frozen cherries, do not thaw them first. You may need to add 5 to 10 minutes to the baking time.
- For a gluten-free option, substitute the all-purpose flour with a gluten-free all-purpose blend.
- Serve warm with vanilla ice cream or heavy cream.
Nutrition
- Serving Size: 1 serving
- Calories: 350
- Sugar: 35
- Sodium: 120
- Fat: 18
- Saturated Fat: 11
- Unsaturated Fat: 7
- Trans Fat: 0
- Carbohydrates: 48
- Fiber: 5
- Protein: 4
- Cholesterol: 45