

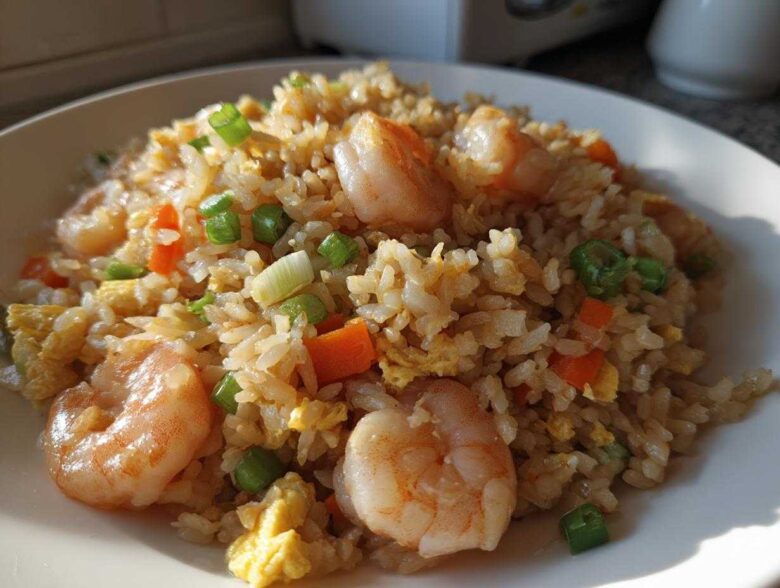
Weeknight dinner stress is real, isn’t it? You get home, you’re starving, and the thought of complicated chopping and long simmering times just makes you want to call for delivery. Well, stop right there! I spent literally years trying to nail that perfect takeout flavor without the wait, and I finally cracked the code on this **shrimp fried rice**. This recipe delivers true restaurant-quality taste, but it’s on the table in under 30 minutes, which is just magical for a Tuesday night. Trust me, the secret isn’t some hard-to-find ingredient; it’s all in the technique we use with that cold, day-old rice to guarantee it pops instead of clumps.
If you’ve ever been disappointed by soggy homemade rice, this version has been perfected over many attempts to ensure every grain stays separate and toasty. It’s honestly the best chicken fried rice alternative when you’re craving seafood!
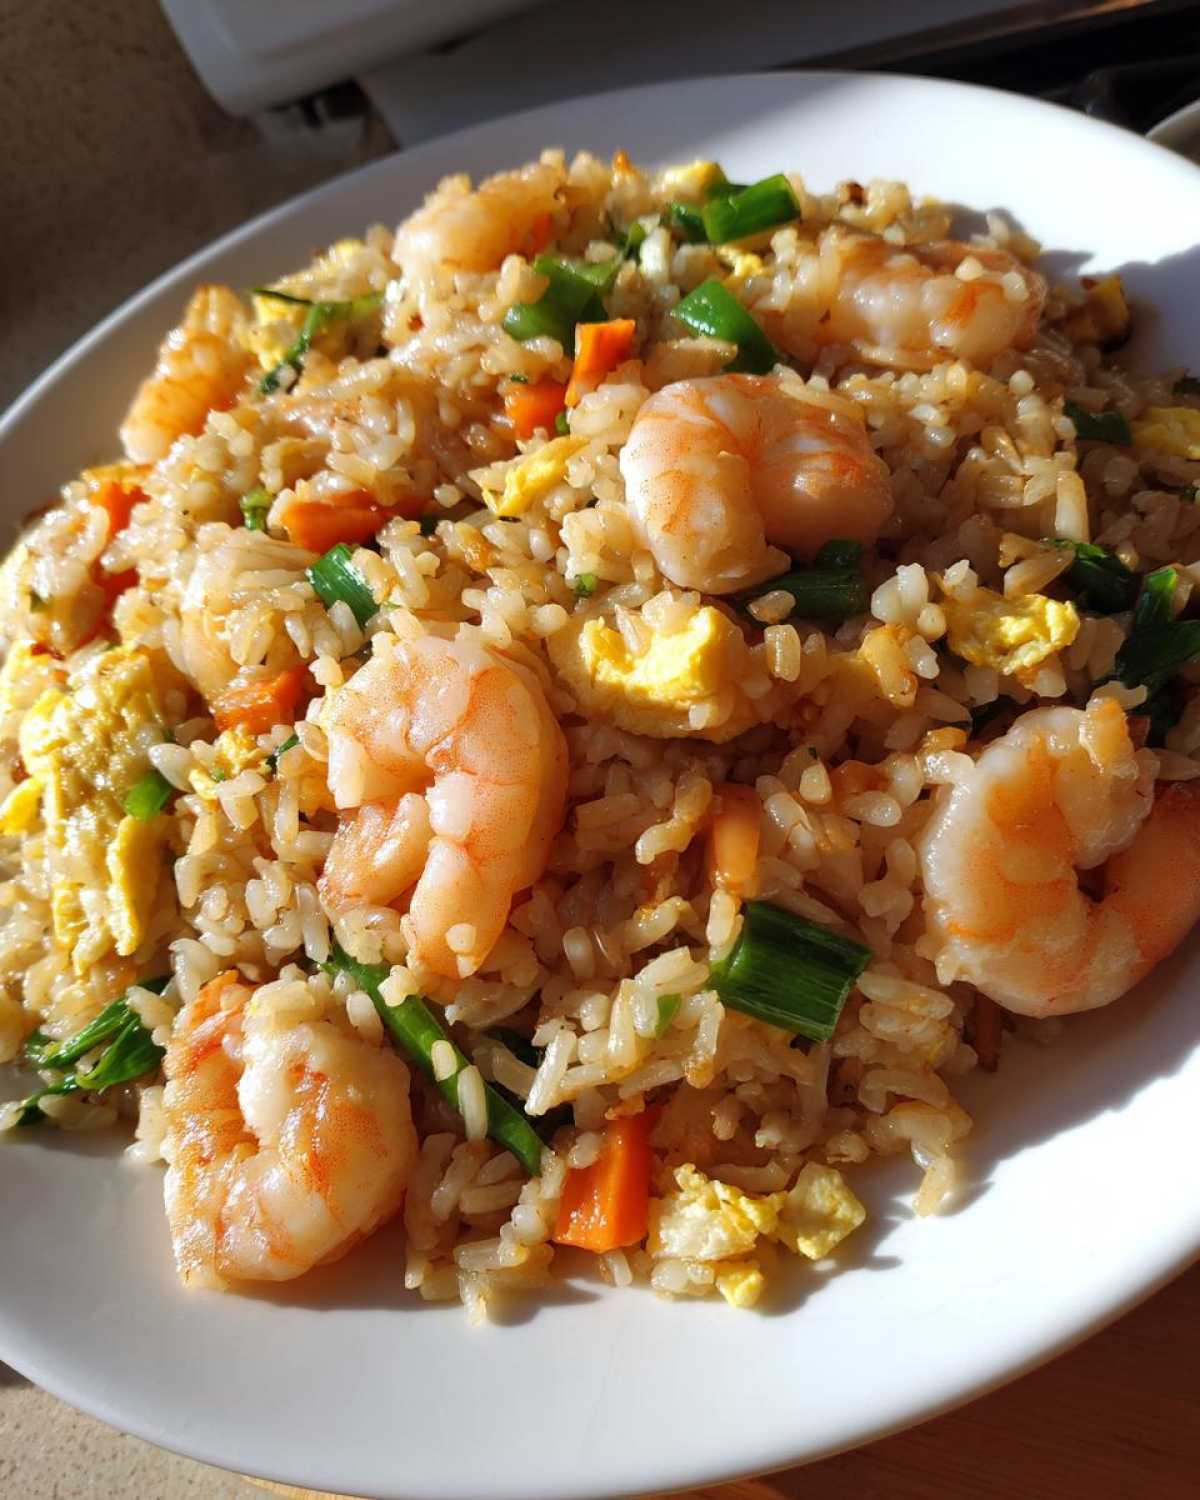
Why This Is Your New Favorite Shrimp Fried Rice
Forget waiting for delivery when you can whip up this flavor bomb faster than the driver can get across town! This **Better Than Takeout Fried Rice** is genuinely my go-to skillet meal when hunger strikes fast. It hits every mark you want in a weeknight dinner, and cleanup is a breeze.
Here’s why you need this recipe in your rotation:
- It’s done in about 30 minutes total—I mean it!
- It’s the perfect way to use up that leftover rice sitting in the fridge.
- The flavor punches way above its weight class—truly restaurant quality.
- You only dirty one large skillet or wok. That earns major points in my book!
If you want more quick Asian rice dishes, check out my notes on other easy shrimp fried rice ideas!
Essential Ingredients for Perfect Shrimp Fried Rice
The beauty of making **Restaurant Style Shrimp Fried Rice** at home is that you probably already have most of what you need! We aren’t using fancy, obscure items here. We are aiming for that deep umami flavor we all crave from our favorite Chinese takeout place, and it all starts with paying attention to the quality and prep of what goes into the skillet.
You’ll need your shrimp ready to go—peeled and deveined—and make sure your eggs are lightly beaten before the heat goes on. The minced garlic needs to be ready because once it hits that hot oil, you have seconds before it’s perfect or—oops!—burnt. Chopping those green onions last keeps their flavor bright and fresh in the final product. And while we need a few sauces, keeping them simple is what keeps this a true 30 Minute Dinner Idea.
But listen, out of everything listed for this One Skillet Seafood Meal, one item is non-negotiable if you want that authentic texture we talked about.
The Key Role of Day-Old Rice in Shrimp Fried Rice
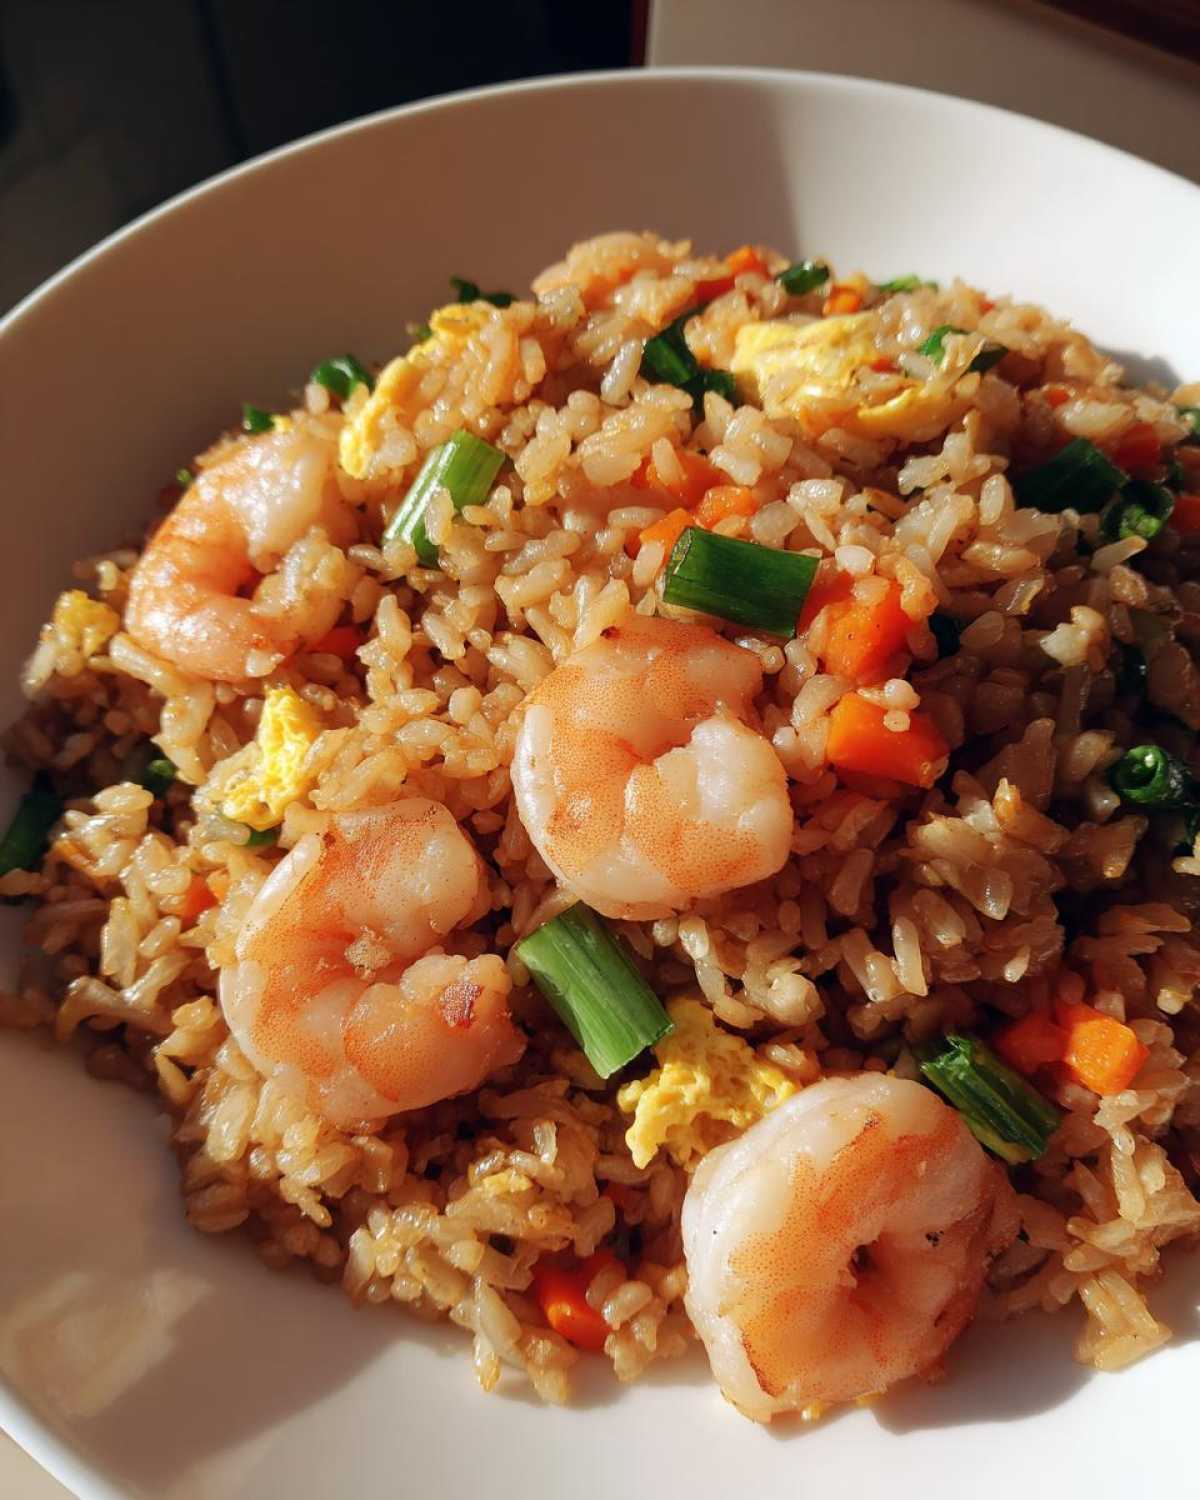
Seriously, don’t even think about using fresh rice for this! Cold, day-old cooked white rice is the backbone of amazing **shrimp fried rice**. It’s dry enough that it separates beautifully in the hot wok and toasts up nicely instead of steaming and turning into sticky mush. This step is pure magic for achieving that perfect texture.
If you need a refresher on rice management, you might want to check out my tips on making perfect garlic butter rice first, just to get familiar with the grains!
Step-by-Step Instructions for Quick Shrimp Fried Rice Recipe
Okay, you have all your cold rice ready and your shrimp waiting patiently. Good! Because this is where speed matters. We have to work fast and keep the heat up to lock in that amazing texture and flavor for these **Asian Rice Dishes**. Don’t walk away from the stove for a second while we’re in stir-fry mode—it moves quickly!
First thing first, you need a big skillet or wok screaming hot over medium-high heat. We are going to cook everything in stages so nothing gets overcrowded, which is key for a perfect stir fry. If you’re in a rush, this is a great time to check out my 15-minute stir fry noodles recipe for timing inspiration!
Cooking the Shrimp and Eggs for Flavorful Shrimp Fried Rice
Toss in your teaspoon of oil and get the shrimp in there immediately. You only want these cooking for about two or three minutes until they turn nice and pink. As soon as they look cooked, scoop them right out and set them on a plate—they’ll come back later! Now, pour those lightly beaten eggs right into the hot pan. Scramble them fast—we’re talking 60 seconds—break them up with your spatula, and push them over to one side. High heat is your friend here; it keeps everything searing instead of steaming!
Stir-Frying the Aromatics and Rice
Move the eggs to one side and add your frozen peas and carrots to the empty spot. Let those cook for just a couple of minutes to thaw and warm up. Next, add the minced garlic. Be quick here—garlic burns easily—let it sizzle for only about 30 seconds until you can really smell that amazing aroma. Now, clear everyone back to the center: dump in all that cold rice! You need to break up those clumps right away with your spatula and keep tossing it for about three or four minutes until it looks a little toasted. This is what makes it a true **Weeknight Seafood Dinner**!
Saucing and Finishing Your Restaurant Style Shrimp Fried Rice
Time for the flavor magic! Drizzle over your soy sauce, that little bit of oyster sauce, the sesame oil, and a tiny shake of white pepper. Stir it all vigorously until every single grain of rice has that beautiful savory color. Taste it! Does it need a touch more soy? Now’s the time. Finally, bring back those beautiful cooked shrimp and add in your sliced green onions. Stir it all together for just one last minute to get those shrimp heated through one last time. Serve this instant **Better Than Takeout Fried Rice** immediately!
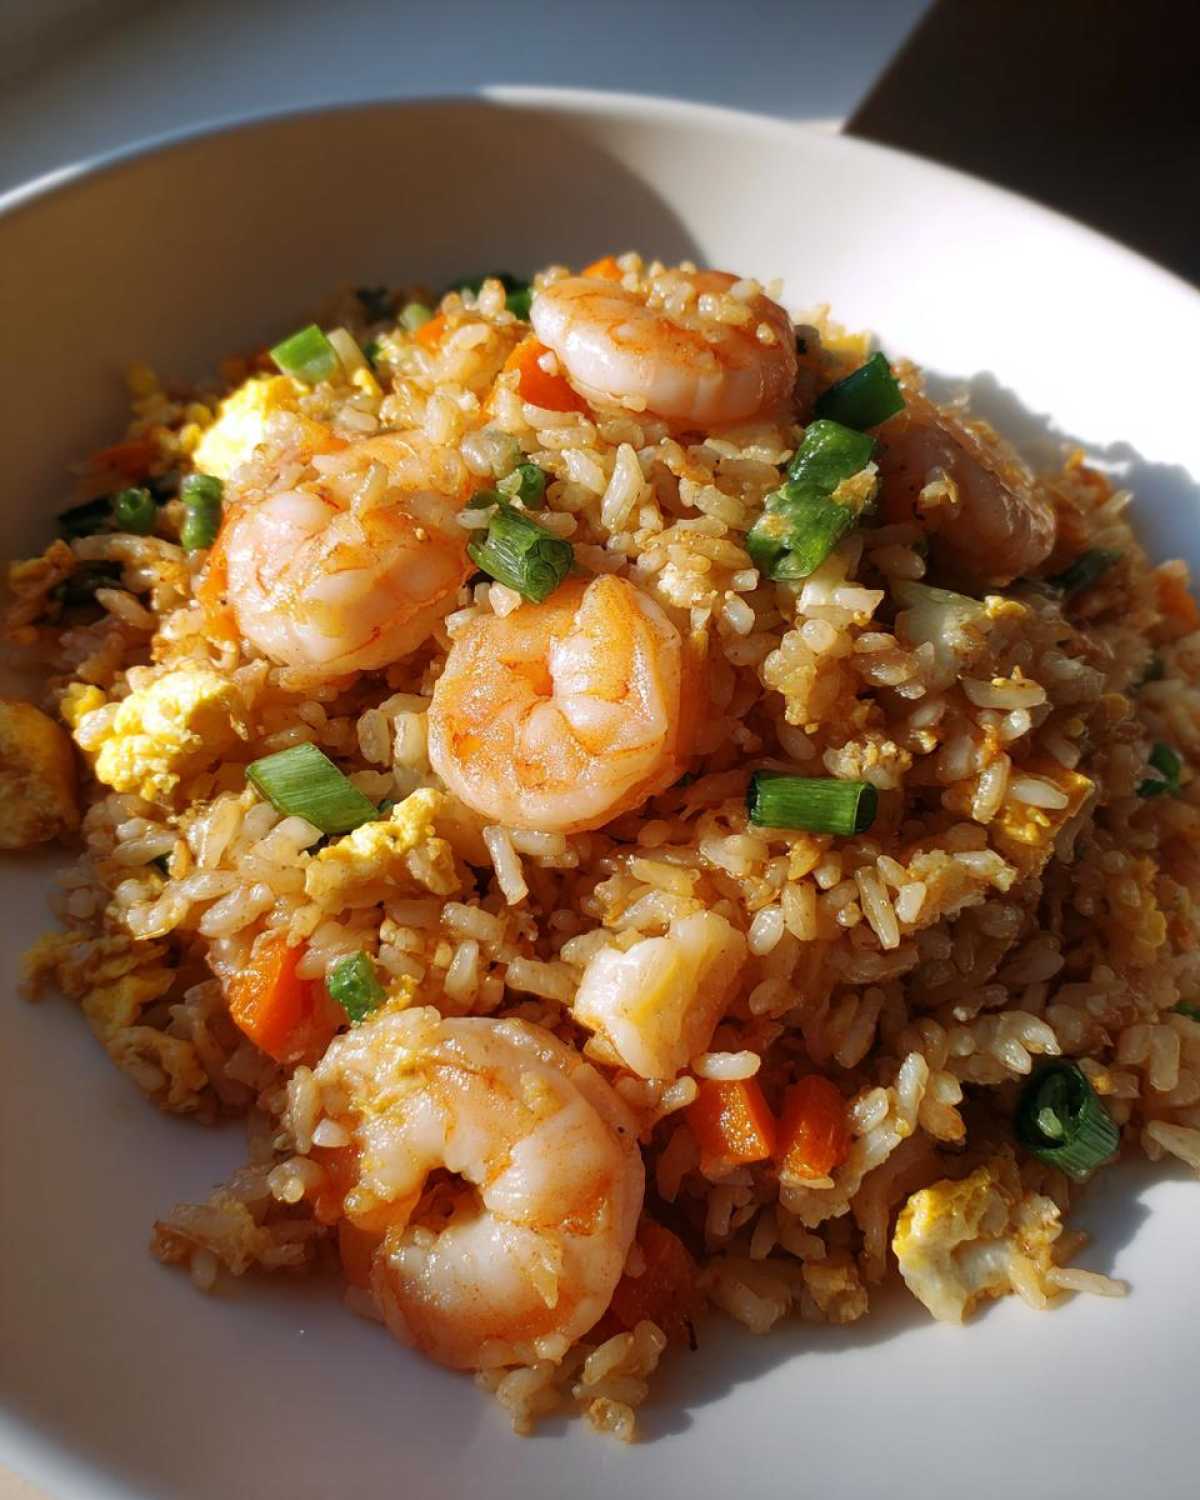
Tips for Achieving Restaurant Style Shrimp Fried Rice at Home
You’ve got your technique down, but if you want to stop serving home-style rice and start serving actual restaurant style shrimp fried rice, you have to respect the heat! The difference between good and great is often just the temperature of your pan. You need that wok or skillet to be seriously hot before anything goes in, just like they do in those busy kitchens. That high heat ensures you get actual sear and toast, not just a gentle warming.
Also, please don’t try to make a huge batch all at once. Overcrowding the pan is the number one killer of good fried rice—it drops the temperature instantly, and suddenly you’re steaming your rice instead of frying it. Stick to the quantities in this recipe for four servings; if you’re feeding a crowd, cook it in batches! And remember I told you to use vegetable oil? That’s because oils with a higher smoke point, like vegetable oil, handle that intense heat better than some of the others. Treat your rice right, and it will reward you with amazing flavor!
Variations for Your Easy Shrimp Fried Rice
Don’t sweat it if you don’t have shrimp on hand, or if you’re just bored with one flavor profile! This template for **Easy Shrimp Fried Rice** is super flexible, which is why I love it so much for cleaning out the veggie drawer. You can totally swap out the shrimp for diced chicken breast or even firm tofu if you want a meatless meal. Just remember to adjust your cooking time slightly based on what you’re using!
I’ve swapped in some sliced mushrooms or extra chopped onion before, and those work great too—just throw them in right after the peas and carrots cook down.
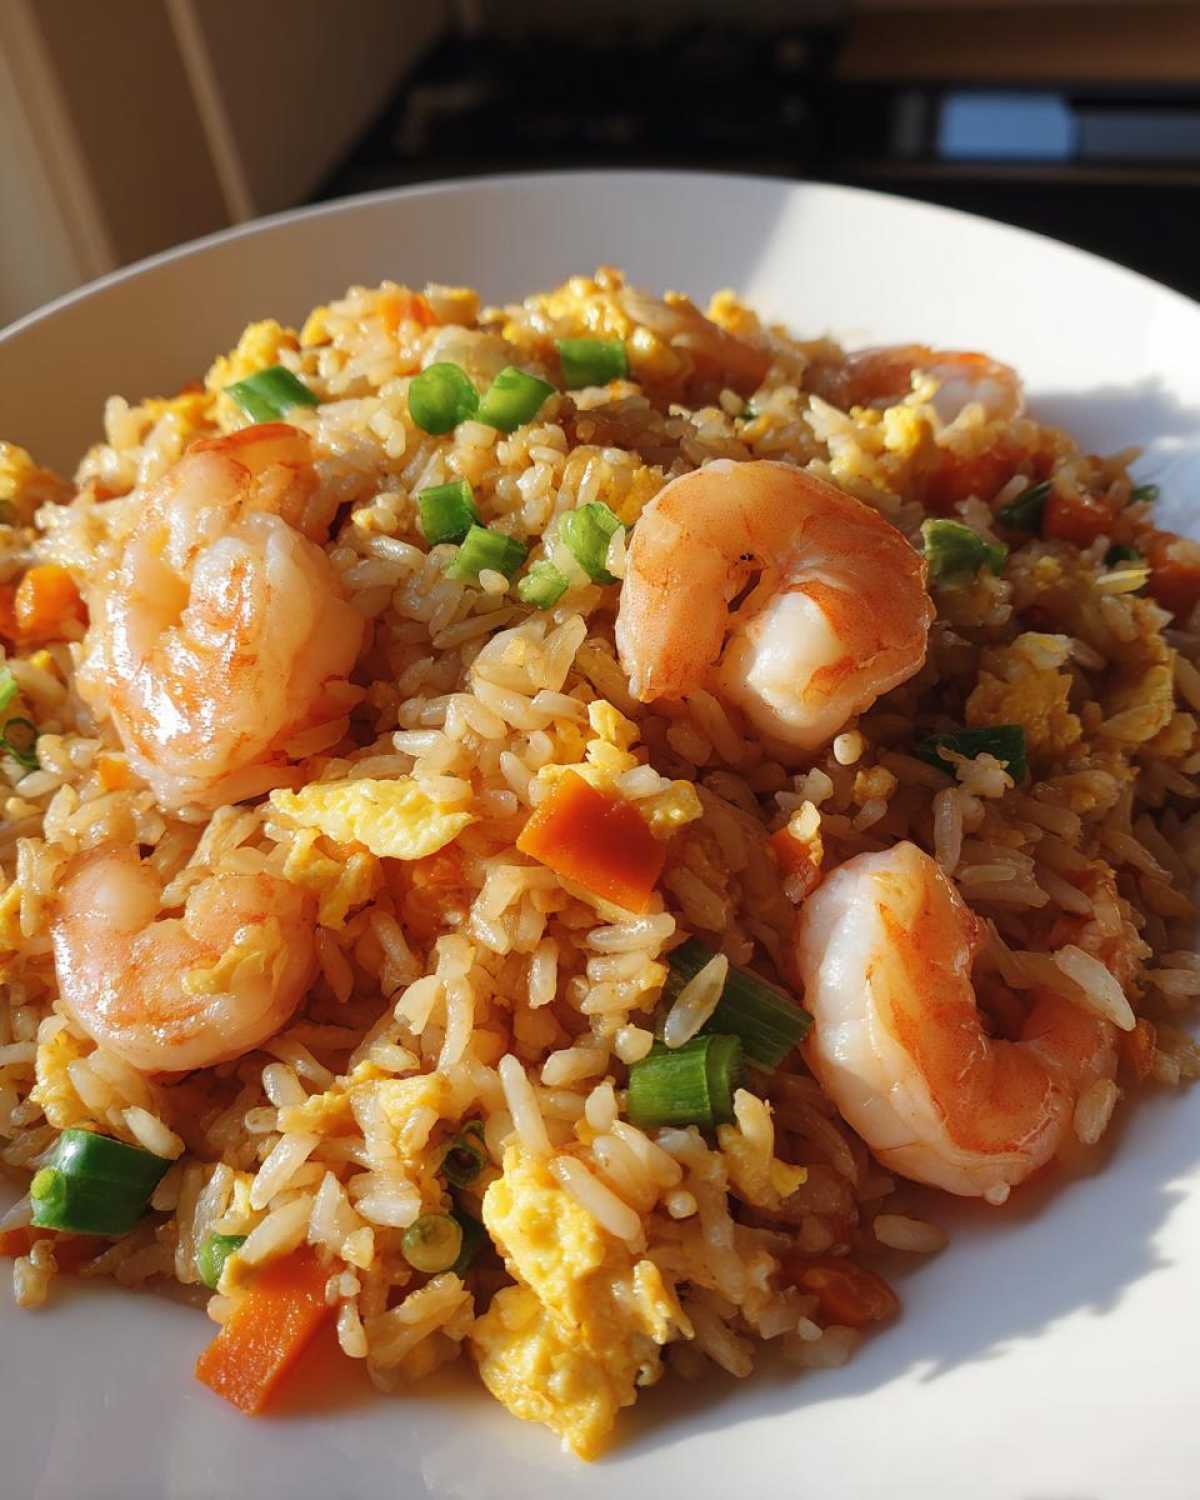
If you’re looking to use up some leftover brown rice—which is totally fine—you’ll need to give it a little extra time in the hot pan to toast up properly since it holds moisture differently than white rice. Honestly, though, for the absolute quickest results, stick to white rice, just like in my chicken fried rice post. Either way, you keep that great flavor, making it a truly adaptable **shrimp fried rice**!
Storage and Reheating for Leftover Rice Recipes
One of the best parts about making a big batch of **shrimp fried rice** is knowing you have amazing leftovers ready for lunch the next day—hello, instant gratification! When you’re saving those treasures, make sure you let the rice cool down quickly before you seal it up. Toss it into an airtight container and get it into the fridge pronto. You definitely don’t want those leftovers hanging out on the counter!
When you’re ready to eat it again, I strongly suggest reheating savory rice stir fry in a skillet over medium heat. If it seems a little dry, just splash in maybe half a teaspoon of water or a tiny drizzle of soy sauce before tossing, and it will steam up perfectly. If you must use the microwave, definitely put a damp paper towel over the top of your dish to keep that texture from drying out. I swear by reheating it on the stovetop myself, though. It keeps that lovely toasted quality going, even on day two. If you’ve got other leftover mashup ideas, you might love my tips for crispy mashed potato cakes!
Common Questions About Making Shrimp Fried Rice
Whenever I share this recipe, I get a flood of questions, which I absolutely love! It means you’re all eager to ditch the delivery menu for this quick meal. Most people ask about speed, making sure their **Garlic Shrimp Fried Rice** comes out right, or how it compares to other Asian rice dishes they’ve made. Don’t worry if you have questions; that’s what I’m here for!
Can I use fresh rice instead of day-old rice for shrimp fried rice?
Oh, I totally get it—sometimes you look in the fridge and realize you have no cold leftovers! You technically *can* use fresh, warm rice, but I won’t lie, the texture will suffer. It gets mushy because it’s too moist when you toss it up. If you absolutely *must* use fresh rice for your **shrimp fried rice**, you need to spread it out on a baking sheet first to air dry a bit. Then, use the highest heat you can handle and let it toast for a good five or six minutes before adding any liquids at all. It takes way more effort to dry it out than just cooking rice the day before!
How can I make this a 30 Minute Dinner Idea?
To keep this firmly in the **30 Minute Dinner Idea** category, timing is everything. The only way to guarantee that speed is to have everything prepped and standing by before you turn on a single burner—the shrimp peeled, eggs beaten, veggies ready, and sauces mixed in one little bowl. Once that wok heats up, things move fast! As soon as the shrimp comes out, the eggs go in, then veggies, then garlic, and bam, rice! If you’re scrambling for time on other nights, sometimes I just toss in a bag of frozen edamame instead of peas and carrots; it’s such an easy swap for a quick dinner.
What makes this Garlic Shrimp Fried Rice better than my usual recipe?
I think the big difference people notice is the depth of flavor, especially if you usually just rely on soy sauce. When I developed this **Garlic Shrimp Fried Rice**, I found that balancing the standard soy sauce with just one tablespoon of oyster sauce adds this incredible richness—it’s that savory, slightly sweet umami you get at a **Restaurant Style Shrimp Fried Rice** place. Plus, searing the shrimp separately first, not letting it just boil in the moisture of the developing rice, keeps the seafood tasting perfectly tender and not overcooked.
Nutritional Estimates for This Quick Shrimp Fried Rice
I know some of us keep an eye on the numbers, even when making something as fast and satisfying as this **Quick Shrimp Fried Rice Recipe**. While I focus mostly on flavor—because taste wins every time in my kitchen—I always run the numbers using standard amounts just so we have a baseline for this **Weeknight Seafood Dinner**.
Based on the ingredient amounts listed for one serving, here’s roughly what you are looking at:
- Calories: About 380
- Protein: A solid 22 grams of protein, mostly coming from that shrimp!
- Fat: Around 14 grams (keep that in mind when debating adding extra oil!)
- Carbohydrates: Roughly 45 grams from the rice and vegetables.
Just a quick disclaimer because I want to be totally upfront: these numbers are estimates based on typical ingredient sourcing for our recipe size (which yields 4 servings). If you use a heavier hand with the soy sauce or change the type of rice, those numbers might wiggle a bit. If you are looking for other satisfying but managed meals, you might enjoy checking out my cheeseburger bowl recipe sometime, too!
Share Your Experience with This Weeknight Seafood Dinner
Seriously, I put so much love into making sure this **shrimp fried rice** works perfectly every single time, and now I’m dying to hear how it turned out for you! This is designed to be the ultimate weeknight seafood dinner savior, so please let me know if it saved your evening!
When you have a moment—maybe while you’re enjoying your leftovers—please come back and leave a star rating for the recipe, if you can! Five stars is always lovely, but honest feedback helps me keep tweaking things for everyone.
I’m also so curious: How fast did you get this done? Did you manage to beat my 30-minute goal? And did you try any fun flavor tweaks? Maybe you added a dash of sriracha or used brown rice? Drop all those details in the comments below. I truly treasure reading about how you adapt these family favorites in your own kitchens. If you snap a photo of your beautiful homemade takeout creation, tag me on social media—I love seeing your gorgeous food!
PrintEasy 30-Minute Better-Than-Takeout Shrimp Fried Rice
Make restaurant-quality shrimp fried rice quickly in one skillet using day-old rice for a flavorful weeknight meal.
- Prep Time: 10 min
- Cook Time: 15 min
- Total Time: 25 min
- Yield: 4 servings
- Category: Dinner
- Method: Stir Fry
- Cuisine: Asian
- Diet: Low Lactose
Ingredients
- 1 tablespoon vegetable oil
- 8 ounces raw shrimp, peeled and deveined
- 2 large eggs, lightly beaten
- 3 cups cold, day-old cooked white rice
- 1 cup frozen peas and carrots mix
- 2 cloves garlic, minced
- 2 tablespoons soy sauce
- 1 tablespoon oyster sauce
- 1 teaspoon sesame oil
- 1/4 teaspoon ground white pepper
- 2 green onions, sliced
Instructions
- Heat vegetable oil in a large skillet or wok over medium-high heat. Add shrimp and cook for 2-3 minutes until pink and cooked through. Remove shrimp from the skillet and set aside.
- Add the beaten eggs to the same skillet. Scramble quickly until just set, about 1 minute. Break the eggs into small pieces and push them to one side of the skillet.
- Add the frozen peas and carrots to the empty side of the skillet. Stir fry for 2 minutes until heated through.
- Add the minced garlic and stir for 30 seconds until fragrant.
- Add the cold rice to the skillet. Break up any clumps with your spatula. Stir fry for 3-4 minutes until the rice is heated and slightly toasted.
- Pour the soy sauce, oyster sauce, sesame oil, and white pepper over the rice mixture. Stir well to coat everything evenly.
- Return the cooked shrimp to the skillet. Stir everything together for 1 minute to combine flavors.
- Stir in the sliced green onions. Serve immediately.
Notes
- Using cold, day-old rice prevents the fried rice from becoming mushy.
- For extra flavor, use low-sodium soy sauce and adjust salt to your taste.
- You can substitute chicken or tofu for the shrimp if desired.
Nutrition
- Serving Size: 1 serving
- Calories: 380
- Sugar: 4
- Sodium: 750
- Fat: 14
- Saturated Fat: 3
- Unsaturated Fat: 11
- Trans Fat: 0
- Carbohydrates: 45
- Fiber: 2
- Protein: 22
- Cholesterol: 180