

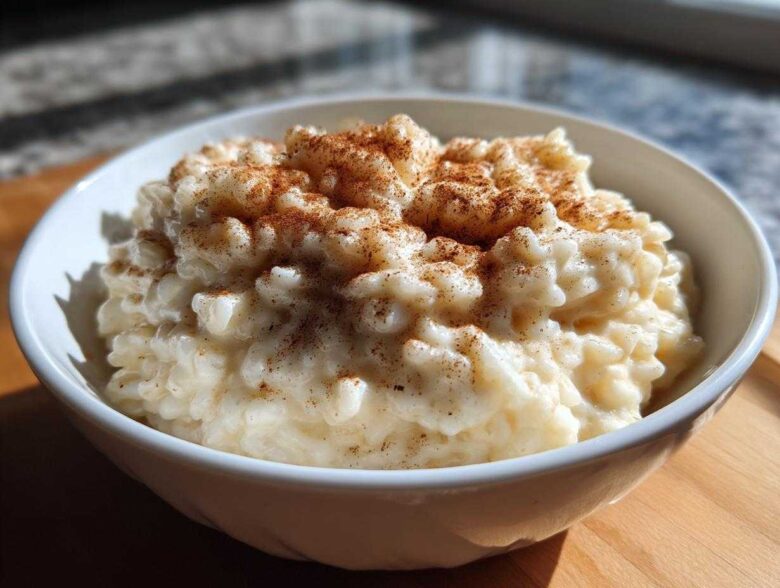
If you’re anything like me, sometimes you just need a bowl of pure, unadulterated comfort that tastes exactly like childhood holidays and cozy nights in. That’s why tackling the perfect rice pudding became such an important project for Jacob and me. I needed a blueprint for something wonderfully nostalgic, and Jacob delivered that incredible, ultra-creamy texture that I used to think only existed in dreams. Forget complicated baking processes; this Old-Fashioned Stovetop Creamy Rice Pudding relies on just five core ingredients. It’s proof that the structure I love in planning can lead directly to the warmth we all crave in a dessert.
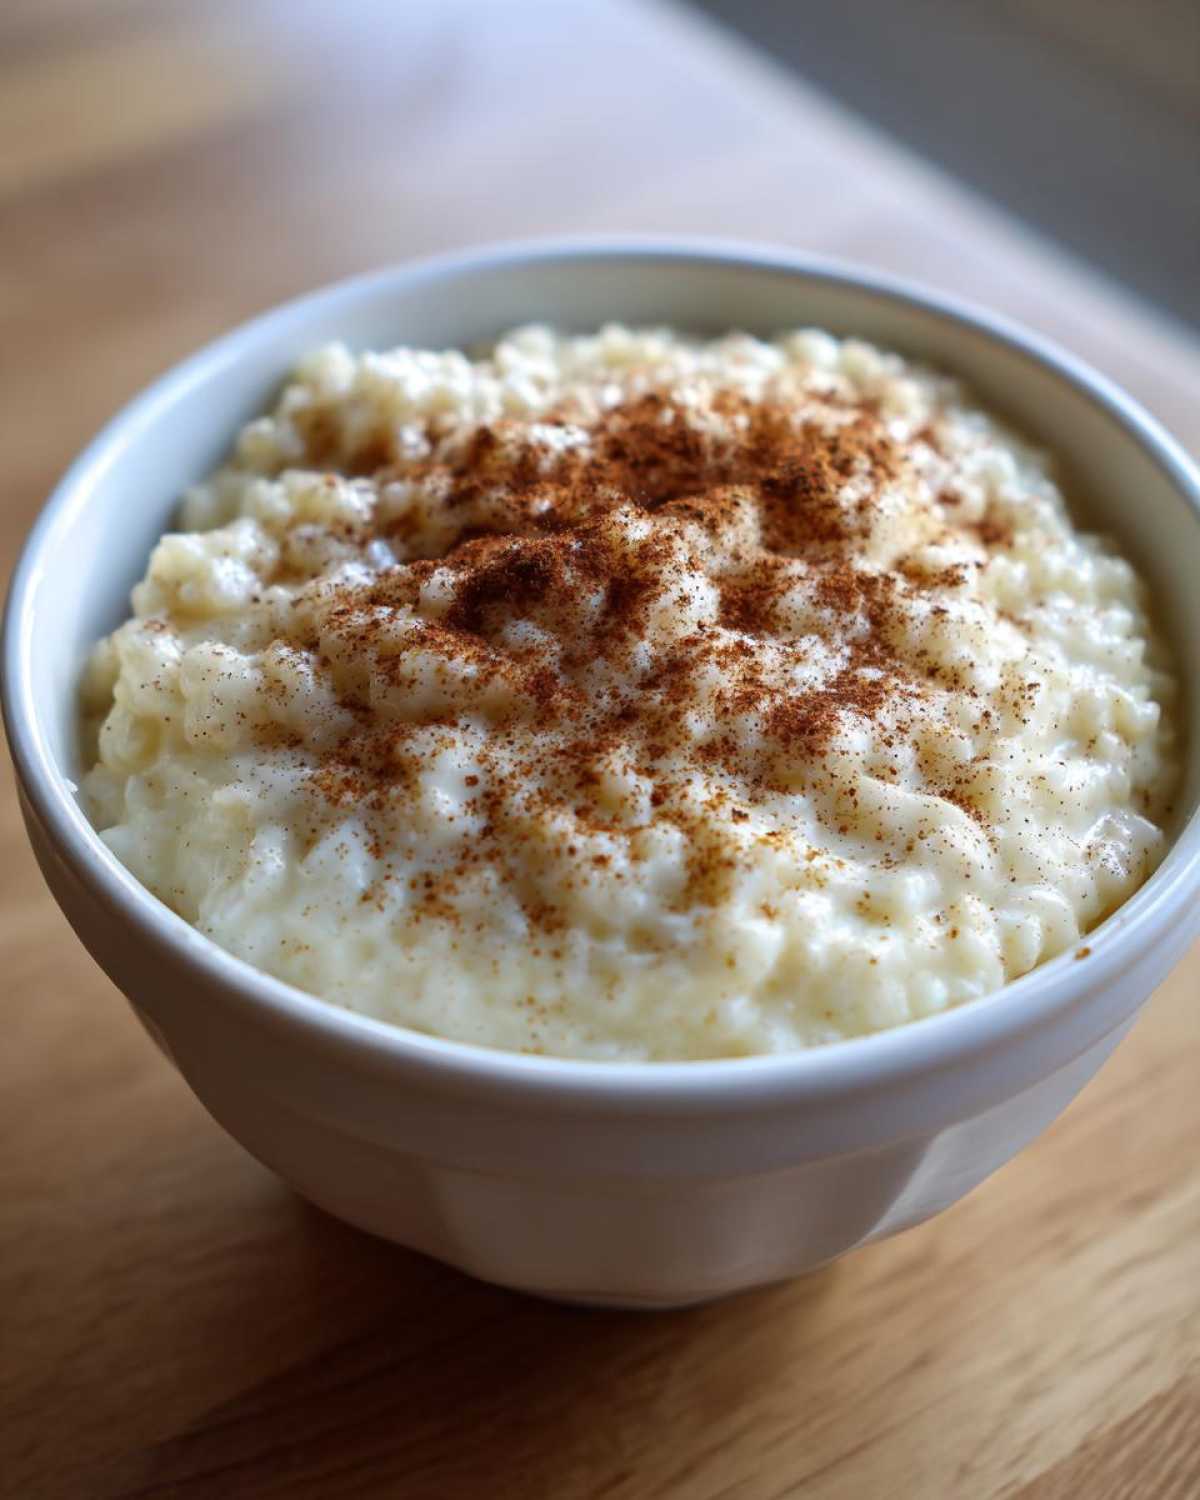
Why This Old Fashioned Rice Pudding is Your New Favorite Comfort Dessert Ideas
When I look at the data for what people crave, it always boils down to that feeling of home, right? This isn’t just any pudding; this is seriously the foundation for amazing nostalgic sweet treats. It hits all the right notes for the best comfort dessert ideas because it’s genuinely effortless but tastes like it took all day to make.
- It’s pure silk—the creamiest spoonful you can imagine.
- It’s fast enough for an impromptu sweet craving (a solid win for Jacob!).
- It honors the classic approach without any fussy extras. I love that we can look at other recipes, like my Best Soft Chewy Classic Snickerdoodles, and see that simple ingredients always win.
Achieving the Best Rice Pudding Texture
The secret sauce isn’t adding cream; it’s choosing the right grain! We use Arborio rice here, which is that fantastic, starchy rice usually reserved for risotto. Because we cook it low and slow in milk, those starch molecules break down beautifully, creating a naturally thick, velvety sauce around each grain.
Simple 5 Ingredient Dessert Simplicity
Told you this was easy! This recipe proves you don’t need a pantry stocked with specialty items to achieve perfection. It’s an incredibly satisfying, easy homemade pudding that requires just rice, milk, sugar, vanilla, and cinnamon. Seriously, that’s it. If you can stir occasionally, you can master this.
Ingredients for Your Creamy Rice Pudding Recipe
When I first made this, I tried using long-grain white rice, and honestly? It was sort of sad. This creamy rice pudding recipe truly hinges on ingredient choice! For that perfect, luxurious texture that screams comfort, Arborio rice is non-negotiable. We keep this list super tight, focusing on quality over quantity to deliver that classic flavor profile we all love. It’s simple, yes, but every item plays a vital role in turning milk into magic.
- 1 cup Arborio rice (or short-grain white rice)
- 4 cups whole milk
- 1/2 cup granulated sugar
- 1 teaspoon vanilla extract
- 1/4 teaspoon ground cinnamon
Ingredient Notes and Substitutions for Rice Pudding
Jacob swore by using only whole milk at first, but I kept pushing for more richness because I love that incredibly thick texture. So, for an extra decadent batch that borders on dessert heaven, try substituting 1/2 cup of the whole milk with heavy cream. It’s worth it, trust me! Also, a quick warning about serving: this old fashioned rice pudding thickens up substantially as it chills in the fridge. If you plan on eating leftovers cold, you might need to stir in a splash of regular milk when you pull it out to bring back that perfect looseness.
How to Make Old Fashioned Rice Pudding on the Stovetop
Okay, now for the main event! This is where Jacob shines, because making this rice pudding requires patience, which he has in spades—and I’m still working on! Remember, the prep time is just five minutes, but the cook time is a solid 40 to 50 minutes of gentle attention. If you’re looking for that best rice pudding texture, you can’t rush the simmer here. It’s truly a hands-on process, but it’s so relaxing once you get into the rhythm.
Prepping the Rice and Milk
The very first step is crucial for tenderness. You combine your Arborio rice and the whole milk right in the heavy saucepan—no heat yet! Then, you let it sit for a full 15 minutes. Don’t skip this part! This is when the rice starts drinking up the milk before it even gets warm, which helps everything cook evenly later on. It’s my job to make sure Jacob doesn’t stir it during this soak time, even though he’s tempted!
Simmering for Ultimate Creaminess
Once you start heating it over medium heat, you must bring it to a gentle simmer. As soon as you see those tiny bubbles forming, drop that heat way down to low. I mean low! Then, you stir frequently for the next 40 to 50 minutes. I know, I know, stirring sounds tedious, but this constant motion is what prevents scorching and releases all that glorious starch, giving you that deep, velvety creaminess. Keep going until the mixture coats the back of a spoon perfectly. If you want to see another great stovetop project, check out my tips for fluffy old-fashioned pancakes—same principle applies: low and slow usually wins!
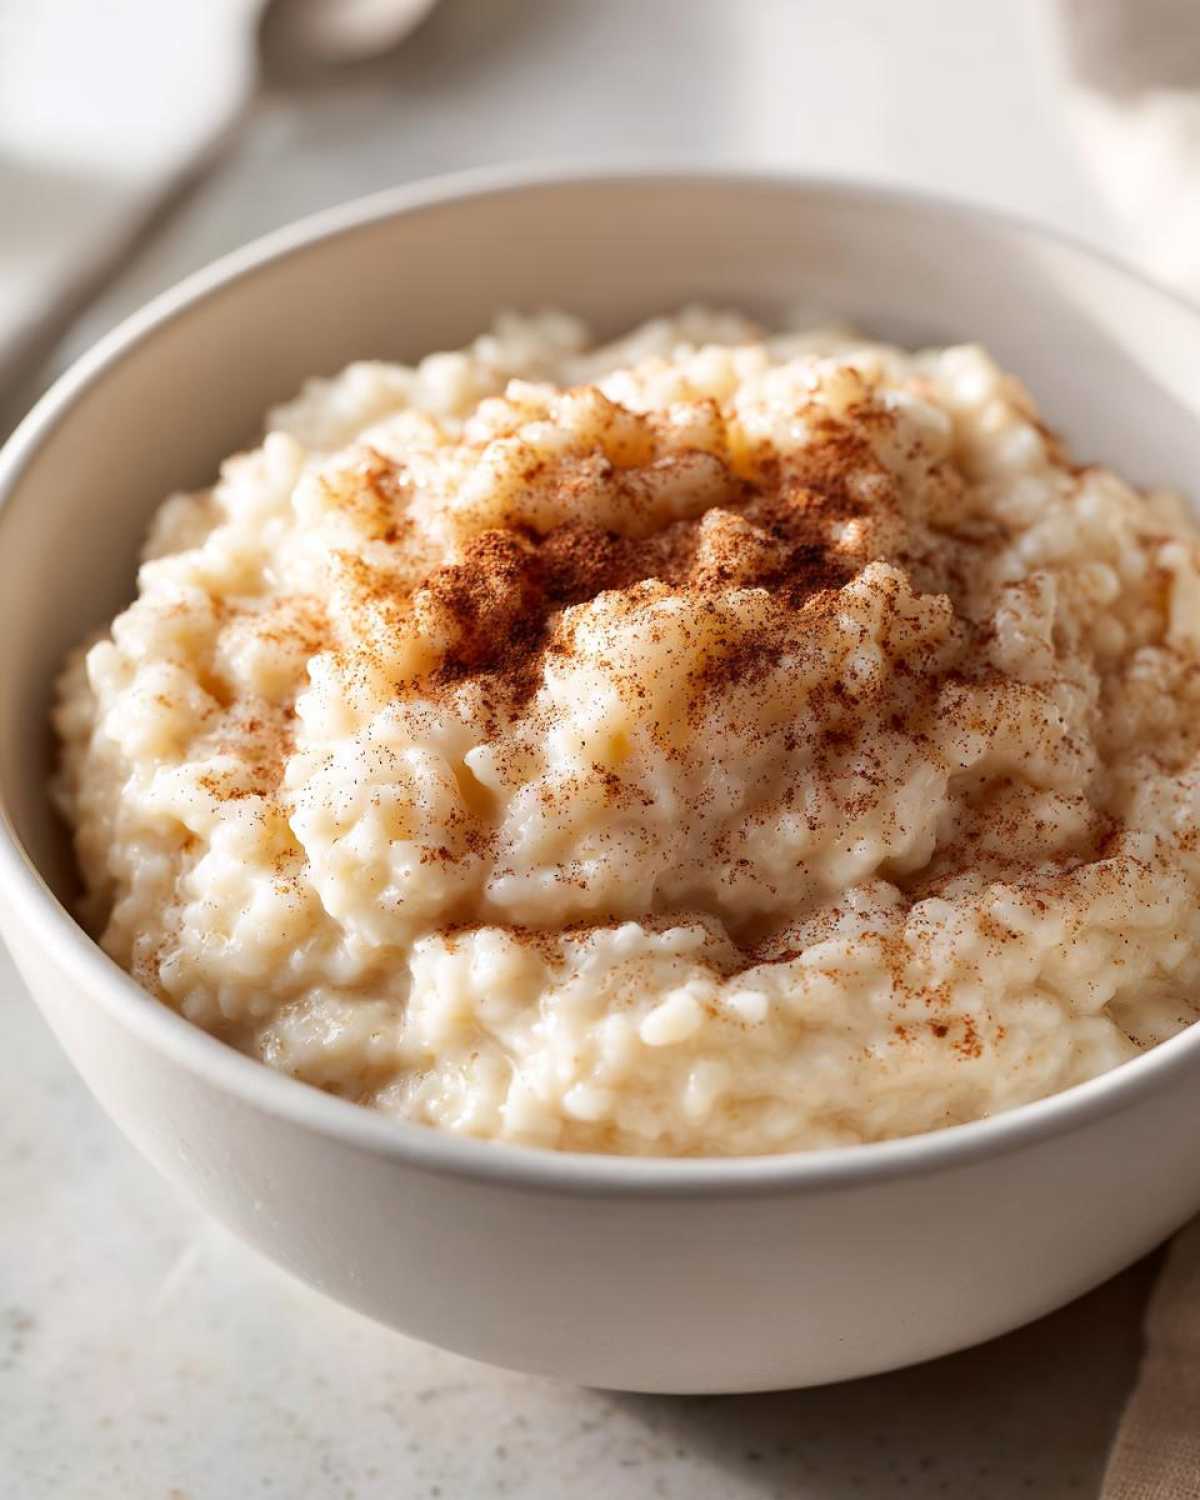
Once it’s perfect, you take it off the heat and stir in the sugar, vanilla, and cinnamon until everything dissolves. If you want to see how they nail this creamy texture over at 100k Recipes, you can check out their version here: Old-Fashioned Rice Pudding. But honestly, once you master this stovetop method, you won’t need a baked alternative!
Tips for Success with Your Stovetop Rice Pudding
This simple rice pudding recipe is forgiving, but Jacob and I learned a few hard lessons when we first started cooking it on the stovetop. Our very first batch on a cool night stuck to the bottom of the pan almost instantly! Ouch. That taught us that a heavy-bottomed pot is absolutely essential—it distributes the heat so much more evenly, which is vital for that slow simmer.
Also, don’t crowd the pot! We tried doubling the batch once for a big family get-together, and it just never got that signature creamy texture; it ended up being soupier. Stick to the 4 cups of milk for 1 cup of rice if you want the ultimate indulgence. If you are looking for further inspiration on achieving silky richness, check out the great insights they have over at Creamiest Rice Pudding Recipe For Your Cozy Moments.
One thing I always do, just to keep things going smoothly while I’m organizing the rest of dinner, is keep a tiny pitcher of milk nearby. It helps when I am trying to loosen up the mixture or stir in those leftover bits of flavor as detailed in my homemade teriyaki sauce recipe—wait, wrong menu! But seriously, having extra liquid on hand is a planner’s best friend when things look unexpectedly thick!
Serving Suggestions for Warm Pudding Desserts
This is where we get to go a little wild! While I mentioned this rice pudding is fantastic chilled, sometimes you just need the instant gratification of a warm pudding dessert right off the stove. When we serve it warm, it flows beautifully. My favorite way to dress it up is still super simple: a generous sprinkle of extra cinnamon—or maybe a tiny pinch of nutmeg if we’re feeling fancy, like something special from my horseradish sauce for prime rib recipe, which demands bold flavors!
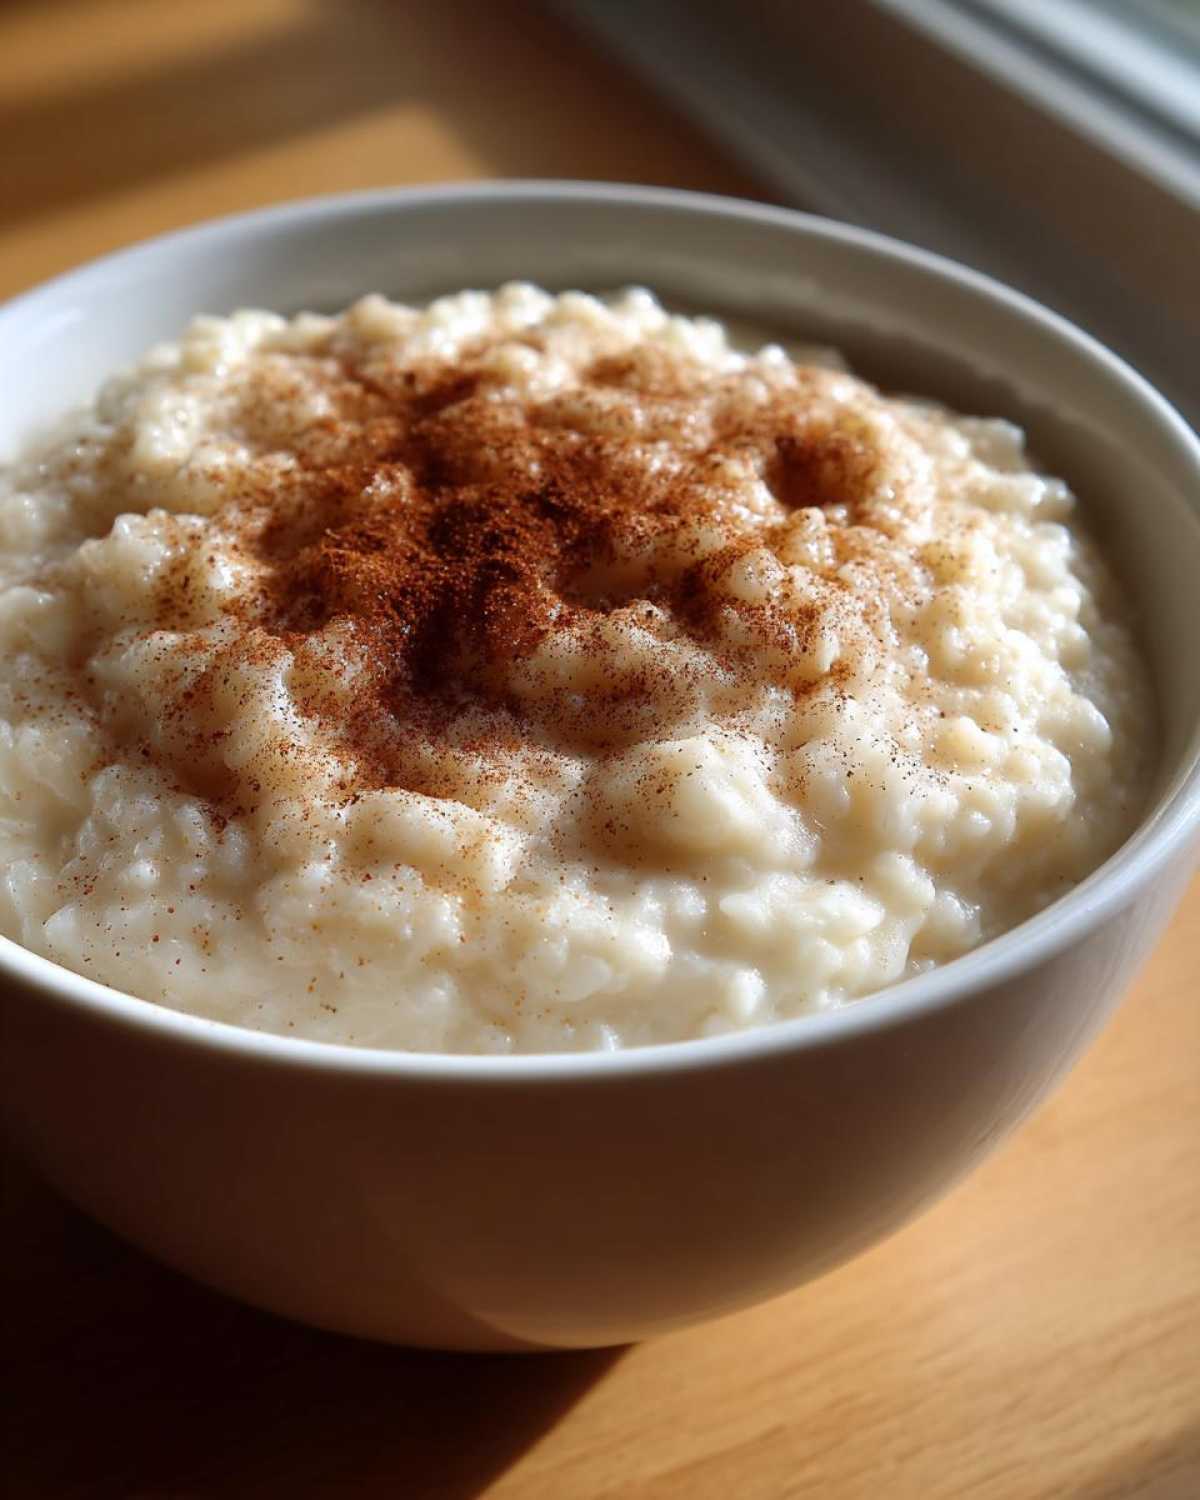
If you want texture contrast, Jacob loves topping his bowl with toasted pecans or walnuts—the crunch against the creamy smoothness is honestly divine. A spoonful of dark cherry jam on top cuts the sweetness perfectly too. Don’t overcomplicate this classic, though; sometimes the best topping is just enjoying that pure, sweet vanilla essence!
Make Ahead Dessert and Storage Instructions for Rice Pudding
The beauty of this easy rice pudding is that it works just as well planned ahead! It’s truly the perfect make ahead dessert because the flavors really meld overnight in the fridge. You can definitely store leftovers in an airtight container for up to four days. Just remember what I mentioned earlier: it turns into a thick, almost spoon-able solid when chilled. Don’t worry, though! That’s not ruined pudding!
When you’re ready to enjoy it again, just pull out the portion you want and gently warm it up on the stovetop or in the microwave. This is the key: gradually whisk in a small splash of milk or cream for every serving you reheat. This loosens everything up and brings back that beautiful, creamy consistency without breaking the pudding structure. I often prep this on Sunday using my easy oven baked BBQ chicken recipe schedule, knowing I have a ready-made treat for Monday night!
Frequently Asked Questions About Easy Homemade Pudding
I know sometimes planning a recipe means you need to troubleshoot before you even start, right? Jacob and I spent weeks testing variations before we finalized this easy homemade pudding blueprint. Here are some of the things I always get asked about moving this classic recipe from the drawing board to the dinner table!
Can I use long-grain rice instead of Arborio for this rice pudding?
You absolutely can, but spoiler alert: it won’t be the same! Arborio rice is the key to that ultra-creamy texture because it releases tons of starch slowly while cooking on the air fryer baked potato schedule—wait, wrong recipe again! If you use long-grain white rice, the grains stay much more separate and defined, making the texture less like a rich pudding and more like creamy rice. It’s still tasty, but if you want the ultimate creamy result, stick to Arborio or another short-grain rice.
Is this recipe easily adaptable to a Baked Rice Pudding Alternative?
It is! While we are huge fans of the stovetop rice pudding method because it’s faster, if you want that firmer, almost casserole texture of a baked version, you just need to make one quick adjustment. For baking, you should whisk in one large egg (or two yolks, if you want extra richness) right before you pour it into a buttered baking dish. Bake it at 325°F (160°C) for about an hour, or until set in the middle. It will be a completely different, though still lovely, texture!
How do I prevent the skin from forming on top while cooling?
Oh, that dreaded rice pudding skin! It’s the bane of every pudding maker’s existence, isn’t it? This happens as the steam tries to escape and congeals the surface layer. The trick to avoiding this is super simple, and it’s one of those little secrets I picked up from researching hundreds of classic dessert recipes. Once you’ve finished stirring in the sugar and taken the pot off the heat, just take a sheet of plastic wrap and gently press it directly onto the surface of the pudding. This stops any air contact. When you chill it, that plastic wrap acts as a barrier, and when you peel it off later, the surface underneath will be perfectly smooth! If you want to see another excellent classic they have, check out the creamy cinnamon rice pudding recipe I researched over at Mary Ane Cuisine.
Nutritional Estimates for This Cozy Food Recipes Serving
I always feel a little guilty diving into a bowl of something this comforting, but Jacob reminds me that knowledge is power! When we plan our week, I like plugging in rough estimates just so we know what we’re looking at. Now, please remember, since this is a highly tested, homemade version based on whole milk and butter (though we kept the fat down by sticking to the core recipe!), these figures are just guidelines based on the total yield divided by four servings.
I’m excited to pull this recipe up next time I’m craving something delicious after finishing a big project, like organizing the details for my ultimate creamy shrimp crab seafood lasagna. Here is what our tracking software estimates for one generous serving of this wonderful dessert:
- Calories: Approximately 320
- Total Fat: Around 8g (with about 4.5g being saturated)
- Carbohydrates: About 55g
- Protein: A decent 10g boost!
Compared to some of those store-bought puddings loaded with stabilizers and tons of extra sugar, I feel really good about what we are serving here when we stick closely to this simple plan. It’s honest, homey food!
Share Your Perfect Creamy Rice Pudding Experience
Wow, we made it! You’ve officially completed one of the best projects in our whole collection—the rice pudding blueprint. Jacob and I are always so thrilled when readers try our recipes. Did it bring back memories for you? Did you get that perfect, award-winning creamy texture? We absolutely want to hear about it!
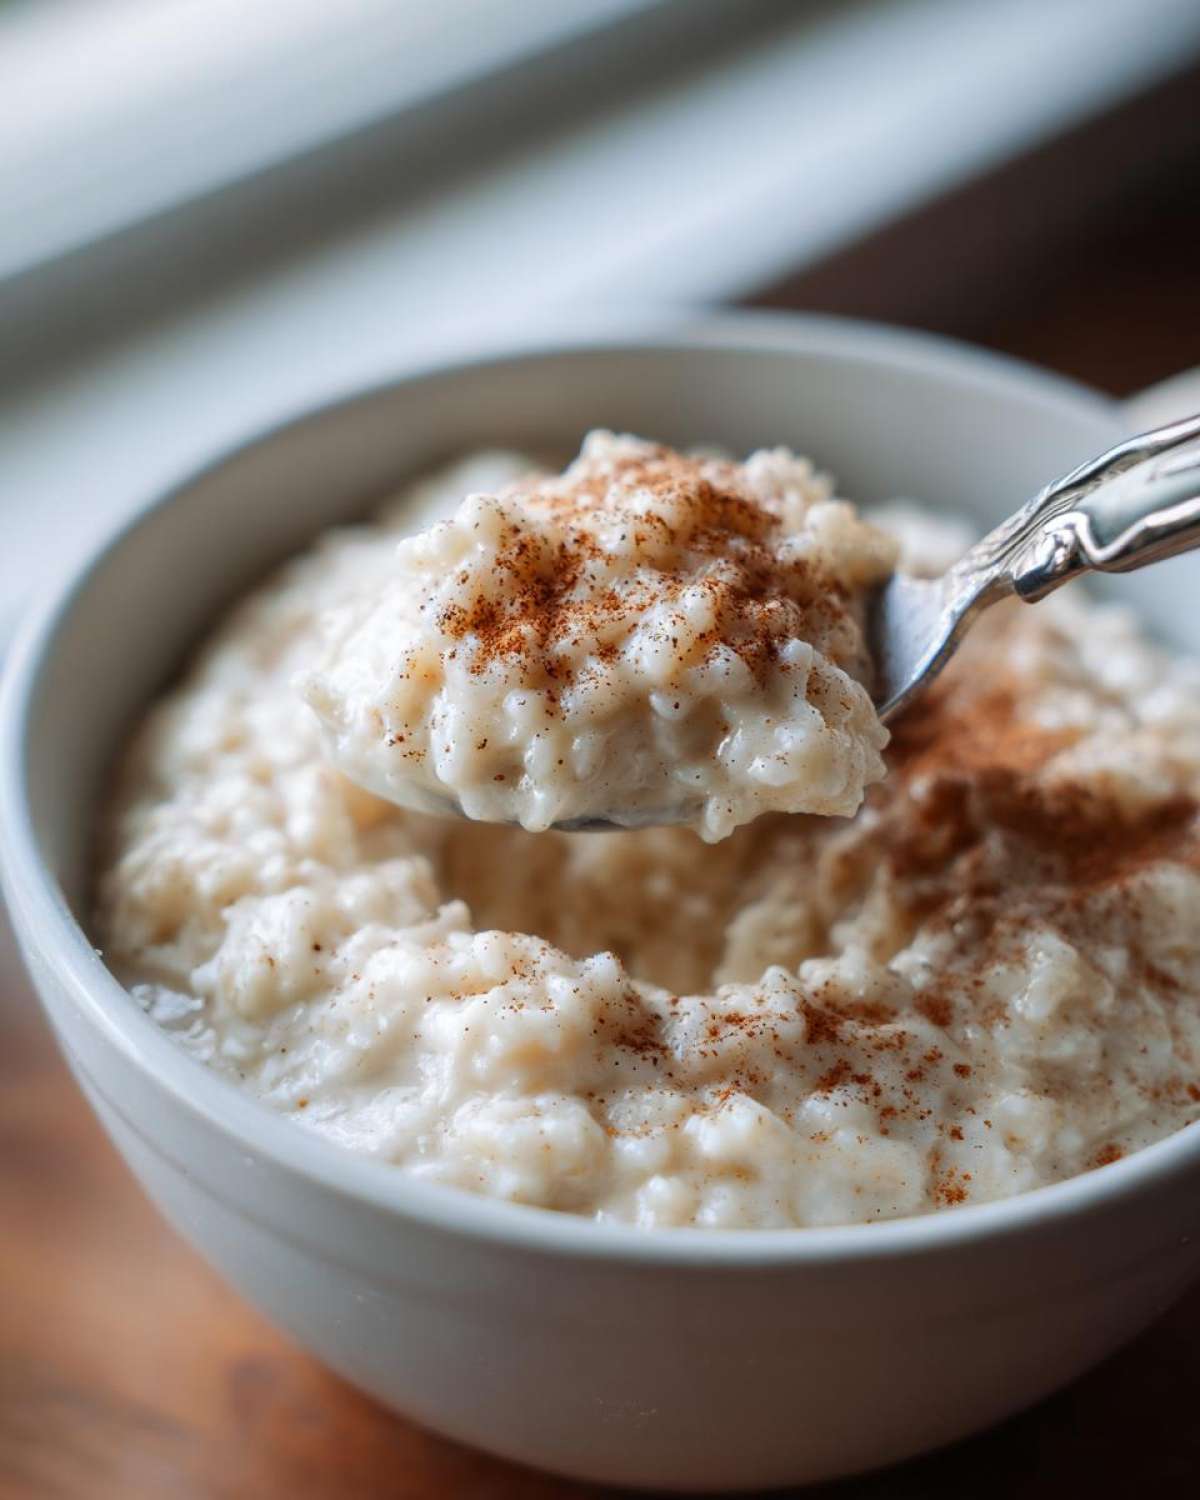
Please leave a rating below so everyone knows how much you loved this ultimate comfort dessert. And if you snapped a picture, tag us on social media! Helping you build your own portfolio of delicious successes is exactly why we created this space. If you have questions about turning this into a make-ahead dessert, don’t hesitate to drop a comment, or you can always reach out via our Contact Page!
If you’ve already made this and want to see another simple, highly-rated recipe to add to your collection, you should definitely check out the amazing one Emily shared: Creamy Rice Pudding for even more inspiration!
PrintOld-Fashioned Stovetop Creamy Rice Pudding

Make the creamiest, old-fashioned rice pudding right on your stovetop. This simple recipe focuses on achieving that perfect comforting texture using just a few basic ingredients.
- Prep Time: 5 min
- Cook Time: 50 min
- Total Time: 55 min
- Yield: 4 servings
- Category: Dessert
- Method: Stovetop
- Cuisine: American
- Diet: Vegetarian
Ingredients
- 1 cup Arborio rice (or short-grain white rice)
- 4 cups whole milk
- 1/2 cup granulated sugar
- 1 teaspoon vanilla extract
- 1/4 teaspoon ground cinnamon
Instructions
- Combine the rice and milk in a heavy-bottomed saucepan. Let the mixture stand for 15 minutes to allow the rice to begin absorbing the liquid.
- Place the saucepan over medium heat. Bring the mixture to a gentle simmer, stirring frequently to prevent the rice from sticking to the bottom.
- Reduce the heat to low once simmering. Continue to cook slowly, stirring every few minutes, for 40 to 50 minutes. The pudding is ready when the rice is tender and the mixture has thickened to a creamy consistency. You want it to coat the back of a spoon.
- Remove the saucepan from the heat. Stir in the sugar, vanilla extract, and cinnamon until the sugar dissolves completely.
- Serve the rice pudding warm, or chill it in the refrigerator for at least 2 hours for a cold dessert. The pudding will thicken further as it cools.
Notes
- For an extra rich texture, substitute 1/2 cup of the whole milk with heavy cream.
- If the pudding becomes too thick upon cooling, stir in a splash of milk when reheating or before serving cold.
- You can add a pinch of nutmeg along with the cinnamon for added warmth.
Nutrition
- Serving Size: 1 cup
- Calories: 320
- Sugar: 25
- Sodium: 85
- Fat: 8
- Saturated Fat: 4.5
- Unsaturated Fat: 3.5
- Trans Fat: 0
- Carbohydrates: 55
- Fiber: 1
- Protein: 10
- Cholesterol: 25