

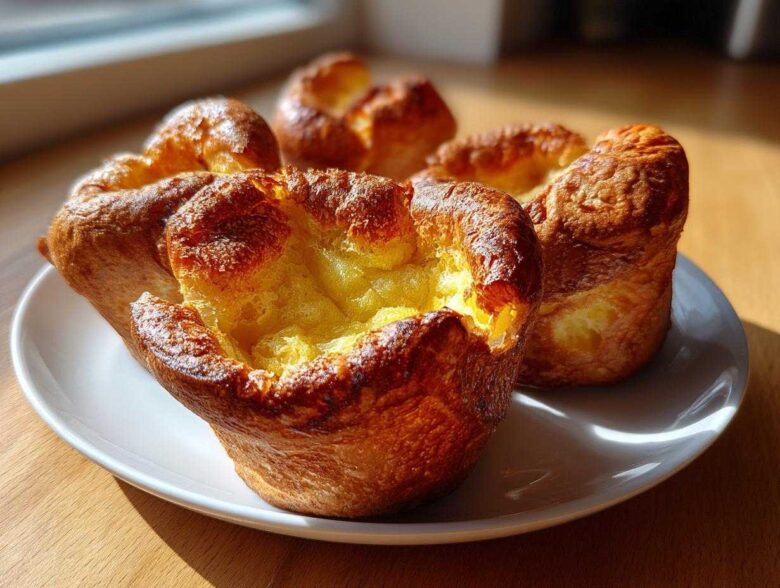
If you’ve ever watched a famous chef make Yorkshire puddings and wondered why yours turn out stubbornly flat while theirs look like golden, puffy clouds, you’re not alone! Achieving that dramatic rise is the Everest of British baking, honestly. But listen, Jacob—that’s me, the Lead Artist in this partnership—has finally cracked the code on this Best Yorkshire Pudding recipe. Forget those floppy disappointments; we’re talking tall, crispy edges, and a beautifully soft center every single time you make a genuine yorkshire pudding. After a few scorched attempts, we nailed the science behind the necessary temperature shock. Get ready; this is the blueprint for your new favorite Sunday Roast staple. You’ll want to master this technique before trying our spectacular shrimp and crab lasagna.
Why This Is the Best Yorkshire Pudding Recipe for a Perfect Rise
Look, I’m Amelia, the planner, and when I first researched making a perfect yorkshire pudding, I got overwhelmed with theories! But after watching Jacob tackle this, I realized the magic isn’t about luck—it’s about teamwork between extreme heat and cold batter. We’ve found that true, foolproof success boils down to two non-negotiable steps. These aren’t suggestions; these are the rules that guarantee those glorious, towering puffs. If you skip these, I can’t promise the same results, sorry! Trust me on this; keeping the oil hotter than the sun while using rested batter stops your puddings from sinking into sad little pancake discs. For more inspiration on getting that perfect puff, check out this great tip site about Yorkshire Puddings. We aim for airy perfection, just like in our snickerdoodle recipe.
The Secret to Crispy Yorkshire Puddings: Fat Temperature
Forget medium heat; we want near-smoking-hot fat in that tin! If you are serious about having crispy Yorkshire puddings, you really need to use beef dripping if you can grab some. It holds its heat better than regular vegetable oil. When that cold batter hits that scorching fat, it instantly vaporizes the water content near the exterior, forcing the pudding to balloon up immediately. That rapid expansion is what gives us those incredible crispy edges we’re after. Don’t be shy with the fat, either—it needs to coat the tin nicely.
Pudding Batter Secrets: Resting for Fluffy Yorkshire Puddings
This is where Amelia shines, because this step requires scheduling! You absolutely must let your batter rest. We recommend a minimum of 30 minutes in the fridge, but honestly, 4 hours is better. Resting allows the gluten in the flour to relax. When gluten is too tight, it acts like a rubber band that fights against rising in the oven. By letting it chill, you create a loose, pliable structure ready to stretch and become beautifully fluffy Yorkshire puddings. It’s the ultimate secret for a great yorkshire pudding!
Ingredients for Your Foolproof Yorkshire Pudding Recipe
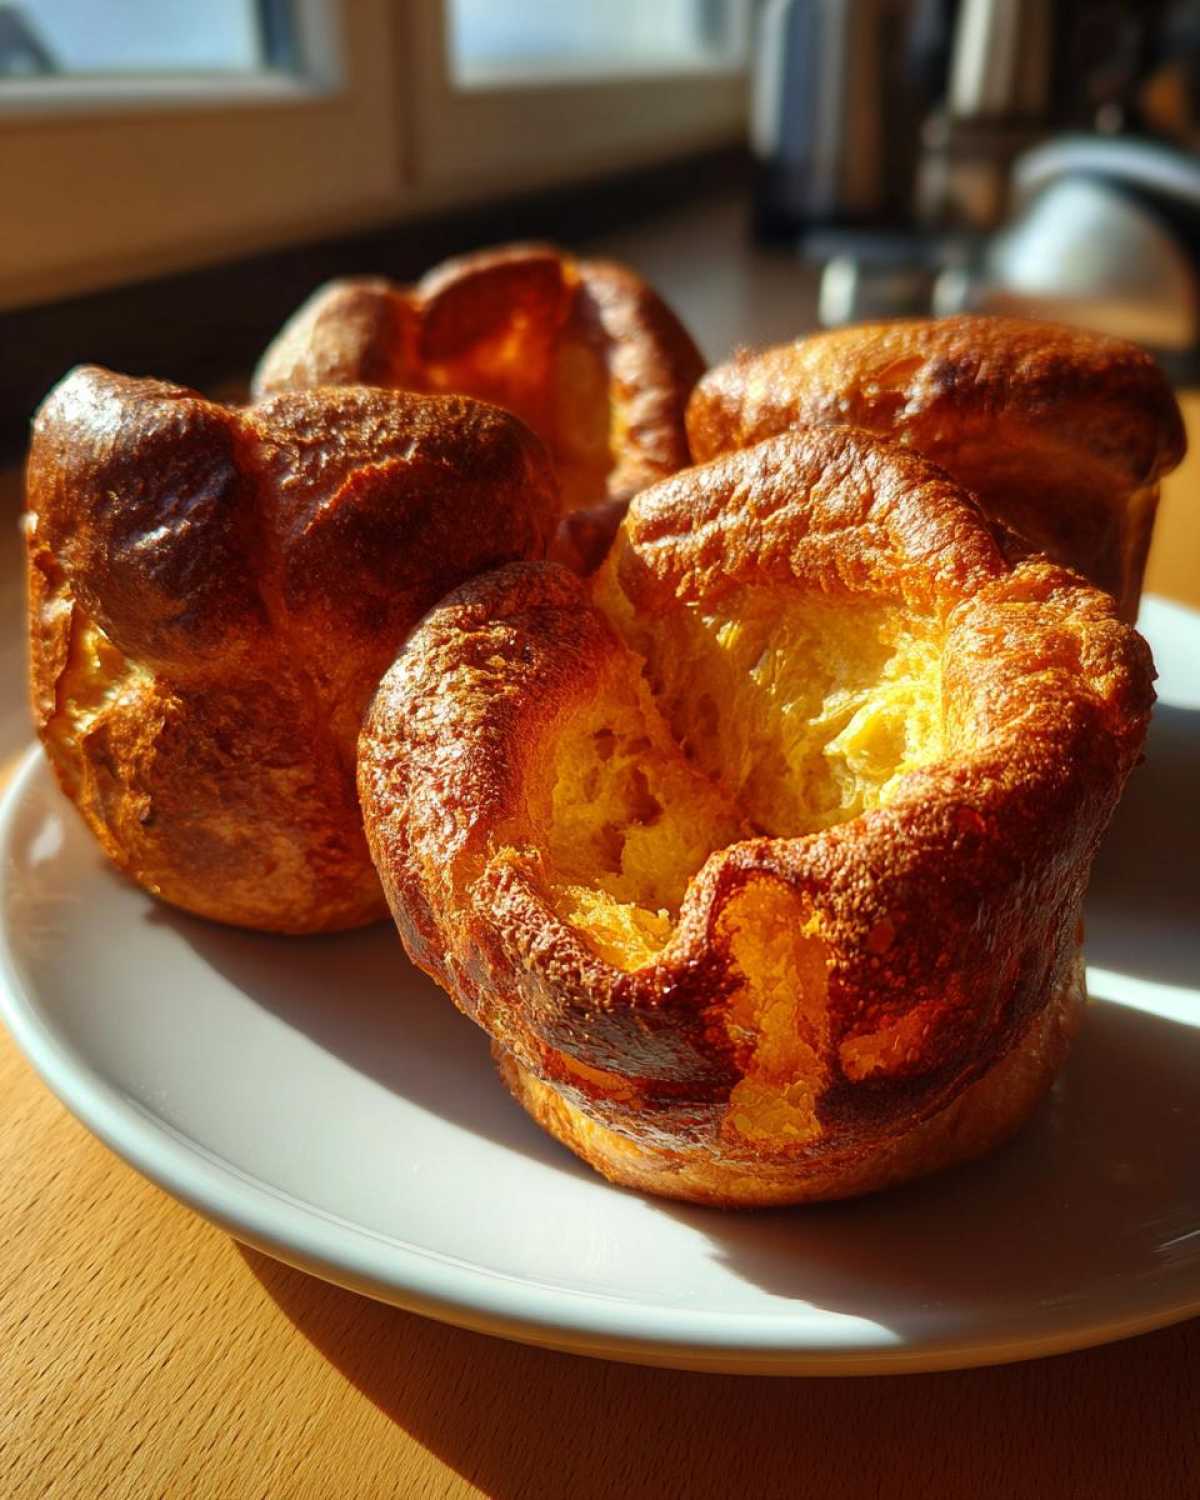
Okay, team, this is Amelia stepping in for precision time. Remember, Jacob can wing it with seasoning, but for the structure of our phenomenal yorkshire pudding, we need exactitude! The beauty of this recipe is that the ingredients list is ridiculously short, meaning it’s super cost-effective—though beef dripping still costs slightly more than oil, it’s worth the splurge for the puff factor! We’re using four large eggs, a cup each of plain flour and whole milk, plus a half-teaspoon of salt. That’s it! Get those ingredients ready, measure carefully, and then Jacob will handle the artistic part of turning them into glorious puffs. If you’re interested in other staple recipes we’ve perfected the measurements on, check out our thoughts on making mayo from scratch!
How to Make Yorkshire Puddings: Step-by-Step Instructions
Alright, this is where the planning meets the artistry! Making delicious yorkshire pudding is all about timing the heat shocks perfectly—it’s practically a science experiment, but way tastier. Amelia has the blueprint (the resting time), and I’m here to execute the blast-off sequence. The absolute, crucial thing you need to remember is that you are fighting physics here: cold batter meets scorching hot fat. Get everything ready *before* you start mixing, because once that tin is in the oven preheating, you can’t waste time fumbling!
Mixing the Easy Yorkshire Pudding Batter
Start with your flour and salt in a big bowl—make a little dip right in the middle. Crack the eggs in first. Then, using a whisk, start slowly circling, pulling in just a little flour at a time. You want to incorporate the liquid gradually. Once you start adding the milk, keep whisking until it looks thin, almost like heavy cream. Seriously, don’t panic about a few tiny lumps; over-whisking wakes up the gluten, and we don’t want that! Remember, this batter has already rested, so it’s ready for action.
The Crucial Baking Stage for Golden Brown Puddings
This part requires focus—we need that tin screaming hot! Put your muffin tin (or roasting tray) into the 450°F oven while it preheats. Once it’s blazing hot—and I mean the fat starts smoking slightly—carefully pull it out. Pour your cold batter quickly into the cups, about two-thirds high. Work fast so the fat doesn’t cool down too much. Then, BAM, back in the oven! For the first 20 minutes, you cannot, under any circumstances, open that oven door. That is non-negotiable if you want stunning, Golden Brown Puddings. For more detailed timing guidance on crispy perfection, check out this good breakdown for perfect Yorkshire Puddings. If you’re making this with your roast, make sure you have your brown gravy ready to go!
Yorkshire Pudding Tips and Tricks for Next-Level Results
Even with the perfect batter and scalding hot fat, sometimes you just want that extra assurance, right? As the cook in our house, Jacob, I want to share a few specifics from our testing that really elevated our yorkshire pudding game beyond just the standard recipe steps. These little details, especially regarding the fat, make all the difference between a good puff and an epic, towering monument to British baking!
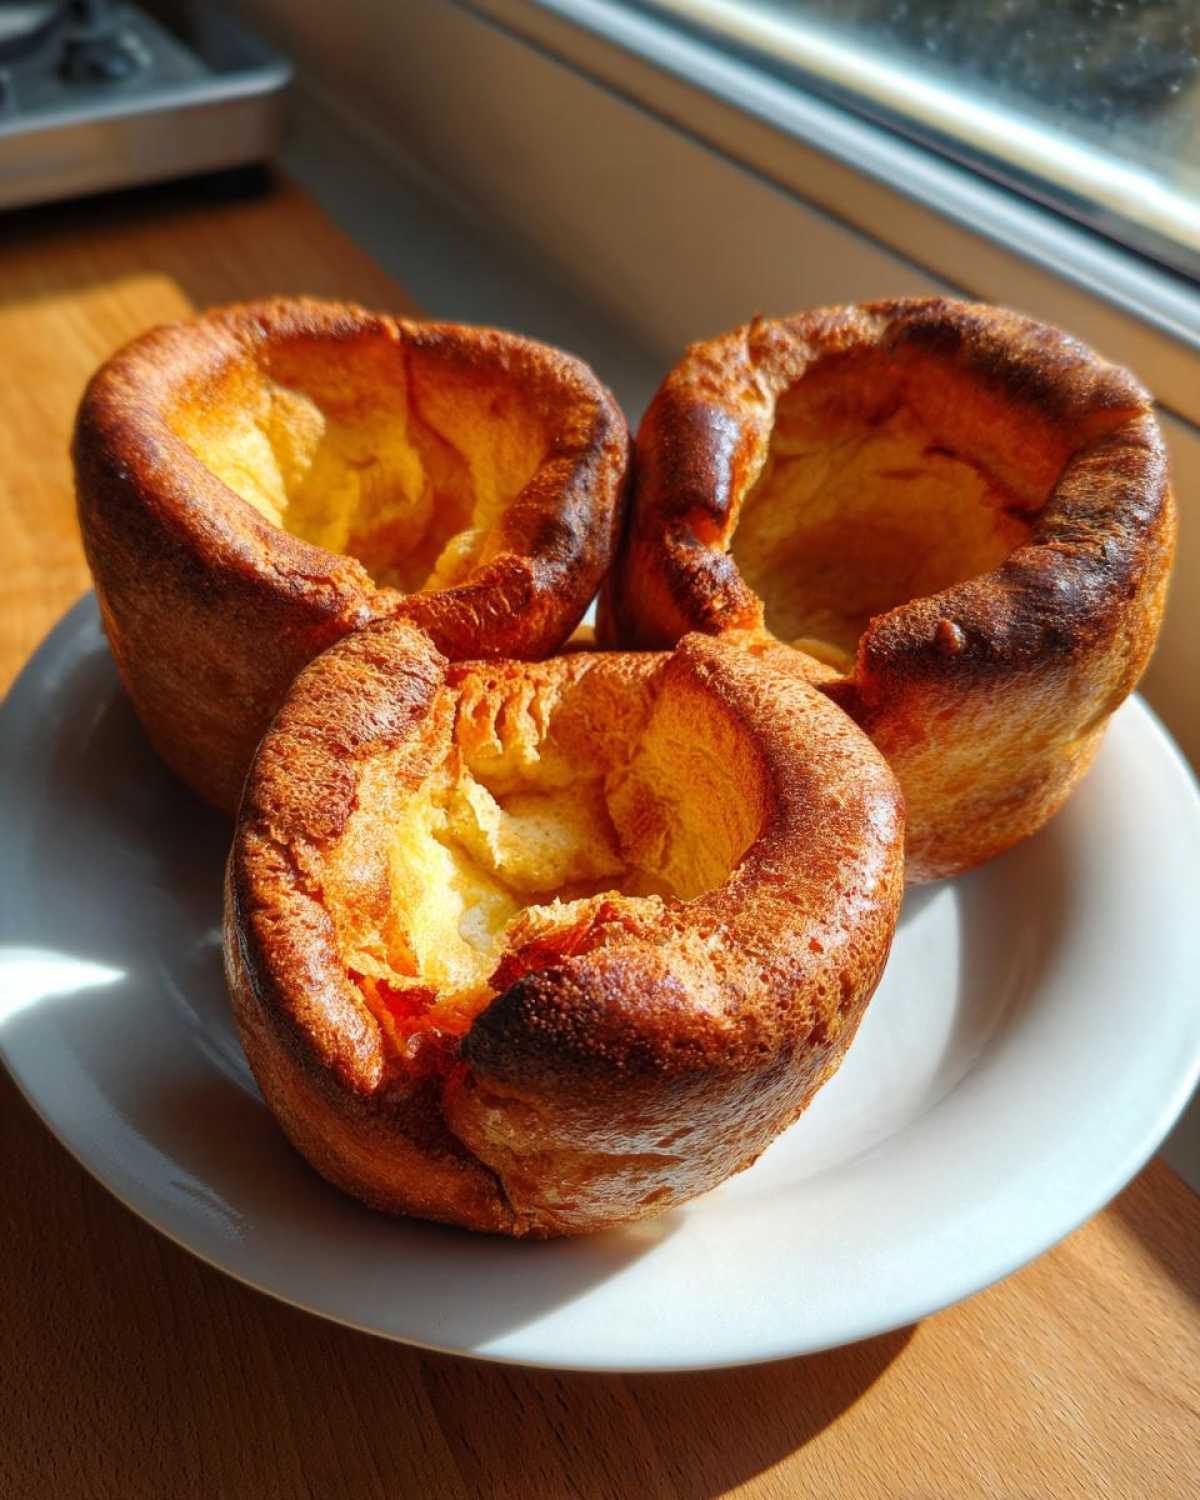
If you are serious about getting the absolute tallest rise possible, ditch the vegetable oil just this once and go for beef dripping—it has a higher smoke point, meaning you can get the fat hotter without burning it before the batter even hits the pan. That extra burst of high heat really helps initiate the lift. If you’re looking for other ways to get maximum crispness with minimal effort, you should absolutely check out how we manage our air fryer baked potatoes.
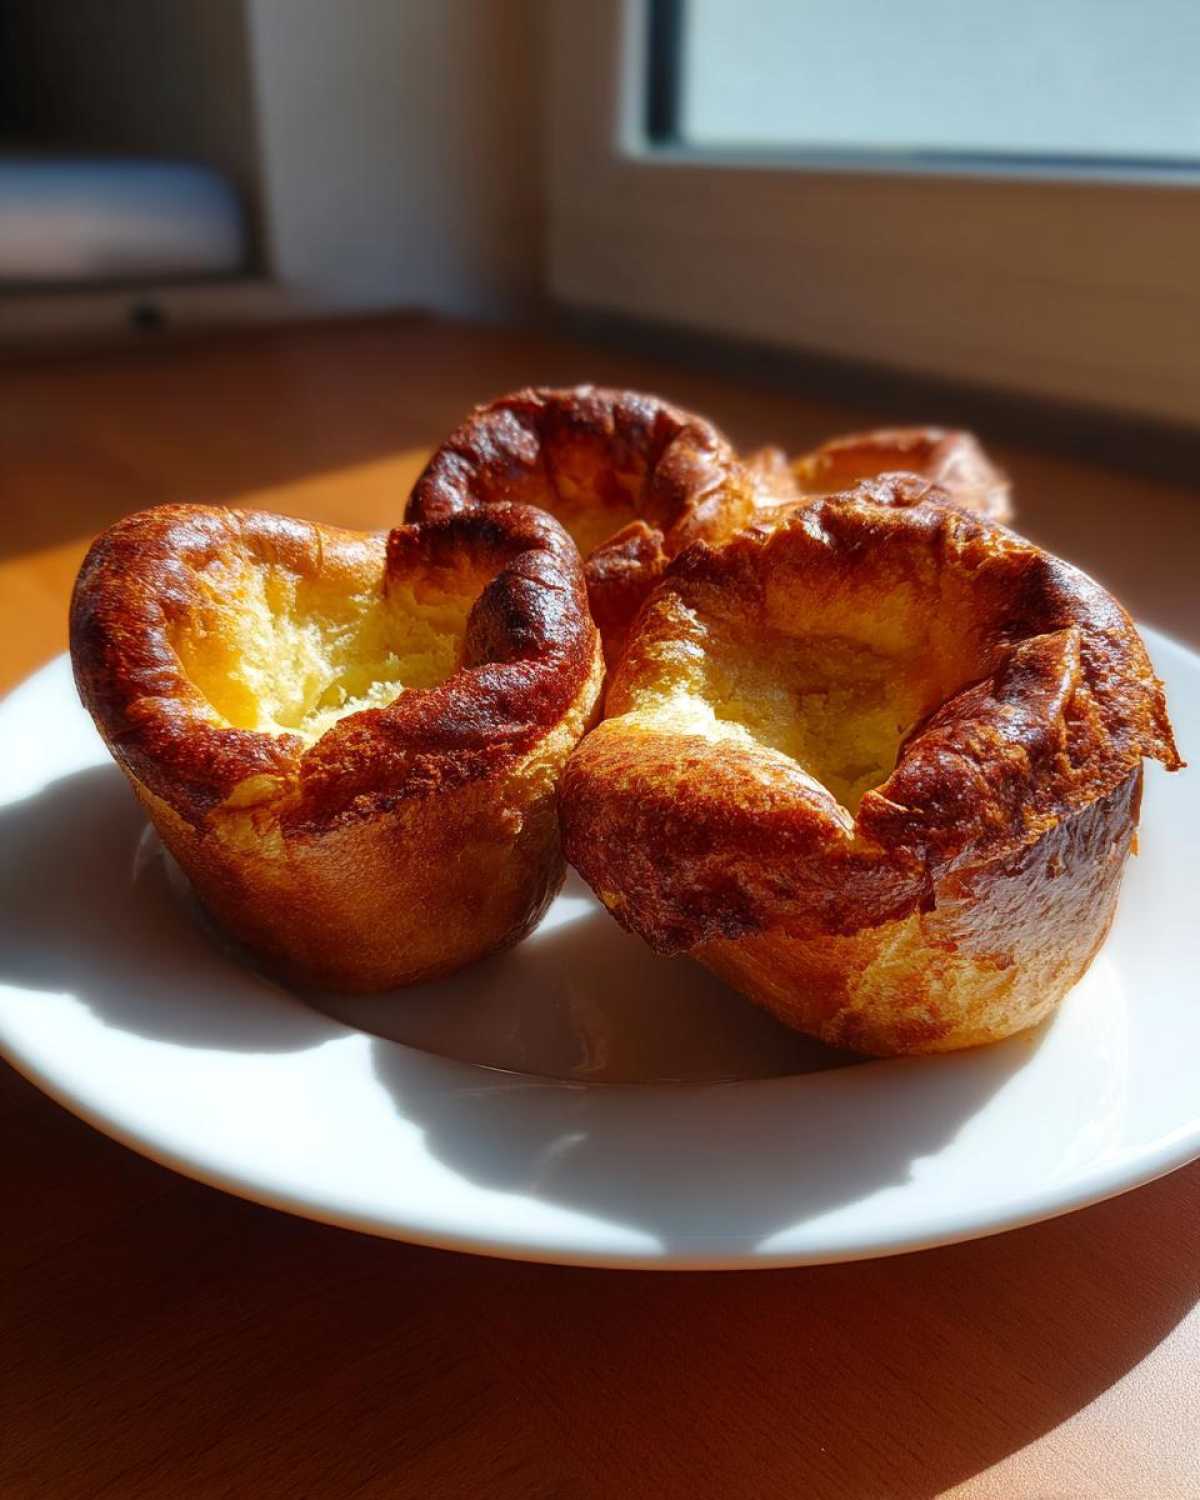
Now, about pan sizes: this recipe is scaled perfectly for 12 individual cups, which is what gives you those lovely high sides. If you want to make one massive Yorkshire pudding for soaking up all the gravy—which, let’s be honest, is the ultimate goal—you can use a 9×13 inch roasting pan. Just remember that because the heat takes longer to penetrate the center of one giant pudding compared to 12 small ones, you’ll need to add about 10 more minutes to the baking time. When in doubt, always rely on checking for that deep golden brown color, like this brilliant guide suggests on perfecting popovers.
Serving Suggestions for this Traditional British Side Dish
Honestly, I don’t know why anyone would bother making this amazing hot dish without planning what sweet, savory gravy is going to fill its glorious cavern! This classic is truly the ultimate Traditional British Side Dish, designed purely to accompany a huge, juicy roast. Obviously, roast beef is the gold standard—the kind of beef that makes the house smell incredible all afternoon.
But please, don’t forget the accompaniments! We make sure we always have bowls of creamy mashed potatoes and perfectly roasted carrots ready. And the gravy? It needs to be thick, rich, and plentiful enough to pour right into the center of that crispy well you created. If you are making prime rib, pairing our puddings with a sharp homemade horseradish sauce really cuts through the richness.
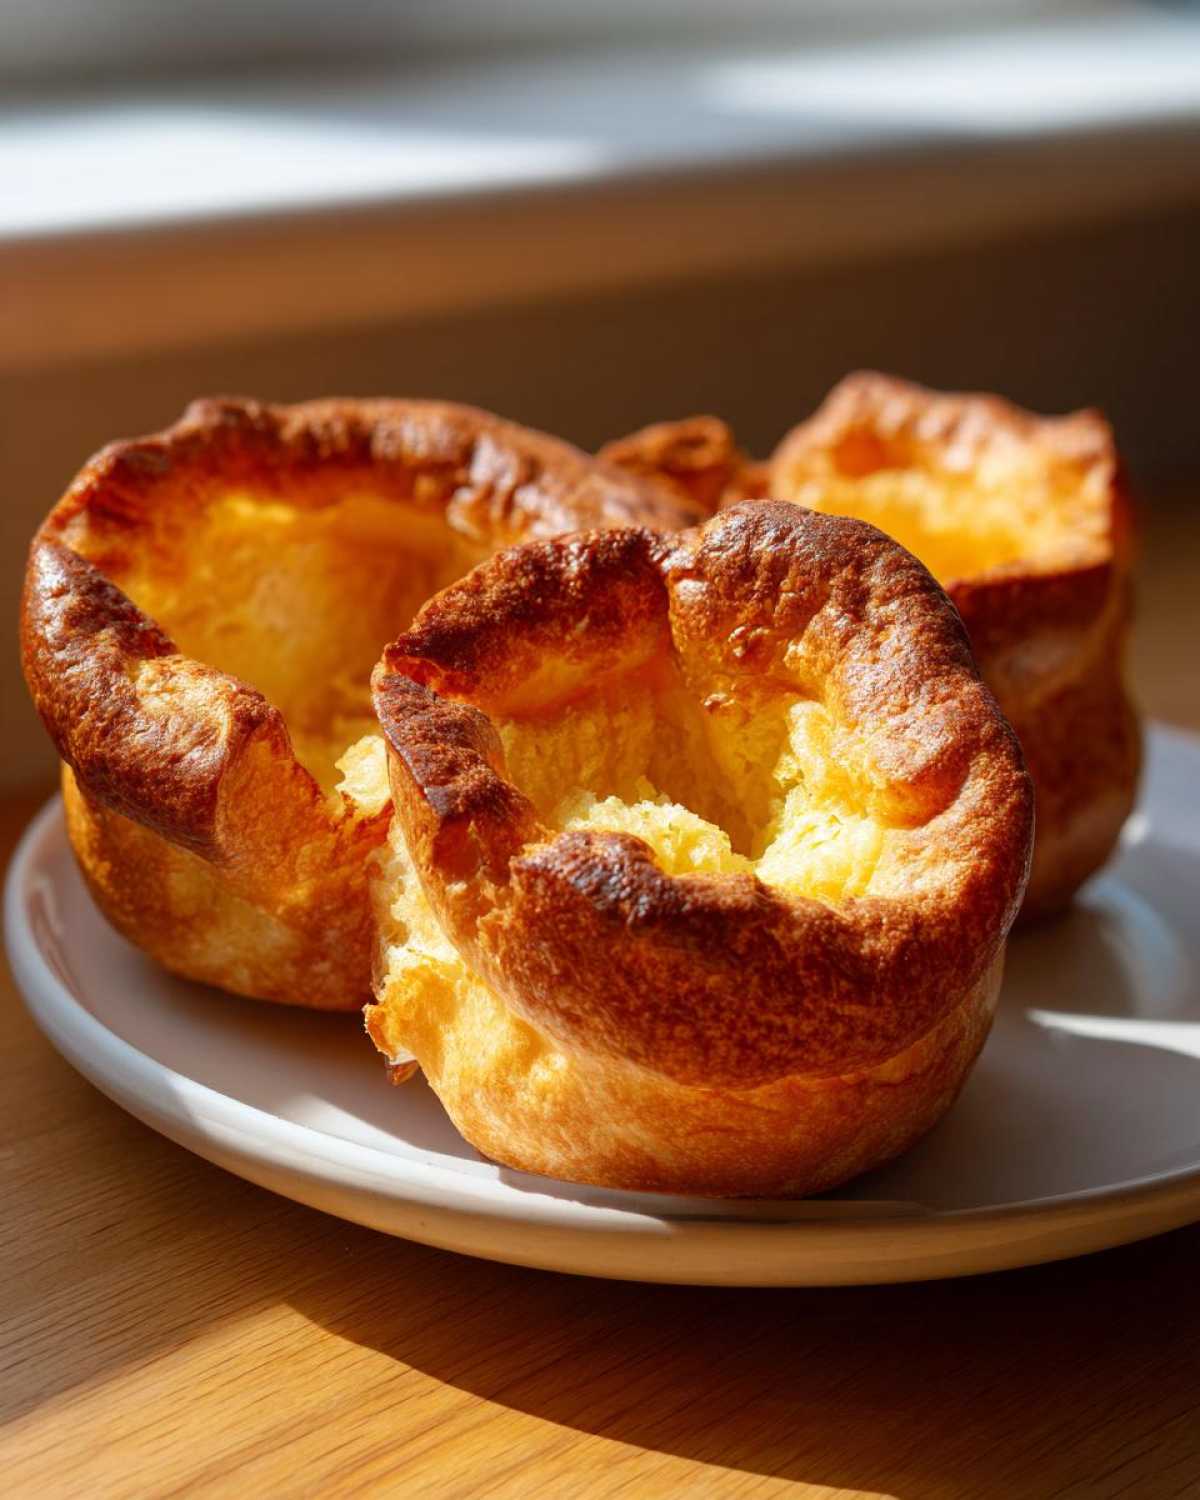
Variations: Making Gluten Free Yorkshire Pudding or Puffy Popovers
Just because this is our classic recipe doesn’t mean we can’t tweak it a little, right? Amelia and I are all about making sure everyone can enjoy the joy of a perfectly risen side dish. If you need a Gluten Free Yorkshire Pudding version, the great news is that the technique is exactly the same! You just need to substitute the standard all-purpose flour with a good quality 1:1 gluten-free baking blend. Make sure the blend you choose has xanthan gum included, or you might need to add just a pinch yourself.
Also, I wanted to mention that if you ever skip the beef and decide you just want a giant, fluffy bread accompaniment for any meal—say, smothered in butter and jam—you are actually making Puffy Popovers! The method for making amazing Puffy Popovers is identical to this yorkshire pudding method. It’s all about the batter consistency and the extreme heat. For anyone trying the GF route, one of our favorite resources that’s given consistent results is this guide to gluten-free puddings. We also use similar ratios for achieving high lift in our old-fashioned pancakes!
Storage and Reheating Your Perfect Yorkshire Pudding
Okay, full disclosure: nothing beats a Yorkshire pudding fresh from the broiler, right out of the oven. They are totally at their peak fluffiness and crispness within about ten minutes of coming out. That initial puff is fragile, honey!
If you do have leftovers (which is rare at our house once the gravy comes out), don’t bother with the microwave—that’s just sad, soggy death for a pudding. Instead, store them loosely covered on the counter for a day, or freeze them flat if you need longer. The best way to revive them and bring back that glorious crisp is slamming them back into a hot oven. Set your oven to about 375°F and bake them for about 5 to 7 minutes until they feel light and crispy again. We use a similar quick-bake method for our oven-baked BBQ chicken when we need fast results!
Frequently Asked Questions About Yorkshire Pudding
Even with the best blueprint, sometimes questions pop up when you’re standing over the oven door, nervously wondering if you can peek. We’ve compiled the most common things Amelia and I get asked about making the perfect yorkshire pudding. Honestly, most issues come down to timing, not ingredients!
Troubleshooting: Why Won’t My Yorkshire Pudding Rise?
If your puddings look flat, I almost guarantee you hit one of two snags: either your fat wasn’t hot enough—it needs that smoke—or you opened the oven door too soon! If you check them before the 20-minute mark, the sudden drop in temperature collapses the steam structure you worked so hard to build. Cold batter hitting hot fat, hot oven, and *don’t open the door*—that’s the magic trilogy for the tallest results.
Can I make the Yorkshire Pudding Batter Ahead of Time?
Yes, you absolutely can, and I actually encourage it! Letting the batter rest is key to a better texture; it relaxes the gluten. While 30 minutes is the minimum for decent results, we find that leaving it covered in the fridge for about 4 hours gives you the most consistently Fluffy Yorkshire Puddings. Don’t leave it much longer than 12 hours, though, because quality declines a bit.
Are people always asking about how ours compare to the famous chefs? Well, people often compare our results to the Gordon Ramsay Yorkshire Pudding, and honestly, the approach is the same: high heat is everything! If you have more burning questions, feel free to browse our general blog archives for more chef secrets.
Nutritional Estimates for Homemade British Comfort Food
Now, Jacob and I focus way more on flavor than counting calories, but since Amelia loves data, we ran rough estimates for one individual pudding using standard white flour and vegetable oil. Please remember these numbers are just a guess, not lab-tested proof! This recipe is surprisingly straightforward ingredients-wise, making it quite economical. For one fluffy pudding, you’re looking at roughly 120 calories, about 6 grams of fat, and 5 grams of protein. If you switch to beef dripping, those fat numbers will definitely climb up a touch! If you’re curious about how we track nutrition when we decide to make something lighter, check out my notes on our grape salad recipe.
Share Your Perfect Yorkshire Pudding Success
Okay, now the fun part! Did you achieve peak puffiness? I genuinely want to know! When you master this ultimate yorkshire pudding recipe, please come back and leave a rating or drop a comment below telling us how tall yours rose. Seeing readers succeed with Jacob’s techniques is why we love building this portfolio. If you managed a perfect batch for your Sunday Roast, feel free to share a photo on social media and tag us—we always look for those golden babies! Next time you need a quick victory, try out our honey garlic chicken.
PrintThe Perfect Foolproof Yorkshire Pudding: Crispy Outside, Fluffy Inside

Follow this simple recipe to make classic British Yorkshire puddings that are golden brown, incredibly crispy on the outside, and light and airy inside. This is the best Yorkshire pudding recipe for your Sunday roast.
- Prep Time: 10 min
- Cook Time: 25 min
- Total Time: 35 min
- Yield: 12 individual puddings
- Category: Side Dish
- Method: Baking
- Cuisine: British
- Diet: Vegetarian
Ingredients
- 4 large eggs
- 1 cup all-purpose flour
- 1 cup whole milk
- 1/2 teaspoon salt
- Vegetable oil or beef dripping, for the tin
Instructions
- Combine the flour and salt in a large bowl. Make a well in the center.
- Crack the eggs into the well. Begin whisking the eggs slowly, gradually incorporating the flour from the sides.
- Slowly pour in the milk while continuously whisking until you have a smooth, thin batter, similar in consistency to heavy cream. Do not overmix; a few small lumps are acceptable.
- Cover the bowl and let the batter rest in the refrigerator for at least 30 minutes, or up to 12 hours. Resting the batter helps the gluten relax, leading to a better rise.
- Preheat your oven to 450°F (230°C). Place a 12-cup muffin tin (or a large roasting tin for one large pudding) into the oven while it preheats.
- Add about 1/2 inch of vegetable oil or beef dripping into each cup of the hot tin. The fat must be smoking hot before you add the batter. This step is key for a good rise.
- Carefully remove the hot tin from the oven. Quickly and evenly pour the cold batter into the hot fat, filling each cup about two-thirds full. Work fast to keep the fat hot.
- Immediately return the tin to the oven. Do not open the oven door for the first 20 minutes of baking.
- Bake for 20 to 25 minutes, or until the puddings are dramatically puffed up, deep golden brown, and crisp.
- Serve immediately with your roast dinner and gravy.
Notes
- For the tallest rise, use beef dripping instead of oil, as it has a higher smoke point.
- The temperature difference between the cold batter and the smoking hot fat is essential for the initial puff.
- If you are making one large Yorkshire pudding, the cooking time may be slightly longer, around 30 to 35 minutes.
- This recipe makes individual Yorkshire puddings. For a large pudding, use a 9×13 inch roasting pan and increase the fat slightly.
Nutrition
- Serving Size: 1 pudding
- Calories: 120
- Sugar: 1
- Sodium: 150
- Fat: 6
- Saturated Fat: 2
- Unsaturated Fat: 4
- Trans Fat: 0
- Carbohydrates: 13
- Fiber: 0
- Protein: 5
- Cholesterol: 60