

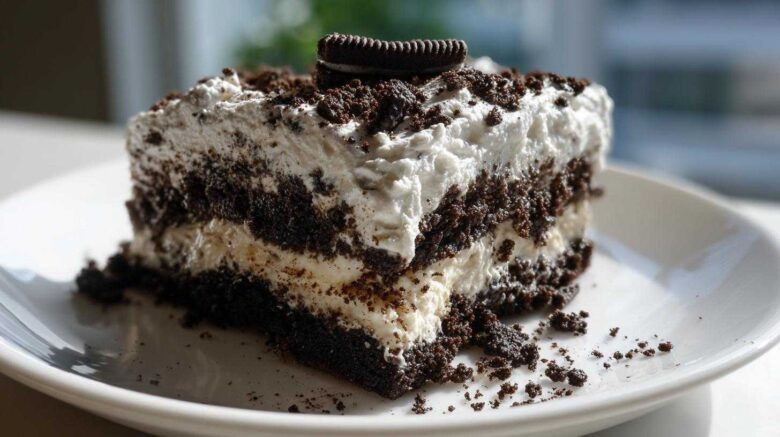
The Ultimate No-Bake oreo dirt cake: A Curated Family Favorite
No heading needs to be written for the introduction. This dessert is pure magic. It’s creamy, it’s crunchy, and it always disappears fast. I remember Amelia planning the perfect party menu. She found so many versions online. We needed something simple yet amazing. That’s how we perfected our classic oreo dirt cake recipe. I took her detailed notes. Then, I brought the flavor to life. This layered dessert is now a staple in our home. It truly shows our collaboration. It’s proof that structure and creativity make a great team. Get ready for a sweet, no-bake win. This treat is wonderfully nostalgic for everyone.
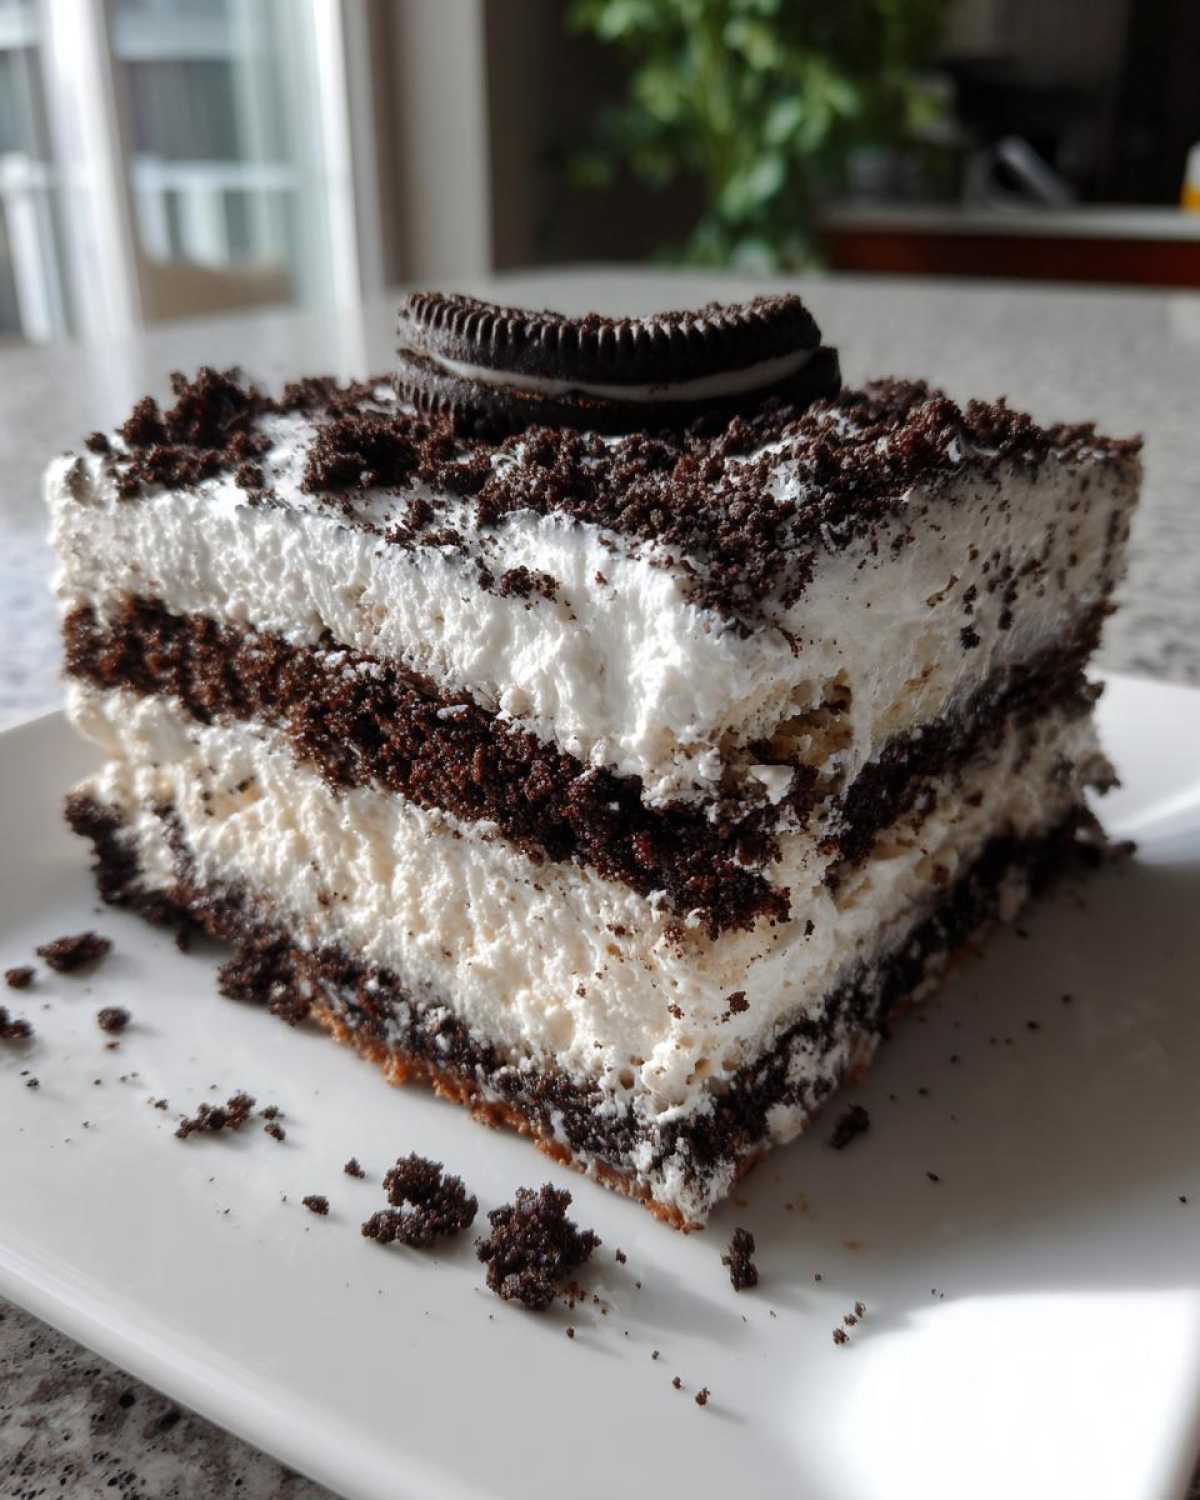
Why You’ll Love This oreo dirt cake Recipe
This layered dessert is a true winner. It requires zero oven time. You can whip it up in a flash. We know you’ll adore making this treat.
- Prep time flies by in just 20 minutes.
- No oven needed for this simple dessert.
- It pleases kids and grown-ups alike.
- Perfect for any last-minute gathering.
Quick Assembly for Busy Planners
I love how fast this comes together. Amelia plans everything so well. You only spend about 20 minutes assembling. That leaves so much time for fun things. It’s structured simplicity at its best, truly.
A Nostalgic, Crowd-Pleasing Hit
Seriously, who doesn’t love Oreos? This dessert is pure fun. Kids always ask for the gummy worms. It makes any party feel instantly special. This is always the first thing gone.
Essential Equipment for Your oreo dirt cake Project
Knowing your tools helps the process flow. A good setup makes this easy. I always gather everything first, Amelia style. You need a few simple things here.
- Large mixing bowls for combining parts.
- A big serving dish or individual cups.
- Measuring cups and spoons, naturally.
- A sturdy rubber spatula for folding.
- Jacob suggests a food processor for the crumbs!
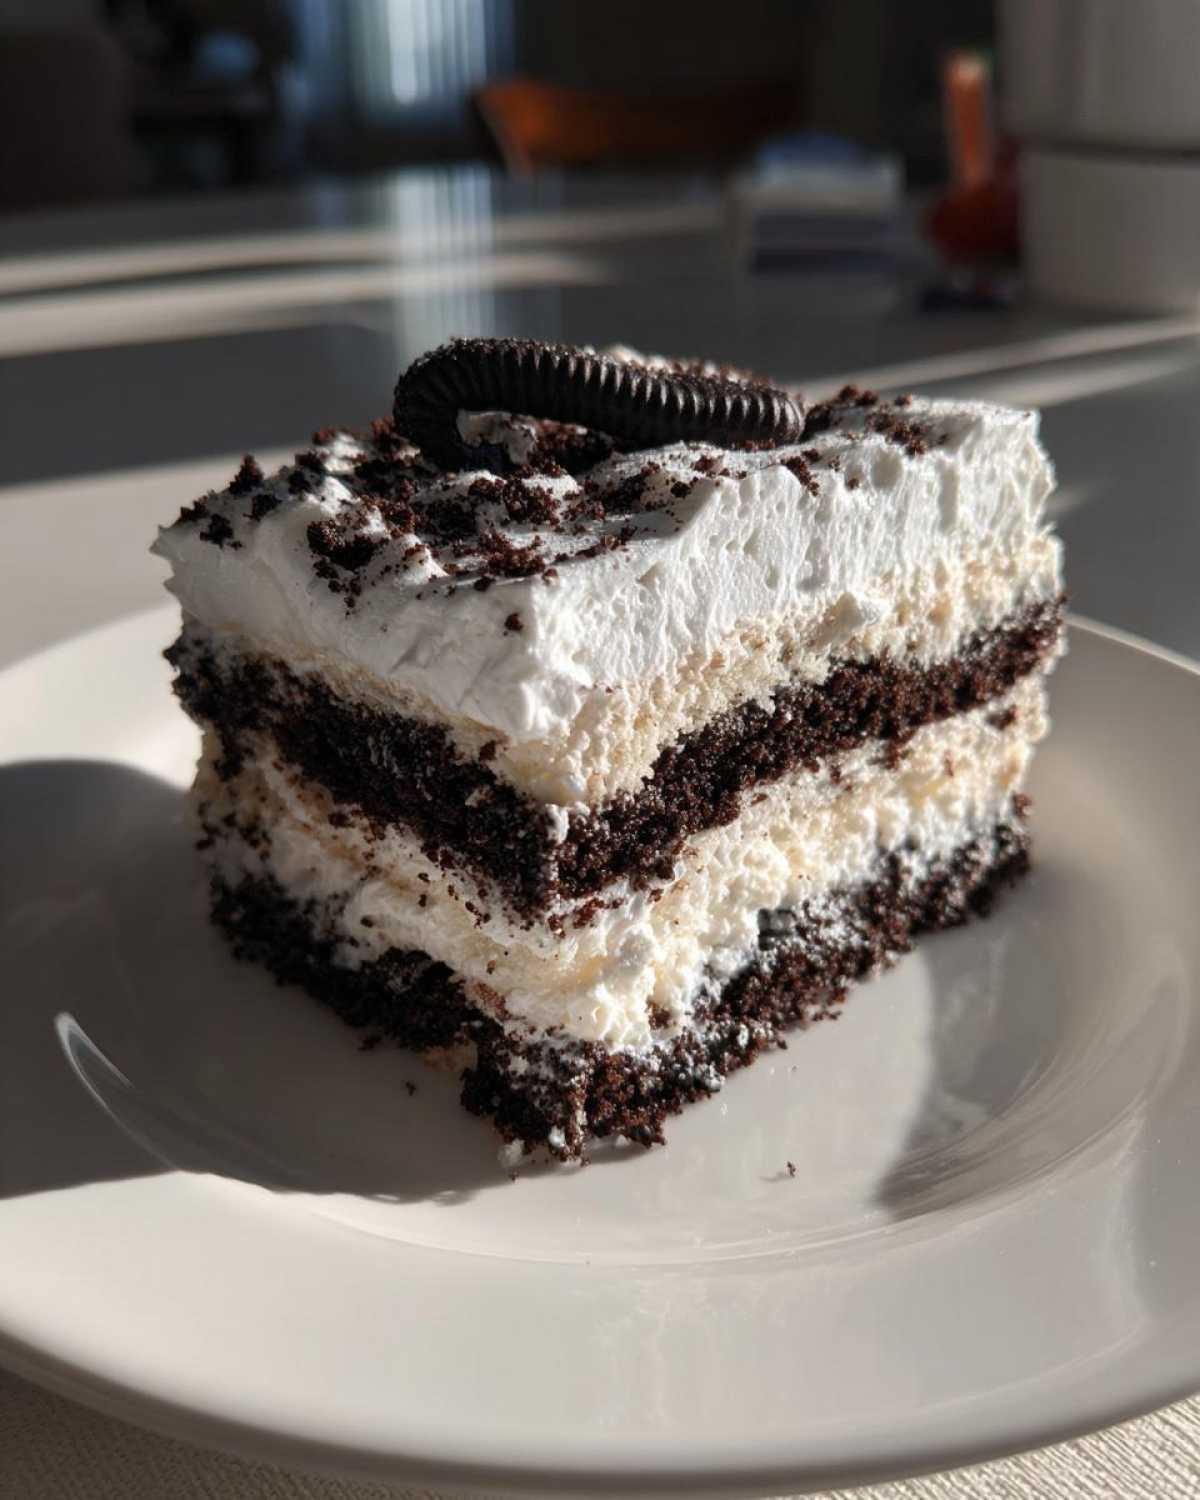
Ingredients for the Perfect oreo dirt cake Layers
Getting the right components matters greatly. These ingredients create that classic creamy texture. Remember, precision helps our final product shine. We list the exact amounts here for you.
- 2 packages (3.9 oz each) instant vanilla or chocolate pudding mix.
- 3 cups cold milk, just like the box says.
- 1 container (8 oz) frozen whipped topping, thawed.
- 1 package (14.3 oz) Oreo cookies, ready to crush.
- 1/2 cup butter, melted (this is optional but richer).
- Gummy worms for the fun decoration.
Cookie Crumb Preparation Details
Crushing the cookies is key to the structure. Use a food processor if you can. It makes the crumbs super fine. Make sure you set aside one full cup of crumbs. That reserved cup is for the top layer only. Don’t skip this important step!
Pudding and Cream Component Notes
Use very cold milk for the pudding. This helps it set up fast. Thaw your whipped topping completely beforehand. Folding it in gently keeps the mixture airy. We want light layers, not dense ones, you see.
Step-by-Step Instructions for Assembling Your oreo dirt cake
Now for the fun part, bringing Amelia’s plan to life! This is where we build our masterpiece layer by layer. Follow these steps closely. You’ll have a fantastic no bake dessert ready soon. The assembly moves quickly once you have your crumbs ready.
Creating the Creamy Pudding Base
First, whisk your pudding mix with the cold milk. Do this until it starts to thicken slightly. Let it sit for about five minutes. This helps it set up nicely. Next, take your thawed whipped topping. Gently fold half of it into the pudding mixture. Use a spatula for this folding action. Keep it light and airy, please. Don’t overmix the components.
Layering the oreo dirt cake Components
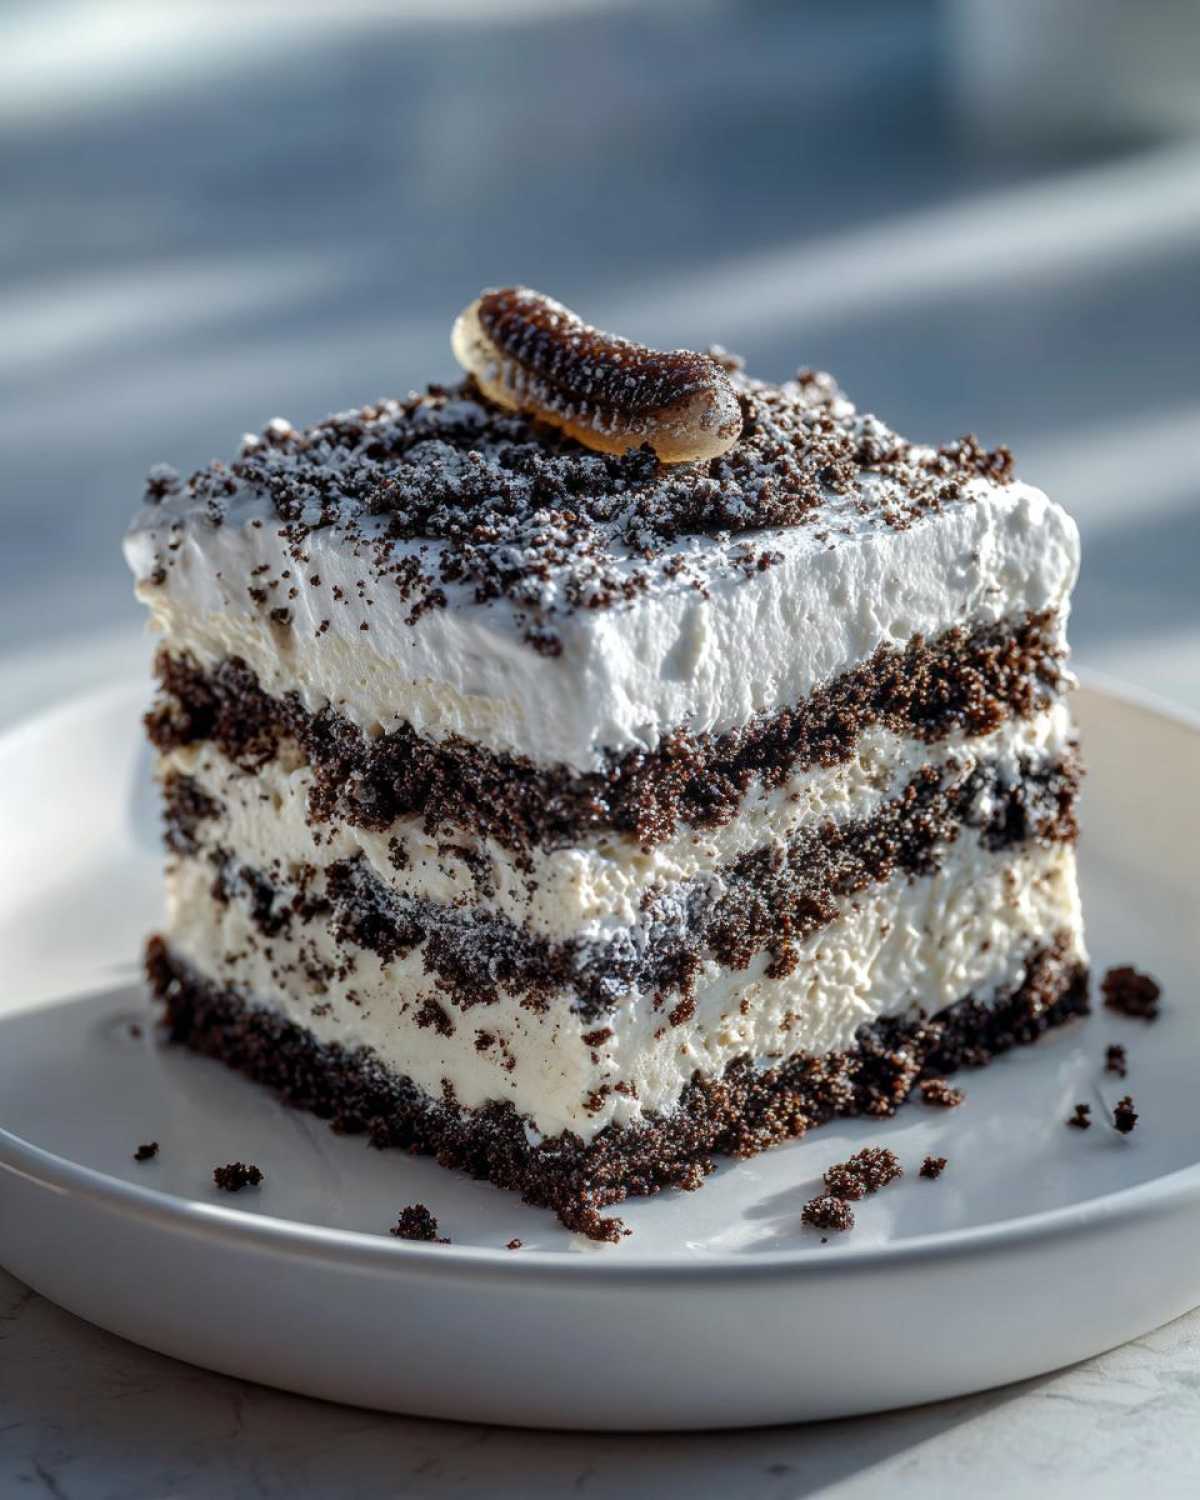
Grab your large serving dish now. Spread half of your crushed Oreos evenly on the bottom. Press them down just a little bit. If you are using butter, mix it with the remaining crumbs first. Now, spread half of the creamy pudding mixture over that cookie base. Repeat the process exactly. Add the rest of the crumbs on top of that pudding layer. Finish with the remaining pudding mixture spread smooth.
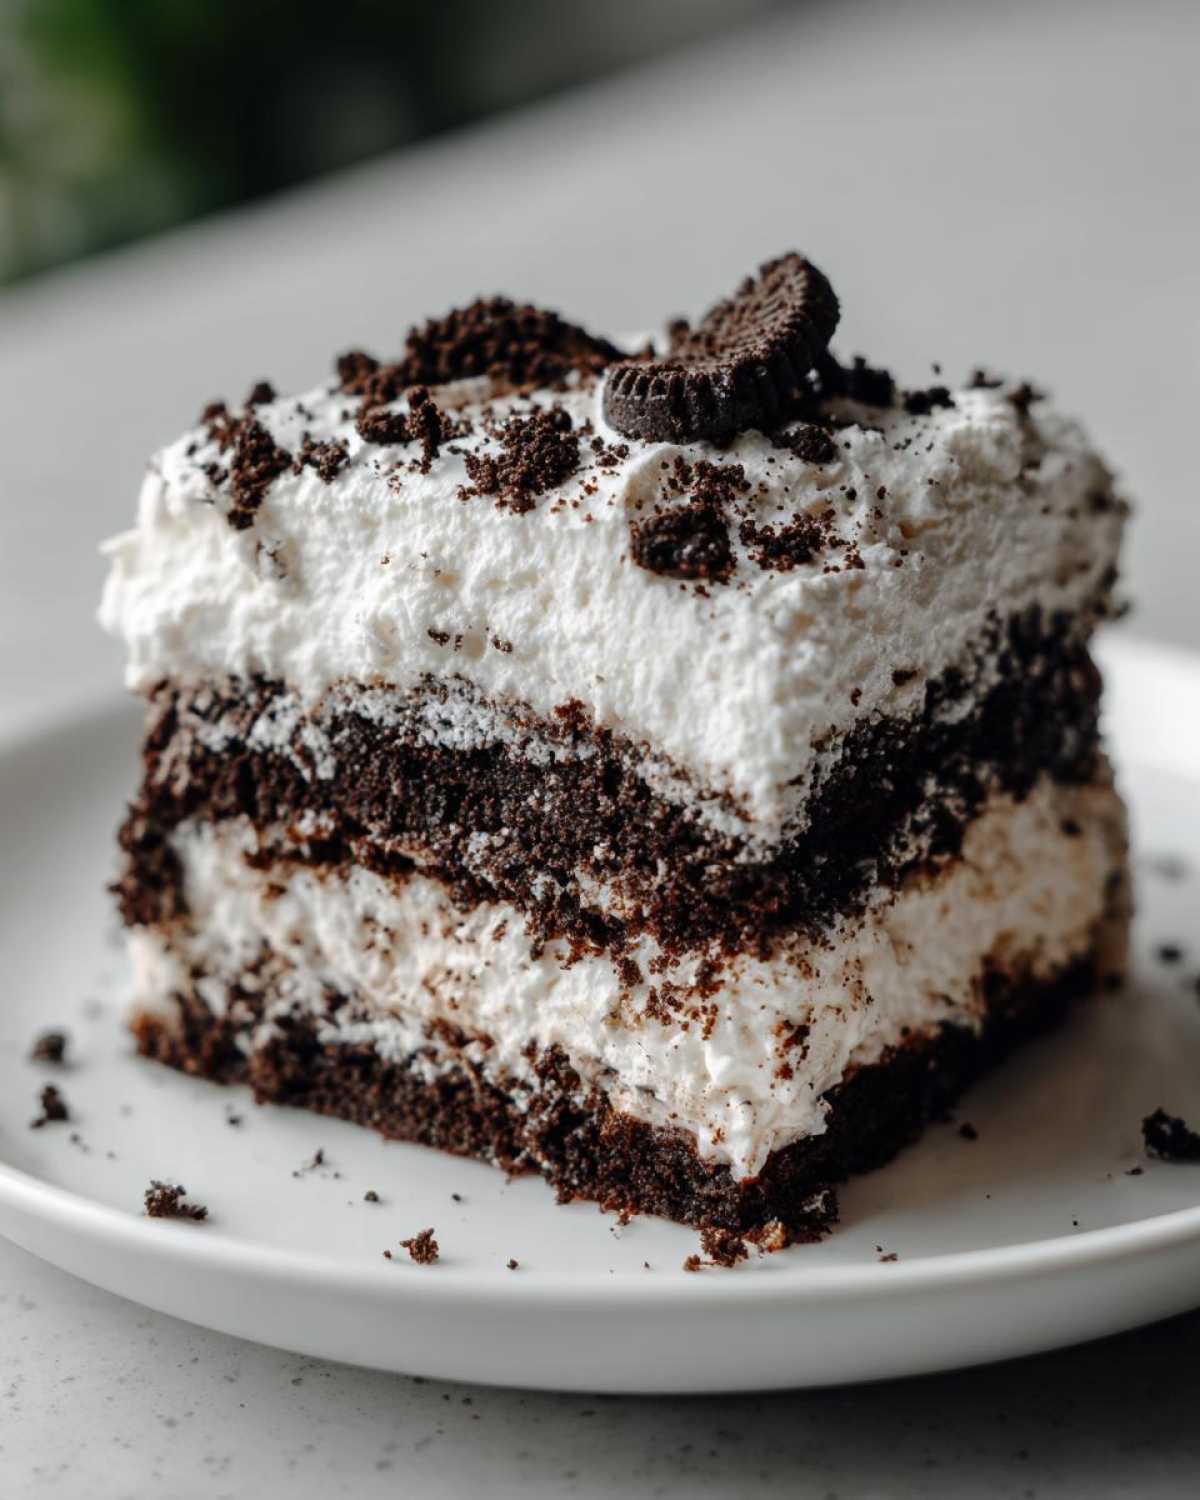
The Final Dirt Topping and Chill Time
Time for the finishing touches. Spread the last bit of whipped topping over the very top. Make sure it looks nice and smooth. Sprinkle that reserved cup of crushed Oreos all over. This creates the perfect ‘dirt’ look. Stick your gummy worms in strategically. They should look like they are crawling out! Remember this is crucial. You must chill this for two hours minimum. This allows the structure to firm up right.
Tips for Success with Your No-Bake oreo dirt cake
Even a simple recipe needs a few expert nudges. I learned these tricks making this dessert many times. These tips help ensure your cake sets perfectly. They also boost the flavor profile a bit.
- Chill time is not flexible; it is essential.
- Use a food processor for the best crumbs.
- Taste your pudding before you layer it all in.
Flavor Adjustments and Presentation Swaps
Want a deeper, richer taste? Swap vanilla pudding for chocolate pudding. That gives the cake a more intense experience. Sometimes we make individual servings. Assembling this dessert in clear cups looks fantastic. It lets everyone see those lovely layers you made. It also makes serving super simple later on. For more fun recipe ideas, check out our blog.
Frequently Asked Questions About oreo dirt cake
We get so many questions about this recipe! It’s a popular project, after all. Here are answers to the things readers often ask. We want your no bake dessert to be perfect.
Can I make this oreo dirt cake ahead of time?
Yes, you absolutely can make it early. I suggest making it the day before serving. This allows maximum setting time. Store it covered in the fridge. It keeps well for up to two days total.
What kind of pudding works best for dirt cake?
Instant pudding mix is the required type here. Do not use the cook-and-serve kind. We need that fast setting action. Vanilla is classic, but chocolate is great too. Chocolate deepens the flavor profile nicely.
Do you need an even richer layered dessert? Try using half vanilla and half chocolate pudding mixes together. That gives you a nice middle ground flavor. It always tastes wonderful.
Storage and Reheating Instructions for Leftover oreo dirt cake
This creamy dessert tastes best fresh. Store any leftovers tightly covered. Keep your oreo dirt cake in the refrigerator always. It stays good for about two days. Please do not try to reheat this dessert. Heat ruins the whipped topping texture. It will just turn soupy quickly. Enjoy the cold, set layers instead!
Disclaimer on Nutritional Information
We aim for total transparency here. Please know that nutrition facts are estimates only. They are based on standard ingredient brands. Your final serving size varies greatly. Factors like exact brand usage change things. We did not perform lab testing on this batch. Use these numbers as a general guide only. They help you plan your meals better. For more information on recipe disclaimers, see our disclaimer page.
Share Your Taste Portfolio Project
We loved sharing our perfected recipe with you. Now, it’s your turn to try it out. Did you make this wonderful oreo dirt cake? We truly hope it was a hit for your family. Tell us about your experience below. Leave a rating for us. Share pictures of your gummy worms, too! If you are interested in the science behind why no-bake desserts set well, you can read more about gelation in food science.
PrintAmazing No-Bake oreo dirt cake in 20 Minutes

You will make the ultimate no-bake Oreo Dirt Cake. This layered dessert combines crushed Oreos, creamy pudding, and whipped topping for a simple, crowd-pleasing treat. Jacob perfected this recipe based on Amelia’s detailed planning.
- Prep Time: 20 minutes
- Cook Time: 0 minutes
- Total Time: 2 hours 20 minutes (includes chilling)
- Yield: 10-12 servings
- Category: Dessert
- Method: No-Bake
- Cuisine: American
- Diet: Vegetarian
Ingredients
- 2 packages (3.9 oz each) instant vanilla or chocolate pudding mix
- 3 cups cold milk
- 1 container (8 oz) frozen whipped topping, thawed (or equivalent homemade whipped cream)
- 1 package (14.3 oz) Oreo cookies, crushed
- 1/2 cup butter, melted (optional, for a richer base)
- Gummy worms (for decoration)
Instructions
- Crush the entire package of Oreo cookies into fine crumbs. Set aside about 1 cup of crumbs for the topping.
- Prepare the pudding mix according to package directions, using the cold milk. Let it set for about 5 minutes until slightly thickened.
- Gently fold half of the thawed whipped topping into the prepared pudding until just combined.
- If using, mix the melted butter into the remaining crushed Oreos for a slightly richer base layer.
- In a large serving dish (or individual cups), create the first layer using half of the Oreo crumb mixture. Press down lightly.
- Spread half of the pudding mixture evenly over the Oreo layer.
- Repeat the layers: remaining Oreo crumbs, then the remaining pudding mixture.
- Top the entire cake with the remaining whipped topping. Spread it smoothly.
- Sprinkle the reserved 1 cup of crushed Oreos over the top layer to resemble dirt.
- Decorate with gummy worms poking out of the ‘dirt.’
- Refrigerate for at least 2 hours before serving to allow the cake to set completely.
Notes
- You can use chocolate pudding for a deeper flavor profile.
- For individual servings, assemble this in clear plastic cups.
- Chill time is crucial for the structure of the cake.
- Jacob suggests using a food processor for quick, uniform cookie crumbs.
Nutrition
- Serving Size: 1 slice
- Calories: Approx. 350
- Sugar: Approx. 35g
- Sodium: Approx. 300mg
- Fat: Approx. 18g
- Saturated Fat: Approx. 10g
- Unsaturated Fat: Varies
- Trans Fat: Trace
- Carbohydrates: Approx. 45g
- Fiber: Approx. 1g
- Protein: Approx. 4g
- Cholesterol: Approx. 15mg