

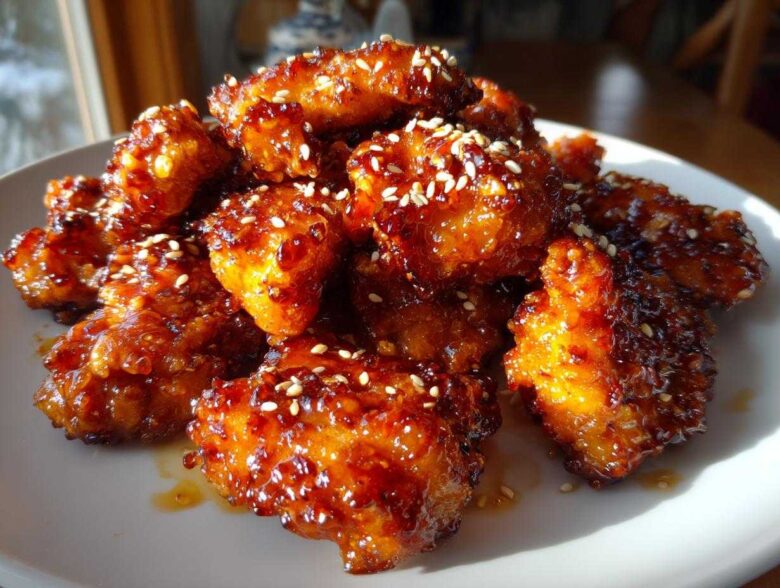
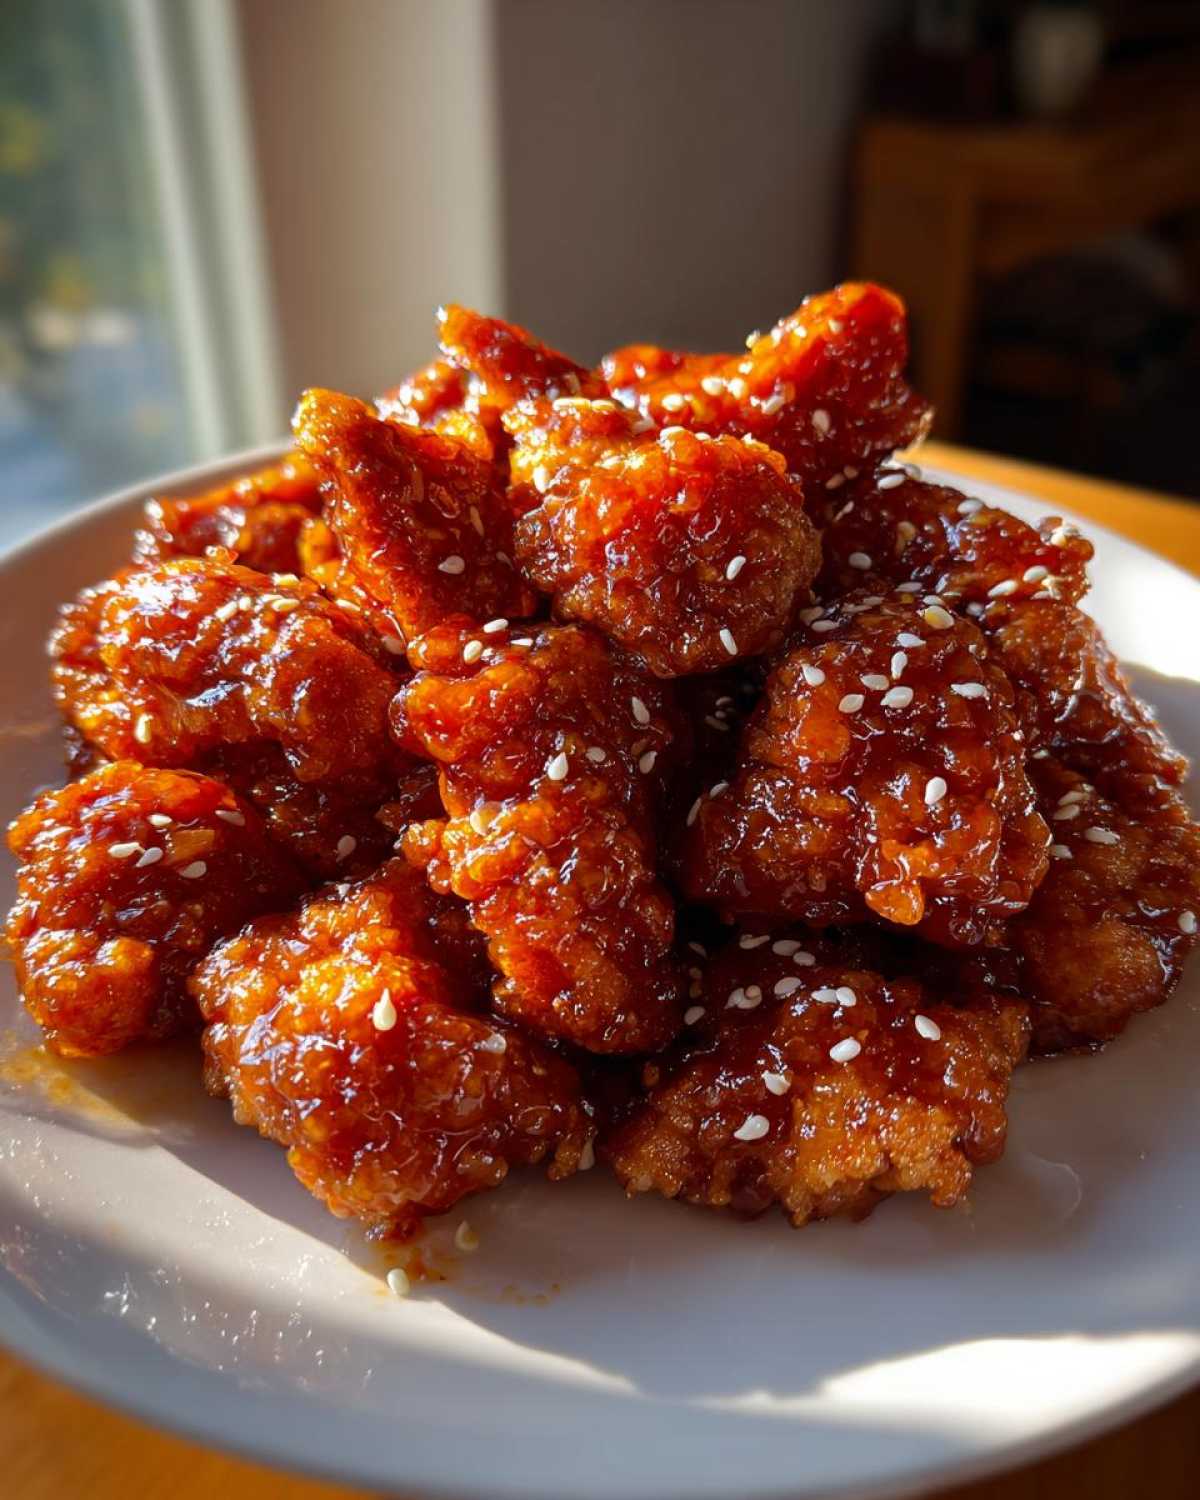
You know that feeling, right? That specific, deep-down craving where only golden, sticky, slightly fried chicken drenched in bright citrus sauce will do. For years, I’d obsessively research the best delivery spots, but Jacob would just smile and say, “We can do better at home.” And honestly, he was so right! Amelia (that’s me, the planner) provided the blueprint—the relentless recipe hunting—and Jacob (the artist) brought the intuition. This resulted in what I truly believe is the ultimate 30-minute, crispy, better-than-takeout orange chicken recipe. It has that perfect sticky orange glaze, and it’s faster than the driver can find our apartment complex. Trust me, this one is going straight into our permanent portfolio!
We use this easy chicken recipe constantly for quick weeknight meals, pairing it perfectly with our easy chicken fried rice.
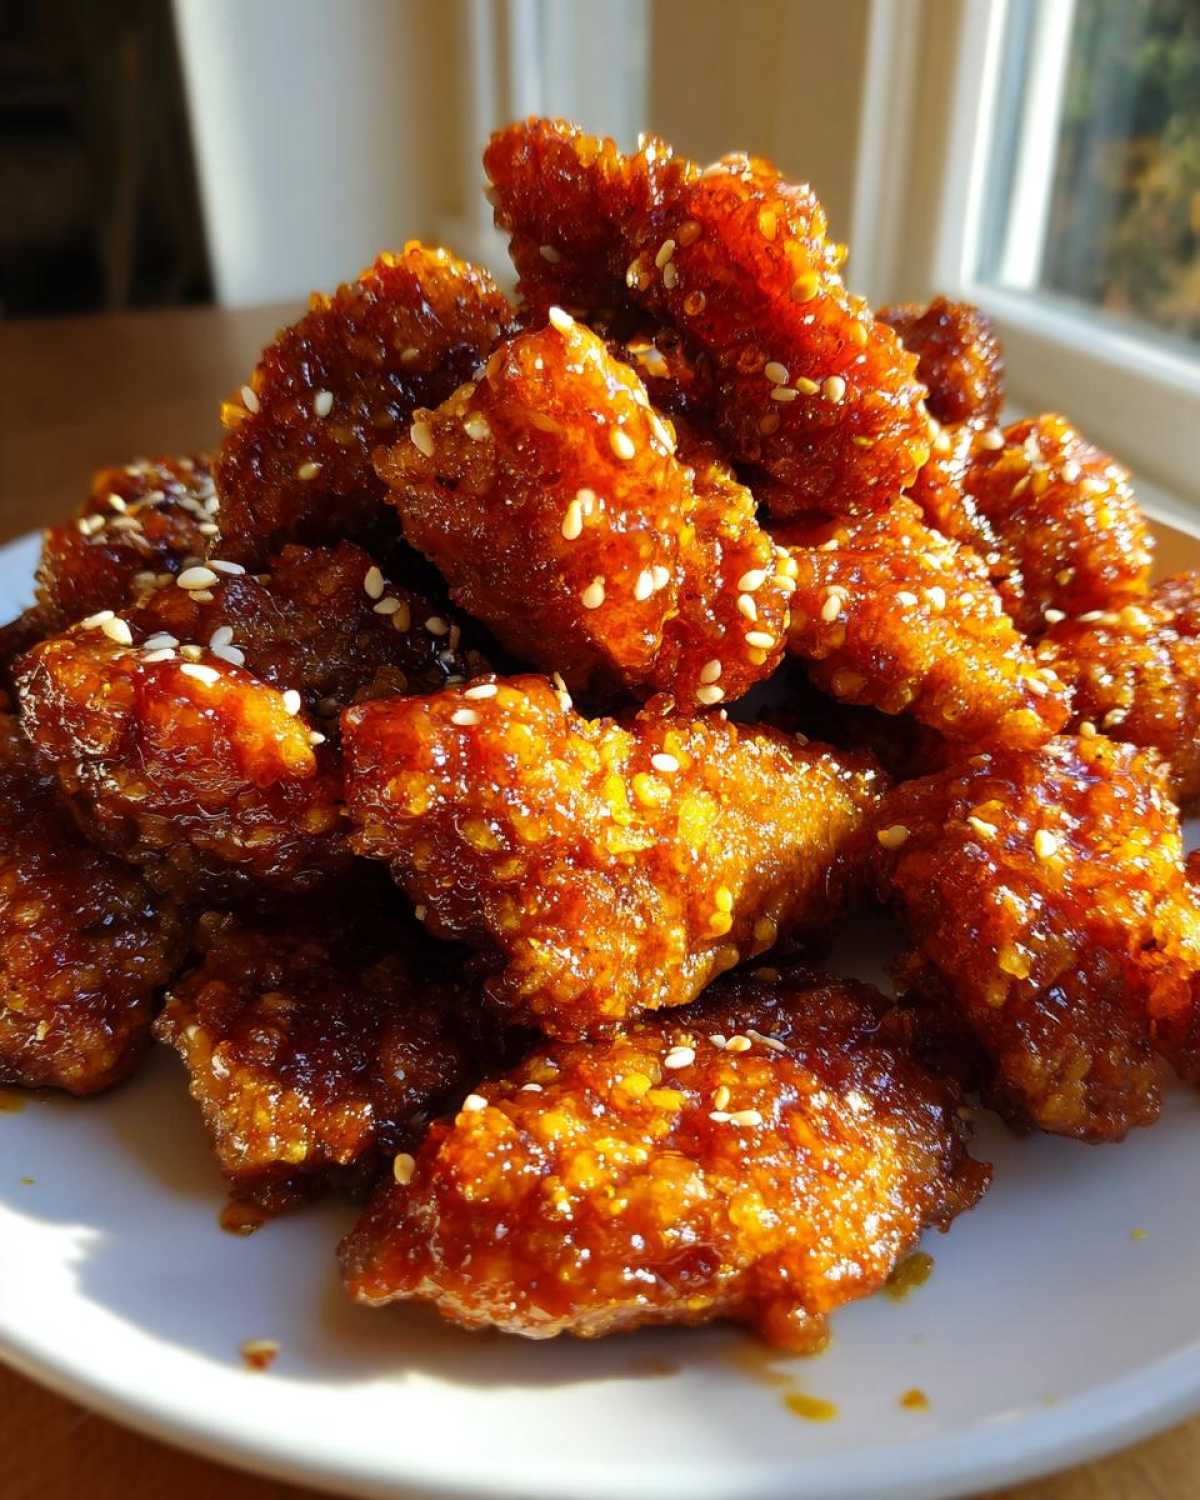
Why This Orange Chicken Recipe Beats Delivery Every Time
When we put this together, we knew we weren’t just making dinner; we were solving a major weeknight problem. Forget waiting an hour for takeout only to find soggy chicken! This recipe nails that restaurant quality in about 30 minutes flat. Jacob figured out the exact coating ratio that really locks in the crunch, which is honestly my favorite part about it.
Here’s why this specific Crispy Orange Chicken Recipe earned a permanent spot:
- It’s lightning fast! We call this our 30 Minute Orange Chicken because it truly comes together that quickly.
- That texture? Unbeatable. The coating stays golden and crunchy even after it gets tossed in the glaze.
- The flavor is spot on—sweet enough for the kids, but tangy enough to feel sophisticated. It’s just a better dish overall than what we used to order.
We even pair this easy chicken dinner with better than takeout fried rice sometimes!
Achieving Ultimate Crispiness Without Deep Frying
Okay, nobody loves pulling out the big deep fryer on a Tuesday night. That’s just messy, and frankly, a huge hassle. Jacob developed a coating system using a blend of flour and cornstarch that mimics that deep-fried texture with just a shallow pan-fry. You just need enough oil to coat the bottom of the pan, really! It’s really encouraging because you get that necessary crunch without all the fuss. You just shake off the excess coating really well before it hits the hot oil, and bam—you have perfect, bite-sized pieces.
The Perfect Sweet Tangy Orange Sauce
The sauce is where the real magic happens, and trust me on this one—fresh citrus makes all the difference. If you use bottled stuff, you’re missing out on that bright, fresh zing. We use fresh orange juice right from the fruit, which gives our Sweet Tangy Orange Sauce such a vibrant flavor. Once you whisk in the ginger and garlic and let that honey-like glaze thicken up with the slurry, it clings perfectly to every piece of chicken. It’s sticky, it’s glossy, and it balances the salty soy perfectly.
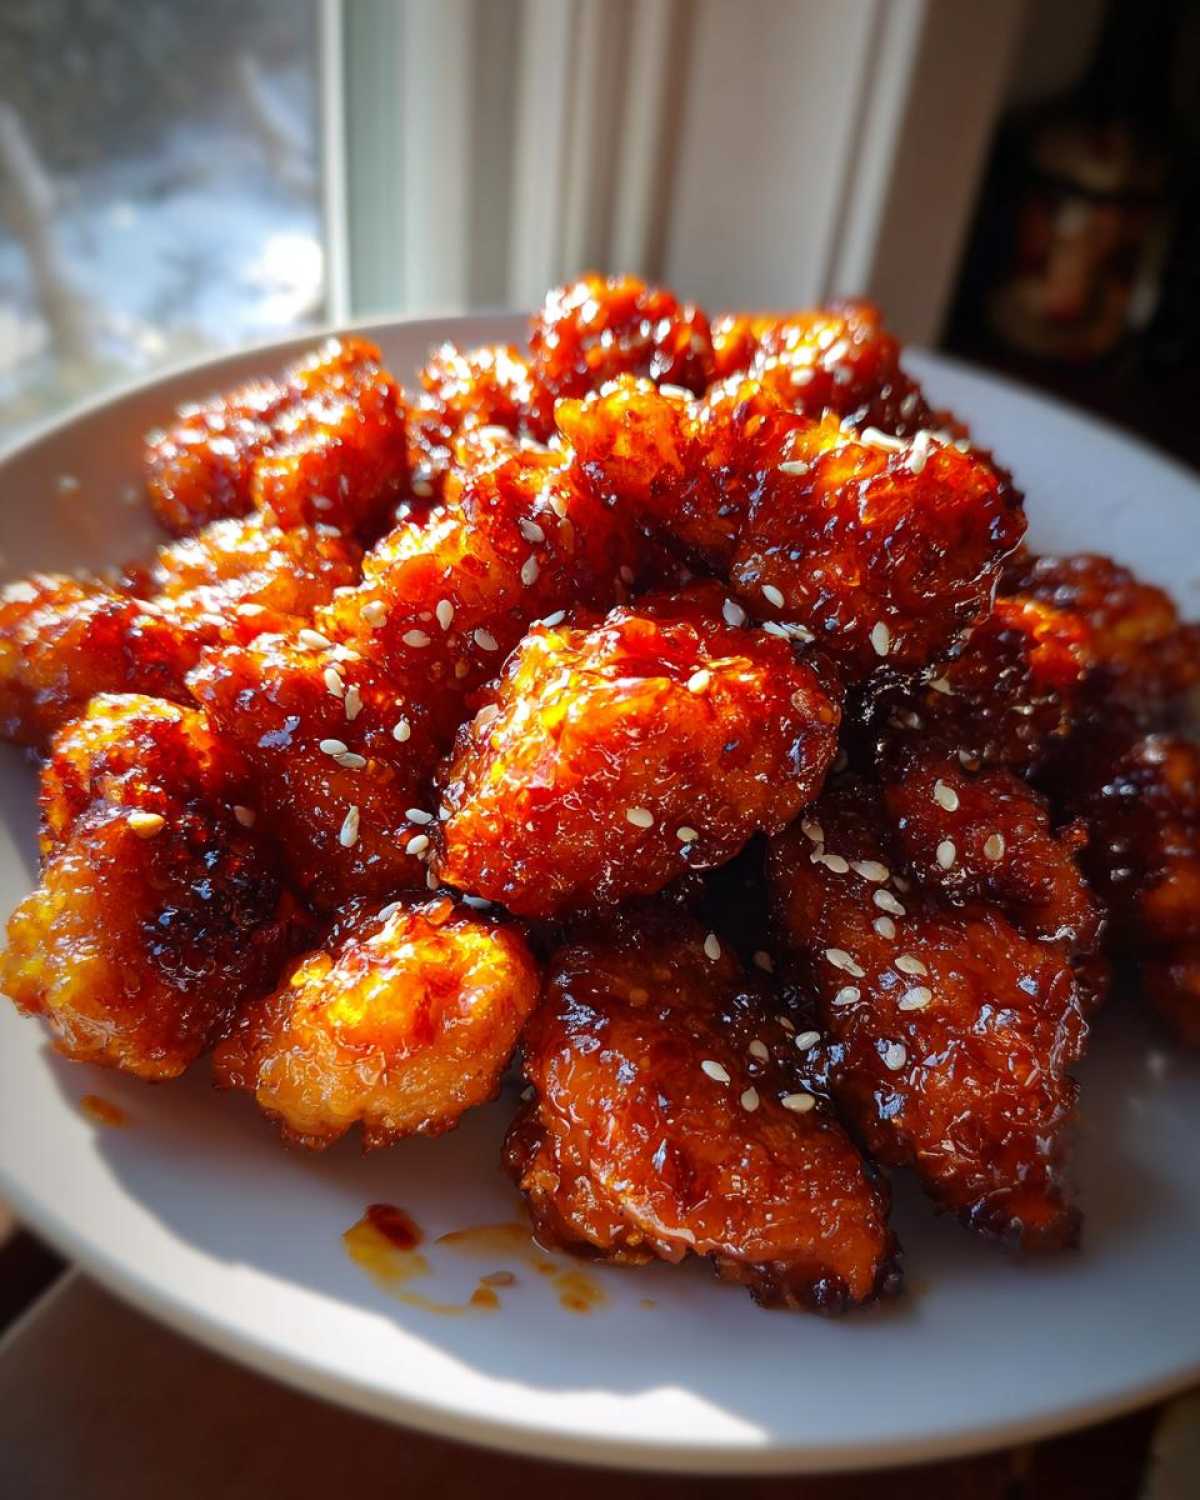
Gathering Ingredients for Your Orange Chicken Recipe
Okay, the planning phase is my favorite part! Getting all our ducks in a row before we start cooking means this orange chicken recipe stays true to that 30-minute promise. I’ve got everything broken down here into two simple groups: what we need for the crispy chicken itself, and all the delicious components for that signature glaze. Don’t skip the fresh ginger—Jacob insists on it for the best flavor profile!
Before you start mixing, go ahead and peek at our guide for honey garlic chicken if you need another quick weeknight hit while you organize these.
For the Crispy Chicken Coating
We need to create a dual coating system to make sure the chicken gets super golden and locks in the juices. It’s really simple; just two bowls for mixing!
- 1 pound boneless, skinless chicken breasts or thighs, cut into 1-inch pieces
- 1/2 cup all-purpose flour
- 1/4 cup cornstarch
- 1/2 teaspoon salt
- 1/4 teaspoon black pepper
- 1 large egg, lightly beaten
- 1/4 cup water
- 2 tablespoons vegetable oil, for pan-frying
For the Sweet Tangy Orange Sauce
This is where the tangy, sweet, and sticky magic comes from! Make sure you have the fresh zest ready, as that really wakes up the sauce before we thicken it.
- 1 cup fresh orange juice (Seriously, use the good stuff!)
- 1/2 cup granulated sugar
- 1/4 cup rice vinegar
- 2 tablespoons soy sauce
- 1 tablespoon grated fresh ginger
- 2 cloves garlic, minced
- 1 teaspoon sesame oil
- 1 teaspoon orange zest
- 1 tablespoon cornstarch mixed with 2 tablespoons cold water (slurry)
- Optional: Sliced green onions and sesame seeds for garnish
Step-by-Step Instructions for the 30 Minute Orange Chicken Recipe
We’re in the home stretch now! Since we prepped everything in the last section, the actual cooking moves super fast. Seriously, keep your eye on the skillet because we’re aiming for that 30-minute victory. We need to work quickly here, moving straight from coating the chicken to frying it, and then building that incredible glaze. If you need a breather, I always recommend putting on some music while you get your skillet nice and hot. For context on other quick recipes, check out how we handle our quick, easy skillet pepper steak.
Preparing and Coating the Chicken Bites
This is all about layering textures! First, grab your dry coating mix—that’s the flour, cornstarch, salt, and pepper—and put it in a medium bowl. Then, in a separate, smaller bowl, whisk that egg lightly with the 1/4 cup of water. This is your wet dredge.
Now, take your perfectly cubed chicken pieces. You need to treat them gently but thoroughly. First, dip the chicken into the egg mixture so it gets nice and damp, and then transfer it directly into that dry bowl. Get everything coated totally evenly, but here’s the pro move: once it’s coated, really shake off the excess dry mix back into the bowl! That excess is what turns into powdery clumps instead of a crisp crust, so shake it hard!
Cooking the Crispy Chicken
Time to bring the heat! Heat your vegetable oil in a large skillet or a wok—you only need enough oil to generously coat the bottom, not deep fry. Once that oil is shimmying, carefully add your coated chicken pieces. Don’t overcrowd the pan; we need space for the heat to work its crispy magic. Work in batches if you need to.
You’re looking for golden brown perfection on all sides. This usually takes about 4 to 5 minutes per side. Once they look fantastic and cooked through, pull them out immediately and set them on a plate lined with paper towels. That towel is key for blotting up any extra oil before we sauce them up.
Making the Sticky Orange Glaze
While that last batch of chicken is draining, pivot immediately to the sauce. In a small saucepan (you can wipe out the skillet if you want, but honestly, just use another pan), combine your fresh orange juice, sugar, rice vinegar, soy sauce, ginger, minced garlic, sesame oil, and orange zest. Put this over medium heat.
Bring this mixture up to a gentle simmer. Keep stirring occasionally until you see that sugar magically disappear. Honestly, Jacob always tells me to smell it right here; that’s when the fresh orange scent really blooms! Let it bubble gently for about three minutes to concentrate those flavors.
Thickening and Tossing the Final Orange Chicken Recipe
This is the final transformation! Remember that cornstarch slurry you mixed up? Give it one last quick whisk because cornstarch settles fast. Slowly pour that slurry into your simmering sauce while stirring constantly—and I mean constantly! Keep stirring. It thickens up fast, usually in about a minute, and you’ll see it turn beautifully glossy. That’s how you know the Sticky Orange Glaze is ready.
Now, turn the heat down to low. Return all of your crispy chicken pieces back into the skillet with the glaze. Toss everything gently—we don’t want to break the crispy coating we worked so hard for! Make sure every single chicken bite gets evenly coated in that shiny, sweet, and tangy goodness. Once coated, get it off the heat immediately. If it sits too long, the steam will soften that fantastic crispness we aimed for!
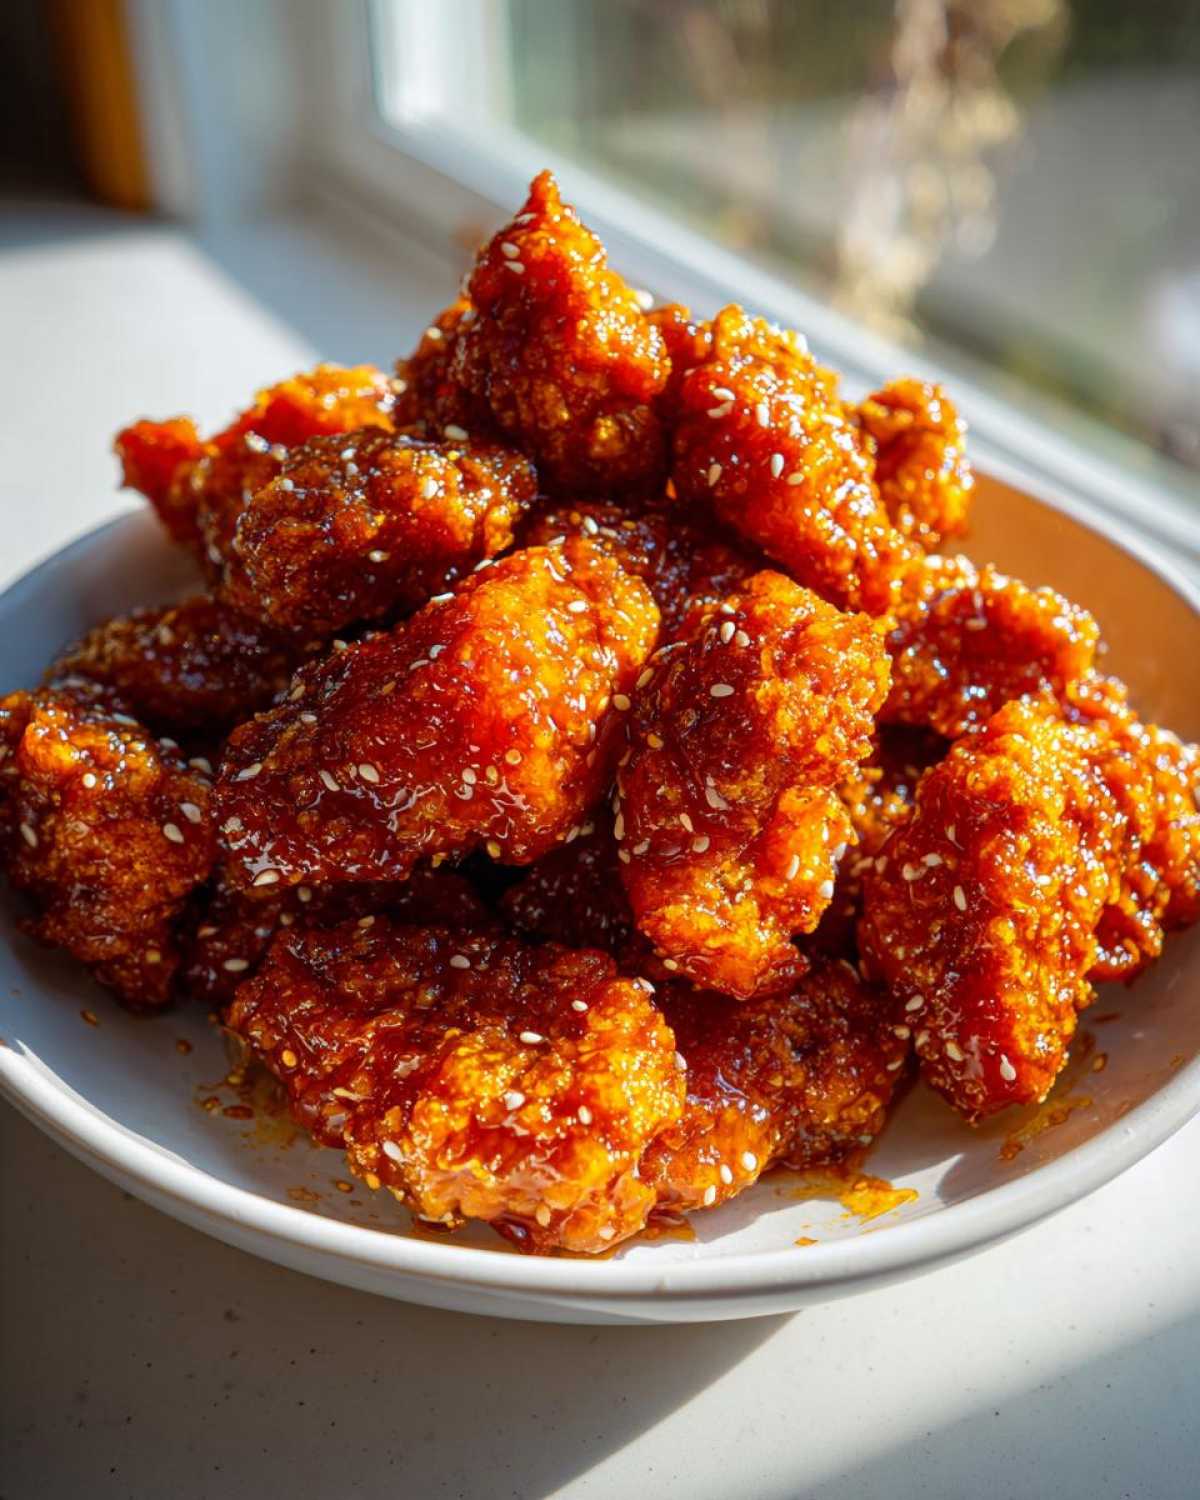
Tips for the Best Homemade Orange Chicken
Jacob and I are all about making things simple and reliable, and that means having backups for when life gets busy! Since we rely on this orange chicken recipe so much, we tested out a few ways to get that *crispy* texture without having to stand over the stove the entire time. Remember those notes I wrote down? They are game-changers for speed and minimal cleanup!
If you’ve ever made our air fryer chicken parmesan, you know how reliable that appliance can be for crispy coatings. We found similar success here!
Alternative Cooking Methods for Crispy Orange Chicken Recipe
If you prefer skipping stovetop frying altogether—maybe you’re making a huge batch, or you just really hate oil splatter—we have you covered. These methods totally respect the coating we built for you, so you still get that wonderful crunch that defines this dish.
For the oven method, preheat your oven to 400°F (200°C). You toss your coated chicken pieces onto a baking sheet (I line it with parchment paper first for zero cleanup, of course!) and bake them for about 15 minutes. Remember to flip them halfway through so both sides get that nice golden color.
If you’re using the air fryer, preheat that basket to 380°F (195°C). I coat the basket lightly with non-stick spray, add the chicken in a single layer (you might need two batches!), and cook them for 10 to 12 minutes. Make sure you shake that basket halfway through your cooking time to ensure even crispness!
One final, critical note from our testing phase: always use fresh orange juice for the sauce if you can! It truly makes the difference between a good sauce and a fantastic, tangy sauce.
Serving Suggestions for Your Easy Takeout Orange Chicken
Once that beautiful, sticky orange chicken is tossed and glistening, the major project is over! But we can’t just stop there, right? This dish demands the perfect foundation. It’s funny, Jacob always wants to eat it straight out of the pan with a fork, but I insist we plate it properly for that full family-favorite feeling.
The primary goal here is to let that sweet and tangy sauce shine while ensuring you get a balanced bite. You absolutely need some plain, fluffy white rice underneath to soak up all that extra sauce pooled in the bottom of your bowl. That’s non-negotiable for me!
If you’re looking to balance the sweetness, pairing it with simple steamed vegetables is the way to go. Broccoli or lightly steamed green beans are my go-tos. They offer a nice little crunch and freshness against the richness of the chicken. If you’re keeping things super fast, check out our recipe for easy chicken fried rice—it pairs perfectly!
Finally, don’t forget the garnish! It’s not just for looks, I promise. A generous sprinkle of those sliced green onions gives a fresh oniony bite, and the toasted sesame seeds add a nice nutty texture contrast. Sprinkle them on right before serving!
Storage and Reheating Instructions for Leftover Orange Chicken Recipe
Don’t let any of this amazing orange chicken recipe go to waste! Even though it’s so good we usually don’t have leftovers, sometimes Jacob makes too much sauce, or we’re just too full. The key to saving leftovers is realizing that the crispiness is going to fade slightly once it sits in that delicious glaze—that’s just physics, folks! But we can minimize the sadness!
You’ll want to store the chicken and the leftover sauce completely separate if you can. If you already tossed everything together like we did at dinner, go ahead and put it all into an airtight container. It keeps really well in the fridge for about three to four days, easily.
Now for reheating—this is where we try to bring back a little life to it. Microwaving is fast, but it tends to steam the chicken, making it soft. If you’re short on time, microwave it just until it’s warm, but accept that the texture will be softer.
For the best results, use your air fryer or a toaster oven! Pop the leftover orange chicken onto a baking sheet or into the air fryer basket (no need to add oil). Heat it up around 350°F (175°C) for maybe 5 to 7 minutes. This little blast of dry heat helps bring back a bit of that crispiness that got dampened by the sweet tangy orange sauce overnight. It’s definitely worth the extra two minutes!
Frequently Asked Questions About This Orange Chicken Recipe
It’s always smart to ask questions before diving into a new dish, especially when you’re aiming for that perfect Better Than Panda Express Chicken experience! Jacob and I have run through every scenario imaginable while perfecting this orange chicken recipe, so hopefully, our troubleshooting helps you out. We really want this to be a success for your next quick chicken dinner!
If you’re looking for another great weeknight option, you might want to check out our chicken chow mein recipe next!
Can I use chicken thighs instead of breasts in this orange chicken recipe?
Oh, absolutely! Chicken thighs are super forgiving, and some people actually prefer them because they stay unbelievably juicy, even when fried or baked. You’re definitely going to get a very flavorful result with them. The only tiny adjustment I suggest is to keep an eye on the cooking time when you pan-fry them. Thighs, being a bit richer in fat, might take an extra minute or two to get fully cooked through compared to the breasts. But honestly, for a Family Favorite Chicken recipe, thighs are a fantastic option!
How do I keep the chicken crispy if I make the sweet tangy orange sauce ahead of time?
This is such a great question for meal preppers! The enemy of crispiness is moisture exposure, and that beautiful sticky orange glaze holds a lot of moisture. If you want to make everything ahead of time, follow this rule: keep the components totally separate until the moment of serving. Store the cooled, cooked chicken in a bag or container, and keep the sauce in a jar in the fridge. When you are ready to eat, reheat the chicken first—the air fryer is amazing for this, it helps re-crisp the coating—and then toss it in the warm sauce right before it hits the plate. That way, you get the best texture!
Nutritional Estimates for This Quick Chicken Dinner
Since this is a highly curated project, we believe in being totally transparent about what goes into our food, even when it comes to the numbers. Jacob and I always calculate these estimates using standard tracking software based on the exact measurements in our orange chicken recipe. Remember, these are just good guidance! Things like the fat absorbed during pan-frying or how much sauce you end up coating your chicken with can change things slightly. But this gives you a great baseline for this fun, budget-friendly chicken meal.
This breakdown is based on 4 servings, just as written:
- Serving Size: 1 serving
- Calories: 450
- Sugar: 35g
- Sodium: 550mg
- Fat: 15g
- Saturated Fat: 3g
- Unsaturated Fat: 12g
- Trans Fat: 0g
- Carbohydrates: 40g
- Fiber: 1g
- Protein: 35g
- Cholesterol: 100mg
We try hard to keep the overall sodium reasonable, but you can always cut back on the soy sauce if you’re watching your intake! It’s just one more way this Homemade Orange Chicken beats the heavily salted versions from the restaurant.
Share Your Taste Portfolio Project
This is it! We’ve shared the planning, the technique, and all of Jacob’s secrets for getting that perfect crunch in our orange chicken recipe. Now, we genuinely want to see what you do with it! Building this portfolio is a joint effort, and we love seeing how you bring our projects into your own kitchens.
Did you try the simple pan-fry, or did you opt for the air fryer method we detailed? Tell us everything! When you make this fantastic Easy Takeout Orange Chicken, please snap a picture. We absolutely adore seeing your finished dishes!
Don’t be shy! Hop down to the comments section below and leave us a rating—did it earn five stars in your family? If you had to make a slight adjustment, let us know what worked for you. We are always learning and refining, and your feedback helps shape our next project. When you’re done, feel free to browse our full archive of successful dishes over at the Taste Portfolio blog. Happy cooking, and thanks so much for sharing this project with us!
PrintThe Ultimate 30-Minute Crispy Homemade Orange Chicken Recipe

Make restaurant-quality orange chicken at home faster than delivery. This recipe delivers crispy chicken pieces coated in a perfectly sweet and tangy orange glaze, making it a better than takeout weeknight dinner.
- Prep Time: 15 min
- Cook Time: 15 min
- Total Time: 30 min
- Yield: 4 servings
- Category: Dinner
- Method: Pan-Frying
- Cuisine: Chinese American
- Diet: Non-Vegetarian
Ingredients
- 1 pound boneless, skinless chicken breasts or thighs, cut into 1-inch pieces
- 1/2 cup all-purpose flour
- 1/4 cup cornstarch
- 1/2 teaspoon salt
- 1/4 teaspoon black pepper
- 1 large egg, lightly beaten
- 1/4 cup water
- 2 tablespoons vegetable oil, for pan-frying
- 1 cup fresh orange juice
- 1/2 cup granulated sugar
- 1/4 cup rice vinegar
- 2 tablespoons soy sauce
- 1 tablespoon grated fresh ginger
- 2 cloves garlic, minced
- 1 teaspoon sesame oil
- 1 teaspoon orange zest
- 1 tablespoon cornstarch mixed with 2 tablespoons cold water (slurry)
- Optional: Sliced green onions and sesame seeds for garnish
Instructions
- In a medium bowl, combine the flour, 1/4 cup cornstarch, salt, and pepper. This is your dry coating.
- In a separate small bowl, whisk together the egg and 1/4 cup water.
- Dredge the chicken pieces first in the egg mixture, then thoroughly coat them in the dry coating. Shake off any excess.
- Heat the vegetable oil in a large skillet or wok over medium-high heat. Pan-fry the chicken in batches until golden brown and cooked through, about 4-5 minutes per side. Remove the crispy chicken and set it aside on a paper towel-lined plate.
- While the chicken cooks, prepare the sauce. In a small saucepan, combine the orange juice, sugar, rice vinegar, soy sauce, ginger, garlic, sesame oil, and orange zest.
- Bring the sauce mixture to a simmer over medium heat, stirring until the sugar dissolves. Let it simmer for 3 minutes.
- Whisk the cornstarch slurry again and slowly pour it into the simmering sauce while stirring constantly. Cook until the sauce thickens and becomes glossy, about 1 minute.
- Return the crispy chicken pieces to the skillet. Toss gently to coat every piece evenly with the sticky orange glaze.
- Remove from heat immediately. Serve your homemade orange chicken hot over steamed white rice with a sprinkle of green onions and sesame seeds.
Notes
- For extra crispy chicken without deep frying, you can bake the coated chicken at 400°F (200°C) for 15 minutes, flipping halfway, before tossing in the sauce.
- If you prefer an air fryer method, cook the coated chicken at 380°F (195°C) for 10-12 minutes, shaking the basket halfway through.
- Use fresh orange juice for the best tangy flavor in your sweet orange sauce.
Nutrition
- Serving Size: 1 serving
- Calories: 450
- Sugar: 35g
- Sodium: 550mg
- Fat: 15g
- Saturated Fat: 3g
- Unsaturated Fat: 12g
- Trans Fat: 0g
- Carbohydrates: 40g
- Fiber: 1g
- Protein: 35g
- Cholesterol: 100mg