

Oh, autumn. It’s my favorite season. Crisp air, colorful leaves, and the irresistible urge to bake something warm and cozy. That’s where these Maple Walnut Blondies come in. They’re like a hug in dessert form. I used to be all about planning recipes. My lists were endless. Jacob, my partner, just cooks. He’s the magic. Together, we turn my plans into delicious reality.
Why You’ll Adore These Maple Walnut Blondies
- So easy to whip up.
- Packed with nutty, maple goodness.
- Perfect for cozy fall days.
- A guaranteed crowd-pleaser.
Meet the Creators: Amelia and Jacob’s Culinary Journey
Hi, I’m Amelia, and my partner is Jacob. We started Taste Portfolio to share our kitchen adventures. I love planning every detail. Jacob brings the intuitive cooking skills. He makes my recipe blueprints come alive. The kitchen is our creative space. We test and perfect every recipe. This blog is our collection of culinary successes. It’s a way to share our love for food and each other. We hope our Maple Walnut Blondies inspire you!
Gathering Your Perfect Maple Walnut Blondies Ingredients
Let’s get our kitchen ready for some baking magic! Having all your ingredients measured and prepped makes the whole process so much smoother. It’s like having a clear plan before starting any big project, right? For these delightful Maple Walnut Blondies, we’ll need some pantry staples and a few special additions. Don’t worry, it’s all pretty straightforward. I’ve found that laying everything out beforehand prevents those last-minute scrambles. It ensures we can focus on the fun part: mixing and baking!
Essential Baking Staples for Maple Walnut Blondies
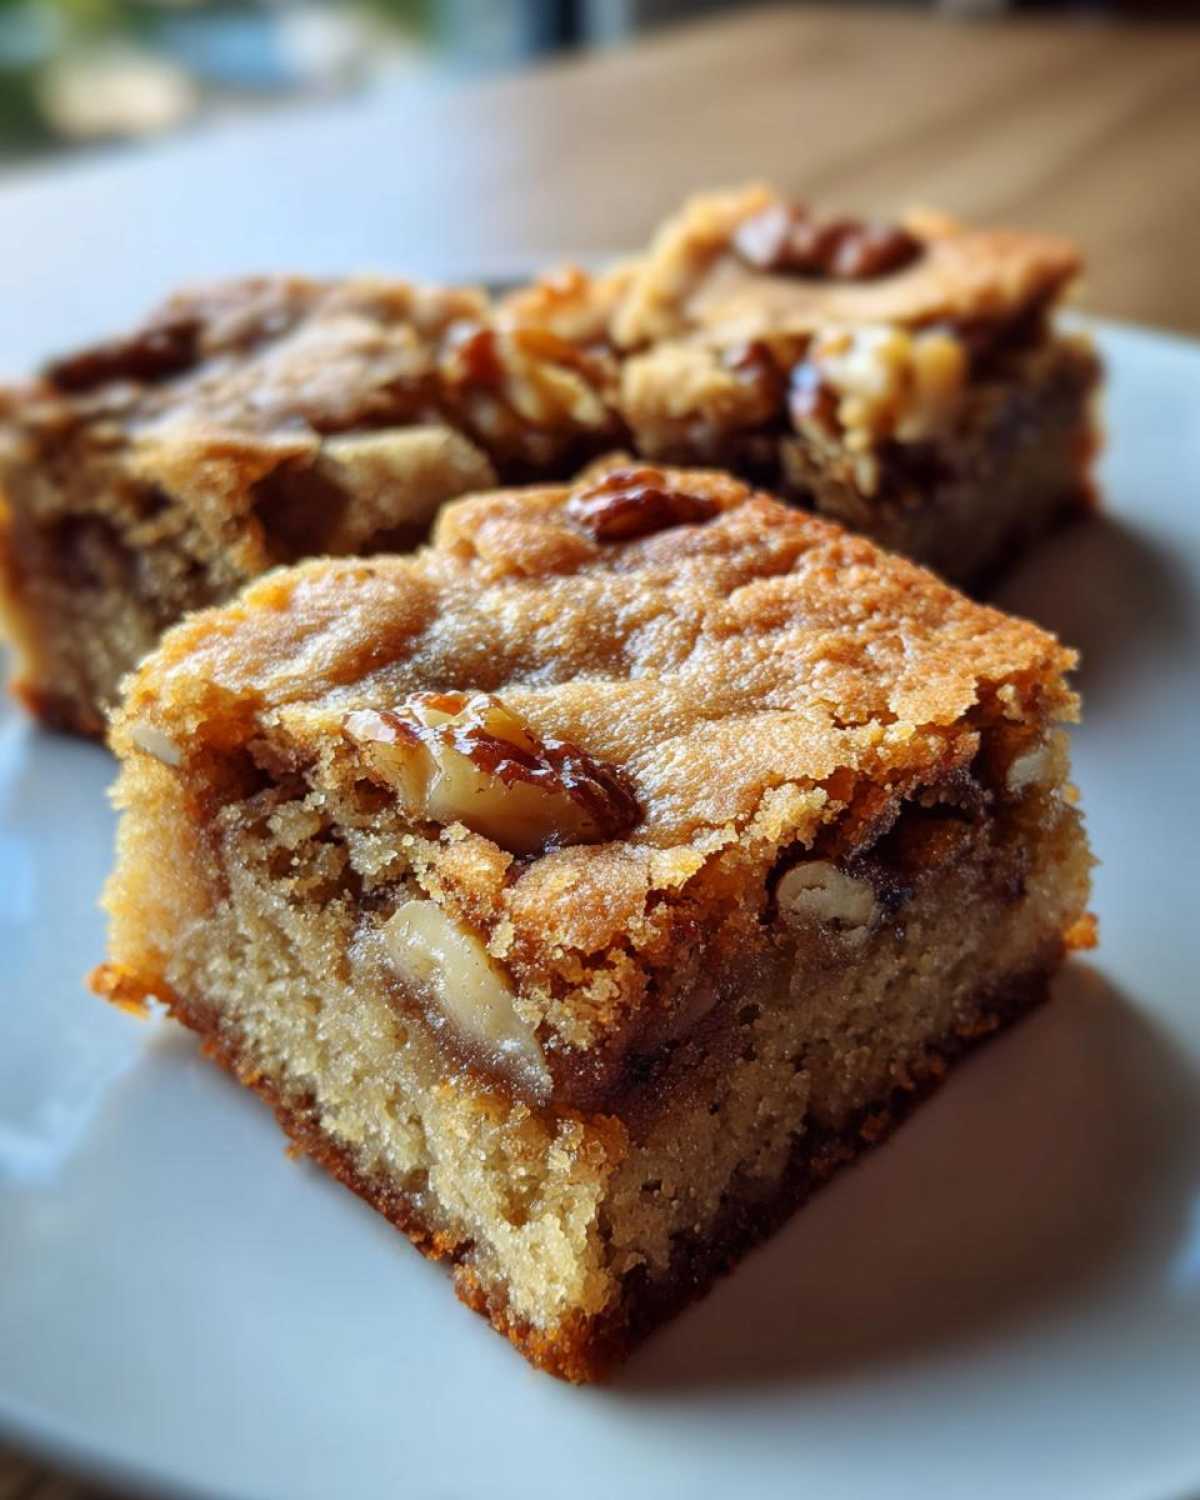
First, we need the building blocks for our blondies. You’ll need 1 cup (that’s two sticks) of good quality unsalted butter. Make sure it’s melted. Then, grab 2 cups of packed light brown sugar. This gives our blondies that lovely chewy texture. We’ll also need 2 large eggs, 2 teaspoons of vanilla extract for that classic warmth, and 1 teaspoon of maple extract to really boost that fall flavor. For the dry goods, measure out 1 1/2 cups of all-purpose flour. We’ll also add 1 teaspoon of baking powder for a little lift and 1/2 teaspoon of salt to balance the sweetness.
The Star Additions: Nuts and Maple for Your Blondies
Now for the stars of the show! We need 1 cup of chopped walnuts for that perfect crunch and nutty taste. I also like to add about 1/2 cup of chopped pecans, but that’s totally optional if you’re not a fan. The real magic comes from 1/4 cup of pure maple syrup. Make sure it’s pure maple syrup, not pancake syrup, for the best flavor. This syrup gets drizzled between the batter layers, giving every bite a wonderful maple essence. For more on the benefits of pure maple syrup, check out this Harvard Health article.
Crafting Your Delicious Maple Walnut Blondies: Step-by-Step
Alright, bakers, let’s get down to business! This is where the magic happens. Baking is like a delicious experiment. My part is the planning. Jacob’s is the execution. We’ll walk through this together. It’s easier than you think. Just follow these steps. You’ll have amazing Maple Walnut Blondies in no time. Let’s create something wonderful!
Preparing Your Baking Canvas
First things first. We need to get our oven ready. Preheat it to 350°F (175°C). This ensures even baking. Next, grab a 9×13 inch baking pan. We need to make sure our blondies don’t stick. Grease it well. Then, lightly flour it. This creates a perfect surface. It helps the blondies slide right out. This step is super important. It guarantees easy removal later.
The Art of Mixing the Blondie Batter
Now, for the batter! In a big bowl, combine the melted butter and packed light brown sugar. Whisk them together until they’re smooth. It should look nice and creamy. Then, add the eggs, one at a time. Beat them in well after each addition. Stir in the vanilla and maple extracts. Next, in a separate bowl, whisk together the flour, baking powder, and salt. Gradually add these dry ingredients to the wet mixture. Mix until just combined. Please, don’t overmix! Overmixing makes them tough. We want tender blondies.
Incorporating the Nutty Goodness
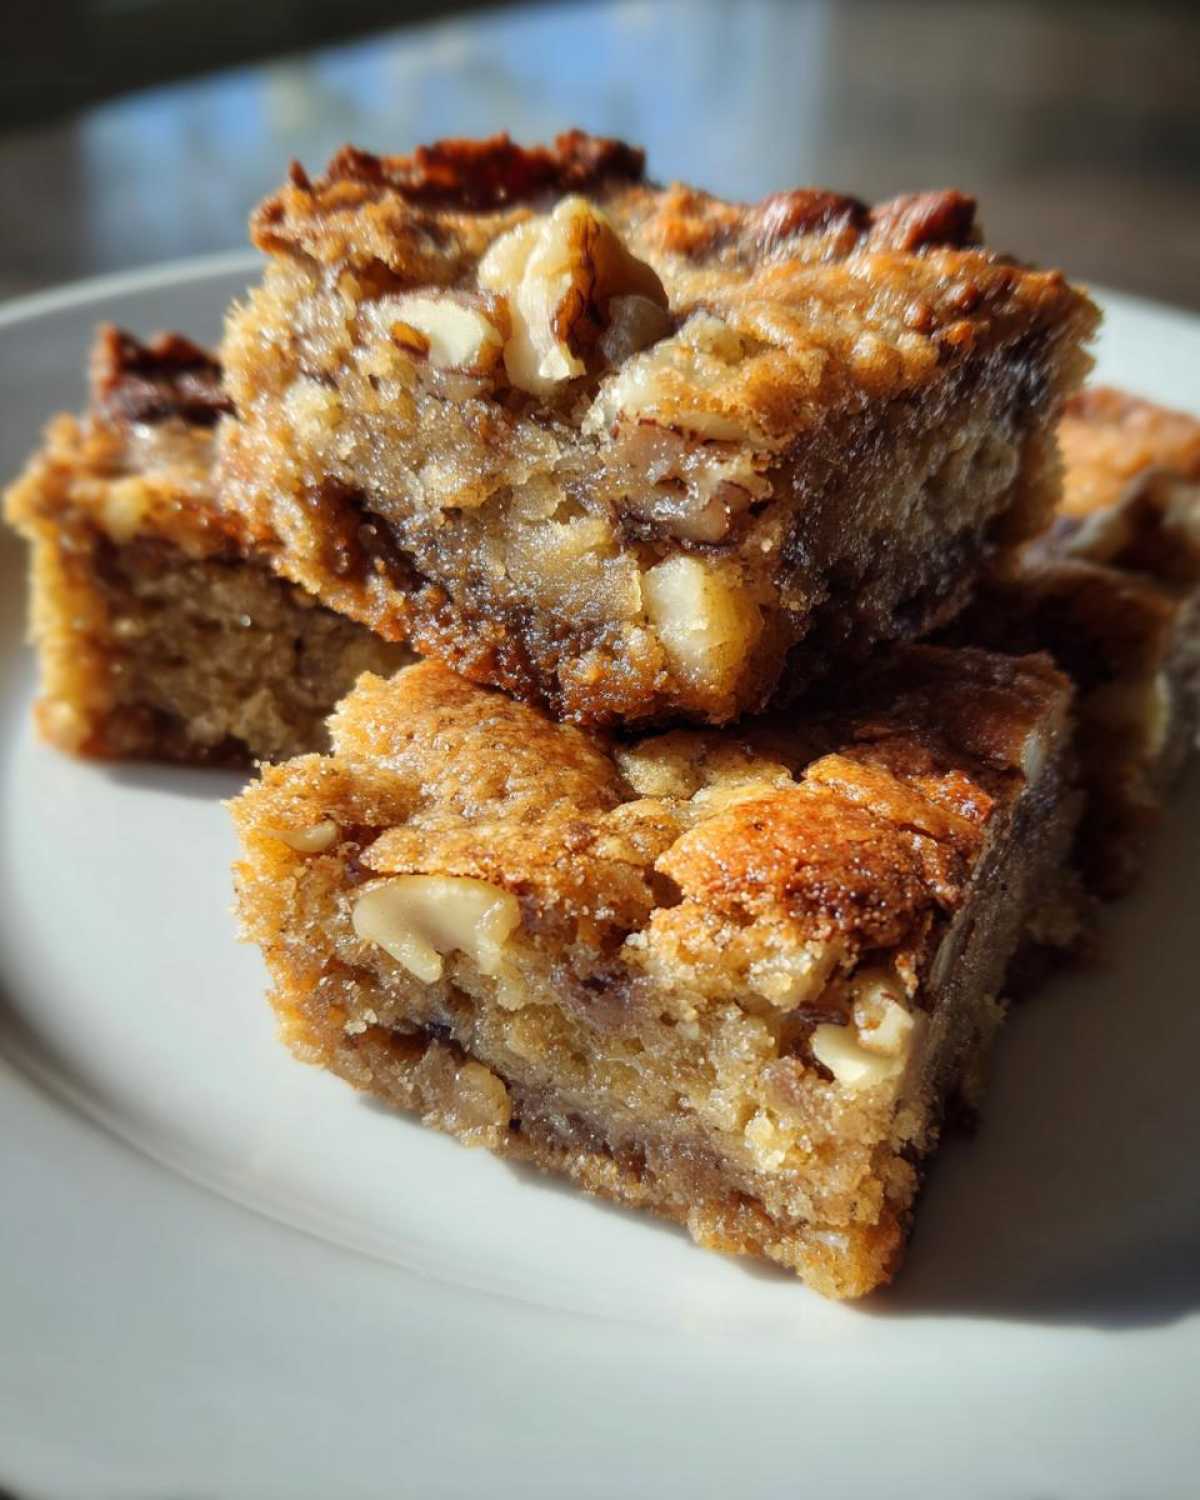
Time for the crunchy bits! Gently fold in your chopped walnuts. If you’re using pecans, fold those in too. Make sure they’re spread evenly. You want nuts in every bite. This is what gives our Maple Walnut Blondies that delightful texture. Just a gentle fold is all it takes. We don’t want to deflate the batter.
Layering for Maple Magic
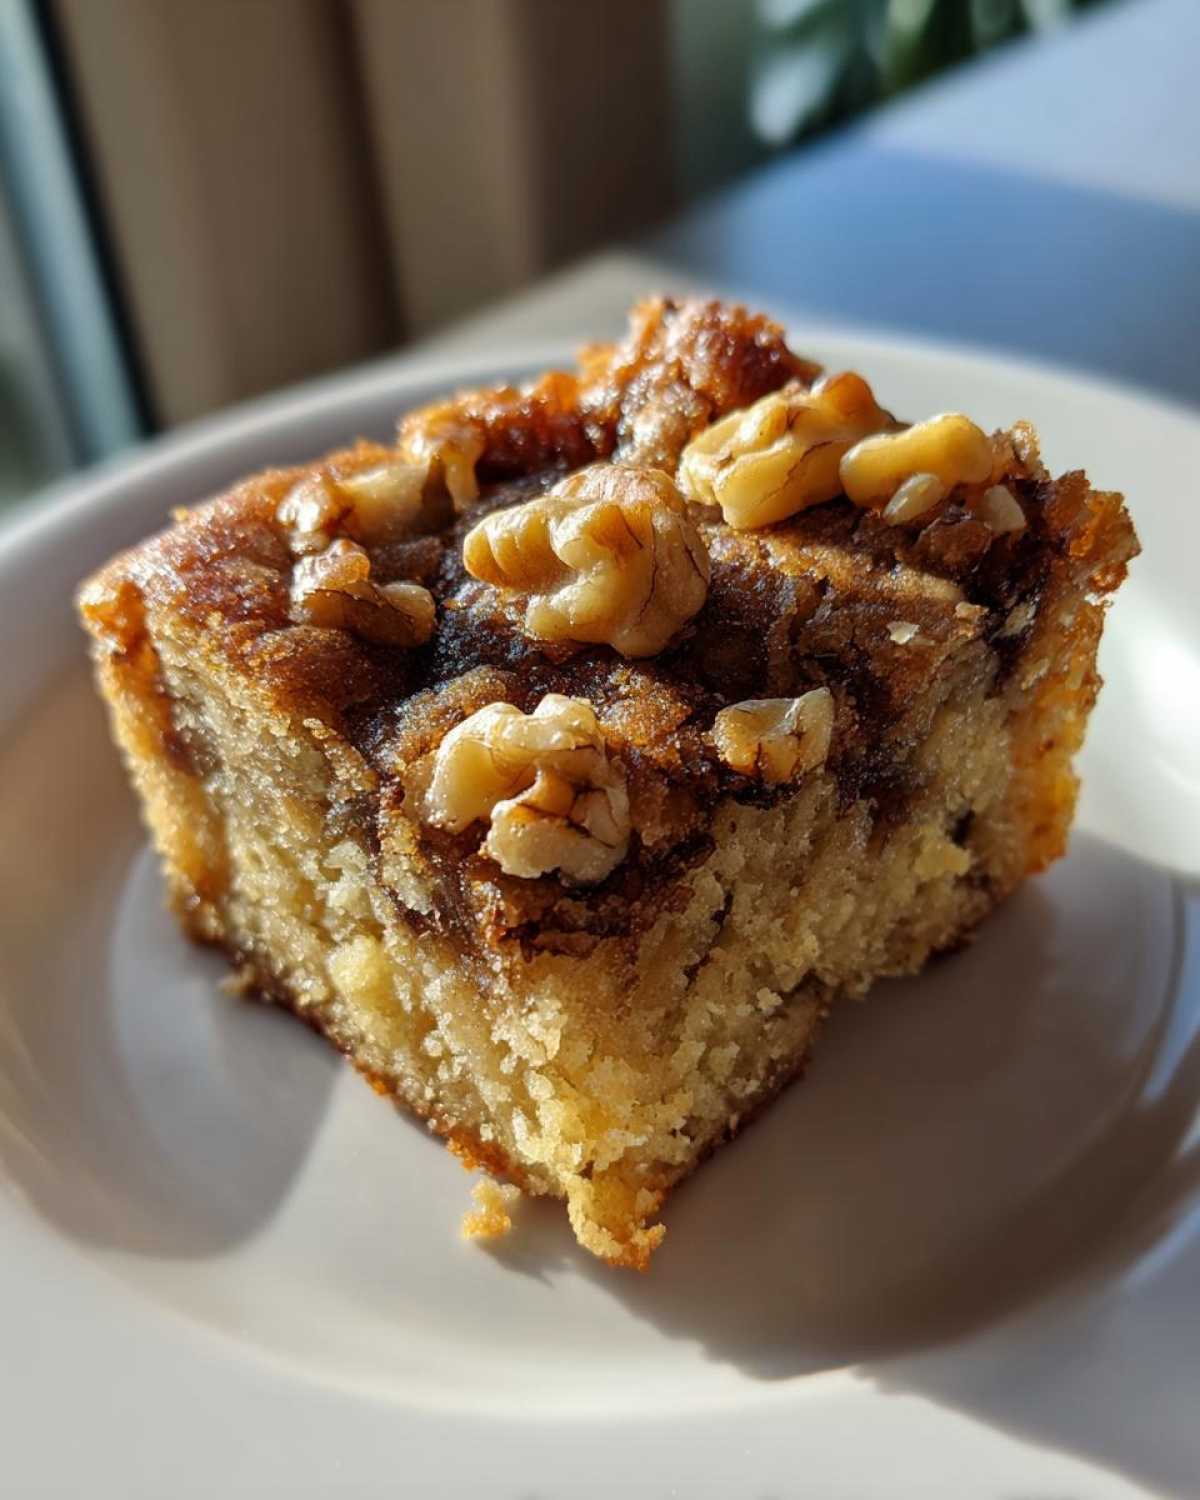
This is the fun part! Pour about half of your beautiful batter into the prepared pan. Spread it out evenly. Now, grab your pure maple syrup. Drizzle about half of it over the batter. Then, carefully spread the remaining batter on top. Finish by drizzling the rest of the maple syrup. This layering creates pockets of maple goodness. It makes these blondies truly special.
Baking and Cooling Your Maple Walnut Blondies to Perfection
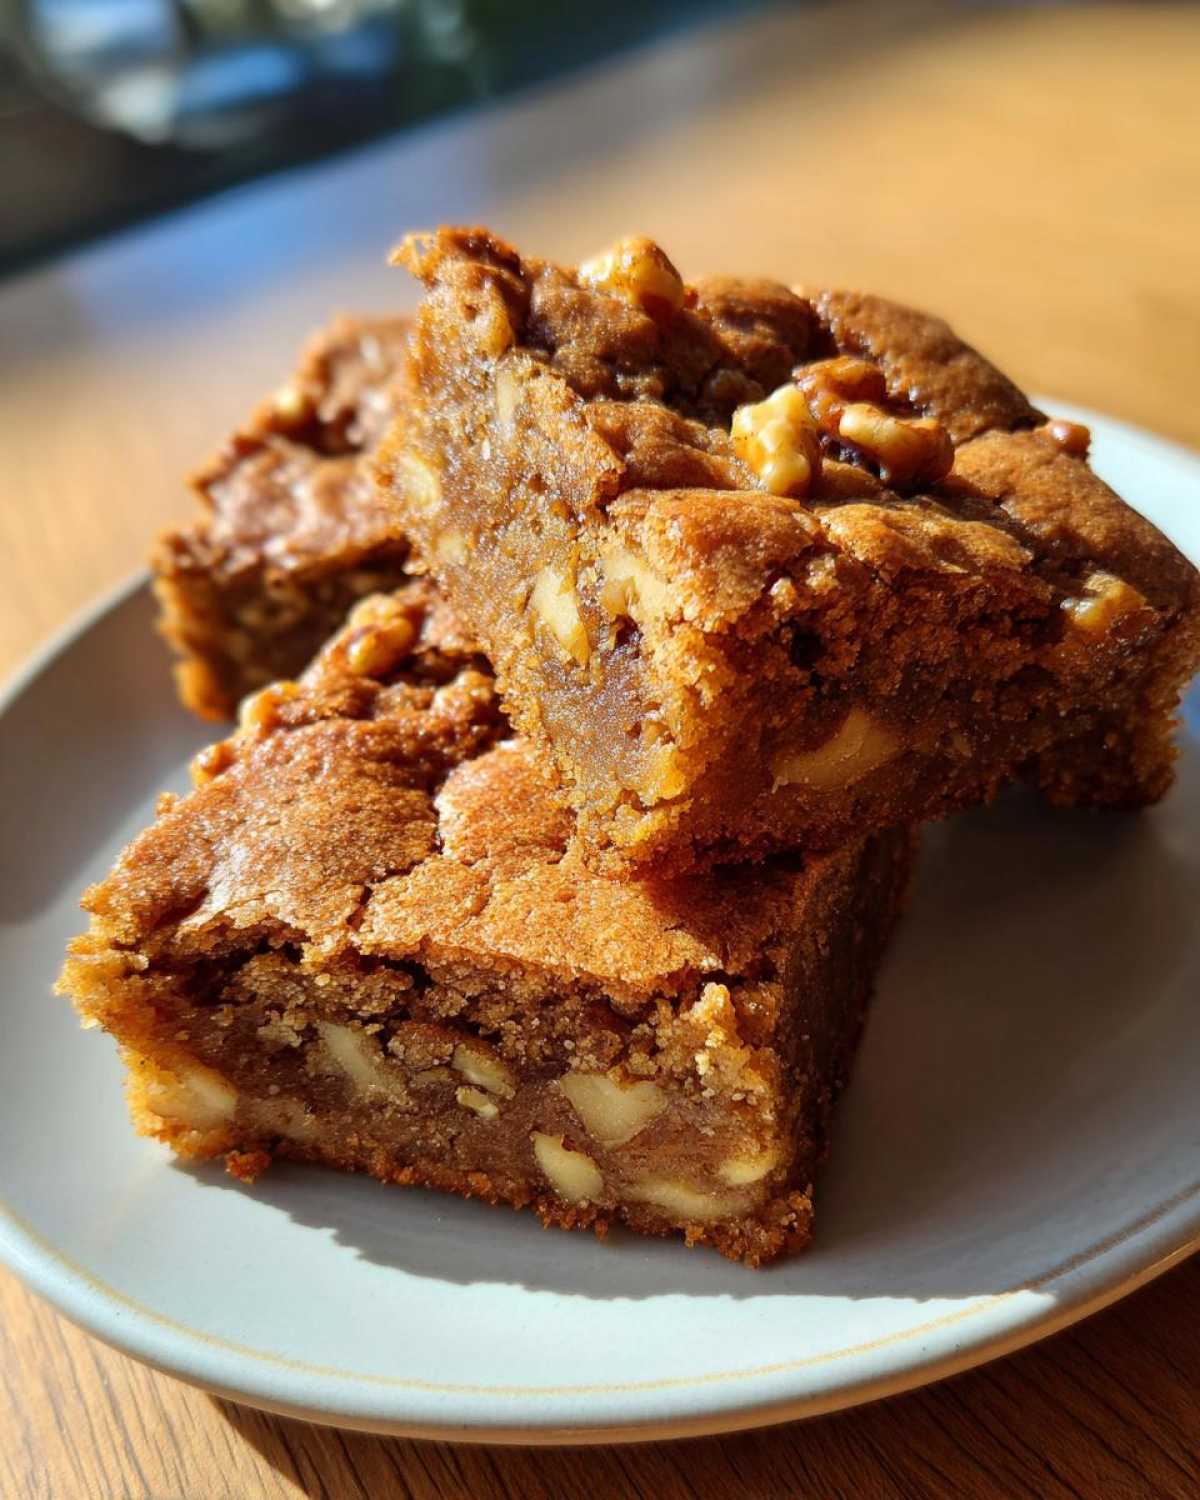
Into the oven they go! Bake for 25 to 30 minutes. How do you know they’re done? Stick a toothpick into the center. It should come out with moist crumbs attached. Not wet batter, but moist crumbs. That’s the sweet spot. Once baked, let them cool completely in the pan. This is crucial! Cutting them while warm makes them crumble. Patience is key here. Once cooled, cut them into squares. Enjoy your homemade Maple Walnut Blondies!
Tips for Baking Stellar Maple Walnut Blondies
Baking is a science, but it’s also an art! I’ve learned a few tricks along the way that really make a difference. Getting these Maple Walnut Blondies just right is all about a few key details. Let’s make sure yours turn out absolutely perfect every time. It’s these little things that elevate a good bake to a great one.
Achieving the Perfect Texture
Oven temperatures can be tricky. Make sure yours is accurate! An oven thermometer is a baker’s best friend. Use it to check if your oven runs hot or cool. Also, using room temperature eggs really helps. They mix into the batter much better. This leads to a smoother batter. It ensures a more even texture in your finished blondies. Cold ingredients can make the batter dense, which we want to avoid.
Enhancing the Maple Flavor of Your Blondies
Want even more maple magic? I’ve got a simple trick. After your Maple Walnut Blondies have cooled a bit, you can drizzle a little extra pure maple syrup over the top. It adds a beautiful sheen and an extra punch of maple flavor. Don’t overdo it, though. A light drizzle is perfect. It really makes the maple notes sing!
Frequently Asked Questions about Maple Walnut Blondies
Got questions about these delightful Maple Walnut Blondies? I get it! Baking can bring up a few curiosities. I’m happy to share what I’ve learned. Let’s dive into some common queries. We want your blondies to be perfect!
Can I substitute the nuts in these Maple Walnut Blondies?
Absolutely! Feel free to get creative. Pecans are a great swap for walnuts. Almonds or even hazelnuts work well too. Just make sure they’re chopped. Nut substitutions might slightly change the flavor. But they’ll still be delicious nutty blondies. Experiment and find your favorite combo!
How do I store leftover Maple Walnut Blondies?
Storing is easy! Once completely cooled, keep them in an airtight container. A simple plastic container or a cake keeper works. Store them at room temperature. They’ll stay fresh for about 3-4 days. For longer storage, you can freeze them. Wrap them well. They freeze beautifully for up to 3 months.
Why are my blondies not chewy?
Texture is key! If your blondies aren’t chewy, it could be a few things. Overbaking is a common culprit. Bake them just until moist crumbs appear. Also, the sugar ratio matters. Brown sugar contributes chewiness. Make sure you used packed brown sugar. And don’t overmix the batter. That can make them cakey instead of chewy.
Understanding the Nutritional Profile of Maple Walnut Blondies
Just a friendly reminder that the nutritional information for these Maple Walnut Blondies is an estimate. It can vary quite a bit depending on the specific brands of ingredients you use. Things like the fat content of your butter or the exact sugar in your maple syrup can make a difference. Precision isn’t our main goal here; deliciousness is!
PrintHappy Jack-o’-Lantern Quesadillas!
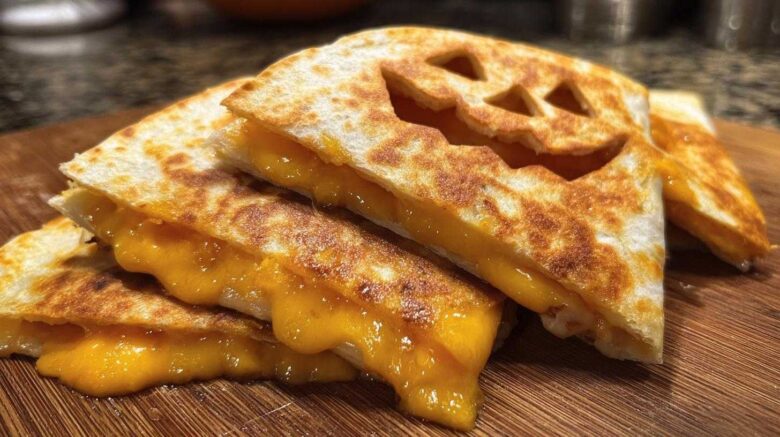
Create fun Jack-o’-Lantern Quesadillas for a quick and festive Halloween treat. These easy-to-make quesadillas are perfect for a spooky-themed meal or snack.
- Prep Time: 10 minutes
- Cook Time: 10 minutes
- Total Time: 20 minutes
- Yield: 4 servings
- Category: Main Course
- Method: Skillet
- Cuisine: Mexican-American
- Diet: Vegetarian
Ingredients
- 2 tablespoons butter
- 4 (8-inch) flour tortillas
- 1 cup shredded cheddar cheese
- 1 cup shredded Monterey Jack cheese
- 1/2 cup cooked shredded chicken or black beans (optional)
- 1/4 cup chopped green onions
- Salsa, for serving
- Sour cream, for serving
Instructions
- Melt butter in a large skillet over medium heat.
- Place one tortilla in the skillet.
- Sprinkle half of the cheddar and Monterey Jack cheese over the tortilla.
- Add chicken or black beans and green onions, if using.
- Top with the remaining cheddar and Monterey Jack cheese.
- Place another tortilla on top.
- Cook for 2-3 minutes per side, until golden brown and cheese is melted.
- Remove from skillet and cut into wedges. Repeat with remaining tortillas and filling.
- For the Jack-o’-Lantern faces, use a small knife to cut out shapes before cooking or draw faces on with edible marker after cooking.
- Serve warm with salsa and sour cream.
Notes
- Get creative with your Jack-o’-Lantern faces!
- Add your favorite quesadilla fillings for a personalized touch.
- These are great for a Halloween party appetizer or a fun weeknight dinner.
Nutrition
- Serving Size: 1 quesadilla
- Calories: 350
- Sugar: 3g
- Sodium: 400mg
- Fat: 18g
- Saturated Fat: 8g
- Unsaturated Fat: 10g
- Trans Fat: 0g
- Carbohydrates: 30g
- Fiber: 2g
- Protein: 15g
- Cholesterol: 45mg