

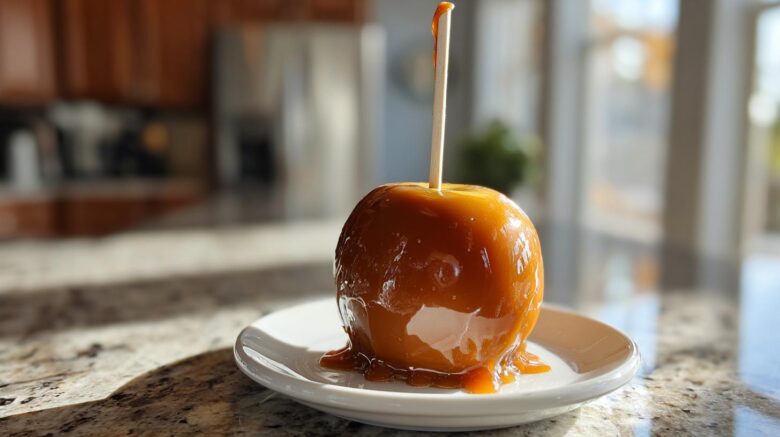
Making Perfect Homemade Caramel Apples: Your Foolproof Guide
I used to just plan recipes. Jacob actually made them happen. That’s our dynamic here at Taste Portfolio. Making a beautiful, sticky caramel apple seemed impossible back then! Now, we are sharing Jacob’s foolproof method. This guide ensures your caramel adheres firmly. We promise a chewy, glossy finish every time you make this classic caramel apple treat. Forget runny messes. We cracked the code for you.
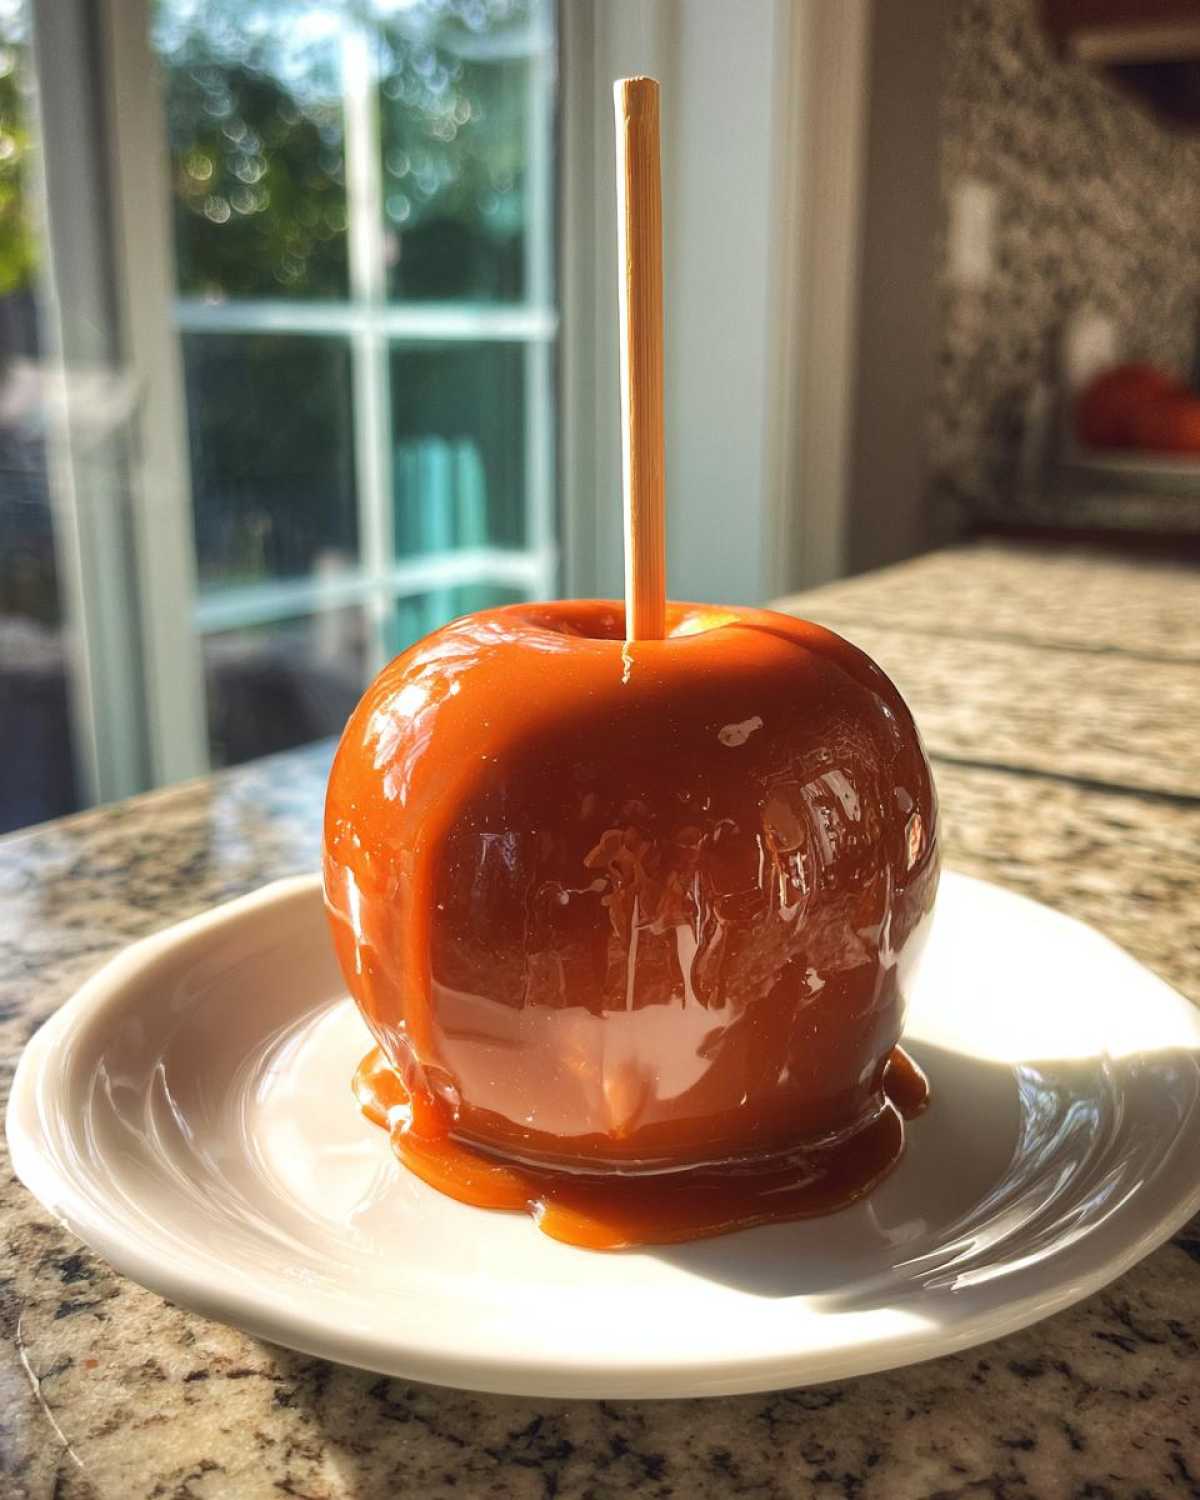
Why This Caramel Apple Recipe Works
The biggest fear is sliding caramel. We conquered that fear first. Success hinges on two things. First, you must prep the apples perfectly. Remove all wax and moisture. Second, temperature control is non-negotiable. Jacob insists on a candy thermometer. Guessing leads to failure quickly. This recipe targets the firm ball stage. That stage guarantees a chewy, perfect coating. Stick to the plan for success.
Essential Equipment for Your Caramel Apple Project
Making great candy isn’t magic. It requires the right tools. Since I handle the planning, I make sure we have everything ready. Jacob trusts this setup completely. For this project, specialized gear helps immensely. You need precision for the best result.
Tools for Perfect Caramel Apple Consistency
Gather these items before you start cooking. A heavy-bottomed saucepan prevents scorching. That’s really important for smooth caramel. You absolutely need a reliable candy thermometer. This tool is our secret weapon. Also, grab a baking sheet. Line it well with parchment paper first. This stops your beautiful creations from sticking.
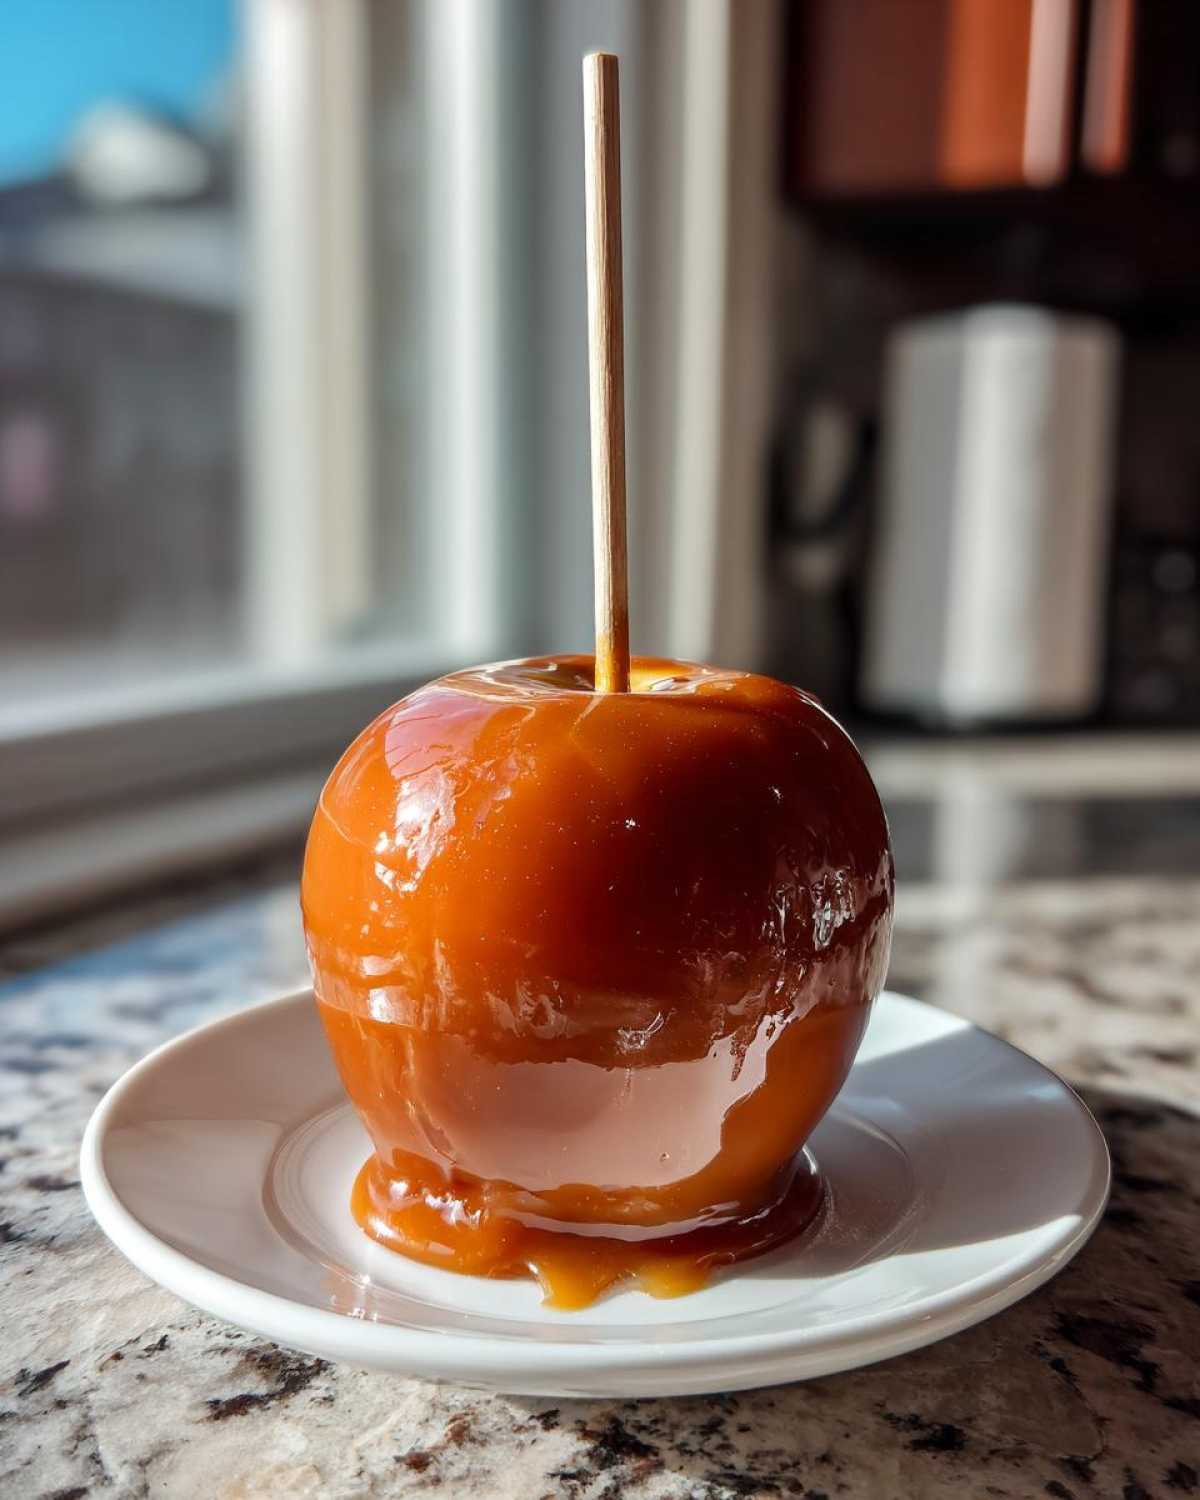
Ingredients for a Chewy Caramel Apple
Here are the building blocks for success. I’ve listed everything precisely below. Jacob measures everything twice before we start heating. Good ingredients make for a great homemade caramel. You need quality components for that perfect texture.
- Six large Granny Smith apples
- Six wooden sticks or skewers
- One cup of unsalted butter (two sticks)
- Two cups light brown sugar, packed tightly
- One cup light corn syrup needed
- One 14-ounce can sweetened condensed milk
- One teaspoon pure vanilla extract
- Half teaspoon sea salt for balance
- Optional toppings listed separately
Selecting the Best Apples for Your Caramel Apple
We always reach for Granny Smith apples. Their naturally tart flavor provides a great contrast. The sweetness of the caramel needs that sharp bite. This balance makes every bite memorable. Don’t substitute tartness here.
Understanding Key Caramel Apple Ingredients
The corn syrup stops the sugar from crystallizing. This keeps the caramel smooth. Sweetened condensed milk adds richness. It also ensures that wonderful, chewy texture we love. Without these, your caramel will likely be hard or grainy.
How to Prepare Apples to Guarantee Caramel Adherence
This is where most people go wrong. Seriously, don’t rush this part. If the caramel slides off, it’s usually the apple’s fault. Jacob and I treat this prep like gold. We focus entirely on creating a perfectly clean surface. A clean apple means your delicious caramel sticks tight. This step addresses the biggest fear head-on.
The Crucial Wax Removal Process for Caramel Apples
Apples have a natural or applied wax coating. We must strip that coating away. Wash your apples really well first. Then, boil them briefly in plain water. Ten seconds is usually enough time. Immediately pull them out after that quick dip. Now comes the most important part. Dry every single apple completely. I mean bone dry.
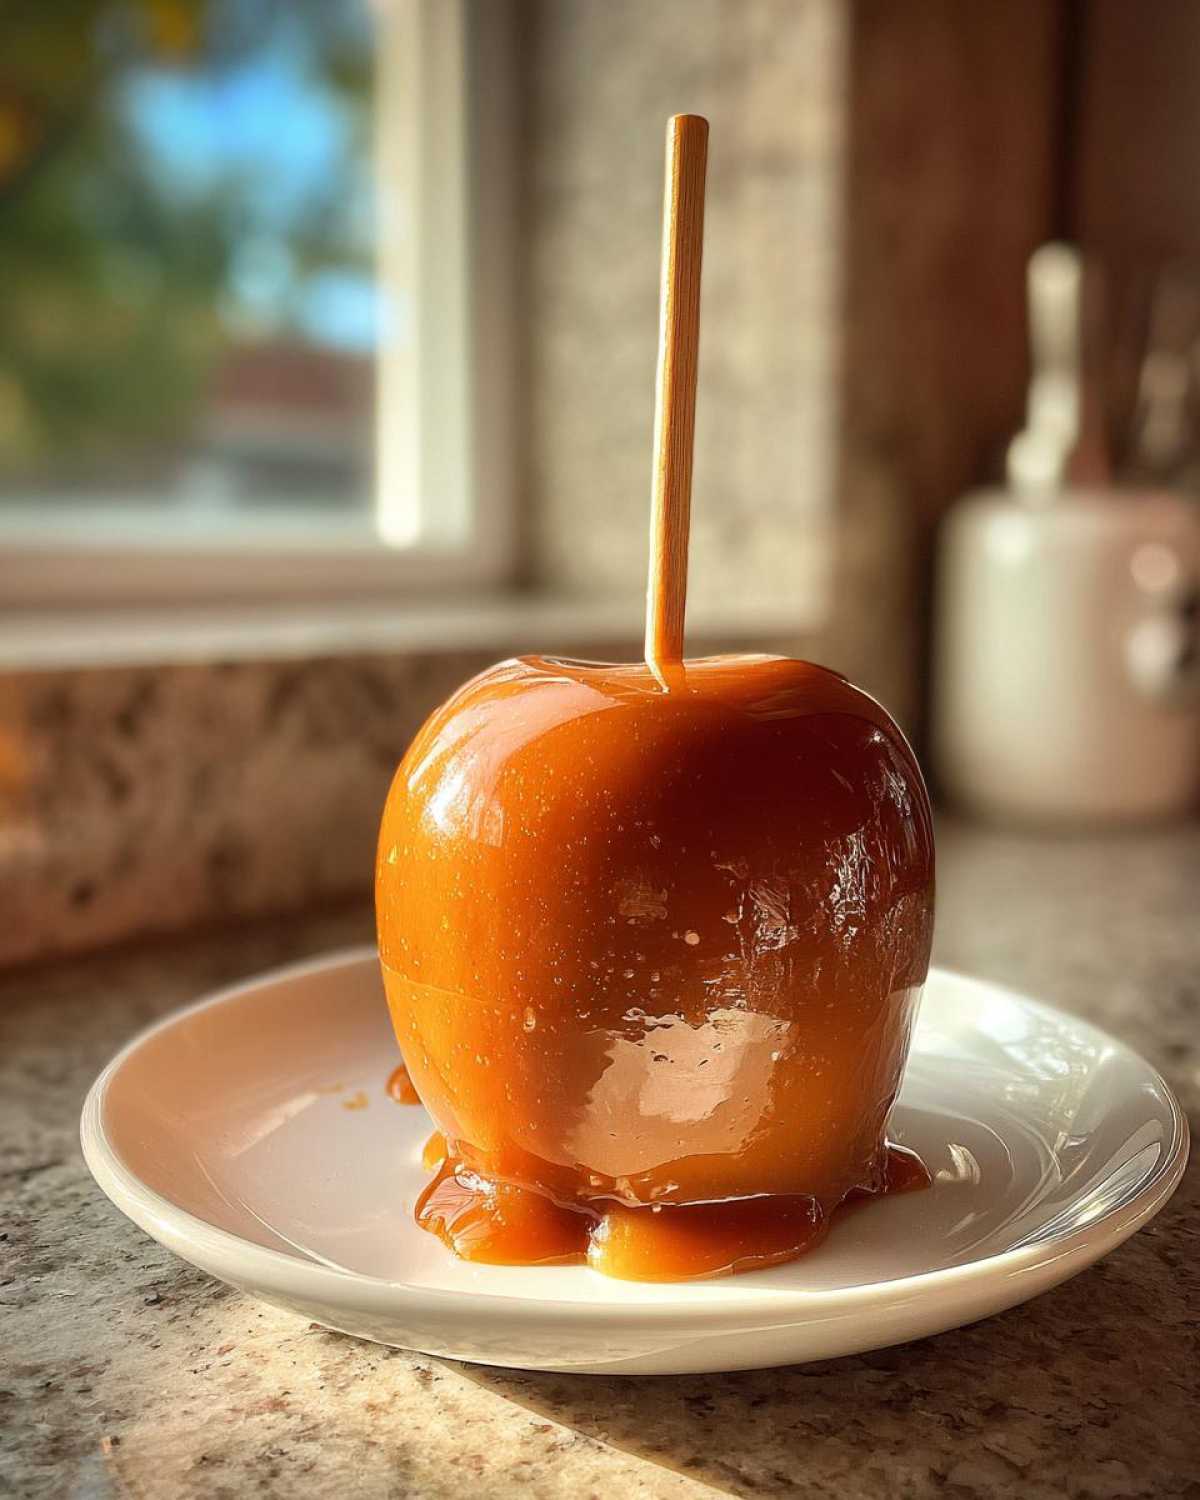
Moisture is the enemy of sticking caramel. If you see any dampness, keep drying. For extra insurance, try this trick. Wipe each apple down gently. Use a clean cloth dipped in white vinegar. The vinegar cuts through anything left behind. Then, dry them one last time. Insert your wooden stick firmly into the core. Set them aside waiting for the caramel bath.
Step-by-Step Instructions for Foolproof Caramel Apple Creation
Now the real fun begins. Time to turn our ingredients into sticky magic. Jacob takes the lead here. He watches the temperature like a hawk. We use a heavy-bottomed pot for even heat. Combine butter, sugar, and corn syrup first. Heat this over medium heat gently. Stir it until the butter melts down. Make sure the sugar dissolves completely too.
Next, attach your candy thermometer securely. Bring the mixture up to a steady boil now. Once it boils, stop stirring completely. Stirring causes crystallization later. Let the temperature climb steadily upward. We are aiming for a specific point.
Achieving the Firm Ball Stage for Your Caramel Apple
Watch that thermometer intently now. You need to hit 245 degrees Fahrenheit exactly. This is the firm ball stage. It takes patience, maybe fifteen to twenty minutes. Do not touch the mixture during this time. Let the heat do its job undisturbed. This stage builds the structure.
Remove the pan from the heat right away. Pull it off the burner immediately at 245°F. Now, carefully stir in the condensed milk. Add the sea salt right after that. Return the pan to low heat briefly. We need to reach the next stage carefully.
Finishing the Caramel and Dipping the Caramel Apple
Stir constantly as it heats again. You must reach 248 degrees Fahrenheit this time. This second stage sets the chewiness perfectly. Remove it from the heat one last time. Stir in your vanilla extract quickly now. Let the caramel cool slightly for five minutes. It thickens up beautifully during this wait. It should coat the back of a spoon thickly.
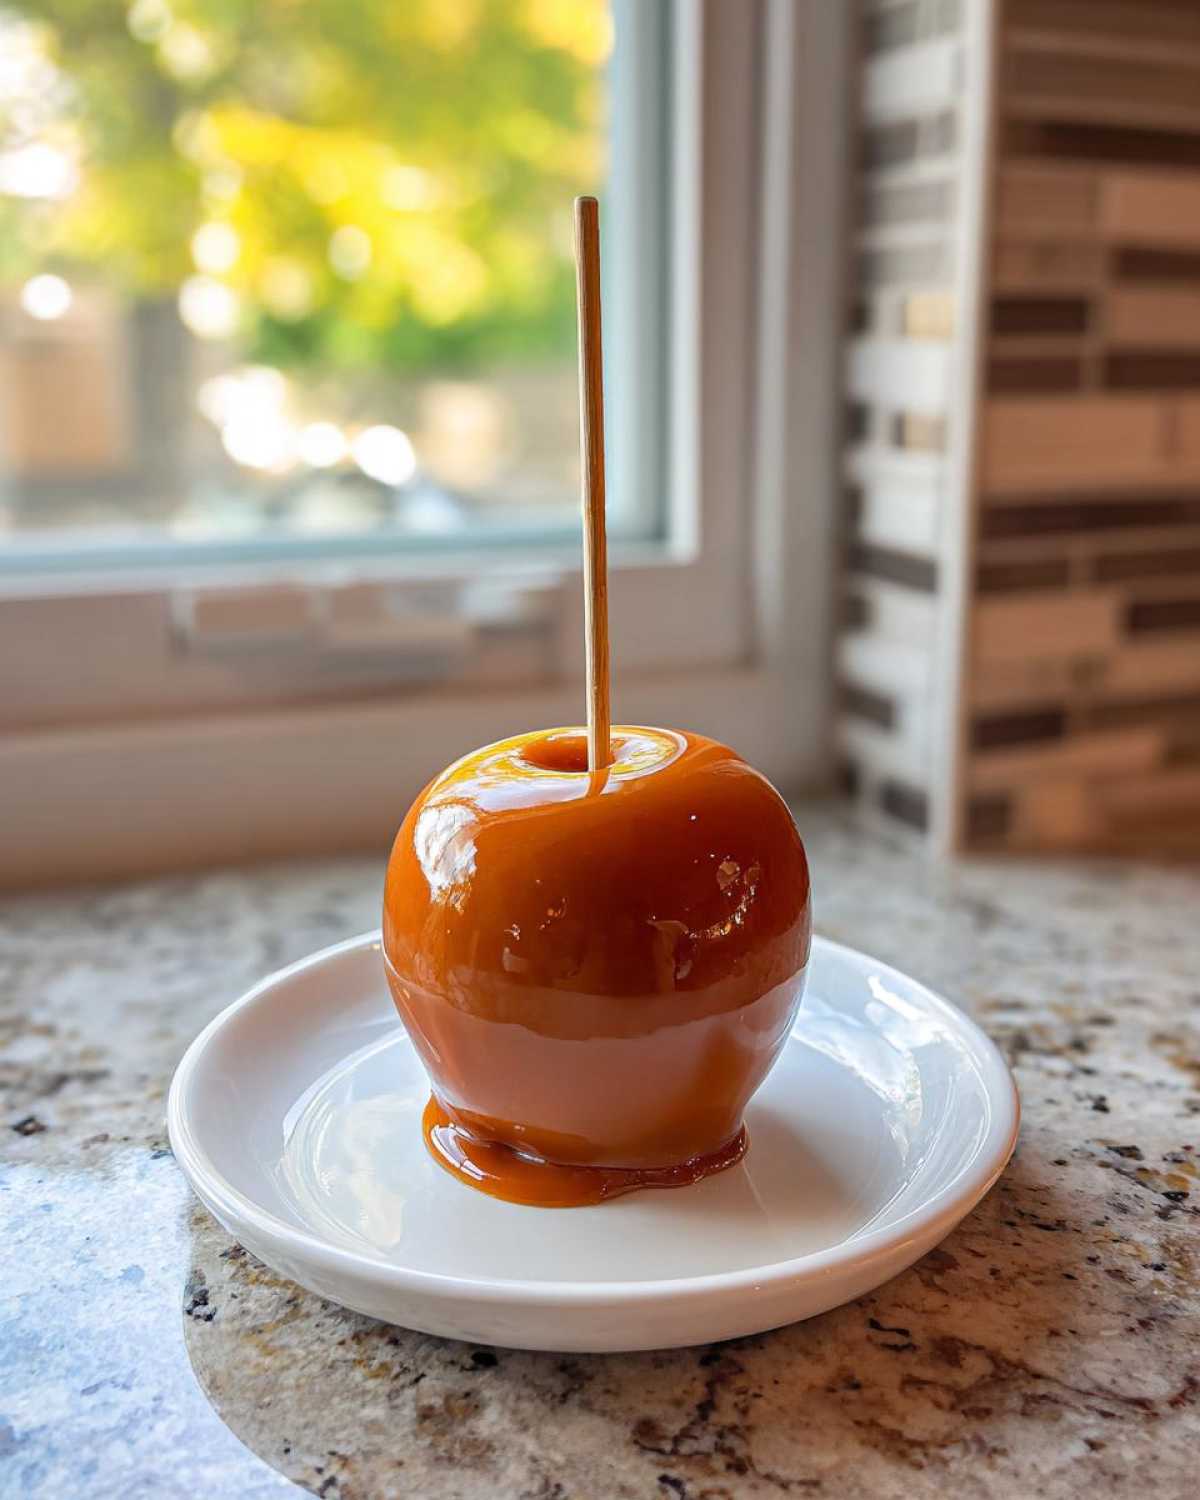
Dip your prepared apples deeply into the warm caramel. Turn the apple slowly as you lift it out. Let the excess caramel drip back into the pot. This twirling motion keeps the coating even. It prevents messy drips later on.
Topping Your Homemade Caramel Apples
The caramel is set, but we are not done yet. A plain caramel apple is good. A topped caramel apple is legendary. This is where Jacob’s artistic side really shines through. Think of the toppings as jewelry for your dessert. They add texture and flavor contrast.
You must work fast here. The caramel sets quickly once it cools a bit. Have all your topping bowls ready and waiting. This step is pure fun for everyone involved. It turns a simple treat into a gourmet experience.
Creative Topping Combinations for Your Caramel Apple
We use the optional toppings we gathered earlier. Chop your nuts finely before you start dipping. Mini chocolate chips offer a nice crunch. Sprinkles just scream celebration, don’t they?
Here are a few combinations we love:
- Classic Crunch: Roll immediately in chopped pecans.
- Chocolate Drizzle: Dip in caramel, then sprinkle mini chips.
- Birthday Blast: Use colorful sprinkles right away.
Roll the newly dipped apple gently in the topping. Make sure the topping adheres to the warm caramel. Place these beauties on parchment paper to set. They look so impressive when finished.
Troubleshooting Common Caramel Apple Issues
Even with the best plan, sometimes things go sideways in the kitchen. Don’t panic if your first batch isn’t perfect. I’ve learned that troubleshooting is key to expertise. Jacob says every failed batch teaches us something new. We’re here to help you fix those little hiccups fast.
Why Did My Caramel Apple Coating Slide Off
If your coating slid right off, I know exactly why. Go back to the apple prep steps. Did you skip the vinegar wipe? Was the apple still slightly damp? Those are the usual culprits. The surface must be totally dry. Temperature is the other major factor here. If your caramel wasn’t hot enough, it won’t set right. It stays too soft. Remember, 248 degrees is the magic number for setting.
Adjusting Caramel Thickness for Dipping Your Caramel Apple
Sometimes the caramel cools down too fast. It gets thick like peanut butter. Don’t throw it out! This happens often, especially on a cold day. Simply return the saucepan to very low heat. Stir it constantly while it warms up gently. You want it fluid again. It needs that perfect dipping consistency. Take it off the heat once it flows nicely. Dip quickly before it re-thickens!
Storing and Serving Your Finished Caramel Apples
The hardest part is over now. You’ve made stunning caramel apples. How do you keep them perfect? Storage matters a lot here. We learned this the hard way early on. Improper storage ruins that lovely chewy texture fast.
These treats taste best fresh, of course. But they keep well for a while. We want to prevent them from getting sticky or sweaty. Follow these simple rules for the best results later.
Best Practices for Storing Classic Caramel Apples
Never put your finished caramel apples in the fridge. I repeat, do not refrigerate them. Cold temperatures cause condensation. This moisture makes the caramel sweat badly. That sticky mess ruins the exterior finish quickly.
Keep them at room temperature instead. A cool, dry spot works perfectly. Make sure they are loosely covered. Don’t seal them tightly in a container. A loose covering protects them from dust. They stay great for up to one week this way. Enjoy your homemade caramel creations! For more dessert ideas, check out our blog.
Frequently Asked Questions About Making Caramel Apples
We know you have questions buzzing around. Cooking candy can feel intimidating. I get it, I used to just plan the recipes! Jacob and I gathered common queries here. We want you to feel confident making this treat. Let’s clear up any last doubts about your caramel apple project.
Can I Make Caramel Apples Ahead of Time
Yes, you absolutely can make them ahead. Remember our storage rules above. Keep them at room temperature. Do not seal them in airtight containers. A loose covering is best for freshness. They hold up well for about a week. This makes them great for parties.
Do I Need a Candy Thermometer for Caramel Apples
Honestly, yes, you really do need one. This is where Jacob’s expertise shines brightest. Guessing the temperature leads to runny caramel. Or worse, burnt, hard candy. A thermometer gives you perfect results every time. It controls the texture reliably. It’s the key to that chewy caramel we promised. Understanding the science behind candy making can be helpful, such as learning about the boiling point of water and sugar solutions.
What Kind of Apples Work Best for Dipping
We strongly recommend tart green apples. Granny Smiths are our top choice always. Their sharp flavor balances the rich, sweet caramel. Sweet apples make the whole dessert too sugary. Tartness cuts through the richness beautifully. If you enjoy apple-based treats, you might also like our recipe for one-bowl apple crumble.
Share Your Perfect Caramel Apple Creation
You did it! You conquered the candy making process. I hope you feel proud of your work. Making a truly great caramel apple takes practice. Now you have Jacob’s foolproof method. You can create this treat anytime.
We love seeing your successes here. Our Taste Portfolio grows with every shared experience. Did the caramel stick perfectly for you? Tell us about your favorite toppings. Did you try the spicy nut blend? For more inspiration on sweet treats, see our guide on chocolate dipped orange slices.
Don’t keep your delicious results a secret. Head down to the comments section below. Leave a rating for Jacob’s recipe. Share a photo if you can. We look forward to hearing from you soon. Happy cooking!
PrintAmazing 1-Day Caramel Apple Success
Jacob shares his foolproof method for making classic caramel apples. This guide focuses on preparing the apples correctly and achieving a perfect, chewy caramel that adheres firmly, complete with topping suggestions from our Taste Portfolio.
- Prep Time: 25 minutes
- Cook Time: 30 minutes
- Total Time: 1 hour 55 minutes
- Yield: 6 caramel apples
- Category: Dessert
- Method: Stovetop Candy Making
- Cuisine: American
- Diet: Vegetarian
Ingredients
- 6 large Granny Smith apples
- 6 wooden sticks or skewers
- 1 cup (2 sticks) unsalted butter
- 2 cups light brown sugar, packed
- 1 cup light corn syrup
- 1 (14 ounce) can sweetened condensed milk
- 1 teaspoon pure vanilla extract
- 1/2 teaspoon sea salt
- Optional Toppings: chopped nuts, mini chocolate chips, sprinkles
Instructions
- Wash apples thoroughly. Remove the wax coating by boiling the apples in water for about 10 seconds, then immediately dry them completely. You must remove all moisture.
- Insert a wooden stick firmly into the core of each dried apple. Set aside.
- In a heavy-bottomed saucepan, combine butter, brown sugar, and corn syrup. Cook over medium heat, stirring constantly until the butter melts and the sugar dissolves.
- Attach a candy thermometer to the side of the pan. Bring the mixture to a boil without stirring.
- Once boiling, stop stirring. Let the mixture reach 245 degrees Fahrenheit (Firm Ball Stage). This usually takes 15 to 20 minutes. Watch the temperature closely.
- Remove the pan from the heat immediately when it reaches 245 degrees Fahrenheit. Carefully stir in the sweetened condensed milk and salt. Return the pan to low heat.
- Stir constantly until the mixture reaches 248 degrees Fahrenheit. Remove from heat and stir in vanilla extract.
- Let the caramel cool slightly for 5 to 10 minutes. It should thicken enough to coat the back of a spoon thickly.
- Dip each apple into the caramel, tilting the pan to cover the apple completely. Lift the apple, twirling it gently to allow excess caramel to drip off.
- Immediately roll the coated apple in your desired toppings, if using.
- Place the finished caramel apples on a baking sheet lined with parchment paper. Allow them to cool and set completely at room temperature for at least 1 hour before serving.
Notes
- The key to sticking caramel is completely dry, wax-free apples. You can use a clean cloth dipped in a little white vinegar to wipe the apples before drying them.
- Use a candy thermometer. Guessing the temperature will lead to runny caramel.
- If the caramel seems too thick to dip, reheat gently until it reaches the desired dipping consistency.
- Store finished caramel apples loosely covered at room temperature for up to one week. Do not refrigerate, as this can cause the caramel to sweat.
Nutrition
- Serving Size: 1 apple
- Calories: Approx. 550
- Sugar: Approx. 85g
- Sodium: Approx. 150mg
- Fat: Approx. 22g
- Saturated Fat: Approx. 14g
- Unsaturated Fat: Approx. 8g
- Trans Fat: 0g
- Carbohydrates: Approx. 90g
- Fiber: Approx. 1g
- Protein: Approx. 4g
- Cholesterol: Approx. 60mg