

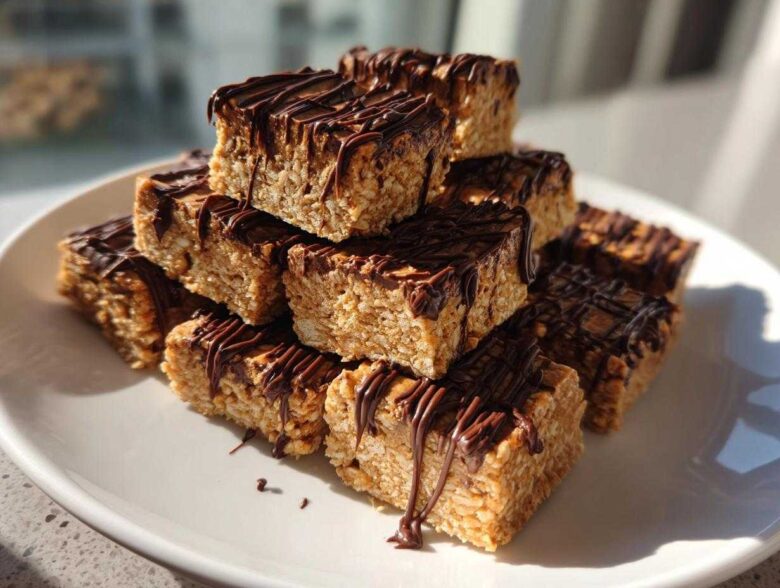
Oh my goodness, are you tired of the snack aisle drama? I know I am! As the planner in our partnership, I spend way too much time reading labels on those pricey store-bought protein bars, trying to figure out why they cost a small fortune just for five bites that taste vaguely like cardboard. Jacob’s endless stream of high-protein demands paired with my need for perfect organization led us to create something truly special. Forget endless lists and complicated steps; this recipe for the Easy No-Bake 5-Ingredient Peanut Butter Protein Bars is our current kitchen masterpiece. It’s simple, satisfying, and gives you total control.
This collaboration between my blueprint and Jacob’s easy confidence means you get the best of both worlds: a recipe so straightforward even I can mix it up without needing a complicated manual, but with a taste that’s absolutely premium. If you need quick, high-quality fuel, check out all the amazing projects we’ve finished over at the main blog here: our recipe index. We’ve got you covered!
Why These Easy No-Bake Protein Bars Are Your New Favorite Healthy Snack Bars
Honestly, these are a total game-changer for my planning schedule! When I needed something quick, delicious, and perfectly portioned for meal prep, these healthy snack bars delivered. We cut the fat on complexity down to just five core ingredients and eliminated the oven entirely. That’s right, no baking needed! I can whip these up in the time it takes Jacob to preheat the oven for something complicated.
If you’ve always wanted an easy protein bar recipe but felt intimidated, this is your entry point. They are the antithesis of those dry, chalky bars you keep seeing. These are chewy, satisfying, and they actually taste like peanut butter and chocolate!
The Magic of 5-Ingredient Protein Bars
Speed is everything, so here’s the trio of wins you get with these quick protein treats:
- Total cleanup is minimal—just one bowl, maybe two if you count the chocolate drizzle!
- They come together in about ten minutes of active time.
- You know exactly what’s going into every single bar. No weird fillers or mystery dust!
If you’re trying to keep your grocery list short and your snacks high-impact, this recipe is our blueprint for success. If you want to see another one of my favorite simple kitchen projects, check out how we handle amazing flavors with our garlic butter—planning minimal steps for maximum flavor always wins!
Gathering Ingredients for Your Peanut Butter Protein Bars
Okay, fellow planners, this is where we nail down the specifics. Remember, for the best tasting protein bars, we can’t skip the details, even with only five main items! You absolutely must have 1 cup of rolled oats—make sure they aren’t the instant kind, we need that texture. Then, grab your container of natural peanut butter; you know, the kind that’s just peanuts and maybe salt—no funny hydrogenated oils in our homemade protein bars!
Next, you’ll need 1/2 cup of a good vanilla or unflavored protein powder. This is the powerhouse that makes them actual energy bars! And for the binder, use 1/4 cup of honey or maple syrup. Finally, we save the chocolate chips for dressing them up later. If you want to see how we handle protein boosts in other forms, peek at our blueberry protein muffins.
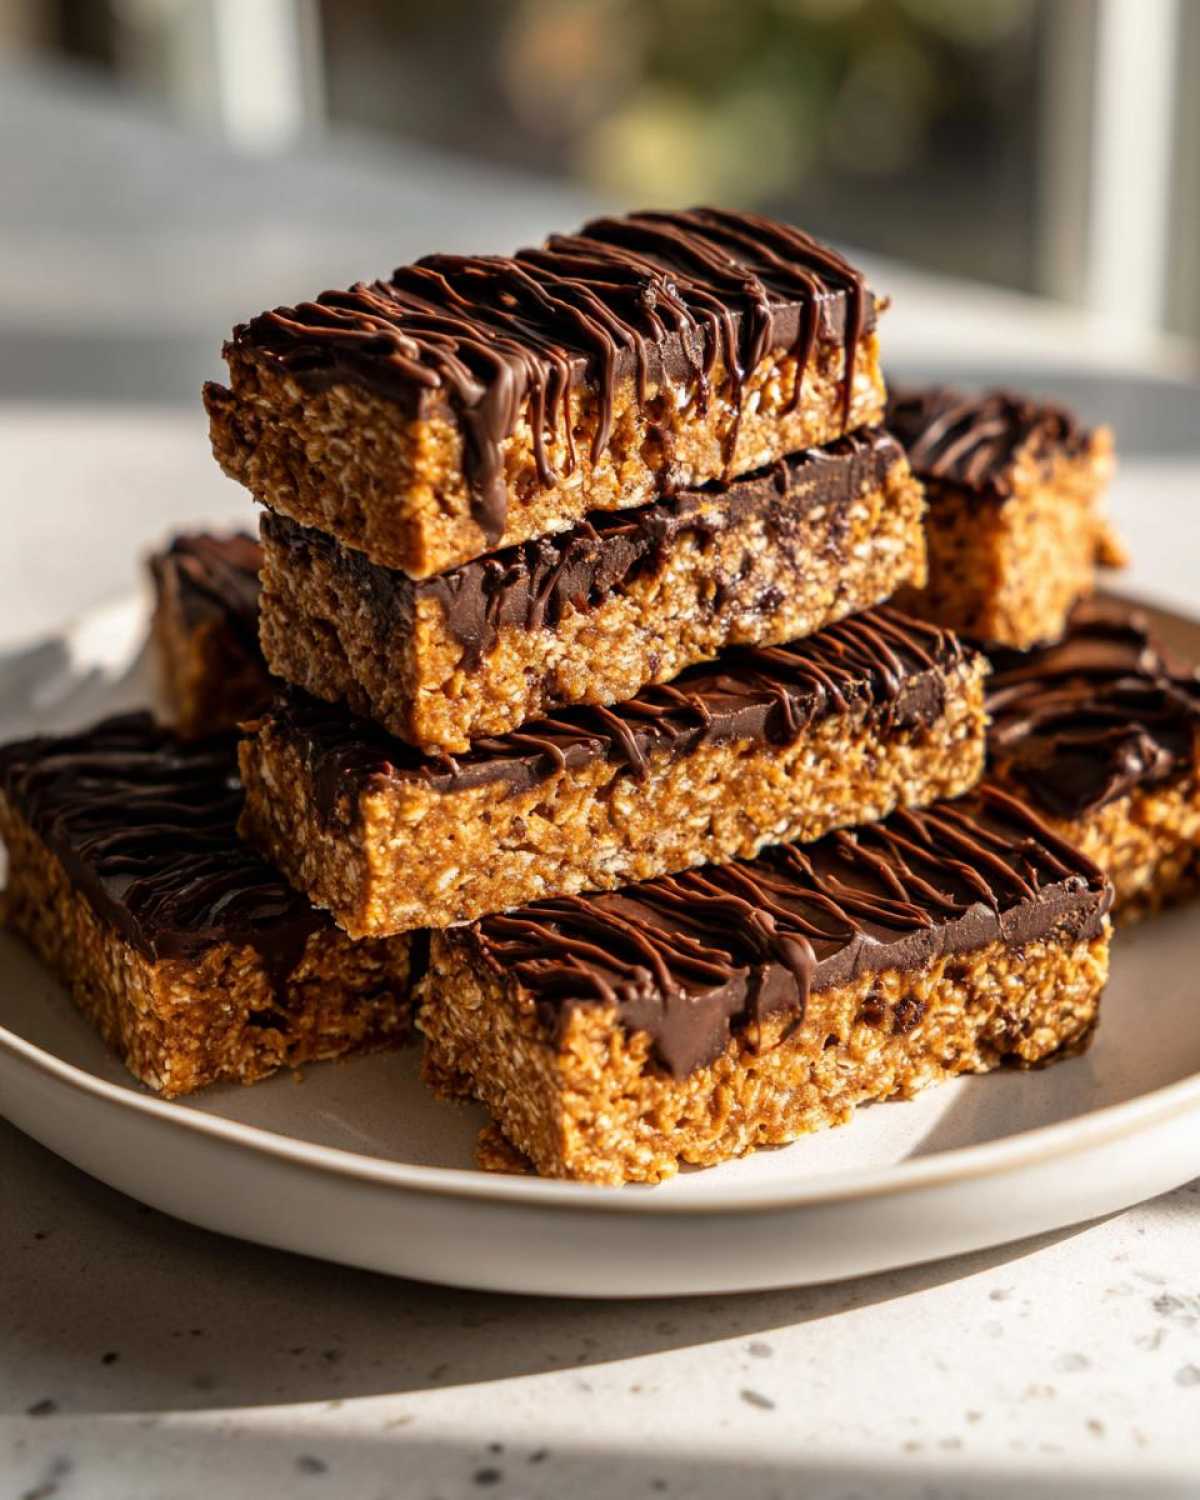
Ingredient Notes and Simple Homemade Snacks Swaps
Because Jacob and I try to keep things flexible, we always write down our substitution strategy upfront. If you need vegan protein bars recipe compliance, swap the honey for maple syrup—that’s simple! Also, make sure whatever protein powder you use is one that binds well. If you go plant-based, you might find the mixture a little stiffer, so keep that 1 teaspoon of water handy, just in case, like the notes suggest.
The type of peanut butter really affects the final texture of these chewy protein bars. Creamy works best for smoothness, but if you use natural, runnier peanut butter, you might need a touch less liquid overall to keep the bars from getting too soft when chilling.
Step-by-Step Guide to Making No Bake Protein Bars
This is where my planning skills really shine, because even though these are no bake protein bars, timing is everything for the perfect texture! This process is so straightforward, I promise it’s perfect for protein bars for beginners. First things first: set up your 8×8 dish with parchment paper, making sure you leave an overhang on the sides. If you don’t leave those handles, getting the block out later becomes my least favorite kind of planning crisis!
Once that’s done, toss your oats, protein powder, peanut butter, and sweetener into a bowl. Now, before you panic because it looks dry, just trust the process. We have to get everything combined first before the magic happens. If you’ve ever looked at those other websites touting homemade protein bars, you’ll see they often overcomplicate this part. We keep it real and efficient! If you’re looking for more quick, no-fuss ideas, that recipe for red velvet cake balls is another winner!
Mixing and Pressing the Base for Chewy Protein Bars
Start mixing with a sturdy spoon, but honestly, when it gets thick, put the spoon down! Jacob always tells me, “Amelia, use your clean hands!” You really need to get in there to make sure every bit of dry protein powder gets hydrated by the peanut butter and honey. Keep mixing until you have a thick, uniform dough—it should feel like really firm cookie dough. Then, press it into your prepared pan. This is crucial for meal prep bars: press down hard and really compact that base. We want dense, chewy protein bars, not crumbs! For more advice on keeping your homemade bars perfect, check out these tips on making homemade protein bars.
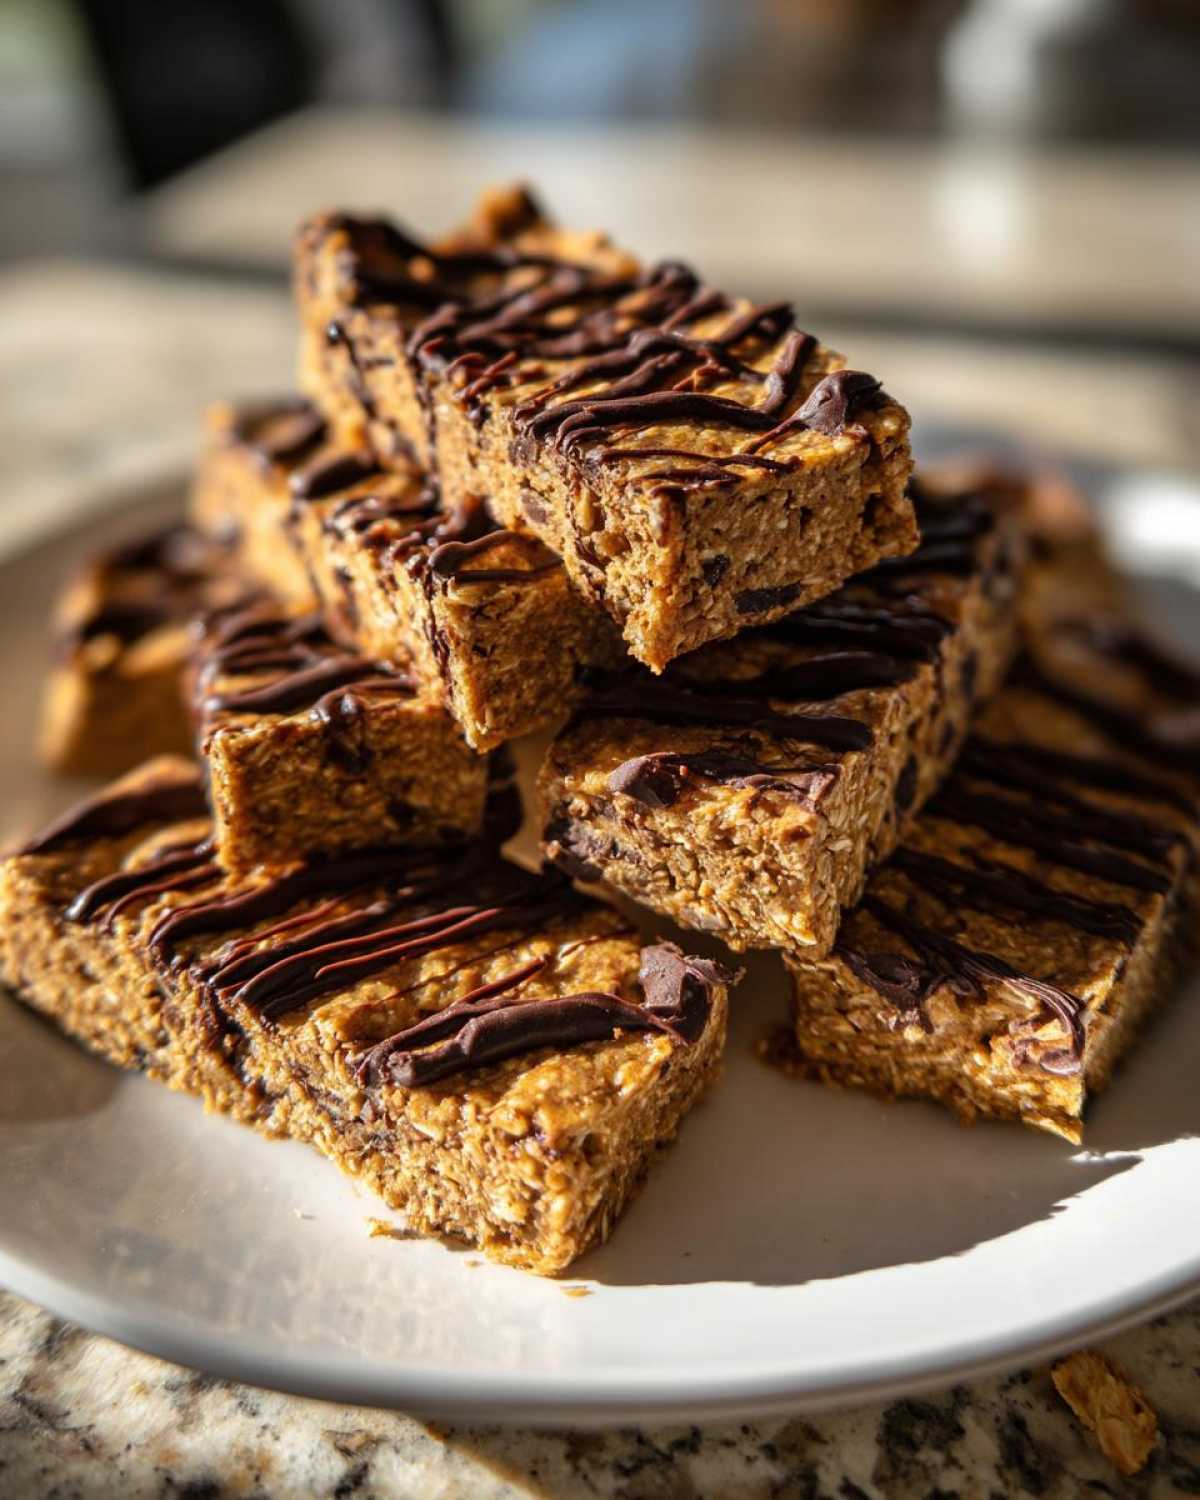
Chilling and Finishing Your Chocolate Protein Bars No Bake
Now for the waiting game, my weakness! We need at least one hour, minimum, in the fridge. Don’t rush this chilling step; it solidifies everything so we don’t get a messy disaster when we cut them. While that’s firming up, melt your chocolate chips in the microwave, using short 30-second bursts. Once smooth, drizzle that glorious topping over the chilled base. Back into the fridge for just 15 more minutes until the chocolate hardens perfectly. Then, use those parchment paper handles to lift the entire block out and slice it into ten beautiful pieces.
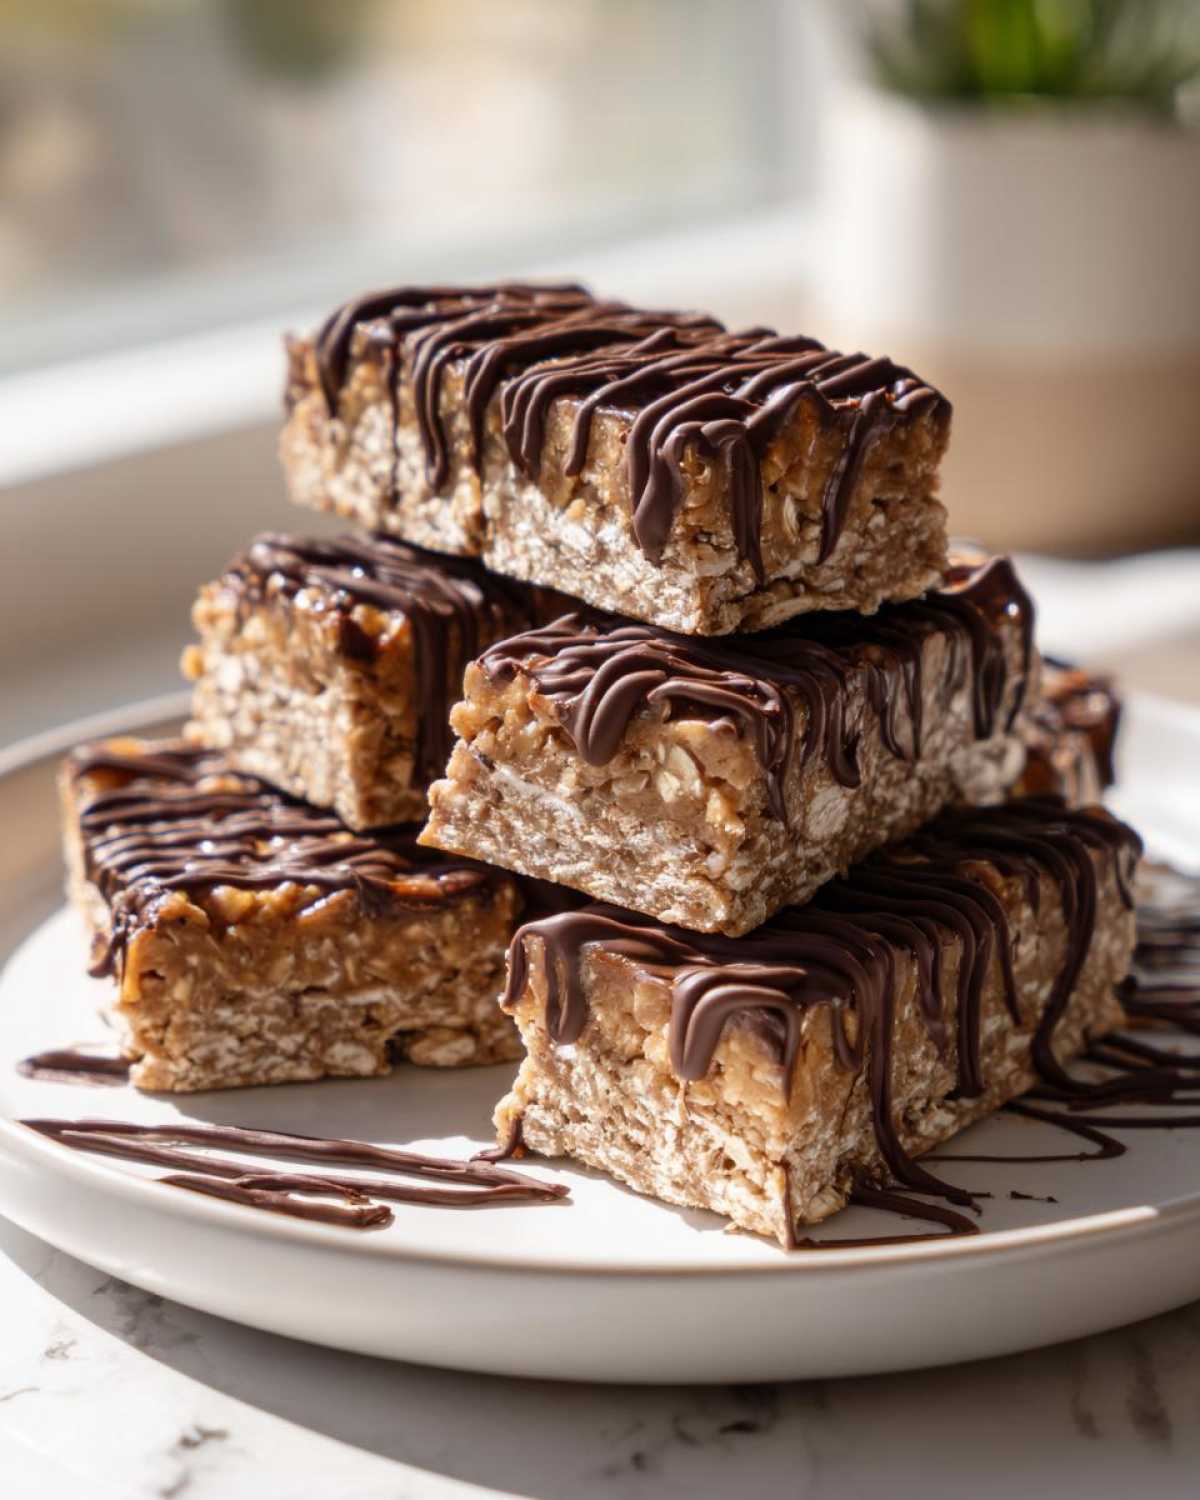
Tips for Perfect Meal Prep Bars Every Time
Even though this recipe is basically foolproof, little tweaks make the difference between a good snack and a truly spectacular one for your weekly rotation. When we talk about these being the best meal prep bars, we are talking about consistency, right? Jacob insists that the very best make ahead protein snacks come down to how hard you press the mixture. Don’t be shy when you push that base into the pan!
If you don’t compact it enough, you’ll end up with bars that crumble when you try to grab them on your way out the door—and nobody wants that mess. He always says, “Amelia, you need to apply the pressure of a deadline!” If you’re looking for other recipes that hold up beautifully under pressure (literally!), you should check out our pistachio muffins; they use a similar binding technique.
Also, if you notice your peanut butter is super stiff, try warming it slightly in the microwave for just 10 seconds before mixing it with the dry goods. It incorporates much better and avoids pockets of dry powder. If the mixture is just *too* crumbly despite your efforts, don’t panic! Just mix in a teaspoon of water or milk, as noted in the recipe. See how easy it is to troubleshoot? For more fantastic advice on keeping your homemade snacks together, check out the breakdown on tastes better from scratch.
Making Your Protein Bars Suitable for Different Diets
One of the best parts about making your own homemade protein bars is that we can tweak them to fit whatever dietary puzzle we’re working on that week. Since our base recipe already skips eggs and butter, it’s totally vegetarian, which is a great start! But I know so many of my friends are strictly plant-based, so let’s talk about nailing those vegan protein bars recipe requirements.
You already saw in the ingredient notes that the swap is super simple: ditch the honey and bring in maple syrup. If you’re grabbing a plant-based protein powder, just watch the consistency, as they sometimes soak up liquid differently. You might need that extra teaspoon of water we mentioned, but it’s totally manageable. Jacob sometimes tests out almond or cashew butter instead of peanut butter, and honestly, these adaptations make for some really interesting protein bar ingredient ideas!
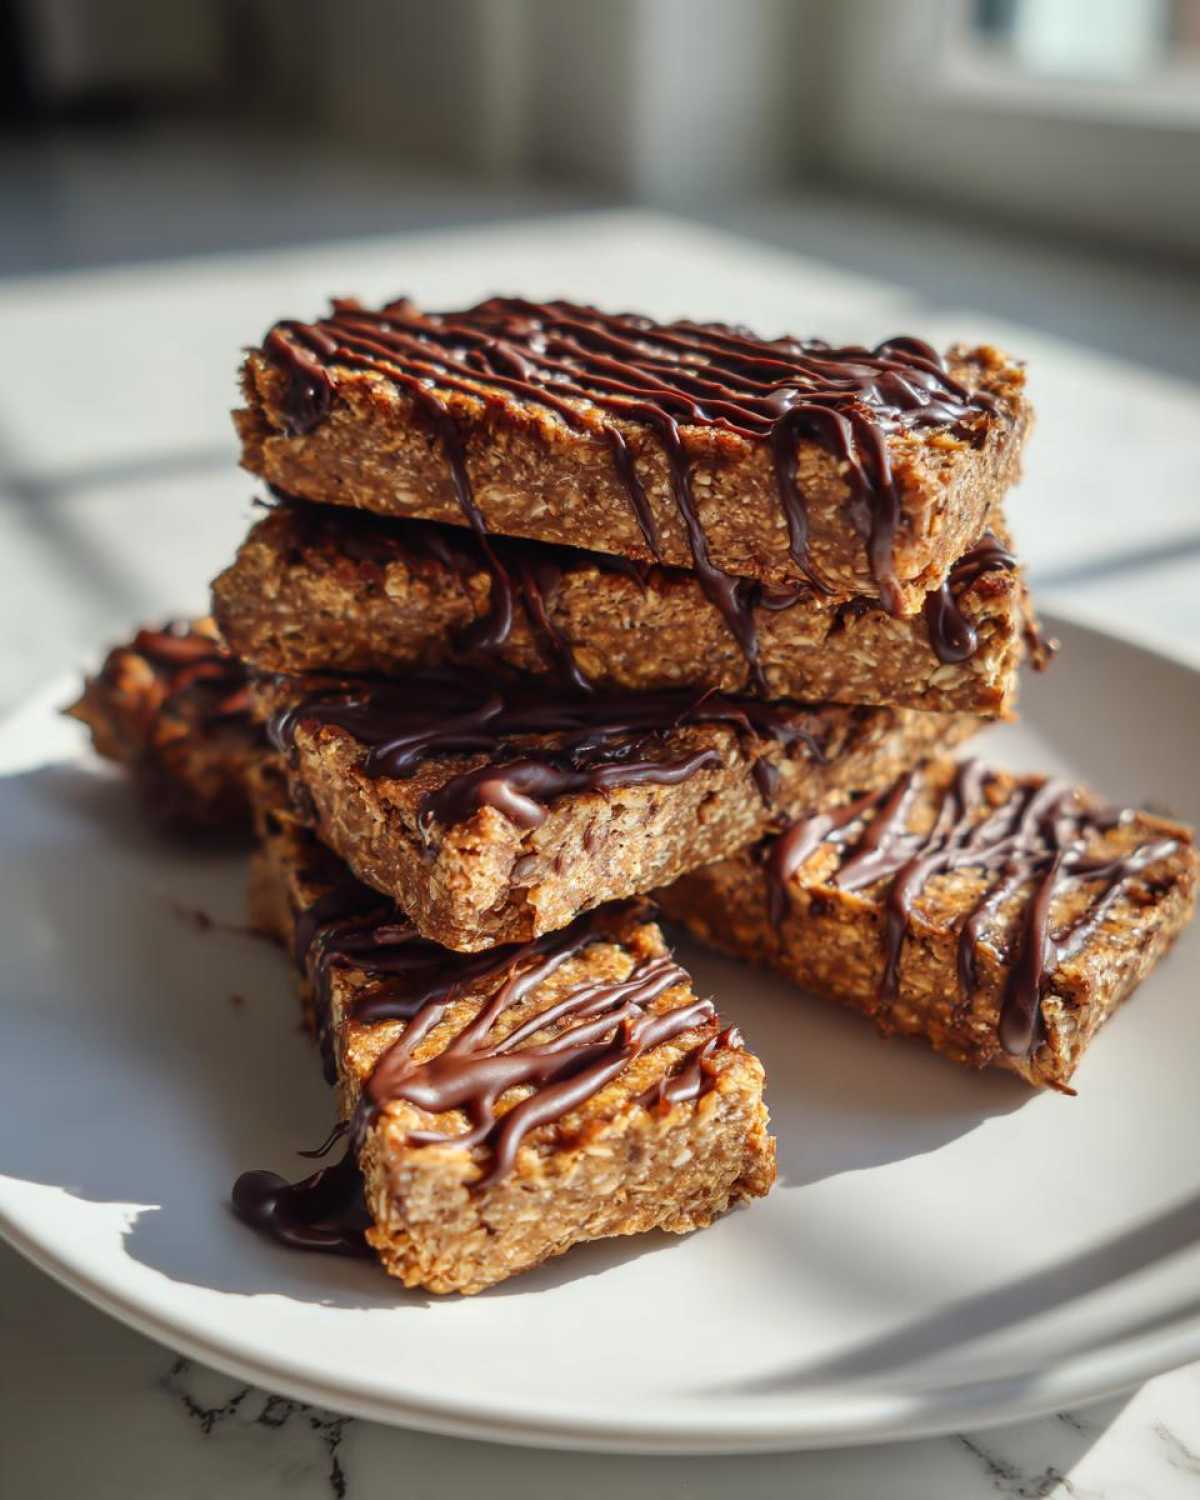
Now, let’s talk sugar content, because I get asked about low sugar protein bars all the time. Honey and maple syrup are natural, sure, but they are still sugar. If you are tracking sugar closely, or if you are making adaptations similar to those diabetic-friendly options over here, you’ll want to swap that sweetener out.
Instead of honey, try using a concentrated liquid sweetener you trust, like stevia drops or monk fruit syrup. Be careful, though—you can’t swap cup-for-cup! You’ll need to add it very slowly, tasting as you go, because these sweeteners are way more intense. We rely on that slight stickiness from the honey/maple syrup for binding, so if you use zero-calorie liquid versions, you might have to add a tiny bit more protein powder to keep the dough firm enough to press into those perfect squares. It takes a little extra planning, but being able to customize your high protein recipes is worth it!
If you want to dive deeper into making completely plant-based treats without sacrificing texture, you have to check out how we handle our vegan brownie recipe. Understanding how to substitute ingredients while maintaining structure is the key to mastering any snack project!
Storage and Reheating Instructions for Homemade Protein Bars
This is actually one of my favorite parts of the whole project: setting up the storage! Because these are truly no bake protein bars, their shelf life is different than something baked in the oven, but that’s a good thing for us planners! When Jacob and I make a big batch, we immediately think of them as our official make ahead protein snacks for busy weeks.
The absolute best place for these peanut butter bars is the refrigerator. Store them in an airtight container, and they stay absolutely perfect—thick, chewy, and tasting fresh—for up to one week. Seriously, place a sheet of parchment paper between layers if you stack them high so the chocolate doesn’t stick together, but honestly, I usually eat them too fast for that to be an issue!
If you are prepping way out in advance, which is exactly what I love to do, you can absolutely freeze them! Wrap individual bars tightly in plastic wrap—I use small squares of wax paper between them—and pop them in a freezer-safe bag. They freeze beautifully for up to two months. When you want one, just pull it out about 15 minutes before you need it, and it thaws right back to that perfect, slightly firm texture. It’s the ultimate grab-and-go plan! If you love planning your snacks ahead like this, you have to check out our dedicated post on making ahead protein snacks for even more ideas that fit into your busy life.
Serving Suggestions for Your High Protein Recipes
So, you have a stack of these gorgeous, sturdy homemade protein bars chilling beautifully in the fridge. Congrats! You’ve finished the project. Now, thinking like a true Project Manager (that’s me!), it’s time to plan how we’ll eat them for maximum enjoyment. These aren’t just fuel; they are part of a balanced, delicious day! Since these peanut butter chocolate bars are already pretty satisfying, they make fantastic additions to other easy meals.
My absolute favorite way to start the day when I’m rushing is to pair one of these bars with a strong cup of coffee. The richness of the peanut butter and dark chocolate just cuts through the bitterness perfectly. It’s like having dessert for breakfast without the crash later. If you’re trying to amp up that morning fuel, you have to try our quick protein breakfast smoothie recipe!
But sometimes, you need something a bit fresher in the mix. If you’re grabbing a bar as a mid-afternoon boost, slicing one up and serving it alongside some fresh fruit is amazing. Think crisp apple slices or a handful of raspberries—the tartness balances the sweetness beautifully. For something creamier, crumble a piece of the bar right over a scoop of plain Greek yogurt. It gives you that texture contrast and adds a little extra tang to what is already one of our favorite high protein recipes!
You don’t need a complicated plan for how to eat these—they are great all on their own—but pairing them thoughtfully turns a simple snack into a genuinely satisfying little meal. See? Even the serving suggestions are optimized for taste and nutrition!
Frequently Asked Questions About Making Protein Bars
I know when I plan a recipe, I always have a hundred little questions zoom through my brain before I even pull out the mixing bowl. That’s totally normal! Jacob laughs because I try to research every possible outcome before we start. So, I pulled together the most common things people ask about making these homemade protein bars—especially when they are aiming for these easy protein bar recipes!
Can I use a different nut butter in these protein bars?
Absolutely! This is one of the easiest ways to switch up the flavor profile in our peanut butter protein bars recipe. Almond butter or cashew butter are both fantastic—they give you a slightly different, maybe nuttier flavor. The crucial thing to watch, though, is the consistency of the nut butter itself. If you use a natural butter that’s runnier than average, you might find your dough is a little loose. If that happens, don’t panic! Just add a tiny extra spoonful of protein powder until it feels right. Remember that instruction about adding water if it’s too dry? If it’s too wet, you just reverse the process!
What is the best protein powder for these no bake protein bars?
This matters a lot for texture! For the absolute best binding and that nice, firm final result we want for our meal prep bars, I usually recommend a whey or a whey/casein blend powder. They tend to be just a bit denser and cooperate perfectly with the peanut butter. If you are using a vegan protein bar recipe powder, usually derived from pea or soy, they can sometimes be much more absorbent. If your dough feels more like sand than dough after mixing, that’s the vegan powder soaking everything up! Just add that splash of water or almond milk (maybe a teaspoon at a time) until everything comes together nicely enough to press.
How do I make these low sugar protein bars?
That is a great question for those tracking their macros closely! Since the honey or maple syrup is key for binding in our no bake protein bars, we have to swap it for something that still provides that sticky moisture without the sugar load. You’ll want to substitute it with a concentrated liquid sweetener, like stevia drops or monk fruit syrup. BUT, and this is Amelia the planner speaking, you need to add it super slowly. These zero-calorie options are incredibly strong, and you can’t just replace a quarter cup 1:1. Add just a few drops, mix well, and taste! You’ll have to be a bit more intuitive here than with the original measurements.
If you are still looking for answers about perfecting any part of your kitchen projects, please don’t hesitate to reach out to us directly—we love hearing from our readers via our contact page!
Sharing Your Taste Portfolio Protein Bars Creations
So there you have it! Our blueprint for the absolute best, quickest, and tastiest protein bars you’ll ever make at home. Jacob and I are already so proud of this little project, and we truly hope it simplifies your snack planning!
Now that you’ve mixed, pressed, chilled, and drizzled your way to perfection, we desperately want to see what you came up with! Did you add extra sea salt on top? Did you use almond butter instead? Are they chilling right now on your counter, waiting patiently?
Please, if you loved these simple homemade snacks, take a second to rate the recipe right below—we track those scores obsessively! And tag us when you post pictures on social media! Seeing our kitchen projects come to life in your homes is truly why we build this portfolio together.
We love building this collection of successful recipes with you all, and if you have any questions about customizations for the future, you know where to find us over on the contact page. Happy snacking!
PrintEasy No-Bake 5-Ingredient Peanut Butter Protein Bars
You need simple, satisfying snacks for meal prep. These easy, no-bake protein bars use just five ingredients and taste better than store-bought options. They are quick to mix and chill, making them perfect for beginners.
- Prep Time: 10 min
- Cook Time: 0 min
- Total Time: 70 min
- Yield: 10 servings
- Category: Snack
- Method: No-Bake
- Cuisine: American
- Diet: Vegetarian
Ingredients
- 1 cup rolled oats
- 1/2 cup natural peanut butter
- 1/2 cup vanilla or unflavored protein powder
- 1/4 cup honey or maple syrup
- 1/4 cup dark chocolate chips (for drizzling)
Instructions
- Line an 8×8 inch baking dish with parchment paper, leaving an overhang on the sides for easy removal.
- In a medium bowl, combine the rolled oats, protein powder, peanut butter, and honey or maple syrup.
- Mix the ingredients thoroughly until a thick, uniform dough forms. You may need to use your hands to fully incorporate everything.
- Press the mixture evenly into the prepared baking dish. Press down firmly to compact the bars.
- Place the dish in the refrigerator to chill for at least 1 hour, or until firm.
- Melt the chocolate chips in a microwave-safe bowl in 30-second intervals, stirring until smooth.
- Drizzle the melted chocolate over the chilled bar mixture.
- Return the dish to the refrigerator for another 15 minutes to set the chocolate.
- Lift the bars out of the dish using the parchment paper overhang. Cut into 10 even bars. Store your homemade protein bars in an airtight container in the refrigerator.
Notes
- For a vegan option, use maple syrup instead of honey and ensure your protein powder is plant-based.
- If the mixture seems too dry, add 1 teaspoon of water or milk at a time until it holds together.
- These chewy protein bars keep well in the fridge for up to one week, making them great for quick protein treats.
Nutrition
- Serving Size: 1 bar
- Calories: 210
- Sugar: 8g
- Sodium: 110mg
- Fat: 11g
- Saturated Fat: 3g
- Unsaturated Fat: 8g
- Trans Fat: 0g
- Carbohydrates: 22g
- Fiber: 3g
- Protein: 12g
- Cholesterol: 0mg