

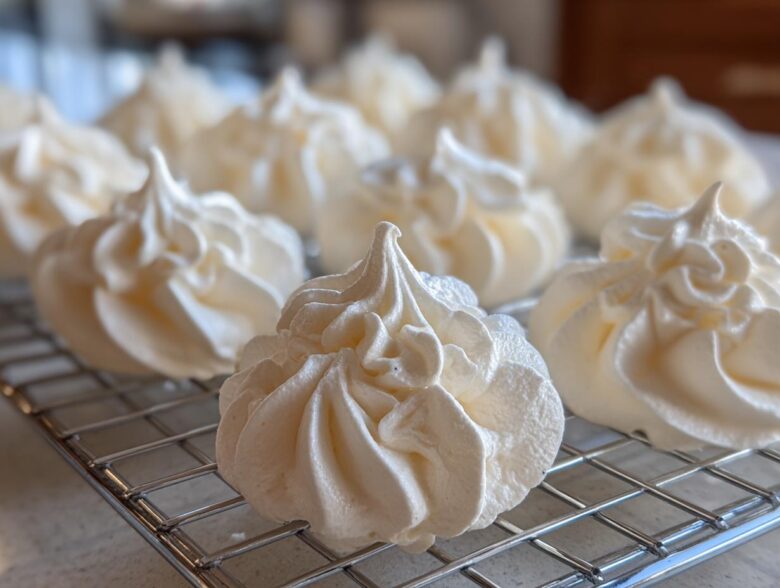
There’s something magical about a dessert that feels impossibly delicate, right? I used to look at those perfect white swirls—the kind that just dissolve on your tongue—and think, “Nope, that’s advanced chemistry, not baking.” And honestly, I was right to be cautious! When Amelia first brought home recipes for meringue cookies, I rolled my eyes, assuming it would end in sticky, weeping disaster.
But believe me when I say this specific French meringue method changed everything. It’s the easiest way to get that classic, light and airy result without needing a sugar thermometer. This recipe delivers those crisp-outside, melt-in-your-mouth centers reliably. If you’re looking for simple egg white desserts that look stunning, this is the foolproof blueprint you’ve been searching for to start your collection. You can read more about how we approach challenging recipes like this on our About Us page!
Why This Easy Meringue Cookies Recipe Works Every Time
I won’t lie; I was skeptical when Amelia told me this was our new go-to recipe for meringue cookies. But this French method is just so forgiving! It’s the reason we get those perfectly Light and Airy Cookies every single time we bake. If you’re new to baking with egg whites, this is the entry point you need. Seriously, these are the ultimate Melt in Your Mouth Cookies.
- Minimal ingredients mean fewer chances for error.
- The technique lets us skip the messy Swiss or Italian methods entirely.
- It guarantees gorgeous, stable swirls ready for the oven.
If you’re ready to dive into more baking projects, check out our main Blog page for inspiration!
Achieving Perfect Meringue Texture
The secret everyone wants to crack is that texture—a hard, crisp exterior that shatters slightly when you bite it, giving way to something soft inside. That’s the hallmark of the Perfect Meringue Texture we are chasing here. Because we are essentially drying these out rather than baking them hard, the low-and-slow method in the oven seals in that delicate quality.
Ingredients for Foolproof Meringue Cookies
Okay, this recipe is famous for using barely anything! That’s what I love about simple egg white desserts—they rely on technique, not a mile-long grocery list. Seriously, the list is short, but precision matters a ton here. For the best result in your Meringue Cookie Recipe, make sure your egg whites are truly at room temperature. It makes all the difference when trying to get volume!
- 4 large egg whites, room temperature
- 1 cup granulated sugar
- 1 teaspoon pure vanilla extract
- 1/4 teaspoon cream of tartar
- Pinch of salt
Essential Equipment for Your Meringue Cookies
Before we even think about whipping anything, we need the right tools. Trust me, trying to whisk this by hand is how you end up with tired arms and sad, flat meringue. We need structure, baby! Since we’re making delicate sweet treats, the equipment has to be spotless. This is where Amelia’s love of planning comes in handy—we get everything out before we start!
Here are the non-negotiables for making sure your **Meringue Kisses Recipe** turns out beautiful:
- A Stand Mixer (or powerful hand mixer): The whisk attachment is your best friend. You need continuous, powerful whisking to incorporate enough air.
- Completely Clean Bowls: Even one tiny speck of grease or yolk will stop the egg whites from building volume. I wipe my bowl and whisk down with a little white vinegar right before I use them—it’s Jacob’s trick!
- Parchment Paper: You absolutely cannot use wax paper or silicone mats for the first bake. The raw meringue needs something to grip onto while it starts setting up in that low oven heat.
- Piping Bags and Tips: If you want that classic, beautiful swirl, you need a sturdy piping bag and at least one good star tip—I prefer a large open star tip for that iconic meringue kiss look.
How to Prepare Simple Meringue Cookies: Step-by-Step Instructions
This is where the planning meets the execution, and I promise you, it’s easier than you think! The whole process for these Meringue Cookies centers around adding sugar slowly once you have some actual structure going. If you rush this, you end up with a soupy mess, which is no good for making pretty Meringue Kisses Recipe swirls.
First, get that oven as low as it will go—we need to dry these out, not bake them into something hard. We’re talking 175°F to 200°F max. Line those sheets with parchment. Remember my tip? Make sure that bowl is absolutely, positively spotless before the egg whites go in. I mean it—no grease allowed! If you want to learn more about the science behind getting that perfect *How to Make Meringue* basis, I have a detailed guide over here on how to make meringue.
Whipping the Egg Whites to Stiff Peaks for Meringue Cookies
Start your egg whites on medium speed until they look foamy—just bubbly, nothing special yet. Then, toss in the cream of tartar and crank that speed up to medium-high. Once you hit soft peaks—that means the peaks slump over when you stop—start adding that sugar. And I mean slowly. We’re talking one tablespoon at a time, waiting about 30 seconds between each spoonful. This patient addition builds strength! Keep beating until you have stiff, glossy peaks that don’t budge when you lift the whisk. This whole process easily takes 8 to 10 minutes, so don’t panic if it feels long; you’re building volume!
Piping and Drying Your Meringue Cookies
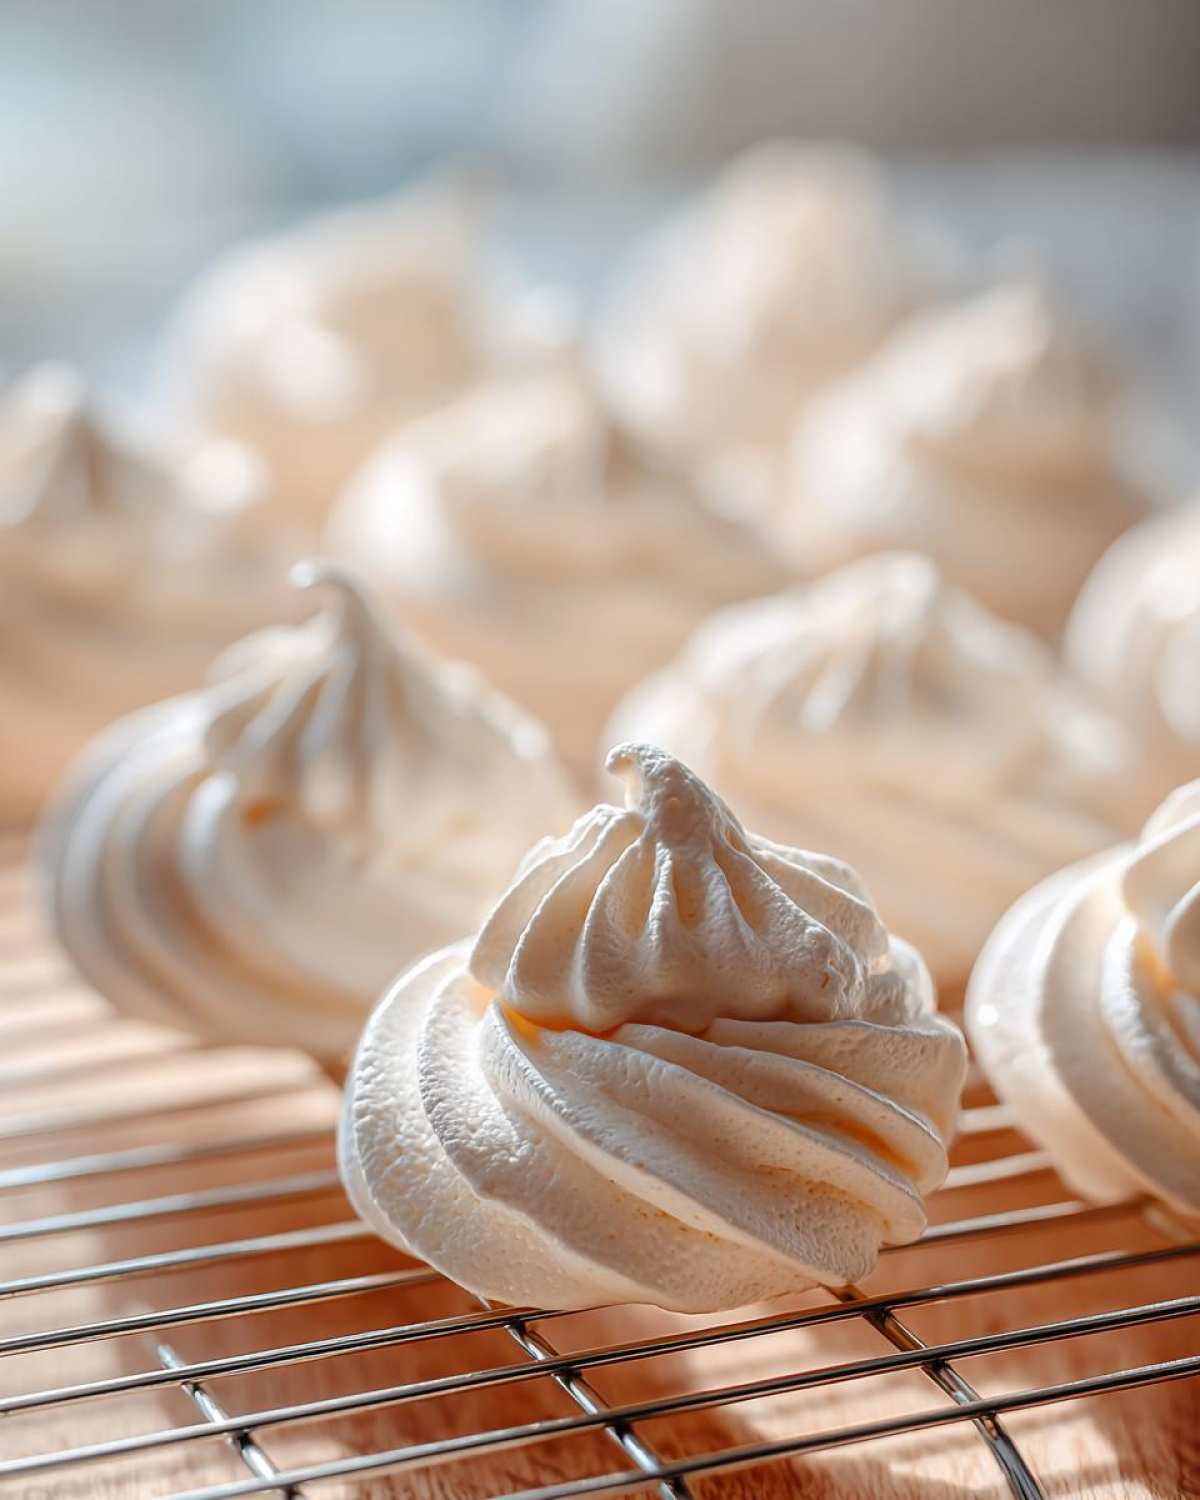
Once you gently fold in that vanilla—please don’t beat it in—transfer that stiff meringue to your piping bag fitted with a star tip. Pipe little kisses, leaving plenty of space between them. Now for the real make-or-break moment for making **Crispy Meringue Treats**: pop them into that barely warm oven. Let them dry out for about 90 minutes. When they feel dry and lift right off the paper, turn the oven OFF. Prop the door open with a wooden spoon and let them chill inside the cooling oven for at least an hour, or even overnight. That slow cool-down is the secret to avoiding cracks!
Troubleshooting Common Meringue Cookies Issues
Even with this super simple recipe, sometimes things go a little sideways. Don’t worry! This happens to everyone, and knowing what to look for is half the battle when trying to make these delicate things. When you’re working with something as temperamental as whipped egg whites, you need a quick fix sheet. This is where I step in to make sure you don’t throw out that beautiful bowl of fluff!
Weeping or Leaking Sugar (Syrup on the bottom)
If you come back to your trays and see little puddles of clear syrup forming, that’s called weeping. Usually, this means your sugar didn’t fully dissolve into the egg whites before you started baking. It happens if you add the sugar too fast, which rushes the whipping process. My advice? If you catch it early, pop the cookies back in the oven at 200°F for 15 minutes to try and reabsorb that liquid. For next time, remember to stick to my slow, tablespoon-at-a-time addition.
Soft or Sticky Meringue Cookies
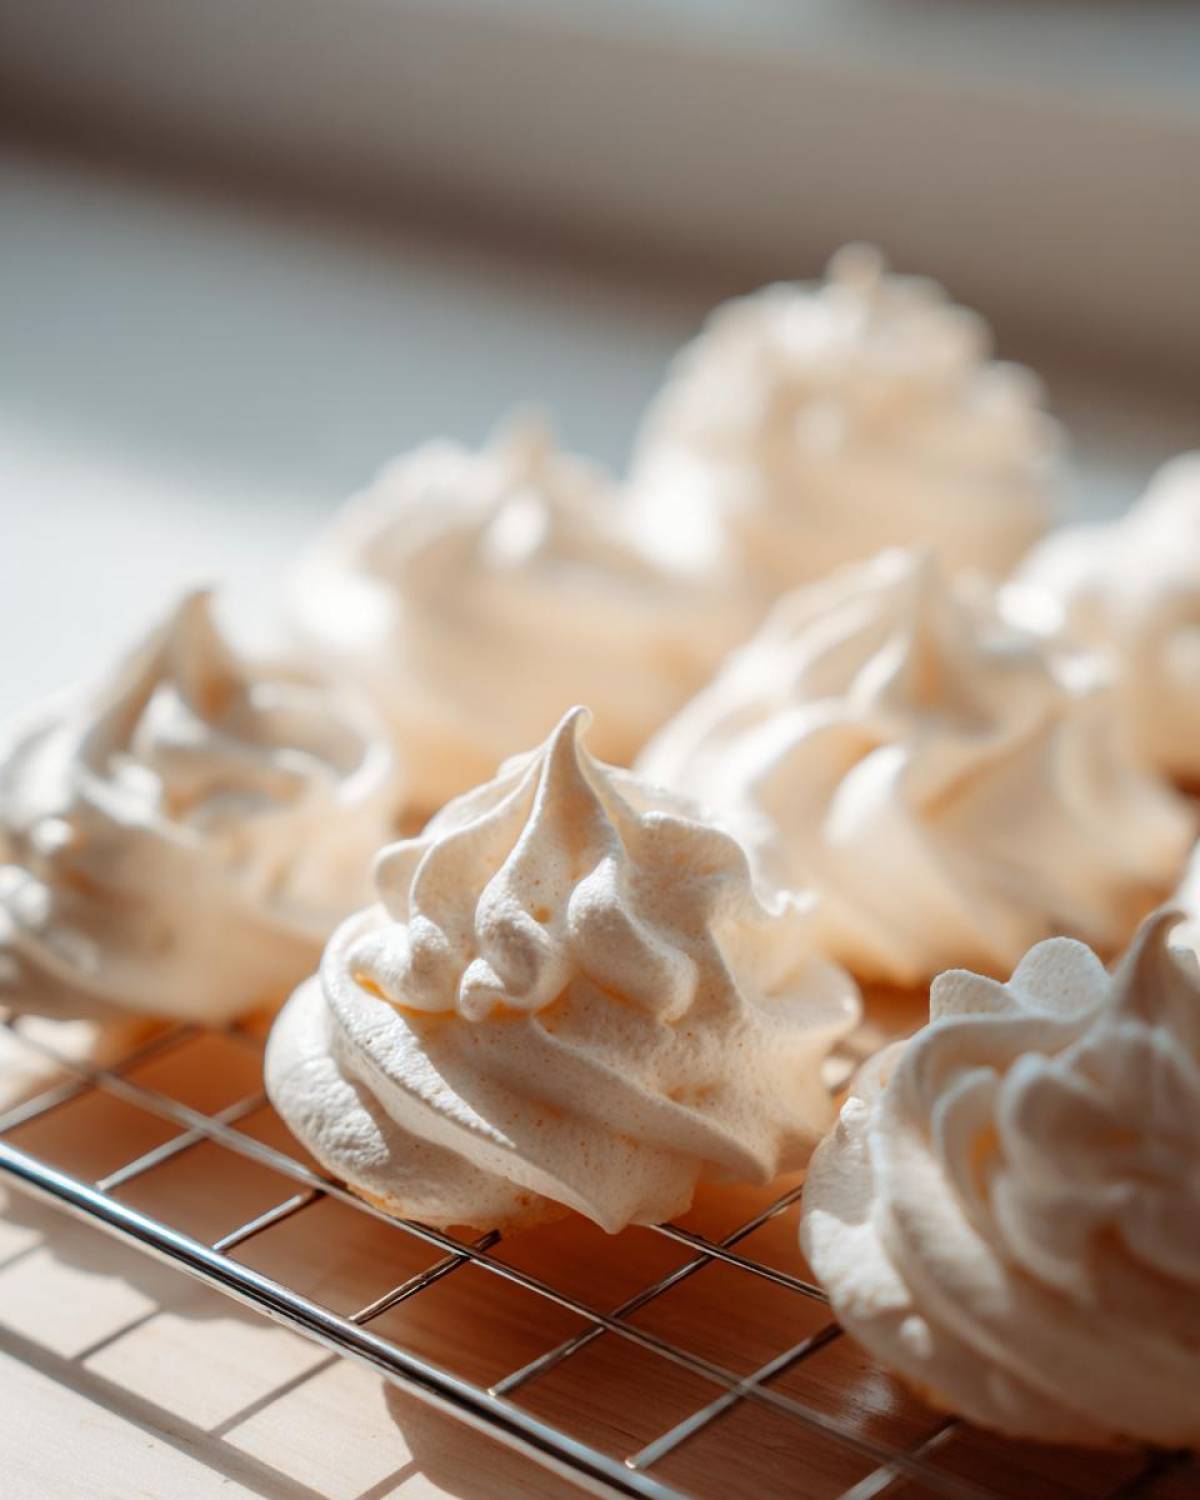
These are supposed to be firm and crisp, right? If your finished cookies feel soft or sticky when you touch them, it almost always points to humidity or not enough drying time. Meringue loves dry air, and our enemy is moisture! If the weather outside is terrible, extend the drying time in the turned-off oven. I left a batch in overnight once because it was raining heavily, and they came out perfectly crisp the next morning.
Cracking and Pitting
Seeing big cracks or big pits in your **Meringue Cookies**? This usually happens because the temperature of the oven was too high or you cooled them down too quickly. High heat cooks the outside way faster than the inside, causing it to puff up and then collapse as it cools. Always use the lowest oven setting you can manage, and please, please follow the tip about turning the oven off and leaving them inside. That slow transition is what keeps them looking flawless.
Variations for Your Meringue Cookies
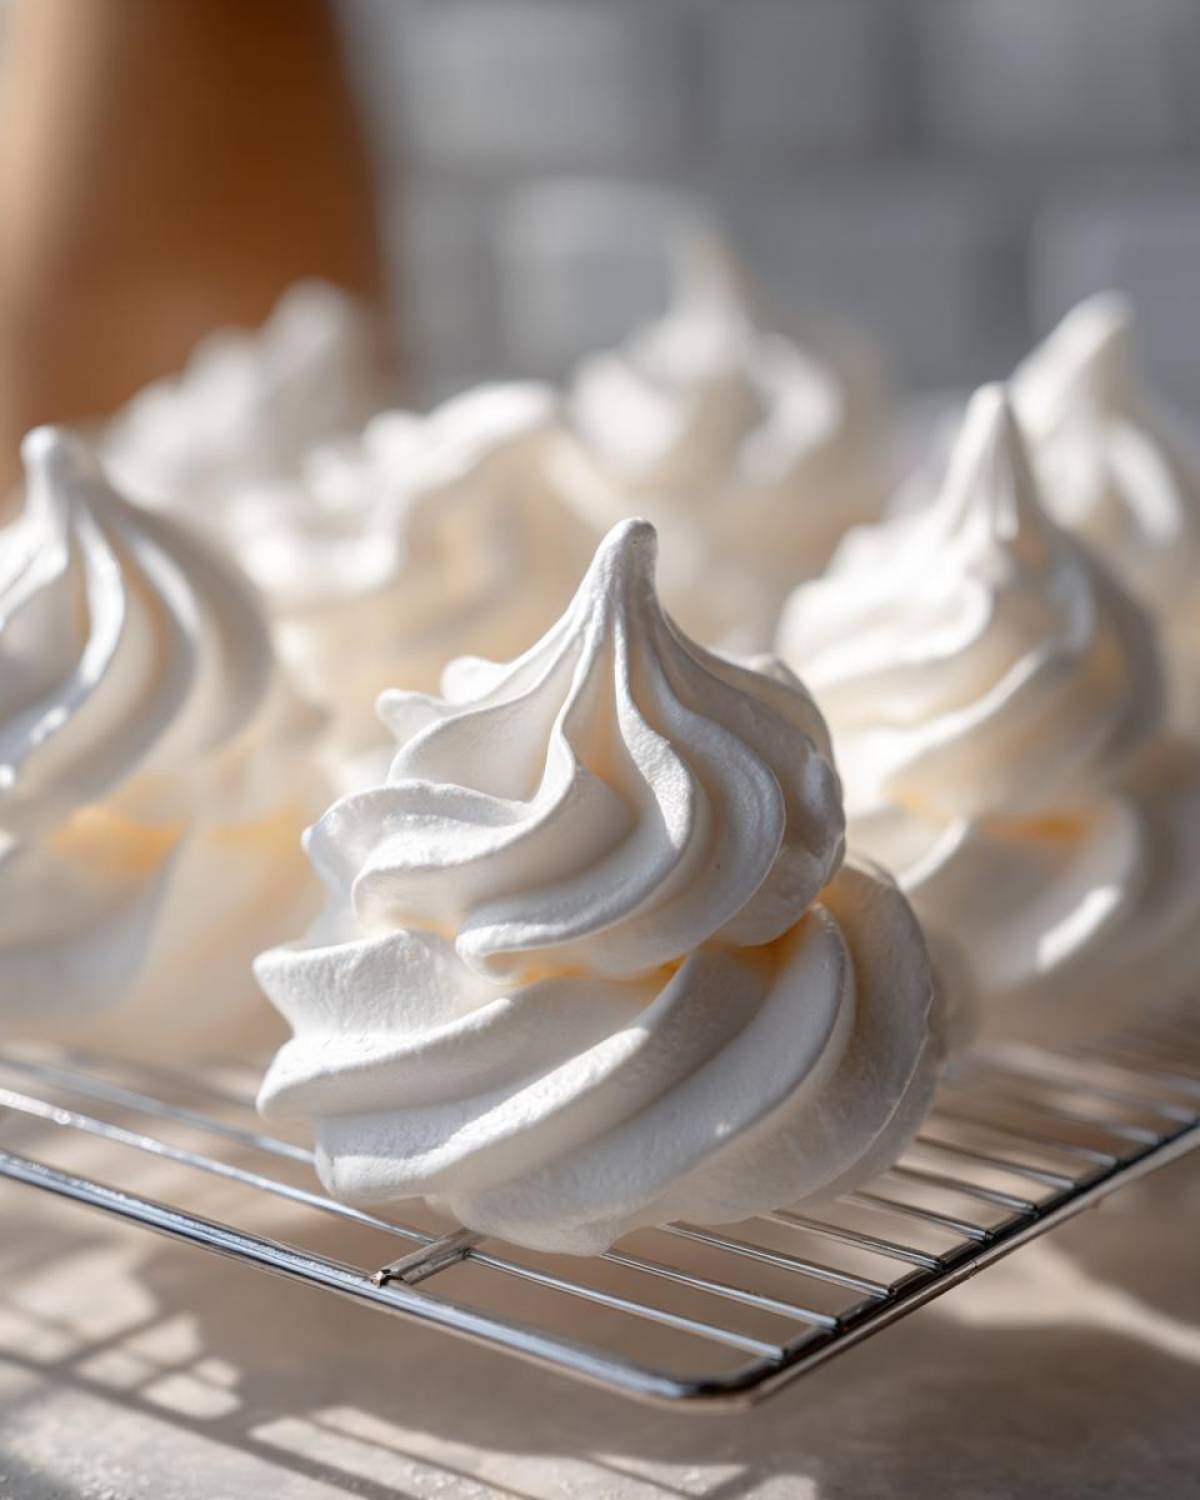
Once you master the basic French meringue, you suddenly have access to a whole world of delicate sweet treats! It’s fun to jazz up the basic vanilla, but the key is adding flavorings when the meringue is already fully stable—that means after the sugar is incorporated and you have those glossy, stiff peaks.
If you’re looking for something colorful, the Jello Meringue Cookie Recipe is a fantastic place to start. You just swap out about a tablespoon of the granulated sugar for a tablespoon of flavored gelatin powder. The Jello adds color and a little tang without weighing things down!
For a festive twist, I love making Peppermint Meringue Cookies during the holidays. Just substitute the vanilla extract with peppermint extract right at the end. Don’t add too much, though—peppermint is powerful! These crisp meringue treats are just wonderful for gifting.
Storage and Keeping Meringue Cookies Crisp
Alright, you’ve nailed the baking and cooling—now we have to protect our work! These delightful treats, once perfectly crisp, can turn soft and sticky faster than you can say “melt in your mouth.” Humidity is the absolute arch-nemesis of a good, airy meringue cookie. If you look outside and see fog, do not leave these cookies out on the counter!
The storage rules are incredibly strict, but they keep our hard work intact. The minute these meringue cookies are completely cool—and I mean stone-cold from that oven cooling process—you need to get them into an airtight container immediately. They don’t need refrigeration at all, just a dry, cool spot in your pantry.
If you plan on keeping them around for a while, you can use a small jar or even a slightly larger container and put a small paper napkin or a couple of silica gel packets (the ones that come in new shoes or electronics—just make sure they’re food safe!) at the bottom to absorb any trace moisture.
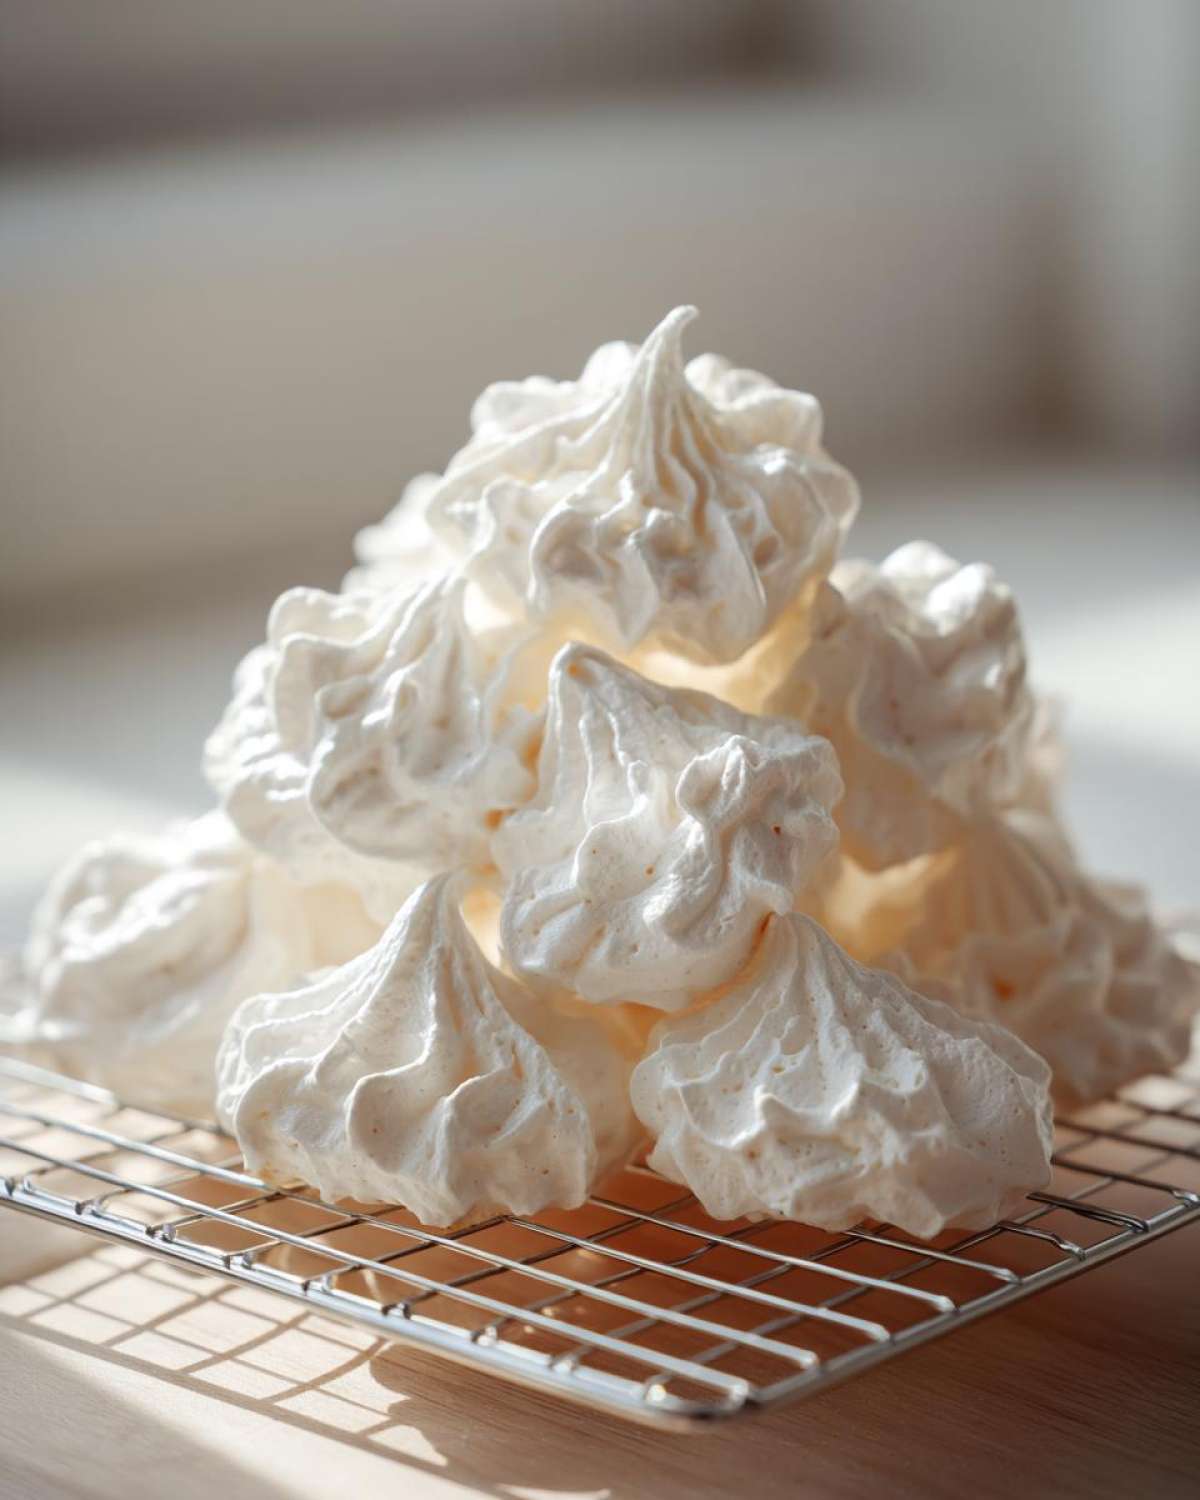
If stored correctly in a truly airtight environment, these delicate sweet treats will hold their perfect crispness for a surprisingly long time—easily two to three weeks! If they start feeling less crisp after a week, you can try giving them another 30 minutes in a 175°F oven just to dry them out again. But honestly, I doubt you’ll have any left to test that theory!
Frequently Asked Questions About Meringue Cookies
Even after laying out the whole flawless process, I know questions always pop up when you’re dealing with something this famously finicky! Dealing with egg whites can make people nervous, but these answers should give you the confidence to see these through batch after batch. We want you to feel great about making these Simple Egg White Desserts!
Are Meringue Cookies Naturally Gluten Free?
Yes, they absolutely are! If you look at the ingredients—just egg whites, sugar, vanilla, salt, and cream of tartar—there’s no flour or gluten anywhere in sight. That’s one of the huge perks of making French Meringue Cookies. This makes them a fantastic option for guests with sensitivities, essentially guaranteeing they can enjoy a sweet, delicate treat!
Why are my meringue cookies weeping syrup?
Oh no, the dreaded weep! Like I mentioned in the troubleshooting section, this is almost always because the sugar didn’t fully incorporate before the baking/drying process started. When the heat hits undissolved sugar crystals, they melt out of the mix, creating that sticky syrup at the bottom of your cookies. You need that stiff, glossy peak stage where the sugar has completely vanished into the egg whites, leaving behind a smooth surface.
Can I add food coloring to my meringue cookies recipe?
You surely can! But timing is everything here. If you add liquid food coloring too early, it can actually thin out your meringue and cause it to lose volume. For best results, wait until you have achieved stiff peaks—that moment right before you fold in the vanilla extract. Add just one or two drops of gel food coloring (gel is better than liquid because it’s concentrated) and use a spatula to gently fold it in maybe 3 or 4 times. You want streaks of color, not a perfectly uniform shade, which also helps keep the texture light.
How long should I beat the egg whites for perfect meringue cookies?
For those beautiful, strong peaks that hold their shape perfectly when piped, you should expect to beat them for a total of 8 to 10 minutes on medium-high speed, depending on your mixer. The first few minutes are just getting foam, but the bulk of the time is spent slowly dissolving the sugar. You are looking for that stage where the bowl feels cool to the touch and the meringue looks like shiny, brilliant white peaks that stand straight up when you lift the whisk. Don’t stop early, or you’ll end up with these sad, flat puffs!
Serving Suggestions for Your Homemade Meringue Cookies
Now that you have a stockpile of these light, airy, and crisp meringue cookies—which, by the way, are truly stunning enough to be considered one of our best DIY Gift Idea projects—the fun part starts: how to enjoy them!
Because they are so delicately sweet and naturally gluten free (hello, Simple Egg White Desserts!), they pair beautifully with almost anything warm. They are the absolute perfect sidekick to a strong cup of dark roast coffee first thing in the morning. They also look incredibly elegant sitting next to a simple cup of black tea when you have company over.
If you are making these around the holidays, think about presentation! These are your go-to for building Holiday Meringue Cookie Ideas. Try gently attaching two meringue cookies together with a tiny dot of melted chocolate or jam in the middle to create little sandwich cookies. They look gorgeous stacked high on a cake stand—just be sure to keep them away from any moisture!
For a show-stopping dessert presentation, I sometimes crush a few of the imperfectly shaped ones right before the last minute of serving. You can sprinkle those crumbs over ice cream or even use them in place of a traditional graham cracker crust for a fruit tart base. They add such an interesting, airy crunch. If you manage to have any leftovers after gifting them all away, try using them to top hot chocolate!
If you ever have questions while setting up your next big baking project, don’t hesitate to reach out through our Contact page. We love hearing about your successes!
PrintThe Ultimate Easy Meringue Cookies Recipe: Light, Crisp, and Perfect Every Time

Learn how to make light, airy, and crisp meringue cookies using the simple French meringue method. This foolproof recipe results in melt-in-your-mouth treats perfect for any occasion or as beautiful homemade gifts.
- Prep Time: 20 min
- Cook Time: 90 min
- Total Time: 110 min
- Yield: About 3 dozen
- Category: Dessert
- Method: Baking
- Cuisine: American
- Diet: Gluten Free
Ingredients
- 4 large egg whites, room temperature
- 1 cup granulated sugar
- 1 teaspoon pure vanilla extract
- 1/4 teaspoon cream of tartar
- Pinch of salt
Instructions
- Preheat your oven to the lowest setting, usually between 175°F and 200°F (80°C and 95°C). Line two baking sheets with parchment paper.
- Ensure your mixing bowl and whisk attachment are completely clean and grease-free. Add the room-temperature egg whites and salt to the bowl.
- Begin whipping the egg whites on medium speed until they become foamy. Add the cream of tartar and increase the speed to medium-high.
- Once soft peaks form (the peaks curl over when you lift the whisk), slowly begin adding the granulated sugar, one tablespoon at a time, waiting about 30 seconds between additions. This slow addition is key for stable meringue.
- Continue beating until stiff, glossy peaks form. When you lift the whisk, the peak should stand straight up without collapsing. This process takes about 8 to 10 minutes total.
- Gently mix in the vanilla extract by hand using a spatula. Do not overmix.
- Transfer the meringue to a piping bag fitted with your desired tip (a star tip creates classic meringue kisses).
- Pipe small mounds or kisses onto the prepared baking sheets, leaving about one inch between them.
- Place the baking sheets in the preheated oven. Bake (or dry out) for 1 to 1.5 hours, depending on the size of your cookies and your oven temperature. The cookies should feel dry and lift easily from the parchment paper when done.
- Turn off the oven, prop the door open slightly with a wooden spoon, and allow the meringue cookies to cool completely inside the oven for at least 1 hour, or preferably overnight. This step prevents cracking and ensures a crisp texture.
- Store your finished, light and airy cookies in an airtight container at room temperature.
Notes
- For flavored meringue cookies, you can add 1 teaspoon of peppermint extract instead of vanilla for peppermint meringue cookies.
- To make Jello meringue cookie variations, substitute 1 tablespoon of the sugar with 1 tablespoon of flavored gelatin powder (like strawberry or lime). Add it in with the sugar.
- If you live in a humid climate, baking time may need to be extended, and storage must be strictly airtight. Humidity is the enemy of crisp meringue.
Nutrition
- Serving Size: 3 cookies
- Calories: 55
- Sugar: 14
- Sodium: 5
- Fat: 0
- Saturated Fat: 0
- Unsaturated Fat: 0
- Trans Fat: 0
- Carbohydrates: 14
- Fiber: 0
- Protein: 1
- Cholesterol: 0