

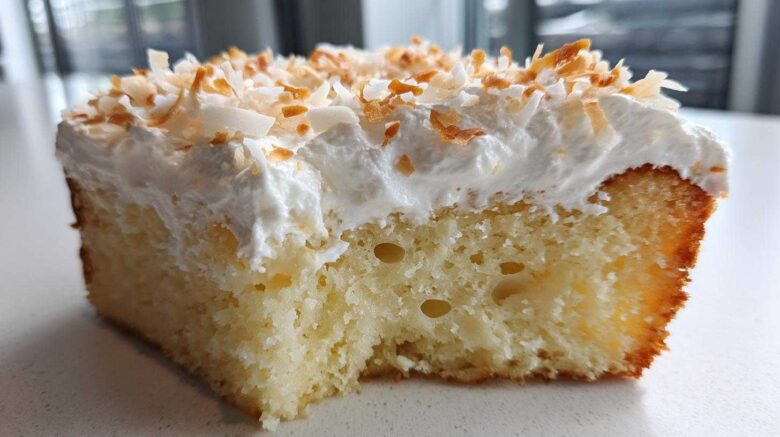
When I started Taste Portfolio, I never thought I’d find a recipe this simple. Jacob usually handles the big, showy bakes. But this coconut poke cake? It’s pure magic. It’s the easiest way to get that rich, tropical taste. I call it my “project in a box.”
This cake comes out unbelievably moist. Seriously, it’s like biting into a sweet, creamy cloud. We needed a simple dessert for a huge summer gathering last year. I found this recipe, and it was an instant hit. It’s truly the creamiest dessert you’ll make this season. You don’t need fancy skills here.
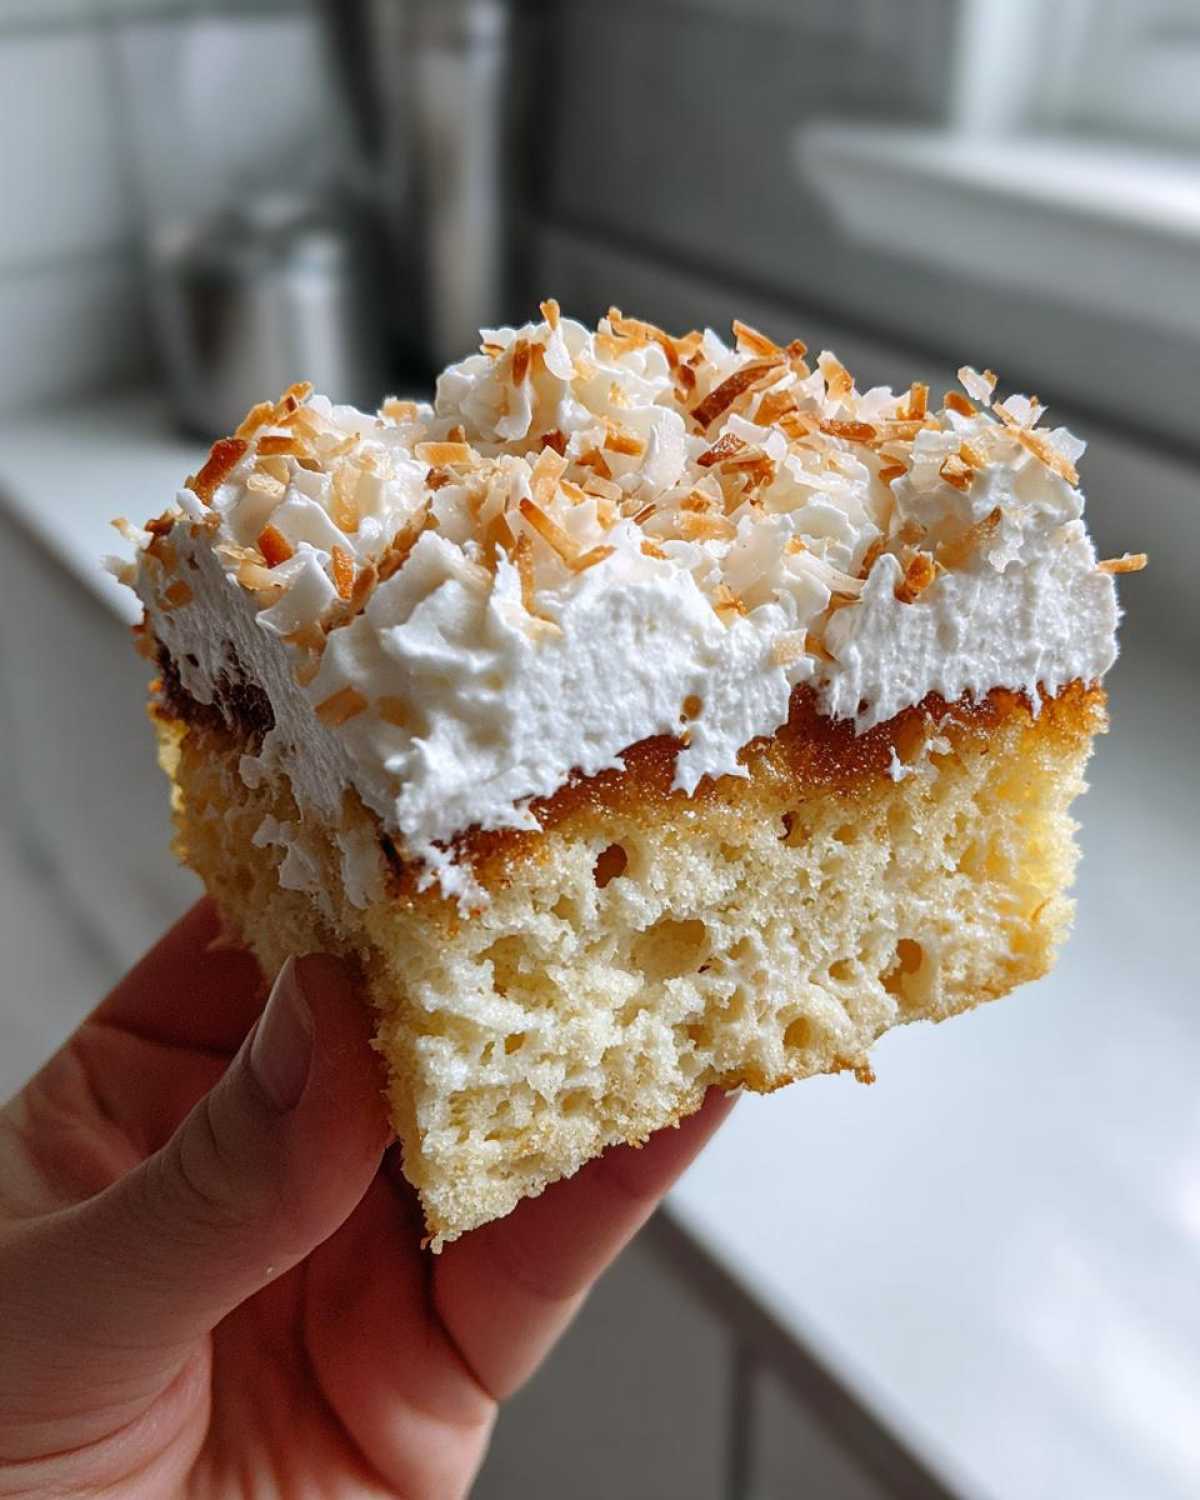
My planning brain loves the short ingredient list. Jacob loves tasting the delicious results. This coconut poke cake proves that easy baking still means spectacular flavor. Get ready for compliments!
Why You’ll Love This coconut poke cake
This recipe is a total winner for busy nights. You get a rich, tropical cake fast. Prep time is really short. Who doesn’t want a moist dessert?
It delivers big coconut flavor every time. It’s perfect for your next party or potluck. It always disappears first, I promise you that.
Simple Steps for a Showstopping coconut poke cake
Forget complicated layers or fussy frosting. This is pure baking ease. You use a box mix, which saves so much time. Then you just poke and pour the creamy liquid over it.
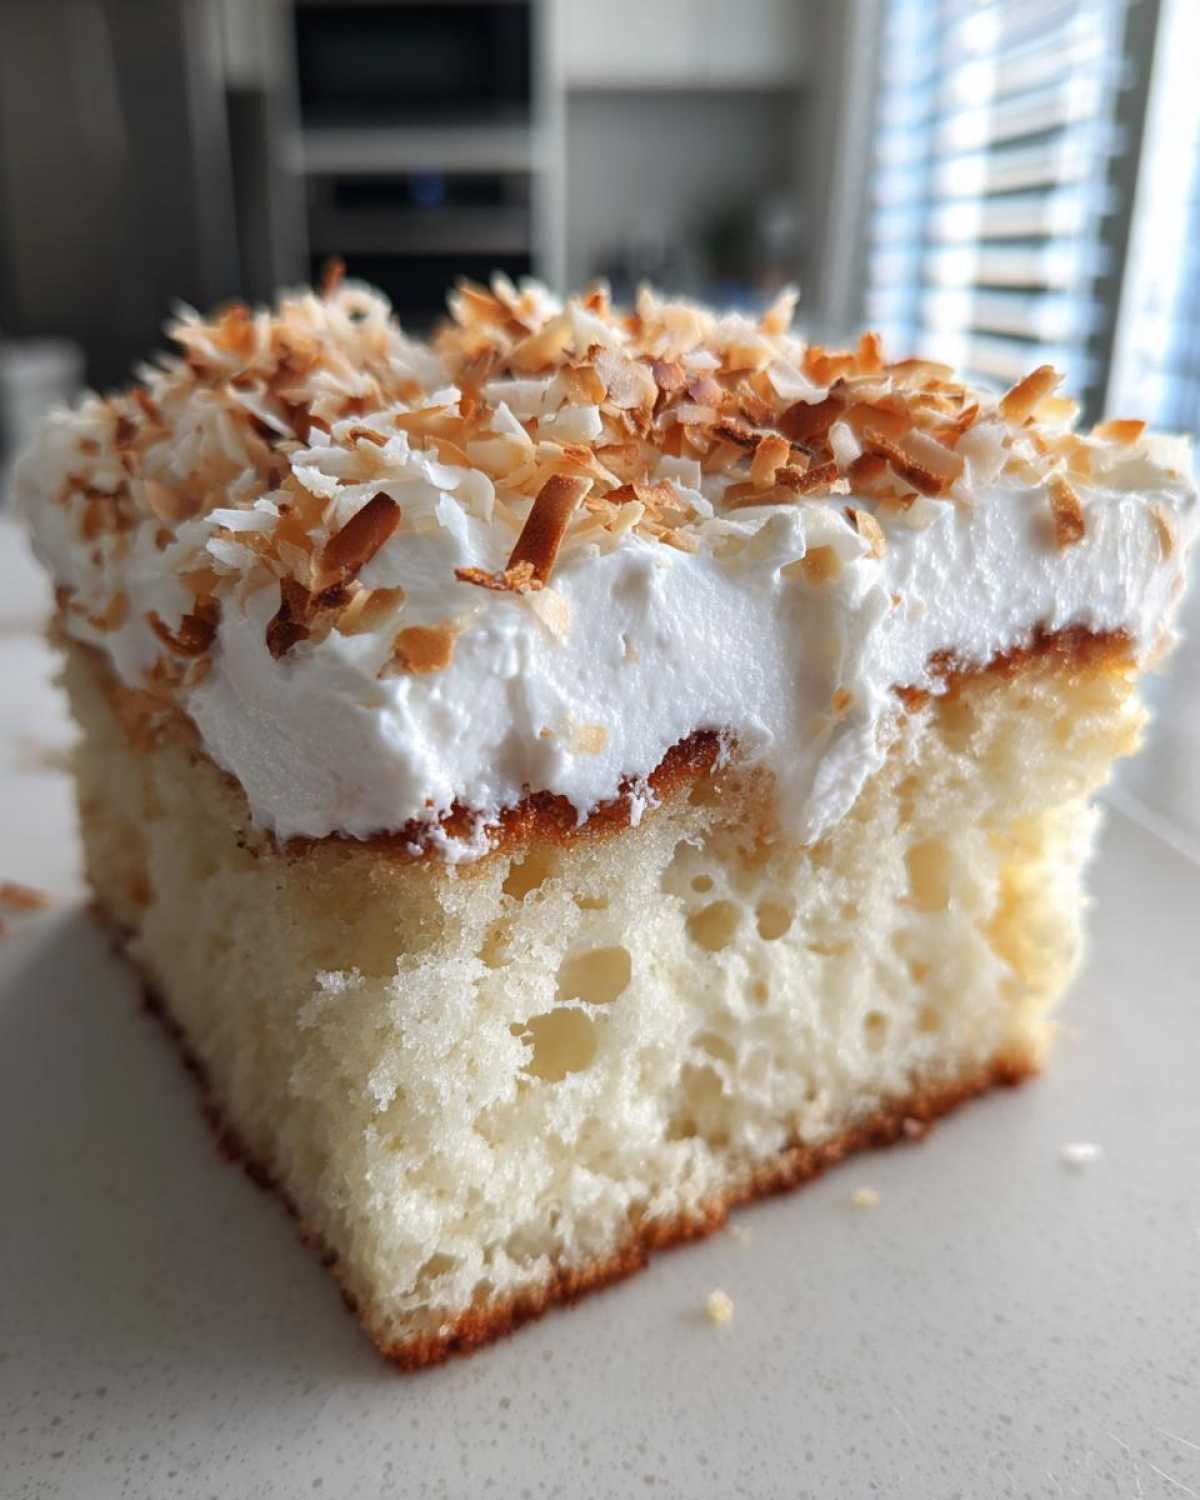
The chilling does most of the heavy lifting. You just top it before serving. It looks fancy but takes almost no effort from you. That’s why I love this project!
Gather Your Ingredients for coconut poke cake
Getting started is simple. You likely have most things already. We chose a white cake mix for a clean base. This keeps the process quick and easy. All these components are found at any regular grocery store.
Cake Base Components
- 1 box white cake mix
The Creamy Soaking Mixture
- 1 (14 ounce) can sweetened condensed milk
- 1 (15 ounce) can cream of coconut
- 1/2 cup hot water
- 1 teaspoon coconut extract
Toppings and Finishing Touches
- 1 (8 ounce) container frozen whipped topping, thawed
- 1/2 cup sweetened flaked coconut, toasted
Equipment Needed for Baking
You don’t need a huge chef’s kitchen for this one. Having the right tools makes baking smoother. I keep these things handy always.
Grab these few items first. They help you follow the plan perfectly.
- 9×13 inch baking pan
- Mixing bowls
- Whisk
- Wooden spoon handle or chopstick
Step-by-Step Instructions for coconut poke cake
Now for the fun part, the actual building of our dessert. Follow these steps closely. This ensures that wonderfully moist texture we love so much. Remember, the cake must be warm for the best soak absorption. Baking is an exact science sometimes!
Baking the White Cake
First, get your oven ready. Preheat it as your cake mix box directs you. Prepare your 9×13 inch pan well. Pour in the batter you mixed up.
Bake the cake completely through. Test it with a toothpick. It should come out clean when done. Let it cool slightly on a rack first.
Creating the Poke Holes and Soaking Mixture
This step needs quick action. While the cake is still warm, grab your poking tool. I use the handle end of a wooden spoon. Poke holes all over the top surface. Space them about one inch apart.
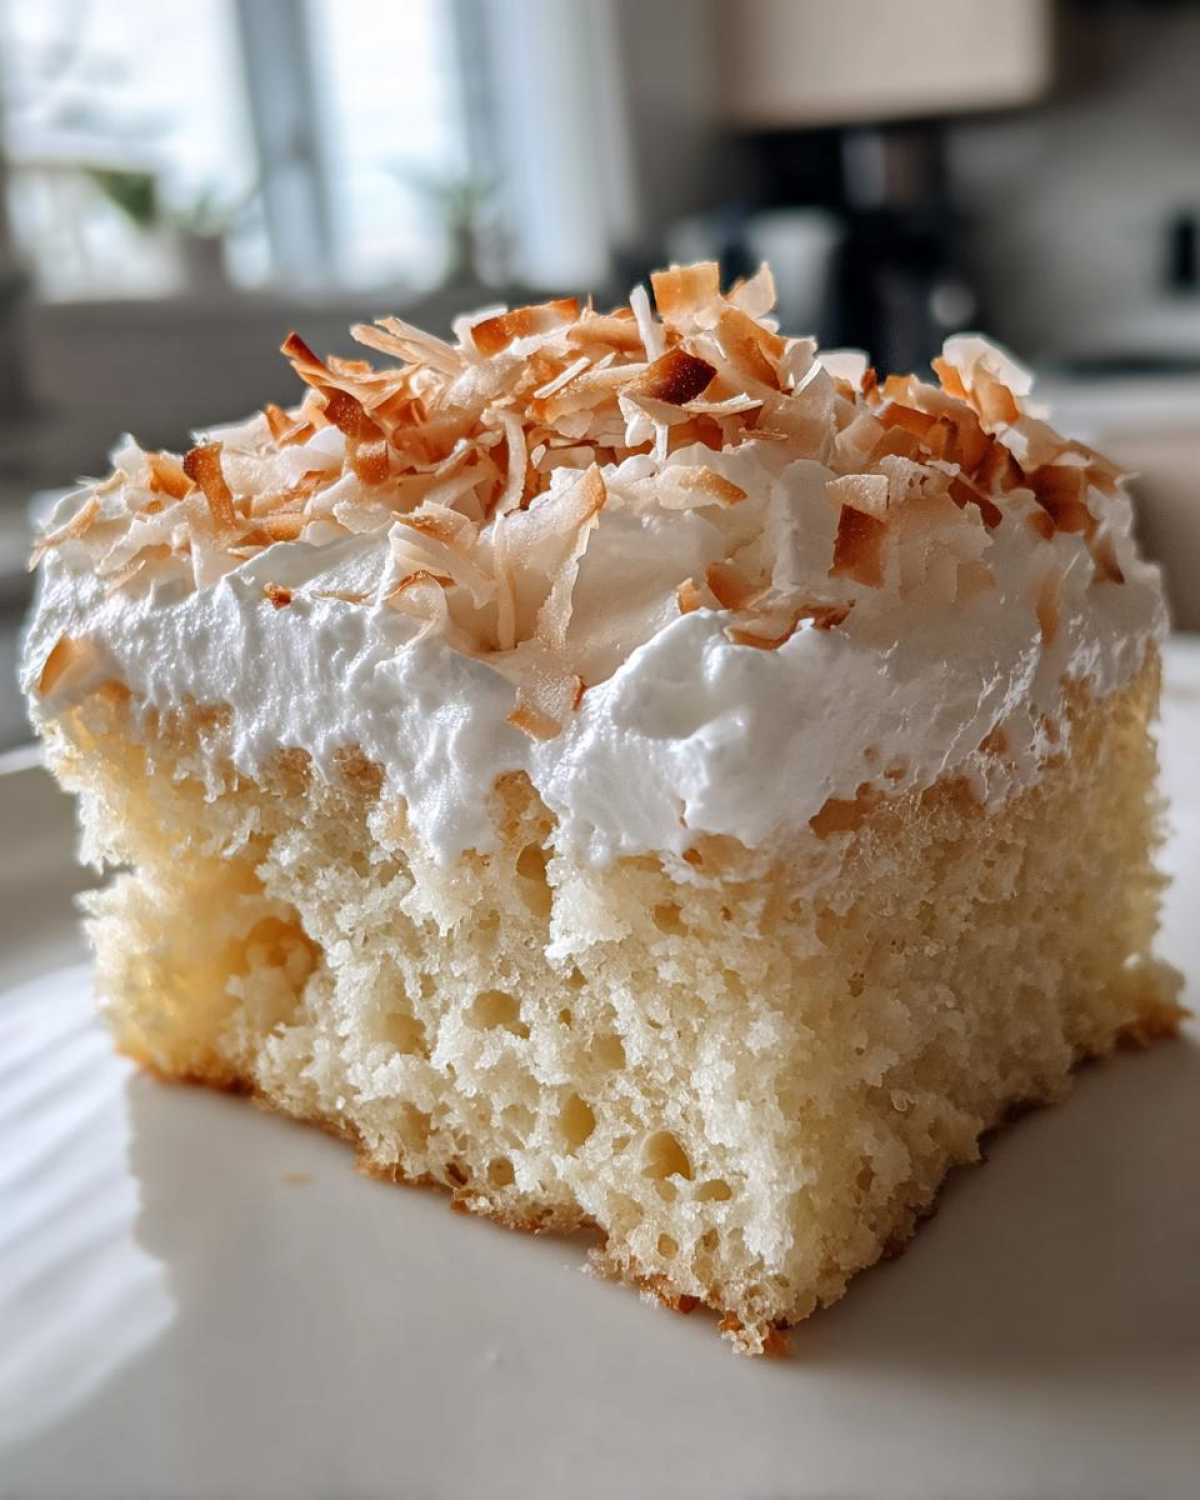
Next, let’s make that creamy liquid. In a separate bowl, whisk everything together well. Combine the condensed milk, cream of coconut, hot water, and coconut extract. Whisk until it’s completely smooth, no lumps left.
Absorbing the Flavor
Pour that sweet mixture slowly over the warm cake. Make sure you cover every inch evenly. Try to get some liquid into all those poke holes you made. It will look like too much liquid at first. Trust the process! Baking science is fascinating.
Cover the entire pan tightly with plastic wrap. Now, patience is key here. Refrigerate the cake for at least four hours. Overnight chilling gives you the absolute best, most saturated cake. Don’t rush this part, okay?
Finishing Your Moist coconut poke cake
Once chilled, it’s time for topping. Spread your thawed whipped topping gently over the cold cake surface. Smooth it out nicely. Don’t press too hard.
Finally, sprinkle that toasted coconut over the top layer. This adds a lovely crunch and deep flavor. Serve your chilled, creamy cake right away. Enjoy that tropical bite!
Tips for Perfecting Your coconut poke cake
Getting this easy cake right is simple with a few tricks. Toasting the flaked coconut needs your full attention. I mean it, watch it like a hawk!
I once let Jacob handle the toasting while I prepped the soak. He got distracted by a podcast. We ended up with half toasted, half charcoal flakes! It was a mess.
Jacob learned his lesson quickly. Toast coconut over medium heat only. Stir constantly until you smell that sweet, nutty aroma. It burns fast, seriously fast.
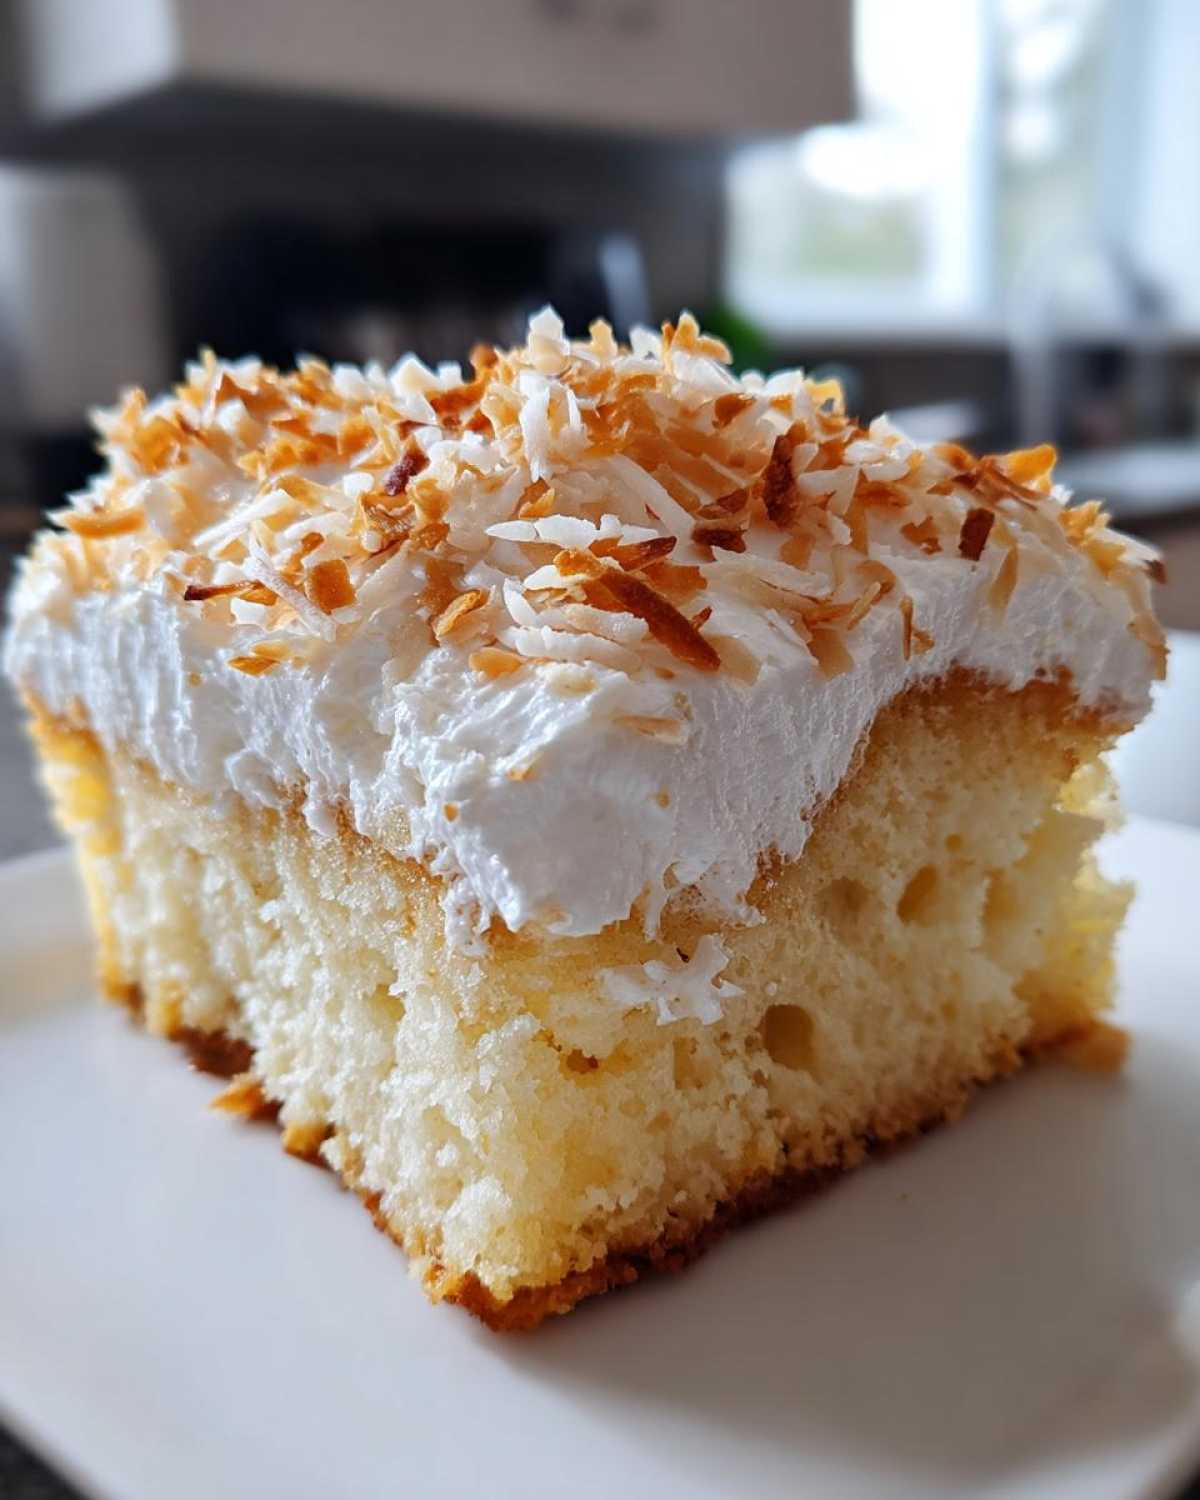
Also, if you can wait, chill it overnight. That extra few hours helps the cake become super moist. It just absorbs everything so much better then.
This extra step makes a huge difference. It turns good into truly memorable.
Ingredient Notes and Tropical Flavor Swaps
Let’s talk about the soak liquid for a moment. Do not confuse cream of coconut with regular coconut milk.
Cream of coconut is thick and very sweet. It’s what gives this cake its richness. Coconut milk is much thinner, so skip it here.
For a fun adult twist, try a little swap. Use light rum instead of some hot water. Just use about a quarter cup of rum.
This adds a nice Piña Colada flavor profile. It makes the creamy dessert even more special for grown-up parties.
Frequently Asked Questions About Cream Poke Cake
I always get questions after I post this recipe. People want to know how to customize it. It’s such a flexible recipe, really.
Here are the answers to the most common things folks ask me.
Can I make this Hawaiian Pineapple Coconut Poke Cake variation?
Absolutely, yes! That’s a fantastic idea. To make this Hawaiian Pineapple Coconut Poke Cake, just mix one small can of crushed pineapple into your soaking mixture. Drain the pineapple juice first, though.
You can even replace half the hot water with the reserved pineapple juice. This creates a wonderfully bright, tropical moist dessert.
How far ahead can I prepare my coconut poke cake?
I prefer making it the day before serving. Chilling overnight lets the liquid fully penetrate the cake. This yields the best texture.
You can safely keep it covered in the fridge for up to two days. Wait to add the whipped topping until just before you plan to serve it.
Why is my cake liquidy after pouring the soak?
Don’t panic if you see liquid pooling! That just means the cake needed more time to drink it all up.
If it is still pooling after an hour, gently poke a few more holes. Cover it back up and refrigerate longer. It will absorb eventually, I promise!
Storing and Serving Your Chilled Dessert
This cake is truly best served cold. Keep any leftovers covered tightly in the fridge. It stays moist and creamy wonderfully there.
I never try to reheat this dessert. Warming it ruins that lovely whipped topping texture. It’s made to be cool and refreshing.
When serving, use a sharp knife. Cut neat squares for your guests. A little extra toasted coconut sprinkled on each plate looks nice.
It’s perfect after any heavy meal. Enjoy that bright, cool tropical flavor!
Share Your Taste Portfolio Project
I hope you enjoyed planning this simple project. Did you make this coconut poke cake?
Tell Jacob and me how it turned out! Leave a rating below. We love seeing your finished work.
A Note on Nutritional Estimates
We are bakers, not nutritionists, remember? That is Jacob’s domain, not mine.
Exact nutrition varies by brand used. Our house measurements might differ from yours.
These numbers are just general guidelines for one slice. Use them as a rough guide only.
A Note on Nutritional Estimates
We are bakers, not nutritionists, remember? That is Jacob’s domain, not mine.
Exact nutrition varies by brand used. Our house measurements might differ from yours.
These numbers are just general guidelines for one slice. Use them as a rough guide only.
Print1 Simple coconut poke cake Secret to Moist Bliss

Make this incredibly moist and creamy Coconut Cream Poke Cake. You will love the simple process that yields a rich, tropical dessert perfect for any gathering.
- Prep Time: 20 minutes
- Cook Time: 35 minutes
- Total Time: 5 hours 55 minutes
- Yield: 12 servings
- Category: Dessert
- Method: Baking
- Cuisine: American
- Diet: Vegetarian
Ingredients
- 1 box white cake mix
- 1 (14 ounce) can sweetened condensed milk
- 1 (15 ounce) can cream of coconut
- 1/2 cup hot water
- 1 teaspoon coconut extract
- 1 (8 ounce) container frozen whipped topping, thawed
- 1/2 cup sweetened flaked coconut, toasted
Instructions
- Prepare the white cake mix according to package directions using a 9×13 inch baking pan. Bake until a toothpick inserted into the center comes out clean.
- While the cake is still warm, use the end of a wooden spoon handle or a chopstick to poke holes all over the top, about 1 inch apart.
- In a medium bowl, whisk together the sweetened condensed milk, cream of coconut, hot water, and coconut extract until well combined.
- Slowly pour the coconut mixture evenly over the entire surface of the warm cake, allowing it to soak into the holes.
- Cover the cake and refrigerate for at least 4 hours, or preferably overnight, so the liquid fully absorbs.
- Spread the thawed whipped topping evenly over the chilled cake.
- Sprinkle the toasted flaked coconut over the whipped topping before serving.
Notes
- Toast the flaked coconut in a dry skillet over medium heat, stirring constantly, until golden brown. Watch carefully as it burns fast.
- For an extra tropical flavor, substitute 1/4 cup of the hot water with light rum before pouring over the cake.
- This cake tastes best when chilled thoroughly before topping and serving.
Nutrition
- Serving Size: 1 slice
- Calories: 350
- Sugar: 45g
- Sodium: 250mg
- Fat: 18g
- Saturated Fat: 14g
- Unsaturated Fat: 4g
- Trans Fat: 0g
- Carbohydrates: 48g
- Fiber: 1g
- Protein: 4g
- Cholesterol: 25mg