

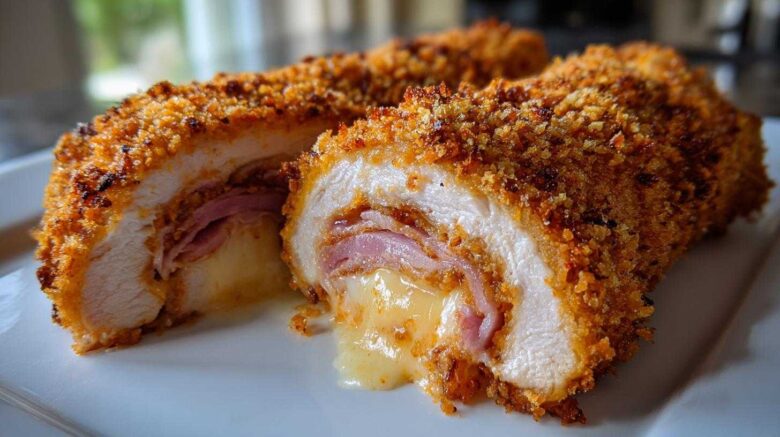
From Planning to Plate: Mastering the Easy Baked chicken cordon bleu
I love a good plan. Seriously, my spreadsheets are beautiful works of art!
But even the best plan needs delicious execution, right?
That’s why I’m so excited about this easy baked chicken cordon bleu recipe.
We spent weeks perfecting how to get that gorgeous, crispy coat without touching hot oil.
Jacob and I tested this version constantly.
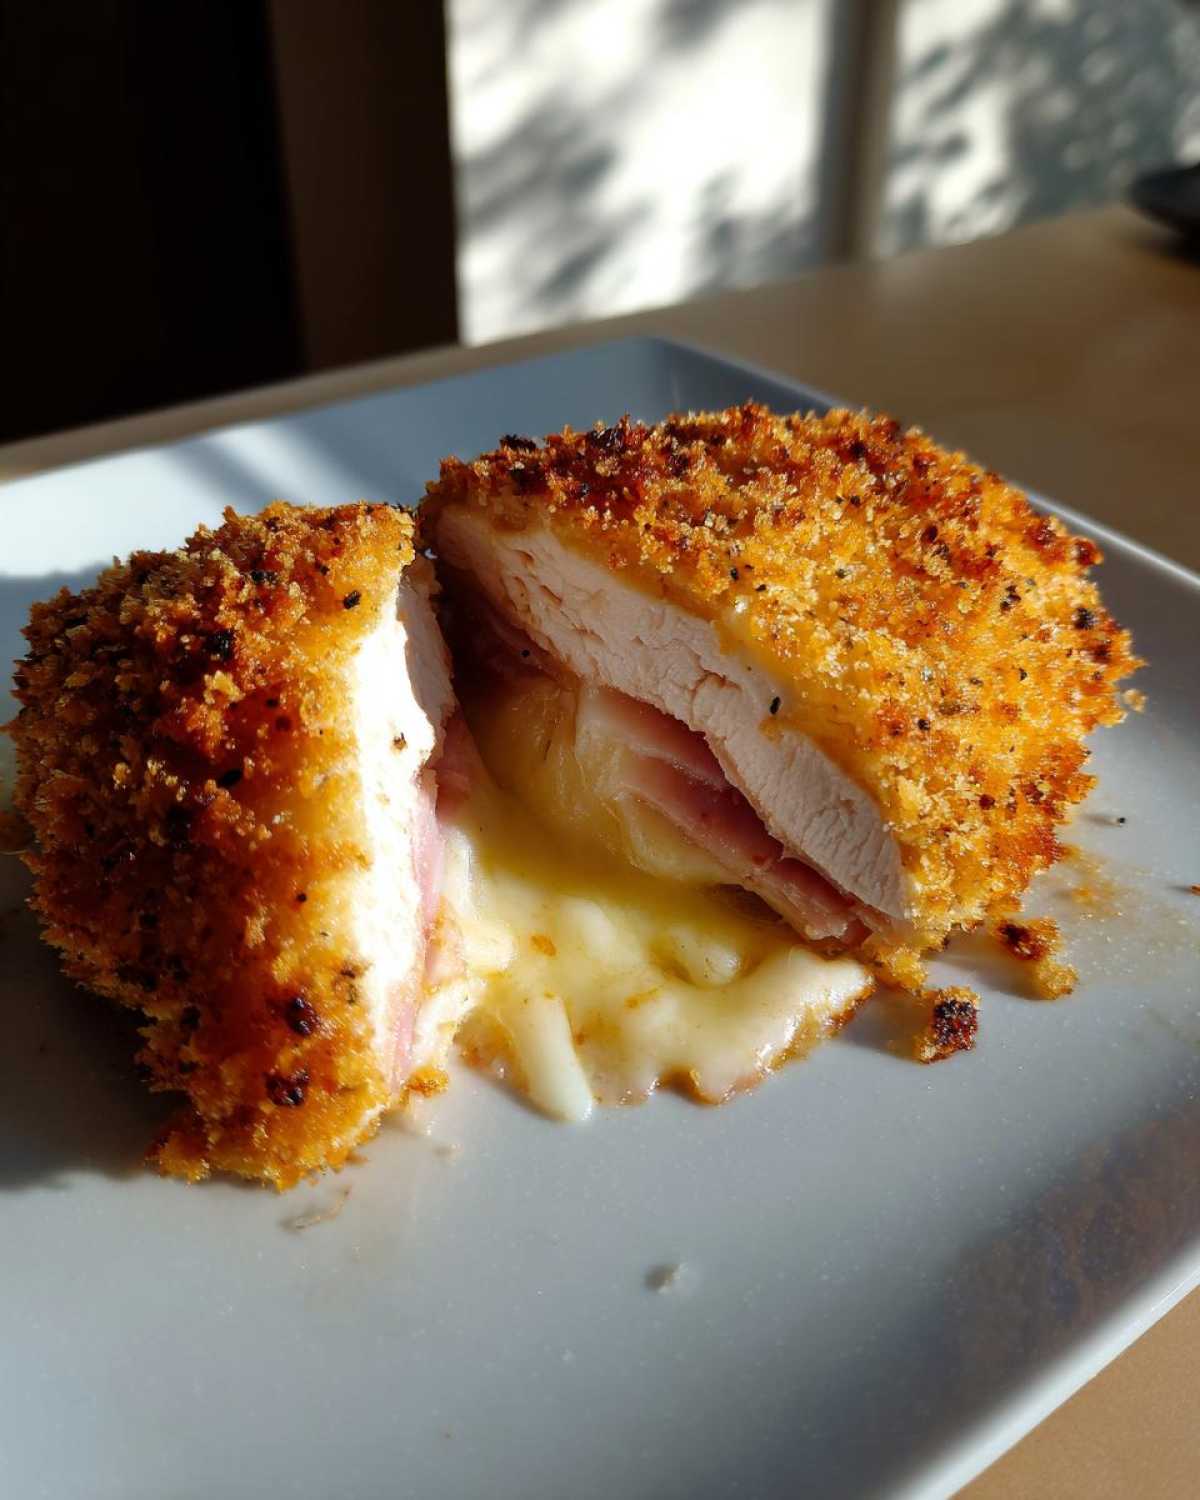
We wanted that classic, elegant flavor profile.
This baked approach keeps things simple for a weeknight.
It delivers juicy, cheesy results every single time.
You get that satisfying crunch we all crave.
It’s truly the perfect project for our Taste Portfolio collection.
Why You’ll Love This Easy Baked chicken cordon bleu
Why did this become a staple for us?
It ticks every single box we look for.
We get amazing texture without the frying mess.
Here are the top reasons to try this method:
- Skip the deep fryer completely.
- Achieve that signature golden, crispy crust.
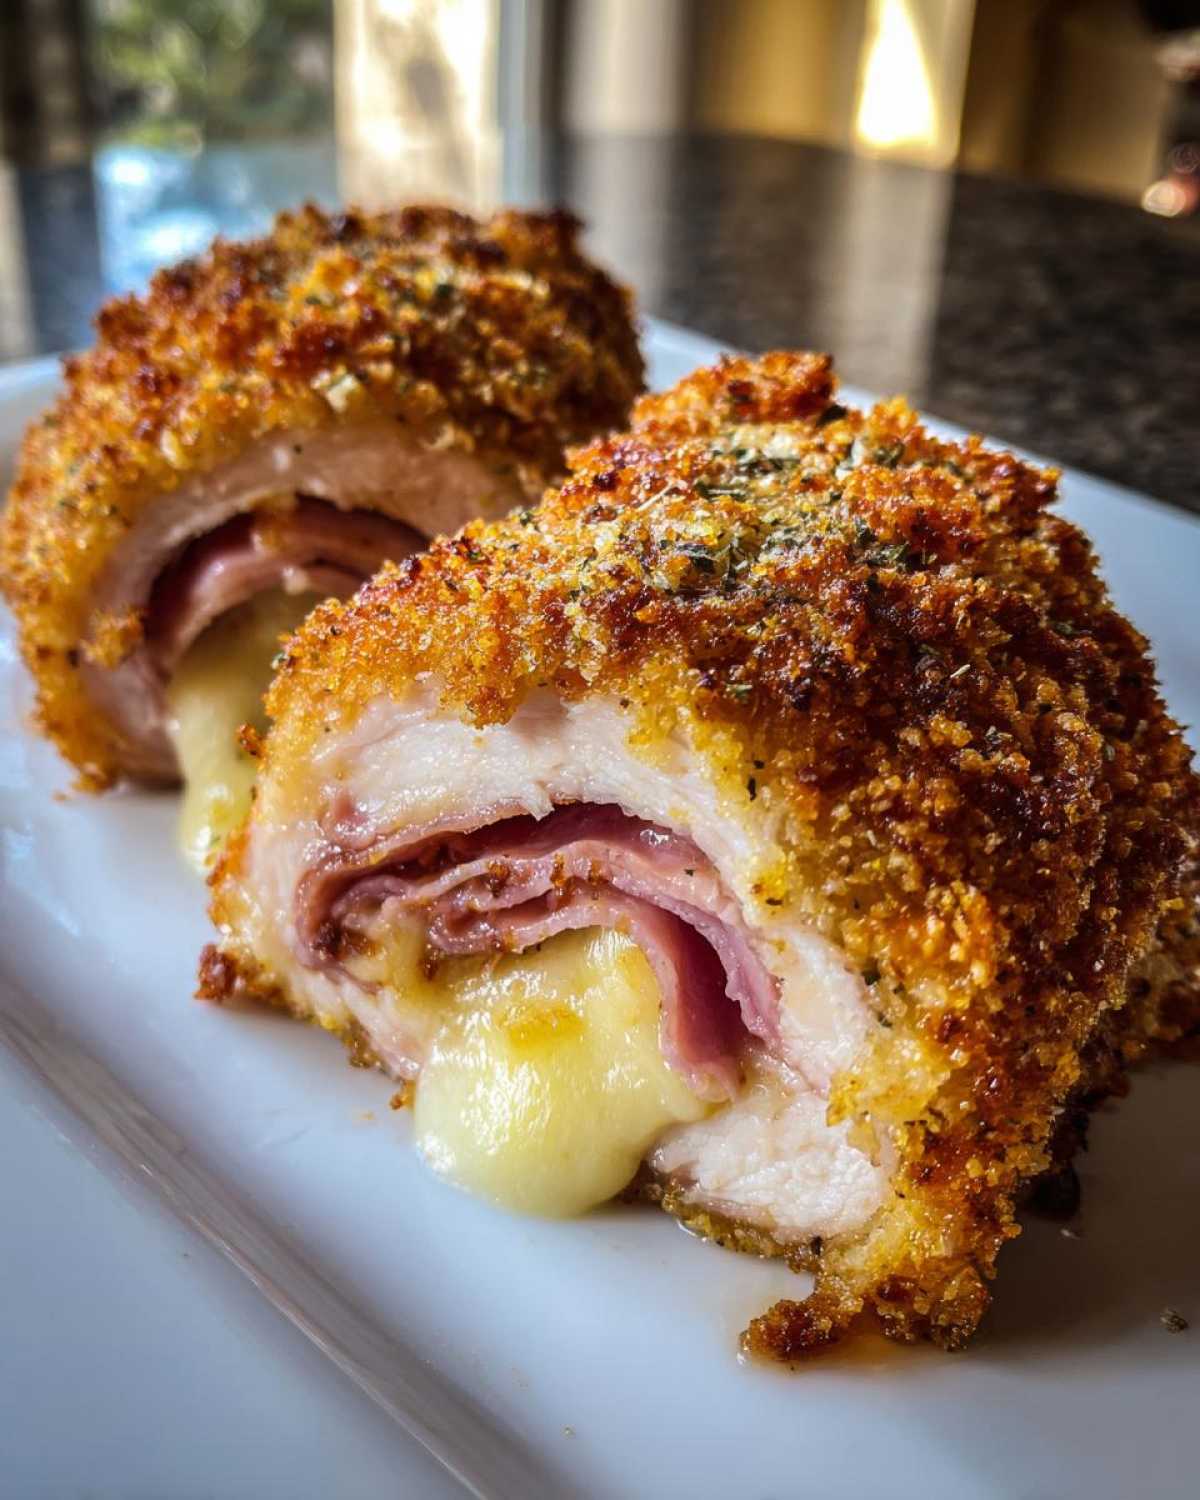
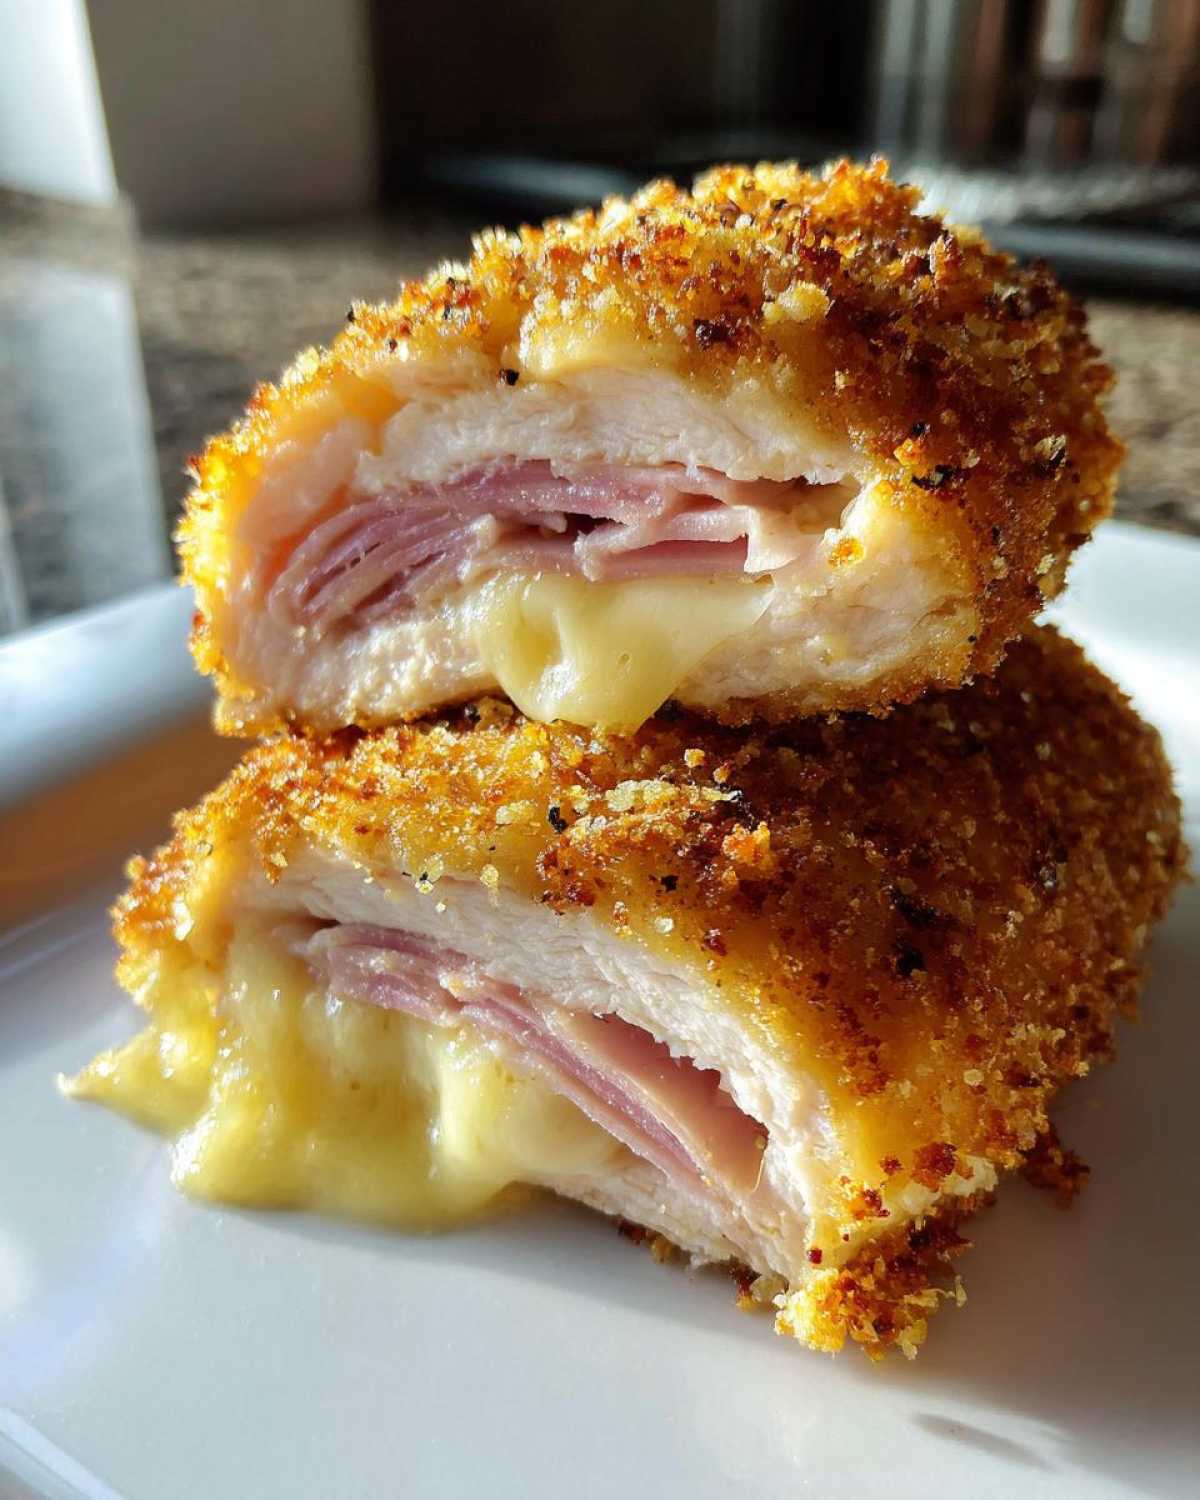
- The filling stays perfectly sealed inside.
- It’s fast enough for busy weeknights.
Keeping the Filling Secure: Our Trick for Perfect chicken cordon bleu
The biggest fear with stuffed chicken is leakage.
No one wants melted cheese running onto the pan.
Our secret is simple: tight rolling and thin chicken.
Pounding the breast thin creates a better seal.
Ensure you tuck those ends in firmly before rolling.
This structural integrity builds real cooking confidence.
Gathering Your Ingredients for chicken cordon bleu
Now that we have our plan, let’s talk supplies.
Getting your mise en place ready helps everything flow.
This recipe uses simple, high-quality components.
We need chicken, ham, and good Swiss cheese first.
Then we assemble our three-part breading station.
Don’t forget the olive oil for that final crisp.
Ingredient Notes and Substitutions for chicken cordon bleu
Choosing the right coating matters hugely here.
I insist on Panko breadcrumbs for texture.
They make the crust lighter and far crunchier.
Jacob often suggests swapping Swiss cheese.
He prefers richer Gruyère for deeper flavor.
If using standard ham, make sure it’s thin cut.
Thin slices roll up much more neatly.
This careful selection really elevates the final dish.
The Equipment You Need for Baking chicken cordon bleu
You don’t need fancy gadgets for this one.
My planning phase always includes a tool check.
This recipe relies on basic, accessible kitchen items.
Having these ready makes the process smoother.
Here is what you should pull out right now:
- Plastic wrap for pounding the chicken flat.
- A meat mallet or heavy rolling pin.
- Three shallow dishes for the breading station.
- A standard rimmed baking sheet.
- Toothpicks for securing the rolls initially.
- An instant-read thermometer for safety checks.
Using a rimmed sheet catches any stray crumbs.
The thermometer confirms your internal temperature perfectly.
These tools keep your kitchen tidy, too.
Step-by-Step Instructions for Perfect chicken cordon bleu
Following the plan makes cooking feel easy.
We move through this process quickly together.
First, get your oven hot and ready to go.
Preheat it to 400 degrees Fahrenheit right away.
Lightly grease your baking sheet now, too.
This preparation prevents sticking later on.
Preparing the Chicken and Creating the Roll
Place each chicken breast between plastic wrap sheets.
Use a mallet to pound them evenly thin.
Aim for about a quarter-inch thickness consistently.
Season both sides lightly with salt and pepper.
Lay one slice of ham and one cheese slice down.
Start rolling tightly from the narrow end inward.
Tuck the sides in as you roll up your chicken.
Use toothpicks to secure the rolls firmly.
Setting Up the Breading Station for chicken cordon bleu
Prepare three shallow dishes for dredging action.
Dish one holds plain all-purpose flour.
Dish two gets your beaten eggs ready for dipping.
Dish three must hold Panko mixed with Parmesan.
Add paprika to that Panko mix for color.
Dredge each roll first in the flour completely.
Shake off any loose flour you see there.
Next, dip it fully into the egg mixture now.
Finally, press it hard into the seasoned Panko mix.
You want a thick, firm, totally coated crust.
Baking and Finishing Your chicken cordon bleu
Place the coated rolls seam-side down carefully.
Drizzle a little olive oil over the tops lightly.
Bake for twenty to twenty-five minutes exactly.
Check the internal temperature with a thermometer.
It must reach 165 degrees Fahrenheit inside.
The crust should look beautifully golden brown then.
Remove the toothpicks before you serve it up.
Let it rest for just a minute or two.
Tips for Success When Making chicken cordon bleu
Even with a great plan, a few small tweaks help a lot.
Jacob always adds these little touches.
They really push a good recipe to great status.
These tips show you the difference expertise makes.
Follow these for your very best result yet.
- For maximum crispiness, chill the breaded rolls.
- Fifteen minutes in the fridge firms up the coating.
- This stops the Panko from falling off in the oven.
- For a richer taste, swap Swiss for Gruyère cheese.
- Gruyère melts beautifully with a nuttier flavor.
- Don’t skip drizzling that olive oil over the top.
- It helps the crust brown evenly while baking.
These small steps ensure success every time.
They are simple additions to our main plan.
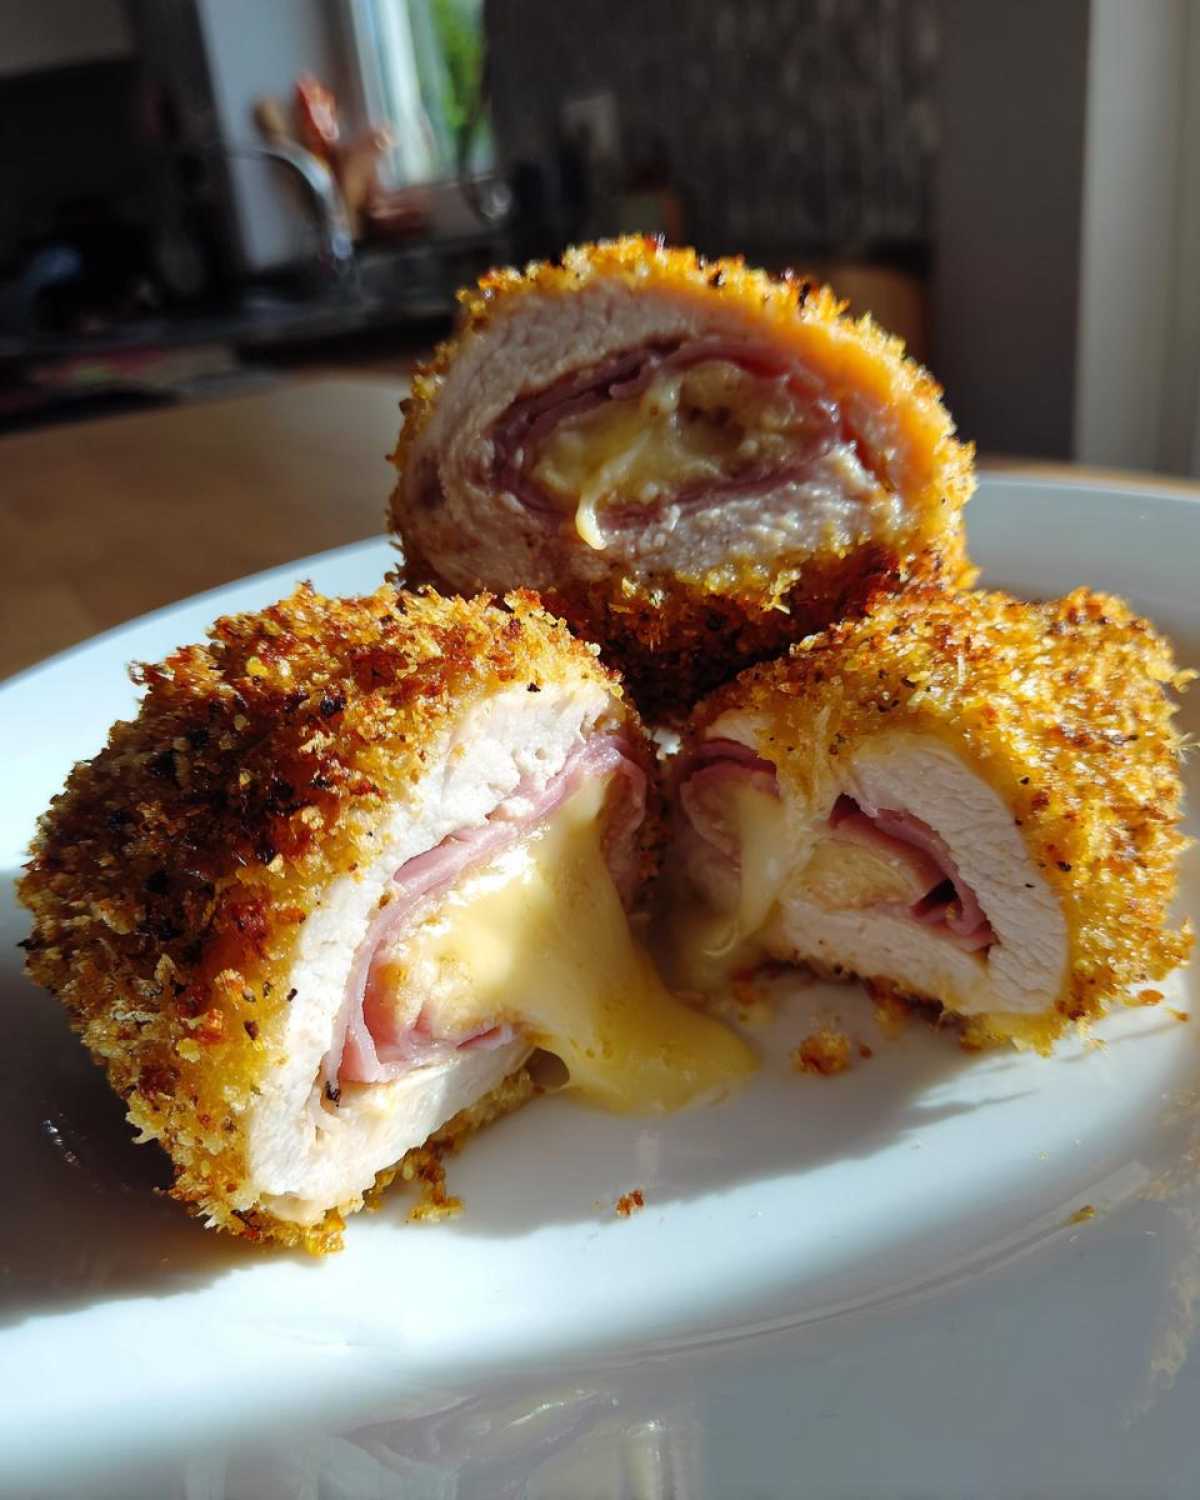
Serving Suggestions for Your chicken cordon bleu Masterpiece
This dish feels very fancy, doesn’t it?
It deserves sides that match its elegance.
We don’t want heavy sides to weigh it down.
Keep things bright and slightly acidic.
This balances the rich ham and cheese nicely.
Here are a couple of combinations we love.
- Serve it over creamy mashed potatoes.
- A light drizzle of pan sauce works well.
- Try a simple side of steamed asparagus.
- Lemon zest brightens up the green vegetable.
- Another great option is wild rice pilaf.
- It adds a nice nutty texture contrast.
Jacob usually insists on a crisp green salad.
A light vinaigrette cuts through the richness perfectly.
Think fresh flavors complementing the baked chicken.
Storing and Reheating Leftover chicken cordon bleu
Even the best meals sometimes have leftovers.
We hate wasting any of our cooking projects.
Storing this correctly keeps it tasting great later.
Safety first when dealing with cooked poultry, always.
Wrap the cooled rolls tightly in plastic wrap first.
Then place them inside an airtight container next.
Refrigerate them within two hours of cooking time.
They usually last well for three or maybe four days.
Reheating is where the magic happens again.
Microwaving makes the crust soggy, sadly.
We want to preserve that beautiful crispness we earned.
- The oven is your best friend for reheating.
- Preheat your oven to about 350\u00b0F.
- Place the rolls on a wire rack set over a baking sheet.
- This allows air to circulate underneath them.
- Heat them for about 10 to 15 minutes total.
- This brings the chicken back to a safe temp.
- It also re-crisps that lovely Panko coating up nicely.
Remember to remove those toothpicks first!
Frequently Asked Questions About chicken cordon bleu
I know planning can bring up lots of questions.
We’ve gathered the ones we hear most often.
These address common cooking concerns right here.
Let’s make sure your next attempt is flawless.
Asking questions is part of the learning journey.
Can I make this chicken cordon bleu ahead of time?
Yes, you absolutely can prep ahead!
This helps with busy weeknight schedules.
You can complete the rolling and breading process.
Place the fully breaded rolls on a sheet pan.
Cover them tightly with plastic wrap or foil.
Chill them in the refrigerator for up to 24 hours.
When ready to bake, add about five extra minutes.
You might need a slightly longer cook time.
What is the best way to keep the cheese from melting out of the chicken cordon bleu?
This is the eternal struggle with stuffed chicken!
We covered this, but it bears repeating for sure.
First, pound the chicken breast very thin and even.
This gives you more material to wrap around the filling.
Next, roll it extremely tightly, like a little present.
Tuck those side edges inward before you finish rolling.
Securing with a toothpick helps maintain that shape.
Baking at a high heat, like 400\u00b0F, cooks fast.
Fast cooking minimizes the melt time for the cheese.
A Note on Nutrition for chicken cordon bleu
When we share our projects, people always ask about health facts.
We focus mostly on flavor and technique here.
Tracking every microgram isn’t our main goal.
Our recipe uses standard ingredient assumptions.
Please know these numbers can change a lot.
They shift based on your specific ham or cheese brands.
For general guidance on food safety temperatures, consult official resources like the FDA website.
Start Your Next Project Today
This baked chicken cordon bleu is now finished!
It’s officially added to our Taste Portfolio.
We hope you feel ready to tackle this project.
Jacob and I put a lot of love into testing this.
When you make it, please let us know how it goes.
Rate this recipe and share your kitchen success.
We love seeing our shared plan come to life for you.
PrintAmazing Baked chicken cordon bleu: 3 Secrets

You can make this classic Chicken Cordon Bleu easily at home. This baked version uses crispy Panko breadcrumbs for a golden crust without the fuss of deep frying. We focus on keeping the ham and Swiss cheese perfectly sealed inside for a juicy, cheesy center. This recipe is perfect for a weeknight dinner or when you need an elegant dish fast.
- Prep Time: 20 minutes
- Cook Time: 25 minutes
- Total Time: 45 minutes
- Yield: 4 servings
- Category: Main Course
- Method: Baking
- Cuisine: French/American
- Diet: Vegetarian
Ingredients
- 4 Boneless, skinless chicken breasts
- 4 thin slices of Prosciutto or good quality ham
- 4 thin slices of Swiss cheese
- 1 cup All-purpose flour
- 2 large Eggs, beaten
- 1.5 cups Panko breadcrumbs
- 1/4 cup grated Parmesan cheese
- 1 teaspoon Paprika
- Salt and Black pepper to taste
- 2 tablespoons Olive oil (for drizzling)
Instructions
- Preheat your oven to 400°F (200°C). Lightly grease a baking sheet.
- Place each chicken breast between two pieces of plastic wrap. Pound them evenly to about 1/4-inch thickness. Season lightly with salt and pepper.
- Lay one slice of ham and one slice of Swiss cheese on top of each flattened chicken breast, leaving a small border around the edges.
- Starting from the narrow end, tightly roll up the chicken, tucking in the sides as you go to seal the filling inside. Secure the rolls with toothpicks if needed.
- Set up your breading station: one shallow dish with flour, one with beaten eggs, and one with Panko mixed with Parmesan and paprika.
- Dredge each rolled chicken piece first in flour, shaking off excess. Dip completely into the egg mixture. Finally, press firmly into the Panko mixture to coat thoroughly.
- Place the coated chicken rolls seam-side down on the prepared baking sheet. Drizzle the tops lightly with olive oil.
- Bake for 20 to 25 minutes, or until the internal temperature reaches 165°F (74°C) and the crust is golden brown and crispy.
- Remove toothpicks before serving. Serve immediately, perhaps with a simple Dijon sauce if desired.
Notes
- To prevent cheese leakage, make sure you pound the chicken thin and roll it very tightly, sealing the edges well.
- For an extra crispy crust, you can chill the breaded chicken for 15 minutes before baking.
- Jacob suggests using fresh Gruyère instead of Swiss for a richer flavor profile.
- If you prefer not to pound the chicken, you can butterfly the breasts and stuff them, but rolling keeps the filling more secure.
Nutrition
- Serving Size: 1 roll
- Calories: 420
- Sugar: 2g
- Sodium: 550mg
- Fat: 18g
- Saturated Fat: 8g
- Unsaturated Fat: 10g
- Trans Fat: 0g
- Carbohydrates: 25g
- Fiber: 2g
- Protein: 40g
- Cholesterol: 120mg