

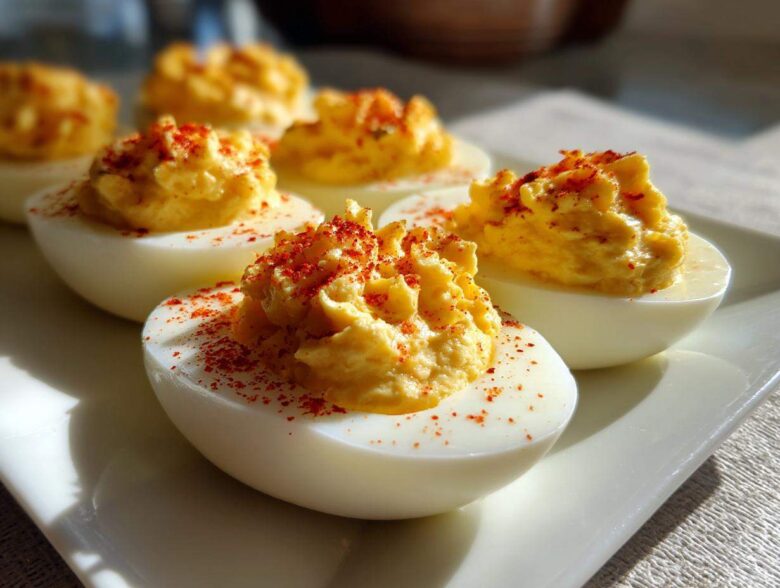
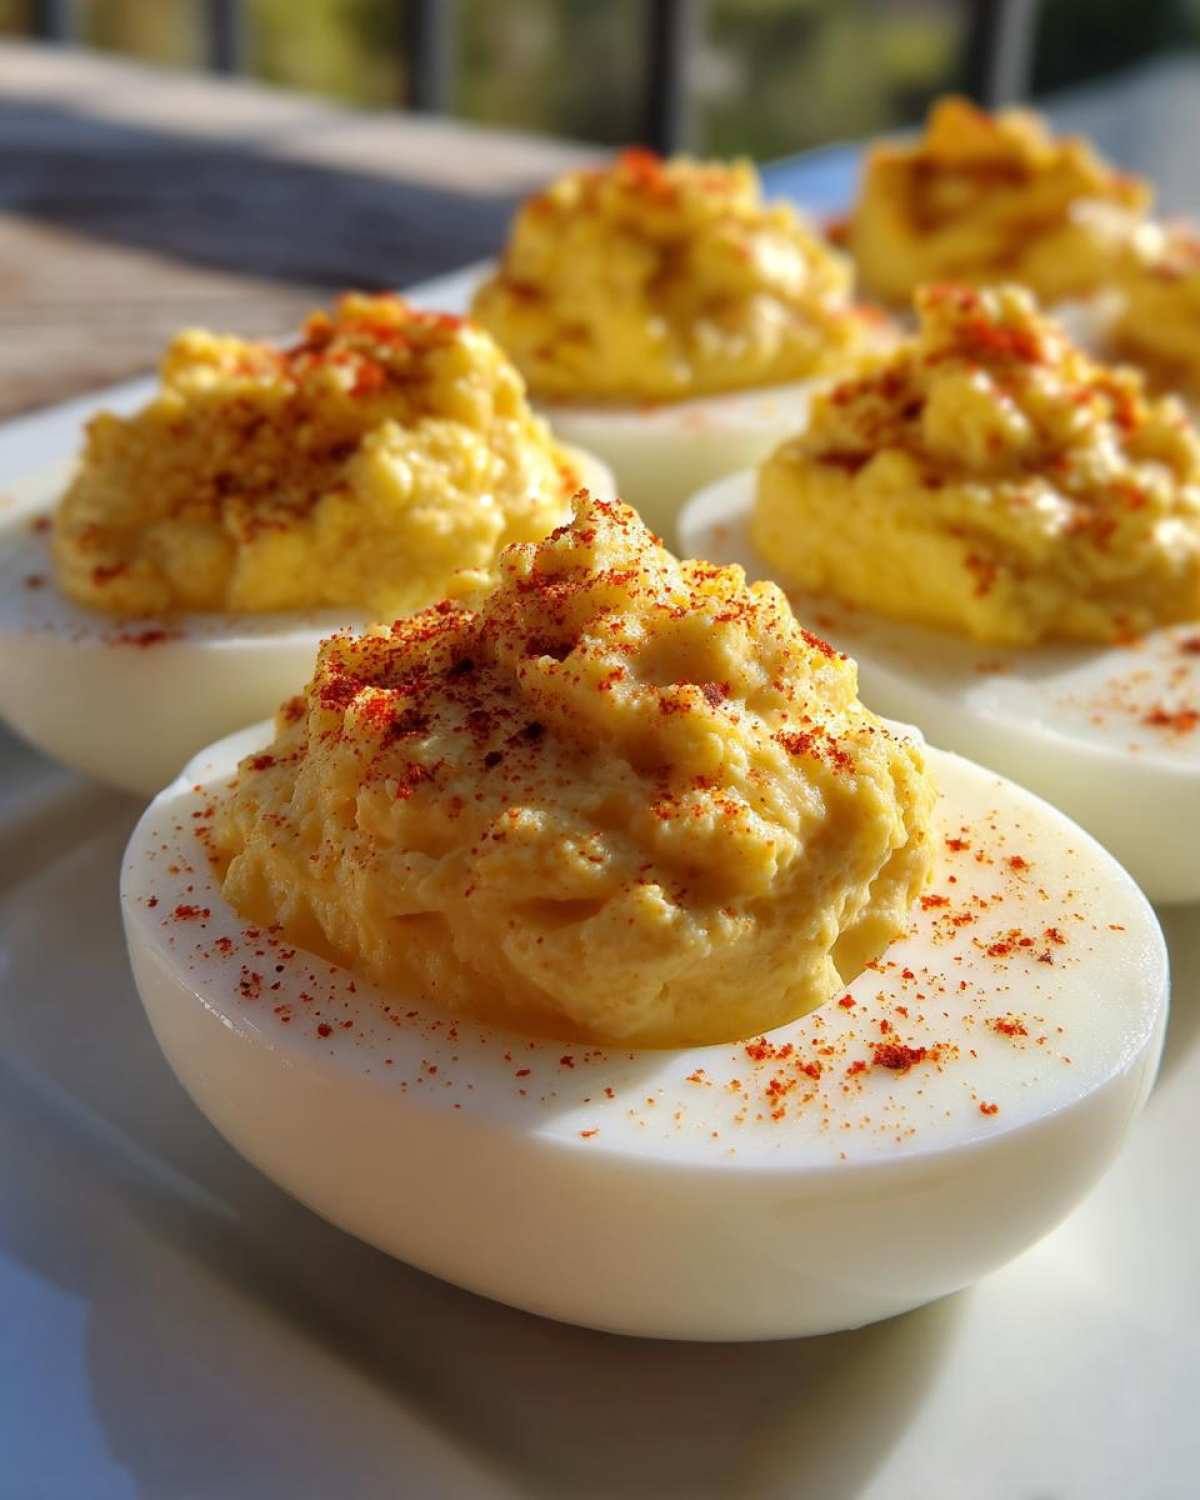
If you’re anything like me, the moment you see crackers, cheese cubes, and these little beauties on a table, you know the party is officially starting! We all have those appetizers that instantly transport us back to family picnics or holiday leftovers, and for me, that’s always been deviled eggs. They’re simple, they’re creamy, and honestly, if you don’t make a batch, people genuinely ask where they are. Trust me, this is my foolproof recipe for the most perfectly creamy, tangy deviled eggs you’ll ever serve. After years of tweaking the mayo-to-mustard ratio, this version is the one that always disappears first. I wouldn’t dream of bringing anything else to a gathering!
Why This is the Best Deviled Eggs Recipe for Your Party Finger Food Needs
If you are looking for the best deviled eggs, sometimes the simplest recipes are the ones that win every time. This recipe is my go-to because it nails that classic, tangy flavor without being fussy. We aren’t messing around with silly ingredients; we are focusing on creaminess and perfect seasoning. That’s what makes this such a dependable choice for any party finger food spread.
It’s so easy to make, but the result looks elegant, and they always vanish first. I promise, once you nail the egg-boiling part, the rest is smooth sailing!
Achieving the Perfect Hard-Boiled Egg for Your Deviled Eggs
The filling is only as good as the white it sits in, right? The absolute key to a beautiful presentation is avoiding those gross, chalky gray-green rings around the yolk. We fix that right away! My method uses a straight 12 minutes off the heat, covered, followed immediately by the ice bath. That quick shock stops the cooking instantly. Also, a quick tip: I find that eggs that aren’t straight-from-the-fridge fresh peel so much easier—that staling really helps the shell release from the membrane. Keep those eggs at the right temperature, and you’ve conquered 80% of the battle for the deviled eggs recipe.
Ingredients for Classic Deviled Eggs
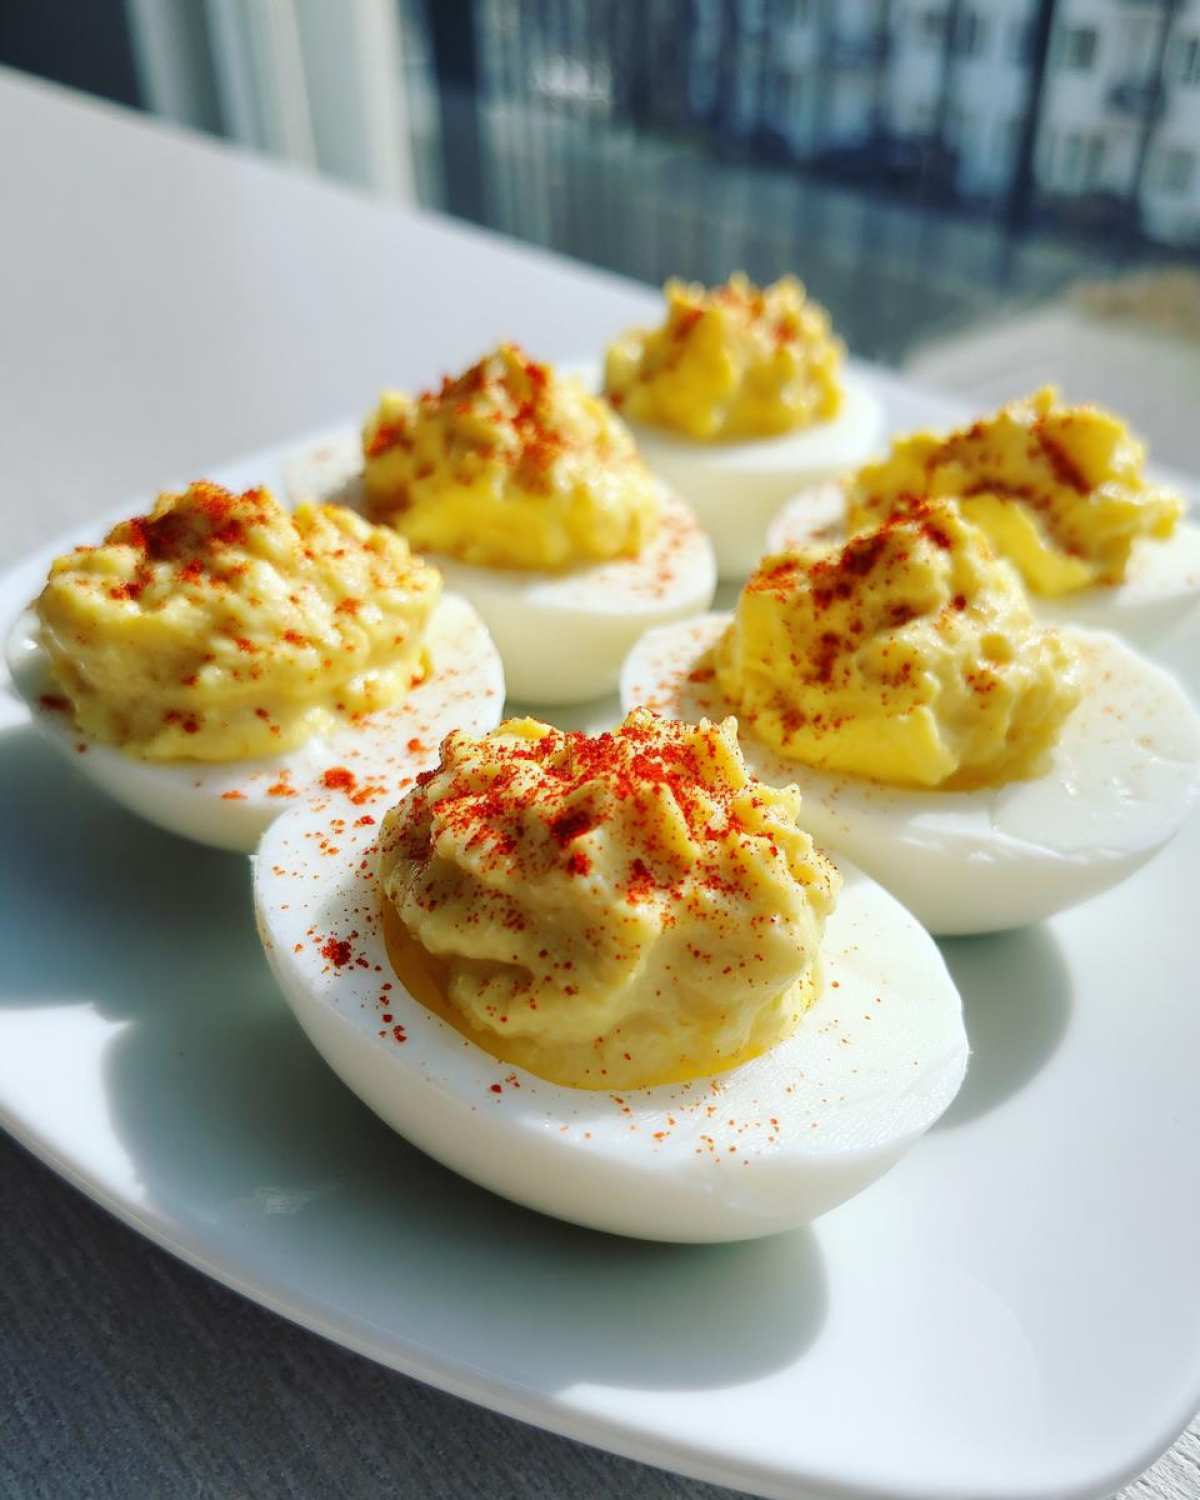
You don’t need a massive, complicated list to make the easy deviled eggs everyone loves. Seriously, the ingredient list is short and sweet, which is why they are such a reliable appetizer for me when time is tight. I always make sure to stick to what’s written here for that signature tangy bite.
- 12 large eggs – and yes, they need to be large!
- 1/2 cup mayonnaise – don’t skimp on the quality here!
- 2 tablespoons yellow mustard – for that classic color and kick
- 1 tablespoon white vinegar – this is where the zing comes from
- 1/4 teaspoon salt, plus more for sprinkling later
- 1/4 teaspoon black pepper
- Paprika, which we use liberally for garnish
That’s it! Just twelve simple things to make twenty-four amazing bites.
How to Make Deviled Eggs: Step-by-Step Instructions
Alright, now that we have our perfect eggs ready to go, let’s tackle the filling. Learning how to make deviled eggs that are both smooth and perfectly seasoned takes just a few simple stages. Don’t rush the texture part—that’s where the magic hiding!
Boiling and Cooling the Eggs for the Deviled Eggs Recipe
First, get your eggs into a big saucepan and cover them by about an inch with cold water. Set that pan over high heat and let it come to a full, rolling boil—no simmering! Once it’s boiling hard, kill the heat, slap a lid on it immediately, and just let those eggs sit undisturbed for exactly 12 minutes. This timing is crucial. Right when the timer goes off, dump those hot eggs straight into a big bowl of ice water. That cold shock is your secret weapon; it stops the cooking instantly so you don’t get that awful greenish tint, and it makes peeling a dream!
Creating the Smooth Filling for Your Deviled Eggs
Once they’re totally cool and peeled, slice every egg in half lengthwise and carefully scoop all those gorgeous yellow yolks out into a mixing bowl. Now, I always smash them up with a fork until they are like fine, dry crumbs. If you want them truly professional and smooth and creamy, press those crumbs through a fine-mesh sieve before adding anything else in! Next, mix in your mayo, mustard, vinegar, salt, and pepper. Keep stirring and mixing until you have absolutely no lumps left. That’s the secret to fantastic filling!
Pro Tips for Perfect Deviled Eggs Every Time
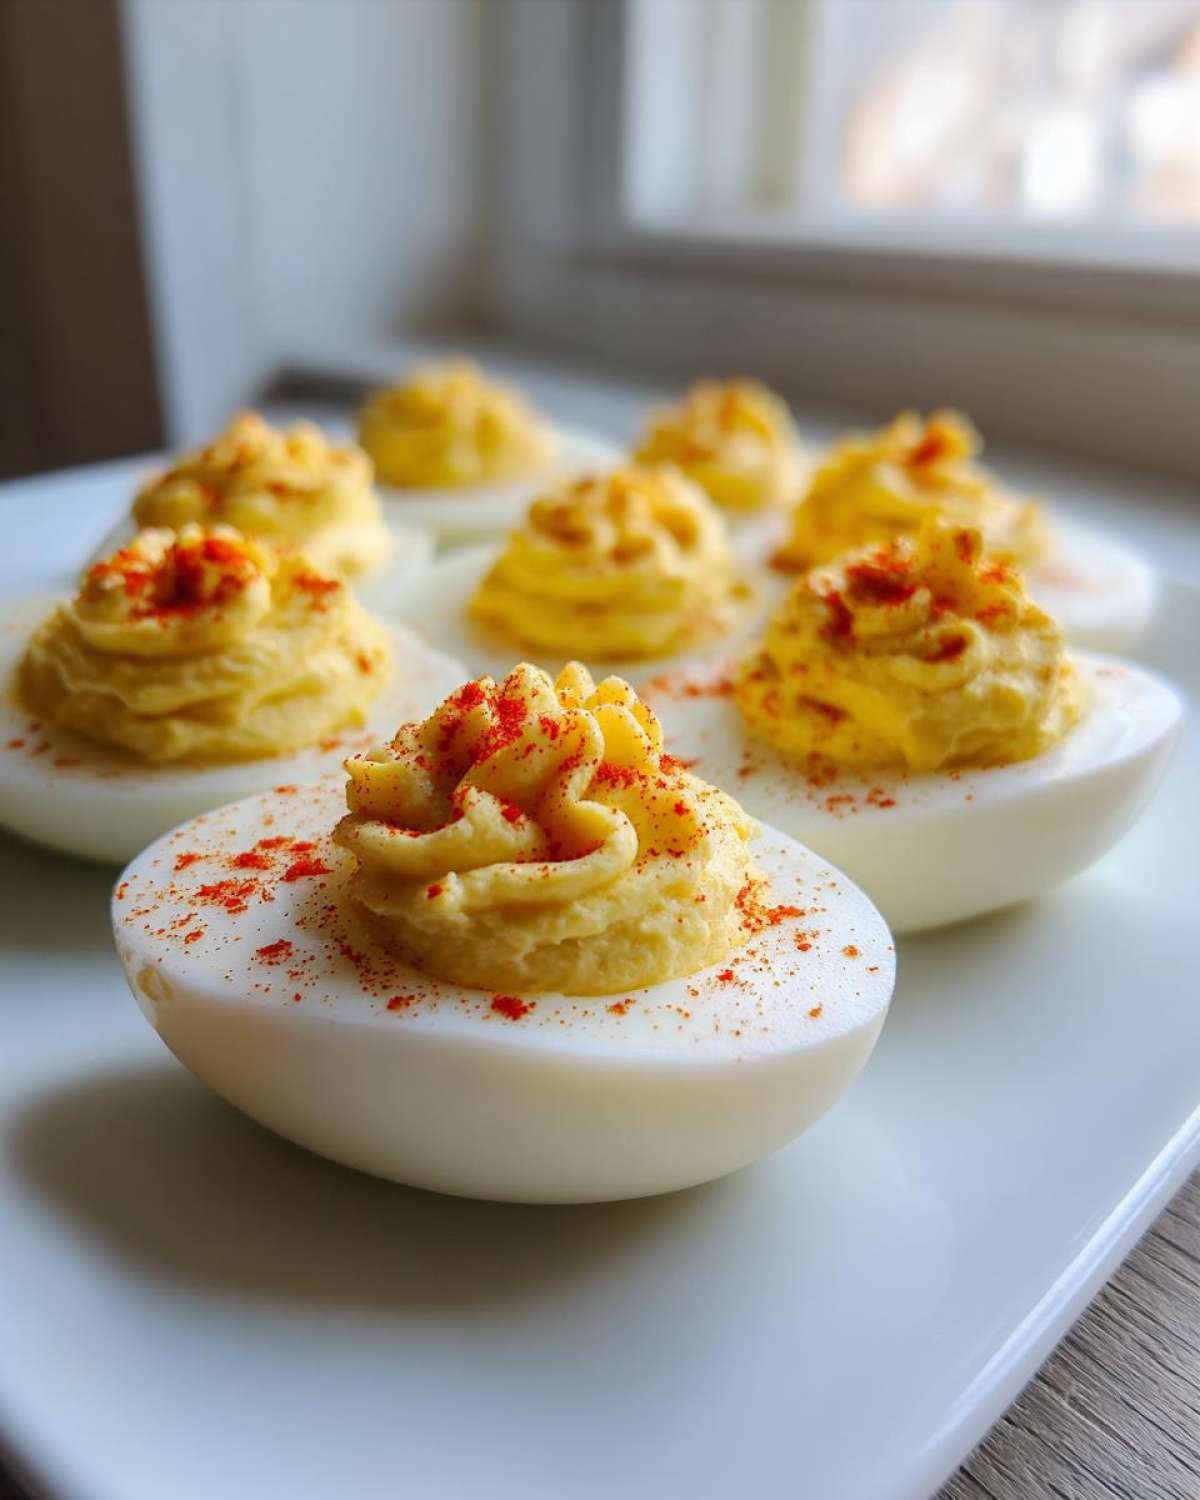
Even with an easy recipe, a few little tricks can take your appetizer from good to absolutely legendary. If you have a piping bag handy with a nice star tip, please use it! It makes the filling look so much nicer than just spooning it in when you’re preparing these for your next party finger food spread. Remember how we used the vinegar for tang? If you mix up your batch and it feels a little flat or maybe the mayo overpowered things, don’t panic! Just stir in another half a teaspoon of mustard or a teeny splash more vinegar. That small adjustment really locks in the bright, savory flavor.
Also, while the yolk mixture should be smooth before filling, you can almost always thin it out slightly with a drop of water or even pickle juice if you find it’s just too stiff to pipe nicely. It’s all about feel, I promise!
Variations on Classic Deviled Eggs
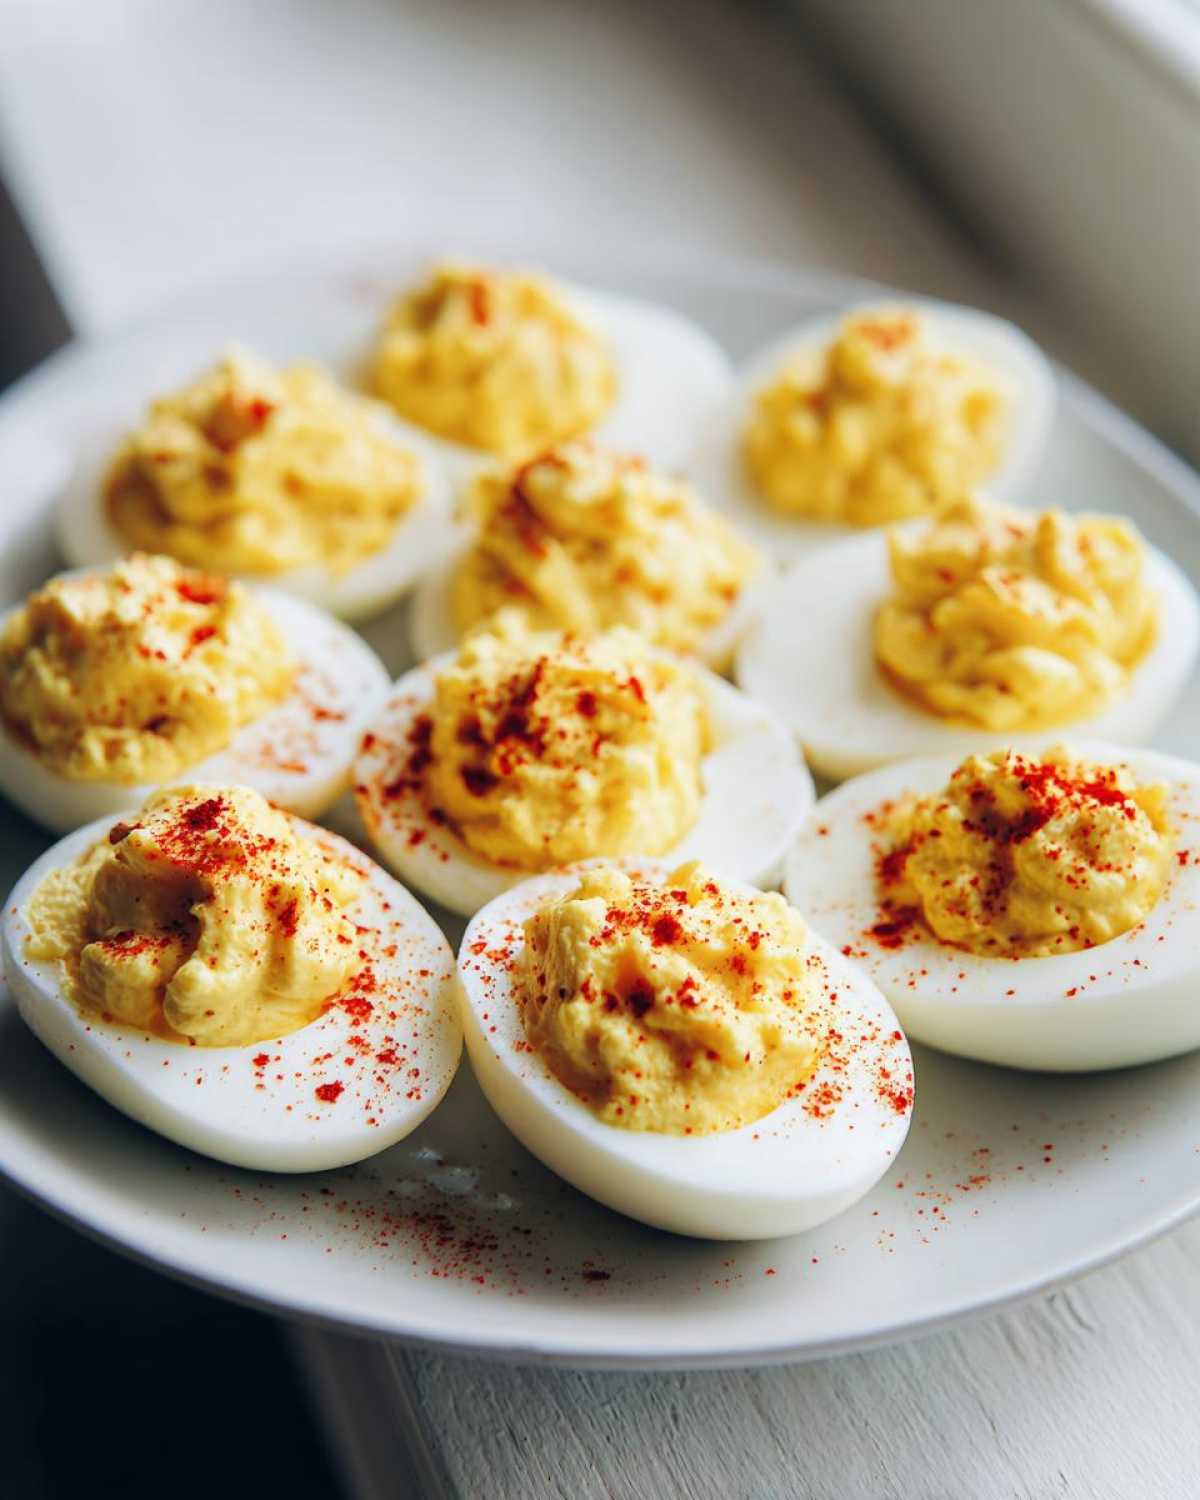
While this recipe is the gold standard for that nostalgic, classic appetizer feel, I love how easy it is to give these a little personality when you’re making a big batch. You don’t have to stray far from tradition to make them special for your guests.
One of my favorites—especially for potlucks—is adding about two tablespoons of finely chopped sweet pickle relish right into the yolk mixture along with the vinegar. It gives it that perfect sweet-and-sour punch. If you want a little heat, a dash or two of your favorite hot sauce, like Tabasco, works wonders and doesn’t change the texture at all.
And, of course, for the bacon lovers, a sprinkle of crispy, crumbled bacon bits on top, right before the paprika, turns these into a savory delight. It’s fun to make a couple of platters with these different twists so everyone can find their favorite version of our deviled eggs recipe!
Storage and Make-Ahead Tips for Your Deviled Eggs
Planning ahead for a party is key, and luckily, these are excellent make-ahead snacks! If you want the best results without limp whites, I highly recommend preparing the components separately. You can boil and peel all your eggs a day before you plan to serve them, keeping the halves tightly covered in the fridge.
The yolk filling is even better if it rests for a couple of hours so those flavors can really mingle. Mix the filling entirely, cover it tightly, and store it in the fridge. Then, on the day of, just scoop or pipe the filling into the whites right before you serve them. Store any leftover filling in an airtight container, just like you would with a good egg salad recipe. They are just so much better when they are stuffed just before guests arrive!
Serving Suggestions for Deviled Eggs
When you bring out a beautiful platter of these creamy bites, you want the rest of the spread to live up to the hype, right? Since they are such a traditional, comforting flavor, they pair wonderfully with almost anything. I often serve them right alongside a big bowl of zesty cabbage salad to give people something crunchy to balance the richness.
They are fantastic next to cold cuts, like sliced ham or roast beef, or simply surrounded by fresh crudités like celery sticks and cherry tomatoes. They are the perfect little savory punctuation mark to any gathering!
Frequently Asked Questions About Deviled Eggs
It’s funny how many little questions pop up when you start making these, even though they seem so simple! People always want to know the tricks to make them look perfect and taste amazing, especially when they are trying to nail the easy deviled eggs recipe for the first time. I gathered up the questions I always get asked most often about these bites.
Can I make the filling for my deviled eggs ahead of time?
Yes, absolutely! If you’re preparing a lot of party finger food, prepping components early saves so much stress. You can mix the yolk filling completely a day in advance. Make sure that filling is packed into an airtight container—it holds up beautifully in the fridge for about 24 hours. However, I really advise stuffing the whites just an hour or two before serving. If you fill them too early, the filling can start to dry out a little on the edges, or worse, soak into the protein of the white.
What is the secret to bright yellow yolks in deviled eggs?
This is all about temperature control, which we covered in the boiling section! The secret to avoiding those murky, grayish-green rings around the yolk is taking the eggs immediately from the boiling water into an ice bath. That hard stop prevents the sulfur in the egg white from reacting with the yolk. Also, if your eggs are *super* fresh (like, farmer’s market day-old), you might still get a slight ring. Slightly older eggs (a week or so old) always seem to give me that vibrant, clean yellow I’m looking for in my deviled eggs recipe.
Another thing that helps brighten things up is the mustard! Yellow mustard is key—don’t swap it for Dijon if you are aiming for that classic look. If you’re still short on color, a pinch of turmeric can sneak in, but honestly, master the cooling method first, and you’ll be fine!
Nutritional Snapshot of These Deviled Eggs
Now, I’m not one to count every single calorie when I’m making party food—I mean, they disappear too fast! But for those of you who like to keep tabs, here’s a quick look at what’s in these tasty bites. Please remember, this is just an estimate based on the standard ingredients we used in this recipe.
- Serving Size: 2 halves
- Calories: around 80
- Fat: roughly 7g
- Protein: about 3g
- Carbohydrates: less than 1g
They’re a pretty perfect little bite of savory goodness, low-carb friendly, and full of satisfying protein!
PrintClassic Deviled Eggs Recipe
A simple recipe for making creamy, tangy deviled eggs, a perfect appetizer for any gathering.
- Prep Time: 20 min
- Cook Time: 12 min
- Total Time: 32 min
- Yield: 24 halves
- Category: Appetizer
- Method: Boiling and Mixing
- Cuisine: American
- Diet: Low Fat
Ingredients
- 12 large eggs
- 1/2 cup mayonnaise
- 2 tablespoons yellow mustard
- 1 tablespoon white vinegar
- 1/4 teaspoon salt
- 1/4 teaspoon black pepper
- Paprika, for garnish
Instructions
- Place eggs in a large saucepan and cover with cold water by about one inch.
- Bring the water to a rolling boil over high heat.
- Once boiling, remove the pan from the heat, cover it, and let the eggs stand for 12 minutes.
- Immediately transfer the eggs to an ice bath (a bowl of ice water) and let them cool completely, about 10 minutes.
- Peel the cooled eggs. Slice each egg in half lengthwise.
- Carefully scoop the yolks into a medium bowl. Place the egg white halves on a serving platter.
- Mash the yolks with a fork until they are fine crumbs.
- Add the mayonnaise, mustard, vinegar, salt, and pepper to the mashed yolks. Mix until the filling is smooth and creamy.
- Spoon or pipe the yolk mixture back into the hollows of the egg white halves.
- Sprinkle paprika over the top of each filled egg half before serving.
Notes
- To make peeling easier, use slightly older eggs rather than very fresh ones.
- For a smoother filling, press the mashed yolks through a fine-mesh sieve before mixing in the other ingredients.
- You can use a piping bag with a star tip for a decorative look on the filling.
Nutrition
- Serving Size: 2 halves
- Calories: 80
- Sugar: 0.5
- Sodium: 120
- Fat: 7
- Saturated Fat: 1.5
- Unsaturated Fat: 5.5
- Trans Fat: 0
- Carbohydrates: 0.5
- Fiber: 0
- Protein: 3
- Cholesterol: 95