

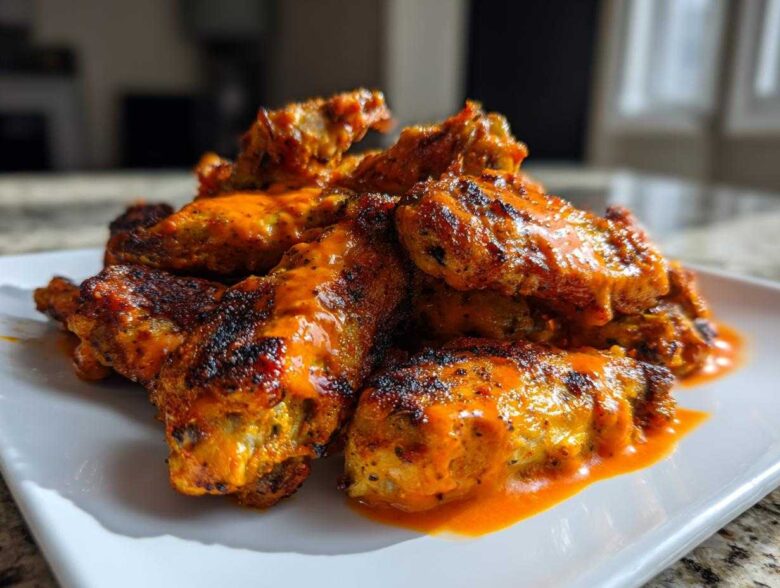
Okay, gather ‘round, friends, because I have cracked the code! If you, like me, love the crunch of a deep-fried snack but absolutely dread the idea of all that oil and mess, you’re in the right place. We are talking about Extra Crispy Baked Chicken Wings that shatter under the slightest pressure. Jacob, my partner, always insists on the best texture, so I tackled this like a full-blown project—researching every technique until we nailed the *no-fry* method using a simple pantry staple. This recipe guarantees you get perfectly cooked, juicy chicken wings that are ideal for Game Day snacking or just making Tuesday night feel special. This is one of the proudest additions to our Taste Portfolio. You can read a little more about how we started our kitchen projects over on our About Us page!
Why These Are the Best Crispy Chicken Wings You Will Ever Bake
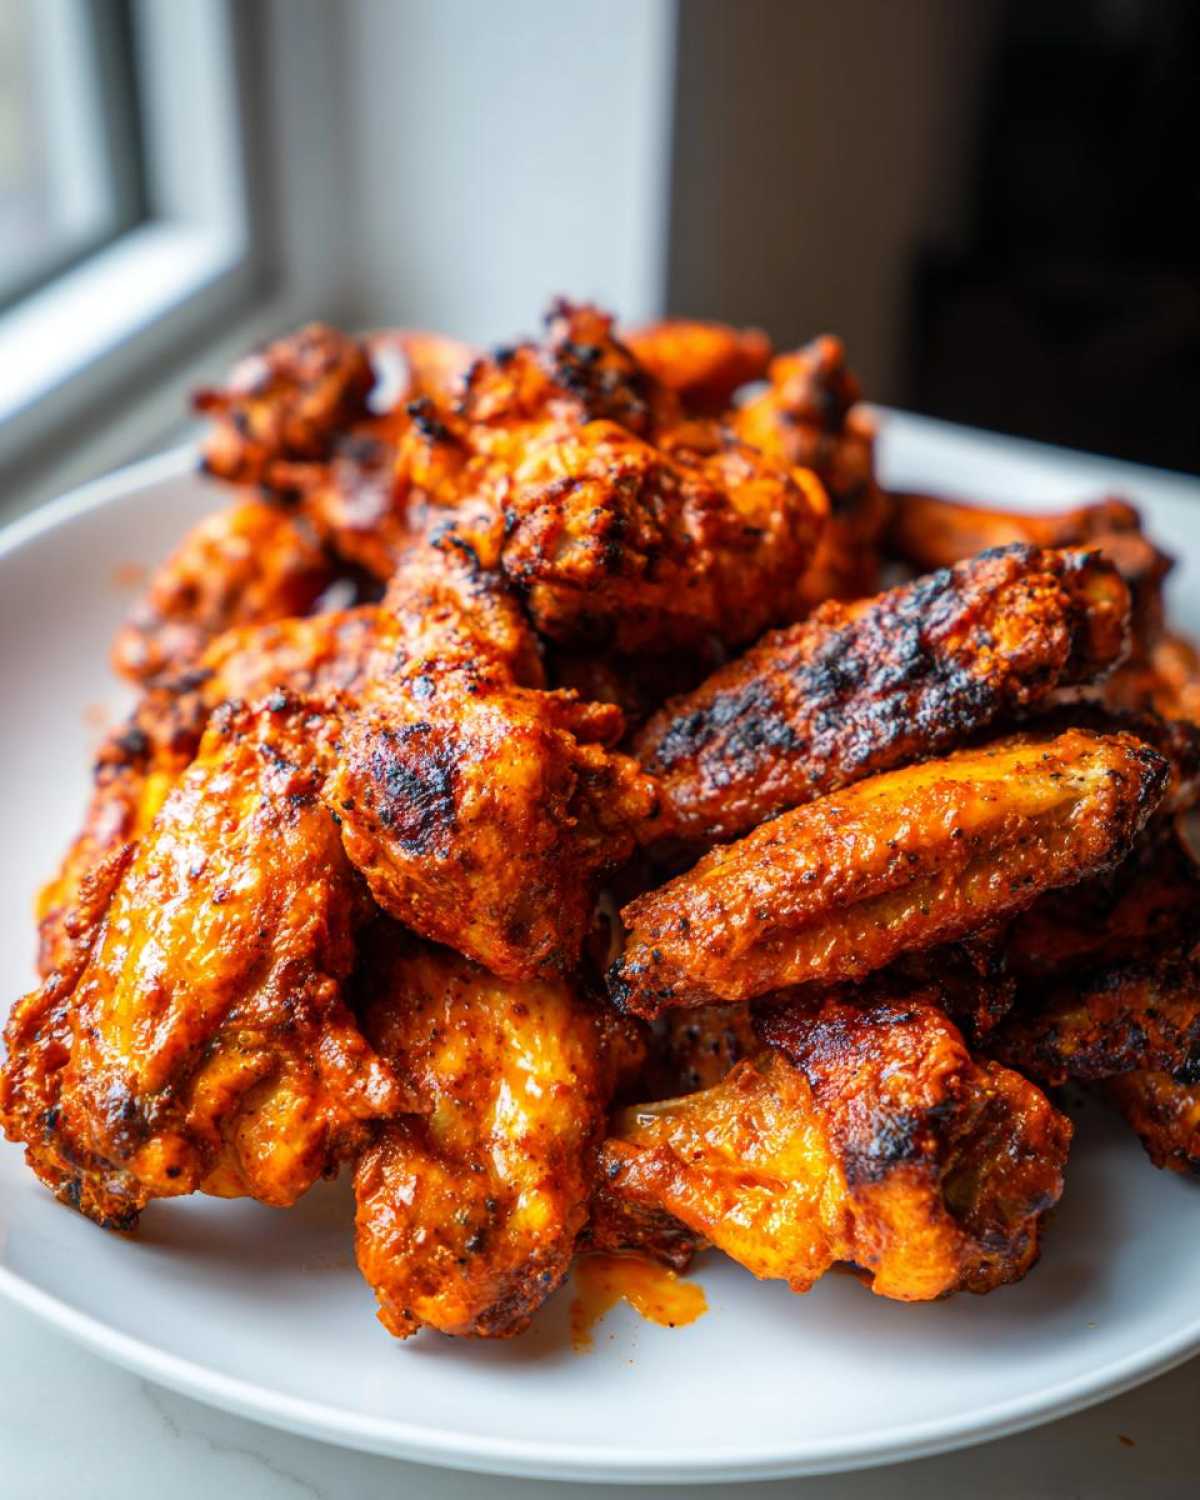
I promise you, once you use this technique, you will never look back. These are the crispiest No Fry Chicken Wings you can make in your own kitchen. Jacob was skeptical at first, but even he agrees these baked wings beat anything we used to get from the takeout spot.
- You get that satisfying, shatteringly crisp exterior that everyone wants.
- The inside stays incredibly tender and juicy—the perfect Juicy Inside Crispy Outside Wings combination.
- Absolutely zero deep frying means cleanup is a cinch! Talk about an easy weeknight win.
If you’re looking for another great non-fried option, check out how we manage similar results in our air fryer wings recipe!
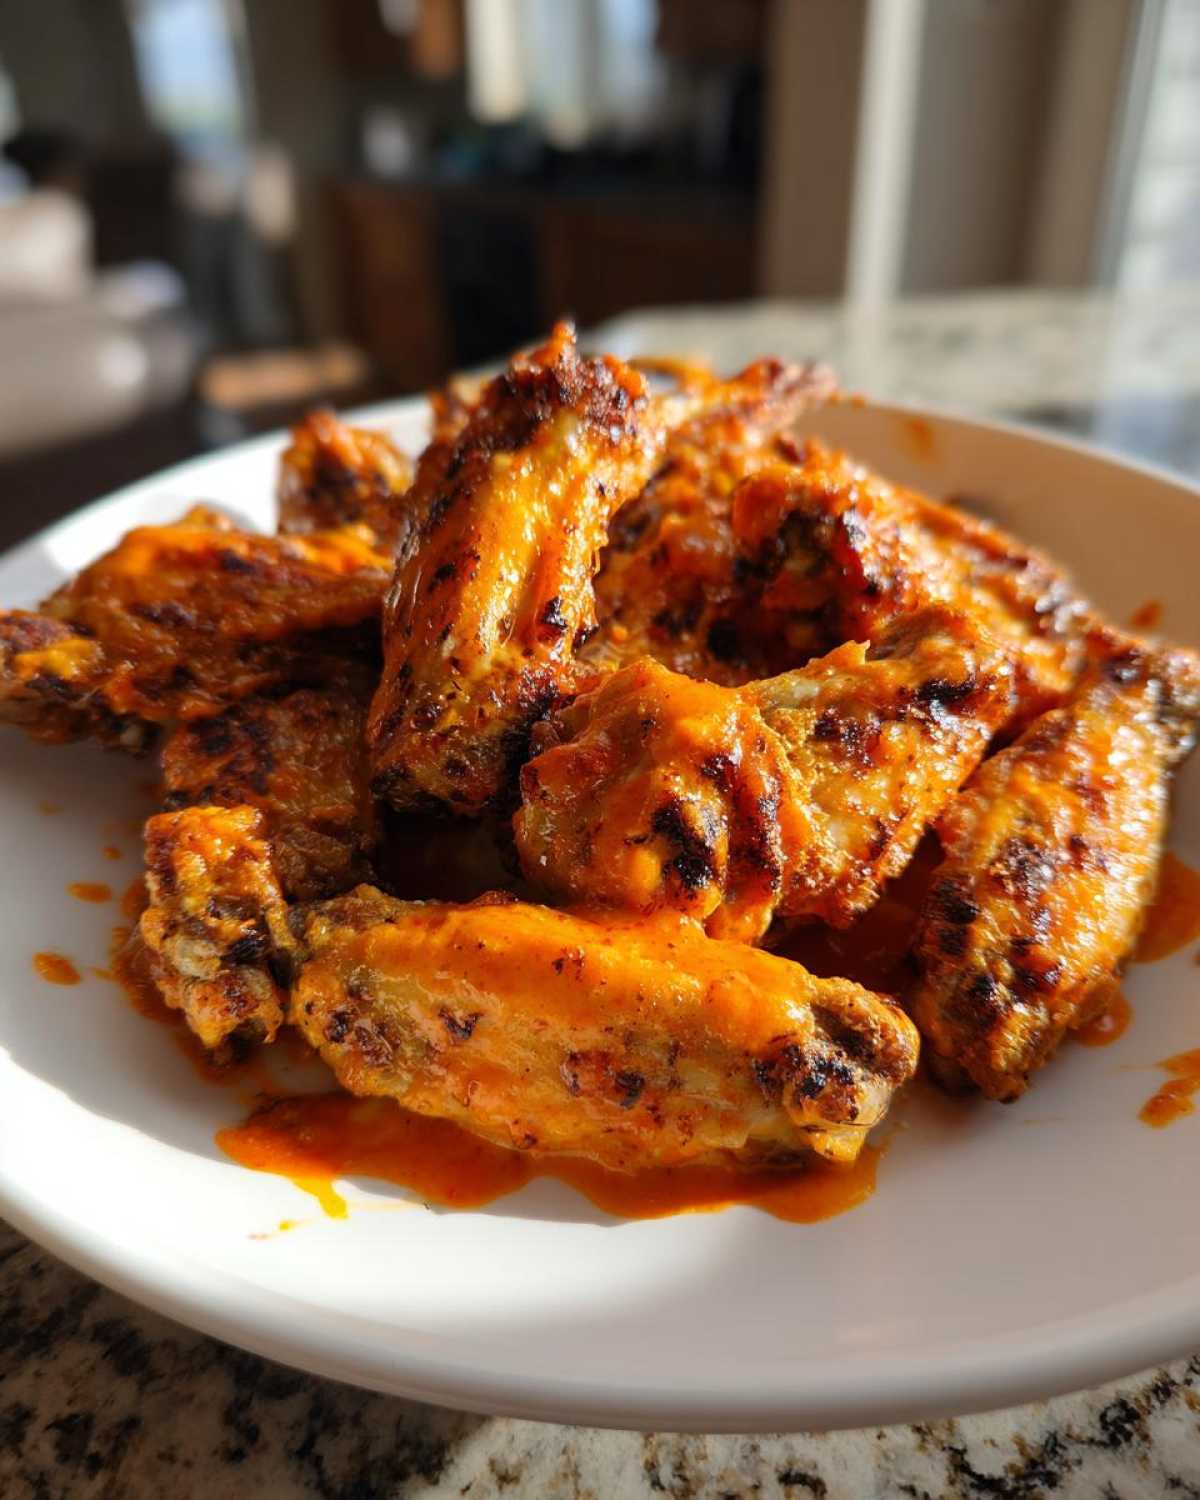
Achieving Ultimate Crispiness with Baking Powder
This is the magic dust, the secret weapon! Baking powder isn’t just for pancakes, trust me here. When we toss the wings in it, the powder slightly raises the pH level on the skin. What does that chemical jargon mean for us? It means the skin dries out faster and browns up beautifully during the bake. It’s brilliant chemistry helping our wing project succeed!
Ingredients Needed for Extra Crispy Baked Chicken Wings
Okay, Project Managers and Artists, here is our definitive list! I’ve organized this so you can check your pantry easily. The success of this entire recipe hinges on having everything ready before the oven preheats. Make sure you grab the right baking powder, too—aluminum-free works the best for flavor!
- 2 lbs chicken wings (flats and drumettes separated – don’t skip this separation step!)
- 1 tablespoon baking powder (aluminum-free preferred, seriously!)
- 1 teaspoon salt
- 1/2 teaspoon black pepper
- 1/2 teaspoon garlic powder
- 1/4 cup of your chosen sauce (we’ll talk about the options below!)
Sauce Options for Your Finished Chicken Wings
Just to be clear, the baking powder mixture creates the base flavor—it’s savory and perfect on its own! But when these guys come out perfectly crisp, you’ll want to dive right into flavor town. We usually toss them immediately in a quick Buffalo sauce or maybe some homemade Honey Garlic sauce. You can also stick to dry rubs for Lemon Pepper Wings or the amazing garlic wings recipe Jacob loves.
The Step-by-Step Technique for Perfect Oven Baked Wings
This is where the planning pays off! As the researcher of our duo, I can assure you that following these steps precisely is the blueprint for success. Jacob always says that patience during the prep prevents disaster during the bake. We are using a two-stage temperature process because that’s what gets us that beautiful, deep golden color without burning the coating or drying out the inside of the chicken wings.
Don’t rush the initial drying step, either! Moisture is the enemy of crisp. Once dry, we toss them well, arrange them carefully, and send them off to the high heat before dropping the temperature down slightly to cook them through perfectly. It makes all the difference when you’re aiming for those amazing Oven Baked Wings.
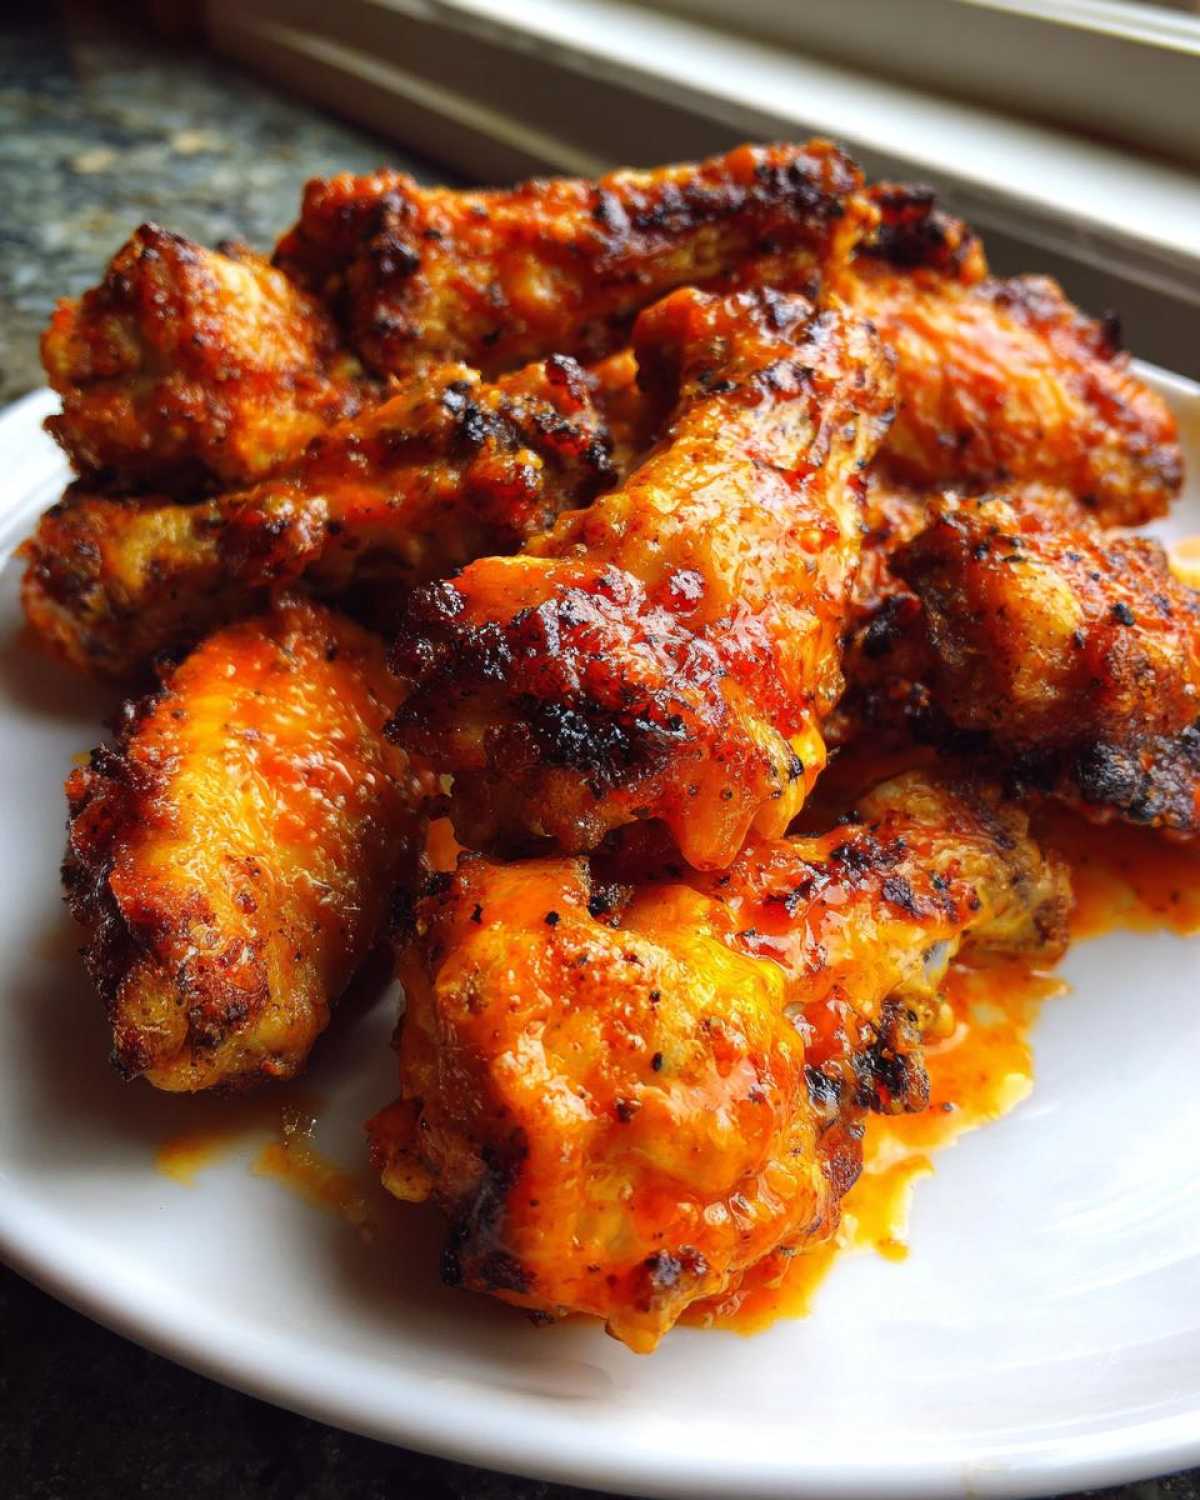
Prepping the Pan for Maximum Airflow
This setup is non-negotiable, folks—it’s the secret sauce for turning out crispy results! You need a sturdy baking sheet first, lined perfectly with foil. Then, you absolutely must place a wire cooling rack right on top of that foil. Why? Because the heat needs to circulate all the way around the wing, especially underneath. If the bottom sits in its own rendered fat, you get steamed, rubbery skin, and we definitely don’t want that!
Coating and Baking Your Chicken Wings
After your wings are coated in our dry mix, arrange them on that rack so they aren’t even touching. Crowding them traps steam! First bake is high—425°F for about 25 minutes to start rendering that fat. Then, drop the temp to 400°F for 20 to 25 more minutes until they look intensely golden and crunchy. If you want a recipe that walks through other oven favorites, check out my notes on easy oven baked BBQ chicken.
Flavor Variations for Your Homemade Chicken Wings
So many delicious possibilities! The beauty of this base recipe is that it creates the perfect canvas for whatever flavor mood strikes you. Whether you’re planning for massive Game Day Chicken Wings gatherings or just need something easy for dinner, these options hit all the popular notes. My personal favorite deviation right now? I am obsessed with making a quick batch of Hot Honey Chicken Wings—the sweet heat is addictive!
Remember, since these are *so* crispy coming out of the oven, timing your sauce toss is everything. We want flavor, not sogginess! If you ever need a killer sticky glaze, check out my recipe for Honey Garlic Chicken—it works beautifully on these wings.
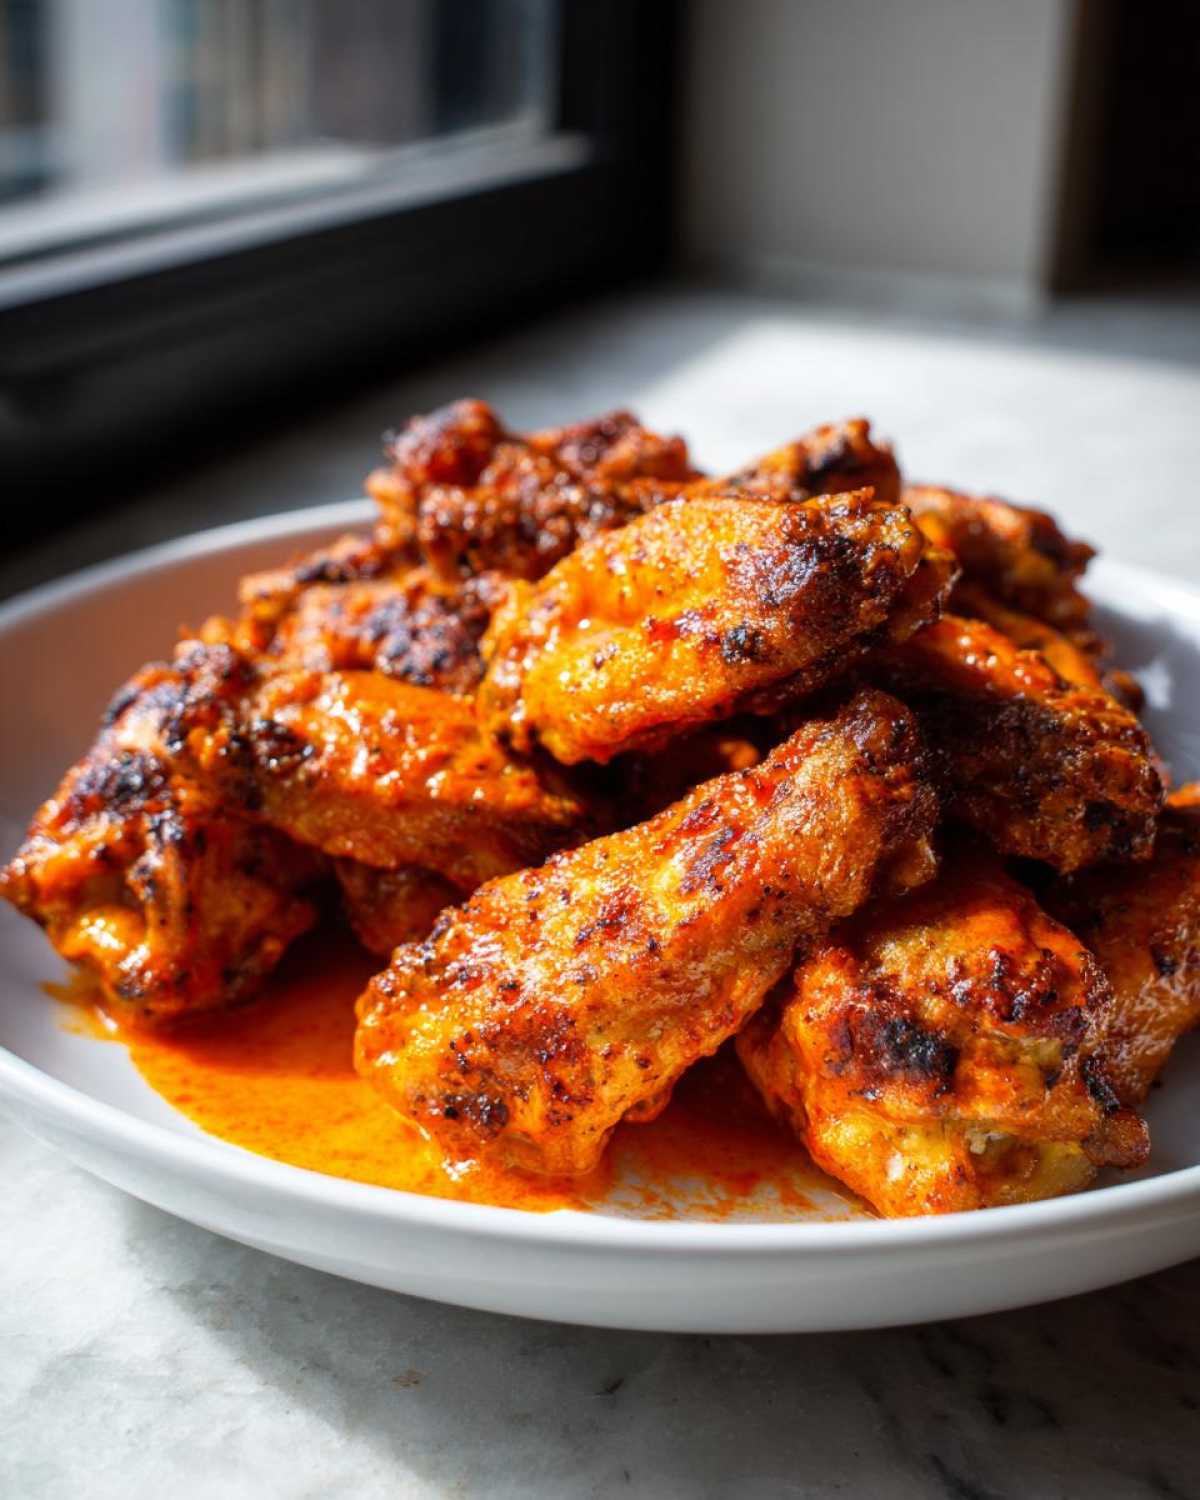
Turning Baked Chicken Wings into Honey Garlic Wings
For sticky sauces like Honey Garlic, you have to move fast. As soon as those wings come off the rack, put them straight into a bowl with your prepared sauce. Toss quickly so the heat of the wing warms the sauce and makes it adhere perfectly. Don’t let them sit before saucing, or you lose that hard-earned crunch!
Quick Tips for Lemon Pepper Wings
If you want the ultimate crunch payoff, stick to a dry rub for flavors like Lemon Pepper. Toss the wings with the seasoning mix *right* after they come out of the oven. If you are using a recipe where the seasoning is mixed with butter, wait until the last five minutes of the second baking phase, or just dust them dry like we do for that incredible sharp citrus burst. For classic garlic notes, you can always borrow inspiration from Jacob’s favorite garlic wing tutorial.
Tips for Success with Crispy Chicken Wings Every Time
Now that you have the blueprint, let me share the pro tips Jacob always reminds me of—these are the things that separate good wings from *epic* wings. He’s the artist who pays attention to the tiny details that ensure success, especially when we’re making these for a big gathering and don’t want any soggy disappointments!
First, the drying step is critical. I mean, bone-dry! Seriously, use half a roll of paper towels if you need to. Wet skin steams, and steamed wings are not crispy wings. Second, remember that wire rack we used? Never skip it. The cooling rack allows air to hit the bottom, which is why so many people swear by this baking setup. Also, when you arrange them, give them space! Overcrowding means they will steam each other out. This whole process is detailed perfectly in the main method, which you can revisit here if you need a refresher!
Storing and Reheating Your Baked Chicken Wings
I know, I know—these amazing, crispy chicken wings never last long! But if, by some miracle, you have leftovers, we need a plan to restore that crunch factor. My biggest rule here is: absolutely no microwaving! Microwaves make everything soft and sad, and we worked too hard for that.
The best way to bring these back to life is the good old oven or, even better, the air fryer. Just lay them on a rack (if you have one!) or a foil-lined tray and heat at about 375°F for 8 to 10 minutes. They crisp right back up! If you need other crisp reheating hacks, I detailed exactly how I get my air fryer baked potatoes perfect, and the method is similar!
Serving Suggestions for Party Appetizer Wings
When these beauties come out of the oven, they practically scream, “It’s Game Day!” While they are unbelievably good all on their own—especially if you went with the Ranch flavor profile from this great recipe—serving them up right elevates the whole experience. We always go classic: crisp celery sticks and carrot sticks, chilled and ready to dip.
Never forget the dipping sauces! A bowl of good blue cheese dressing or a creamy ranch dip is essential for any platter of Party Appetizer Wings. If you’re looking for something slightly sweeter to balance the heat, try whipping up a quick grape salad to serve alongside them. It’s a surprisingly great combo!
Frequently Asked Questions About Crispy Chicken Wings
When I planned out this whole project, I knew there would be a few lingering doubts, especially since the baking powder trick sounds a little wild at first! We’ve covered the basics, but here are the quick answers to the questions popping up most in my research notes for these Oven Baked Wings.
Does the baking powder leave a metallic taste?
That’s a super common concern, but nope! If you use the amount specified, you honestly won’t taste the baking powder at all. It bakes right off, and its only job is to work its magic on the skin chemistry to deliver those Extra Crispy Chicken Wings we love so much. Jacob made sure we tested this thoroughly!
Can I use this exact technique in my Air Fryer?
Yes, you totally can! Since we are already skipping the deep fryer, using the air fryer is simple. You will want to reduce the temperature slightly, maybe 380°F, and you’ll cook them in batches—but the crucial prep (patting them dry and using the baking powder mix) stays exactly the same. Honestly, air frying makes quick work of these Easy Wing Recipes!
What if my wings are still frozen when I start?
Oh, the classic last-minute dinner save! I strongly suggest you don’t try to bake them truly frozen if you want amazing texture. Thaw them fully in the fridge first, then pat them bone dry. If you must rush, run them under cold water to break up the ice, then dry them aggressively. For the crispiest results, though, always start with fresh or fully thawed wings!
What is the best way to make Ranch Wings Recipe?
For seriously crunchy Ranch Wings Recipe goodness, you need a dry application. Mix the contents of a standard Ranch seasoning packet right into the baking powder/salt mixture before you coat the wings. This gives you an intensely flavored, super crispy bite that’s perfect for Game Day Chicken Wings without adding any extra moisture!
Just like we found out when trying to make the perfect reusable air fryer baked potato, sometimes the best results come from sticking to dry applications when crisp is the goal!
Share Your Perfect Chicken Wings Creation
Whew! We made it! I hope you are just as excited as I am to try these incredibly crispy, no-fry chicken wings. Seriously, Jacob and I are already planning our next batch—maybe we’ll try a classic BBQ tonight, or maybe we’ll stick to the spicy Lemon Pepper!
Now that you’ve got the blueprint, I really want to hear all about your project results! Did you go for the Honey Garlic Wings or maybe try a dry rub? Please let me know in the comments below how these turned out for your crowd. Did you serve them up for the big game? Did they pass the family taste test?
Snap a picture and tag us! Sharing your successes makes our day; that’s why we created this portfolio in the first place. We love seeing how you bring our planned projects to life in your own kitchens. Happy cooking, and don’t forget to check out the rest of our collection on the main Taste Portfolio blog!
PrintExtra Crispy Baked Chicken Wings (No Fry Technique)
Achieve shatteringly crisp chicken wings in your oven without deep frying. This recipe uses a simple baking powder trick for perfect game day snacks or easy weeknight dinners.
- Prep Time: 15 min
- Cook Time: 45 min
- Total Time: 60 min
- Yield: 4 servings
- Category: Appetizer
- Method: Baking
- Cuisine: American
- Diet: Low Fat
Ingredients
- 2 lbs chicken wings (flats and drumettes separated)
- 1 tablespoon baking powder (aluminum-free preferred)
- 1 teaspoon salt
- 1/2 teaspoon black pepper
- 1/2 teaspoon garlic powder
- 1/4 cup of your favorite sauce (e.g., Buffalo, Honey Garlic, or Ranch seasoning mix)
Instructions
- Preheat your oven to 425°F (220°C). Line a large baking sheet with foil and place a wire cooling rack on top of the foil. This setup allows air to circulate for maximum crispiness.
- Pat the chicken wings completely dry using paper towels. This step is crucial for crispy skin.
- In a large bowl, combine the baking powder, salt, pepper, and garlic powder.
- Add the dried chicken wings to the bowl and toss thoroughly until every piece is evenly coated with the dry mixture. The baking powder helps dry out the skin.
- Arrange the coated wings in a single layer on the wire rack, ensuring they do not touch each other.
- Bake for 25 minutes.
- Flip the wings over. Reduce the oven temperature to 400°F (200°C) and bake for another 20 to 25 minutes, or until the skin is deeply golden brown and very crispy.
- Remove the wings from the oven. Immediately place them in a clean bowl.
- Toss the hot, crispy wings with your chosen sauce or dry rub until coated.
- Serve immediately as a crowd pleaser appetizer or quick dinner.
Notes
- For the juiciest inside and crispiest outside, make sure the wings are completely dry before coating them with the baking powder mixture.
- If you plan to use a wet sauce like Buffalo, toss the wings in the sauce immediately after they come out of the oven so the sauce adheres to the hot, crisp skin.
- If you prefer a dry rub finish, toss the wings with the rub after baking instead of a wet sauce.
Nutrition
- Serving Size: 4 wings
- Calories: 280
- Sugar: 1
- Sodium: 350
- Fat: 18
- Saturated Fat: 5
- Unsaturated Fat: 13
- Trans Fat: 0
- Carbohydrates: 2
- Fiber: 0
- Protein: 26
- Cholesterol: 95