

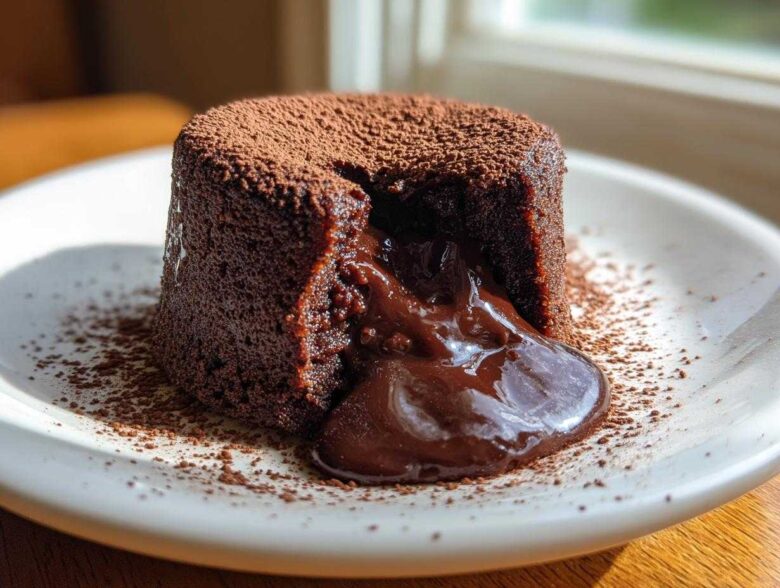
Listen, sometimes you just need a dessert that screams ‘special occasion’ without demanding you spend all day in the kitchen, right? That’s where the magic of the **Chocolate Lava Cake** comes in. This isn’t just some chocolate cake; this is pure, decadent drama served in a tiny cup. When I first started experimenting, I burned batch after batch trying to trick the oven. Then, finally, I hit the sweet spot—I think it was right after I made that flourless chocolate torte. You get that perfect crust holding in the hot, gooey, molten center. Trust me, once you master this **Quick Decadent Dessert**, you’ll never look back. It tastes like a steal from a five-star restaurant!
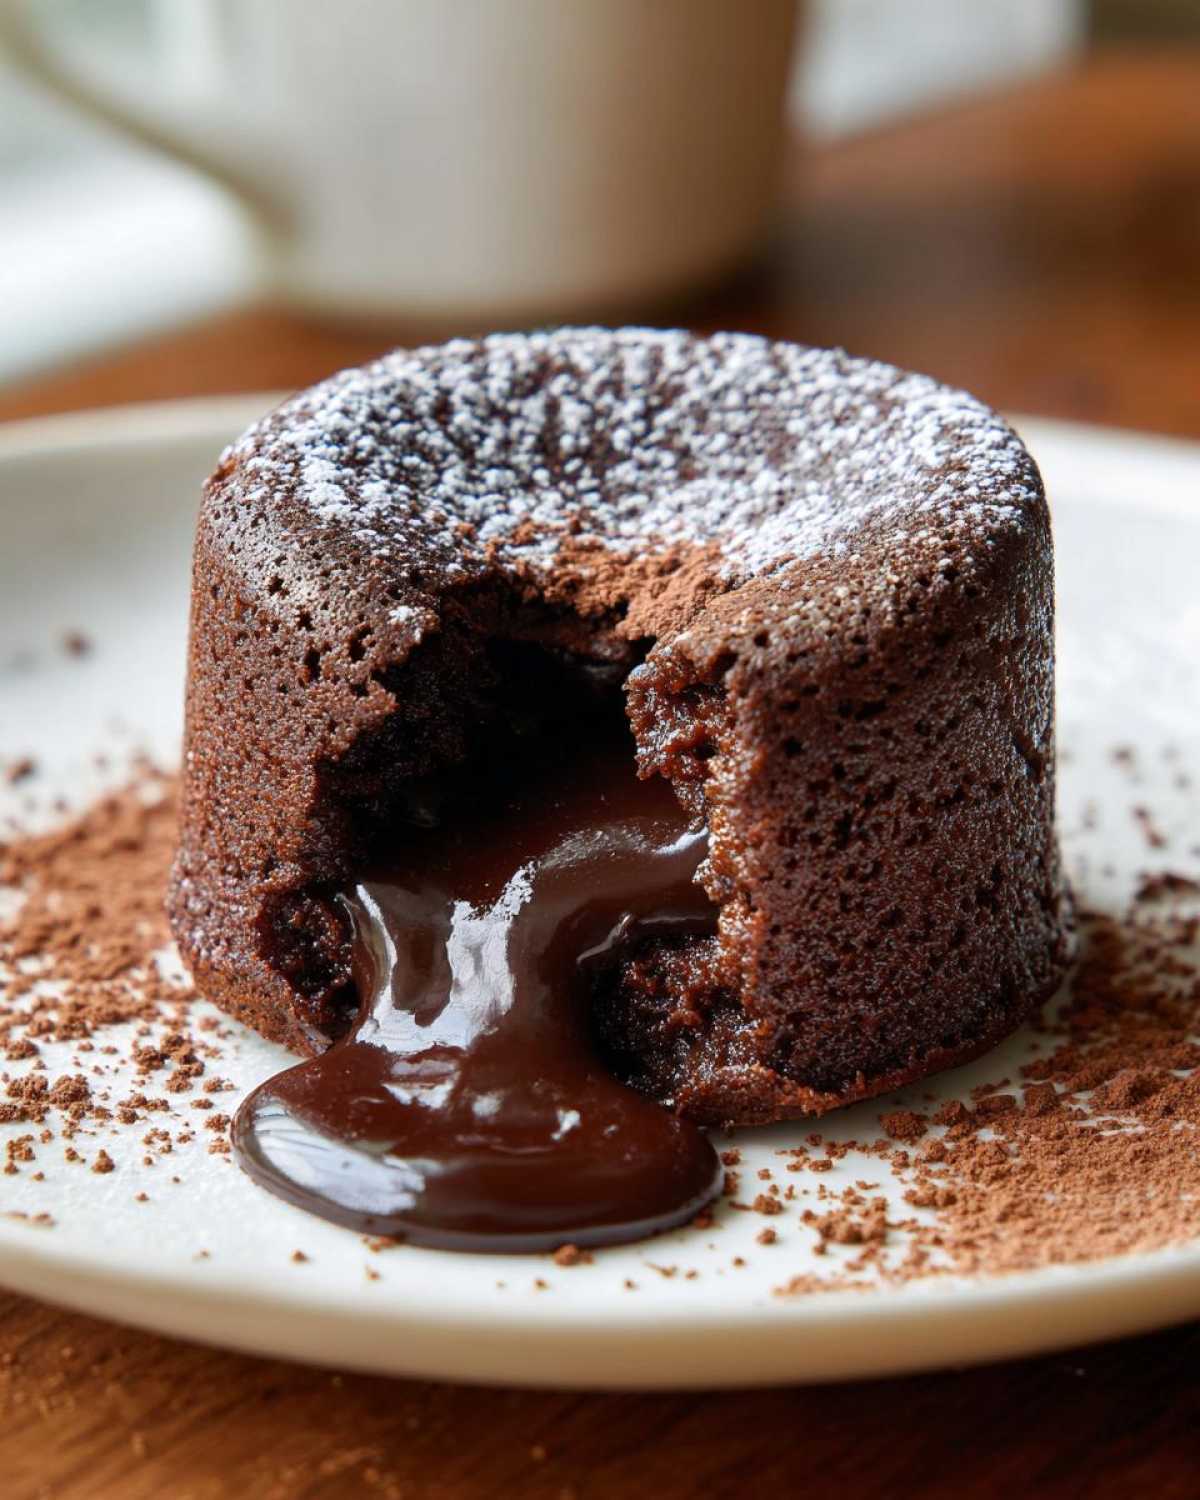
Why This Chocolate Lava Cake Recipe Works So Well
I honestly think this little dessert is perfect because it’s so reliable. You get all the elegance of a fancy dining experience without the stress, which is why I always recommend it for last-minute celebrations. It’s the ultimate showstopper!
- It’s shockingly fast; you’ll be eating melted chocolate in under 30 minutes total!
- The rich chocolate flavor is incredibly intense—way better than anything store-bought.
- It’s designed to give you that perfect liquid core every single time if you watch the clock closely.
If you’re looking for more easy and elegant desserts, this one is at the top of my list.
Quick Prep for Chocolate Lava Cake
Seriously, the hands-on time is only about 10 minutes! We’re talking melt, whisk, pour, and bake. It’s that simple. That’s why I love whipping these up when company shows up unexpectedly.
Restaurant Quality Chocolate Lava Cake at Home
When you invert that warm cake onto the plate and that rich chocolate oozes out, you feel like a culinary genius. Honestly, most restaurants charge an arm and a leg for this, but you’re making it better right in your own kitchen. It’s my secret weapon for impressing people!
Gathering Ingredients for Your Chocolate Lava Cake
Okay, the ingredient list for this **Chocolate Lava Cake** is short, but every item matters. We need high-quality stuff because there are so few moving parts! Grab your bittersweet chocolate—this is non-negotiable for that deep, sophisticated flavor.
- 4 ounces bittersweet chocolate, chopped finely
- 4 tablespoons unsalted butter, plus extra for greasing the little cups
- 1 large egg AND 1 extra large egg yolk
- 2 tablespoons granulated sugar—just plain white sugar works here!
- 1 teaspoon all-purpose flour—yes, just one!
- A tiny pinch of salt to wake everything up
- Cocoa powder for dusting those ramekins so nothing sticks
If you need some extra chocolate topping ideas later, check out my post on making silky smooth chocolate sauce!
Ingredient Notes and Substitutions for Chocolate Lava Cake
Let’s talk chocolate. You absolutely must use bittersweet chocolate, ideally around 60% or 70% cacao. If you use milk chocolate, the cake won’t set right because it has too much sugar and not enough cocoa solids. It will just turn into a puddle!
Now, if you look in your pantry and only find semi-sweet, it’s okay; you can use it in a pinch. Just know the flavor won’t be quite as deep and intense as Grandma’s original version. Also, make sure that butter is the real deal, not margarine—that fat content is vital for the texture!
The Secret to a Gooey Lava Cake Center: Preparation Steps
Okay, we’re getting down to the good stuff now, the actual assembly! Before you even look for your whisk, the first thing you MUST do is get that oven blazing hot—we need 425 degrees F, no cheating! Preheat is critical for this **Chocolate Lava Cake** because we need the outside to set FAST.
Next up is setting up your little baking buddies—the ramekins. Don’t skip this step! You need to generously butter the inside of four individual ramekins. Then, dust them thoroughly with cocoa powder. Yes, cocoa powder, not flour! Tapping the excess out is key; this creates a non-stick, non-white crust that makes flipping them out look professional. If you struggle with sticking, check out my notes on how to prep pans for tricky bakes.
Melting the Chocolate Base for the Chocolate Lava Cake
Time to melt! I prefer setting a heatproof bowl over simmering water—the classic double boiler method. It’s gentle heat, so you don’t scorch the beautiful bittersweet chocolate and butter. Just stir until it’s completely silky and smooth. If you’re in a rush, the microwave works (in 30-second bursts!), but you have to stir after every burst so the bottom doesn’t burn while the top looks fine.
Crucially, take that melted mixture off the heat right away and let it cool for a minute. If it’s too hot when you add the eggs? Scrambled cake batter! Nobody wants that tragedy.
Mixing the Batter for Perfect Chocolate Lava Cake Consistency
In a separate bowl, whisk your whole egg, that extra yolk, and the sugar until it gets pale and fluffy. This brings air in gently. Now, drizzle that slightly cooled chocolate mixture into your eggs and whisk until it’s *just* combined. I mean it when I say *just*!
The last ingredients are the flour and salt. Whisk those in, but stop as soon as you don’t see any white streaks of flour anymore. If you overmix here, you develop gluten, and gluten makes a sturdy cake—which is the exact opposite of what we want for a liquid center! We want tender, soft perfection, so be gentle!
Baking Time and Technique for the Molten Chocolate Cake Recipe
This is the moment of truth, folks! The baking time is what separates a magnificent, oozing **Chocolate Lava Cake** from a slightly sad, regular chocolate muffin. No pressure, but watch that clock like a hawk! Since we preheated to a blazing 425 degrees Fahrenheit (that’s 220 Celsius for my metric friends), the exterior cooks super fast.
You’ll be dividing that beautiful batter evenly into your prepared ramekins and sliding them onto that baking sheet. They go in for exactly 12 to 14 minutes. I cannot stress this enough: 14 minutes is usually the absolute maximum for that perfect liquid center.
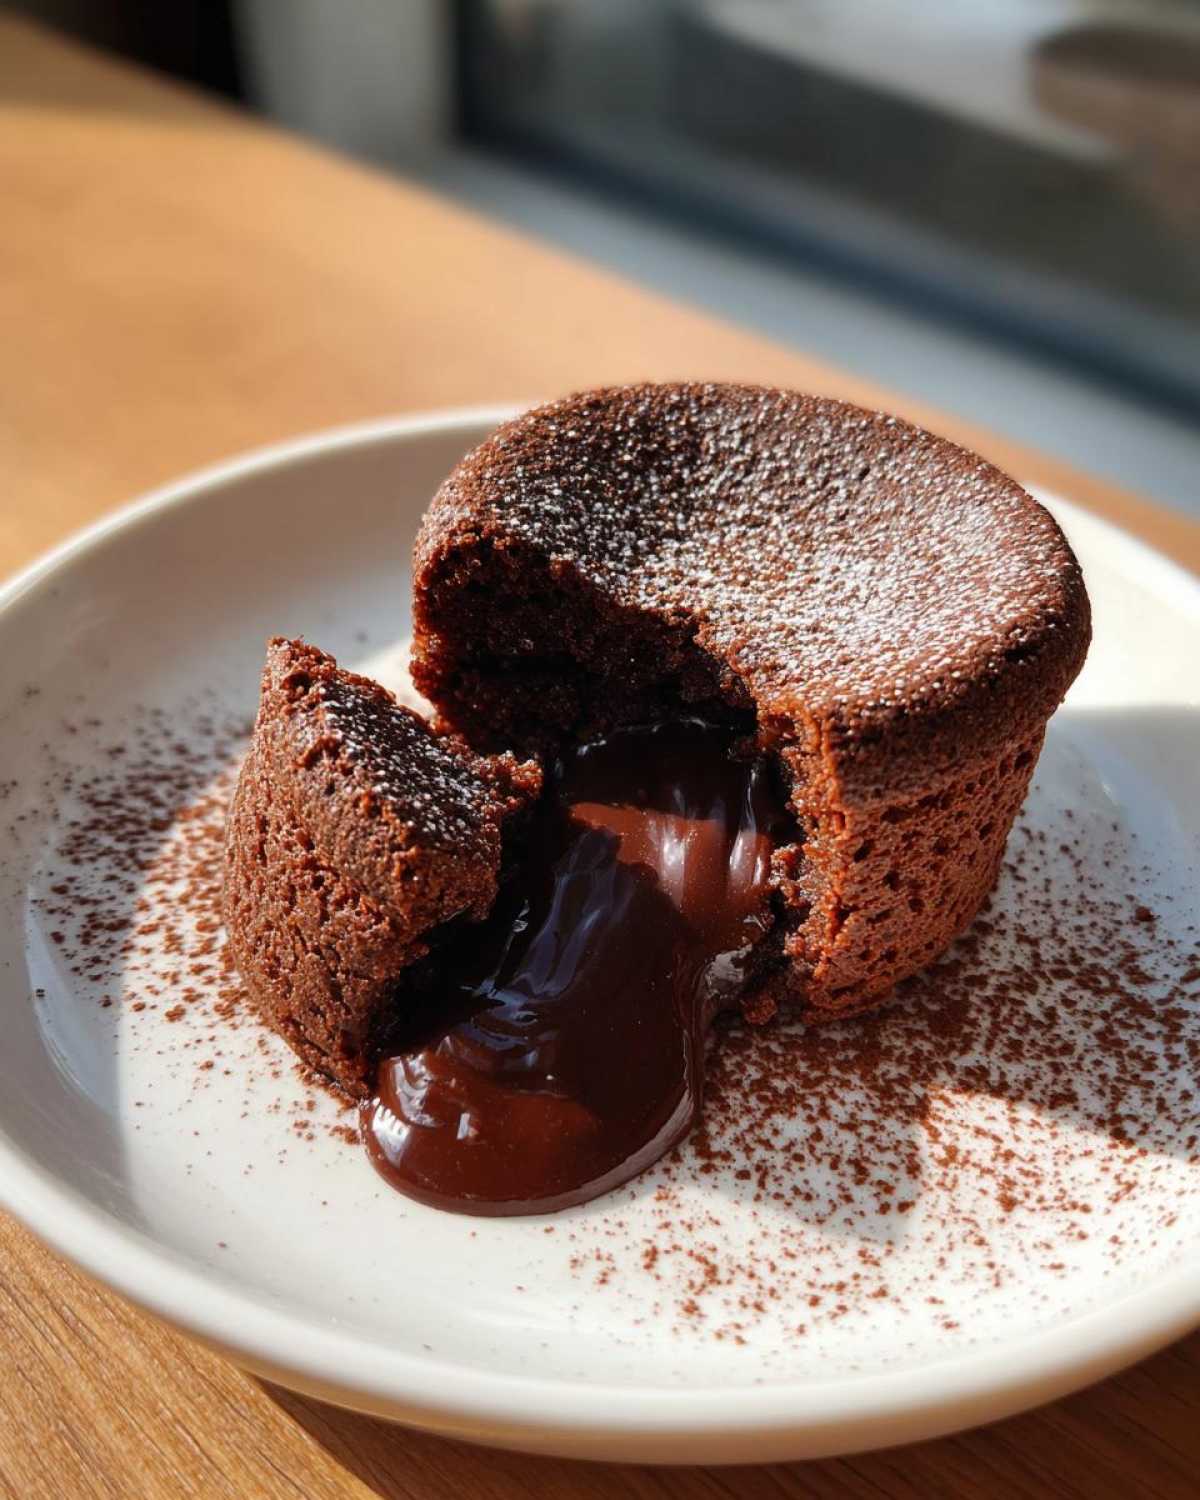
How do you know they are done? You are looking for visual cues! The edges of your **Individual Chocolate Cakes** should look completely set up—they’ll look firm and slightly dry around the rim. But here’s the kicker: gently wiggle the baking sheet. If the very center still looks soft and it jiggles like pudding, you nailed it! If the whole thing is firm? Oops, you made a regular cake, but hey, it’ll still taste amazing, just less dramatic.
For the absolute best results and to learn the science behind that liquid middle, check out my deep dive into the secret to achieving that gooey lava cake center. A tiny bit of science goes a long way in baking!
Troubleshooting Common Chocolate Lava Cake Issues
Look, baking is fun, but sometimes things just don’t cooperate. Don’t you worry for a second if your first attempt at a **Chocolate Lava Cake** doesn’t flow perfectly. It happens to me too, especially when the humidity is weird! Getting that warm lava just right is a balancing act between oven heat and time. These little boo-boos are totally fixable next time around.
If you’re having trouble, it usually comes down to just one or two little technical things. We learn best when things go a little wrong, right? If you’ve ever managed to save a batch of my flourless chocolate torte from cracking, you can definitely master this too!
What if My Chocolate Lava Cake Center is Baked Through?
Oh, the dreaded fully-baked center! If you pull that little cake out and the whole thing is solid when you tap it, that means it spent just a little too long hanging out in that hot oven. It’s overbaked, plain and simple.
My advice? Next time, pull them out at the 12-minute mark instead of waiting for 14. Or, if you’re using a new oven, maybe drop the temperature down by 10 degrees and see if that helps achieve that perfect flow. Even if this batch is fully baked, it’s still a fantastic, fudgy cake, so eat it with pride and make a note for next time!
How to Unmold the **Individual Chocolate Cakes** Successfully
Unmolding is where you get to show off your beautiful work! After they come out of the oven, you have to let them sit in those ramekins for exactly one minute. One minute! If you wait any longer, the center starts to firm up against the sides, and you risk tearing the cake when you flip it.
Once that minute is up, grab a thin knife—a butter knife works fine—and gently run it all the way around the inside edge. Be careful not to dig in, just trace the perimeter. Then, place your serving plate upside down over the ramekin, hold them both tight, give them a quick decisive flip, and lift the ramekin straight up.
If you find that one is still stubbornly sticking? Don’t force it! Gently tap the bottom of the inverted ramekin a few times. Usually, that little vibration is enough to convince the cake to release cleanly onto the plate. Serve it immediately while it’s still piping hot!
Serving Suggestions for Your Rich Chocolate Dessert
The moment you successfully flip that hot **Chocolate Lava Cake** onto the plate, you realize it’s almost too beautiful to eat—but only almost! While it’s amazing just sitting there looking all dark and mysterious, a little dressing up makes it a showstopper. I always keep a few simple things on hand because these cakes are meant to be served warm, right out of the oven.
My absolute favorite, no-fuss approach is just a quick dusting of powdered sugar. Use a fine-mesh sieve and tap gently—it makes the dark cake look instantly professional. It adds just a whisper of extra sweetness right on top.
But if you want to go all out, you need contrast. The best pairing, in my opinion, is something cold and creamy. A simple scoop of good vanilla bean ice cream is heavenly because the contrast between the hot, flowing chocolate and the cold cream is just divine.
If you prefer fruit, fresh raspberries or sliced strawberries are perfect. The tartness cuts right through how rich this **Rich Chocolate Dessert** is. If you have vibrant red berries on the side, it almost looks like a painting!
For something a little different but equally delicious, try adding a drizzle of homemade chocolate pudding sauce over the top, or even some caramel sauce. Just remember, these cakes are already so intensely chocolatey, so keep the garnishes simple so the lava remains the star of the show!
Make-Ahead and Storage Tips for Chocolate Lava Cake
This is one of my favorite things about this recipe: you can totally cheat for a special dinner! Unlike recipes that require you to scramble at the last minute, the batter for this **Chocolate Lava Cake** is fantastic for prepping ahead. Seriously, you can mix everything up, pour it right into your prepped and cocoa-dusted ramekins, cover them tightly with plastic wrap, and pop them in the fridge.
You can safely keep that liquid gold chilling for up to 24 hours. It gives you so much breathing room when you’re hosting!
But here’s the essential tip: you cannot bake it straight from the fridge without adjusting the time. Since the batter is cold, it needs a little longer to heat through before the outside sets and the inside starts to flow. When I bake the cold batter, I almost always add an extra 2 to 3 minutes to the baking time. So, instead of 12 to 14 minutes, plan for maybe 15 to 17 minutes.
Start checking at the 15-minute mark. You still want that center to have that tell-tale jiggle! Having these ready to go makes serving up these stunning **Individual Chocolate Cakes** feel like the easiest thing ever. It’s my secret to staying relaxed when guests arrive. If you want more ideas for those busy nights, check out my list of quick decadent desserts!
Frequently Asked Questions About **Chocolate Lava Cake**
Sometimes you just have questions floating around, especially when you’re dealing with a recipe that relies so much on precise timing like this **Molten Chocolate Cake Recipe**. I gathered up some of the stuff people always ask me about when they try this for the first time. Hopefully, this clears everything up so your baking is stress-free!
Can I make this recipe into a **Warm Chocolate Soufflé Cake** instead?
That’s a great question, because they sound similar! The short answer is no, not really with this batter. This recipe is all about achieving that spectacular molten center by underbaking the middle slightly. It relies on those eggs and butter to create a set outside and a liquid inside. A true **Warm Chocolate Soufflé Cake** gets its massive lift from aggressively whipped egg whites that are folded in very gently.
If you tried to bake this batter longer to make it rise like a soufflé, you’d just end up with a dry, dense little puck instead of a light, airy cloud. Stick to the timing we discussed, and you get that glorious lava! For more on the soufflé side of things, you can sneak a peek at my notes on the warm chocolate soufflé cake.
What is the best type of chocolate for the **Best Homemade Lava Cake**?
We touched on this earlier, but let me stress it again for anyone aiming for the **Best Homemade Lava Cake** experience: bittersweet is the star here. I’m shooting for chocolate that’s anywhere between 60% and 70% cacao. Why so high? Because the intense cocoa flavor needs to stand up to all that richness from the butter and the egg yolks.
If you go lower, like standard semi-sweet chips, it often has too much sugar and stabilizing properties that prevent that gorgeous flow. If you use baking chocolate bars, chop them finely—the smaller the pieces, the smoother they melt! It really makes all the difference in achieving that deep, satisfying flavor.
Nutritional Estimates for One Chocolate Lava Cake
Okay, so here’s the thing about enjoying a **Rich Chocolate Dessert** like this—we usually aren’t calculating macros, right? But I know some of you like to keep track! I’ve put together some rough estimates based on the ingredients we used for one of these glorious individual cakes. Remember, this is based on the measurements listed in the recipe, and since we all handle ingredients slightly differently, treat these numbers as a guideline.
| Nutrient | Estimate Per Serving |
|---|---|
| Serving Size | 1 cake |
| Calories | 350 |
| Sugar | 20g |
| Sodium | 80mg |
| Fat | 24g |
| Saturated Fat | 14g |
| Carbohydrates | 28g |
| Protein | 7g |
See? It’s decadent, but hey, that little bit of savory salt in there helps balance things out! Honestly, don’t sweat the numbers too much. This is a special occasion treat, and life is too short to skip the molten middle. When you make these **Individual Chocolate Cakes**, just know you’re worth it!
PrintClassic Chocolate Lava Cakes
Make rich, individual chocolate cakes with a warm, molten center. This recipe yields a decadent dessert perfect for any special occasion.
- Prep Time: 10 min
- Cook Time: 14 min
- Total Time: 24 min
- Yield: 4 servings
- Category: Dessert
- Method: Baking
- Cuisine: American
- Diet: Vegetarian
Ingredients
- 4 ounces bittersweet chocolate, chopped
- 4 tablespoons unsalted butter, plus extra for greasing
- 1 large egg
- 1 large egg yolk
- 2 tablespoons granulated sugar
- 1 teaspoon all-purpose flour
- Pinch of salt
- Cocoa powder, for dusting ramekins
Instructions
- Preheat your oven to 425 degrees Fahrenheit (220 degrees Celsius). Generously butter four 6-ounce ramekins. Dust the inside of each buttered ramekin with cocoa powder, tapping out any excess.
- Place the chopped chocolate and butter in a heatproof bowl set over a saucepan of simmering water (or use a microwave in 30-second intervals). Stir until completely smooth. Remove from heat and let cool slightly.
- In a separate medium bowl, whisk together the whole egg, egg yolk, and granulated sugar until the mixture is pale and slightly thickened, about 1 minute.
- Gently whisk the slightly cooled chocolate mixture into the egg mixture until just combined.
- Whisk in the flour and salt until no streaks of flour remain. Do not overmix.
- Divide the batter evenly among the prepared ramekins.
- Place the ramekins on a baking sheet. Bake for 12 to 14 minutes. The edges should look set, but the center should still look soft and jiggly.
- Let the cakes cool in the ramekins for 1 minute. Run a thin knife around the edge of each cake. Invert each cake onto a serving plate. Serve immediately.
Notes
- For the best molten center, do not overbake. The center should remain liquid.
- You can prepare the batter up to 24 hours ahead and store it, covered, in the refrigerator. Add 2 to 3 minutes to the baking time if baking from cold.
- Dust the finished cakes with powdered sugar or serve with fresh raspberries or vanilla ice cream.
Nutrition
- Serving Size: 1 cake
- Calories: 350
- Sugar: 20
- Sodium: 80
- Fat: 24
- Saturated Fat: 14
- Unsaturated Fat: 10
- Trans Fat: 0
- Carbohydrates: 28
- Fiber: 2
- Protein: 7
- Cholesterol: 130