

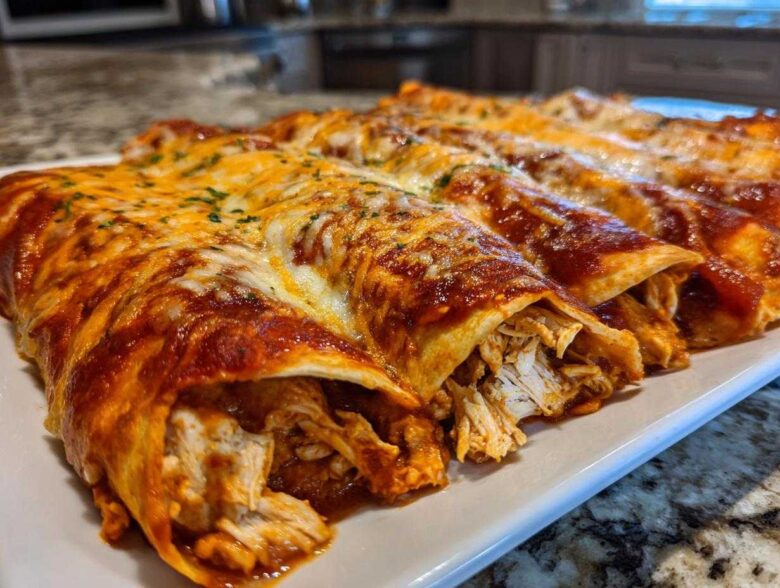
If you’re anything like me, sometimes you just need a big, bubbly, cheesy plate of comfort food that tastes exactly like home, right? Forget those sad, dry versions you might have tried. We’re diving deep today to make the absolute best chicken enchiladas that sing with flavor. The real game-changer, seriously, is the sauce. When you make your own rich, deep red chile sauce from scratch, I promise you’ll never look back. It sets our classic recipe apart.
I’ve got this chicken enchilada recipe dialed in perfectly after years of testing. It’s all about building that base layer of authentic flavor. Trust me on this—this method ensures every single bite is tender, spicy (just the way you like it!), and totally unforgettable.
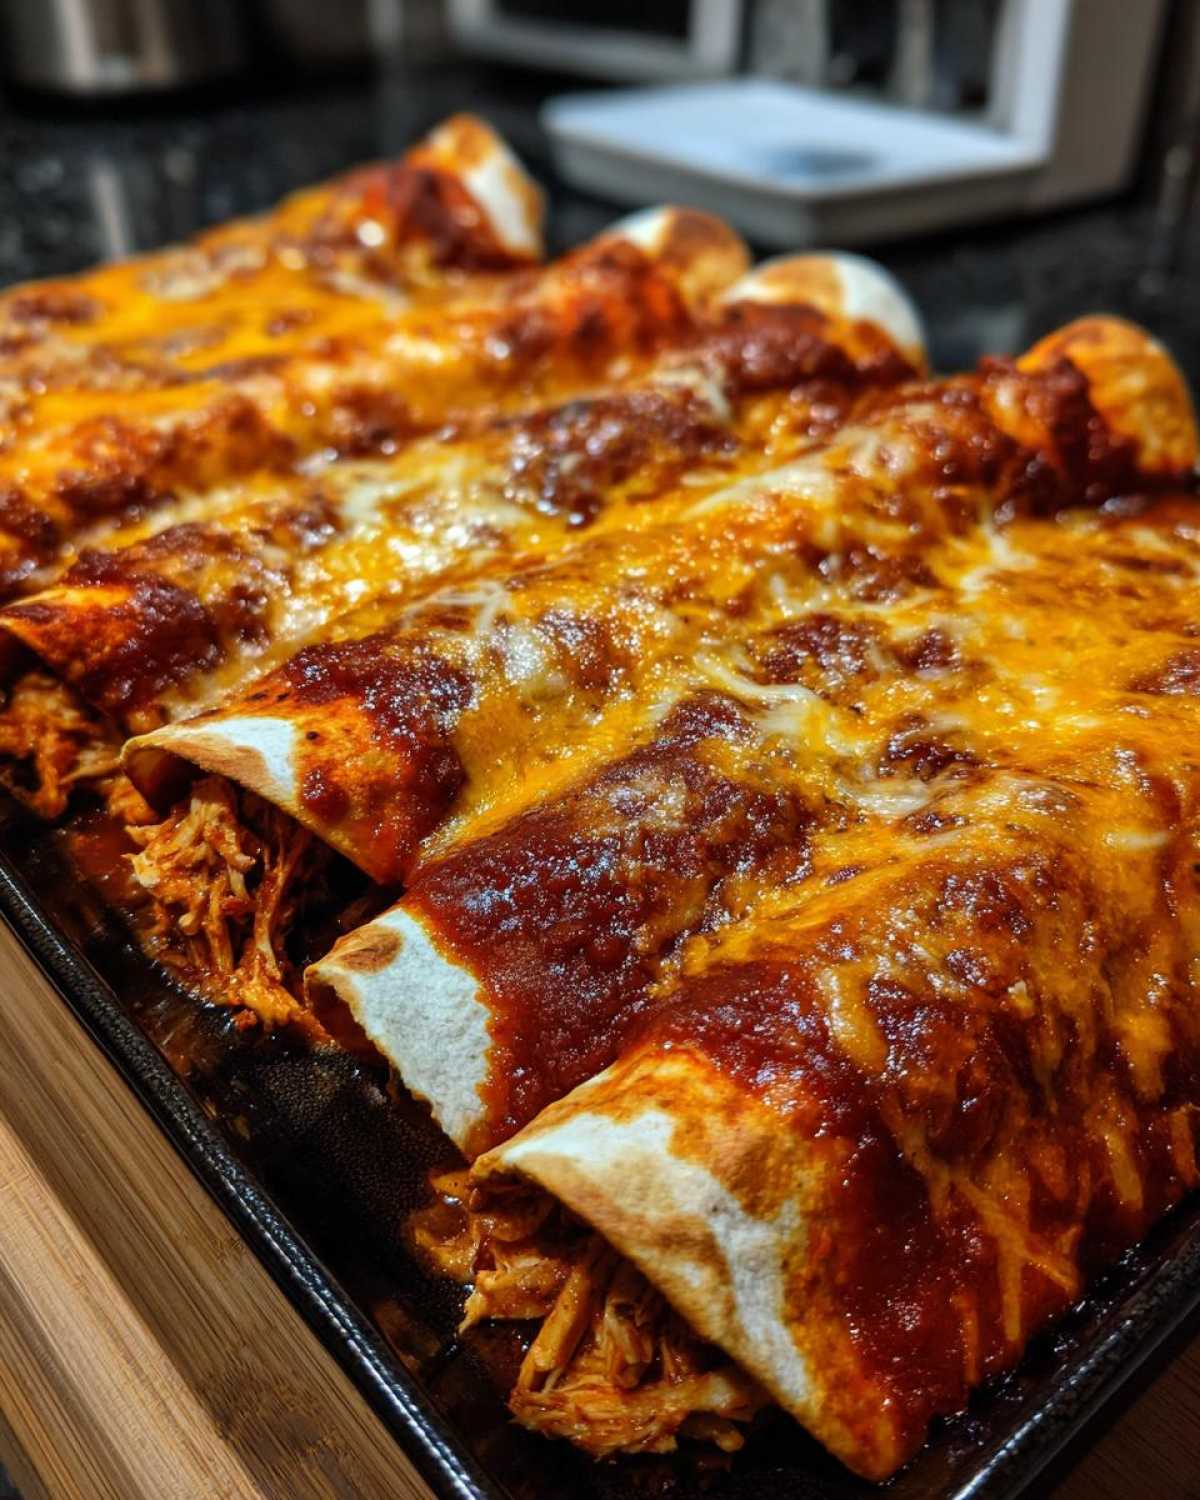
Why This is the Best Enchilada Recipe You Will Make
I know, I know, everyone calls *their* recipe the best, but hear me out on why this one keeps showing up every time we need a real Mexican dinner idea. This isn’t just assembling ingredients; it’s about technique that guarantees amazing results. You’re going to walk away feeling like a total pro after trying this one.
We nailed the texture on this one. No crunchy spots, no soggy patches—just perfect, melt-in-your-mouth goodness. This is quickly becoming our family favorite enchilada recipe for a reason!
- The sauce, oh my goodness, the sauce! Homemade red chile delivers a depth that canned sauces just can’t touch. It’s the secret to the best enchilada recipe you’ll ever tackle.
- We take care of the tortillas! Dipping them just right in the warm sauce means they roll beautifully and don’t tear—a huge win!
- The cheese blend is key: Monterey Jack for stretch and Cheddar for that sharp flavor punch.
- It’s quick enough for a busy night, clocking in under 45 minutes total, but tastes like you spent all day cooking.
Ingredients for Perfect Chicken Enchiladas
Okay, preparation is everything, especially when we are making everything from scratch. Before you even turn on the stove, have everything measured and ready to go. This way, when things start sizzling, you aren’t scrambling for spices! Trust me, I learned that the hard way when I accidentally dumped the oregano in too early once.
For this recipe, we’ll split the list up just so we know exactly what’s going into the sauce magic and what’s going into that cheesy filling.
For the Homemade Red Chile Sauce
- 1 tablespoon olive oil
- 1 medium onion, chopped
- 2 cloves garlic, minced
- 1 teaspoon ground cumin
- 1 teaspoon dried oregano
- 1/2 teaspoon salt and 1/4 teaspoon black pepper
- Water needed for simmering (or 1 cup prepared red chile sauce base)
For the Chicken Enchiladas Assembly
- 2 cups cooked, shredded chicken (Rotisserie chicken is my weeknight secret!)
- 12 corn tortillas (Don’t skip these—corn is traditional!)
- 2 cups shredded Monterey Jack cheese
- 1 cup shredded cheddar cheese
- Cooking spray (for the pan safety!)
How to Make Homemade Enchilada Sauce from Scratch
If you want the kind of depth in your flavor that makes people ask for the recipe immediately, you absolutely must focus here. This is where the magic happens for our enchilada sauce from scratch; it’s better than anything you buy in a can, hands down.
First things first, get that olive oil shimmering over medium heat in a saucepan—not smoking, just warm enough for the spices to wake up. Toss in your chopped onion and let it soften up, maybe five minutes? You want it sweet, not browned. Then, in go the garlic, cumin, and oregano for about a minute until you can really smell that wonderful aroma filling your kitchen.
This is the part that makes it *authentic*: you add your liquid. If you’re using dried New Mexico chiles, they need to be rehydrated and pureed—that’s intense flavor! If you’re in a hurry, use a base or just water and simmer everything gently for about 15 minutes. Simmering lets all those earthy spice notes really integrate. And here is my personal pro-tip: for that unbelievably silky texture—no grainy bits allowed—I always strain the sauce through a fine-mesh sieve before we move on to assembling the casserole. Don’t skip the straining!
Assembling and Rolling Your Enchiladas Perfectly
Okay, now that we have that gorgeous, velvety red chile sauce ready, it’s time for the truly critical moment: rolling the tortillas. Listen, if you skip this next step, you are going to have a huge mess. I learned this the hard way years ago when I tried to roll cold corn tortillas straight from the package. They cracked into three pieces faster than I could blink! I nearly cried over my ruined dinner!
The secret to mastering how to roll enchiladas perfectly is warming them first. Forget just microwaving them—that dries them out! You want to briefly dip each corn tortilla directly into the warm red sauce you just made. Just a quick bath on both sides to make it pliable. This adds flavor and makes the corn so soft it cooperates beautifully.
Once softened, lay the tortilla flat. Spoon a generous line of your shredded chicken and cheese mixture down the center. Then, roll it up tightly—like wrapping a tiny little present—and lay it seam-side down in your prepared baking dish. Now it looks like a real tray of enchiladas, ready for the oven!
Baking Instructions for Cheesy Enchiladas Supreme
Assembly time is honestly the most fun part, but now we need to make sure this baby gets perfectly bubbly! First, crank that oven up to 375 degrees F (190 degrees C). Make sure you grease that 9×13 inch baking dish well with cooking spray first, safety first when dealing with all that cheese!
Once your tortillas are rolled and nestled tight in the pan, it’s time to blanket them. Pour all the remaining red chile sauce right over the top—don’t be shy about covering every bit of exposed tortilla. Then, it’s cheese time! We’re sprinkling the rest of that glorious Monterey Jack and all the sharp cheddar on top. This is how you get those gorgeous, browned, stretchy edges that make this a true Cheesy enchiladas supreme.
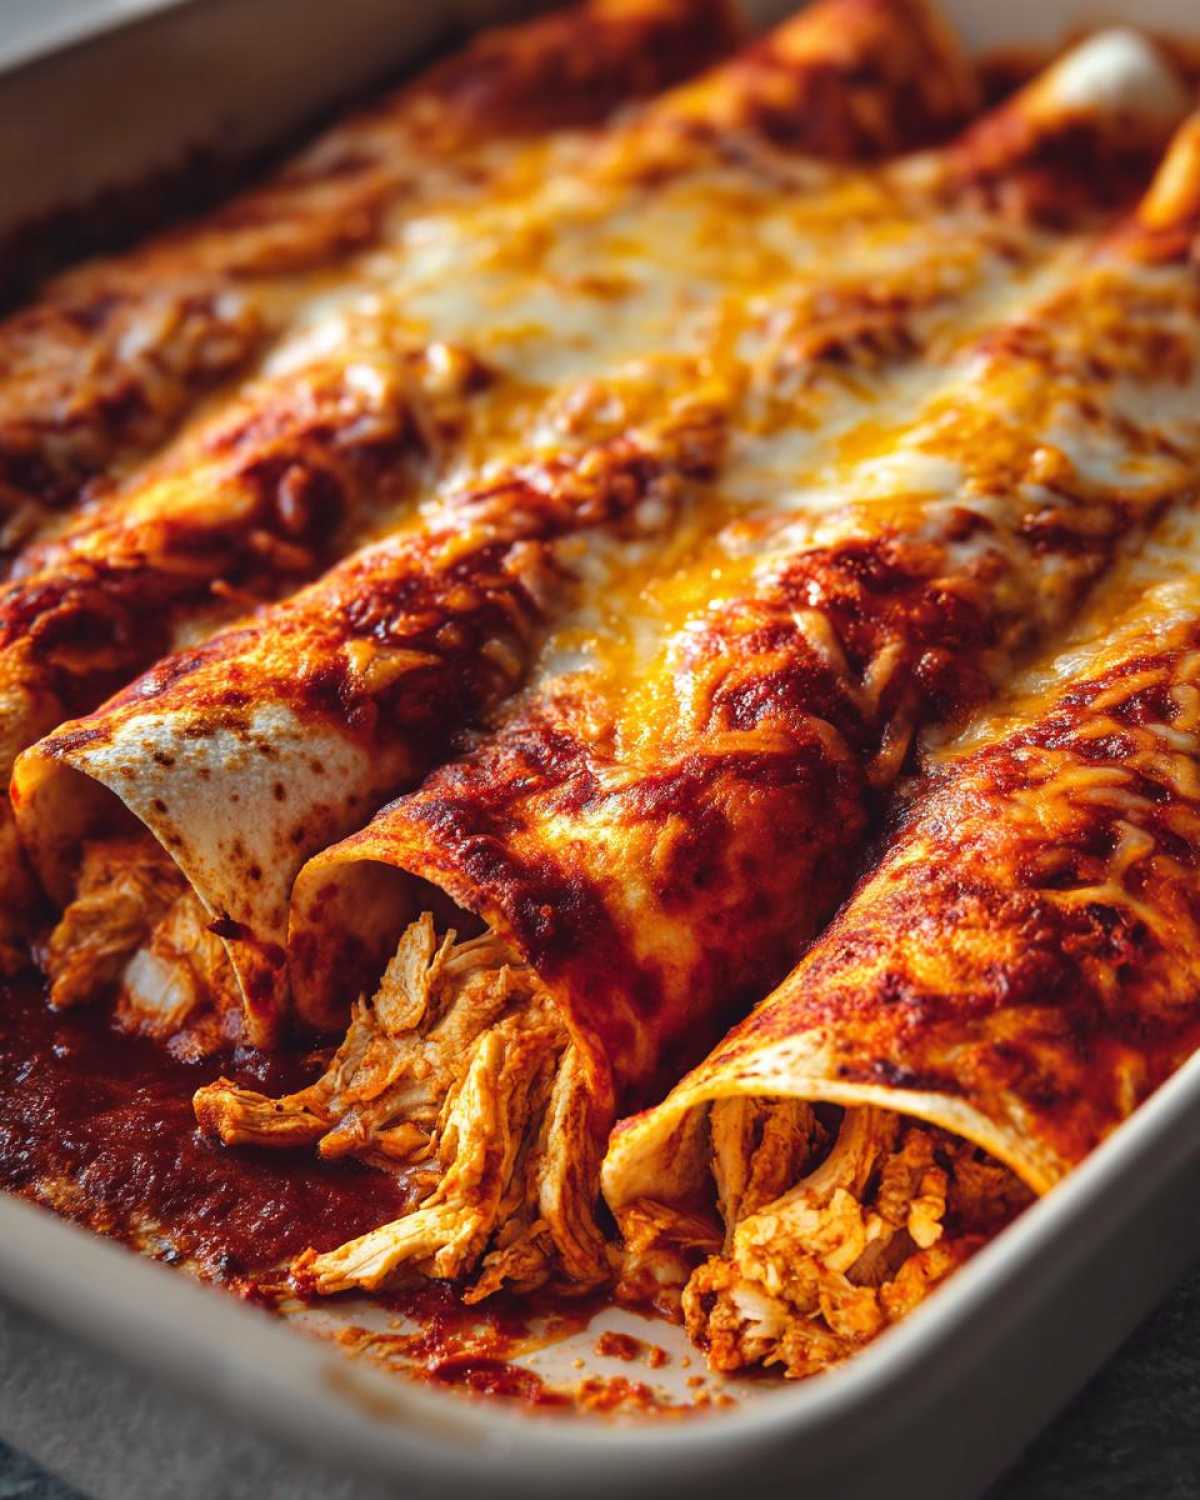
Slide that dish in the oven and let it bake for about 20 to 25 minutes. You aren’t just waiting for heat; you’re waiting for visual confirmation! Pull them out when the cheese is fully melted, deeply golden in spots, and the sauce is actively bubbling around the edges. That’s the sign of perfection!
Tips for Success with These Chicken Enchiladas
Even though this recipe is pretty straightforward, I have learned a few little tricks over the years that take these from good to absolutely legendary. If you want to make sure you nail the texture and flavor every single time, listen up! These are the little details my family insists on!
The biggest enemy of a great baked enchilada is sogginess. Yes, dipping the tortillas in the sauce helps them roll without breaking, but you have to keep the sauce off the *sides* of the tortillas in the baking dish. Try to pour the sauce mainly over the top and between the rolls, not drowning the entire pan upfront. This keeps the sides that touch the pan from getting completely waterlogged.
Also, don’t just eyeball the cheese! I mix the Monterey Jack and Cheddar because they offer different things. Jack melts beautifully and stretches, but Cheddar adds that necessary sharp tang that cuts through the richness of the sauce. If you want more heat for your chicken enchiladas, try adding a tiny pinch of cayenne pepper when you are sautéing the onions in the sauce. That heat gets infused early on!
Variations on Classic Enchiladas
I love this red sauce recipe so much, but sometimes you need a change, right? Good news is, this whole method is super flexible! Since we focused heavily on the red chile base today, swapping protein is super easy. You can use slow-cooked shredded beef instead of the chicken if you’re craving those classic beef enchiladas stuffed style.
If you’re looking for a meatless option, this is a perfect base for a hearty vegetarian enchilada bake. Just ditch the chicken and mix black beans with corn, maybe some sautéed peppers, and toss that with a couple of extra cups of cheese instead. Everyone loves a good veggie option!
Now, if you want to go completely green, you’ll need a different sauce altogether, but the assembly is the same. If you happen to see my recipe for green tomatillo enchiladas, definitely try dipping your tortillas in that tangy sauce next time. It’s a total flavor switch-up!
Storage and Make Ahead Enchiladas Options
You know I love making food ahead of time, especially when it involves a huge pan of something so delicious! These make ahead enchiladas are fantastic for parties. You can assemble the whole thing—fill them, roll them, pour the sauce and cheese—but just cover the dish tightly with plastic wrap and stick it in the fridge. Don’t bake it yet!
When you’re ready to eat, let the dish sit out on the counter for about 30 minutes while the oven preheats. You might need to add just 5 or 10 extra minutes to the baking time since it’s starting cold, but it comes out tasting just as fresh as if you made it immediately. Leftovers are easy too! Store them covered in the fridge for up to four days. Reheat individual portions in the microwave, but I prefer covering them with foil and baking at 350 degrees so the cheese crisps up again.
Frequently Asked Questions About Enchiladas
You guys always ask the best questions when I post these photos online, so I wanted to gather a few of the most common ones right here so you don’t have to hunt for the answers. Getting the details right is what turns a good dinner into a fantastic one!
Can I use flour tortillas instead of corn for these Enchiladas?
Oh, that’s such a common question! You surely *can* use flour tortillas, but here’s the thing: traditional Mexican enchiladas rely on corn tortillas. Flour tortillas are much thicker and absorb way more sauce. If you use them, you might end up with a much softer, almost casserole-like texture, kind of like a baked burrito, rather than the delicate bite we get from corn. If you go that route for your Mexican dinner ideas, I’d totally skip dipping them in the sauce—just drizzle the sauce over the top instead!
What is the best way to keep my Enchiladas from getting soggy?
This one is the key to success, honestly! The best way to battle sogginess—besides making sure your sauce isn’t watery—is that quick dip! Remember when I talked about warming the tortillas in the sauce? That brief dip softens the corn just enough so it can handle the filling and the top layer of sauce without fully disintegrating. Also, don’t drown the pan before it goes in the oven. Save some sauce to ladle on *after* they come out if you’re nervous. Good storage techniques for leftovers also help keep that texture firm!
How can I turn this into a vegetarian enchilada bake?
Easily! This recipe is built on flavor layering, so swapping the protein is simple. For a great vegetarian enchilada bake, skip the chicken entirely. Instead, I suggest mixing one large can of drained black beans with one can of drained corn kernels. Sauté them with a little salt, an extra clove of garlic, and maybe half a cup of the shredded cheese right into the mix. You want that filling to be flavorful because it won’t have the chicken richness. It bakes up wonderfully and feels just as hearty!
PrintClassic Chicken Enchiladas with Homemade Red Chile Sauce
Follow these steps to make classic chicken enchiladas using a rich, homemade red chile sauce. This recipe yields tender chicken filling and perfectly rolled tortillas.
- Prep Time: 20 min
- Cook Time: 25 min
- Total Time: 45 min
- Yield: 6 servings
- Category: Dinner
- Method: Baking
- Cuisine: Mexican
- Diet: Vegetarian
Ingredients
- 1 tablespoon olive oil
- 1 medium onion, chopped
- 2 cloves garlic, minced
- 1 teaspoon ground cumin
- 1 teaspoon dried oregano
- 1/2 teaspoon salt
- 1/4 teaspoon black pepper
- 2 cups cooked, shredded chicken
- 12 corn tortillas
- 2 cups shredded Monterey Jack cheese
- 1 cup shredded cheddar cheese
- Cooking spray
Instructions
- Prepare the Red Chile Sauce: Heat olive oil in a saucepan over medium heat. Add onion and cook until soft, about 5 minutes. Add garlic, cumin, oregano, salt, and pepper. Cook for 1 minute until fragrant.
- Add 2 cups of water and 4 dried New Mexico chile pods (rehydrated and pureed, or use 1 cup prepared red chile sauce base). Simmer for 15 minutes, stirring occasionally. Strain the sauce if using whole chiles. Set aside.
- Preheat your oven to 375 degrees F (190 degrees C). Lightly grease a 9×13 inch baking dish with cooking spray.
- Warm the Tortillas: Briefly dip each corn tortilla into the warm red chile sauce to soften it. This prevents tearing when rolling.
- Assemble the Filling: In a bowl, mix the shredded chicken with 1/2 cup of the Monterey Jack cheese.
- Roll the Enchiladas: Spoon a small amount of the chicken mixture down the center of each softened tortilla. Sprinkle a little cheese over the filling. Roll the tortilla tightly and place it seam-down in the prepared baking dish. Repeat until all tortillas are used.
- Top the Enchiladas: Pour the remaining red chile sauce evenly over the rolled tortillas. Sprinkle the remaining 1 1/2 cups of Monterey Jack and the 1 cup of cheddar cheese over the top.
- Bake for 20 to 25 minutes, or until the cheese is melted and bubbly and the sauce is hot throughout.
Notes
- To prevent soggy tortillas, warm them briefly in a dry skillet or microwave before dipping them in the sauce.
- You can substitute rotisserie chicken for the cooked chicken to save time.
- If you prefer a spicier sauce, add 1/4 teaspoon of cayenne pepper during step 1.
Nutrition
- Serving Size: 2 enchiladas
- Calories: 410
- Sugar: 4
- Sodium: 550
- Fat: 20
- Saturated Fat: 10
- Unsaturated Fat: 8
- Trans Fat: 0.5
- Carbohydrates: 30
- Fiber: 4
- Protein: 30
- Cholesterol: 90