

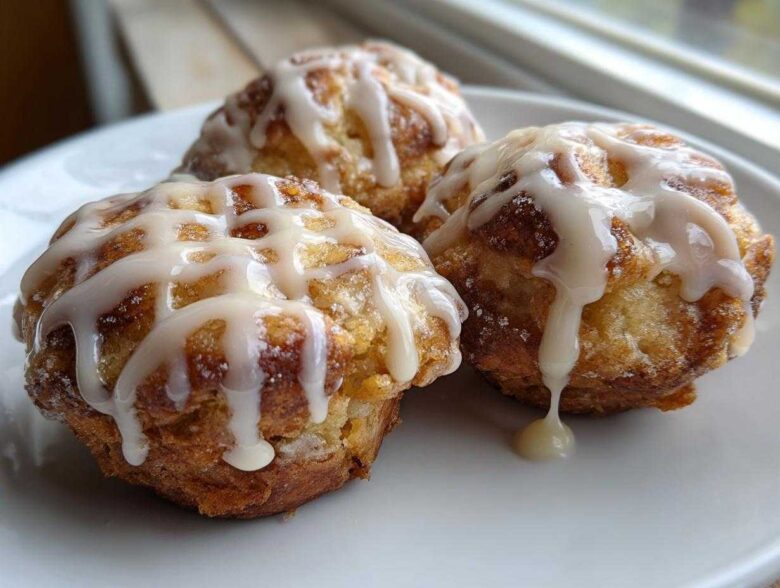
Oh, you know that feeling when the weather just starts to bite, and all you can think about is something warm, spicy, and utterly comforting? That’s when I immediately start craving the absolute best apple fritter, the kind that tastes like fall exploded perfectly in your mouth! But let’s be honest, deep-frying can feel like a whole production cleaning up afterward, right?
That’s why I perfected this version. Forget the hot oil—these amazing fritters are baked! They come out just as fluffy and packed with apple goodness as the classic version, but with zero fuss. Seriously, this recipe reminds me of sitting in my grandmother’s kitchen during harvest season, watching her chop apples until her hands were stained red. Now, I get that cozy feeling, quick style, whenever I whip up a batch. If you need gorgeous fall baking recipes that deliver big flavor without the mess, you’ve found your winner!
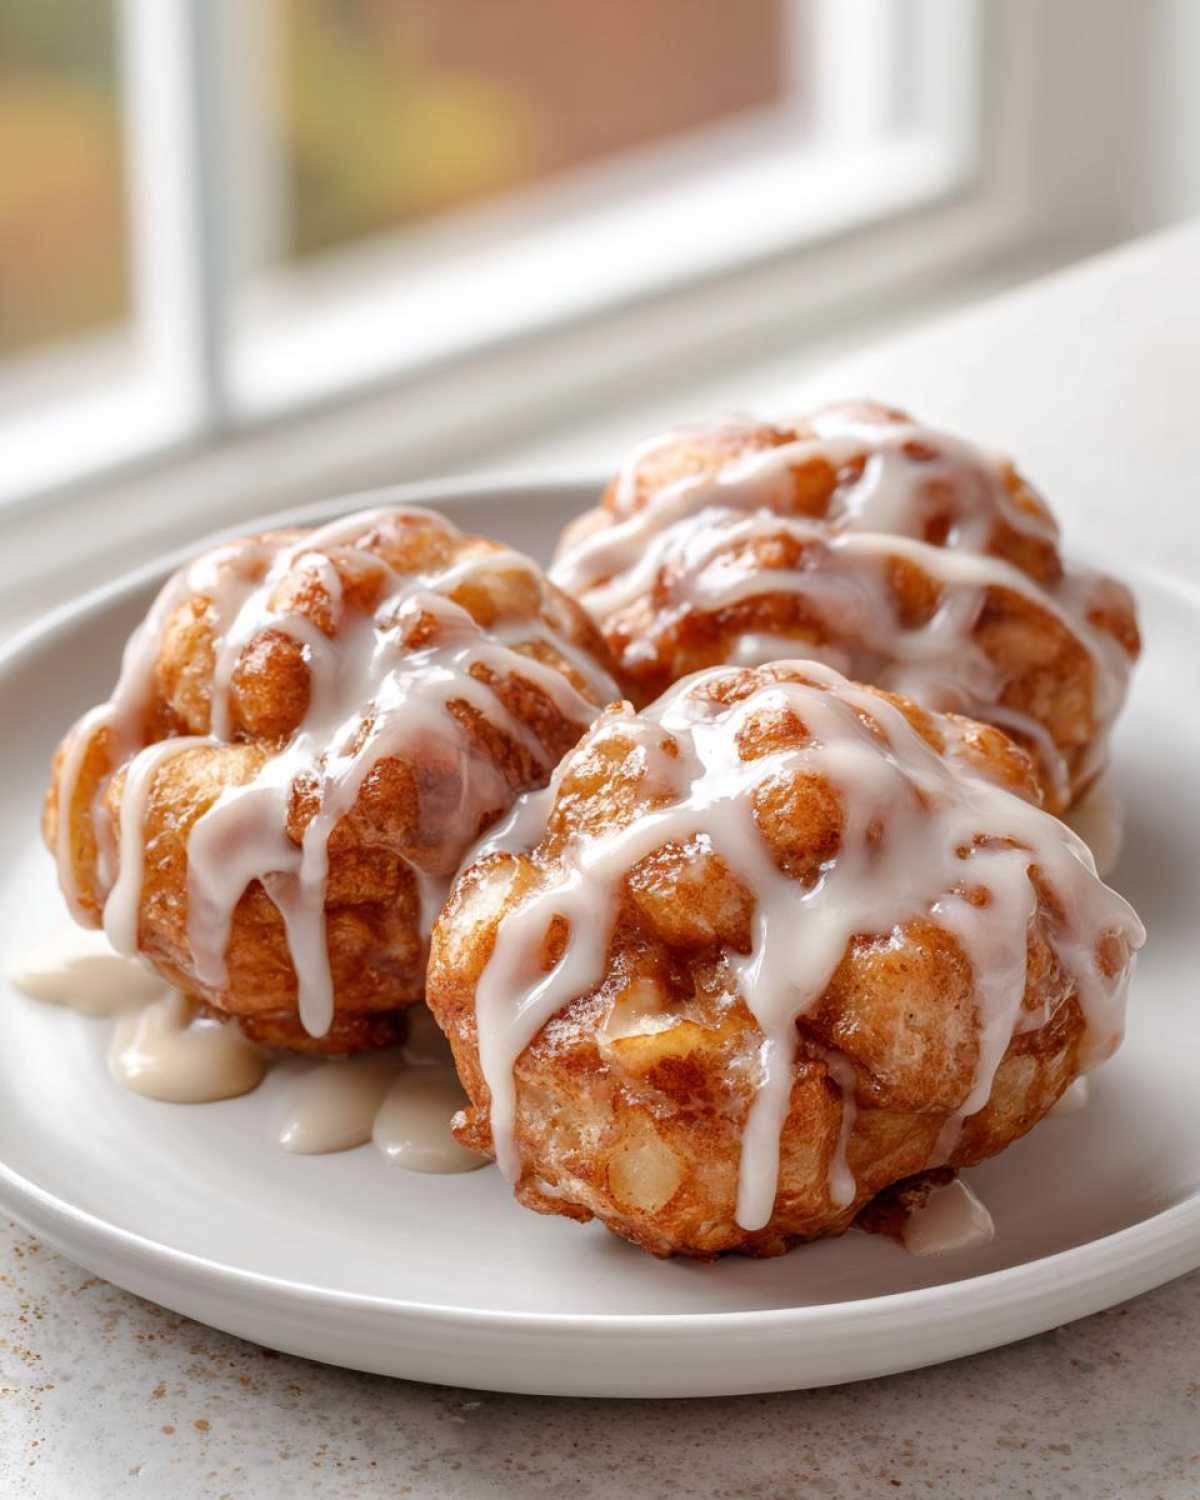
Why This Easy Apple Fritter Recipe Works So Well
I know what you’re thinking: baked fritters just won’t be the same as the crispy, fried ones. But trust me on this one! This apple fritter method is a game-changer. It takes the stress out of morning baking so you can actually enjoy the process, not dread cleaning the stovetop afterward. It’s all about smart adjustments!
- Prep Time is Slashed: We skip the whole heating-oil-to-the-right-temperature phase, which saves so much time.
- Cleanup is a Dream: You’re only dealing with one large bowl and a parchment-lined baking sheet—that’s it!
Baking vs. Frying: The Convenience Factor
Deep-frying is fun for about five minutes until you realize the oil is everywhere and you have to stand over a bubbling pot the whole time. Baking is just so much more civilized! You mix the batter, dollop it out, and pop it in the oven. The results are consistently golden, and cleanup takes virtually no time. It’s the best way to get that fresh, homemade apple fritter feeling without the commitment.
Achieving the Perfect Texture in Your Homemade Apple Fritters
The clever ratio of flour to leavening agents in this batter is what really sells it. You get that wonderfully soft, cake-like center that practically melts. Because we aren’t submerging them in fat, the exterior gets just enough heat from the oven to firm up nicely, giving you that hint of crispness right where you need it. The most important thing? Mix that batter just until you see the flour disappear. Overmixing is the enemy of fluffy homemade apple fritters, trust me!
Gathering Ingredients for Glazed Apple Fritters
Okay, now that we’ve established that baking is totally the way to go for easy mornings, let’s talk about what you need to grab from the pantry. This recipe is super straightforward because we use basic baking supplies you likely have lying around! The secret to making these Glazed Apple Fritters taste like they took all day is choosing the right apples and making sure you stick exactly to the measurements, especially when mixing the wet and dry stuff separately.
I always make sure my apples are chopped right before I start mixing the batter; nobody wants sad, brown apples sitting around getting mushy! And when it comes to the glaze? It’s so simple, but that hit of cinnamon on top turns these from good treats into incredible ones. If you’re looking for other ways to use apples, check out my recipe for easy homemade applesauce—that’s another winner in my house!
Ingredients for the Apple Fritter Base
- 2 cups all-purpose flour
- 2 teaspoons baking powder
- 1 teaspoon ground cinnamon
- 1/4 teaspoon salt
- 1/2 cup granulated sugar
- 1 large egg
- 1/2 cup milk
- 1/4 cup melted butter, cooled
- 1 cup peeled, cored, and diced apples (about 1 medium apple)
Cinnamon Glaze Ingredients for Your Apple Fritter with Glaze
- 1/2 cup powdered sugar (for glaze)
- 1 tablespoon milk (for glaze)
- 1/4 teaspoon ground cinnamon (for glaze)
Step-by-Step Instructions for Easy Apple Fritter Recipe
Now for the fun part! Honestly, these instructions are so simple, you’ll wonder why you ever bothered with the whole deep-fry routine. Getting the timing right is key, especially since these bake up so fast. Remember, we’re aiming for soft, cozy deliciousness here, not crispy oil-logged doughnuts. You’ll want to give yourself about 30 minutes total, start to finish, so they are beautifully warm when you bite into them. Think of this recipe as a truly quick apple dessert!
Prepping the Oven and Dry Mix for Your Apple Fritter
First things first: get your oven warmed up to 375°F (190°C). Don’t let it creep up on you! While it’s heating, grab a large bowl and line a baking sheet with parchment paper. Parchment paper is my secret weapon for easy cleanup—it saves you scrubbing batter off metal every single time. In that big bowl, just whisk together the flour, baking powder, cinnamon, and salt until those dry bits are perfectly incorporated. That way, when we add the wet stuff, everything gets mixed evenly, fast.
Combining Wet Ingredients and Forming the Apple Fritter Batter
In a separate, smaller bowl—this keeps things neat—whisk your granulated sugar and the egg together until they look a little pale. Then, whisk in the milk and that crucial cooled, melted butter. Once that’s smooth, pour the wet mixture right into your big bowl of dry ingredients. Here’s the big rule: mix it with a spatula just until you see the flour streaks disappear. Stop! Seriously, stop mixing! If you keep going, you’ll toughen up the inside. Once it’s *just* combined, gently fold in those diced apples. They should look lumpy and a little uneven.
Baking and Glazing the Cinnamon Apple Fritters
Take rounded tablespoons of that batter and drop them onto the lined baking sheet. Make sure you leave about two inches between each little mound because they will spread out just a bit while baking. Pop them straight into the hot oven for about 12 to 15 minutes. While they are baking away and making your house smell incredible, quickly whisk up your glaze ingredients—powdered sugar, a splash of milk, and that last little bit of cinnamon. When you pull the fritters out, they should look lightly golden. Let them sit on the sheet for just five minutes to firm up a tiny bit, then move them to a wire rack immediately. Drizzle that lovely cinnamon glaze over the tops while they are still warm so it melts slightly and sets beautifully as they cool.
Tips for Perfect Homemade Apple Fritters
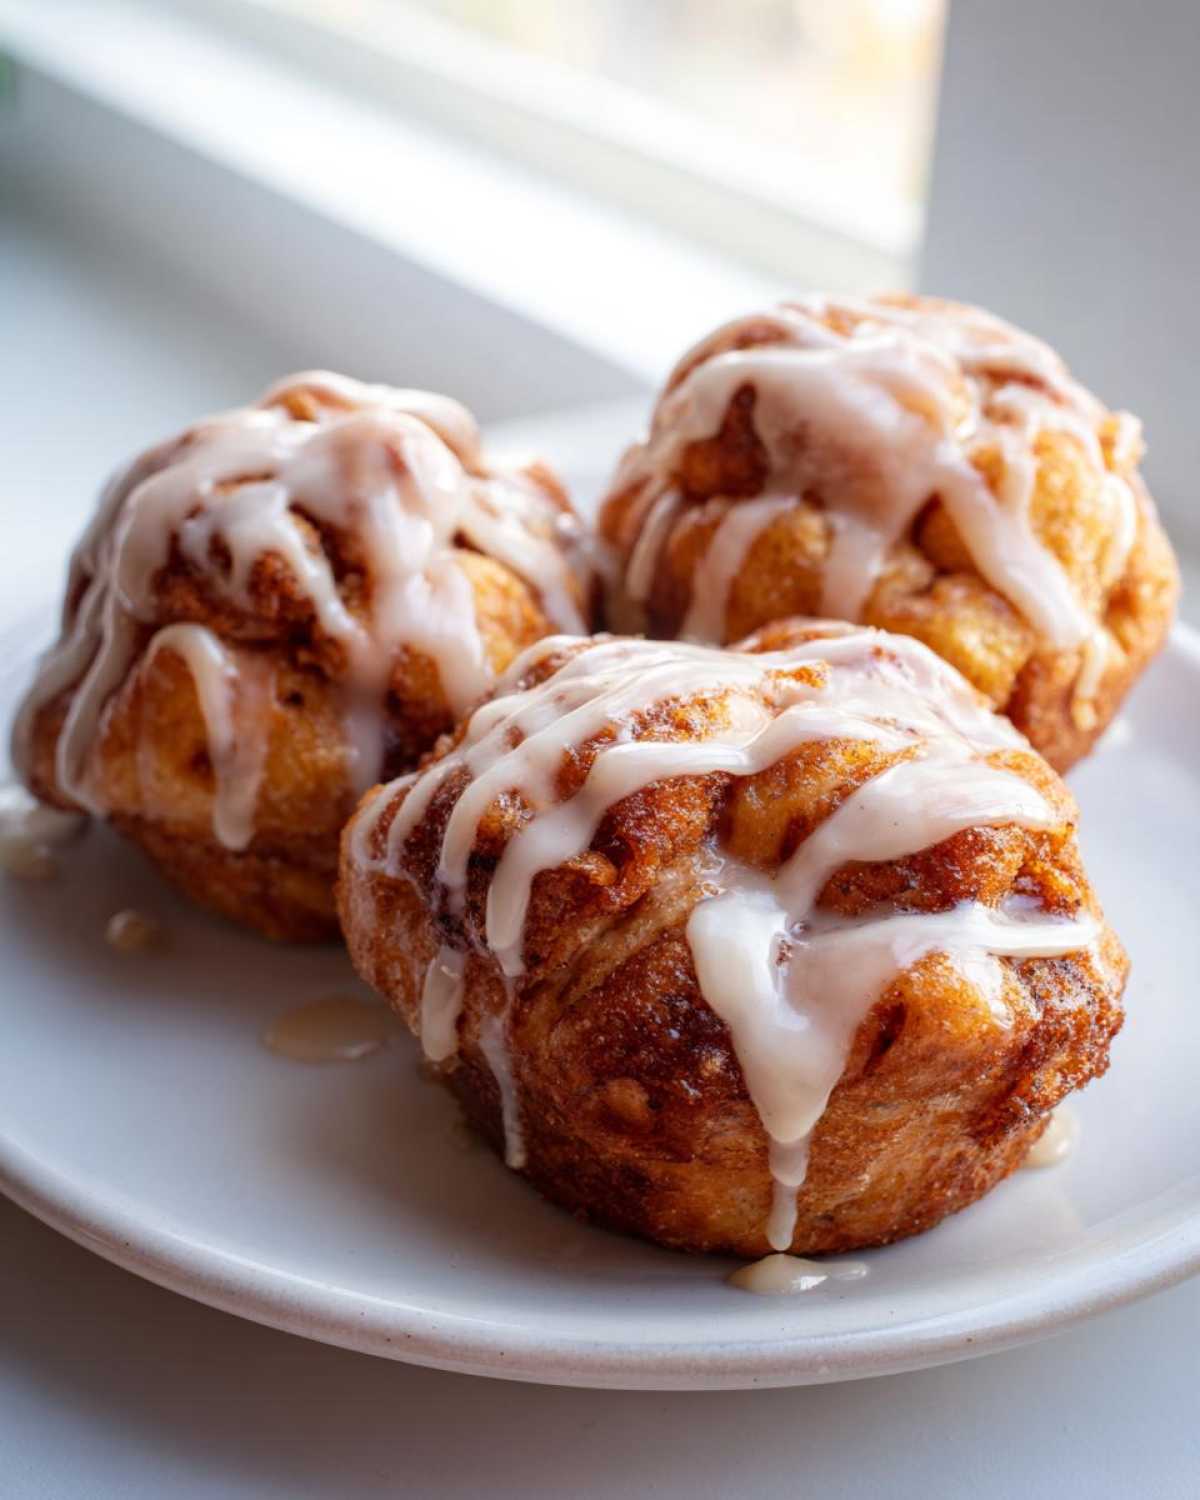
Even though this is the easy version, a few little tricks will push your apple fritter game from great to knockout status. My biggest piece of advice is about the apples themselves. You absolutely must use a firm, slightly tart variety, like Granny Smith. Softer apples practically dissolve into mush during baking, and we want defined little chunks of apple in every bite!
Also, don’t be afraid to play with the size! If you have little ones who love a snackable treat, just use a teaspoon instead of a tablespoon when dropping the batter. These tiny ones turn into perfect Apple Fritter Bites that disappear way too fast. If you prefer a slightly crisper edge without the frying mess, just give the tops a very light spray of cooking oil right before they go into the oven—it mimics that fried texture beautifully. For more apple goodness, check out my recipe for easy apple cinnamon oatmeal!
Variations on the Classic apple fritter
Seriously, once you master the base dough for these apple fritter treats, the possibilities get exciting! People ask me all the time if they can adapt this simple recipe, and the answer is a resounding yes. We started with the easy baked version, but if you’re craving something different for a cozy weekend morning, we can shake things up a bit without starting from scratch.
I’ve got a few favorite tweaks for you. If you loved the texture here but want a sturdy sliceable treat, try turning it into a loaf. If you have an air fryer, which everyone seems to be getting now, you can totally adapt this batter for that too! It’s all about making this amazing flavor fit your exact kitchen mood.
Making Air Fryer Apple Fritters
If you’re using your air fryer, you’ll want to slightly decrease the temperature from the oven setting—maybe start around 350°F instead of 375°F. Because the air fryer circulates heat so intensely, the outside crisps up much faster. You’ll likely need less time, maybe clocking in around 10 to 12 minutes total. You might need to cook them in smaller batches, though, so you don’t overcrowd the basket. Don’t let them touch if you can help it; we want air circulating all around our little apple fritter mounds!
Transforming This Batter into Apple Fritter Bread
This is the perfect trick when you have way too much batter or just want something that toasts up nicely for breakfast throughout the week. Instead of dropping spoonfuls onto a baking sheet, just pour the entire batch of batter into a greased 9×5 inch loaf pan. You’ll need to adjust the baking time dramatically—think closer to 35 or 40 minutes in the oven at the same 375°F. It bakes up dense and moist, almost like a quick bread, making it perfect for slicing and slathering with extra butter, or even pouring the same glaze over the top. It’s an excellent way to get that classic flavor in a portable package! If you want other bread ideas, you should check out my date nut bread recipe!
Storage and Reheating Instructions for Your apple fritter
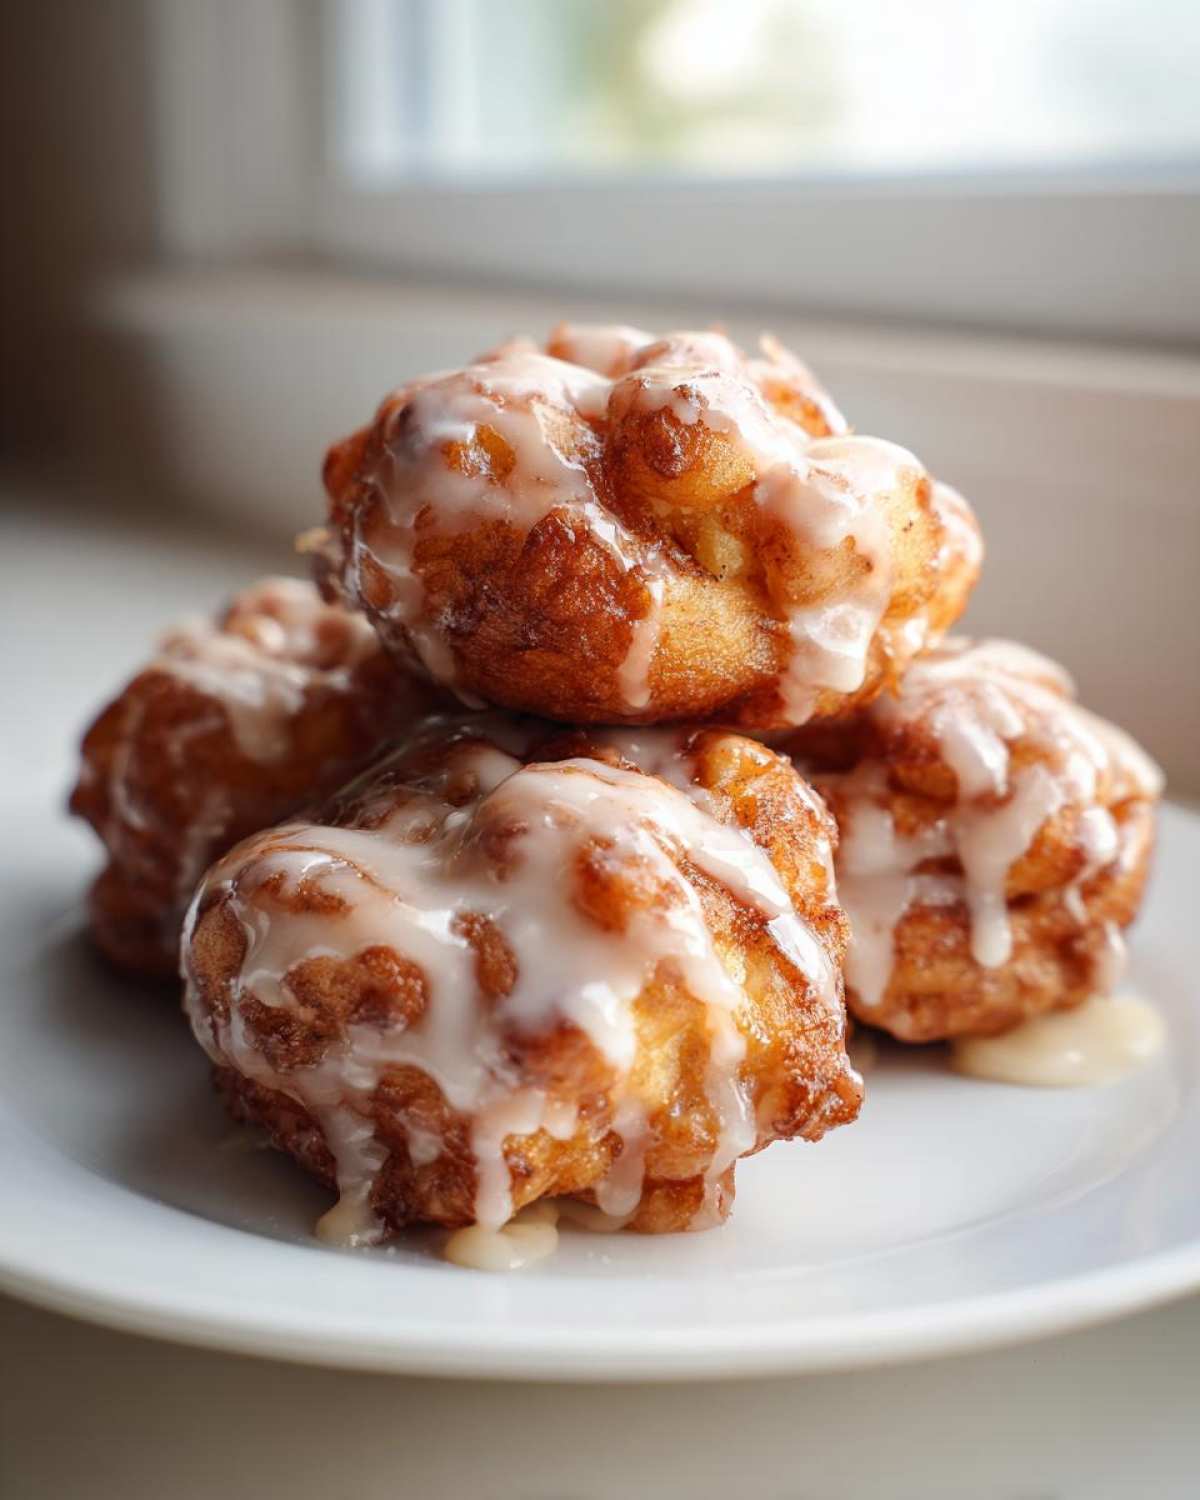
The problem with any amazing baked good is that it never seems to last long enough, right? But don’t despair if you have leftovers from your batch of apple fritter! Since these are baked instead of fried, they store a little differently, but we can totally keep them tasty for a few days.
The best method, especially if you’ve already glazed them, is to let them cool completely—and I mean completely! If you trap any warmth or moisture inside the container, you’ll end up with soggy bottoms, and nobody wants a soggy apple fritter. Once they are stone cold, store them airtight at room temperature. They hold up really well this way for about two days.
Now, if they get just a little soft after that, don’t throw them out! Reheating is the trick to bringing back that freshly baked texture. You have two main options, depending on how much time you have in the morning.
- The Quick Oven Zap: If you want to bring back a little of that original texture, pop them on a small baking sheet in a low oven—say, 300°F (150°C)—for about five minutes. This gentle heat evaporates some of the surface moisture and warms the inside beautifully. It’s great if you’re preparing a few for breakfast.
- The Toasted Approach: If you only have one or two, I sometimes just toast them gently in a dry skillet over low heat for a minute or two per side. Be very careful here; you want warmth, not burning glaze! This is fantastic if you plan on slathering on a little extra butter.
If you skip the glaze altogether and keep them plain, they store even better, sometimes stretching to four days on the counter if your kitchen isn’t too humid. Honestly, though, I’ve rarely had them last past day three because everyone grazes on the leftovers!
Frequently Asked Questions About This apple fritter Recipe
It always happens! Once people see how easy these are, they start sending me all sorts of questions via the comments section. That’s totally fine—I love hearing from you all! I’ve compiled a few of the most common things people ask about getting these apple fritter treats just right. Having answers handy means you can get straight to the baking without any worries!
Can I use pre-chopped apples for this apple fritter?
You absolutely *can*, but please don’t if you can avoid it! Pre-chopped apples, especially the bags from the produce section, often have a higher moisture content or are just slightly too soft. When you dice them yourself (and use a firm apple like Granny Smith, remember?), you keep that lovely toothsome texture we want in a fantastic apple fritter. If you must use pre-chopped, just blot them really well on paper towels before folding them in so you don’t water down your batter.
Are these apple fritters suitable for a cozy apple treats breakfast?
Oh heavens yes! This is one of my favorite breakfast secrets. They are essentially little cinnamon-apple spice cakes, so they fit perfectly into the category of cozy apple treats. Because we baked them, they feel a little lighter than traditional fried ones. I love serving them slightly warm with a big mug of coffee—they make a fantastic weekend Breakfast Fritters spread. They manage to feel indulgent but are quick enough for a weekday morning if you prep the apples the night before!
How do I make the glaze less runny on my apple fritter?
This is the most common glaze slip-up! If your glaze looks too thin, it means you added too much milk, which is an easy fix. Just grab a little extra powdered sugar—a teaspoon at a time works wonders—and whisk it in vigorously. Keep beating it until you get that perfect, thick, slightly shiny ribbon consistency. You want it thick enough that when you drizzle it, it sits proud on top of the apple fritter instead of immediately running off and pooling on the pan underneath. Patience with that extra sugar fixes almost everything!
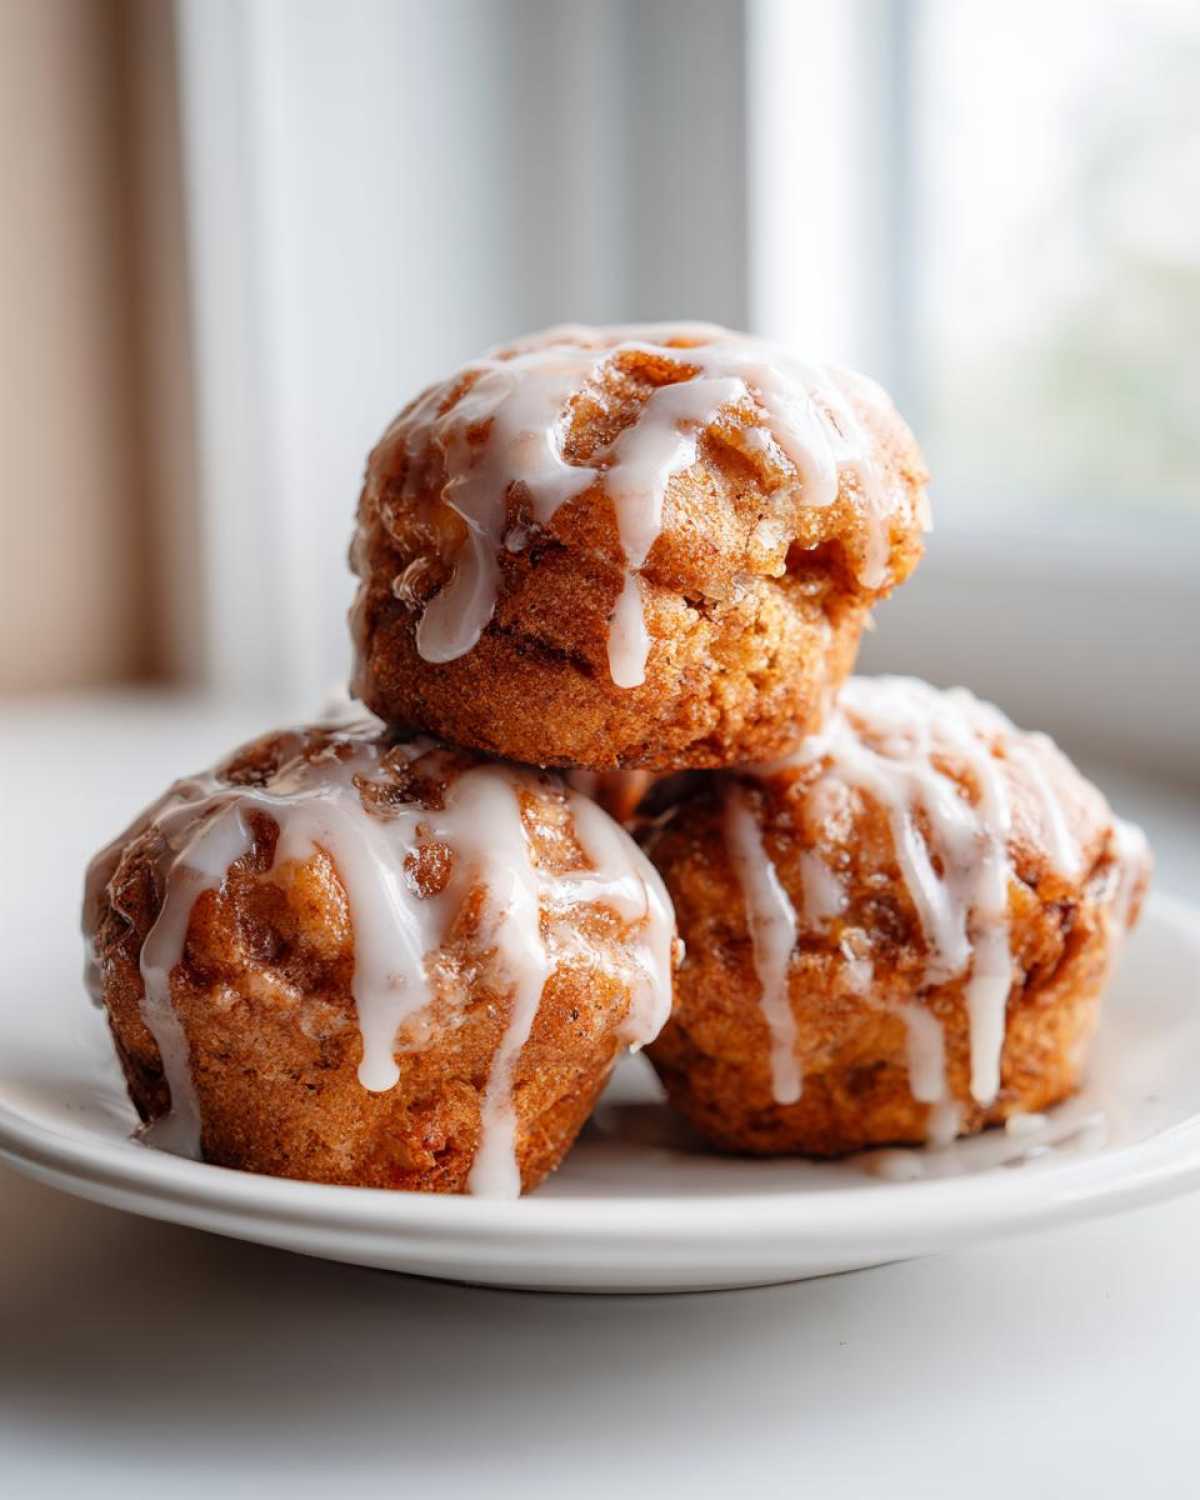
Nutritional Estimates for One apple fritter Serving
Now, I know most of us aren’t diving into my apple fritter recipe specifically for a low-calorie snack; we’re here for the pure, cozy joy! But since you asked, and because I like to be totally upfront about what ends up on our plates, here are the typical nutritional estimates for one of these baked beauties.
Keep in mind these numbers are calculated using the precise ingredients listed in the recipe, so if you swap out the sugar for a zero-calorie sweetener or use a different type of milk, things will shift a bit. This is just a good baseline so you know what to expect from this delightful Quick Apple Dessert!
- Serving Size: 1 fritter
- Calories: 210
- Sugar: 18g
- Fat: 8g (with 5g saturated fat)
- Carbohydrates: 33g
- Protein: 3g
- Sodium: 150mg
- Cholesterol: 35mg
See? Not too bad for something this delicious, especially since we skipped all that frying oil! It’s a perfect treat to enjoy without feeling guilty about indulging in a little bit of fall magic. Enjoy every crumb!
Share Your Baked Apple Fritter Experience
Now that you have successfully navigated the world of non-fried, totally easy baking, I absolutely want to know how your apple fritter batch turned out! Did the glaze set perfectly? Did you try the air-fryer variation, or did you stick to the classic baked version? Don’t be shy!
Please leave a star rating for the recipe right below this—it really helps spread the word about how awesome these cozy treats are. And if you snapped any photos of those golden, glistening mounds, I would be thrilled to see them! Tag me on social media online; I love seeing my recipes come to life in your kitchens.
You can find me over on the main blog page, and I promise to get back to every comment and question you have. Happy baking, friends!
PrintEasy Baked Apple Fritters with Cinnamon Glaze
Make simple, soft apple fritters in the oven instead of frying. These are topped with a sweet cinnamon glaze.
- Prep Time: 15 min
- Cook Time: 15 min
- Total Time: 30 min
- Yield: 12 fritters
- Category: Dessert
- Method: Baking
- Cuisine: American
- Diet: Vegetarian
Ingredients
- 2 cups all-purpose flour
- 2 teaspoons baking powder
- 1 teaspoon ground cinnamon
- 1/4 teaspoon salt
- 1/2 cup granulated sugar
- 1 large egg
- 1/2 cup milk
- 1/4 cup melted butter, cooled
- 1 cup peeled, cored, and diced apples (about 1 medium apple)
- 1/2 cup powdered sugar (for glaze)
- 1 tablespoon milk (for glaze)
- 1/4 teaspoon ground cinnamon (for glaze)
Instructions
- Preheat your oven to 375°F (190°C). Line a baking sheet with parchment paper.
- In a large bowl, whisk together the flour, baking powder, cinnamon, and salt.
- In a separate bowl, whisk the granulated sugar and egg until combined. Stir in the milk and cooled melted butter.
- Pour the wet ingredients into the dry ingredients. Mix until just combined; do not overmix.
- Gently fold in the diced apples.
- Drop rounded tablespoons of batter onto the prepared baking sheet, leaving about 2 inches between each mound.
- Bake for 12 to 15 minutes, or until the edges are lightly golden brown.
- While the fritters bake, prepare the glaze: Whisk the powdered sugar, 1 tablespoon of milk, and 1/4 teaspoon of cinnamon until smooth. Add more milk, a drop at a time, if the glaze is too thick.
- Remove the fritters from the oven and let them cool on the baking sheet for 5 minutes.
- Transfer the warm fritters to a wire rack. Drizzle the cinnamon glaze over the tops immediately. Let the glaze set before serving.
Notes
- Use firm, tart apples like Granny Smith for the best texture.
- You can make these into smaller ‘bites’ by using a teaspoon measure for the batter.
- If you prefer a crispier exterior, you can lightly spray the tops of the batter mounds with cooking spray before baking.
Nutrition
- Serving Size: 1 fritter
- Calories: 210
- Sugar: 18
- Sodium: 150
- Fat: 8
- Saturated Fat: 5
- Unsaturated Fat: 3
- Trans Fat: 0
- Carbohydrates: 33
- Fiber: 1
- Protein: 3
- Cholesterol: 35