

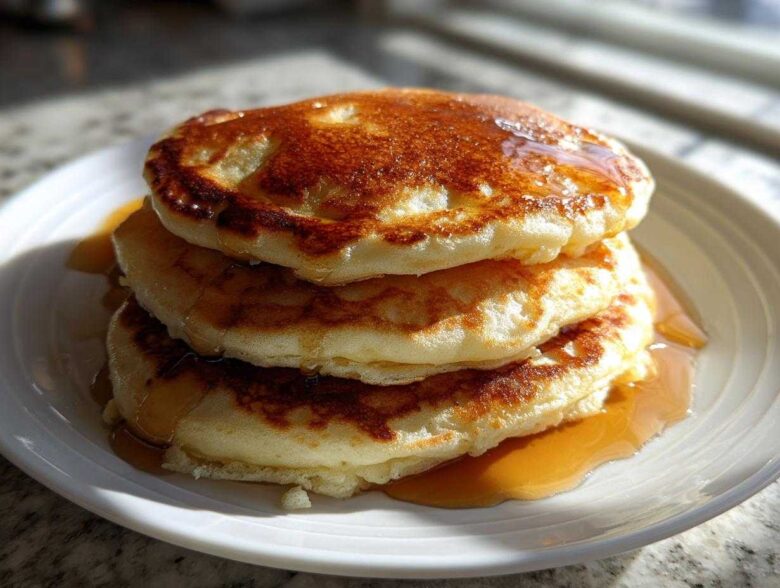
Oh, the weekend mornings! There’s nothing quite like waking up when you don’t have to rush and knowing you can treat the family to something truly special. For me, that means pulling out the griddle for a huge stack of homemade Pancakes. Forget those thin, sad disappointments you find sometimes; I’m sharing the recipe that guarantees you get that glorious, diner-quality fluff every single time. Trust me, this creamy, slightly tangy batter is the secret weapon for turning a regular Saturday into a cozy, syrup-drenched tradition. If you want to learn more about getting those unbelievably thick, fluffy pancakes at home, I’ve got a whole guide ready for you right here. We’re going for height, ladies and gentlemen!
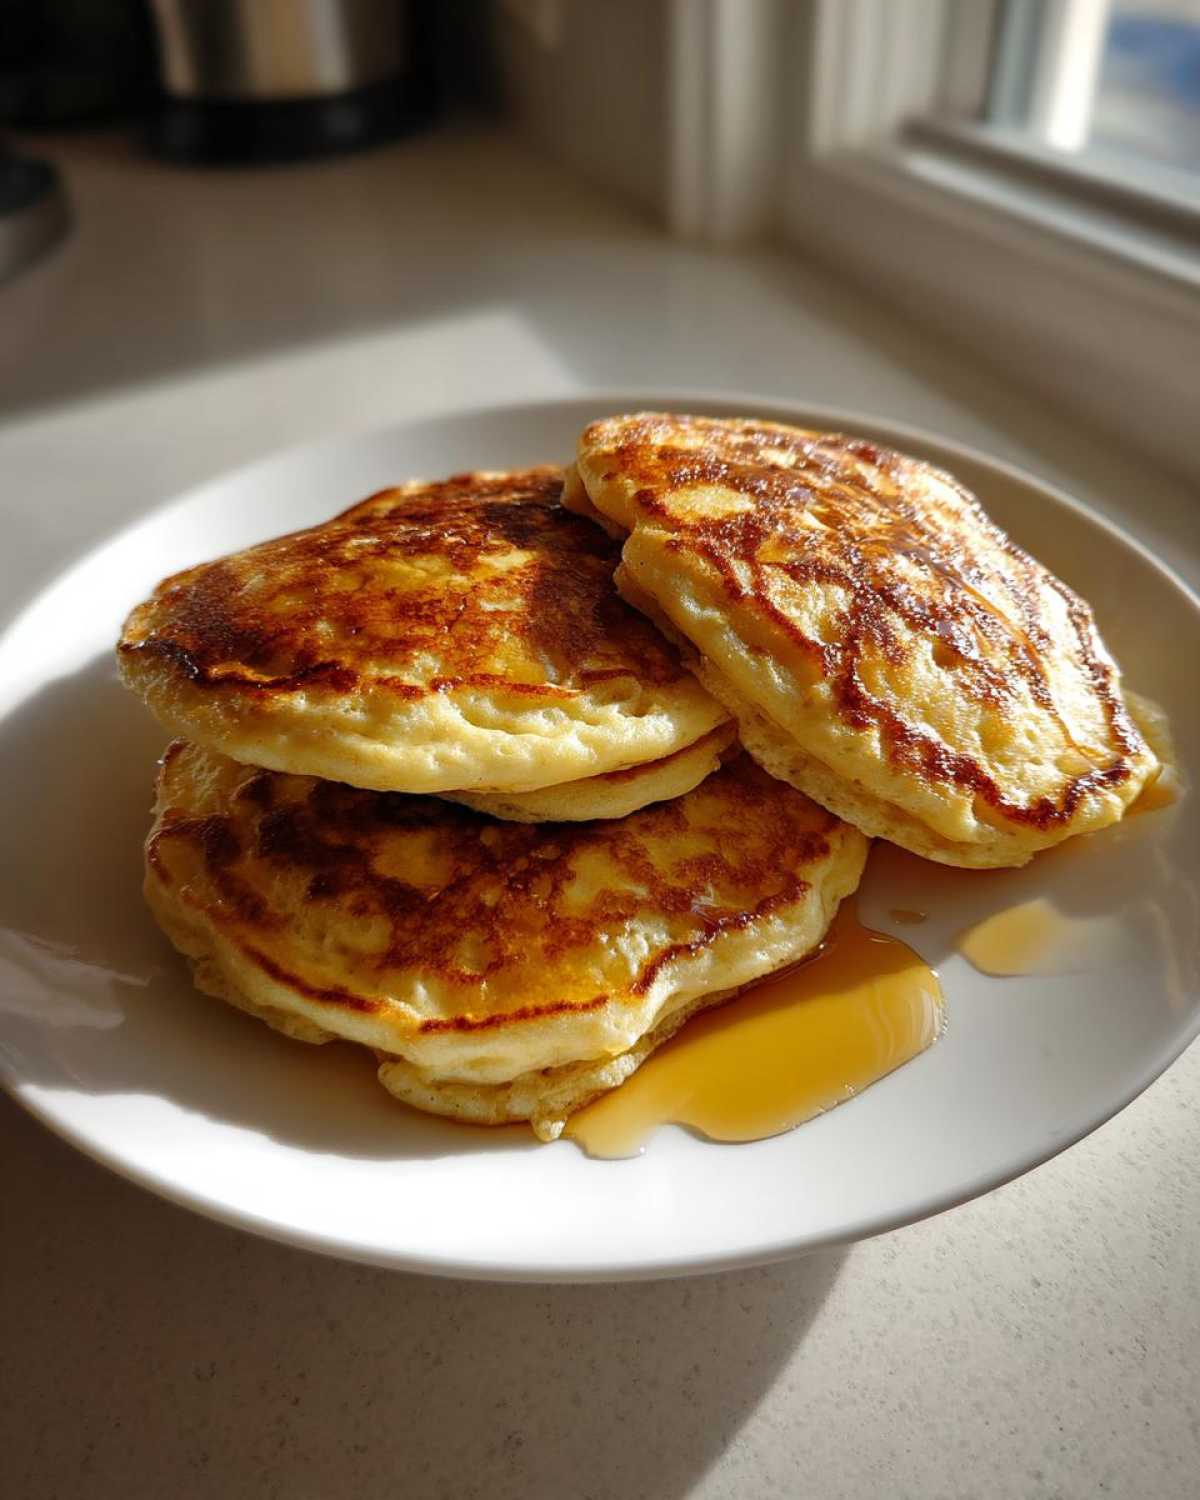
Why This Fluffy Pancake Recipe Creates Weekend Magic
When I’m standing over the griddle on a quiet Saturday morning, I’m not just making breakfast; I’m building memories. This recipe is my go-to because it’s absolutely foolproof for getting those big, satisfying smiles around the kitchen table. It’s the perfect easy breakfast idea when you want something memorable without spending half the morning covered in flour. For anyone else obsessed with getting that perfect height, I always tell them to check out my thoughts on old-fashioned fluffiness too!
- They rise high, thanks to the buttermilk magic.
- The edges get just slightly browned and crisp—perfect for holding syrup.
- The whole process feels fast, so more time for cuddling on the couch!
Forget fussy techniques; this is about simple ingredients coming together perfectly for a delicious outcome.
Achieving Diner-Quality Pancakes at Home
If you’ve always wondered how diners get their pancakes to look like little golden pillows, it usually comes down to two things we’re using here: real buttermilk and a great combination of leavening agents. Buttermilk is acidic, gorgeous stuff, and when it hits that baking soda we added, it creates a powerful foaming action. That rapid, foamy reaction is what physically pushes the batter up, giving you those impressive bubbles and incredible height. The baking powder kicks in later to stabilize that lift, ensuring your pancakes don’t deflate while they cook.
Ingredients Needed for Perfect Buttermilk Pancakes
Alright, let’s talk stuff! You don’t need a giant pantry for this classic morning recipe, which is why I love it so much. The absolute most important thing here, besides not overmixing (we’ll get to that!), is fresh buttermilk. That tangy liquid is what truly makes these Pancakes sing. I’ve listed everything below, but make sure your butter is actually melted before you scoop it in. If you already have some great tips on handling buttermilk from making southern cornbread, you are already ahead of the game!
- 2 cups all-purpose flour
- 2 tablespoons white sugar
- 2 teaspoons baking powder
- 1 teaspoon baking soda
- 1 teaspoon salt
- 2 cups buttermilk
- 2 large eggs
- 4 tablespoons unsalted butter, melted
Ingredient Notes and Substitutions for Your Pancakes
Okay, so listen up, because handling these ingredients correctly is where the difference between good pancakes and *amazing* pancakes happens. I’ve learned a few tricks over the years to keep things running smoothly, especially if the grocery store was fresh out of the key ingredient. These little adjustments really help you nail that homemade buttermilk pancakes title!
My biggest piece of advice here is about temperature. If you use cold eggs or cold buttermilk straight from the fridge, it can sometimes solidify your melted butter when you combine the wet ingredients. Nobody wants cold butter chunks in their batter! Try to let your buttermilk sit on the counter for about 15 minutes while you gather the dry stuff. It just mixes in so much easier that way.
Making Homemade Buttermilk Pancakes Without Buttermilk
Don’t panic if you open the fridge and realize you’re out of buttermilk! It happens to the best of us, especially when we’re aiming for those perfect homemade buttermilk pancakes. You can whip up a substitute in about five minutes, seriously. All you need is regular milk and something acidic.
Here’s the drill: Take your 2 cups of regular milk (whole milk works best, but 2% is fine). Pour 2 tablespoons of white vinegar or fresh lemon juice right into it. Give it a tiny stir, and then just let it sit on the counter for about five minutes. You’ll see it start to curdle slightly and thicken up—that’s the acid working its magic! It totally mimics the needed tang and texture from real buttermilk, and your pancakes will turn out fluffy as clouds. I keep this trick in my back pocket constantly!
Step-by-Step Instructions for Fluffy Pancakes
Ready to cook? This is where we pull all our prep work together. You need to preheat your griddle or large non-stick skillet over medium heat *before* you even finish mixing the wet and dry ingredients. A properly hot surface is essential for that nice crisp edge we love! If you’re in a rush this morning, check out my thoughts on quick sides like French toast while the pan warms up.
We’re following our recipe exactly, but the mixing is everything. I cannot stress this enough: DO NOT overmix. I mean it! Overmixing wakes up the gluten in the flour, and gluten wants chewy bread, not light, airy Pancakes. Keep your stirring gentle and stop the second the dry ingredients disappear. Lumps are your friends here; they mean air is still trapped inside, ready to make your breakfast magnificent.
Mixing the Batter: The Key to Light Pancakes
First, whisk your dry stuff—flour, sugar, leaveners, and salt—in a big bowl. In a separate bowl, you’re combining that lovely buttermilk with the eggs. Now, pour the wet into the dry, and grab a wooden spoon. Mix only until you see just a slight amount of flour streakiness remaining. Seriously, stop stirring! If you see a few lumps floating around, that’s perfect. That just means you have a future in making the world’s best fluffy pancake recipe cakes!
Once you stop the main mixing, gently stir in your reserved melted butter just until it disappears. That’s the final step before it hits the heat.
Griddle Temperature and Cooking Technique
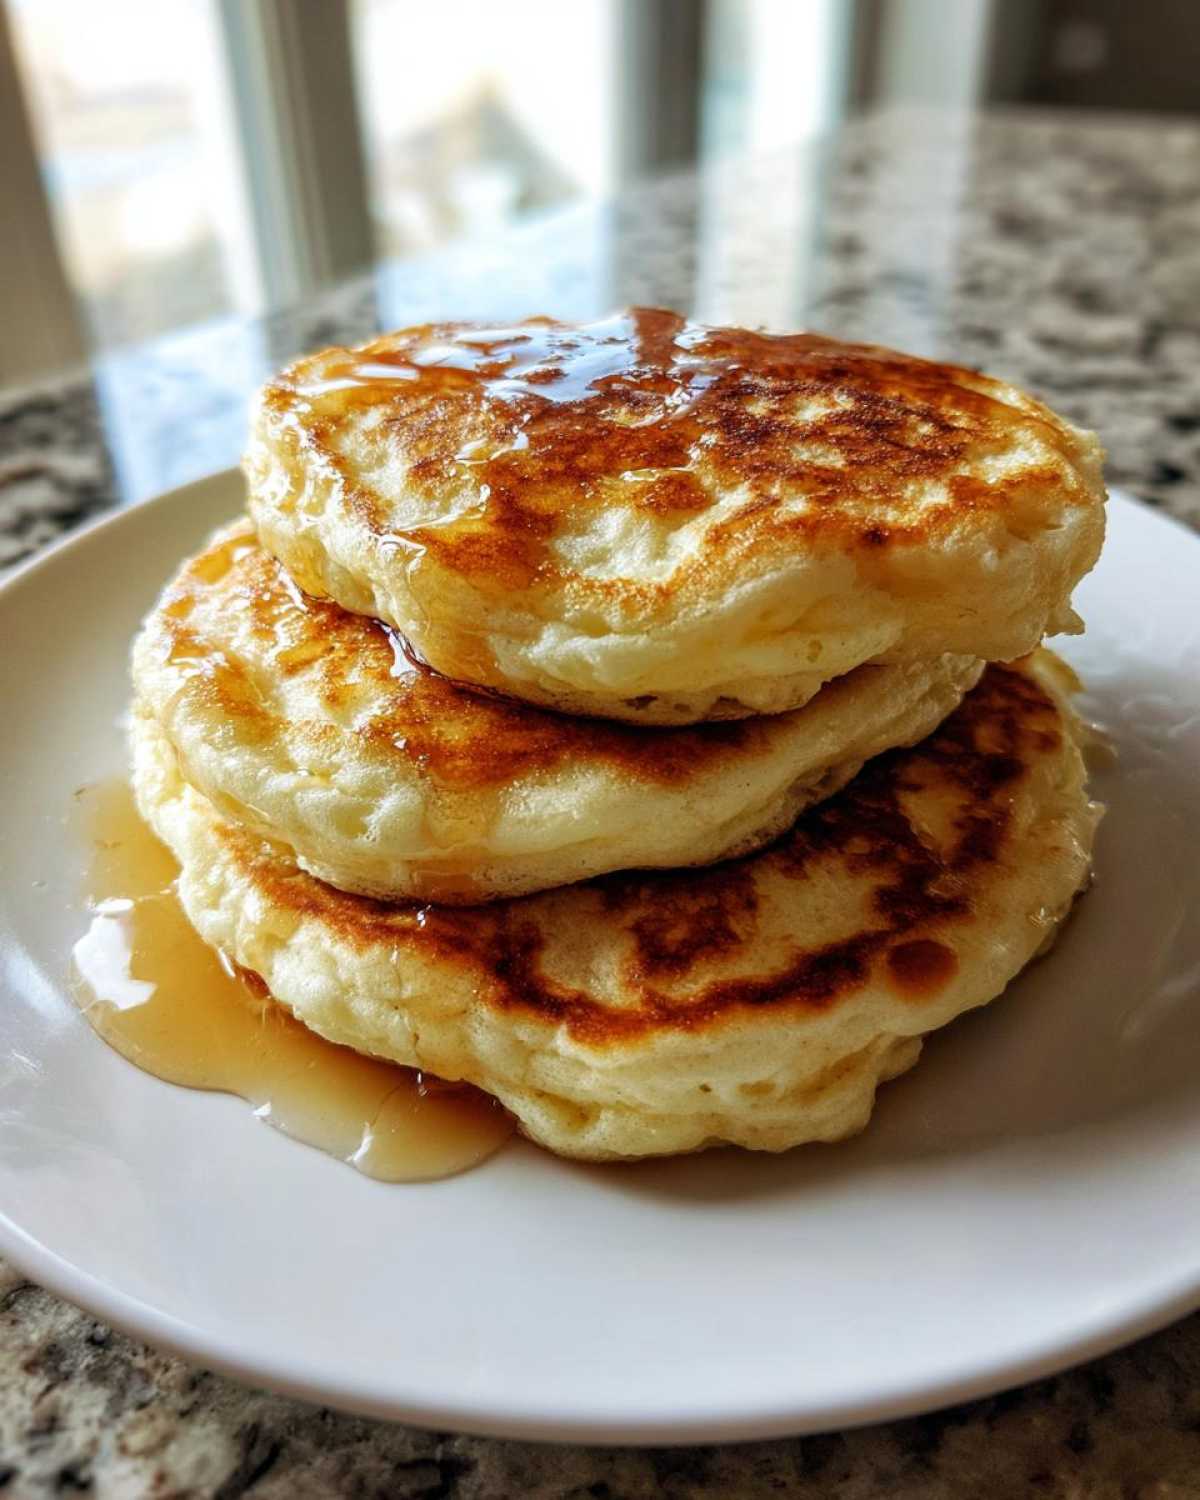
Get that griddle to medium heat. How do you test it? Flick a drop of water onto the surface—if it dances and sizzles immediately, you’re good to go! Pour about 1/4 cup of batter for each pancake. Watch them closely. You are looking for two things before you even think about flipping: lots of little bubbles popping up all over the surface, and the edges looking dry and set. That usually takes about three minutes.
Flip it fast! Now, here is the second big warning: once you flip them, do not press down on the pancakes with your spatula! If you squash them, you are just pushing all that lovely trapped air right out, and they will go flat. Let the second side cook until it’s golden brown, usually about 2 minutes more.
Tips for Next-Level Fluffy Pancake Success
Okay, you’ve mastered the basic art of the Pancakes, they’re great, but you want the ultimate stack—the kind that looks like it belongs on a restaurant menu? Then we have to talk about the secret weapon I mentioned in the notes: the egg white trick. I use this technique whenever I need show-stopping height, especially for birthdays or when company comes over. It might add two extra minutes to your prep time, but the visual payoff is absolutely worth the effort.
This method is all about maximizing air incorporation. After you’ve mixed your wet ingredients (buttermilk and yolks), separate your egg whites into a completely clean, grease-free bowl. Whip those whites with a hand mixer—or even a whisk if you’re feeling ambitious! You want stiff, glossy peaks that stand straight up when you lift the beater. This whipped foam is pure lift insurance!
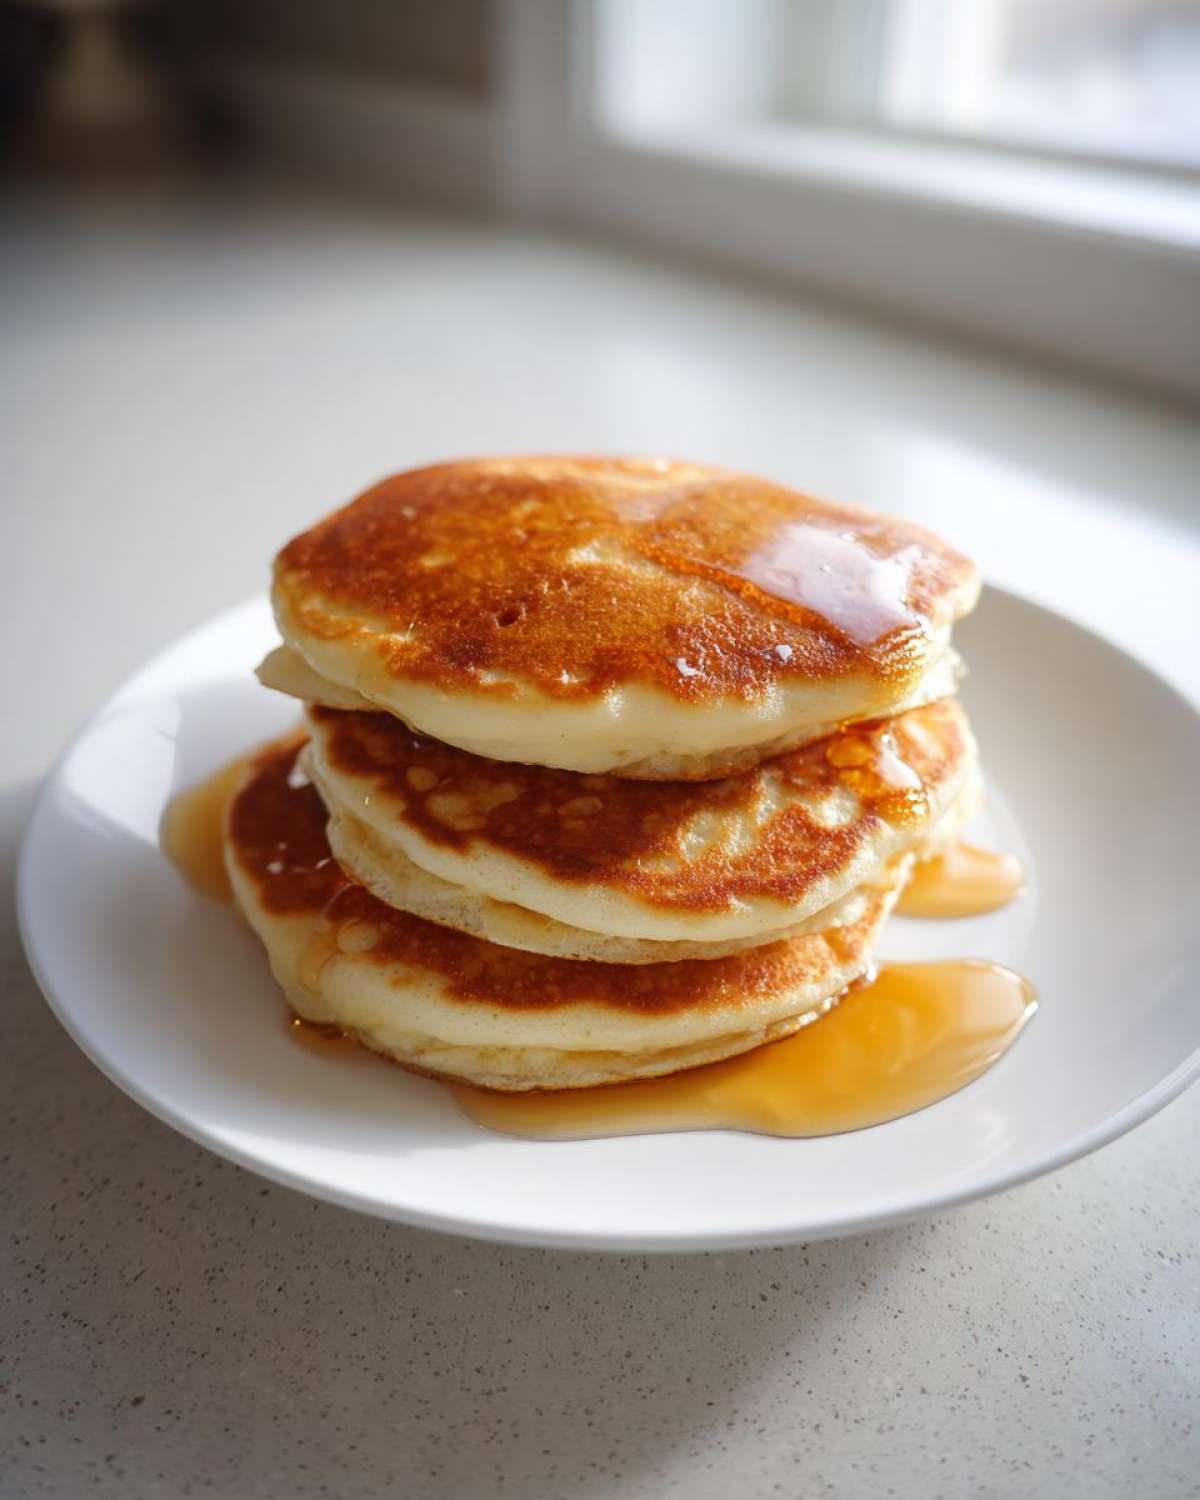
Once your main batter is combined (but before adding the melted butter), you gently fold those stiff egg whites in right at the very end. Fold like you’re trying not to wake a sleeping baby! You want to incorporate them without deflating them. If you want to see my full breakdown on how this same incredible lift principle applies to baking other things, like tall scones, you should definitely peek at my thoughts on achieving maximum height.
Serving Suggestions for Your Classic Morning Recipe
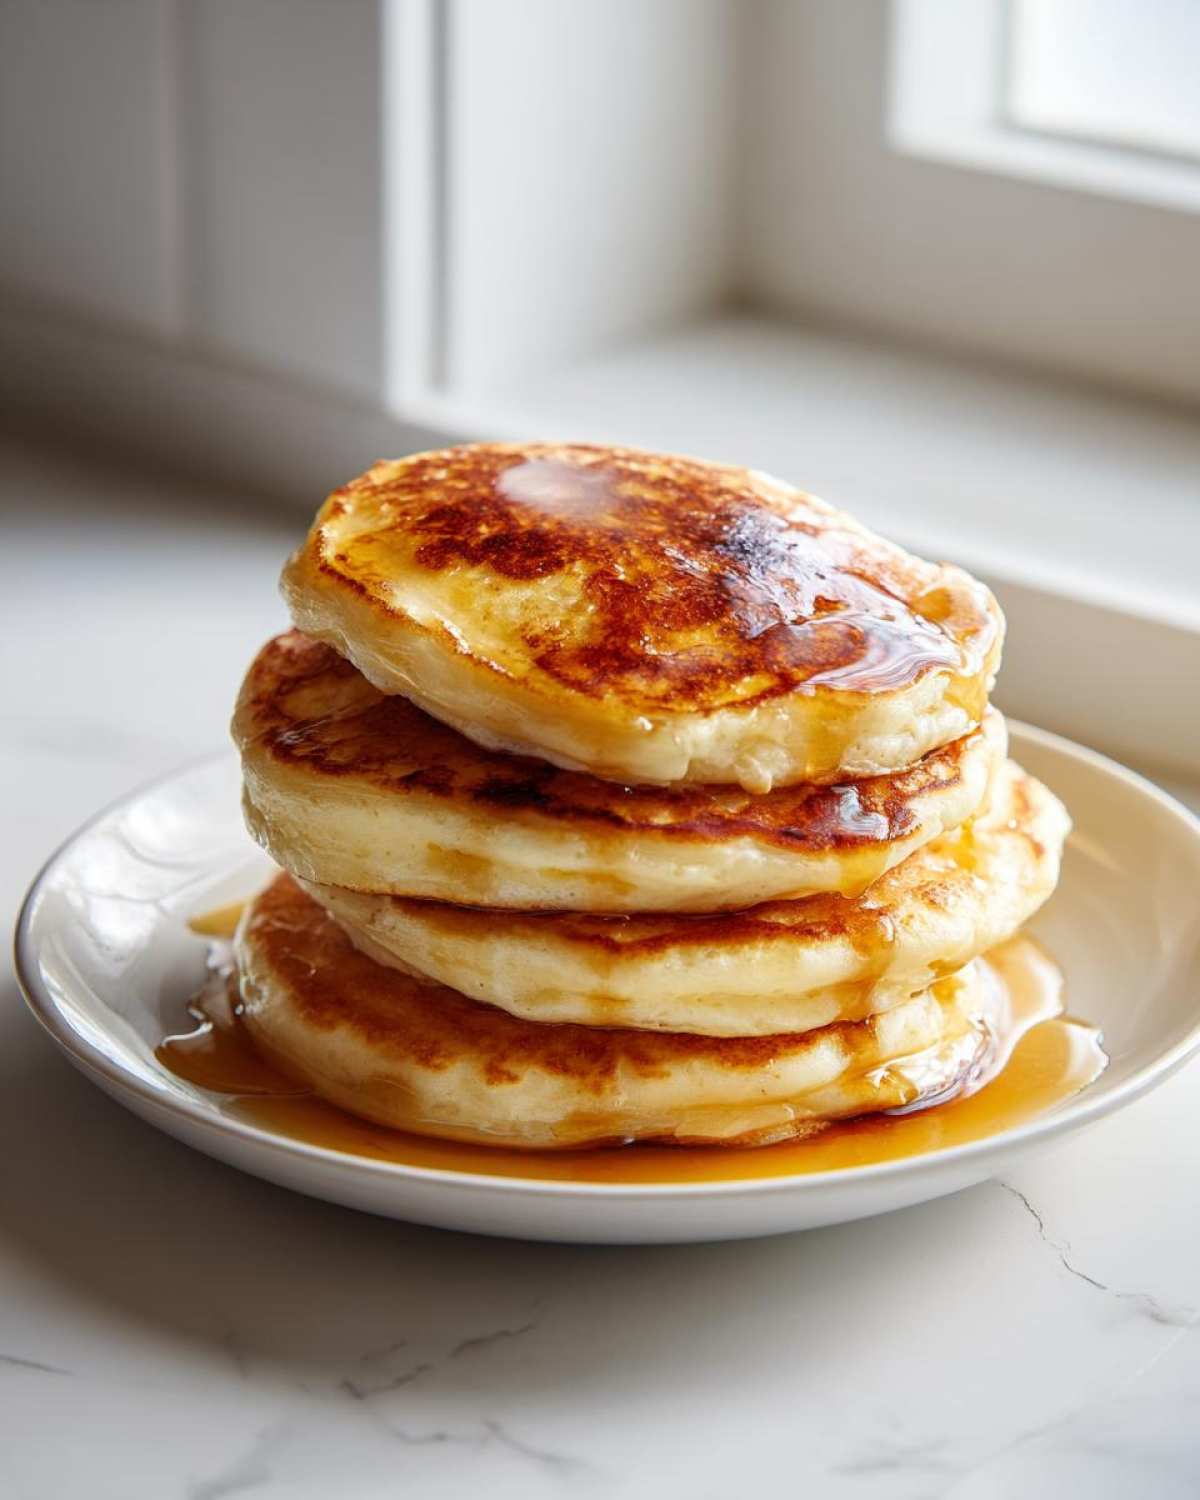
Now that you have the fluffiest stack of Pancakes imaginable, the real fun starts—the toppings! This is where you really make that cozy morning moment special. Obviously, you can’t go wrong with plenty of room-temperature pure maple syrup so it soaks right into every air pocket. That’s the real test of a great pancake, isn’t it?
But don’t stop there! A dollop of lightly sweetened whipped cream pairs beautifully with some fresh berries—strawberries or blueberries are my favorites. If you want something warm and slightly tangy to cut the sweetness, homemade applesauce is incredible, and you can find my super easy recipe over here. Make it a feast; they deserve it!
Storage and Reheating Homemade Buttermilk Pancakes
Because making a huge batch of Pancakes is half the fun, and who has time to cook every morning? If you’ve got kids, you know there will inevitably be leftovers. The good news is that these freeze wonderfully! Once they’re completely cool—and I mean totally cool, otherwise they get soggy—lay them out in a single layer on a baking sheet and pop them in the freezer for about an hour. Once they’re frozen solid, you can stack them up in a freezer bag between small pieces of parchment paper.
When you need a quick breakfast later in the week? Resist the urge to nuke them in the microwave! That’s the quickest way to get rubbery discs. Instead, reheat them in a toaster oven or a regular oven set low, around 350°F (175°C), for just a few minutes. This brings back that lovely, slightly crisp edge they had when they were first cooked. It really makes them feel like a freshly made classic morning recipe.
Frequently Asked Questions About Making Pancakes
People always ask me the same few things once they try this recipe for the first time, which I totally get! Baking, especially breakfast baking, can have little quirks. Don’t worry if something isn’t perfect right away; that’s just part of learning! We’ll get you mastering that fluffy pancake recipe in no time.
Why are my pancakes flat and dense?
This is almost always one of two things, and I’ve been guilty of both! First, you might have overmixed the batter. Remember how I kept shouting “lumps are fine”? If you mix until it’s perfectly smooth, you’ve cooked the gluten, and that makes them chewy and flat instead of airy. Second, check your baking soda and baking powder! If they are old—and they truly do go bad—they won’t react with the buttermilk, and you won’t get that beautiful lift. Test them if you aren’t sure!
Can I use regular milk instead of buttermilk in this easy breakfast idea?
Yes, you absolutely can, but you have to commit to the substitution, or you’ll lose that key reaction we need! Remember how I mentioned making your own substitute? Buttermilk is acidic, and that acid is vital because it chemically reacts with the baking soda in the recipe to create tons of carbon dioxide bubbles, which makes you feel like you’ve invented the world’s best easy breakfast idea. If you use regular milk, you *must* add the vinegar or lemon juice shortcut we talked about earlier. Otherwise, the pancakes will still taste good, but they will be significantly heavier!
What is the best way to keep Pancakes warm while cooking the whole batch?
If you’re cooking for a crowd, you can’t serve them all instantly! My trick is to preheat your oven to a very low temperature—around 200°F (95°C)—and place a wire cooling rack inside a baking sheet. Once a stack of Pancakes is cooked, slide them onto that rack in the warm oven. The rack allows air to circulate all around them, so the bottoms don’t get soggy from trapped steam. They stay perfectly warm, ready to go when the last batch comes off the griddle. If you want more great ideas for family meals, check out my full breakfast category for more inspiration!
Estimated Nutritional Data for These Buttermilk Pancakes
I know some folks dig deep into the nutrition labels, especially when making a big family breakfast week after week. Let’s look at what you can expect from this classic recipe. Now, remember, I’m a cook, not a scientist; these numbers are just a general guide based on the ingredients listed (like whole milk in our DIY buttermilk substitute!). I always base this on a serving size of two decently sized Pancakes.
These figures can jump around depending on what brand of flour you use or if you decide to splash on extra butter while cooking, so take this as your ballpark estimate!
- **Serving Size:** 2 pancakes
- **Calories:** 280
- **Sugar:** 6g (That’s mostly from the added sugar and a touch of natural sweetness)
- **Sodium:** 450mg (Check your salt and baking soda levels here!)
- **Fat:** 10g
- **Saturated Fat:** 6g (That’s that lovely butter working its magic)
- **Trans Fat:** 0g
- **Carbohydrates:** 40g
- **Fiber:** 2g
- **Protein:** 10g
- **Cholesterol:** 80mg
Overall, it’s a solid, satisfying start to the day, especially when you consider the energy boost from the carbs and the protein to keep everyone going until lunch! It’s a breakfast worth making again and again.
PrintFluffy Buttermilk Pancakes
Make light, airy pancakes with slightly crisp edges using this straightforward buttermilk batter for a satisfying family breakfast.
- Prep Time: 10 min
- Cook Time: 15 min
- Total Time: 25 min
- Yield: About 12 pancakes
- Category: Breakfast
- Method: Griddling
- Cuisine: American
- Diet: Vegetarian
Ingredients
- 2 cups all-purpose flour
- 2 tablespoons white sugar
- 2 teaspoons baking powder
- 1 teaspoon baking soda
- 1 teaspoon salt
- 2 cups buttermilk
- 2 large eggs
- 4 tablespoons unsalted butter, melted
Instructions
- Combine the flour, sugar, baking powder, baking soda, and salt in a large bowl. Whisk these dry ingredients together.
- In a separate bowl, whisk together the buttermilk and eggs.
- Pour the wet ingredients into the dry ingredients. Mix gently until just combined. Do not overmix; a few lumps are fine.
- Stir in the melted butter until incorporated.
- Heat a lightly oiled griddle or large non-stick skillet over medium heat.
- Pour about 1/4 cup of batter onto the hot griddle for each pancake.
- Cook for 2 to 3 minutes per side, until bubbles appear on the surface and the edges look set. Flip and cook the second side until golden brown.
- Serve immediately with your favorite toppings.
Notes
- For extra fluffiness, separate the eggs. Whisk the yolks into the buttermilk mixture. Beat the egg whites until stiff peaks form, then gently fold them into the finished batter at the end.
- Do not press down on the pancakes with your spatula after flipping; this removes the air and makes them dense.
- If you do not have buttermilk, add 2 tablespoons of white vinegar or lemon juice to 2 cups of regular milk and let it sit for 5 minutes before using.
Nutrition
- Serving Size: 2 pancakes
- Calories: 280
- Sugar: 6
- Sodium: 450
- Fat: 10
- Saturated Fat: 6
- Unsaturated Fat: 4
- Trans Fat: 0
- Carbohydrates: 40
- Fiber: 2
- Protein: 10
- Cholesterol: 80