

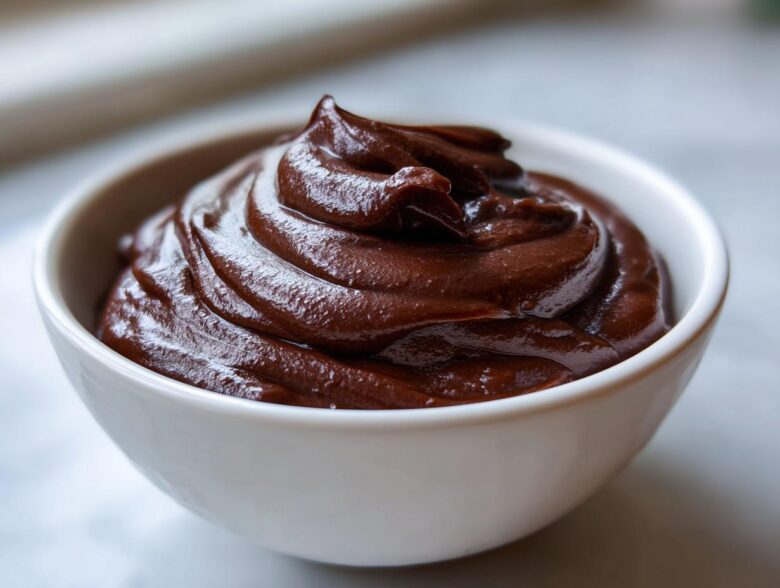
Oh, listen to me, forget those little plastic cups of pudding you grab at the grocery store. They’re fine in a pinch, I suppose, but they taste like… well, like plastic convenience! When you really want that hug-in-a-bowl feeling, nothing beats digging into a rich, velvety **homemade chocolate pudding** that you made with real ingredients. I’m talking about the stuff I remember sneaking straight from the saucepan on my grandmother’s stove.
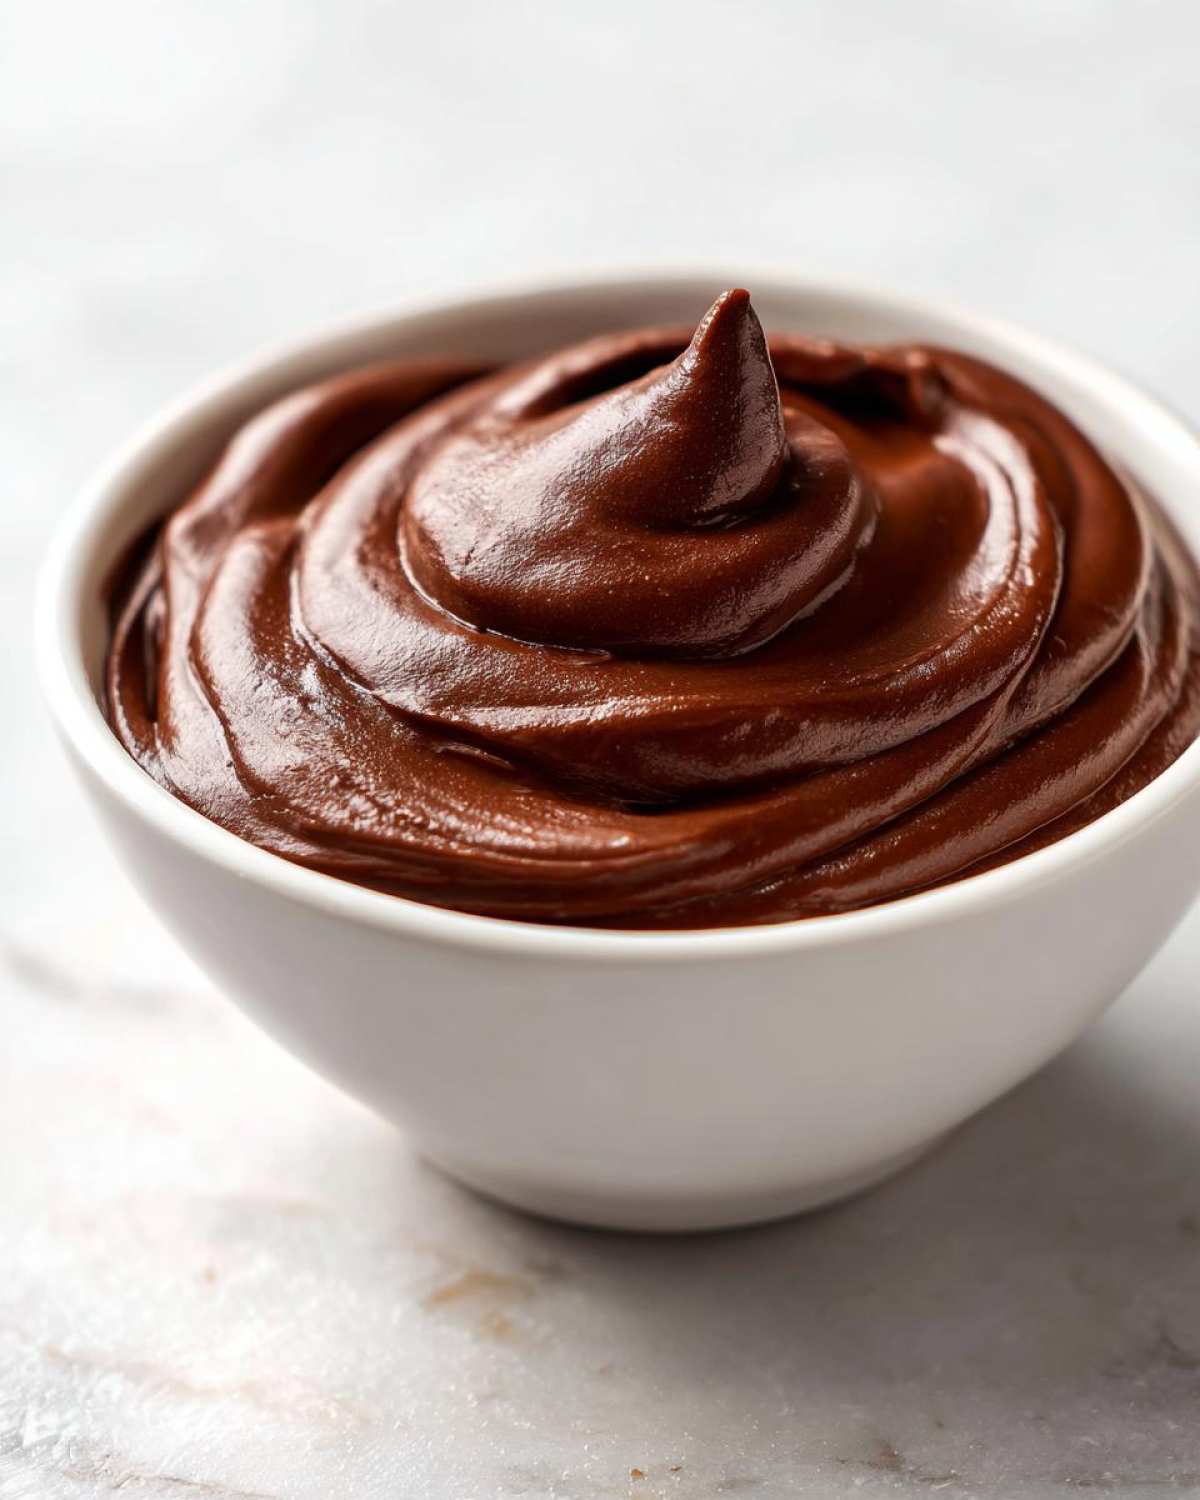
This isn’t just *any* chocolate dessert; I truly believe this is the **best homemade chocolate pudding** you will ever try. It’s **from scratch chocolate pudding**, the kind that sticks just perfectly to your spoon. Seriously, if you want to see how amazing authentic, best dessert from scratch recipes can be, you have to try this one. It takes less time than ordering takeout, I promise!
Why This is the Best Homemade Chocolate Pudding Recipe You Will Make
The difference between this **creamy chocolate pudding** and the stuff in the blue box is night and day, honestly. Boxed mixes rely on thickeners that create a gelatinous, often wobbly texture. Not here! When you make this **from scratch chocolate pudding**, you get real substance, real flavor from actual cocoa, and that deeply satisfying mouthfeel.
We aim for rich, almost decadent, but still impossibly light on the palate. That’s the magic of achieving true **silky smooth pudding** using basic baking fundamentals.
Achieving That Perfect Silky Smooth Pudding Texture
Our secret weapon is the partnership between cornstarch and those lovely egg yolks. The cornstarch kicks in fast on the stove, but the yolks provide that luxurious body and richness that no powdered mix can imitate. This is what the **pudding recipe no box mix** crowd understands perfectly. It thickens beautifully without ever tasting gummy. Trust me, once you taste this version, you’ll banish the boxes forever!
Ingredients for Your Creamy Homemade Chocolate Pudding
The best part about this **homemade chocolate pudding** is that you probably have most of this stuff sitting in your pantry right now! We are keeping things wonderfully simple here to let that rich cocoa flavor shine through. No weird additives, just pure comfort food ingredients that work together perfectly.
You’ll need:
- 1/2 cup granulated sugar
- 1/4 cup unsweetened cocoa powder (use the good stuff!)
- 1/4 cup cornstarch
- 1/4 teaspoon salt
- 2 cups whole milk
- 2 large egg yolks
- 2 tablespoons unsalted butter
- 1 teaspoon vanilla extract
See? Nothing complicated! These simple ingredients are what make this such a fast and reliable **creamy chocolate pudding** every single time we make it.
Easy Chocolate Pudding Recipe: Step-by-Step Instructions
Okay, here’s where the magic of this **easy chocolate pudding recipe** really happens. Don’t let the word ‘temper’ scare you off; it’s just one quick move that separates grainy pudding from something utterly divine. I’m so excited for you to try this, because right after this stage, you’ll have the perfect base for the **best homemade chocolate pudding**! We’re going from zero to **homemade chocolate pudding** heaven in about 25 minutes of hands-on time, plus chilling time, of course.
First, remember to have four little bowls ready for serving, or one nice big one, because once it’s done, it needs its beauty sleep in the fridge for at least two hours! If you want tips on making the final texture even better, check out my deep dive on making homemade chocolate pudding.
Combining Dry Ingredients and Whisking in Milk
Grab a medium saucepan—not too heavy, just sturdy. Whisk your sugar, cocoa powder, cornstarch, and salt together first. This is non-negotiable because if you don’t break up the clumps now, you’ll have lumps later! Once they look like uniform brown sand, slowly pour in your two cups of whole milk while whisking constantly. Keep whisking until everything is smooth as glass for that **silky smooth pudding** foundation.
Cooking and Thickening the Classic Stovetop Pudding
Set that pan over medium heat. Now comes the part where you need to stand guard! You must stir constantly, scraping the bottom and sides with your whisk. It will go from thin milk to slightly thick, and then, finally, it will start bubbling. This usually takes about five to eight minutes. Once it hits a proper simmer, you’re almost there for your **classic stovetop pudding**! Keep that heat honest; too high and you scorch the bottom, too low and it never thickens.
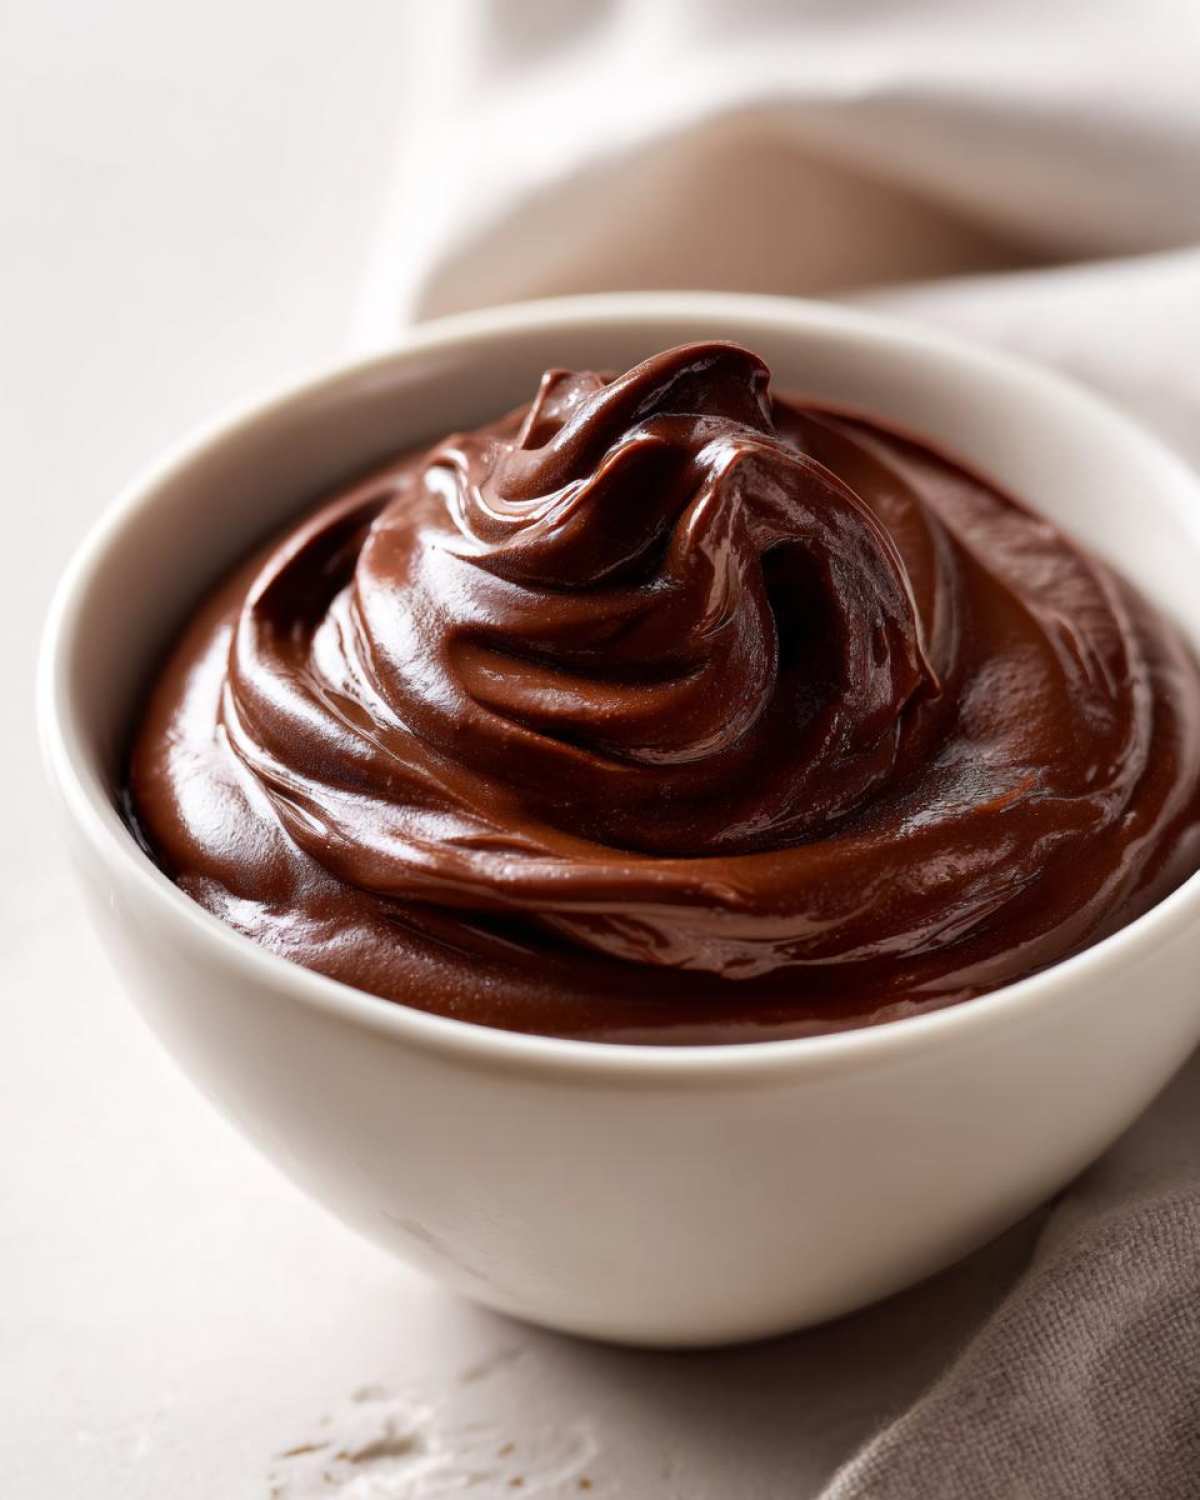
Tempering Yolks for Richness in Your Homemade Chocolate Pudding
Crucial moment alert! Take the saucepan off the heat immediately. You need to stop those egg yolks from turning into scrambled eggs, that’s why we temper. Take a little scoop—about half a cup—of that hot pudding and slowly stream it into the yolks while you whisk the yolks like crazy. This gently warms them up. Then, gently pour that warm yolk mixture right back into the main pot. Pop it back on the VERY low heat for just one minute, stirring like mad, but Promise Me, do not let it boil! This final step locks in the color and richness for the **homemade chocolate pudding**.
Tips for Making Perfect Homemade Chocolate Pudding
Now that you’ve made this incredible **rich cocoa dessert**, we have to treat it right so it stays perfect while chilling. A lot of people get this pudding to the stovetop stage perfectly, only to ruin the texture in the last step by neglecting the cooling process. Don’t let that happen to you!
Remember those lovely notes about using high-quality cocoa powder? Don’t skimp! A better cocoa means your flavor is deeper and less dusty tasting. I once tried making this batch with the cheap, old stuff, and my husband said it tasted like chocolate-flavored cardboard. Lesson learned! Also, while whole milk gives you the best body (as noted in the recipe), you *can* use 2% if that’s what you have on hand. It just won’t be quite as decadent. For more insights, check out my general thoughts on baking right here on the blog.
I learned the hard way once that if you step away for even thirty seconds while it’s on low heat after tempering, you will scorch the bottom. I smelled smoke, panicked, and pulled it off the heat way too fast! I managed to save it by quickly transferring the un-scorched top layer to a clean bowl instantly. Phew! That stress!
Preventing a Skin on Your Homemade Chocolate Pudding
If you hate that weird, rubbery skin that forms on pudding while it cools, I have your fix. As soon as you pour your pudding into the serving dishes, you must take a small piece of plastic wrap and gently press it directly against the surface of the hot pudding. It has to touch the pudding! This traps the steam underneath and stops that dry, solid film from ever forming. It’s such a simple trick for the **best homemade chocolate pudding** experience.
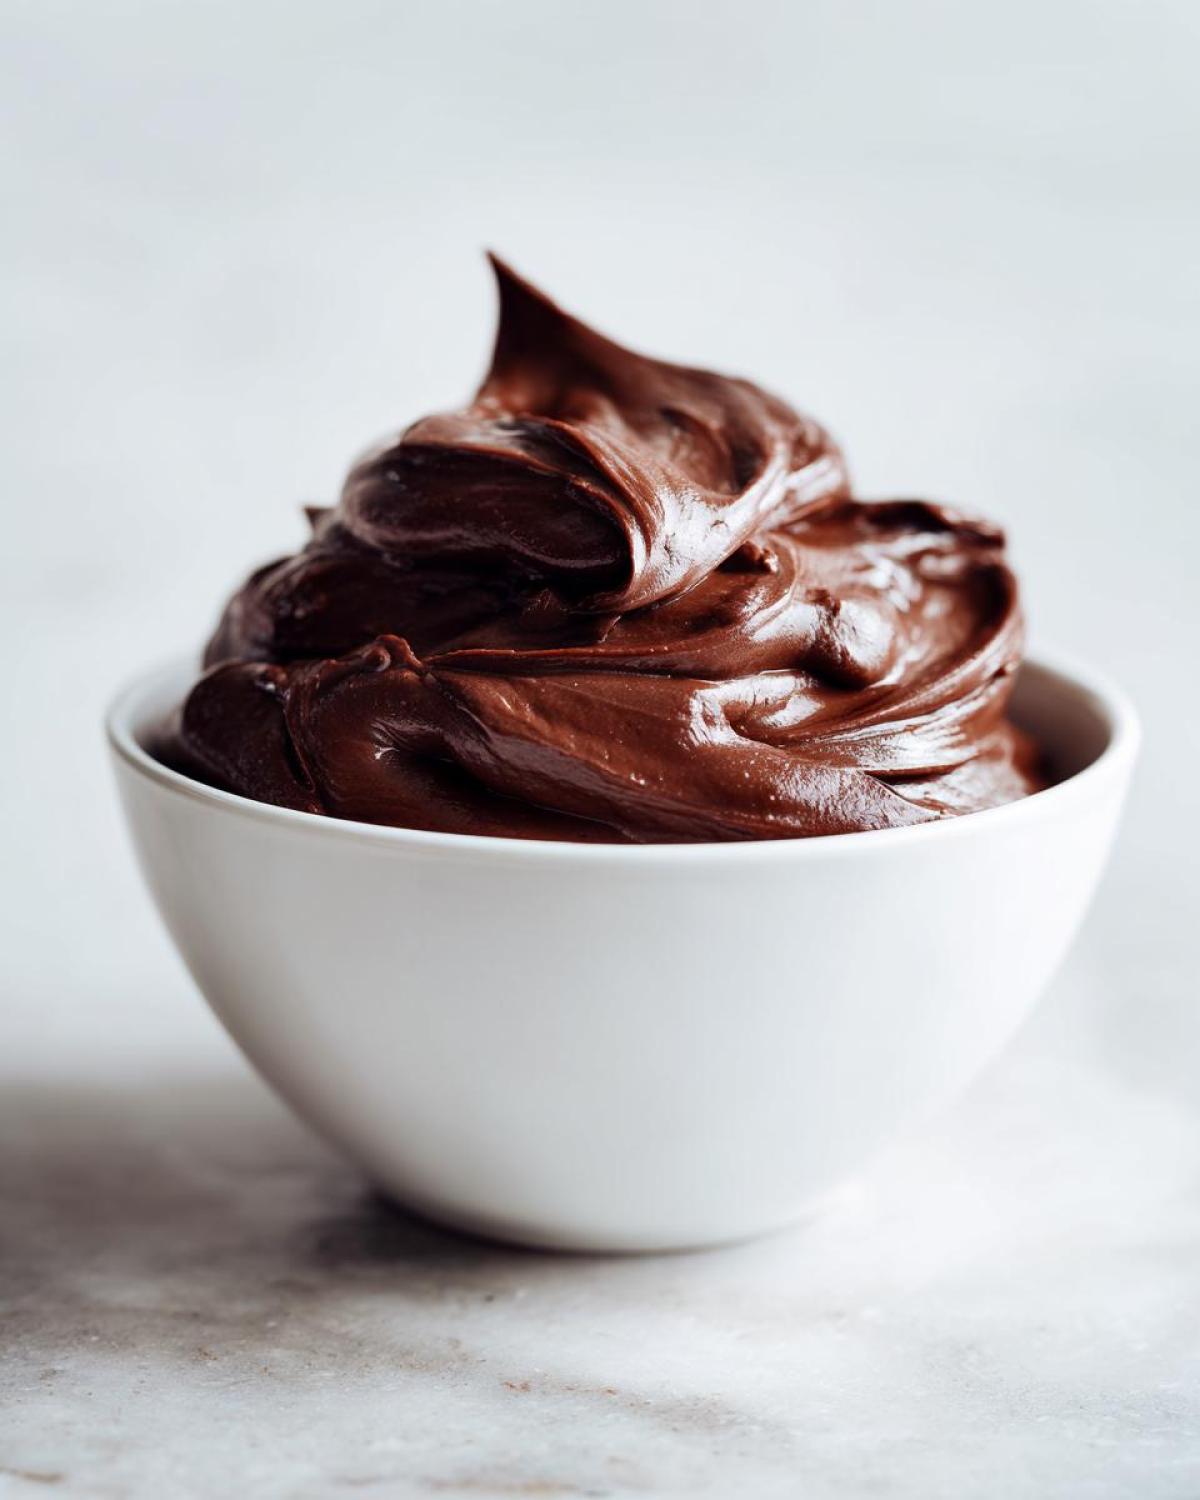
Serving Suggestions for This Decadent Chocolate Dessert
Once your **homemade chocolate pudding** is perfectly chilled, it’s time for the fun part: making it look as good as it tastes! While it’s amazing all by itself, adding just a little something on top elevates it immediately. I always keep heavy cream on hand to whip up some fresh topping. A dollop of creamy, homemade whipped cream is heavenly on this **rich cocoa dessert**.
Especially when it’s chilly outside, this pudding becomes the ultimate **winter comfort dessert**. If you prefer something a little fancier, try some fresh raspberries or thinly shaved dark chocolate sprinkled over the top. For an extra kick, you know I love a good swirl of bright white frosting sometimes—you can check out my lightning-fast vanilla buttercream recipe if you want to get truly ambitious!
Storage and Reheating for Your From Scratch Chocolate Pudding
This **from scratch chocolate pudding** is so rich, it’s best eaten fresh, but lucky for us, it stores really well! You can keep a covered dish right in the cold part of the fridge for up to four days. The texture actually sets up a bit more firmly after the first day, which some people love.
Now, here’s the important part: I really don’t advise reheating this. Because we used egg yolks and cornstarch, if you microwave or gently heat it up, it might start to separate or get a weird, grainy consistency. It’s designed to be enjoyed perfectly chilled. Save the reheating for those instant mixes; stick to enjoying this velvety beauty cold!
Frequently Asked Questions About Homemade Chocolate Pudding
I always get a ton of questions when people try my **homemade chocolate pudding** for the first time, which is great! It means you care about getting that **creamy chocolate pudding** just right. People usually want to know how to make it fit their kitchen or how it stacks up against what they’re used to buying.
Can I make this pudding vegan or dairy-free?
You absolutely can play around with this recipe, which is the joy of cooking **from scratch chocolate pudding**! If you need it dairy-free, swap the whole milk for a creamy plant-based alternative like oat milk or soy milk. You’ll still get great flavor! For a vegan version, you can substitute the two egg yolks using an extra tablespoon of cornstarch mixed with a little extra milk or by using a commercial egg replacer. It won’t be quite as *rich* overall, but it’s certainly doable!
What is the difference between this and instant pudding?
Oh, the difference is huge! Instant pudding relies on pre-cooked starch and often includes artificial gel-forming agents. It sets up very quickly just by sitting in cold milk, usually resulting in a lighter, almost airy texture. Our version is a **classic stovetop pudding**—a true custard base thickened with cooked cornstarch and egg yolks. That cooking process activates the starches and creates a much more complex, velvety sauce. It is the definition of a **rich cocoa dessert** that tastes truly homemade, not like it came out of a box.
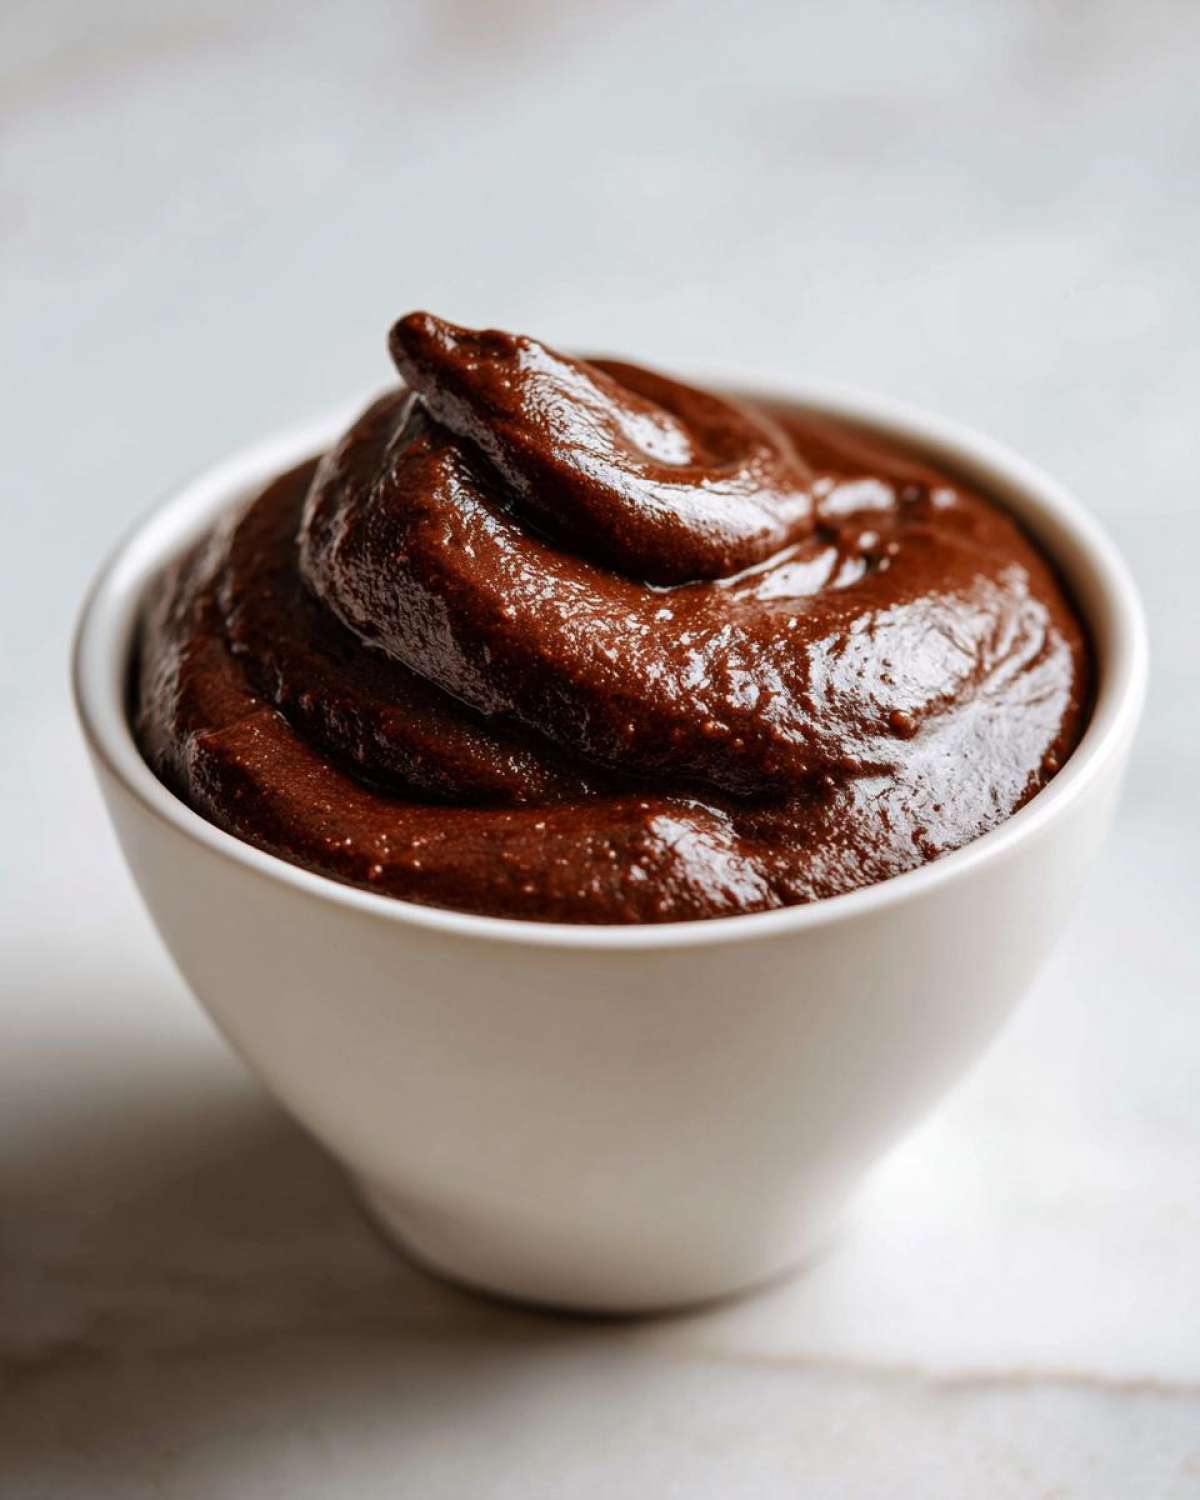
Nutritional Estimates for Homemade Chocolate Pudding
I totally get it—sometimes you want to know the numbers. While this is a **homemade chocolate pudding** made with real ingredients, the nutritional breakdown can change based on whether you use skim milk or whole milk, or the exact fat content of your butter. Just remember, these are rough guides for a single serving, not exact science!
But so you have a baseline for this **rich cocoa dessert**, here’s what this recipe typically yields per serving:
- Calories: 280
- Sugar: 32g
- Fat: 12g
- Protein: 8g
Since we’re making this the old-fashioned way—a true **pudding recipe no box mix**—you’re skipping all those weird stabilizers. These numbers reflect pure, honest ingredients. If you’re looking for lower sugar, you can cautiously reduce the granulated sugar by about 1-2 tablespoons, but be aware it might slightly impact how well the pudding sets up!
Share Your Creamy Chocolate Pudding Experience
Whew! Now that you’ve made your very first batch of **homemade chocolate pudding**, I absolutely need to know how it went! Seriously, that velvety smooth texture is meant to be shared. You can’t just keep a **silky smooth pudding** like this all to yourself, right?
I’d be so thrilled if you could come back here and drop a star rating—give it 5 stars if it transported you straight back to your own comforting kitchen memories! Also, please tell me in the comments: does this **creamy chocolate pudding** beat the stuff in the grocery aisle? I’m always curious about those first taste tests!
And hey, if you managed to take a gorgeous photo of your chilled bowls topped with fresh whipped cream or berries, please tag me on social media! Showing off your beautiful **from scratch chocolate pudding** feeds my baking soul! If you have any technical questions about the process or just want to chat about the difference between this and a boxed mix, feel free to reach out via my contact page. I’m always here to help keep the **classic stovetop pudding** tradition alive!
PrintCreamy, Velvety Homemade Chocolate Pudding from Scratch
Make rich, silky smooth chocolate pudding on the stovetop using simple ingredients. This recipe avoids box mixes for a truly decadent comfort dessert.
- Prep Time: 10 min
- Cook Time: 15 min
- Total Time: 25 min
- Yield: 4 servings
- Category: Dessert
- Method: Stovetop
- Cuisine: American
- Diet: Vegetarian
Ingredients
- 1/2 cup granulated sugar
- 1/4 cup unsweetened cocoa powder
- 1/4 cup cornstarch
- 1/4 teaspoon salt
- 2 cups whole milk
- 2 large egg yolks
- 2 tablespoons unsalted butter
- 1 teaspoon vanilla extract
Instructions
- In a medium saucepan, whisk together the sugar, cocoa powder, cornstarch, and salt.
- Gradually whisk in the milk until the mixture is smooth and no lumps remain.
- Place the saucepan over medium heat. Cook, stirring constantly with a whisk, until the mixture thickens significantly and begins to bubble. This takes about 5 to 8 minutes.
- Remove the saucepan from the heat. In a small bowl, lightly whisk the egg yolks.
- Temper the egg yolks by slowly pouring about 1/2 cup of the hot pudding mixture into the yolks while whisking constantly.
- Pour the tempered yolk mixture back into the saucepan with the remaining pudding. Return the pan to low heat. Cook for 1 minute, stirring constantly. Do not boil.
- Remove from heat. Stir in the butter and vanilla extract until the butter is fully melted and incorporated.
- Pour the pudding into individual serving bowls or a single large dish. Press plastic wrap directly onto the surface of the pudding to prevent a skin from forming.
- Chill in the refrigerator for at least 2 hours, or until completely cold and set.
Notes
- For an extra rich flavor, use high-quality dark cocoa powder.
- If you prefer a thinner pudding, reduce the cornstarch to 3 tablespoons.
- You can substitute whole milk with 2% milk, but the final texture will be slightly less creamy.
Nutrition
- Serving Size: 1 serving
- Calories: 280
- Sugar: 32
- Sodium: 110
- Fat: 12
- Saturated Fat: 7
- Unsaturated Fat: 5
- Trans Fat: 0
- Carbohydrates: 38
- Fiber: 2
- Protein: 8
- Cholesterol: 85