

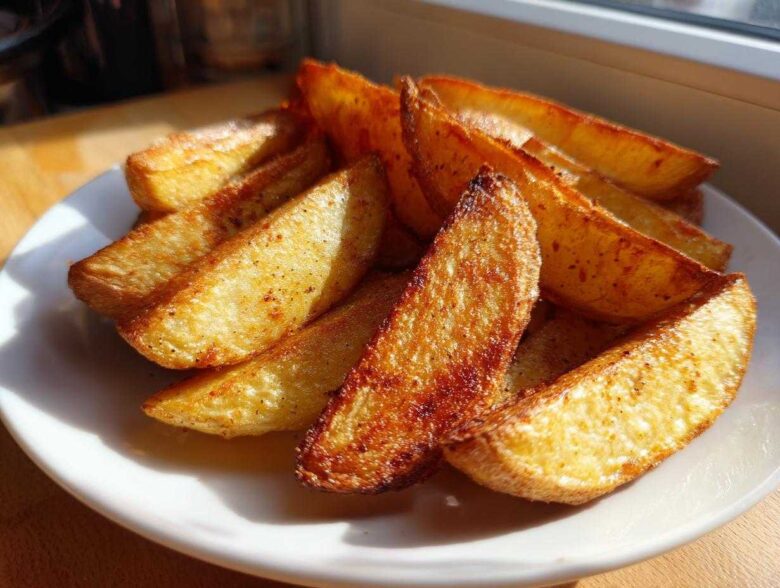
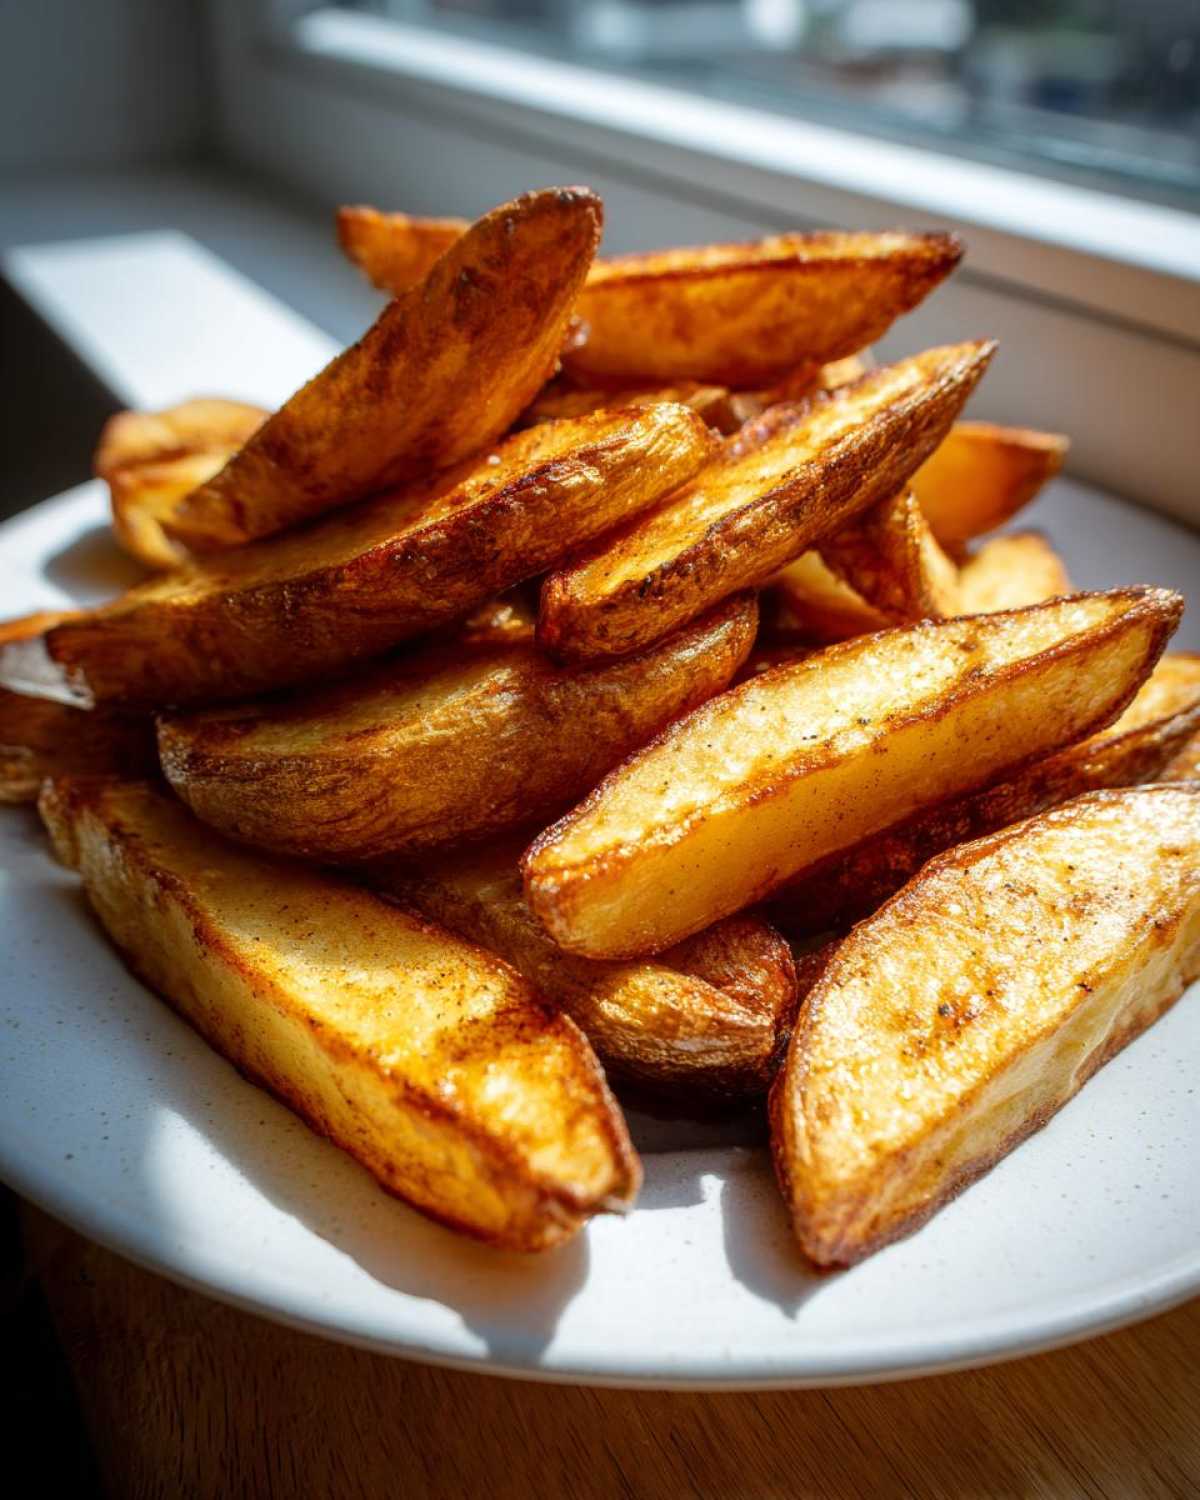
Oh my goodness, you know how frustrating it is to crave that perfect side dish—you want all the satisfaction of deep-fried perfection but without the greasy aftermath? If you’ve wrestled with soggy bottoms or pale imitation fries, I get you. I was on a mission for years to banish the sad, floppy wedge from my dinner table. After what feels like a million test batches in my kitchen, I finally nailed the method for achieving truly golden, perfectly crunchy on the outside and unbelievably fluffy inside **potato wedges**.
This isn’t just another baked side dish recipe; this is the blueprint. The secret ingredient isn’t some fancy spice—it’s just taking an extra 30 minutes to soak and dry those spuds, followed by a little cornstarch magic. Trust me when I say once you try these, you won’t go back to any other way!
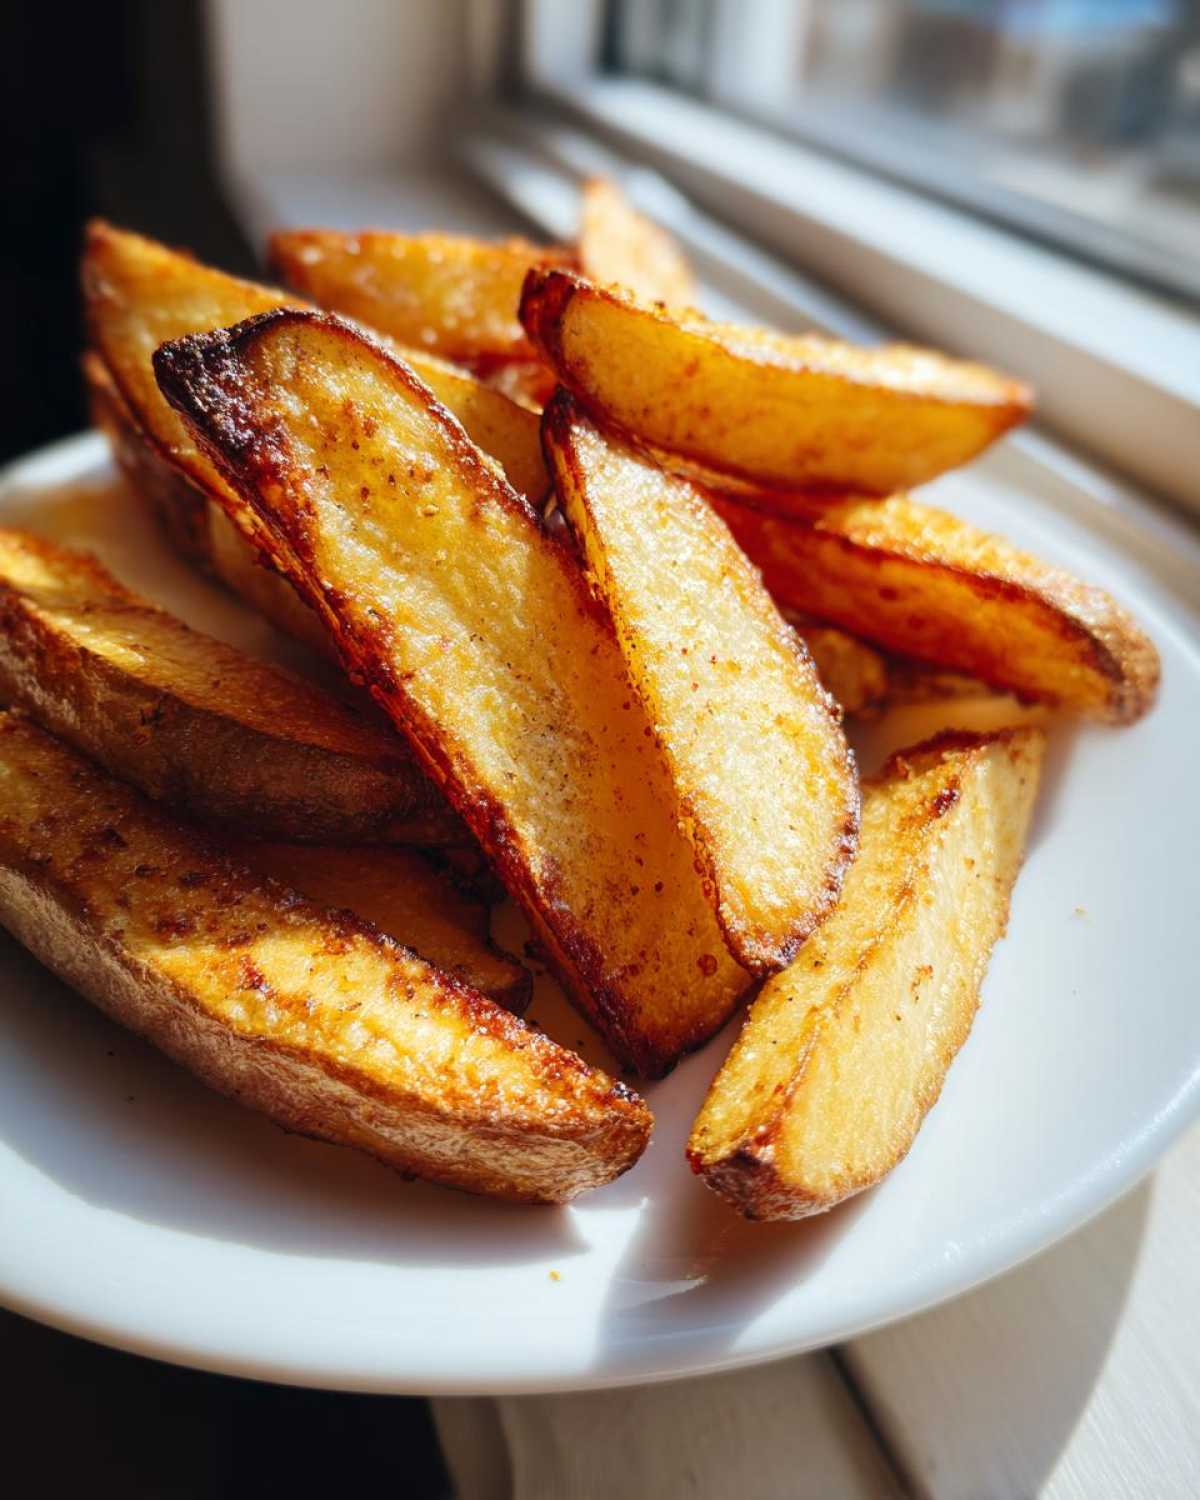
Why This Baked Potato Wedges Recipe Delivers Ultimate Crispiness
If you’re worried about serving fries or wedges to the family because of the oil, put those worries away! This is easily my go-to **Healthy Potato Side**, and the best part is that the crunch is totally legit. I promise you get those beautiful **Fluffy Inside Crispy Outside Potatoes** without ever turning on the deep fryer.
We achieve this perfection with two simple, non-negotiable steps.
- No deep frying required—just good old oven power!
- The soaking draws out starch, which means less sticking and more crunch surface area.
- A light toss in cornstarch creates that amazing, crackly shell when baked hot.
If you need more crispy inspiration while these bake, check out my tips for making crispy leftover mashed potato cakes—it uses a similar principle!
The Science Behind Crunchy Potato Wedges
Okay, so why does soaking them in water actually help your wedges get brown and crisp? Simply put, potatoes are full of surface starch, which turns gummy when it hits the high heat of the oven. When you soak those thick-cut beauties in cold water, we force that excess starch to leach out into the water.
When they come out, you dry them—and drying is crucial! Then, the coating of cornstarch sits right on the starchy outside layer. When that hits that 425-degree oven, the cornstarch locks in the shape and creates a protective, crunchy shield while the inside steams perfectly!
Gathering Ingredients for Perfect Potato Wedges
Getting those incredible **potato wedges** on your plate only requires a few simple things from your pantry! You might be surprised by how few ingredients are necessary to make something this spectacular. Don’t skip anything, though, especially the cornstarch—that’s your secret weapon for maximum crunch.
Here’s everything you need to gather up before we start chopping up those spuds. Keep your measurements close!
- Four large Russet potatoes—they bake up the fluffiest!
- Two tablespoons of good olive oil.
- One full tablespoon of cornstarch, plain and simple.
- One teaspoon of salt and half a teaspoon of black pepper.
- One teaspoon of garlic powder for that savory kick.
- And, if you want that gorgeous golden crust, about a quarter cup of grated Parmesan cheese.
Ingredient Notes and Substitutions for Your Potato Wedges
Listen, when it comes to the potato choice, I insist on Russets. Their high starch content means less moisture overall, which helps us hit that crispy target perfectly. Save the waxy, low-starch potatoes for boiling or salads. They just don’t crisp up right for these **potato wedges**.
Now, about the cornstarch: don’t try to substitute it with flour! Flour doesn’t give you that beautiful, shatteringly crisp exterior coating that cornstarch does. It’s crucial! If you’re keeping things dairy-free or just ran out of Parmesan, skip it entirely. You’ll still get amazing results; the cheese just adds a lovely flavor layer near the end.
Step-by-Step Instructions for Crispy Potato Wedges
Alright, buckle up! Now that you have your ingredients, we dive into the actual making. This process is so straightforward once you know the routine, but you absolutely cannot rush the prep steps—that’s where we win or lose the crispiness battle for our **potato wedges**.
First things first: Crank that oven up to 425 degrees Fahrenheit! If you want to use my little trick for extra crispy results, toss your baking sheet in there while it preheats. It makes a huge difference!
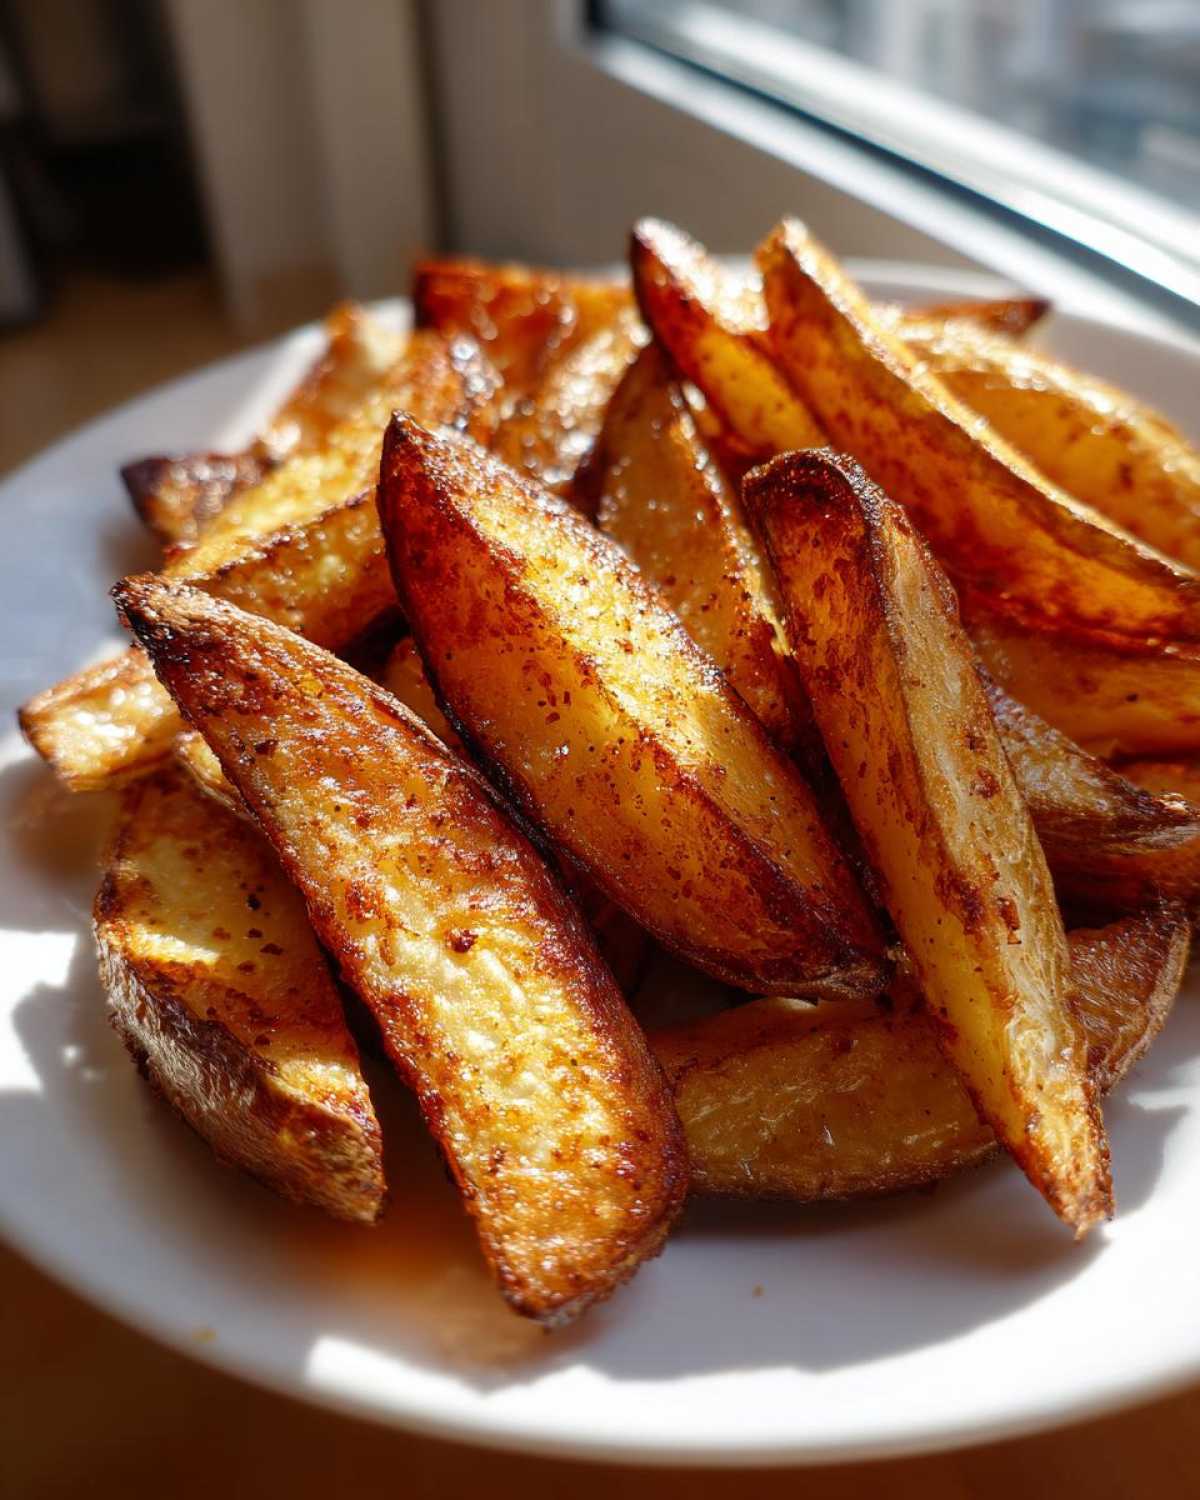
We are aiming for about 40 minutes of total cook time, but precision matters. Here is exactly how I shepherd these beauties from potato to plate.
Prepping the Potatoes: The Soak and Dry Technique
Take those beautiful, thick-cut potato wedges and dump them into a big bowl. Now, cover them completely with cold water and let them hang out there for at least 30 minutes. Think of this as giving the exterior starch a good, long bath to wash away all that excess gooiness. Seriously, don’t skimp on this time.
Once the timer goes off, drain every drop of that starchy water. Then comes the part where you need patience: lay the wedges out on a clean kitchen towel—or loads of paper towels—and pat them down. I mean pat them until they feel shockingly dry to the touch. Seriously, no moisture allowed!
Coating and Arranging for Optimal Oven Baked Wedges
Back into the dry bowl they go! Drizzle them with the olive oil and toss ’til everything is lightly glistening. Next, we make the coating magic happen. In a separate, tiny dish, mix your cornstarch, salt, pepper, paprika, and garlic powder. This dusting is what guarantees that perfect shell on your **Oven Baked Wedges**.
Sprinkle that dry mix over the oiled wedges and toss gently but thoroughly until everything looks evenly coated—that cornstarch needs to be everywhere! Finally, arrange the seasoned **potato wedges** onto your hot baking sheet, making absolutely certain none of them are touching. They need personal space to crisp up properly. Bake for 20 minutes, flip them, and pop them back in for another 15 to 20 minutes until they look golden brown and gorgeous.
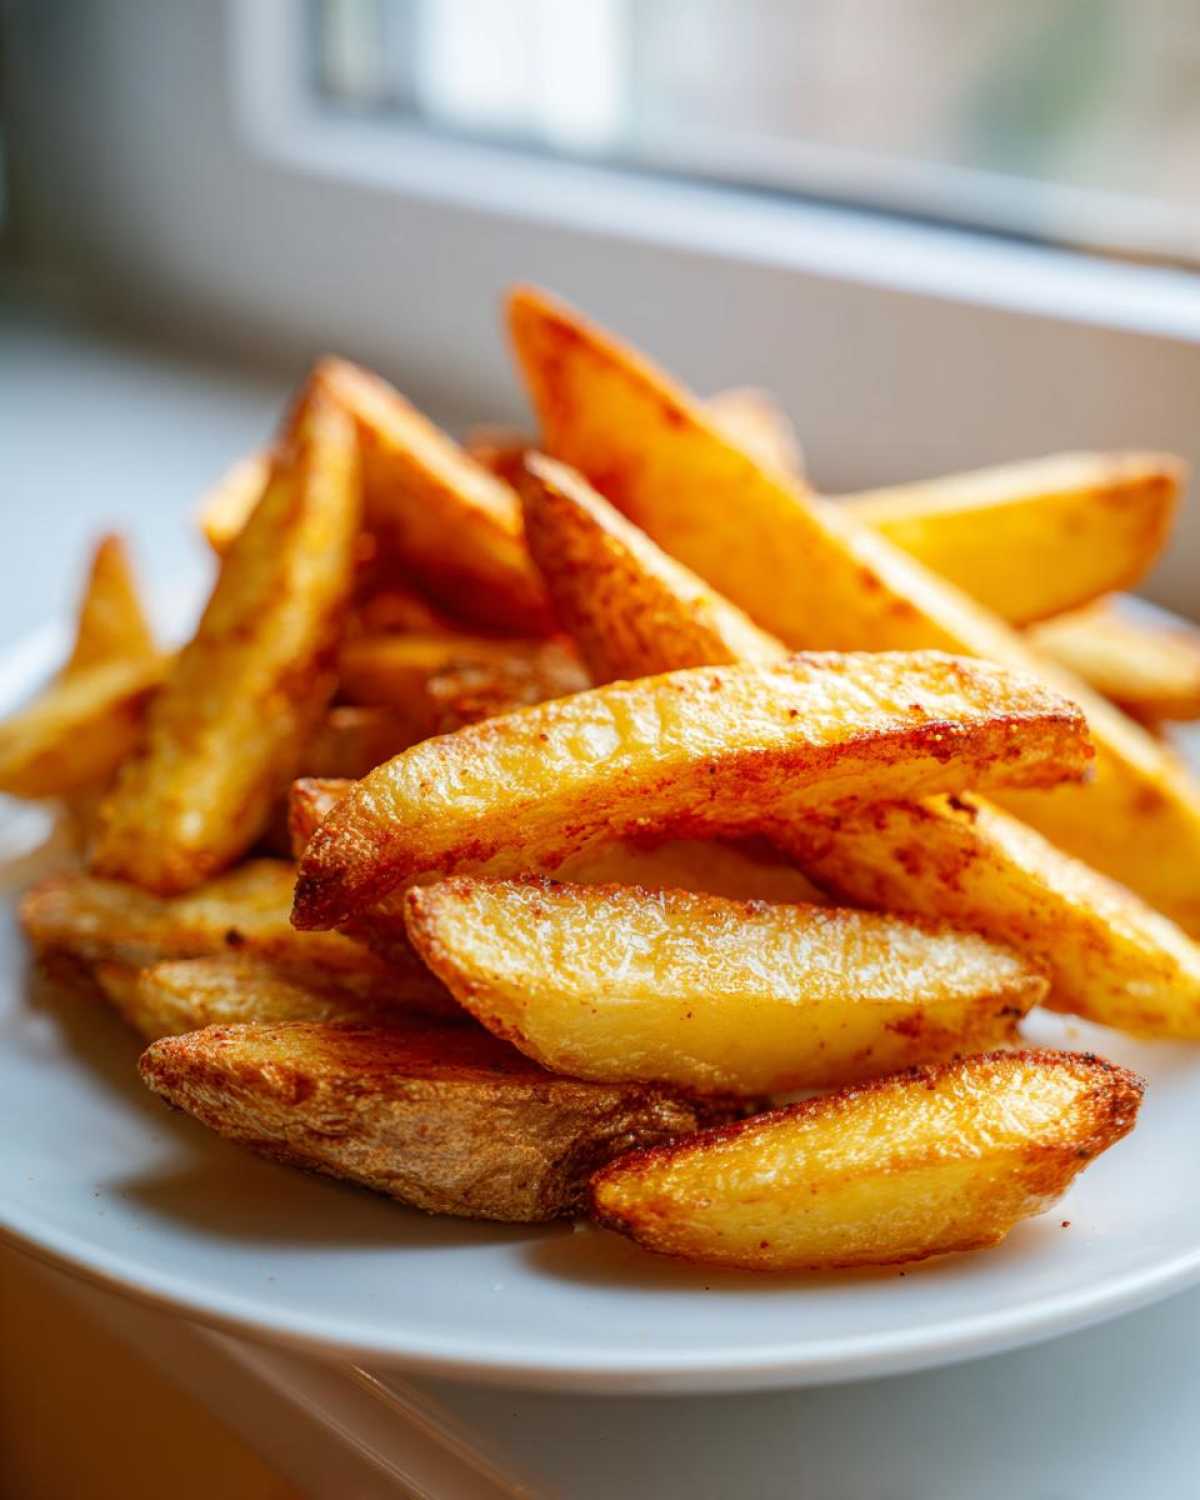
If you’re adding that optional Parmesan, sprinkle it on during the final five minutes of baking. If you are curious about using the air fryer for a similar result, I’ve got a whole guide on air fryer potato wedges right here!
Tips for the Best Potato Wedges Every Time
Look, I know we followed the soaking and drying steps religiously, but cooking is sometimes a bit of a wild ride. Even when you think you’ve done everything right, sometimes your **potato wedges** decide to fight back and stay a little floppy. Don’t panic! Good cooking is all about knowing how to adjust on the fly. These little bits of wisdom are what I learned after burning batches and dealing with soggy messes.
Remember that tip about putting the baking sheet in the oven while it preheats? That initial blast of radiant heat gets the bottom of those wedges cooking instantly, which is fantastic insurance against sogginess. If you’ve already missed that step, don’t worry, but keep it in mind for next time!
Troubleshooting Common Potato Wedges Issues
If you get your wedges out and they look pale or slightly soggy, resist the urge to microwave them! That just kills any crispness dead. Instead, throw them back into that blazing hot 425-degree oven. Spread them out a bit more if they were crowded, and let them roast for another 5 to 8 minutes. Sometimes they just need a few more minutes of dry heat to crisp up.
On the flip side, if you notice the edges are blackening but the center is still pale, your oven is running too hot or your wedges were cut unevenly. Next time, aim for uniform sizing. If it happens now, lower the heat to 400 degrees and bake them a little longer, maybe rotating the pan halfway through. It mirrors the kind of adjustments I often have to make when I cook crispy baked chicken wings!
Serving Suggestions for Your Seasoned Potato Wedges
Honestly, these **potato wedges** are so good, they don’t even need a dipping sauce—though ranch sure doesn’t hurt! I love that they work for almost any occasion. They are the ultimate **Easy Potato Side Dish** when you’re serving up burgers or BBQ, making for fantastic **Dinner Side Ideas**.
But let’s be real—they are just as crucial for a lazy Sunday or a big game! They make incredible **Game Day Snacks**. We usually load ours up with chili and cheese, turning them into loaded wedges that disappear in minutes. They are far better than standard fries as a base for pretty much anything savory.
If you’re looking for another great savory, cheesy side to share the table with them, you absolutely must try my easy homemade garlic parmesan breadsticks. Talk about a winning spread!
Storage and Reheating Instructions for Leftover Potato Wedges
If you manage to have any **potato wedges** left over—which is rare in my house—you have to store them correctly, or they just turn into little potato sponges overnight. Never put them in a fully airtight container immediately; the trapped steam ruins the crispness we worked so hard for! Instead, let them cool completely on the counter, then store them in a brown paper bag in the pantry.
Do not, I repeat, do not reheat these in the microwave. That’s how leftovers go to die! The absolute best way to bring them back to life is spreading them on a baking sheet (maybe even that preheated one!) and giving them about 8 minutes back in the oven at 400 degrees, or just a quick blast in the air fryer. Crispness restored!
Frequently Asked Questions About Potato Wedges
I get so many questions after readers try this recipe, and I love hearing what you’re doing with these **potato wedges**! Here are some of the most common things people ask when trying to achieve that perfect crunch at home.
Can I use sweet potatoes instead of Russets?
You absolutely can, but they are a different beast! Sweet potatoes have way more natural sugar and moisture than Russets, so they tend to caramelize faster rather than crisp up the same way. If you swap them in, you should reduce your baking temperature slightly to about 400 degrees F and watch them closely. They make an incredibly tasty side, but the texture will be slightly softer—still delicious for a **Comfort Food Side**, though!
Can I make these potato wedges in an air fryer?
Yes! The air fryer is fantastic for achieving a quick, **Crunchy Potato Wedges** result. You can actually follow all the same prep steps: soak, dry, oil, and cornstarch coat. Then, just arrange them in a single layer in your air fryer basket (you might need to work in batches). Cook at 390 degrees F for about 15 minutes, shaking the basket halfway through. For more detail, check out my specific guide on air fryer baked potato perfection!
What is the best way to store leftover potato wedges?
As I mentioned earlier, avoid airtight containers if you want to save any—which is hard to do! If you must save them, keep them in a paper bag loosely sealed for up to two days. The absolute best method for reheating these **Seasoned Potato Wedges** is always the oven or air fryer to crisp them up again, not the microwave.
What makes Russets the absolute best choice for thick cut fries?
Russet potatoes, or Idaho potatoes, are high in starch and low in moisture. That is the dream combination for frying or baking when you want that light, fluffy interior. They hold their structure better and dry out more completely during the soaking and baking process, which is exactly what we need for perfect **Thick Cut Fries**!
Nutritional Estimates for These Potato Wedges
I always get asked about the nutrition when people realize these delectable side dishes aren’t deep-fried, and I love pointing out how much better they are for you! Remember, these numbers are just estimates based on the four servings we get out of the recipe above, and they definitely change if you skip that optional Parmesan cheese.
Baking instead of drowning them in oil really makes a difference in the fat content, making these a much healthier choice for an everyday **Easy Potato Side Dish**. Here’s a quick rundown of what you’re looking at per serving:
- Serving Size: About 8 wedges
- Calories: Roughly 250
- Fat: About 8 grams total
- Sodium: Around 450 mg
- Carbohydrates: 42 grams
- Protein: 5 grams
As you can see, the macros lean toward the carbohydrates, which is natural since we’re using potatoes! But we managed to keep the saturated fat nice and low, which is what matters when you’re trying to eat better without sacrificing flavor. If you wanted even less sodium, just cut back on that added salt when you mix your seasoning blend!
Share Your Crispy Potato Wedges Experience
I truly can’t wait for you to try making these **potato wedges**! They are game-changers, and my entire family loves them. When you nail that perfect crunch, please come on back to the blog and leave a rating—five stars if they earned it! I always love hearing what dipping sauces or spice variations you tried out. Happy baking!
PrintCrispy Baked Potato Wedges

A simple recipe for making thick-cut potato wedges that are crispy on the outside and fluffy inside using an oven baking method.
- Prep Time: 15 min
- Cook Time: 40 min
- Total Time: 55 min
- Yield: 4 servings
- Category: Side Dish
- Method: Baking
- Cuisine: American
- Diet: Vegetarian
Ingredients
- 4 large Russet potatoes
- 2 tablespoons olive oil
- 1 tablespoon cornstarch
- 1 teaspoon salt
- 1/2 teaspoon black pepper
- 1 teaspoon garlic powder
- 1/2 teaspoon paprika
- 1/4 cup grated Parmesan cheese (optional)
Instructions
- Preheat your oven to 425 degrees Fahrenheit (220 degrees Celsius). Line a large baking sheet with parchment paper.
- Wash the potatoes well. Cut each potato into 8 equal wedges, leaving the skin on.
- Place the cut wedges in a large bowl and cover them completely with cold water. Let them soak for at least 30 minutes. This removes excess starch.
- Drain the potatoes completely. Lay them out on a clean kitchen towel or paper towels and pat them completely dry. Moisture prevents crisping.
- In the same bowl, toss the dry wedges with olive oil until lightly coated.
- In a small bowl, mix together the cornstarch, salt, pepper, garlic powder, and paprika. Sprinkle this mixture over the oiled wedges and toss until every wedge is evenly coated. The cornstarch is key for crispiness.
- Arrange the wedges on the prepared baking sheet in a single layer. Do not let them touch.
- Bake for 20 minutes. Flip the wedges over.
- Bake for another 15 to 20 minutes, or until they are golden brown and crisp. If using Parmesan, sprinkle it over the wedges during the last 5 minutes of baking.
- Remove from the oven and serve immediately.
Notes
- For extra crispiness, you can place the baking sheet in the oven while it preheats.
- If you prefer a stronger garlic flavor, add 1/2 teaspoon of garlic powder to the oil before tossing with the dry ingredients.
- If you want steakhouse style wedges, use only salt and pepper for seasoning.
Nutrition
- Serving Size: 1 serving (about 8 wedges)
- Calories: 250
- Sugar: 1
- Sodium: 450
- Fat: 8
- Saturated Fat: 1.5
- Unsaturated Fat: 6.5
- Trans Fat: 0
- Carbohydrates: 42
- Fiber: 5
- Protein: 5
- Cholesterol: 0