

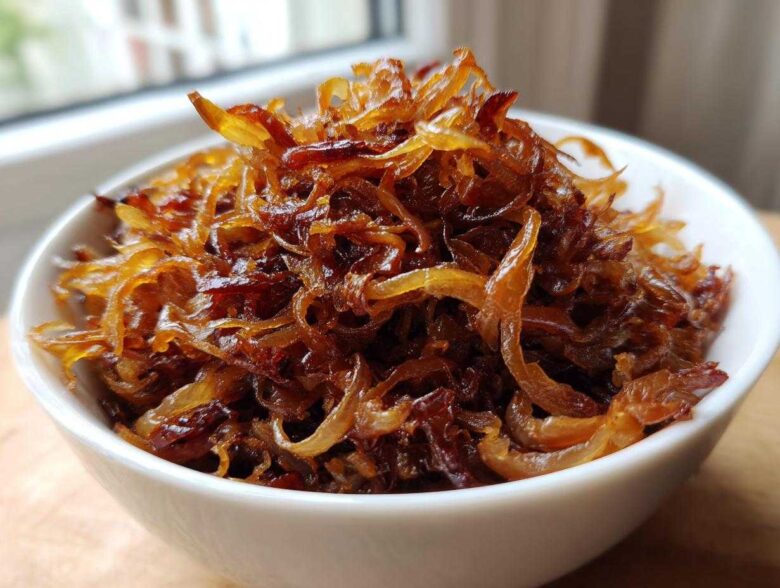
If there’s one kitchen transformation that always makes me stop what I’m doing, it’s watching caramelized onions come to life. Honestly, my planning brain could organize these onions perfectly onto a spreadsheet, but it takes Jacob’s instinct at the stovetop to turn something sharp and tear-inducing into the most glorious, rich, savory sweet onion topping imaginable. It feels like magic! But the best part? It’s not actually magic—it’s a technique you can master right now. This guide cuts through the confusion so you can learn the absolute best way to cook onions sweet, yielding perfect caramelized onions in under 45 minutes. Trust me, once you nail this, you’ll be adding them to everything. You can check out some of our other quick cooking projects over here on the main blog!
Why Mastering Caramelized Onions is a Kitchen Staple Onions Skill
I used to think onions were just a background player—something you chopped quickly before adding garlic. Boy, was I wrong! When you dedicate the time, you’re not just cooking onions; you’re transforming them from sharp and pungent into something deeply sweet and savory. They become this incredible, jammy component that elevates everything. Whether we’re talking about a decadent caramelized onion dip recipe or the base for a rich french onion pasta sauce, mastering this technique is crucial. It’s the difference between a good dish and one that tastes like it took hours of expert attention.
The Science Behind Deep Flavor Onions
It all comes down to a little chemistry we learned from some truly amazing culinary sources—that lovely process called the Maillard reaction. Don’t let the fancy name scare you; it’s just how sugar and proteins interact when they get nice and warm! When you cook onions low and slow, you encourage these natural sugars to brown beautifully, unlocking those complex, almost meaty notes. That’s exactly the best way to cook onions sweet. It’s completely rewarding to see basic yellow onions turn into that rich, dark mahogany color. Jacob loves reminding me that this patience is what creates that unparalleled, deep flavor profile we look for in all our favorite dishes, like our homemade garlic butter.
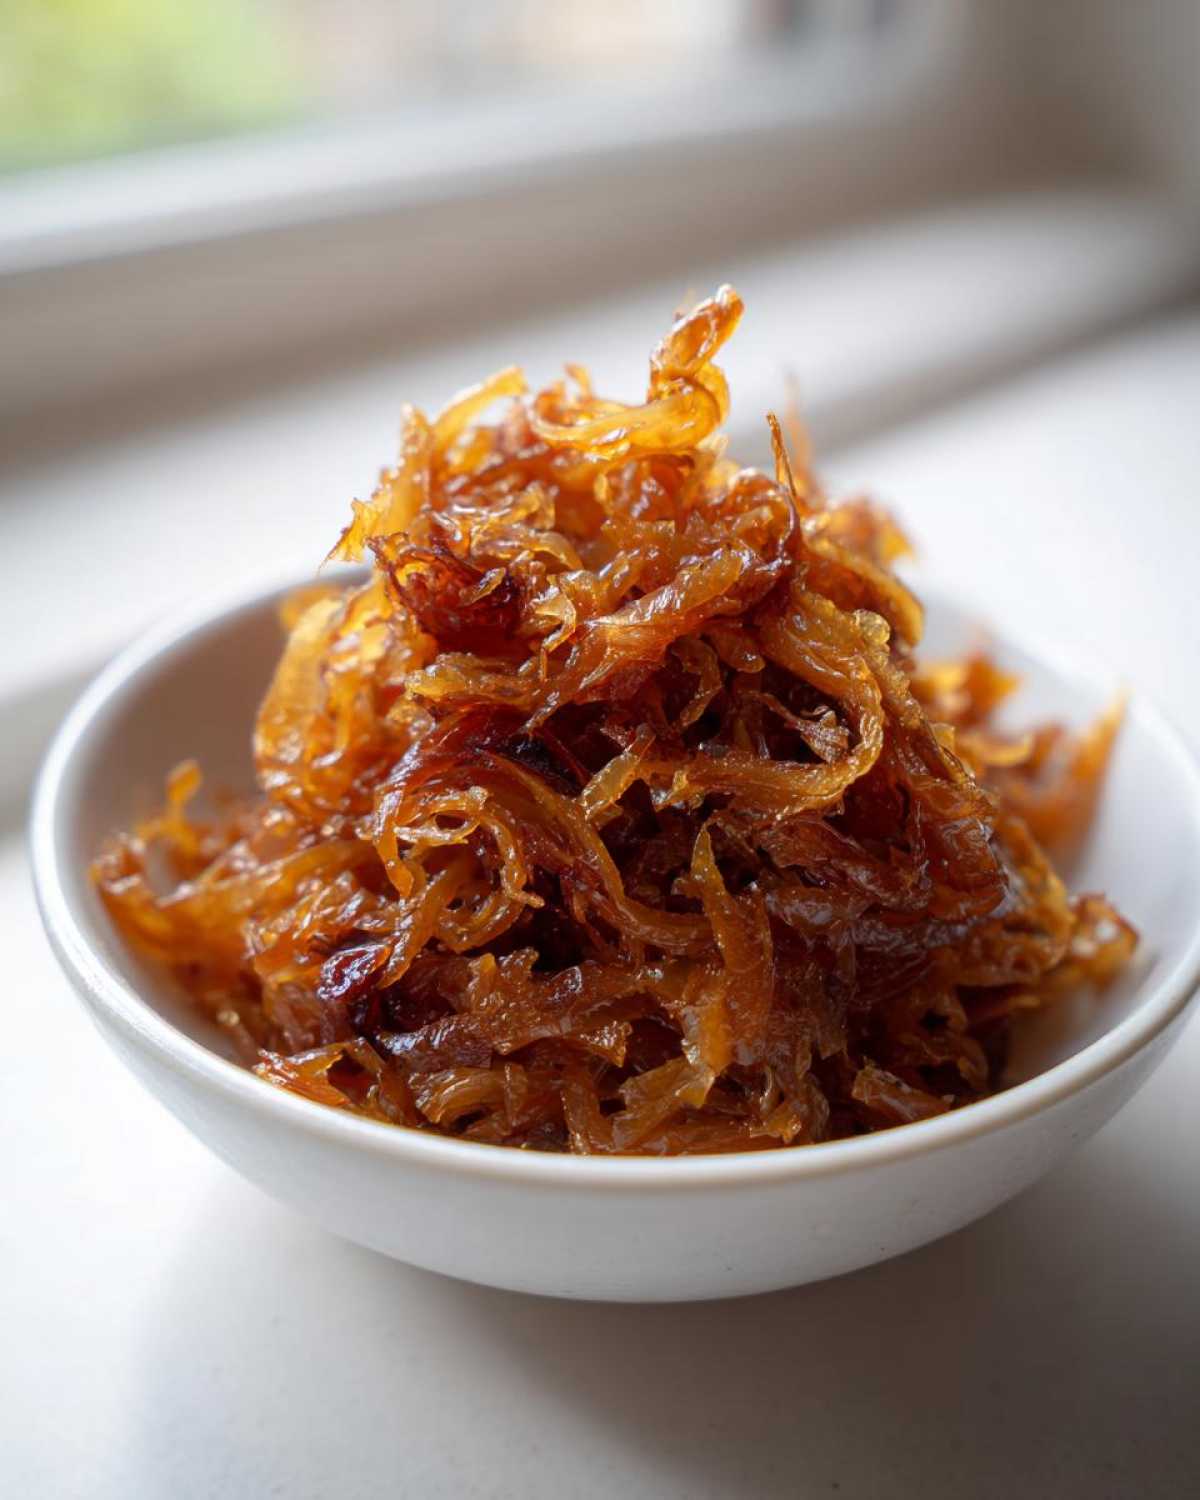
Ingredients for Perfect Caramelized Onions
Okay, this is where my planning gets really satisfying! When we look at the ingredient list for this foundation recipe, you’ll notice it’s incredibly simple. That’s the beauty of it—we don’t need to mask the onion flavor; we just need to coax it out. The ratios here are perfect for drawing out that deep flavor without needing a lot of fuss, though you can bulk this up easily if you’re making a big batch of caramelized onions for freezing later!
- 3 large yellow onions, thinly sliced
- 2 tablespoons unsalted butter
- 1 tablespoon olive oil
- 1 teaspoon salt
- 1 teaspoon granulated sugar (optional, but I highly recommend it if you’re trying the quicker method!)
- 1/4 cup water or low-sodium vegetable broth (this is for deglazing later, the little bit of liquid gold!)
A quick note on the onions: Yellow onions are my go-to, just like the recipe calls for, because they have a nice balance of sugar and sharpness. If you use super sweet onions, they might brown even faster. The key here is that thin, uniform slice. If they are all different thicknesses, some will burn while others are still raw, and that just ruins the whole project!
How to Caramelize Onions: The Low and Slow Method
This is where Jacob truly shines, and where I have to take a deep breath and remind myself that Amelia the Planner needs to trust Jacob the Artist. When we are making caramelized onions the proper way—the *slow cooked onions* way—patience is everything. You want that deep amber color, and you absolutely cannot rush the process unless you want fried onions instead of rich, sweet ones!
First things first: get your heavy-bottomed pan (that’s important!) over medium-low heat. We mix the butter and oil together because the butter gives us that lovely nutty flavor, but the oil keeps it from burning too fast. Toss in your sliced onions and that teaspoon of salt. The salt actually helps pull the moisture out initially, which kickstarts the softening process.
Now, we cook, stirring only every five to seven minutes for the first 15 minutes. Jacob always jokes that this is his meditation time. He resists the urge to poke them constantly—that just lowers the pan temperature! After about 15 minutes, they’ll start looking soft and pale. If you are going slow, resist the urge to add the sugar now; let the natural sugars do their work first. Keep going until they start looking golden brown, usually around the 25-minute mark. If your pan looks dry, add that splash of water or broth and scrape up any sticky brown bits stuck to the bottom. That fond is pure flavor, you don’t want to lose it! We keep going until we get that gorgeous mahogany color, usually hitting the 40-minute mark for the best caramelized onions.
The Quick Onion Hack for Faster Caramelized Onions
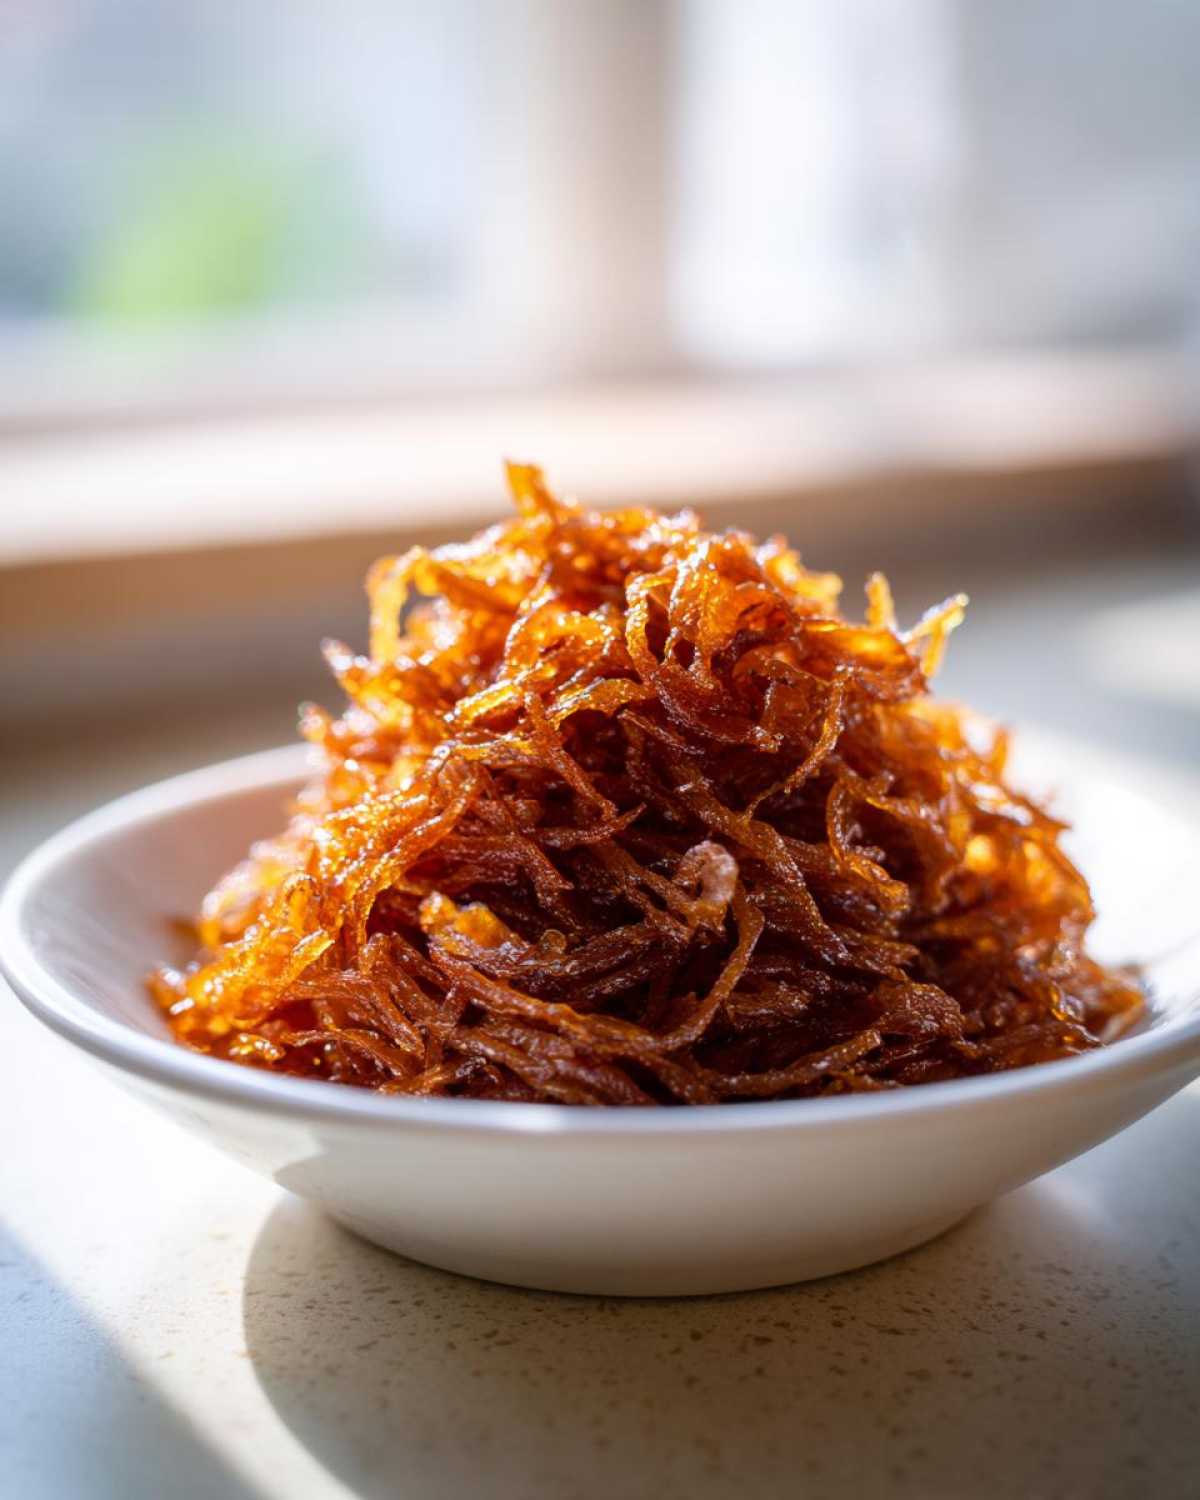
Look, I get it. Sometimes you need that incredible, deep flavor, but you don’t have 45 minutes to watch onions simmer. That’s when we use the quick onion hack! After those first 15 minutes where they are nice and translucent, you can crank the heat up to medium. But here’s the crucial change: you have to stir almost constantly after that point. If you stop stirring, those sugars will scorch fast! This method gets you a beautiful caramelization in maybe 25 minutes total. It’s still fantastic—a great easy onion recipe—but for the *deepest* flavor, especially for a gourmet onion side dish, the slow way is still king. We use this hack often when prepping for something like our homemade teriyaki sauce, where we need a quick boost of savory sweetness. You can read more about patience in cooking over at Simplerecipes.
Cooking Tips for Onions: Achieving the Best Caramelized Onions
You’ve got your onions simmering, and maybe you’re staring anxiously into the pan, worried they might burn or just quit halfway through. Don’t panic! This is where those little pro tips turn ‘good’ caramelized onions into the absolute best. Uniform slicing is number one, like I mentioned before. If Jacob sees one thick slice in the mix, he pulls it out and cuts it down immediately. Everything needs to cook at the same pace to reach that perfect sweet point.
The second biggest tip relates to what happens when you see those gorgeous brown bits forming on the bottom of your pan—that’s called the fond, and it’s pure flavor concentrated magic! If you let those bits cook until they turn black, you’ll get bitterness, and you’ve ruined the batch. But if they start to stick and look dark brown around the 20-minute mark, it’s time to deglaze. I usually pour in just a tablespoon of water or broth, making sure the heat isn’t blasting, and use a sturdy wooden spoon to scrape every last bit up. That liquid instantly dissolves the caramelized sugars stuck below, incorporating them back into the onions. It’s honestly the most satisfying sound in the kitchen!
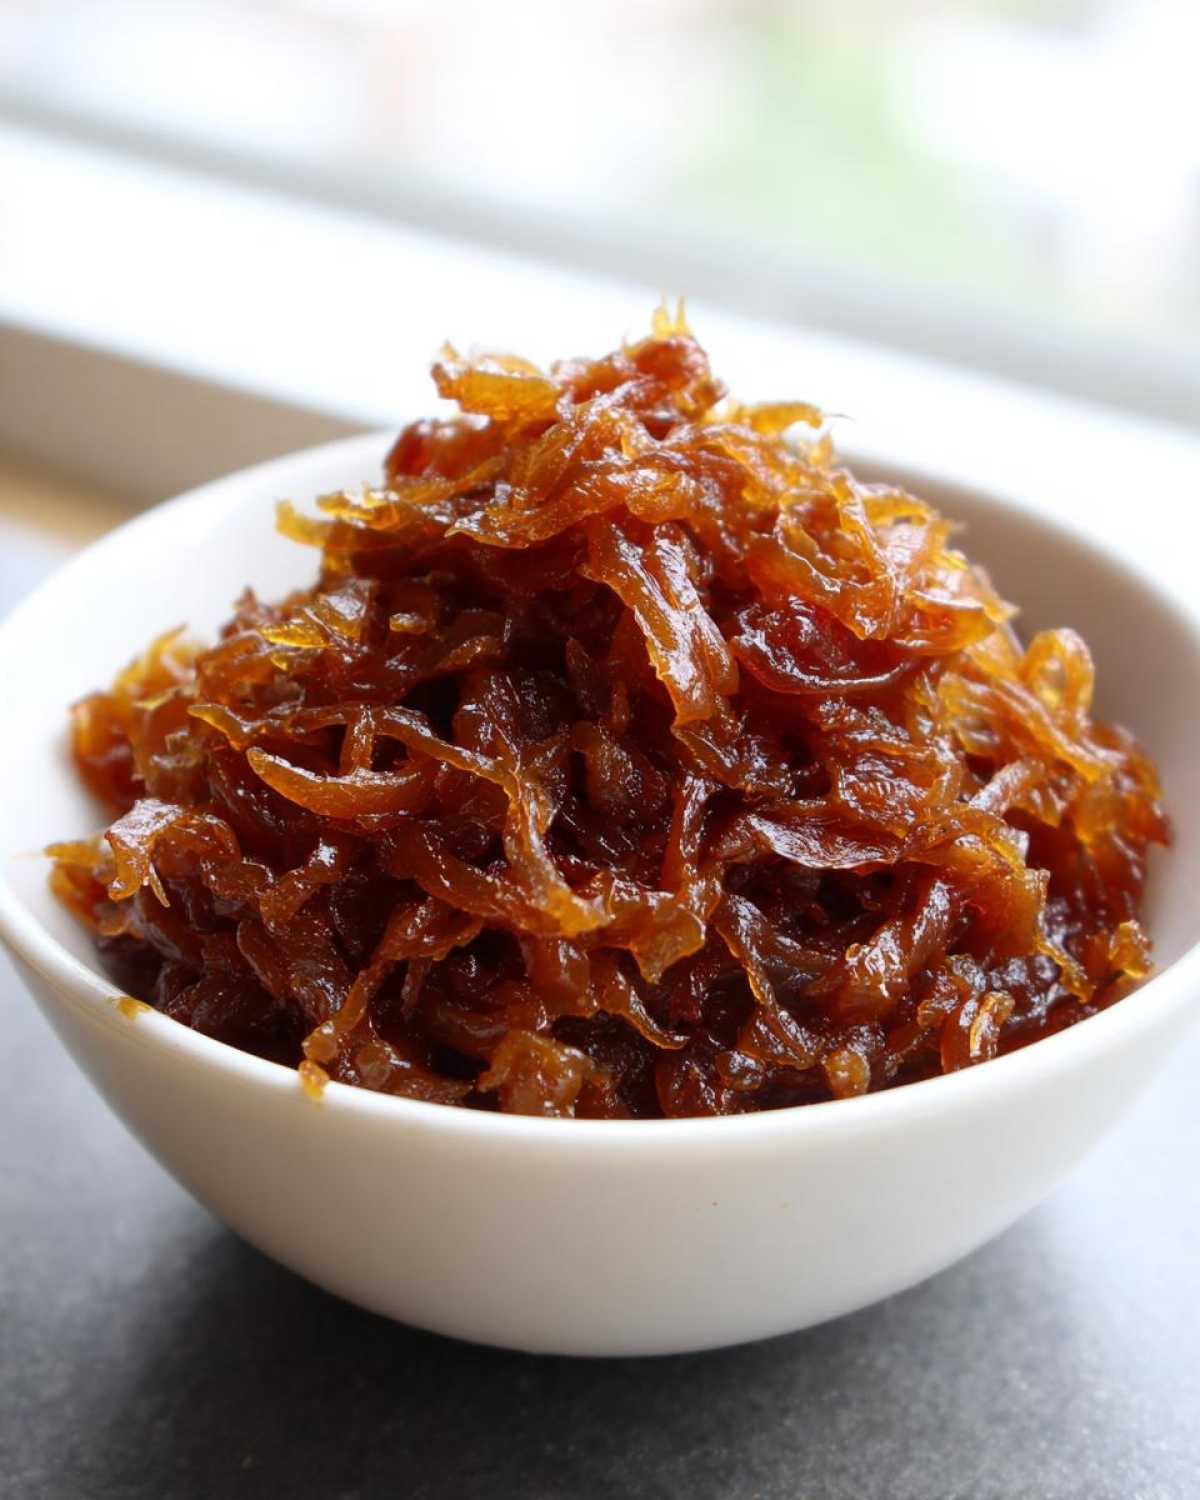
We use this scraping technique constantly, even when we’re making our super easy homemade pizza dough; if the sauce starts to stick, we scrape it up! Remember, this process is about drawing out the moisture first, softening next, and only then does the browning truly begin. If your onions seem stuck (not just slightly browned), they might need a tiny splash of liquid, not more fat. For more guidance on making sure you get everything right, check out the experts over at Running to the Kitchen.
Using Your Savory Sweet Onion Topping in Recipes
Okay, you’ve done the hard work! You’ve got this beautiful, deep brown, intensely flavored batch of caramelized onions ready to go. Now what? This is my favorite part because these onions are true culinary chameleons. They go from being an easy onion recipe to the star of the show in seconds. You can use them as a simple onion topping for burgers, or you can turn them into something truly show-stopping. We’re talking dips that make people crowd around the bowl, and pasta sauces that taste like they simmered all day long.
Idea 1: The Ultimate Caramelized Onion Dip Recipe
If you want a dip that disappears instantly at any party, this is it. You take about half of your finished onions and fold them right into a base of softened cream cheese. Jacob insists that adding a little bit of sharp Gruyère or creamy Brie elevates it, but honestly, the onions do most of the heavy lifting! It’s seriously so good piled high with those intensely sweet onions mixed throughout. You can check out a fantastic recipe inspiration for that style of dip over here if you need a guide on the cheese component over here!
Idea 2: Simple French Onion Pasta Sauce Base
This is one of my recent obsessions because it makes a weeknight meal feel like a restaurant experience. Use the onions as the starting point for your sauce. You cook them down a bit more with maybe some fresh thyme and stock until they are almost dissolving. Then, you add your cream or cashew cream, and boom—instant creamy onion pasta ingredient base! It’s comforting, rich, and uses up a lot of your batch, which is perfect because you’ll need to make more soon!
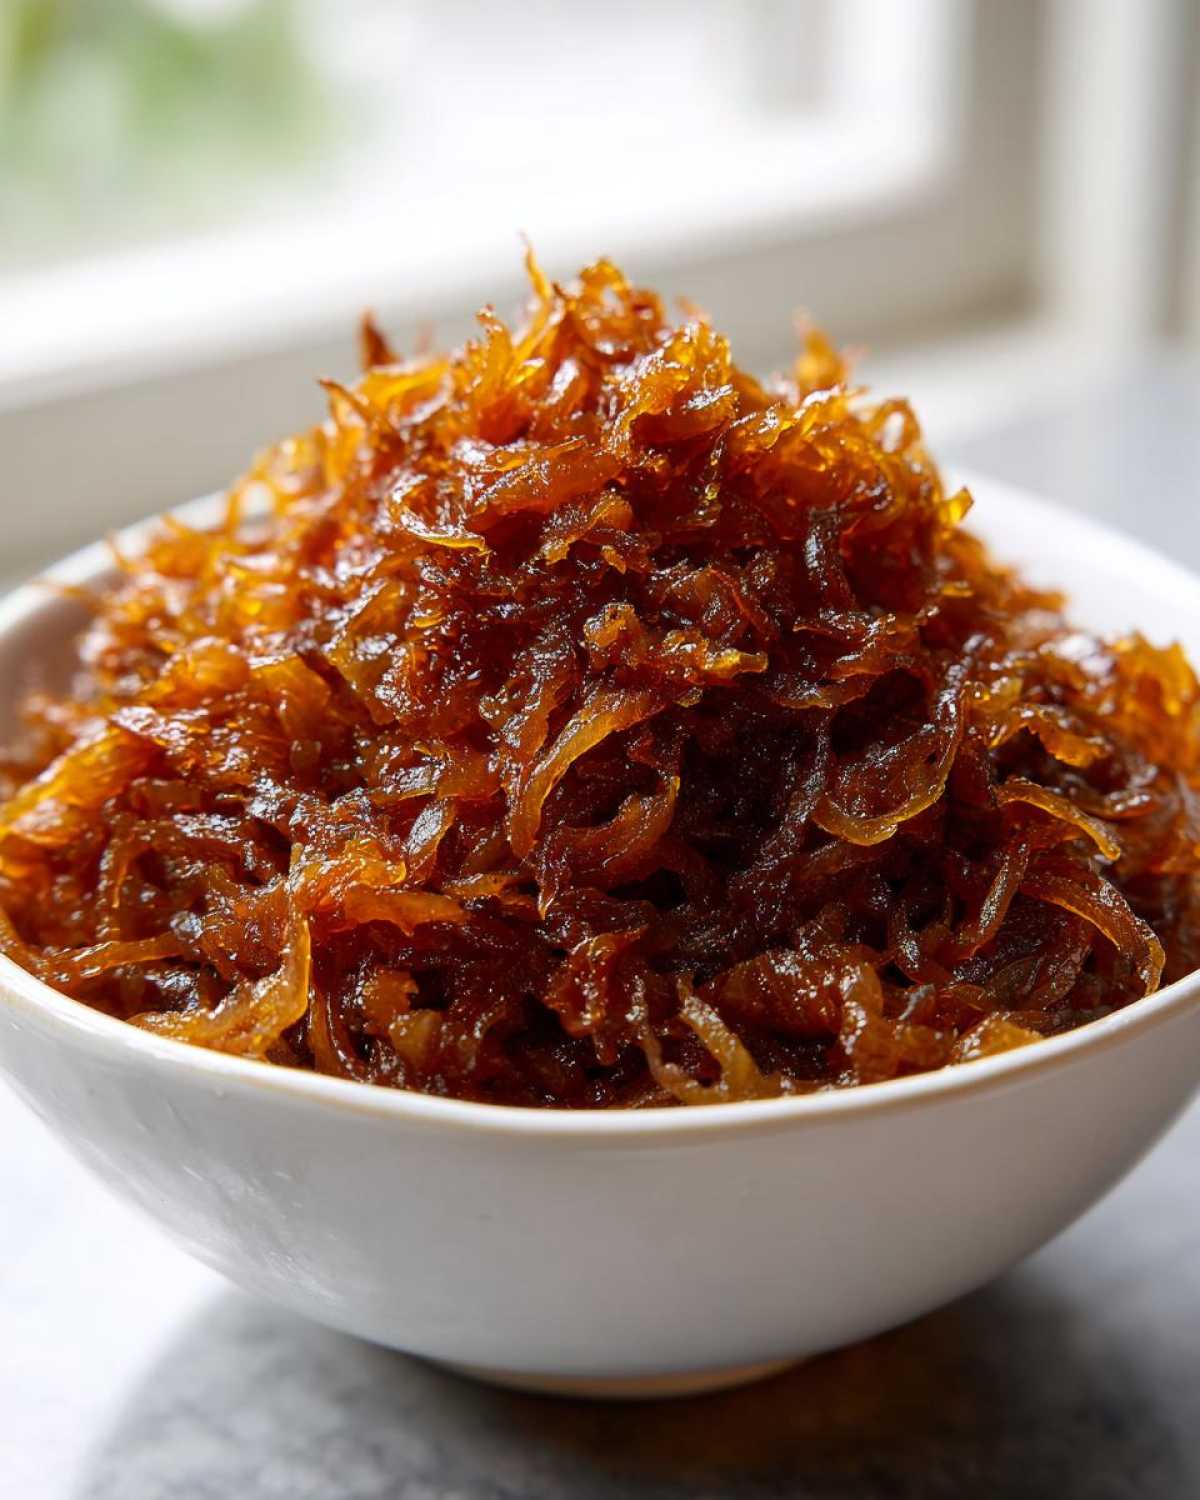
These cooked onions are also amazing served simply on top of grilled chicken or mixed into egg dishes. For some quick appetizer ideas that need a savory punch, take a look at these smoked salmon bites—imagine adding a smear of these onions underneath!
Variations: Making Homemade Onion Jam and Vegan Caramelized Onion Recipes
So, you’ve finished your big batch of classic caramelized onions, and you have a little left over that you aren’t ready to freeze. What do you do with the rest? This is where we get into the fun variations that keep this ingredient exciting! You can easily transform this base into something totally different, depending on what you’re craving.
For a truly gourmet touch that’s fantastic on charcuterie boards or smeared on toast, you can turn your onions into a quick homemade onion jam. After the onions are deeply caramelized—that perfect mahogany color—you just need a little extra punch of flavor. I usually add about two tablespoons of balsamic vinegar or red wine vinegar right at the end, along with a sprig of fresh thyme. Let it simmer down until it becomes thick and spreadable, almost like a relish. It’s savory, sweet, and tangy, and it cooks down so quickly once the onions are already done!
Now, if you’re cooking for friends who eat plant-based, or if you just want to keep things lighter, making vegan caramelized onion recipes is incredibly easy. Guess what? You don’t need the butter! We already use olive oil in our main recipe, so when making a vegan batch, just skip the butter entirely and use a full three tablespoons of a good, neutral olive oil, or even avocado oil. The flavor difference is negligible when cooked low and slow because the reaction is happening between the onion sugars and the heat, not the milk solids in the butter. Jacob experimented when making that amazing creamy vegan caramelized onion pasta; he found using a slightly higher ratio of oil worked perfectly to keep them silky smooth.
This flexibility is why I consider this technique non-negotiable in the kitchen. Whether you’re going full dairy or keeping it totally vegan, the foundation of perfectly cooked, deep-flavored onions is the secret weapon. They are the flavor elevator for everything, from fancy toast to amazing vegan tacos!
Storage and Freezing for Your Kitchen Staple Onions
Whew, you made it! You’ve got this huge batch of golden, jammy onions, and you might be wondering how on earth you can possibly use them all before they go bad. The good news is you don’t have to eat them all in one sitting! These are fantastic keepers, and keeping them properly stored means you always have that flavor booster ready to go. This step is essential because we want to protect that deep flavor we worked so hard to create.
First and foremost, you absolutely must let them cool down completely before you put them anywhere. If you seal up hot onions, you’re trapping steam, which leads to soggy onions, and no one wants that slimy texture ruining a good batch of caramelized onions. Spread them out on a sheet tray or a large plate for about 30 minutes until they reach room temperature. This lets any residual moisture evaporate.
Refrigeration Tips for Freshness
For the fridge, grab an airtight container. Seriously, airtight is key here; otherwise, your fridge starts to smell delightfully, but strongly, of sweet onions! In a sealed container, these will last a solid week, maybe even ten days. If you are planning to use them frequently—maybe you’re tackling that creamy onion pasta recipe multiple times this week—this is the way to go. I often make a batch just like Jacob did when he made those amazing air fryer baked potatoes; having them ready to spoon over anything is a lifesaver.
Freezing for Long-Term Flavor
If you made a huge pot, freezing is your best friend. Remember, we want to avoid clumping together, which ruins that beautiful separation. The best way to freeze them is in small, manageable portions. Scoop about two tablespoons—that’s a good amount for a dip or a single serving of pasta—onto a small square of parchment paper or directly onto a small baking sheet. Pop that tray into the freezer until the portions are solid, which usually takes an hour or two. Once they are hard little onion pucks, you can transfer them all into one big, heavy-duty freezer bag. Frozen caramelized onions are good for about three months!
When you need them, just pull out what you need! You don’t even need to thaw them fully. If you’re adding them to a soup or sauce, just toss them in while cooking. If you’re topping a burger, just let them sit on the counter for ten minutes while the patty rests. They reheat beautifully and keep all that deep, **savory sweet onion** goodness intact!
Frequently Asked Questions About Caramelized Onions
Okay, I know you’ve probably followed all the steps perfectly, but sometimes the onion process leaves us with a few lingering, slightly panicked questions. That’s totally normal! Whether you’re worried about the color or wondering how long these treasures last in the fridge, I’ve gathered the things Jacob and I get asked most often when we share our secret to deep flavor onions.
What is the best onion type for achieving sweet results?
For the most reliable outcome, stick with large yellow onions, just like we used in the main recipe. They have a good mineral and water content that caramelizes beautifully without getting mushy too fast. If you want a slightly gentler flavor from the start, grab sweet onions—Vidalia or Walla Walla work wonderfully! They naturally have more sugar, so they might brown a tiny bit faster, so watch your heat when using those. They make an amazing sweet onion topping.
Can I skip the sugar when making caramelized onions?
Absolutely, you can skip it! That teaspoon of granulated sugar we mentioned is totally optional. Think of it as a tiny boost, especially if you are using the quick onion hack. The sugar helps speed up the browning process when you want those savory sweet onions ready faster than the full 40 minutes. If you are going truly low and slow, the natural sugars in the onions will come out just fine on their own, making for an incredibly pure, rich onion flavor.
Here are a couple more things people always ask us when they are prepping a batch of this easy onion recipe:
- What if my onions start to burn or turn black? Oh no! If you notice patches turning black instead of dark brown, immediately take the pan off the heat! If it’s just small spots, try adding a splash of water and scraping hard to save the rest. If the whole batch smells acrid, sadly, it’s best to start over. Better luck next time, happens to everyone!
- Do these work well for a vegan caramelized onion recipes base? Yes, they do! As we talked about, just skip the butter and use only olive oil. They still brown perfectly and make the most incredible addition to any vegan caramelized onion recipes application, like enriching your veggies or making that vegan pasta sauce base.
- How long do these last in the fridge if I make a big batch? If you store them properly in a good, sealed container, they stay fantastic for about one week. We always try to use our initial batch relatively quickly, but if you can’t, popping them in the freezer is the way to go! They taste superb in things like a homemade grape salad if you want a savory twist!
Share Your Perfect Caramelized Onions Creations
Honestly, seeing what you all do with this base recipe is the absolute highlight of running this blog. Jacob and I put so much heart into perfecting this technique, and knowing it’s helping you create amazing meals is what it’s all about. Did you manage to get that perfect mahogany color? Did you finally stop being intimidated by the 40-minute cook time?
We want to see it! Drop a rating below so others know how much you loved this technique for creating truly deep flavor onions. And please, tell us how you used them! Did you make an incredible caramelized onion dip recipe? Are they waiting under the cheese topping for tomorrow night’s burgers?
Leave your comments, success stories, or any last-minute troubleshooting below! We read every single one. For more of our delicious project successes, check out our honey garlic chicken—another huge win from our collection! And if you’re still looking for a quick tip, I saw this great 3-ingredient guide, which is awesome for emergencies!
PrintThe Ultimate Guide to Perfect Caramelized Onions: From Sharp to Sweet in Under 45 Minutes
Learn the best way to cook onions sweet by mastering the technique for deep flavor caramelized onions. This guide covers the low and slow method and a quicker hack to create this essential kitchen staple for dips, pasta, and toppings.
- Prep Time: 10 min
- Cook Time: 40 min
- Total Time: 50 min
- Yield: About 1.5 cups
- Category: Side Dish
- Method: Stovetop Sauté
- Cuisine: General
- Diet: Vegetarian
Ingredients
- 3 large yellow onions, thinly sliced
- 2 tablespoons unsalted butter
- 1 tablespoon olive oil
- 1 teaspoon salt
- 1 teaspoon granulated sugar (optional, for faster browning)
- 1/4 cup water or low-sodium vegetable broth (for deglazing)
Instructions
- Slice the onions thinly and uniformly. Uniformity helps them cook evenly.
- In a large, heavy-bottomed skillet or Dutch oven, combine the butter and olive oil over medium-low heat.
- Add the sliced onions and salt to the pan. Stir well to coat them in the fat.
- Cook the onions slowly, stirring every 5 to 7 minutes. Keep the heat low to prevent burning. This slow cooking process draws out the natural sugars.
- After 15 minutes, the onions will be soft and translucent. If the pan looks dry, add the optional sugar now.
- Continue cooking, stirring more frequently as they begin to brown (around the 25-minute mark).
- If brown bits stick to the bottom of the pan (fond), add 1 tablespoon of water or broth and scrape the bottom with a wooden spoon. This adds depth of flavor.
- Continue cooking until the onions reach a deep, rich, mahogany brown color, about 35 to 45 minutes total, depending on your heat level.
- Remove from heat. These savory sweet onions are ready to use as a gourmet onion side dish or topping for burgers.
Notes
- For a faster caramelized onion hack, increase the heat to medium after the first 15 minutes, but stir constantly to prevent scorching. This reduces cook time to about 25 minutes.
- You can use this base for creamy onion pasta ingredient or a homemade onion jam.
- These freeze well. Cool completely, then store in an airtight container for up to 3 months.
Nutrition
- Serving Size: 1/4 cup
- Calories: 75
- Sugar: 7
- Sodium: 290
- Fat: 4
- Saturated Fat: 2
- Unsaturated Fat: 2
- Trans Fat: 0
- Carbohydrates: 10
- Fiber: 1
- Protein: 1
- Cholesterol: 5