

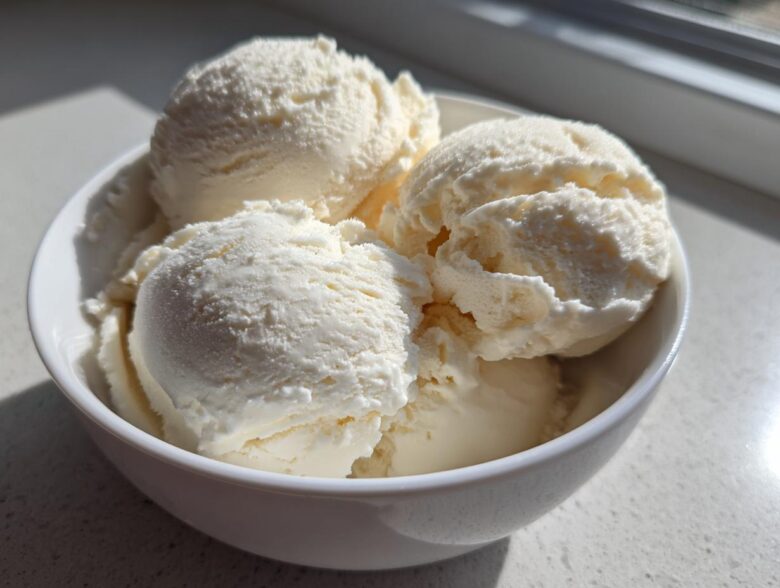
If you’re anything like me—a planner to the core—you probably have a saved folder bursting with **healthy homemade ice cream** ideas you’ve been meaning to try. But let’s be real, sometimes the idea of pulling out an ice cream maker feels like another huge project we just don’t have time for. Well, stop saving and start scooping! Jacob always has this amazing, intuitive confidence in the kitchen that I try to match with rigid plans, and this recipe is one where his ease meets my need for simple structure. We finally cracked the best, simplest, unbelievably creamy, no-churn **protein ice cream** recipe. It’s high in protein, requires zero special equipment, and tastes like a total indulgence. You’re going to love this sweet moment we perfected for you! If you’re looking for more projects organized just right, you can always check out our main blog archive.
Why This No-Churn Vanilla Protein Ice Cream is Your New Favorite Macro Friendly Dessert
The absolute best part of this recipe is that it checks every single box for what we look for in a fantastic **High Protein Dessert Recipe**. Seriously, no machine required! We managed to turn humble Greek yogurt into something that feels decadent but is perfectly calibrated to be one of your new favorite **Macro Friendly Desserts**. It’s high in protein, obviously, and it hits that sweet spot where your macros look great, but your tastebuds are totally satisfied. These are the ultimate **Guilt Free Frozen Treats** you’ve been searching for. If you loved mastering those no-bake protein bars, this is the next easy macro win!
Achieving Creamy Texture in Your Protein Ice Cream
The biggest hurdle with homemade fitness ice cream is always texture, right? It tends to turn rock-solid or icy. That’s where the Greek yogurt comes in. Because it’s already so thick, we skip the churning step entirely. The yogurt acts as our creamy binding agent, keeping the mixture smooth and giving it that satisfying density without needing to constantly churn out the ice crystals. It’s simple science mixed with a little bit of kitchen hustle!
Gathering Ingredients for Your Simple Protein Ice Cream Base
When I’m planning a recipe—and you know I love to plan!—clarity in the ingredient list is everything so Jacob can execute perfectly. For this **Healthy Homemade Ice Cream**, we keep things super straightforward. You only need four main things, but the specifics matter for texture.
First up, grab one full cup of plain Greek yogurt. I strongly suggest using 2% or even full-fat versions here; trust me on this if you want true creaminess—the low-fat versions can sometimes lead to iciness. Next, your sweetener—we use two tablespoons of granulated sweetener, but adjust this based on how sweet your protein powder already is. Absolutely essential is one scoop of vanilla protein powder; whey/casein blends are usually perfect here. Finally, pour in half a cup of almond milk, or whatever milk you prefer, to get that mixable consistency. These are the building blocks for our delicious, **Guilt Free Frozen Treats**!
If you’ve had success making our Cottage Cheese Microwave Brownie, you know we sometimes play with different dairy bases, but for this one, stick to the yogurt!
Step-by-Step Guide: Making No Churn Protein Ice Cream
Okay, this is where my planning starts letting Jacob take the lead, because the execution just needs to flow naturally. But don’t worry, these steps are straightforward! We’re not using any fancy equipment, so break out a sturdy bowl and a whisk. This whole mixing process takes maybe five minutes, which is why I love it for those busy weeknights when I just need a **protein ice cream** fix.
Mixing the Protein Ice Cream Base Smoothly
First, we need a smooth foundation. In your bowl, whisk the Greek yogurt and your sweetener together really well until that sweetener is totally dissolved—no grainy bits allowed! That’s my biggest structural rule. Next, gently whisk in your vanilla protein powder. This is crucial: Add it slowly! If you dump it all in at once, you get those annoying clumps that mock you later. We want smooth sailing!
Once the powder is mostly incorporated, slowly drizzle in your almond milk while you keep whisking. Jacob’s pro tip here is to stop right when the mixture looks like a super thick, luscious soft-serve, not runny milkshake. When it looks like that perfect dip right before it gets hard, you nail the consistency!
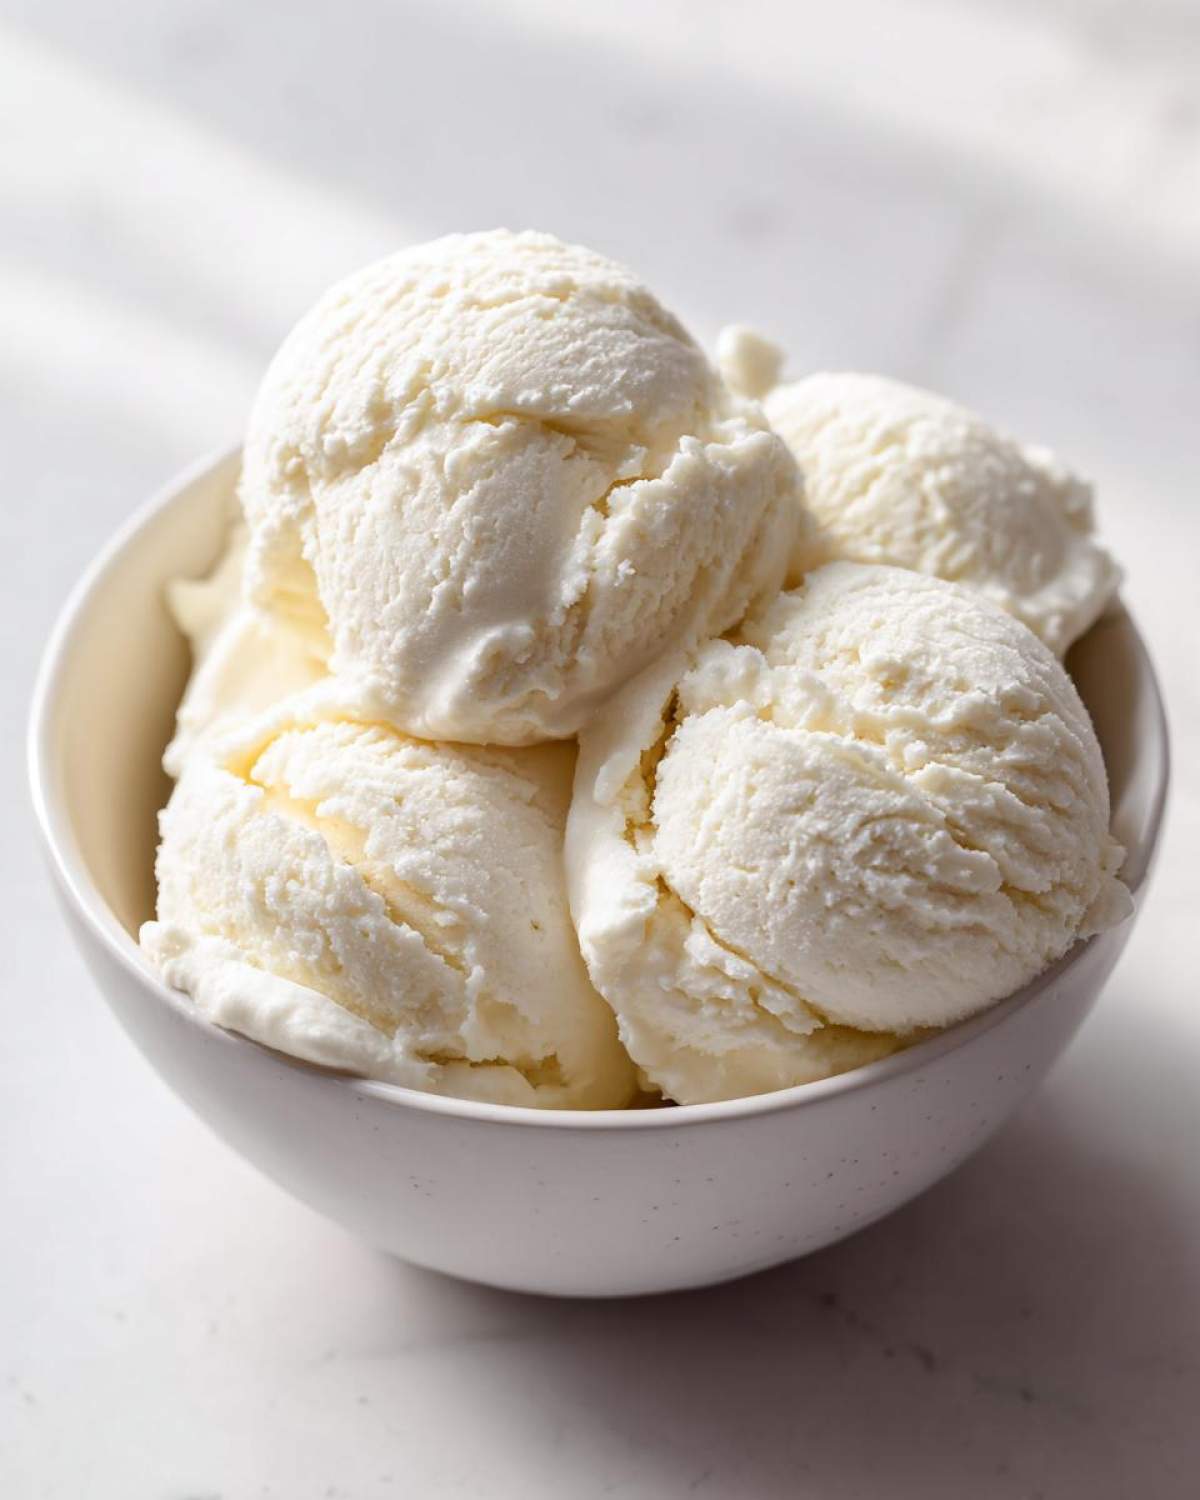
The Freezing Process for Perfect Protein Ice Cream
Now for the waiting game, which is the hardest part for me! Pour your thick base into a freezer-safe container—a loaf pan works great for us. The number one trick to avoid ice crystals on your **Simple 4 Ingredient Ice Cream**? Cover the surface of the mixture *directly* with plastic wrap before sealing the lid. This stops any freezer air from messing with your creamy top layer.
Pop it in the freezer for a minimum of six hours. Honestly, overnight is better, but if you’re sneaking this in after a workout, give it at least six hours to firm up properly. You can see how easy it is to pull together a great breakfast successor like this!
Tips for the Best Creamy Protein Ice Cream Texture
I know you want perfect scoops every time, and let’s just be honest—texture is everything when you’re making **protein ice cream**. If you follow the steps above, you are golden, but here are a couple of things Jacob and I figured out while experimenting with different protein types. Don’t let a little grit or hardness catch you off guard!
Protein Powder Choices for Your Protein Ice Cream
This is an area where Jacob always gets a little picky, but he’s right! The type of protein powder you use really changes the outcome. Whey protein absorbs liquid differently than casein, so you might need a tiny splash more milk if you use pure whey. Casein, though, is my secret weapon; it thickens beautifully, almost like pudding, giving us that amazing density we want in our **Healthy Homemade Ice Cream** base.
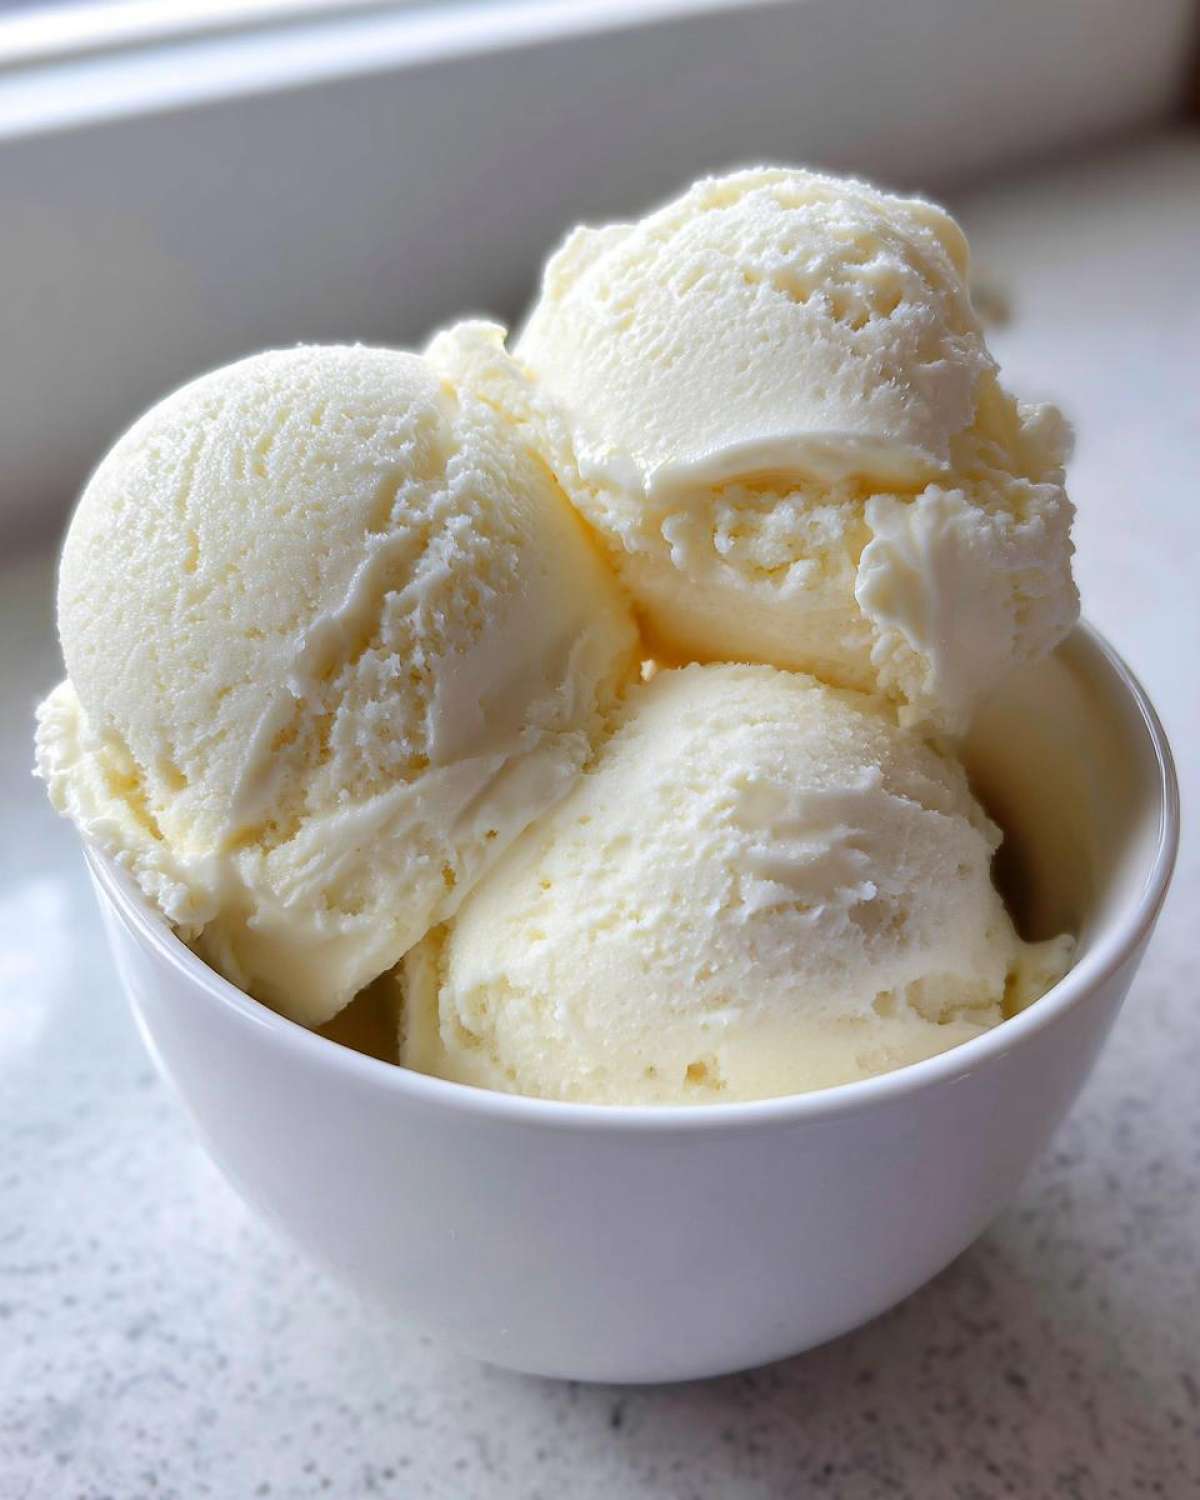
If you’re aiming for that melt-in-your-mouth texture we talked about, try blends! They often combine the best slow-digesting qualities with a better scoop feel. Speaking of fantastic texture, you have to check out our recipe for the best soft and chewy Snickerdoodles—the principles of ingredient quality definitely carry over!
Creative Protein Ice Cream Flavors and Variations
Once you nail this base recipe, the fun really begins because this is where you can start exploring all the amazing **Protein Ice Cream Flavors**! Luckily, because we aren’t relying on fruit for our structure, we have total freedom here. This vanilla base takes flavor additions like a champ, which Jacob loves because he can just eyeball things. I, the planner, usually write it down so we can replicate it later!
For an easy chocolate version—our personal favorite macro-friendly treat—just whisk in two tablespoons of unsweetened cocoa powder along with your vanilla protein powder. If you love a caramel note, a teaspoon of salted caramel extract works miracles! Or, if you want to go wild, try adding a splash of coffee extract for a creamy coffee flavor. We’re all about keeping these **Sweet Fitness Treats** interesting for second, third, and fourth scoops!
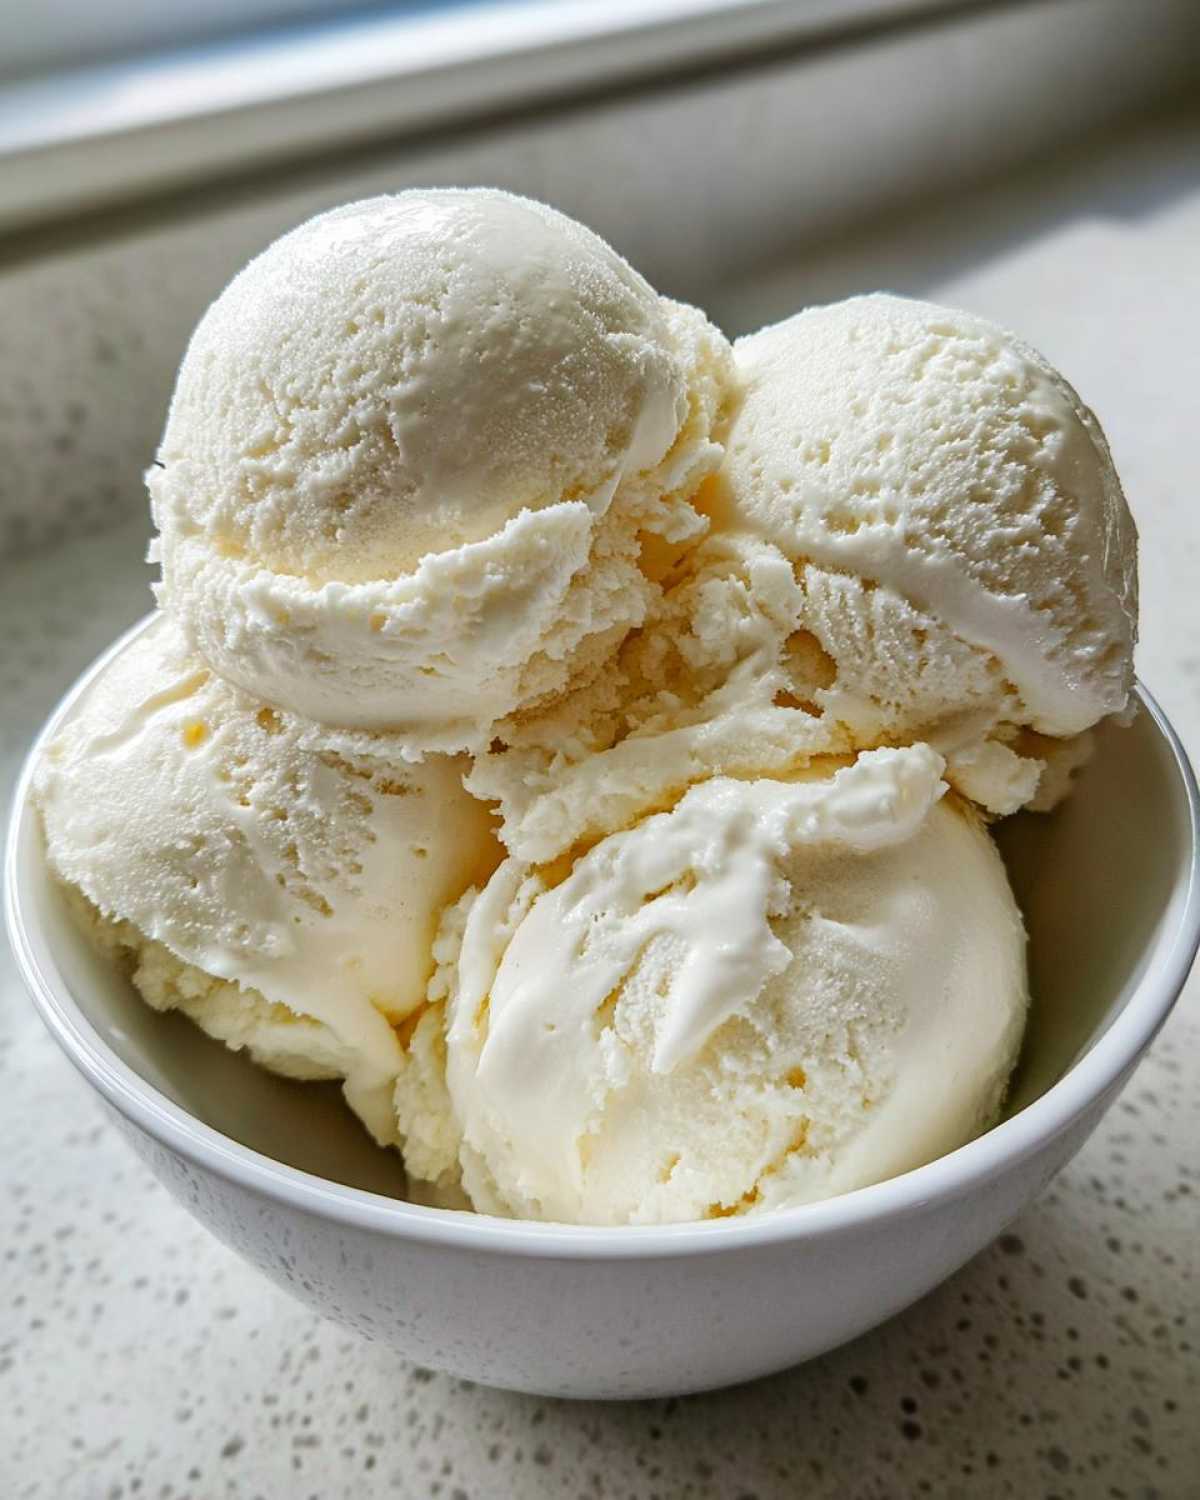
You can check out our tried-and-true recipe for Peanut Butter Cup Cookies for other ways we sneak flavor into classic desserts!
No Banana, No Problem: Making Protein Ice Cream Without Fruit
I know so many healthy ice cream recipes default to banana to get that ultra-creamy texture people crave, but honestly, I’m not a huge fan of the banana hiding in my dessert. If you searched specifically for **High Protein Dessert Recipes No Banana** options, you’re in the right place! This recipe relies solely on the high fat content of Greek yogurt and the thick properties of the protein powder itself. You get that fantastic, scoopable consistency that rivals any shop-bought tub without any sneaky fruit hiding in the flavor profile.
Storing and Reheating Your Homemade Protein Ice Cream
Keeping this **protein ice cream** perfect until you’re ready for a scoop is key! Make sure you use an airtight container, and remember that trick I mentioned? Press plastic wrap directly onto the surface of the frozen ice cream before you seal the lid. This seriously cuts down on any weird freezer burn happening.
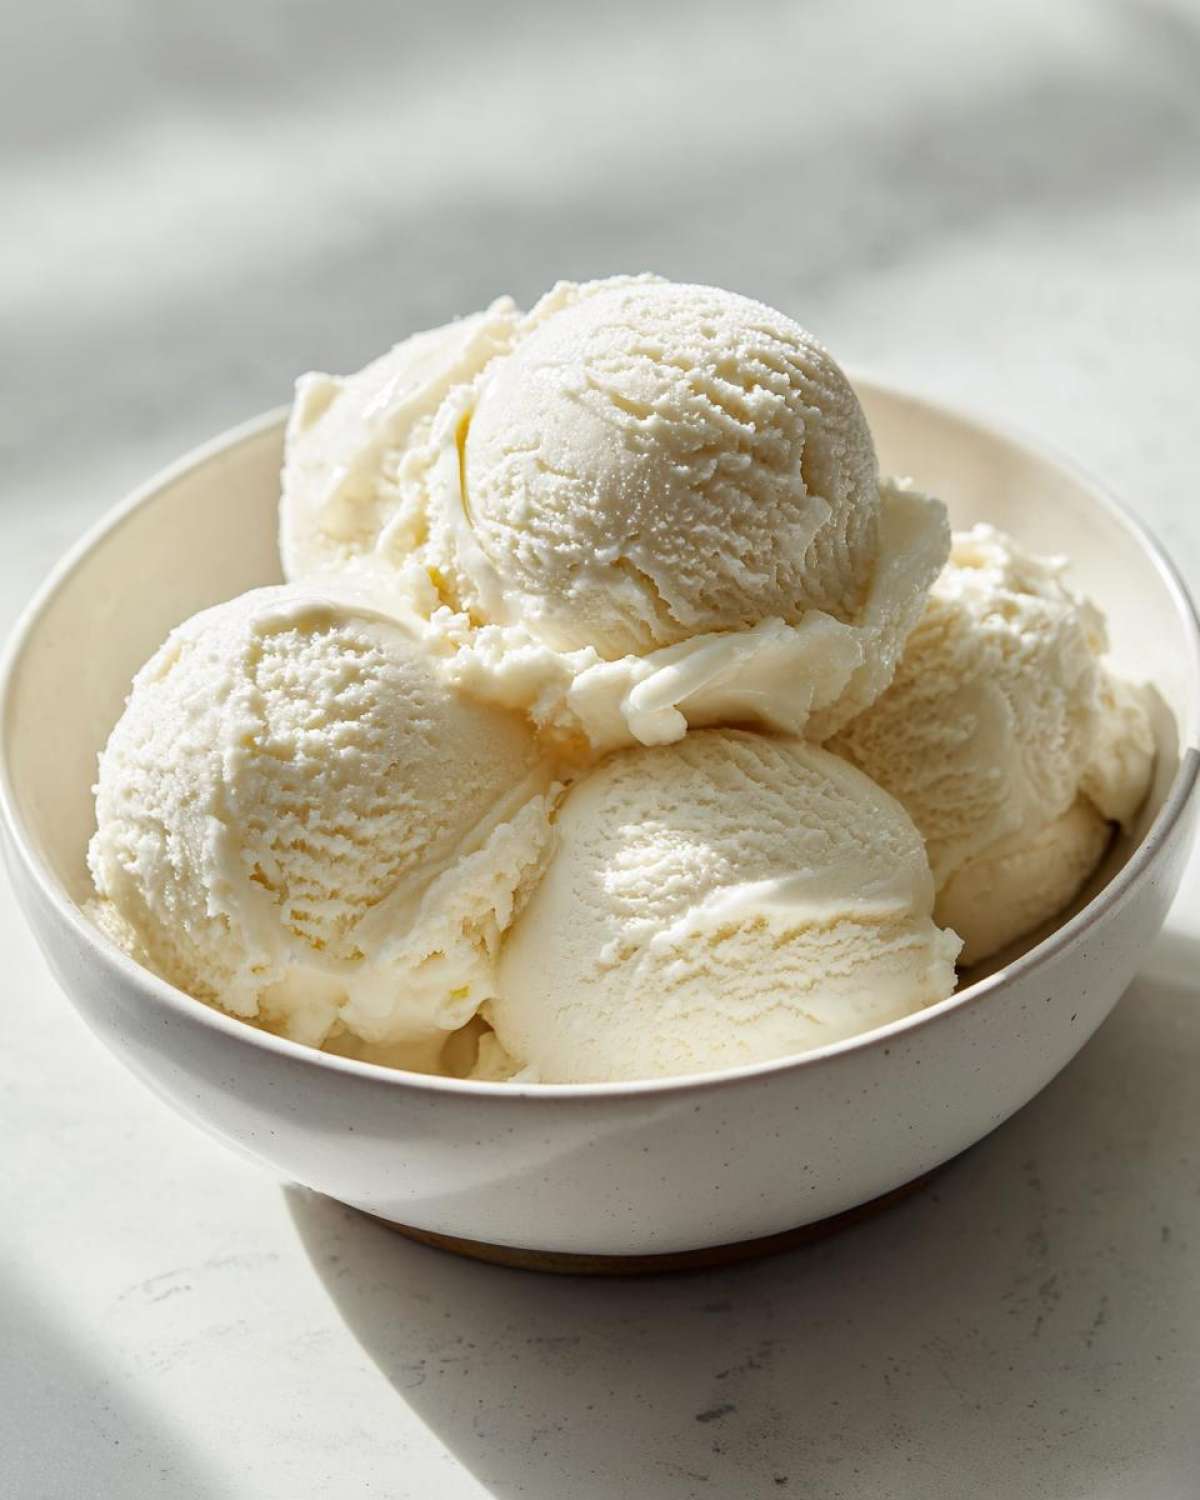
Because we didn’t churn it, it might freeze up a touch firmer than normal ice cream. Don’t worry! Just pull it out about 5 to 10 minutes before you want to dig in. That little bit of counter time brings back the perfect, creamy scoopability we worked so hard to achieve. Enjoy that **Indulgent Healthy Dessert** exactly when you planned to!
If you’re done for the night, don’t forget how great leftover treats can be—check out these Fudgy Date Brownies for another easy-to-store wonder!
Frequently Asked Questions About Making Protein Ice Cream
Because I know how much planning goes into a perfect dessert, I gathered up a few common thoughts people have when dealing with **Creamy Protein Frozen Yogurt** and other **Easy Protein Snacks**. Hopefully, these quickly answer any lingering questions you have so you can get to the scooping!
Can I use my Ninja Creami for this protein ice cream base?
Oh, absolutely you can! That Ninja Creami has taken the world by storm, hasn’t it? Good news: the base we made here—the yogurt, milk, powder, and sweetener—is actually a fantastic starting point for the machine. If you decide to use it, just pour your mixed base into the pint, freeze it solid overnight like you usually would, and then run it on the ‘Lite Ice Cream’ setting. You can find even more ideas for optimized Ninja Creami Protein Recipes online, but our base is designed to work beautifully right out of the box, no machine needed if you don’t have one!
What is the best way to make low calorie ice cream ideas?
For me, the **Low Calorie Ice Cream Ideas** always pivot back to maximizing protein while minimizing unnecessary fat and sugar, and that’s exactly what we did here. Think about it: traditional ice cream relies heavily on heavy cream, which is loaded with fat. By choosing Greek yogurt, we dramatically lower the fat content while actually *increasing* the protein count, giving you a massive volume of amazing **Protein Powder Dessert** for fewer calories overall. It’s the smartest swap we make in the fitness world!
If you need other quick wins for macro tracking, check out how we make things surprisingly delicious in our recipe for Fudgy Oreo Brownies—another great way to enjoy dessert while sticking to the plan!
Nutritional Estimates for This High Protein Dessert Recipe
As a planner, I love seeing the numbers line up, and I know you do too when you’re hunting for **High Protein Dessert Recipes**! Here are the rough estimates for one serving (about 2/3 cup) using standard ingredients like 2% Greek yogurt and a typical vanilla whey blend. Please remember these are just ballpark figures—your exact numbers will change based on your specific protein powder and sweetener choices.
- Calories: Around 145 per serving
- Protein: A fantastic 21 grams!
- Fat: Only about 3 grams
- Carbohydrates: Roughly 10 grams
This is truly why this **protein ice cream** falls into that perfect ‘macro friendly’ bucket! If you’re looking for other easy treats that fit your goals, you have to try our Blueberry Protein Muffins next!
Share Your Perfect Scoop of Protein Ice Cream
We put our hearts into perfecting this **protein ice cream**, and now it’s your turn! Whether you stuck to the vanilla base or tried a wild new flavor combination, please come back and let us know how it went. Did you make any clever swaps? We love seeing how Amelia’s planning blends with Jacob’s culinary instinct in *your* kitchen! Leave a rating below so others can see what a successful project this truly is. If you need another easy win, try our moist pistachio muffins next!
PrintSimple No-Churn Vanilla Protein Ice Cream (High Protein Dessert)
You can make creamy, high-protein ice cream without an ice cream maker using this simple, four-ingredient recipe. This is a guilt-free frozen treat perfect for satisfying dessert cravings.
- Prep Time: 5 min
- Cook Time: 0 min
- Total Time: 6 hr 5 min
- Yield: 4 servings
- Category: Dessert
- Method: No-Churn Freezing
- Cuisine: American
- Diet: Low Fat
Ingredients
- 1 cup plain Greek yogurt (2% or full fat for best texture)
- 1/2 cup unsweetened almond milk (or milk of choice)
- 1 scoop vanilla protein powder (whey or casein blend works well)
- 2 tablespoons granulated sweetener (or to taste)
Instructions
- In a medium bowl, combine the Greek yogurt and your chosen sweetener. Mix until the sweetener is fully dissolved and the yogurt is smooth.
- Whisk in the vanilla protein powder until no lumps remain. The mixture will thicken considerably.
- Slowly pour in the almond milk while continuing to whisk until you reach a thick, soft-serve consistency. This is your base.
- Pour the mixture into a freezer-safe container, like a loaf pan or a small plastic tub. Cover the surface directly with plastic wrap to prevent ice crystals from forming.
- Freeze for at least 6 hours, or until firm. For the creamiest texture, let it sit on the counter for 5 to 10 minutes before scooping.
Notes
- For a richer, lower-protein version, substitute half the yogurt with light cream cheese.
- If you own a Ninja Creami, this base works well; freeze it solid overnight, then process using the ‘Lite Ice Cream’ setting.
- If you prefer a stronger vanilla flavor, add 1/2 teaspoon of pure vanilla extract with the milk.
Nutrition
- Serving Size: 1/2 cup
- Calories: 145
- Sugar: 4
- Sodium: 85
- Fat: 3
- Saturated Fat: 1
- Unsaturated Fat: 2
- Trans Fat: 0
- Carbohydrates: 10
- Fiber: 1
- Protein: 21
- Cholesterol: 10