

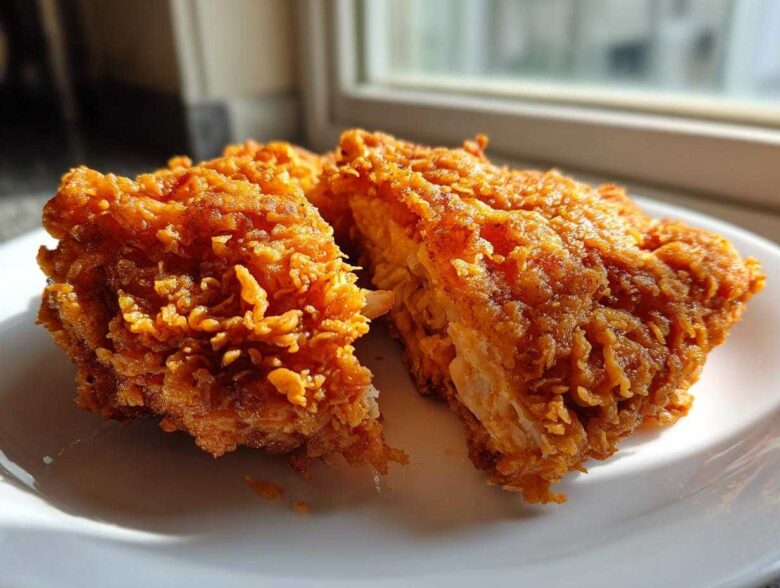
If you think truly incredible, shatteringly crisp, and unbelievably juicy fried chicken is some kind of culinary secret only passed down through generations of Southern cooks, I’m here to tell you that’s completely wrong! Seriously, I used to burn the edges and leave the inside rubbery. But not anymore. This recipe right here—my Ultra-Crispy Buttermilk Fried Chicken—is the one that changed everything for me.
The magic isn’t one single step; it’s a few non-negotiable rules about texture and temperature. We’re leaning hard into the classic, savory flavors of Southern Fried Chicken by marrying a long soak in tangy buttermilk with a dredge designed to create those beautiful, craggy, deep-gold peaks and valleys.
Trust me, when you pull a piece of this chicken from the oil, you’ll hear the crunch before you even take a bite. It’s the ultimate comfort food, and once you master this technique, you’ll never go back to the store-bought stuff, I promise!
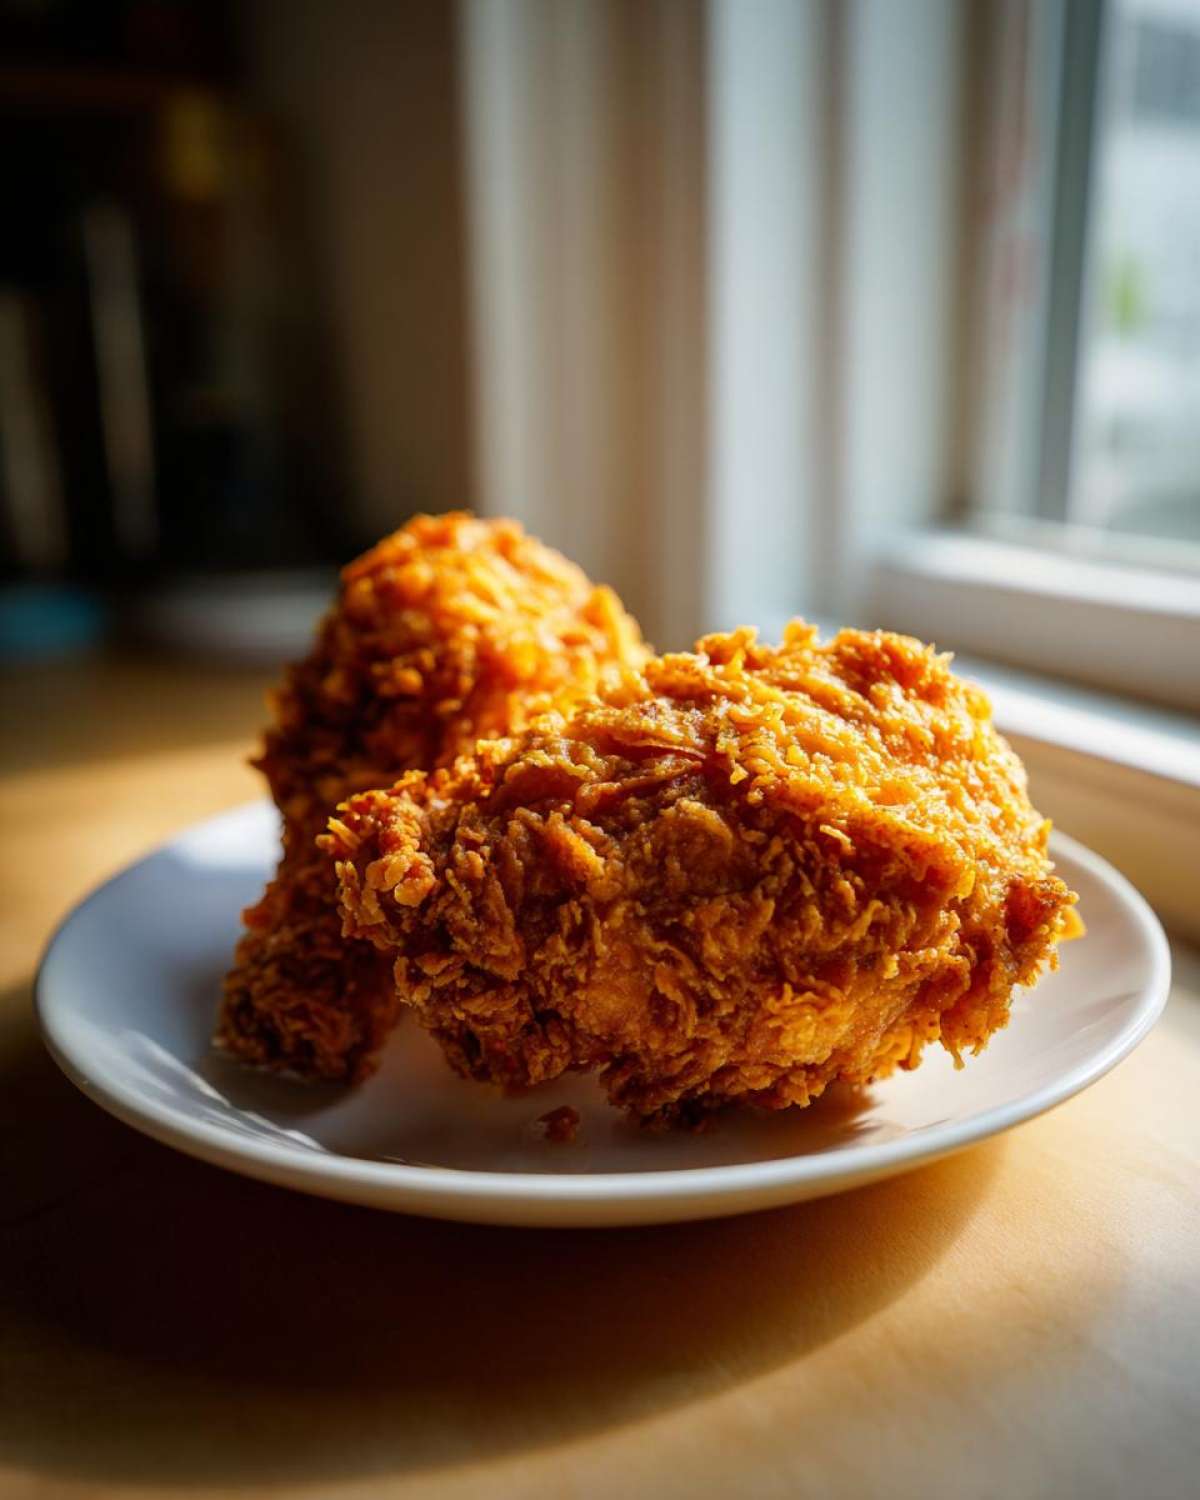
Why This Buttermilk Southern Fried Chicken Recipe Works
So, what’s the big deal? Why bother soaking chicken in dairy when you could just dredge it and fry? Well, this combination is exactly how you end up with that legendary Juicy and Crispy Chicken instead of sad, dry poultry.
I use this method because it guarantees texture and flavor every single time. Check out my general frying tips here, but here’s the short version of why this specific recipe shines:
- The long buttermilk soak ensures the meat stays incredibly moist, even in the deep fryer.
- We use cornstarch right in the flour mix to create that serious, commercial-grade Crunchy Chicken Coating.
- The seasoning in the dredge is robust, giving you that authentic, savory flavor right down to the bone.
- It produces that beautiful, uneven, craggy texture that lets you know this is real Southern Fried Chicken.
Gathering Ingredients for the Best Fried Chicken
Okay, let’s talk ingredients. You can’t make Best Homemade Fried Chicken if you’re skimping on the basics. My list might look a little long, but trust me, these components are what push this recipe from good to ‘make-it-every-Sunday’ amazing. First and foremost, the chicken itself: We need about 3 pounds of bone-in, skin-on pieces. Drumsticks and thighs are my favorites for deep-frying because the bone and skin keep the meat unbelievably juicy, even if the oil gets a little too hot sometimes.
The soaking liquid is non-negotiable. You’ll need 2 full cups of buttermilk—don’t substitute this with regular milk! It has the necessary acid to tenderize the meat. I always add a splash of hot sauce here for flavor depth, but it doesn’t make the final product spicy, promise.
For the dry dredge—this is where that crispy coating comes from—you need 2 cups of all-purpose flour, but the secret weapon is sneaking in 1/2 cup of cornstarch. That cornstarch is what guarantees a super crunchy, non-soggy finish. Then, we hit it with the flavor: salt, pepper, paprika, garlic powder, and just a little cayenne to wake things up. While you’re grabbing that flour, hop over and check out my recipe for Crispy Fried Cornbread; you’ll need something amazing to soak up those juices!
Mastering the Buttermilk Brine for Juicy Fried Chicken
This first part is the absolute foundation for getting Juicy and Crispy Chicken—you can’t skip this marinade step and expect perfection! We combine the 2 cups of tangy buttermilk with a dash of hot sauce, then completely submerge every piece of chicken. The acid in the buttermilk starts breaking down those stubborn muscle fibers right away, which is what leaves the meat fall-off-the-bone tender later. Plus, that thick coating of dairy gives the dry flour something incredible to cling to later on.
This whole process is what we call true Buttermilk Brined Chicken prep.
The Importance of Resting Time for Perfect Fried Chicken
Listen, I know you’re excited to get frying, but patience here pays off huge dividends. You need to cover that bowl and stick it in the fridge for a minimum of four hours. Seriously, four hours is the bare minimum to start seeing real tenderizing results.
But I’m going to be honest with you: overnight is where the magic happens. If you can swing it, let that chicken soak from dinner one night until the next afternoon. When you pull that beautiful, soaked chicken out of the fridge, the meat will already feel softer. This long rest is non-negotiable if you want that super juicy inside complementing your crunchy exterior.
Creating the Ultimate Crunchy Coating for Fried Chicken
Now we get to the fun part—turning that pale, wet chicken into something that looks like it came straight out of a cast-iron skillet in Tennessee! This is where we build that signature Crunchy Chicken Coating. You need a wide, shallow dish for this, just wider than your chicken pieces, so you can really work the flour in.
In that dish, we whisk together the 2 cups of flour, the 1/2 cup of cornstarch (don’t forget that starchy helper!), the salt, pepper, paprika, garlic powder, and cayenne. You want this mix perfectly uniform; give it a good stir with a fork until you can’t see any single spice color dominating.
Here’s a pro tip I learned early on: Since the chicken is coming straight out of the cold buttermilk brine, it’s perfect for grabbing onto the dry ingredients. Don’t dry it off! Just lift it out, let the excess brine drip for just a second, and immediately put it into that dredge. You have to really press the flour mixture onto every surface of the chicken. Pat it, roll it, mash it—force that coating to stick. This initial dredge is crucial for structure.
The Double Dredge Technique for Extra Crispy Fried Chicken
If you want that craggy, deep-fried look—the stuff that flakes off the plate—you need the double dredge. It sounds like extra work, but trust me, it creates those beautiful peaks that crisp up so nicely in the hot oil.
Once you have that first solid layer of flour on the chicken piece, briefly dip it back into that remaining buttermilk bath you used for soaking. Don’t let it sit; just a quick dunk, enough to make the existing flour slightly damp again. Shake off the heavy drips.
Then, immediately put it back into the dry flour mix for the second coating. This time, press harder and really look to see where there are thin spots. That second layer of slightly wet flour hitting the dry mix creates the lumps and flakes that turn into the ultimate crunchy texture when deep-fried. Once that’s done, put the coated pieces on a clean wire rack and let them hang out for about 20 minutes. This resting time lets the coating hydrate properly so it doesn’t fall off when it hits the hot oil!
How To Make Fried Chicken: The Deep Frying Process
Before the chicken even touches the oil, you have two non-negotiables if you want that perfect, Golden Brown Chicken exterior. First, remember I told you to let that double-dredged chicken rest on the rack for 20 minutes? Don’t skip that! It sets the crust beautifully.
Second—and I cannot stress this enough, this is my number one secret for foolproof fried chicken—you must monitor your oil temperature closely. Forget guessing; you absolutely need a reliable deep-fry or candy thermometer. We need the oil in my heavy Dutch oven to hit 325 degrees Fahrenheit (160 Celsius) before anything goes in. If it’s too cold, you get greasy, pale chicken. If it’s too hot, the outside burns before the bone-in meat is cooked through.
If you’re looking for more detail on the equipment side of things, I have a whole rundown on deep-frying essentials over here—it’s worth a quick peek!
Maintaining Oil Temperature for Golden Brown Chicken
Once your oil is ready, carefully lower about three or four pieces of chicken in. Why only three or four? Because overcrowding is the enemy of crispiness! Adding too much cold chicken at once drops that crucial oil temperature, and suddenly, that beautiful, crunchy coating starts turning into a soggy sponge.
When you first put the chicken in, the temperature will drop down. That’s normal. Your job is to watch that thermometer and adjust the heat underneath your pot to keep the oil bouncing between 300 and 325 degrees Fahrenheit as you cook. If it creeps up too high (like past 340°F), turn the heat down immediately.
It usually takes about 6 to 8 minutes per side, depending on the cut, to get deep golden brown on the outside and fully cooked (165°F internal temp) on the inside. You’re aiming for that perfect color—not too dark, not too pale. Careful turning with tongs, and once it looks right, pull it out onto that wire rack to drain. Never put perfectly fried chicken straight onto paper towels alone—the steam gets trapped underneath and softens that hard-earned crust!
Tips for Success with Your Classic Fried Chicken
I always tell people that the recipe is just the road map; the drive is all in the details. Making truly stand-out Classic Fried Chicken means paying attention right up until the very last second when you’re sitting down to eat. I’ve consolidated all my little tricks and hard-learned wisdom down here so you can have a foolproof dinner tonight!
If you are looking for something spectacular to put *on* your chicken after it comes out of the oil—or maybe to drizzle over some mashed potatoes—you absolutely have to try my recipe for Easy Homemade Garlic Butter. It’s just fantastic.
Here are my final must-remember tricks for a perfect batch:
- Cornstarch is Your Crunch Friend: Seriously, don’t skip the half-cup of cornstarch in the dredge. That’s the secret to getting that shatteringly crisp bite every single time.
- Thermostat or Bust: You must use a good thermometer to monitor the oil temperature. If your oil dips below 300°F or climbs above 335°F, you will sabotage your crust. Stay steady in that sweet spot!
- Rest the Coated Chicken: Remember that 20-minute rest on the wire rack after you dust the pieces? That lets the flour coating really absorb some moisture from the buttermilk, which prevents it from flaking off tragically in the hot oil.
- Wire Rack is Essential: When draining, always use a wire rack over a baking sheet, never just paper towels. Paper towels trap steam underneath the chicken, and steam is the sworn enemy of crispiness. We want that hot air circulating all around the coating as that excess oil drips off.
- Use the Right Oil Amount: Make sure you have at least two inches of oil depth. If you don’t use enough oil, the chicken drops the temperature too fast and starts slow-frying instead of deep-frying, leading to greasiness.
Serving Suggestions for Your Savory Chicken Dinner Ideas
Honestly, the hardest part of making this fried chicken is figuring out what to serve alongside it, because it’s the star of the show! This rich, crunchy poultry deserves wonderful partners. If you’re serving this up for a weeknight meal or trying to put together an epic spread of Savory Chicken Dinner Ideas, you absolutely need something creamy and something crisp.
My go-to pairing is always creamy mashed potatoes, maybe with a good onion gravy, but coleslaw is fantastic for cutting through that rich frying oil. If you want to go all-out Southern comfort, you have to try my recipe for the Ultimate Loaded Potato Casserole. It’s everything you love about a baked potato, but in a scoopable dish. Seriously, it makes the whole dinner unforgettable!
Storing and Reheating Leftover Fried Chicken
Oh, let’s be real—sometimes the hardest part of making fried chicken is having leftovers! And yes, I consider leftover fried chicken a critical food group in my house. The absolute key to preserving that amazing crust you worked so hard to create is keeping the steam away from it. When that crust cools down with moisture trapped inside, it turns rubbery fast. So, when you’re done feasting, don’t just cover your cooling rack with plastic wrap.
Instead, let the chicken cool completely on the wire rack first—this lets any residual steam escape into the air. Once it is totally cool (give it at least an hour), stack the pieces into an airtight container. You can put a little parchment paper between the layers if you’re worried about sticking, but generally, getting it into a sealed environment and right into the fridge is the way to go. It keeps wonderfully for about three or four days this way.
Now, for reheating—please, I beg you, leave that microwave alone! We worked too hard for a Foolproof Fried Chicken crust to assault it with microwaves. If you want to bring back that crispness, you have two excellent options, and my favorite is the air fryer. My air fryer makes miracle comebacks happen almost instantly. Just pop it in at 375°F for about 6 to 8 minutes. It blasts that crust dry and re-crisps it beautifully.
If you don’t have an air fryer, the conventional oven is your next best bet. Preheat your oven to about 350°F. You want to set the chicken directly on a wire rack set over a baking sheet—this ensures the hot air circulates underneath to prevent the bottom from getting soggy. It usually takes about 10 to 15 minutes, depending on the size of your pieces. Keep an eye on it! Since you already cooked it perfectly the first time, you’re just warming it through and crisping up that coating.
If you’re looking for something equally comforting to serve alongside your reheated chicken heaven, you have to try my Air Fryer Baked Potatoes. They come out crispy on the outside and fluffy inside, and they need way less active cooking time than the oven method!
Frequently Asked Questions About Making Fried Chicken
I get so many questions about this recipe because everyone wants to know the secret to making genuinely Foolproof Fried Chicken at home! I pulled together the ones I hear the most often when people are trying to nail that perfect crispy texture.
Can I bake or air fry this buttermilk fried chicken instead of deep frying?
Oh, you *can*, but you won’t get the exact same result, and I’m going to be totally honest with you about that! Deep frying is what creates that thick, beautifully craggy, ultra-crispy coating we worked so hard to build by double-dredging. If you bake it, it tends to lose that dramatic crunch and might taste a bit drier.
If you absolutely must bake it, I suggest spraying the coated pieces heavily with oil or melted butter before baking on a wire rack at 400°F until done. For the air fryer, follow the same prep but cook at 375°F, flipping halfway through. It’s good, but it’s not the spectacular result you get from the deep fryer!
What type of oil is best for achieving that golden brown chicken color?
I prefer vegetable oil or shortening for this batch. They both have high smoke points, which is essential since we need the oil hot enough (325°F) to crisp the coating quickly without soaking the chicken. Neutral oils are best because you don’t want any weird flavors interfering with that savory marinade.
Stick to high smoke point oils like peanut, canola, or vegetable shortening. Avoid olive oil completely for this, as it will break down and smoke way too fast at these temperatures.
Can I use chicken breasts instead of bone-in thighs and drums?
You certainly can use chicken breasts, but you need to adjust your technique a bit! Chicken breasts are very lean and thick, so they dry out much faster than bone-in pieces. If you use breasts, make sure you cut them into even, manageable cutlets so they cook through quickly and stay nice and tender.
If you go this route, you’ll want to significantly reduce the frying time—maybe 4 to 5 minutes per side—and pull them out right when they hit that internal temperature of 165°F. Remember, we are aiming for Juicy and Crispy Chicken, so watch that thermometer like a hawk!
What should I serve with this classic fried chicken?
This is pure Southern indulgence, so you need great sides! Beyond the usual potato salad and coleslaw, if you’re looking for something truly decadent to round out your spread, you should absolutely bake up a batch of my Chicken and Biscuit Casserole—it’s so easy and feels just as comforting as this fried masterpiece. Serve the chicken hot, maybe with a drizzle of hot honey if you’re feeling adventurous!
PrintUltra-Crispy Buttermilk Fried Chicken

Make classic Southern fried chicken that is juicy inside and features an extra crunchy, golden crust using a buttermilk soak.
- Prep Time: 20 min
- Cook Time: 30 min
- Total Time: 3 hours 50 min
- Yield: 4 servings
- Category: Dinner
- Method: Deep Frying
- Cuisine: American Southern
- Diet: Low Lactose
Ingredients
- 3 lbs bone-in, skin-on chicken pieces (thighs, drumsticks)
- 2 cups buttermilk
- 1 tablespoon hot sauce
- 2 cups all-purpose flour
- 1/2 cup cornstarch
- 2 teaspoons salt
- 1 teaspoon black pepper
- 1 teaspoon paprika
- 1 teaspoon garlic powder
- 1/2 teaspoon cayenne pepper
- Vegetable oil or shortening, for frying
Instructions
- Place chicken pieces in a large bowl. Pour buttermilk and hot sauce over the chicken. Mix to coat completely. Cover and refrigerate for at least 4 hours, or preferably overnight.
- In a shallow dish, whisk together the flour, cornstarch, salt, pepper, paprika, garlic powder, and cayenne pepper. This is your dredge mixture.
- Remove chicken from the buttermilk, letting excess drip off, but do not wipe dry.
- Dredge each piece thoroughly in the flour mixture, pressing the flour onto the chicken to create a thick, craggy coating. For extra crispiness, dip the floured chicken back into the remaining buttermilk for a second, quick dip, then dredge again in the flour mixture, pressing firmly.
- Place coated chicken on a wire rack set over a baking sheet. Let it rest at room temperature for 20 minutes before frying. This sets the coating.
- Pour enough oil into a deep, heavy-bottomed pot or Dutch oven to reach a depth of about 2 inches. Heat the oil to 325 degrees Fahrenheit (160 degrees Celsius). Use a thermometer to monitor the temperature.
- Carefully place 3 to 4 pieces of chicken into the hot oil, ensuring you do not overcrowd the pot. Overcrowding lowers the oil temperature and results in soggy chicken.
- Fry chicken for about 6 to 8 minutes per side, turning carefully with tongs, until deep golden brown and cooked through (internal temperature should reach 165 degrees Fahrenheit or 74 degrees Celsius). Adjust heat as needed to maintain oil temperature between 300 and 325 degrees Fahrenheit.
- Remove cooked chicken and place it on a clean wire rack set over paper towels to drain excess oil. Let the chicken rest for 5 minutes before serving.
Notes
- For the crispiest crust, use a mix of flour and cornstarch in your dredge.
- Maintain your oil temperature strictly between 300F and 325F for the best results.
- If you prefer to bake or air fry, you will need different instructions and cooking times.
Nutrition
- Serving Size: 1 piece
- Calories: 450
- Sugar: 3
- Sodium: 650
- Fat: 28
- Saturated Fat: 8
- Unsaturated Fat: 20
- Trans Fat: 0
- Carbohydrates: 18
- Fiber: 1
- Protein: 30
- Cholesterol: 110