

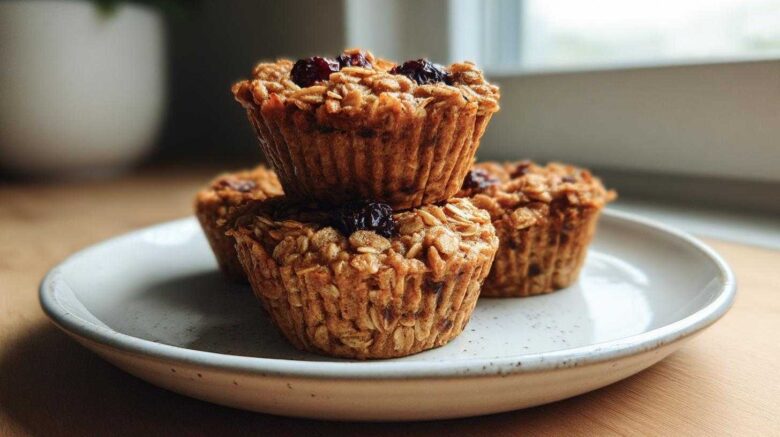
Mornings in winter feel like fighting a losing battle. Getting out of bed is tough. That’s why we developed this recipe for Baked Oatmeal Cups: Your Grab-and-Go Winter Breakfast. It’s truly a game changer for us.
When Amelia first planned our weekly meals, I, Jacob, thought it was too much structure. Now, I see the genius in a simple, make-ahead breakfast. We’ve both learned so much cooking together.
These little gems are hearty. They bake up perfectly golden brown. They taste like cozy comfort food. You just grab one and go. It tastes fantastic warm or cold. This recipe is now a staple in our Taste Portfolio collection.
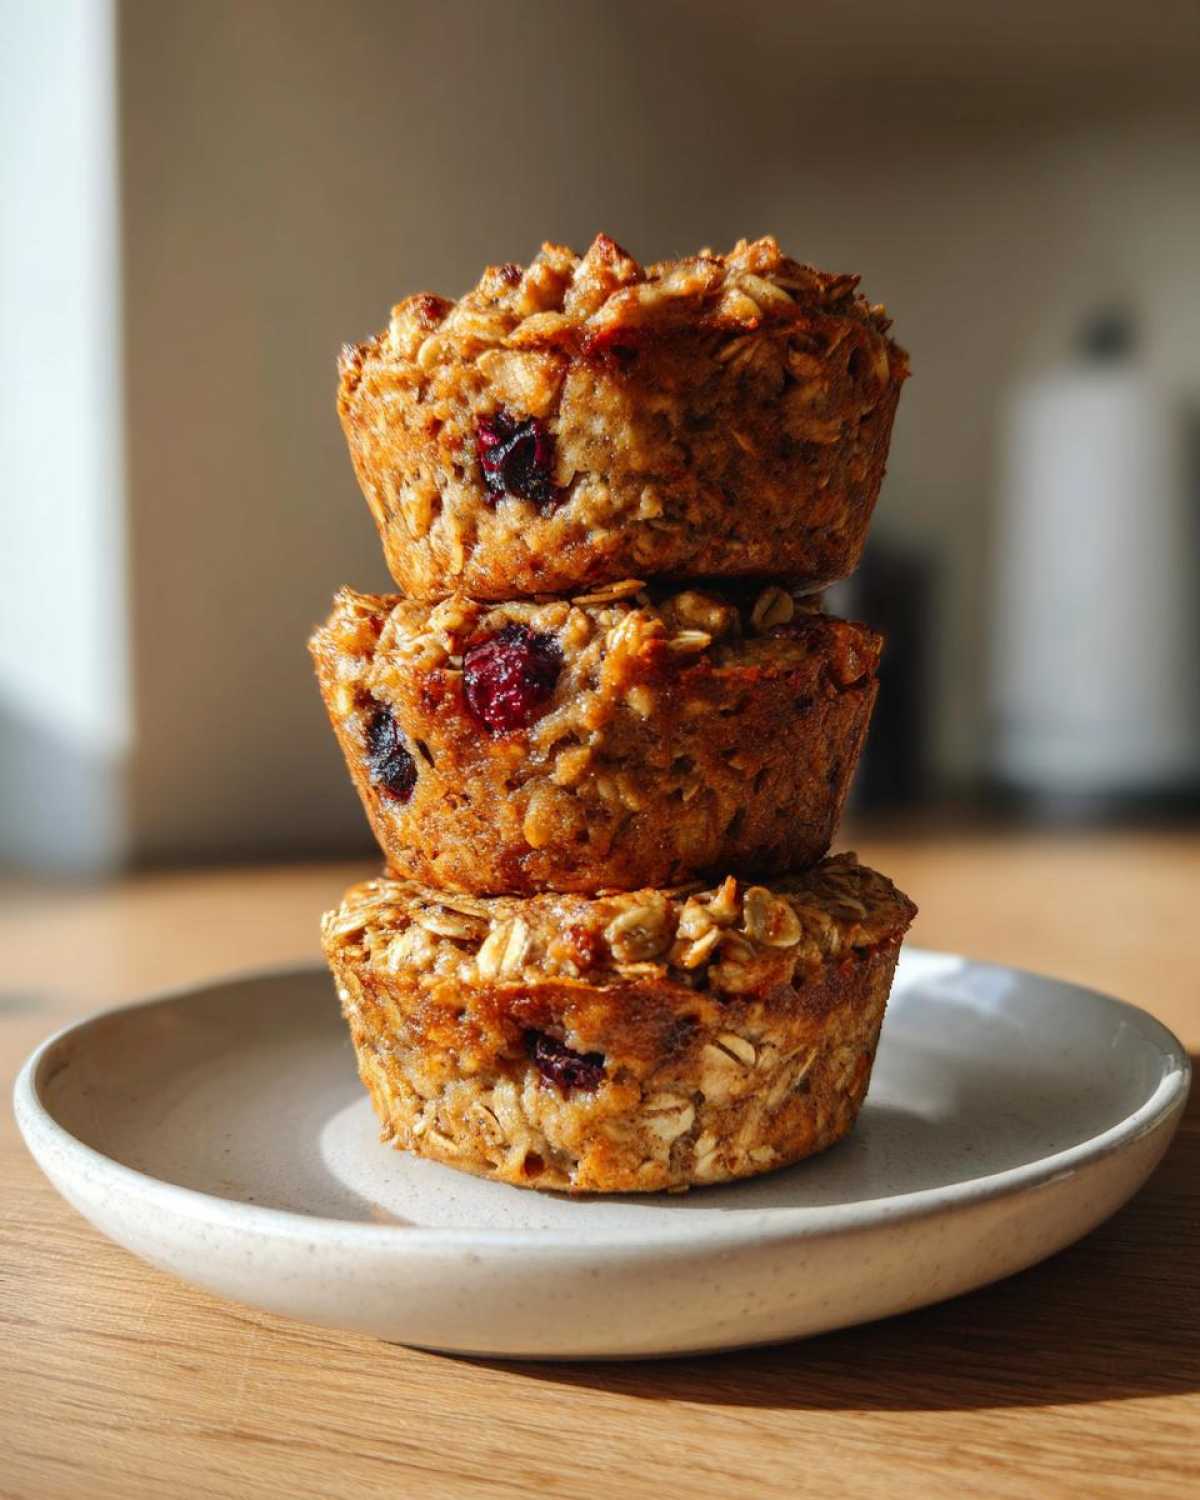
We know you’ll love using this easy breakfast solution.
Why You’ll Love Baked Oatmeal Cups: Your Grab-and-Go Winter Breakfast
I get why Amelia loves planning now. These cups make mornings simple. They are perfect for those chilly winter days. No more messy bowls before work.
- They bake up fast.
- You eat them right from the tin.
- They reheat beautifully later.
This recipe truly simplifies breakfast routines. If you are looking for other make-ahead options, check out our pumpkin spice overnight oats recipe.
Quick Prep for Busy Mornings
You only need ten minutes to mix everything up. That’s less time than finding matching socks! Seriously, this is the definition of an easy breakfast. Just scoop and bake them Sunday night. Then you win all week long.
Perfect for Meal Prepping
As the planner, I adore this aspect. Batch cooking is our secret weapon. These bake perfectly for a make ahead breakfast. Store them well. They stay fresh for days waiting for you. No morning stress here!
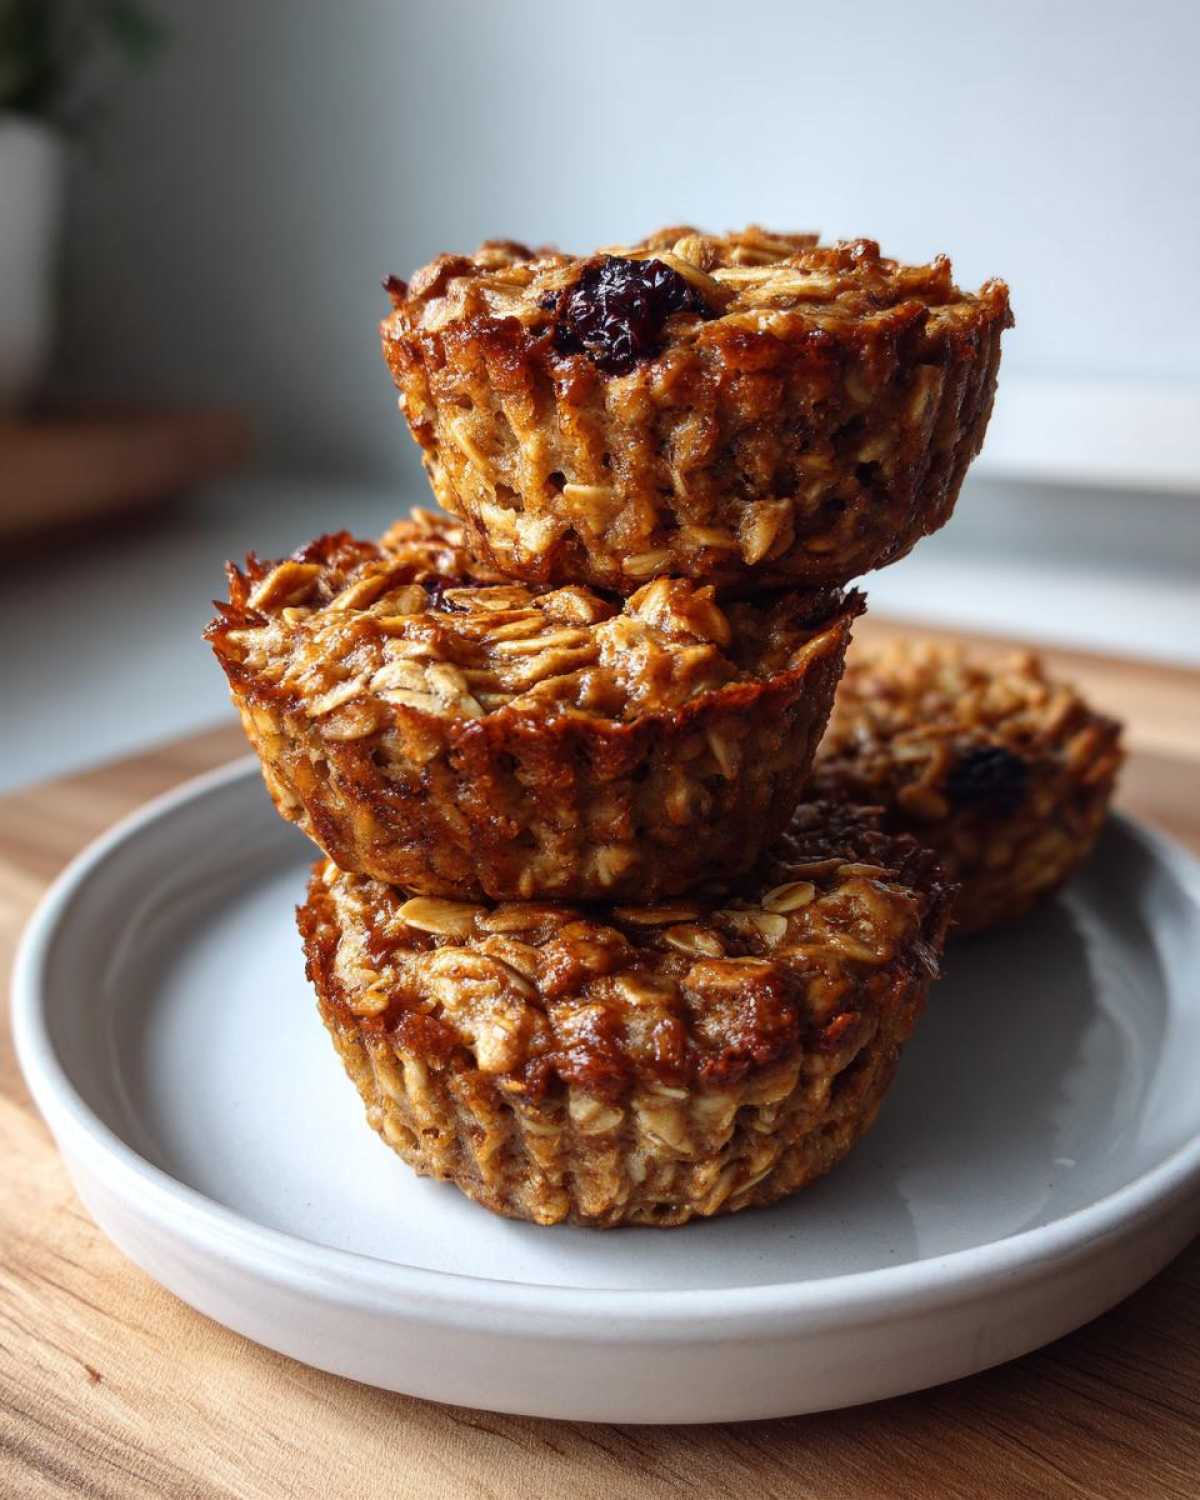
Essential Equipment for Baked Oatmeal Cups: Your Grab-and-Go Winter Breakfast
You don’t need fancy gear for this project. We kept the necessary tools simple. This keeps the prep time low. You probably have all this already!
- Standard 12-cup muffin tin.
- Two mixing bowls (one large, one medium).
- A whisk and a sturdy spatula.
Greasing the tin well is key, remember that! Proper greasing is essential for easy release, which is a key component of successful breakfast preparation.
Ingredients for Baked Oatmeal Cups: Your Grab-and-Go Winter Breakfast
Gathering your supplies is half the fun. I always lay everything out first. It’s Jacob’s favorite part of starting any recipe. We need simple, wholesome things here.
Dry Ingredients Breakdown
Start with two cups of rolled oats. We need one teaspoon of baking powder. Don’t forget that warm cinnamon. Add just a pinch of salt, please.
Wet Ingredients and Binders
Whisk together the milk and the egg. Use one-quarter cup of maple syrup. We melt the coconut oil or butter first. Vanilla extract adds depth, too.
Mix-Ins Options
This is where your creativity shines through. Fold in about half a cup of extras. Think fresh berries or chopped nuts work great. Chocolate chips are always a win.
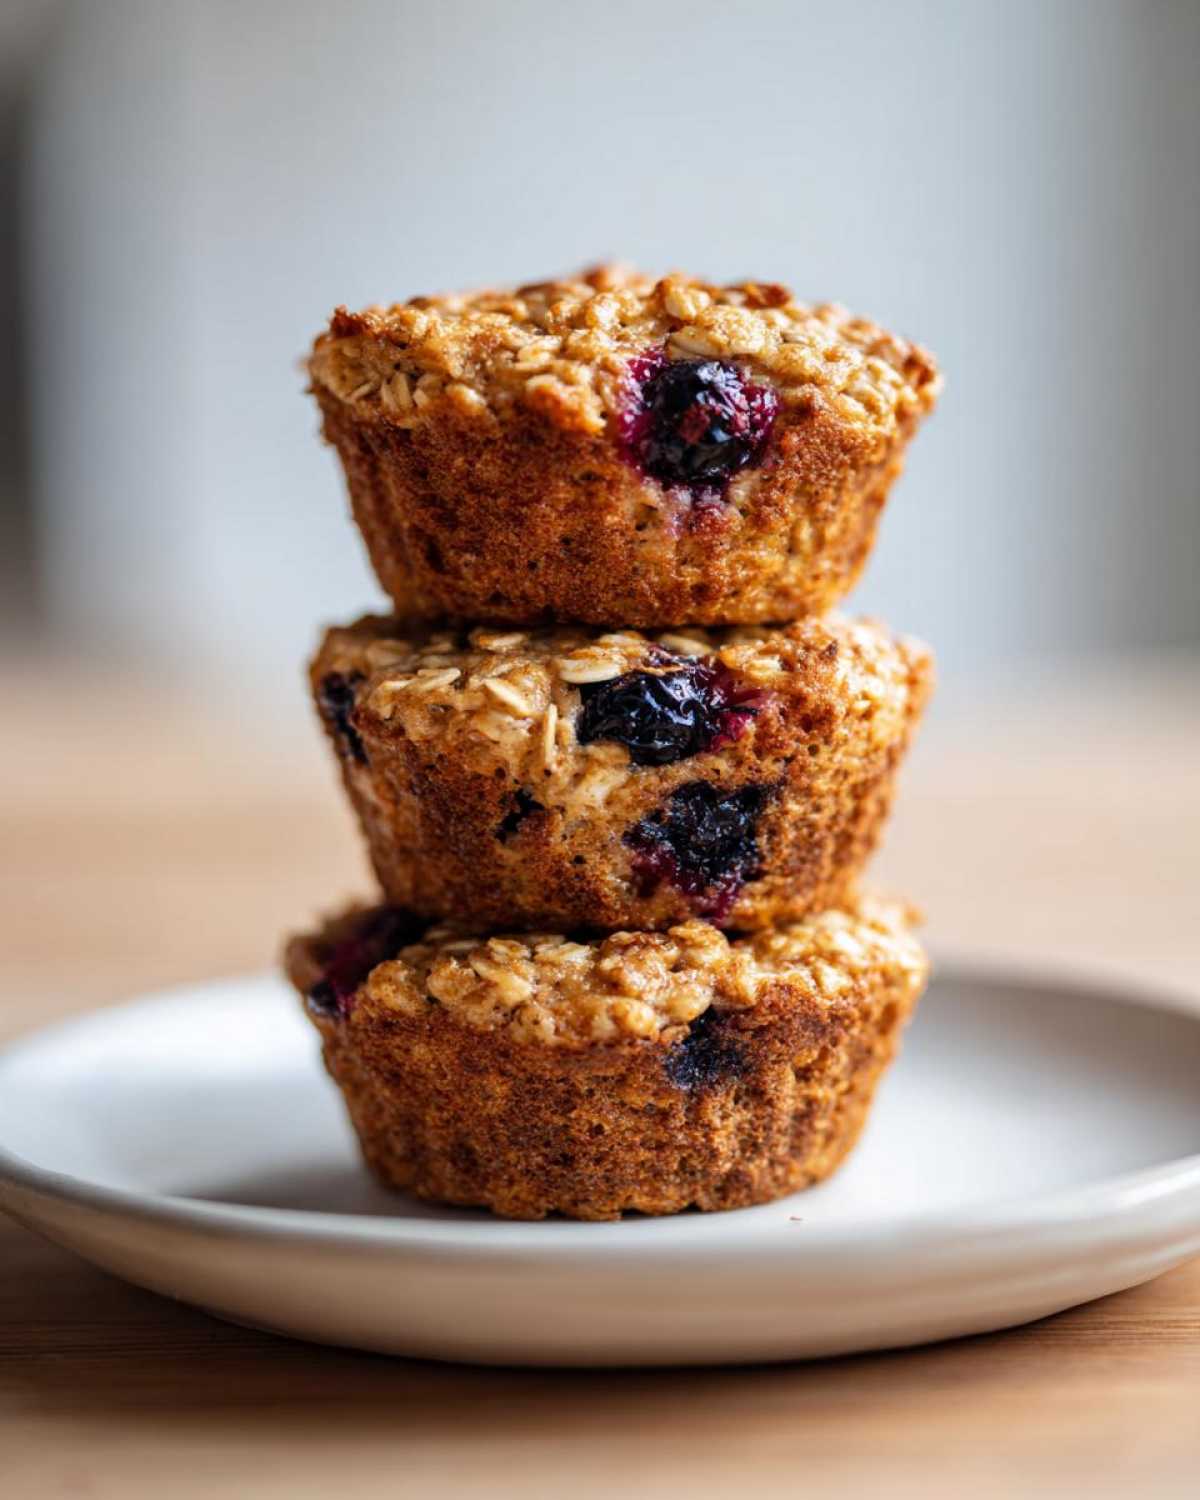
Step-by-Step Instructions for Baked Oatmeal Cups: Your Grab-and-Go Winter Breakfast
Now for the fun part. We move from planning to creating. Jacob always takes over here. He trusts his feel for the batter.
Initial Setup and Dry Mixing
Set your oven right to 375 degrees Fahrenheit. Grab that muffin tin now. Grease every cup deeply. No sticking allowed later! Mix your oats and spices well. Baking powder and salt join the dry mix.
Combining Wet Components
In your second bowl, start whisking. You want the egg fully broken up. Add the milk and maple syrup next. Whisk until everything looks uniform. Then stir in the melted fat and vanilla.
Final Batter Assembly and Filling the Tin
Pour the wet into the dry ingredients slowly. Stir until just mixed together. Jacob always warns me not to overdo this step. Fold in your berries or nuts gently. Fill each cup three-quarters full only. This leaves room for rising.
Baking and Cooling Times
Bake these for 20 to 25 minutes total. Look for golden tops. They should feel set when you touch them lightly. Let them sit in the tin for five minutes. Then move them to a wire rack. Cooling helps them hold their shape perfectly.
Tips for Perfect Baked Oatmeal Cups: Your Grab-and-Go Winter Breakfast
Even with a great plan, little things matter. These tips are from Jacob’s intuition. They keep our oatmeal cups consistently delicious. Mastering the small details makes the biggest difference.
Flavor Boost Ideas
Want an extra layer of richness? I love this trick. Drop a small spoonful of peanut butter inside each cup. Place it right before baking them. It melts down beautifully. This adds great fat and protein, making them even better.
Avoiding Common Baking Issues
Sticking is the enemy of easy breakfast. Grease your tin really well, please. That prevents major cleanup later on. If they look pale, give them a few extra minutes. A light golden color means they are perfectly set. Don’t rush the cooling step, either!
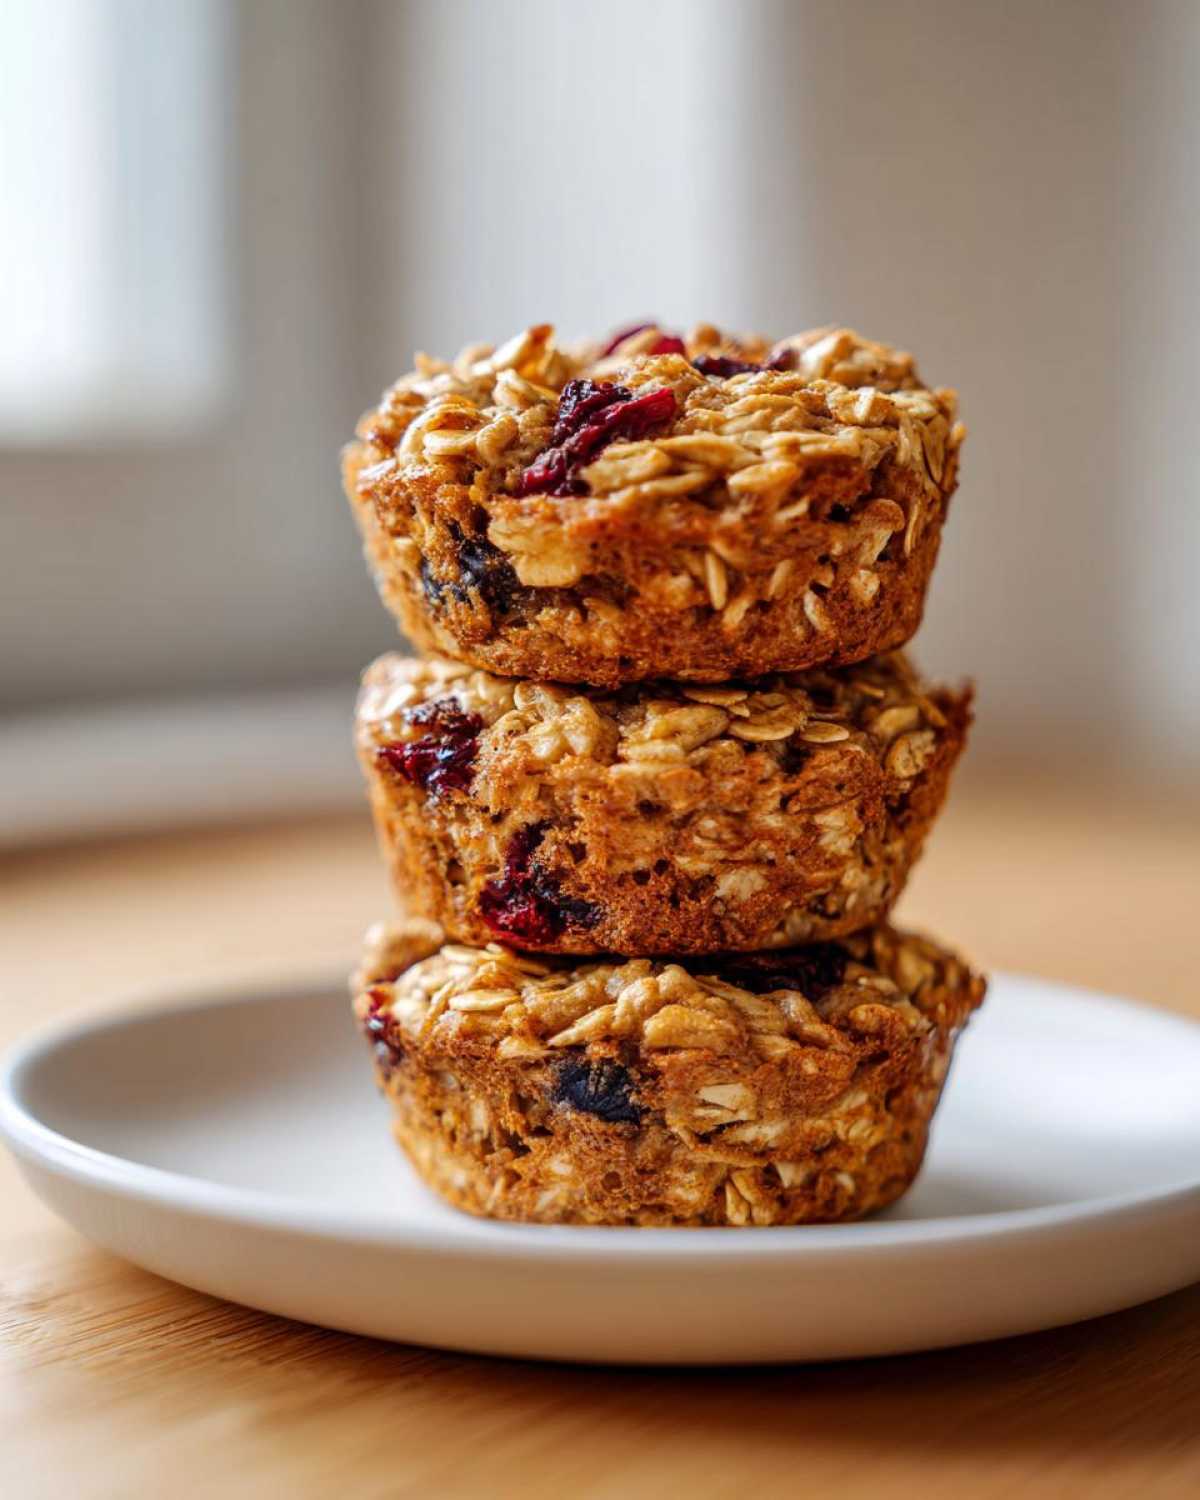
Storage and Reheating Baked Oatmeal Cups
Knowing how to keep these fresh is key. We plan big batches for the week. Store your cooled cups airtight. The fridge is good for seven days.
For longer needs, try the freezer. They last up to three months there. Thaw them overnight safely. You can reheat straight from frozen, too. For best practices on freezing food safely, consult resources from the U.S. Food and Drug Administration.
Need a warm bite fast? Microwave one cup briefly. Twenty to thirty seconds works wonders. Enjoy your easy breakfast!
Frequently Asked Questions About Baked Oatmeal Cups
We know you might have questions about this easy breakfast staple. Planning means preparing for every scenario! Here are a few things we hear often about our recipe.
Can I make Baked Oatmeal Cups: Your Grab-and-Go Winter Breakfast gluten-free?
Yes, you absolutely can make them gluten-free. Just swap the rolled oats. Use certified gluten-free rolled oats instead. That keeps the texture right. It works like a charm for us.
How long do these stay fresh?
These keep really well for meal prepping. They last up to one week in the refrigerator. For longer storage, pop them in the freezer. They are good for about three months frozen solid.
Can I adjust the sweetness level?
Feel free to play with the maple syrup. If you like things less sweet, reduce it slightly. Try cutting back by a tablespoon first. Taste the batter before adding mix-ins. Remember, you can always add toppings later! If you enjoy sweet baked goods, you might also like our maple walnut blondies.
Sharing Your Taste Portfolio Project
We poured our hearts into this recipe. Now it’s your turn to create!
Did these Baked Oatmeal Cups save your morning? Tell us below!
Rate this project and leave a comment for us. We love seeing your results. Share your favorite mix-ins, too!
PrintAmazing 10 Baked Oatmeal Cups: Grab-and-Go Winter Breakfast
Make your mornings simple with these easy Baked Oatmeal Cups. They are the perfect make-ahead breakfast for busy winter days.
- Prep Time: 10 minutes
- Cook Time: 25 minutes
- Total Time: 35 minutes
- Yield: 12 cups
- Category: Breakfast
- Method: Baking
- Cuisine: American
- Diet: Vegetarian
Ingredients
- 2 cups rolled oats
- 1 teaspoon baking powder
- 1 teaspoon ground cinnamon
- 1/4 teaspoon salt
- 1/4 cup maple syrup
- 1 large egg
- 1 cup milk (dairy or non-dairy)
- 1/4 cup melted coconut oil or butter
- 1 teaspoon vanilla extract
- 1/2 cup mix-ins (e.g., berries, chopped nuts, chocolate chips)
Instructions
- Preheat your oven to 375°F (190°C). Grease a standard 12-cup muffin tin well.
- In a large bowl, mix the rolled oats, baking powder, cinnamon, and salt.
- In a separate bowl, whisk together the maple syrup, egg, milk, melted oil or butter, and vanilla extract.
- Pour the wet ingredients into the dry ingredients. Stir until just combined. Do not overmix.
- Gently fold in your chosen mix-ins.
- Divide the batter evenly among the 12 prepared muffin cups. Fill each cup about three-quarters full.
- Bake for 20 to 25 minutes, or until the tops are set and lightly golden brown.
- Let the cups cool in the tin for a few minutes before transferring them to a wire rack to cool completely.
- Store cooled cups in an airtight container.
Notes
- These cups store well in the refrigerator for up to one week.
- You can freeze them for up to three months. Thaw overnight or reheat directly from frozen.
- For a warmer treat, microwave a cup for 20-30 seconds before eating.
- Add a small spoonful of peanut butter into each cup before baking for extra flavor.
Nutrition
- Serving Size: 1 cup
- Calories: Approx. 180
- Sugar: Approx. 7g
- Sodium: Approx. 80mg
- Fat: Approx. 7g
- Saturated Fat: Approx. 3g
- Unsaturated Fat: Estimate based on oil type
- Trans Fat: 0g
- Carbohydrates: Approx. 26g
- Fiber: Approx. 3g
- Protein: Approx. 5g
- Cholesterol: Approx. 30mg