

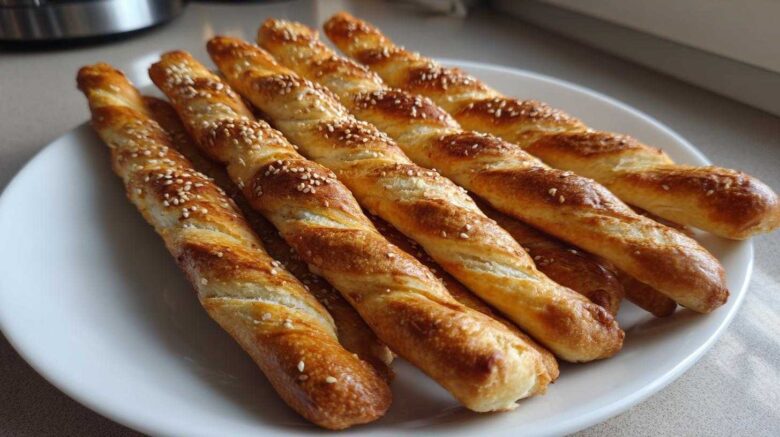
Halloween night is almost here, and the pressure to create something truly memorable for your party is on! I used to get so overwhelmed trying to find that perfect, show-stopping dish. But then I discovered how incredibly fun and simple it is to whip up these Skeleton Bone Breadsticks. They’re not only adorably spooky, but they’re also ridiculously easy to make, which is a huge win in my book. My planning usually involves a color-coded spreadsheet, but for these, it’s just good old-fashioned fun in the kitchen. They’ve become a staple for our Halloween gatherings, a guaranteed hit that brings smiles to everyone’s faces.
Why You’ll Love These Skeleton Bone Breadsticks
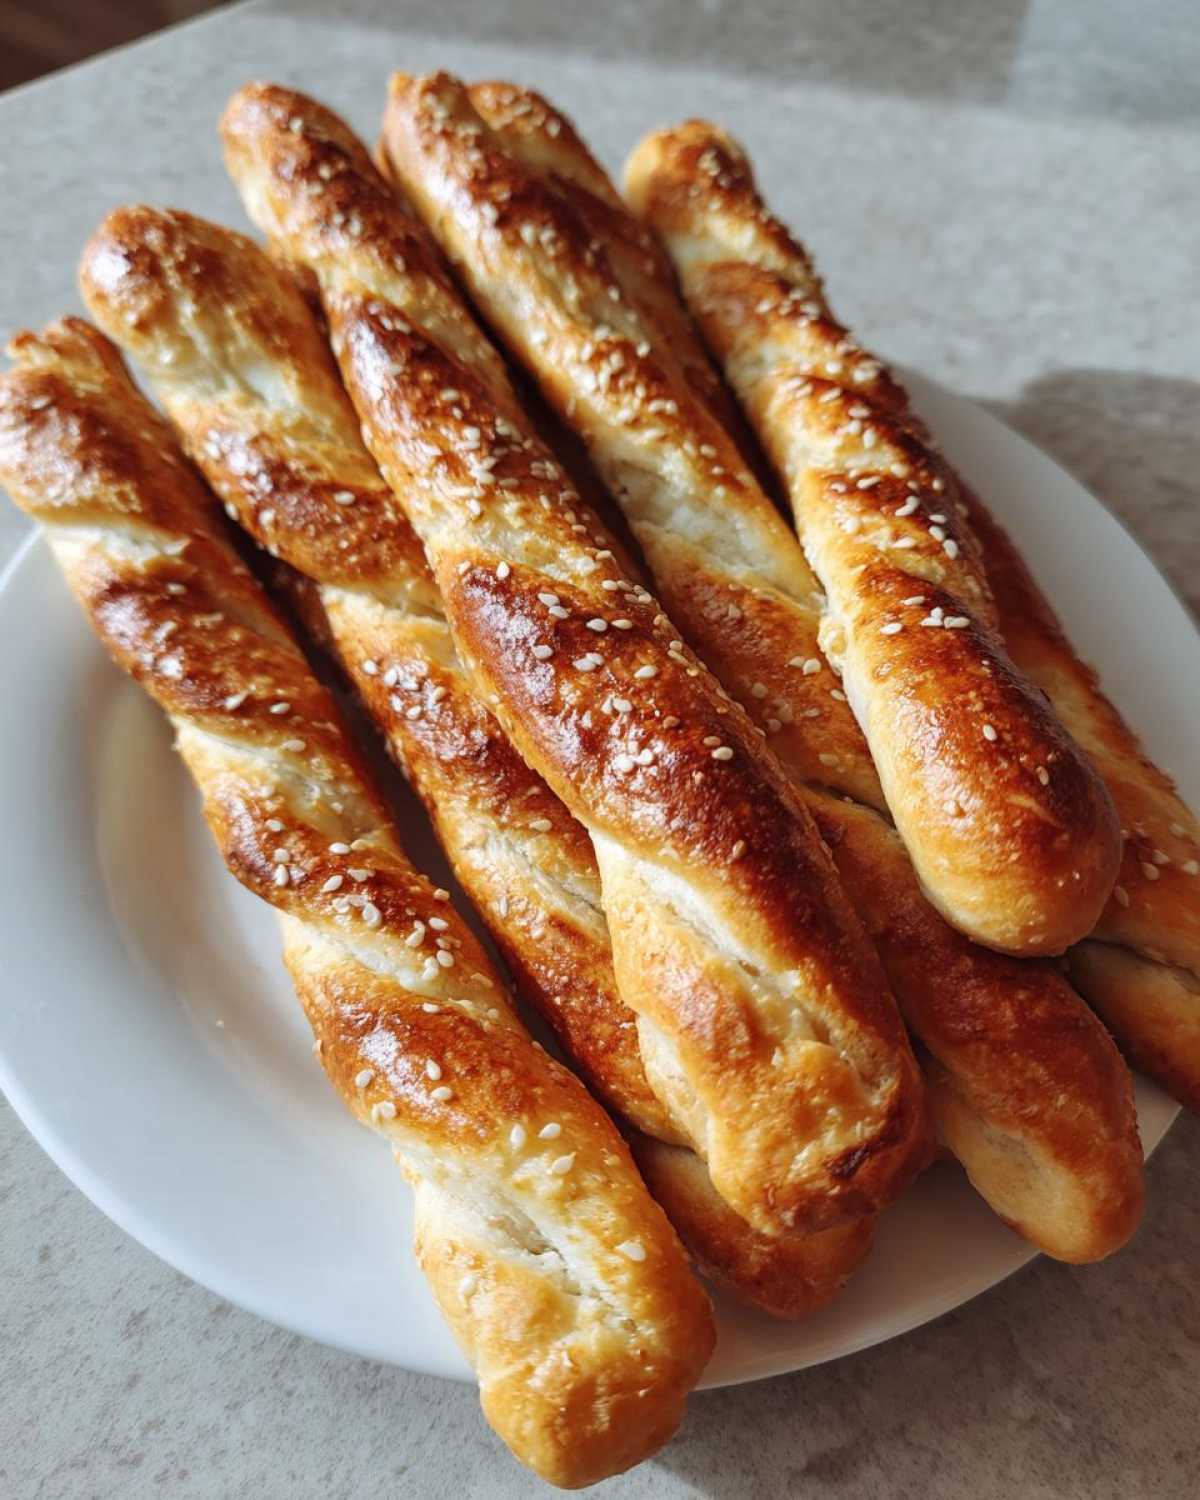
These aren’t just any breadsticks. They’re the easiest, most fun addition to your Halloween spread! Your little goblins and ghouls will adore their spooky shapes. Plus, they’re incredibly simple to prepare. Even the busiest planners will find these a breeze. They’re perfect for any Halloween party. Everyone, from kids to grown-ups, will reach for these bone-shaped delights.
Skeleton Bone Breadsticks: Your Halloween Party Essential
When it comes to Halloween parties, presentation is key. These Skeleton Bone Breadsticks are your secret weapon for a spooktacular spread. They instantly add a festive touch. They fit any creepy theme perfectly. I remember planning a Halloween bash last year. My spreadsheet was color-coded for maximum impact. I needed a simple yet effective appetizer. These bone breadsticks were the answer! They were a massive hit. Kids loved them. Adults asked for the recipe. They’re truly a crowd-pleaser.
Expert Tips for Perfect Skeleton Bone Breadsticks
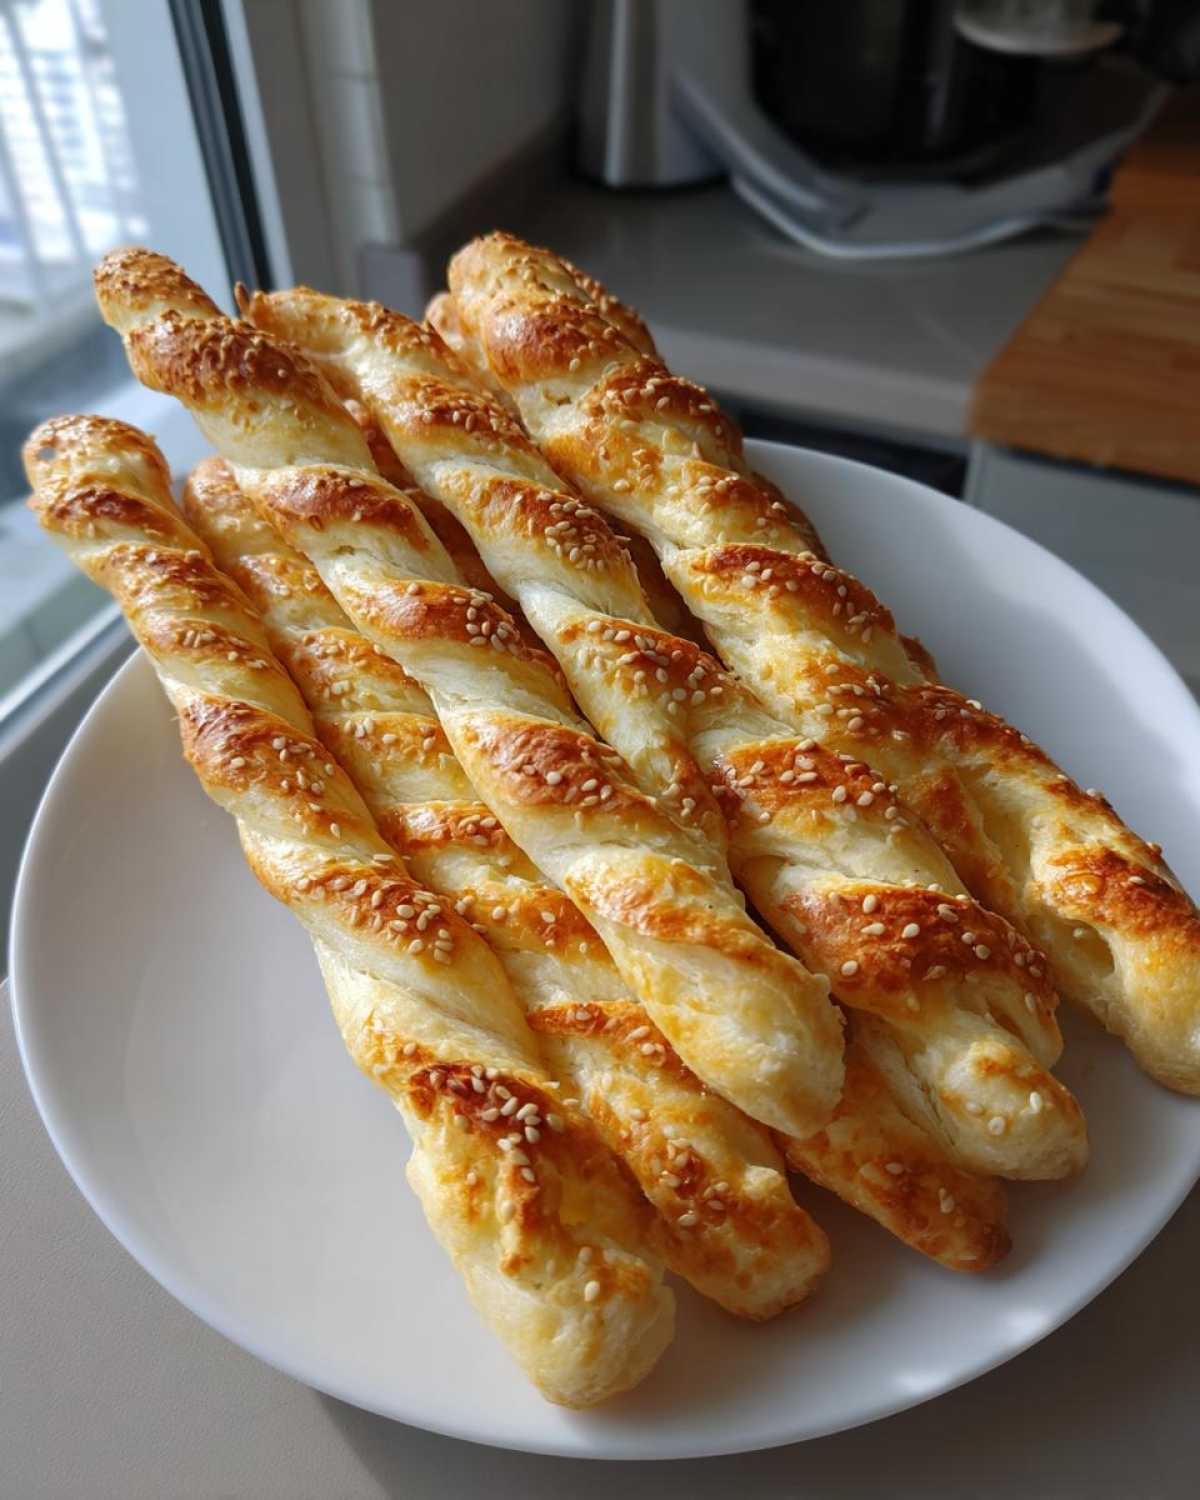
Achieving that perfect bone shape is easier than you think. My planning process always includes a few key details. Gently stretch each biscuit half. Taper one end for the knuckle. Keep the other end round for the joint. This creates a realistic bone look. Bake them until they’re a lovely golden brown. I usually check them around the 10-minute mark. For extra crispiness, a minute or two more does the trick. Your attention to detail will make these a standout dish.
Ingredient Notes for Your Skeleton Bone Breadsticks
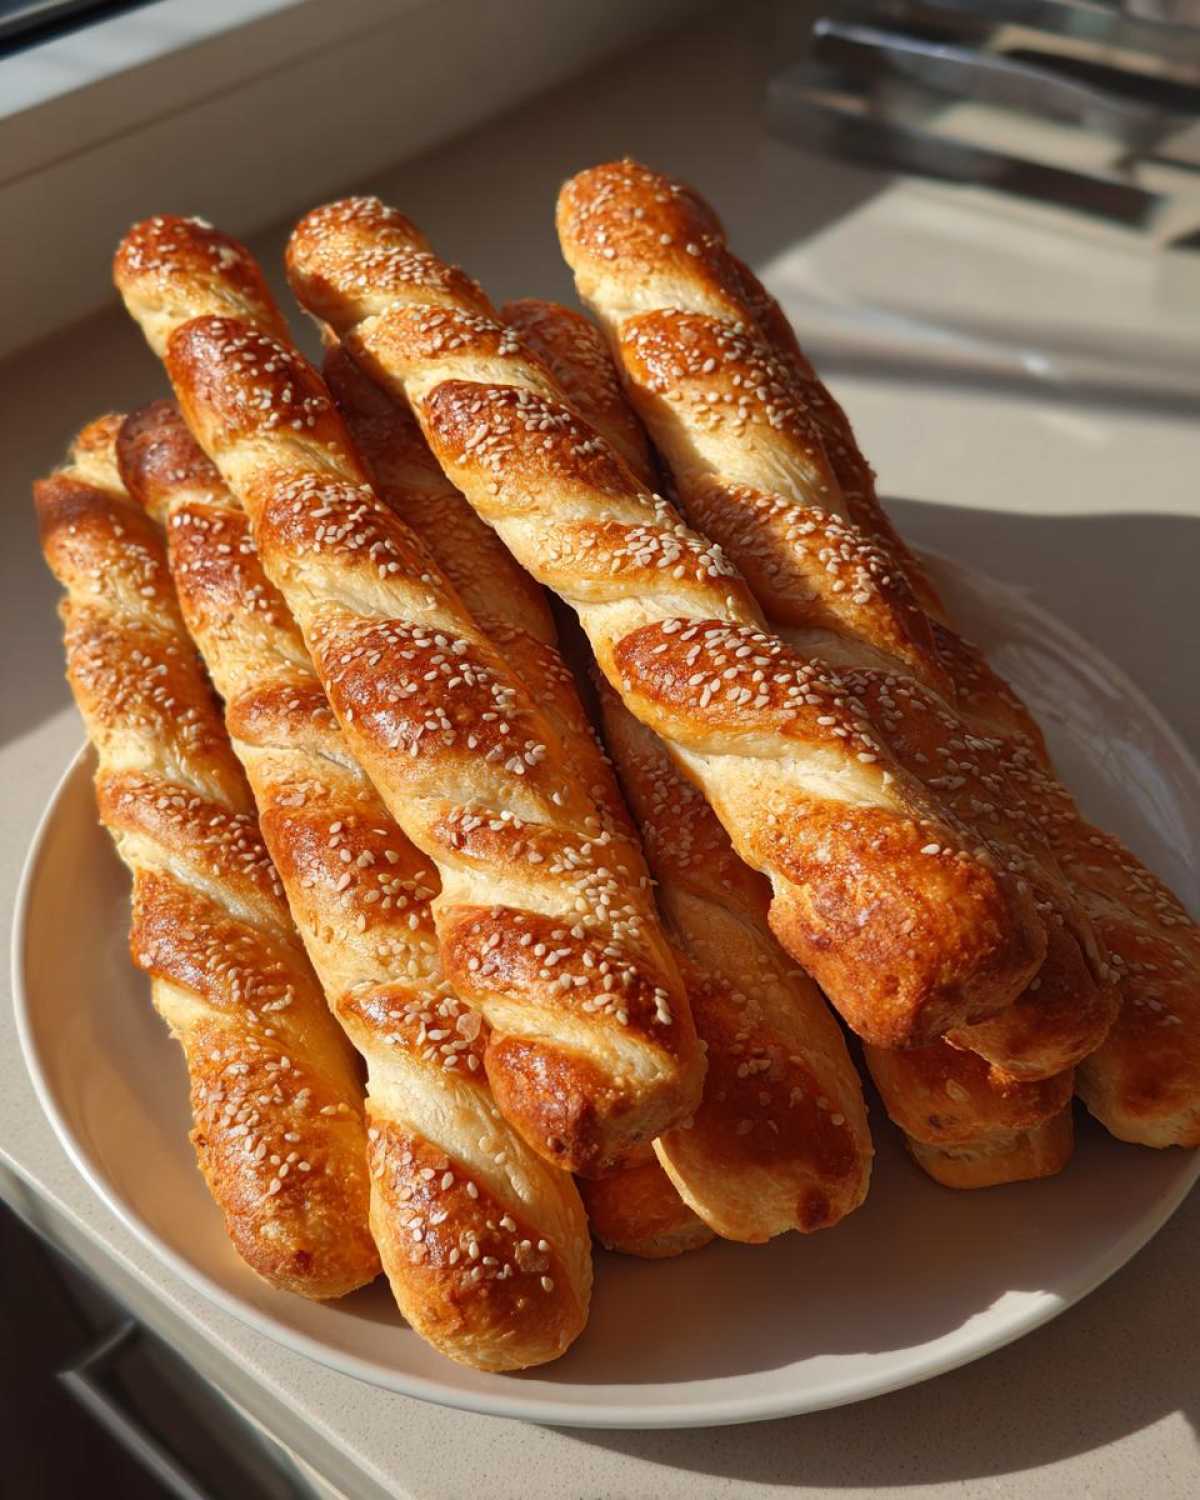
Using the right dough is important. Be sure to grab refrigerated biscuit dough. It’s perfect for these breadsticks. The optional sesame seeds add a nice touch. They look like little bones with a bit of texture. Sprinkle them on after the egg wash. They bake up beautifully. This simple addition really elevates the presentation. You’ll love how easy these ingredients make the whole process.
Crafting Your Skeleton Bone Breadsticks: A Simple Process
Let’s get down to the fun part: making these spooky treats! I love how straightforward this recipe is. It makes me feel like a culinary wizard, even on a busy Halloween night. You don’t need to be a master baker. We’ll break it down easily. Each step is simple. You’ll have a batch of charming bone breadsticks in no time. It’s a project even my little ones help with. They love shaping the dough.
Preparing the Dough for Skeleton Bone Breadsticks
First things first, let’s get our oven ready. Preheat it to 375 degrees F (190 degrees C). Then, grab your baking sheet. Arrange the refrigerated biscuit dough right onto it. This is the very start of our spooky creation. It’s a quick setup. Easy prep makes for a happy cook.
Shaping and Baking Your Skeleton Bone Breadsticks
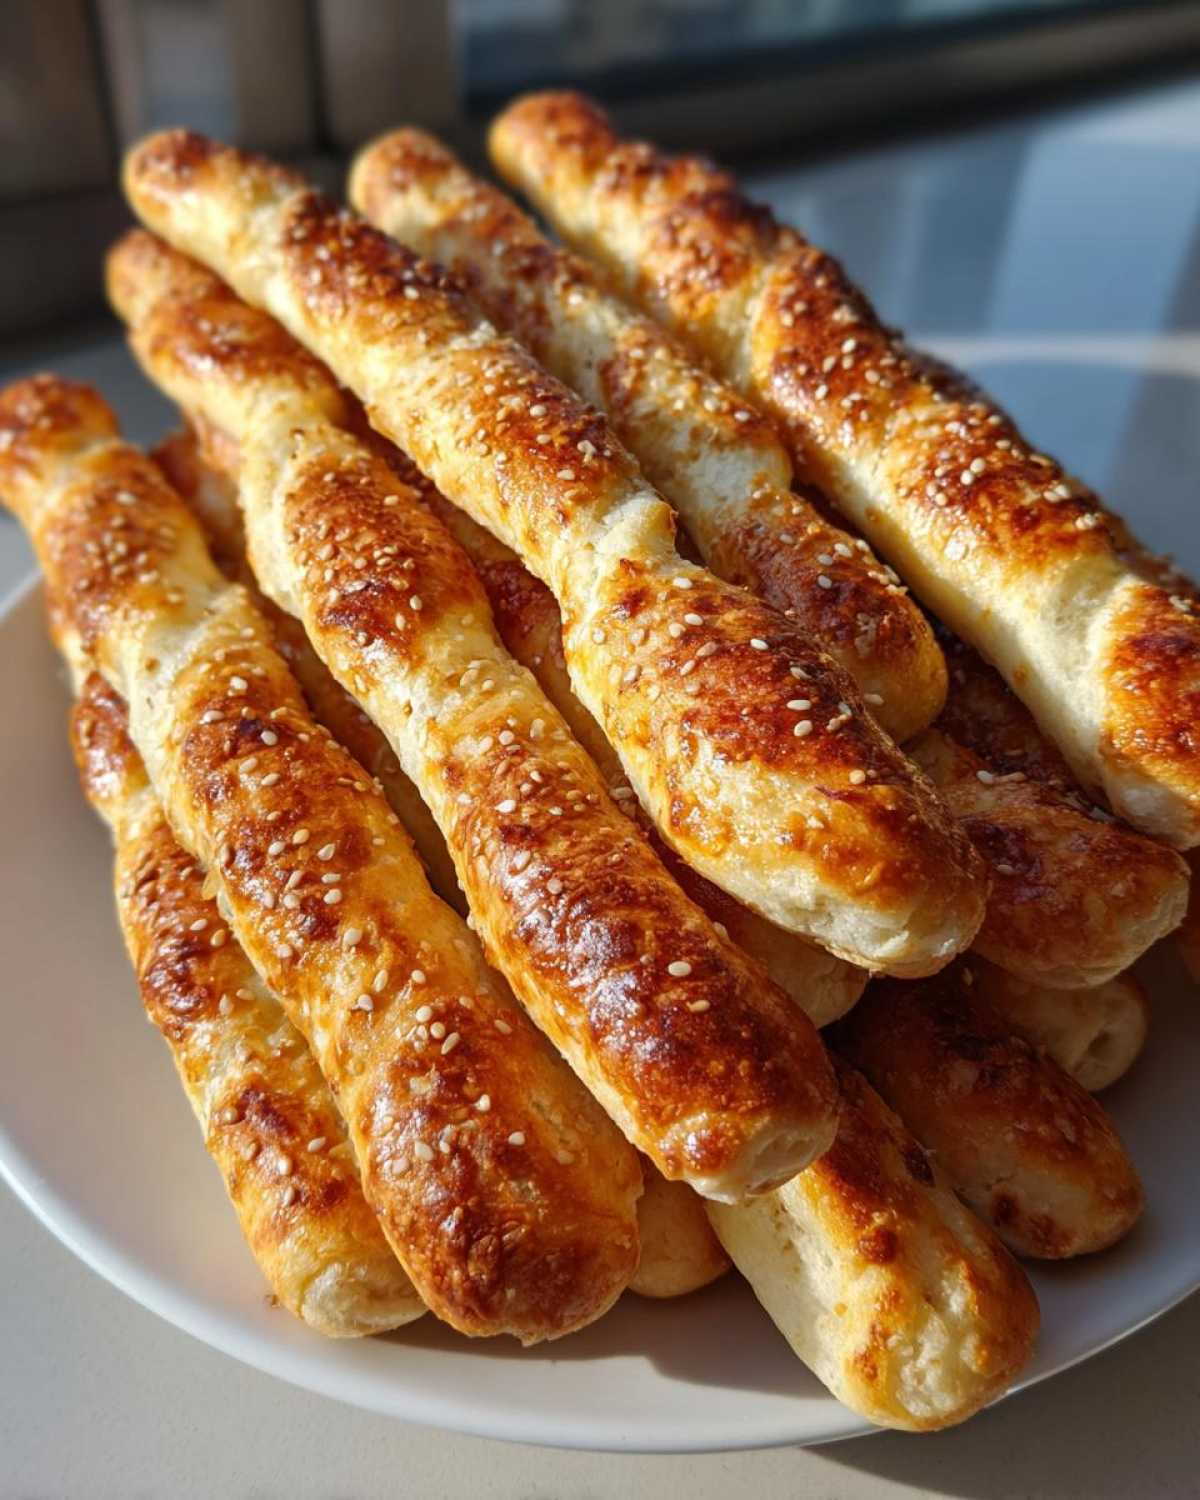
Now for the magic. Carefully cut each biscuit in half horizontally. This gives you two thinner pieces. Gently stretch each half into a bone shape. Taper one end for the knuckle. Keep the other end round for the joint. Place them on the baking sheet with a little space. Brush the tops with the beaten egg. This gives them a lovely shine. Sprinkle with sesame seeds if you like. Bake for 10 to 12 minutes. Watch them turn golden brown. For a crispier bite, bake them a minute or two longer. They’ll be perfect!
Frequently Asked Questions About Skeleton Bone Breadsticks
Have some questions about these fun treats? I get it! Planning parties means thinking of all the details. Can I make these ahead of time? Yes, you can shape them a few hours in advance and keep them covered in the fridge. Just brush with egg wash and bake when ready. What other dips work well? Marinara is classic, but ranch, a creamy cheese dip, or even a sweet cinnamon sugar dip are fantastic options. Are they good for picky eaters? Absolutely! The familiar biscuit dough and fun shape are usually a hit with even the pickiest little eaters. They’re one of my go-to easy Halloween snacks for my own kids. How do I store leftovers? Once cooled, store them in an airtight container at room temperature for a day or two. Reheat gently in the oven or toaster oven to refresh them. These are great for kids Halloween parties.
Serving and Storing Your Delightful Skeleton Bone Breadsticks
These bone-shaped beauties are best served warm. They’re perfect for dipping into a spooky marinara sauce. Or perhaps a creamy cheese dip? They make a fantastic appetizer. Leftovers? Store them in an airtight container. Keep them at room temperature for a day. To refresh them, a quick warm-up in your oven works wonders. They’ll be just as tasty the next day!
Estimated Nutritional Information for Skeleton Bone Breadsticks
Here’s a general idea of what you can expect in one of these fun breadsticks. Keep in mind these are estimates, and actual values can vary slightly. I usually find a serving has about 120 calories. You’ll get around 5g of fat and 17g of carbs. There’s also about 3g of protein. These values are based on typical ingredients used. They can change with different brands or additions. For more information on food safety and handling, you can refer to the FDA’s guidance on preventive controls for human food. Understanding nutritional information is part of responsible food preparation.
PrintSpooky Skeleton Bone Breadsticks: 10 Minute Fearless Fun

Create fun and spooky skeleton bone breadsticks for your Halloween party. These are easy to make and a hit with kids and adults.
- Prep Time: 15 minutes
- Cook Time: 12 minutes
- Total Time: 27 minutes
- Yield: 16 breadsticks
- Category: Appetizer
- Method: Baking
- Cuisine: American
- Diet: Vegetarian
Ingredients
- 1 (11.6 ounce) package refrigerated biscuit dough
- 1 egg, beaten
- 1 tablespoon sesame seeds (optional)
- Marinara sauce for dipping
Instructions
- Preheat your oven to 375 degrees F (190 degrees C).
- Arrange the biscuit dough on a baking sheet.
- Using a knife, carefully cut each biscuit in half horizontally to create two thinner pieces.
- Shape each half into a bone shape. You can do this by gently stretching and tapering one end for the ‘knuckle’ and keeping the other end round for the ‘joint’.
- Place the bone-shaped breadsticks onto the baking sheet, leaving some space between them.
- Brush the tops of the breadsticks with the beaten egg.
- If desired, sprinkle with sesame seeds.
- Bake for 10-12 minutes, or until golden brown and cooked through.
- Serve warm with marinara sauce for dipping.
Notes
- For a crispier texture, you can bake them for a couple of minutes longer.
- Feel free to add garlic powder or Italian seasoning to the dough before baking for extra flavor.
- Get creative with shapes! You can make them longer or shorter depending on your preference.
Nutrition
- Serving Size: 1 breadstick
- Calories: 120
- Sugar: 1g
- Sodium: 250mg
- Fat: 5g
- Saturated Fat: 2g
- Unsaturated Fat: 3g
- Trans Fat: 0g
- Carbohydrates: 17g
- Fiber: 1g
- Protein: 3g
- Cholesterol: 5mg