


Witch Finger Almond Cookies: Your Spooky Halloween Baking Project
Get ready for some ghoulishly good fun! These Witch Finger Almond Cookies are the perfect addition to your Halloween spread. They’re incredibly easy to whip up. Plus, they look wonderfully spooky! I used to be a planner who just dreamed of baking. Now, Jacob and I create these treats together. They truly capture the spirit of the season. You’ll love how simple these themed cookies are.
Why You’ll Love These Witch Finger Almond Cookies
- Super easy to make for any skill level.
- Unmistakably spooky and fun for Halloween.
- A big hit with kids and adults alike.
- Deliciously nutty almond flavor in every bite.
Amelia and Jacob’s Baking Journey with Witch Finger Almond Cookies
This recipe feels like a true collaboration for us. I found the perfect plan for these Witch Finger Almond Cookies. Jacob then added his magic touch. He helped perfect the shape and bake. It’s a recipe that embodies our blog’s story. We love turning my organized ideas into delicious reality. These cookies are a sweet success we want to share.
Gather Your Ingredients for Witch Finger Almond Cookies
Before we get our hands delightfully doughy, let’s make sure we have everything we need for these spooky Witch Finger Almond Cookies. Having all your ingredients prepped and ready makes the baking process so much smoother, just like I like it! Think of this as my organized approach to creating Halloween magic. We’ll list everything clearly so you can gather your supplies with ease. Don’t worry if you’re missing something; I’ll share some handy tips for substitutions too.
Essential Ingredients for Witch Finger Almond Cookies
To craft these creepy-crawly delights, you’ll need a few key players. First up, softened unsalted butter and granulated sugar form our creamy base. A large egg and almond extract give our Witch Finger Almond Cookies that classic cookie richness. For the dry goods, we’ll use all-purpose flour, salt, and baking powder to get the perfect texture. And of course, we need green food coloring for that signature witchy hue, sliced almonds for those ghastly fingernails, and red decorating gel to really bring them to life with spooky details.
Ingredient Notes and Substitutions
Make sure your butter is truly softened—not melted! This is key for fluffy cookies. If you can’t find almond extract, a touch of vanilla extract works too. For the green food coloring, start with a few drops and add more until you get that perfect eerie shade. If red decorating gel isn’t your jam, melted red candy melts can also work wonders for those gruesome details. Sometimes I even use a little jam for a bloody effect!
Step-by-Step Guide to Making Witch Finger Almond Cookies
Now for the fun part! Let’s dive into creating these amazing Witch Finger Almond Cookies. I love this stage. It’s where my planning meets Jacob’s artistic flair. We’ll walk through each step together. You’ll see just how easy it is to make these spooky treats. Don’t worry if your shapes aren’t perfect. That’s part of the charm! These cookies are meant to be fun and a little bit creepy. Get ready to transform simple dough into Halloween masterpieces.
Preparing the Witch Finger Almond Cookie Dough
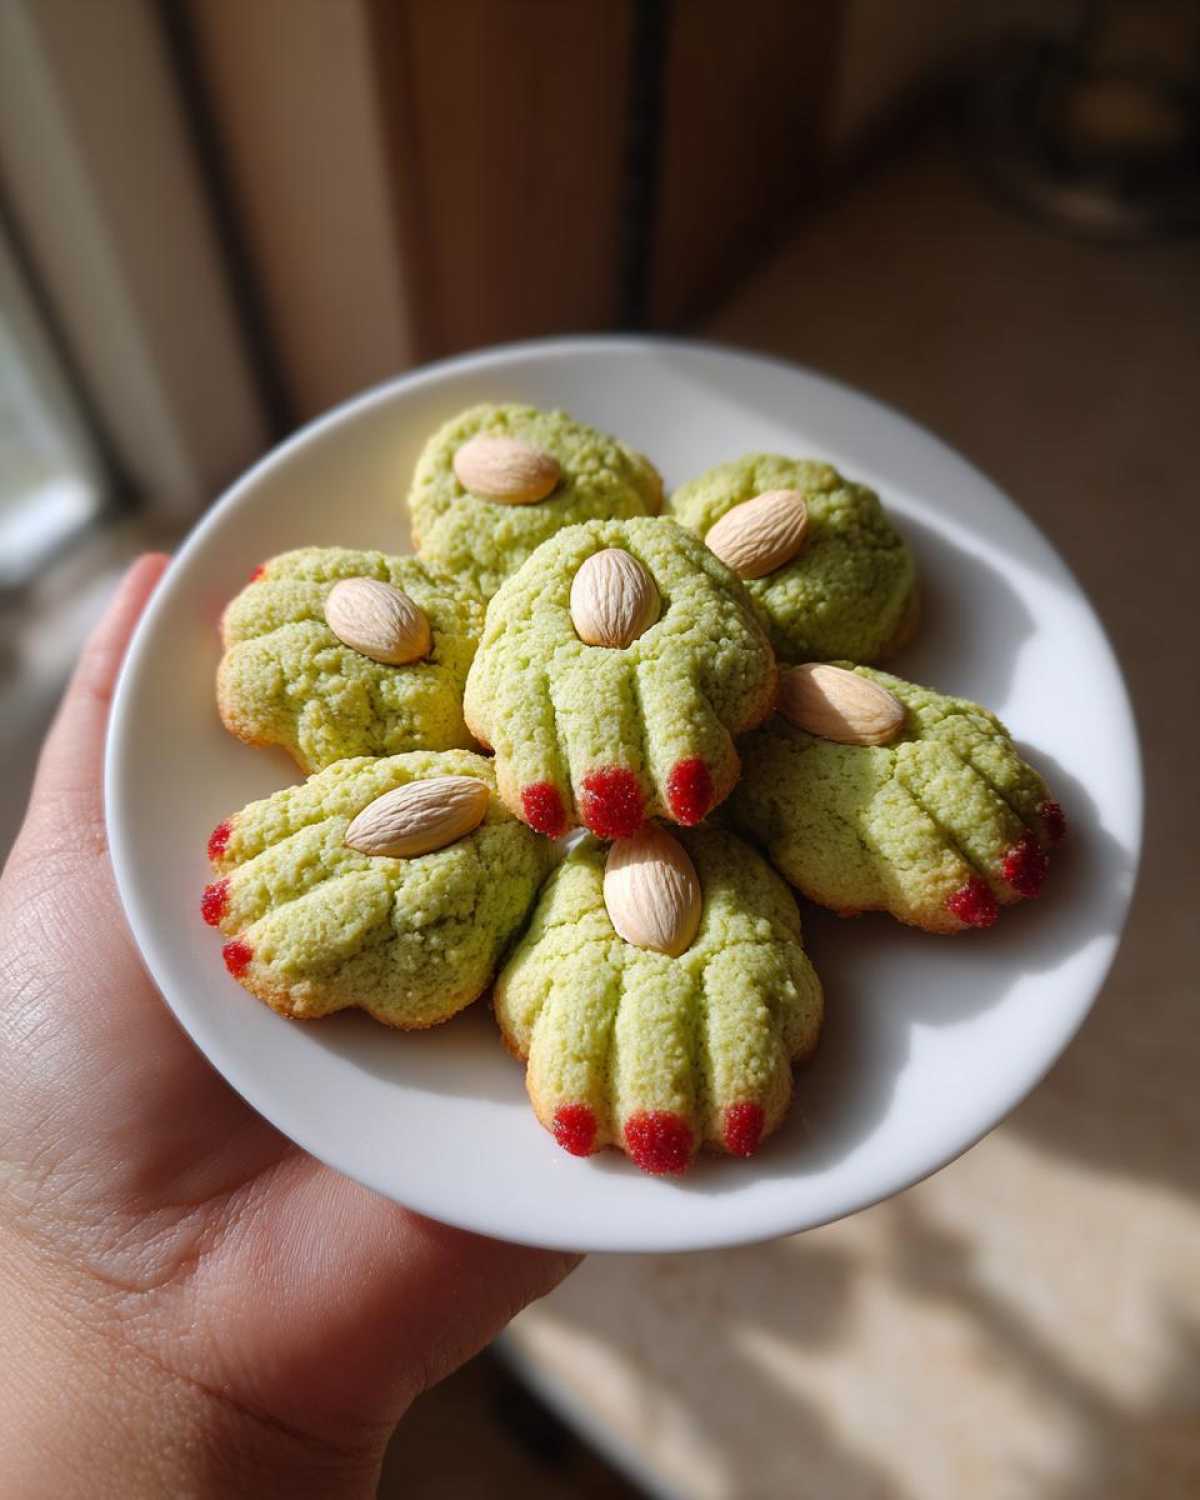
First, let’s get that dough ready. In a big bowl, cream together your softened butter and sugar. Beat them until they look light and fluffy. This is the start of a great cookie. Next, add in the egg and almond extract. Mix well. Now, in another bowl, whisk together your flour, salt, and baking powder. Gradually add these dry ingredients to your wet mixture. Mix just until everything comes together. Don’t overmix! Then, add your green food coloring, a few drops at a time. Mix until you get that perfect witchy color for your Witch Finger Almond Cookies.
Shaping and Baking Your Witch Finger Almond Cookies
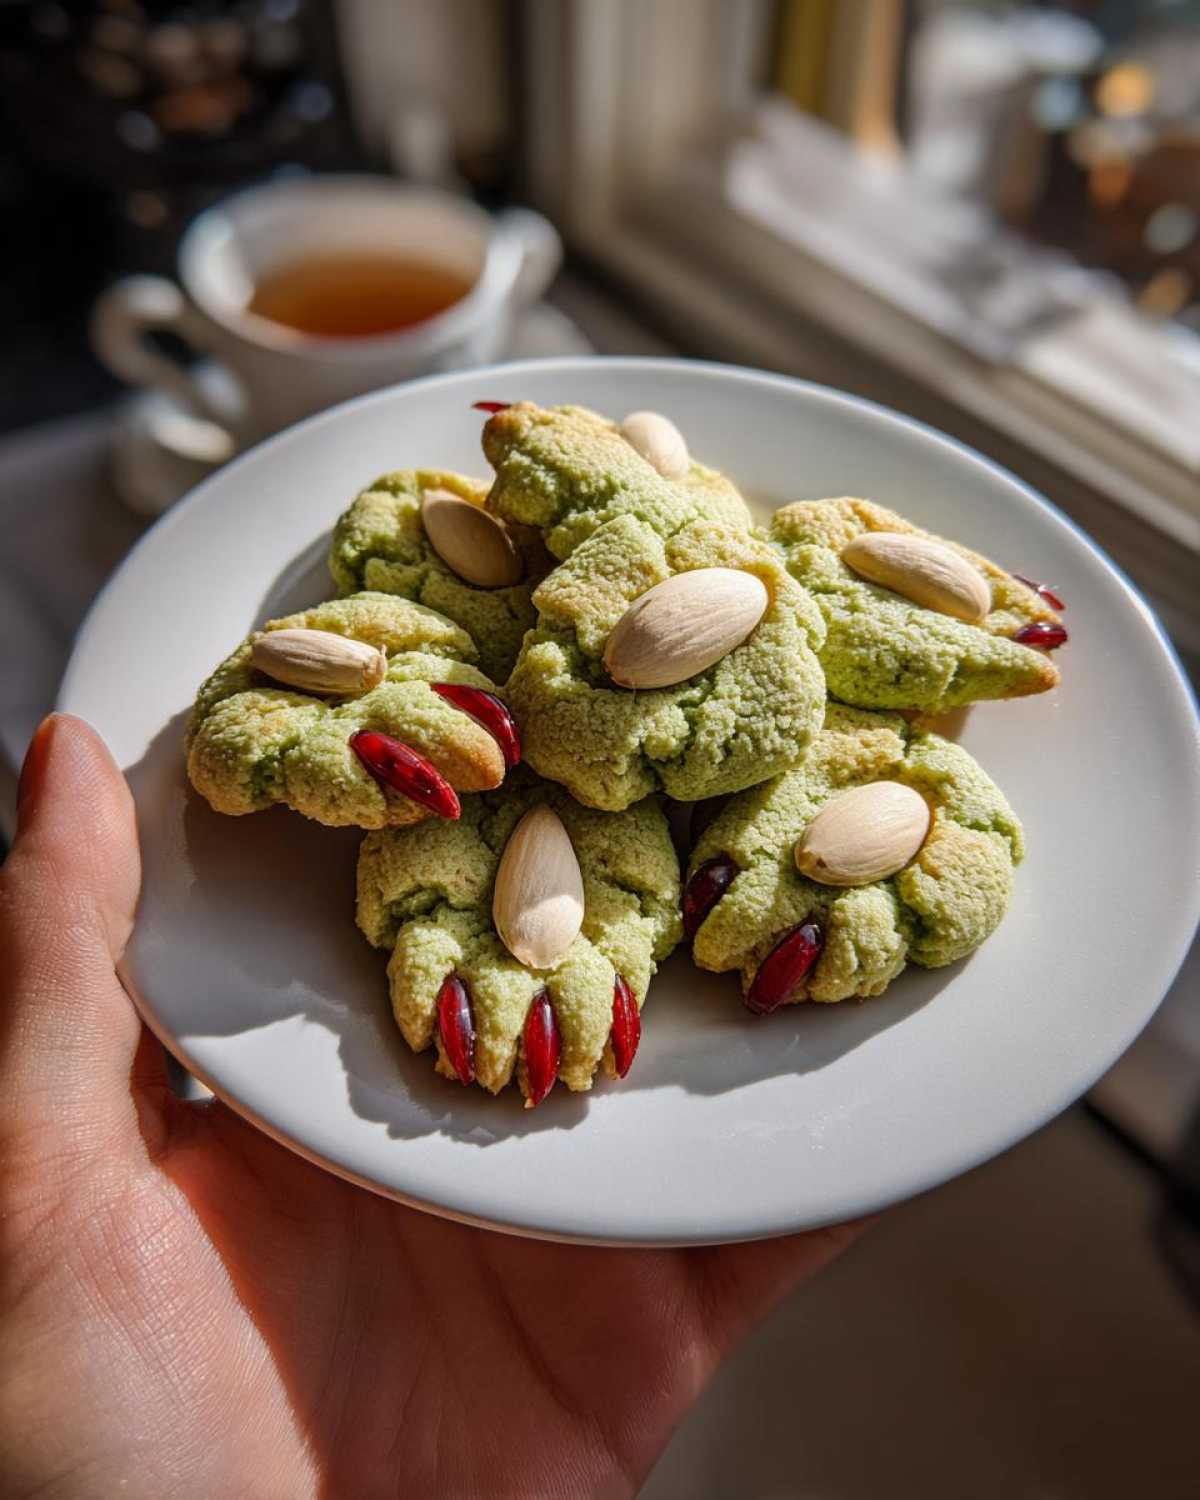
It’s time to make some fingers! Take about a tablespoon of dough. Roll it into a log shape. Gently taper one end to make it look like a finger. Press a sliced almond onto the tapered end for the fingernail. Use a knife to carefully etch lines for the knuckles. Place your shaped cookies on a baking sheet lined with parchment paper. Make sure they have a little space between them. Preheat your oven to 350°F (175°C). Bake for 10-12 minutes. You want the edges to be just lightly golden. Let them cool completely on the sheet. This helps them firm up.
Decorating Your Spooky Witch Finger Almond Cookies
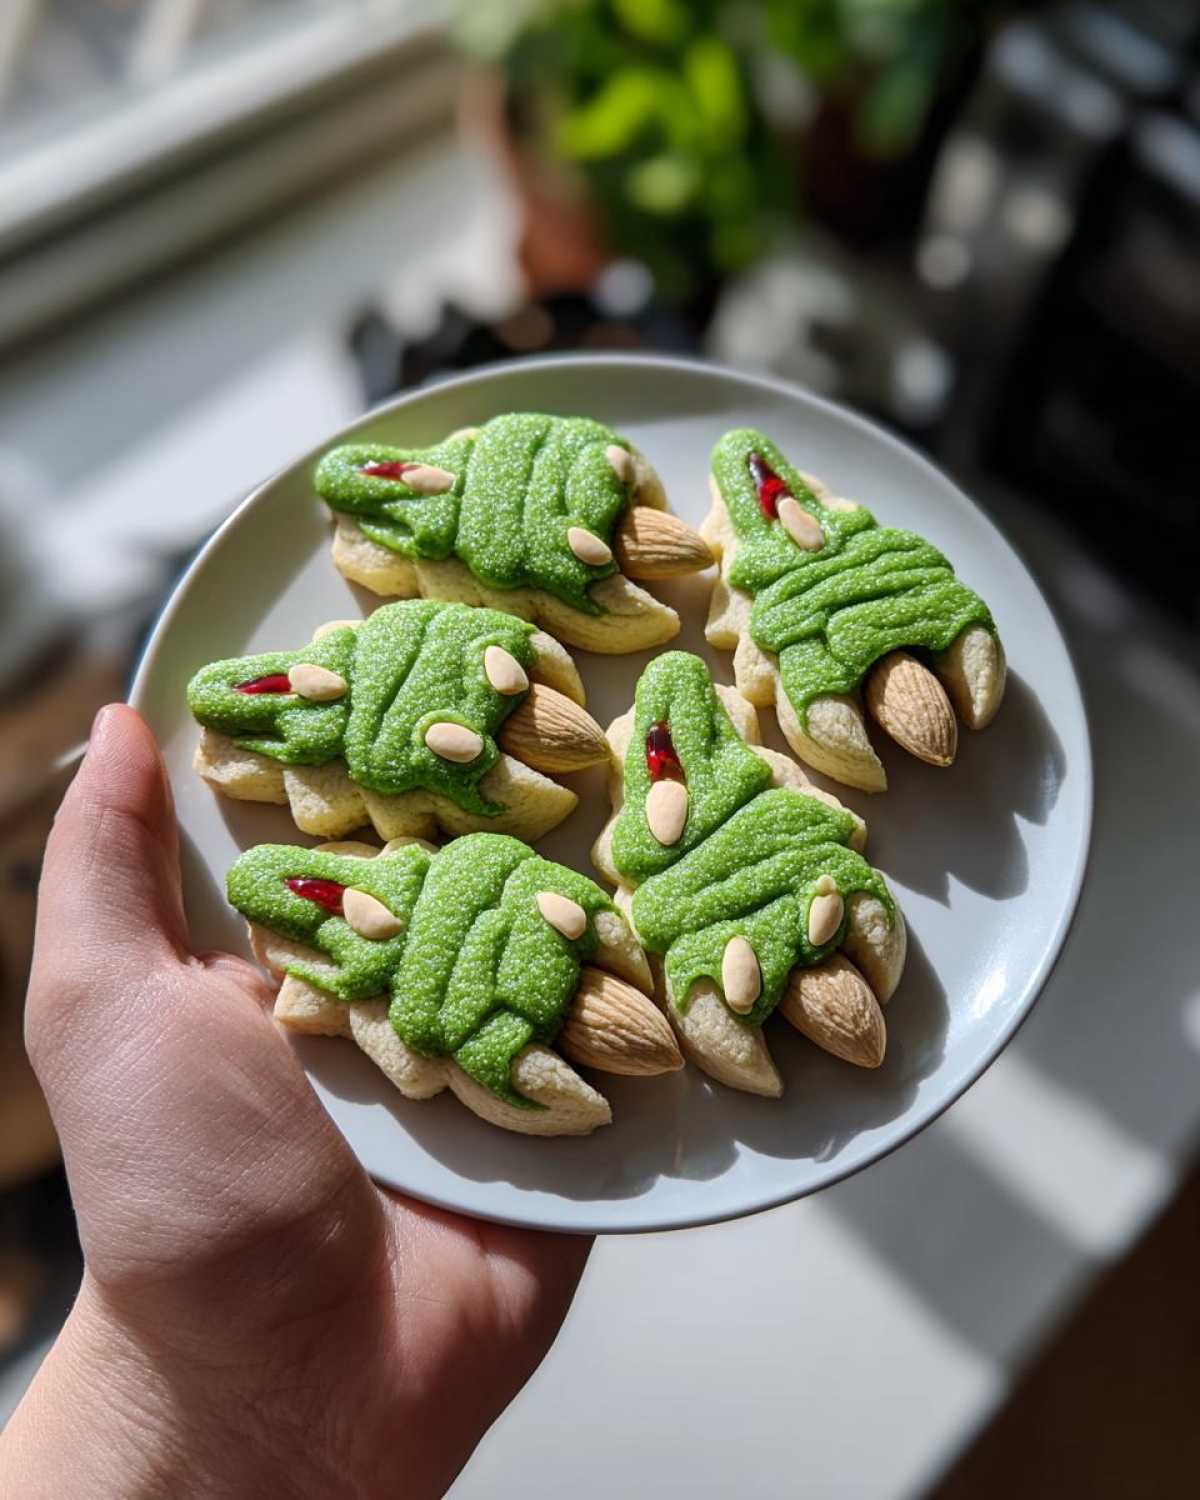
The final touch makes all the difference! Once your Witch Finger Almond Cookies are totally cool, it’s time for decorating. Grab your red decorating gel. Carefully draw little lines at the knuckle joints. You can also add a touch around the almond fingernail. This gives them a really realistic, spooky look. It’s like they’ve been through a bit of a rough time! If you don’t have red gel, melted red candy melts work great, or even a little bit of raspberry jam for a bloody effect. Have fun with it!
Tips for Perfect Witch Finger Almond Cookies
Achieving perfectly spooky Witch Finger Almond Cookies is all about a few key details. If your dough feels too soft to shape, don’t fret! Simply pop it in the fridge for about 30 minutes. This makes it much easier to handle. When shaping, remember that they spread a little in the oven. Don’t overmix the dough once you add the flour; this keeps your cookies tender. Watch them closely while baking. You want those edges to be just lightly golden, not deeply browned. This ensures a soft, chewy interior for your Witch Finger Almond Cookies. A little patience with cooling also helps them set up beautifully.
Frequently Asked Questions about Witch Finger Almond Cookies
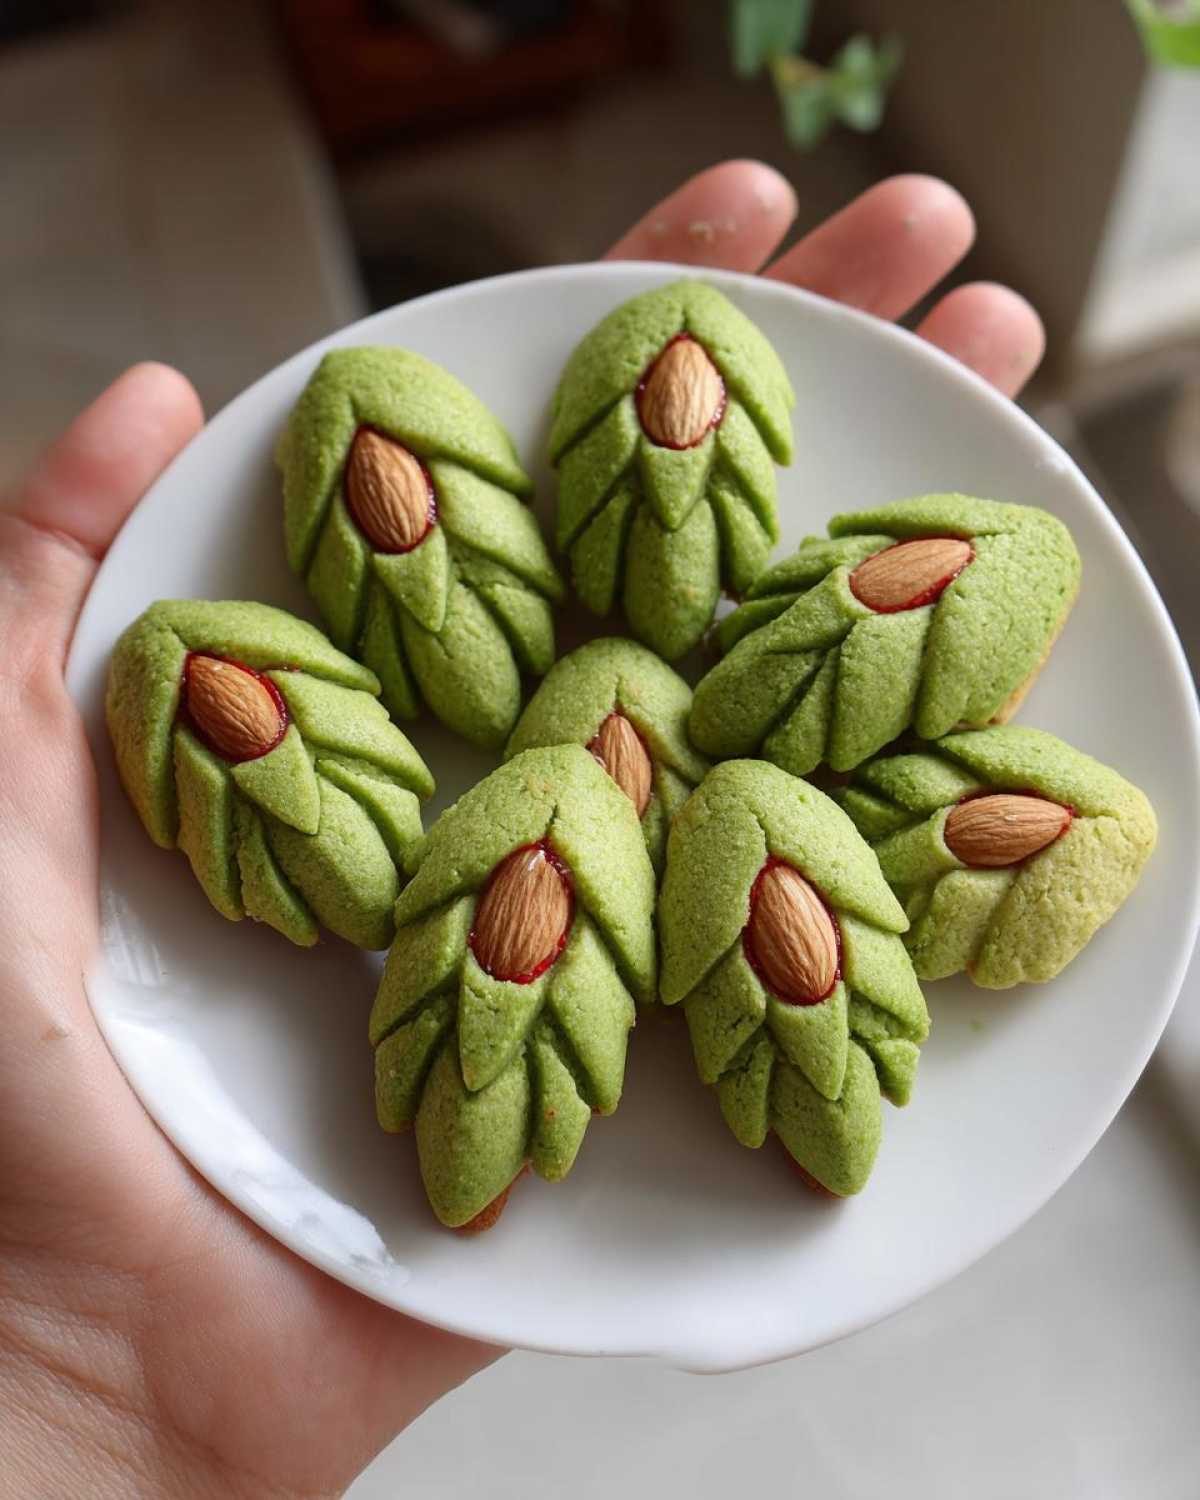
Do you have questions about making these fun Halloween cookies? I’ve got answers! Many people ask if these Witch Finger Almond Cookies are truly easy. Yes, they really are! They are a fantastic choice for an easy cookie recipe, even for beginner bakers. My partner Jacob, who is the real artist in our kitchen, finds them straightforward too. Can I make them ahead of time? Absolutely! These themed treats hold up well when stored in an airtight container. They’re perfect for making a day or two before your Halloween party. What if I don’t have green food coloring? You can skip the green food coloring and make classic almond cookies, or try a tiny bit of matcha powder for a natural green tint, though it will add a subtle flavor. These Witch Finger Almond Cookies are so versatile!
Nutritional Estimate for Witch Finger Almond Cookies
Just a little note on nutrition! The details provided for these Witch Finger Almond Cookies are estimates. They can vary based on the specific ingredients and brands you use. This helps you understand what you’re baking. Enjoy these spooky treats!
Share Your Spooky Creations!
We absolutely love seeing your baking adventures! Did you make these frightfully fun Witch Finger Almond Cookies? We’d be thrilled if you shared your masterpieces with us. Leave a comment below with your thoughts, rate the recipe, or tell us how your spooky treats turned out. Your shared experiences make our Taste Portfolio even richer!
PrintWitch Finger Almond Cookies: a spooky baking triumph

Create spooky and delicious Witch Finger Almond Cookies for your Halloween party. These fun cookies are easy to make and perfect for themed treats.
- Prep Time: 30 minutes
- Cook Time: 12 minutes
- Total Time: 42 minutes
- Yield: 24 cookies
- Category: Desserts
- Method: Baking
- Cuisine: American
- Diet: Vegetarian
Ingredients
- 1 cup unsalted butter, softened
- 3/4 cup granulated sugar
- 1 large egg
- 1 teaspoon almond extract
- 2 1/2 cups all-purpose flour
- 1/2 teaspoon salt
- 1/4 teaspoon baking powder
- Green food coloring
- Sliced almonds
- Red decorating gel
Instructions
- Cream together the butter and sugar until light and fluffy.
- Beat in the egg and almond extract.
- In a separate bowl, whisk together the flour, salt, and baking powder.
- Gradually add the dry ingredients to the wet ingredients, mixing until just combined.
- Add green food coloring, a few drops at a time, until you achieve your desired witch finger color.
- Shape the dough into finger-like shapes.
- Press a sliced almond onto one end of each cookie for the fingernail.
- Use a knife to gently create knuckle lines on the fingers.
- Place cookies on a baking sheet lined with parchment paper.
- Bake at 350°F (175°C) for 10-12 minutes, or until the edges are lightly golden.
- Let the cookies cool completely on the baking sheet.
- Once cool, use red decorating gel to draw lines at the knuckle joints and a bit around the almond fingernail for a more realistic look.
Notes
- Ensure your butter is truly softened for the best cookie texture.
- Don’t overmix the dough after adding the flour to prevent tough cookies.
- Adjust the amount of food coloring to get the perfect witchy hue.
- You can chill the dough for 30 minutes before shaping if it’s too soft to handle.
- Red decorating gel adds a great touch, but you can also use melted red candy melts.
Nutrition
- Serving Size: 1 cookie
- Calories: 150
- Sugar: 10g
- Sodium: 50mg
- Fat: 8g
- Saturated Fat: 5g
- Unsaturated Fat: 3g
- Trans Fat: 0g
- Carbohydrates: 18g
- Fiber: 1g
- Protein: 2g
- Cholesterol: 25mg