

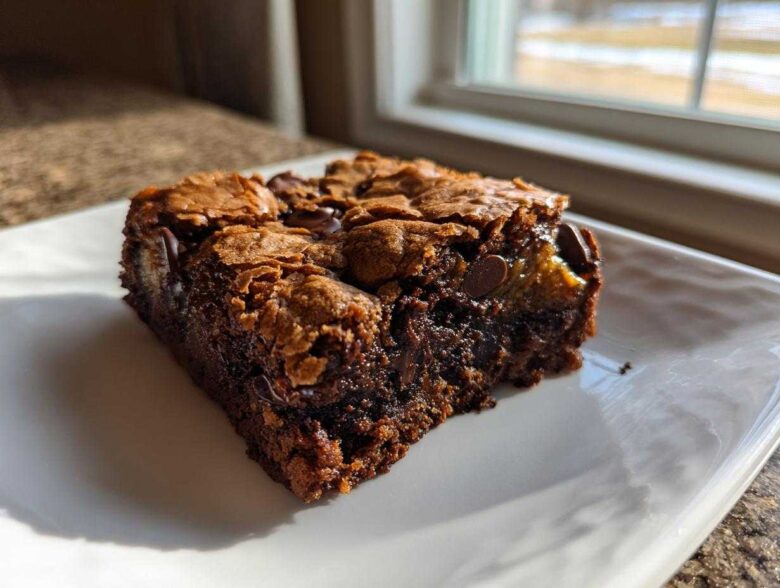
When you need a dessert that wraps you up in a warm hug, forget fancy layer cakes. We’re talking about the absolute pinnacle of comfort baking: the bar cookie. And not just any bar cookie—I’m talking about the quintessential, can’t-stop-eating-them, chocolate chip magic that defines the term **Ooey Gooey Bars**.
Seriously, if you want that thick, ridiculously decadent square that still has a molten center even after it cools down? This is the recipe. My kitchen smells like heaven when these bake, and I always make a double batch because they disappear way too fast. We aren’t looking for crisp edges here; we want rich, fudgy, and perfectly underbaked goodness. Trust me, this technique for ultra-rich dessert bars is my number one secret weapon for any gathering.
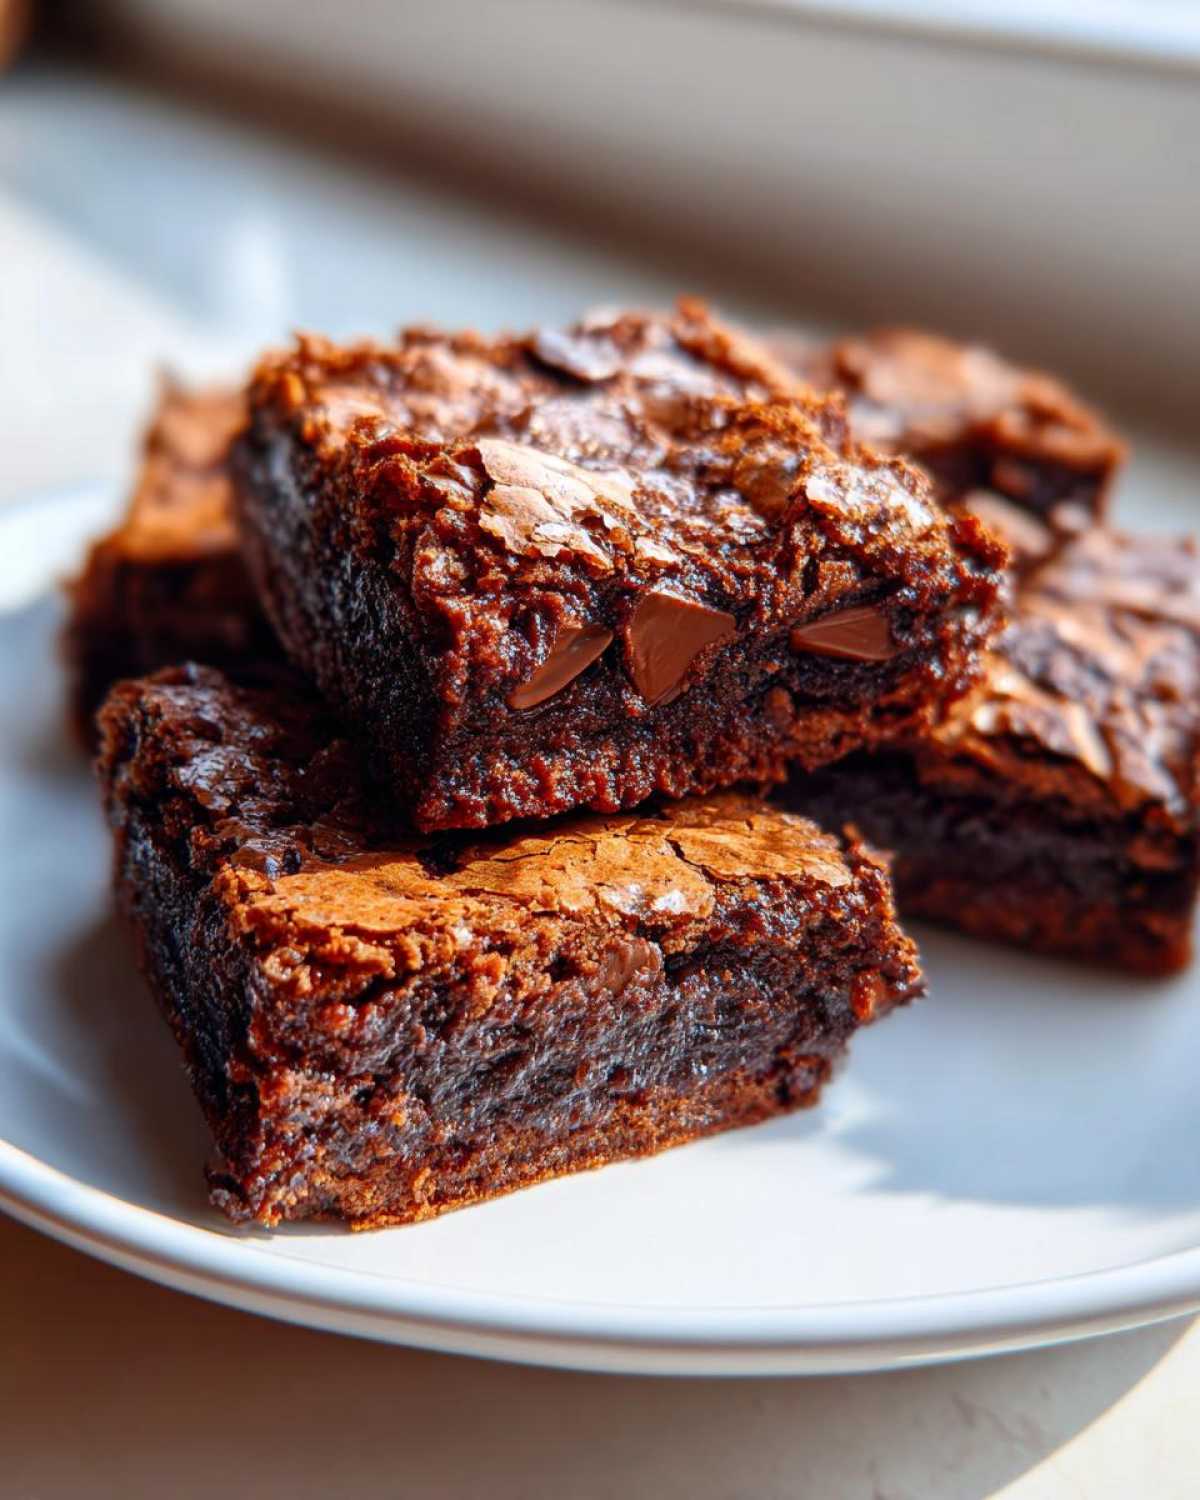
Why You Will Make These Ooey Gooey Bars Again and Again
- They deliver that perfect texture: Seriously soft in the middle, they practically melt on your tongue. This is the definition of Truly Gooey Baked Goods.
- The mixing process is shockingly fast! You don’t need any fancy equipment; your trusty hand mixer or even a strong arm and a wooden spoon will do the job.
- The ultimate chocolate payoff—we use two kinds of chips here, so you get layers of melted bliss in every single bite.
- They bake up incredibly thick! These aren’t flimsy squares; these are substantial, satisfying Thick Layered Dessert Bars.
- You can easily customize them. Pecans? Sure. A swirl of caramel? Absolutely! They are incredibly forgiving.
- These are pure, unadulterated comfort food. Nothing beats pulling a warm tray of these rich chocolate squares out of the oven.
Honestly, once you take that first bite—you know, the one where the chocolate is still liquid and the edges are just barely set—you’ll understand why I keep this simple recipe on heavy rotation. They’re just that good!
Gathering Ingredients for Truly Gooey Baked Goods
Okay, here’s the lineup for the magic. Remember, even though these are sometimes called Pan Cookie Recipes, they behave a bit differently than regular cookies, so getting your ratios right is key!
When you look at this list, notice we’re using both sugars. That’s important! The brown sugar brings the chewiness and moisture, while the white sugar helps with just a little bit of crisp structure around the edges.
- 1 cup unsalted butter, needs to be softened just right—not melted, not rock hard!
- 1 cup packed light brown sugar. Make sure to really press it into the measuring cup.
- 1/2 cup granulated sugar.
- 2 large eggs. Make sure these have been sitting out for at least 30 minutes!
- 1 tablespoon vanilla extract. Splash out, don’t be shy!
- 2 1/4 cups all-purpose flour.
- 1 teaspoon baking soda. This helps us get that perfect lift without being cakey.
- 1/2 teaspoon salt. A little salt makes all that sugar taste even better.
- 2 cups semi-sweet chocolate chips. My favorite for that classic flavor.
- 1 cup milk chocolate chips. Hello, extra meltiness!
My absolute top insider tip for getting the best possible texture across the board—whether you’re making these or any other baked good—is the temperature of your eggs and butter. If your eggs are ice cold, they shock the creamed butter mixture, and you lose all that wonderful air you just whipped into it. Letting everything come up to room temperature—about an hour for eggs—ensures everything blends into one smooth, luxurious batter ready for baking. You want smooth sailing into that oven!
Expert Tips for Perfect Ooey Gooey Bars Texture
Listen up, because this is where we separate the merely tasty bar cookies from the truly exceptional, melt-in-your-mouth indulgence! Achieving that signature texture is half science and half gut feeling. If you’re aiming to master How to Make Gooey Baked Goods, you have to follow these two rules. I learned the hard way that you can’t rush perfection, especially when you’re aiming for that perfectly underbaked center.
We’re aiming for Perfectly Underbaked Dessert Bars here, which means we need to pull these beauties out of the oven *early*. If you wait until they look totally done like a normal cake, you’ve gone too far. I check mine religiously in the last five minutes. You can always pop them back in if you’re nervous, but you can never unbake a dry cookie bar!
The Secret to That Molten Center Bar Recipes Feel
This is the big one. When you look at the edges, you want them set—like, they look cooked, maybe a tiny bit golden brown. But when you gently shake the pan? The middle should still have a slight jiggle. It should look a little wet, maybe even slightly sunken in the very middle spots. Why? Because that residual heat in the pan keeps cooking them evenly as they sit on the cooling rack. If they look perfect coming out of the oven, they’ll be stiff as a board ten minutes later. We want that fabulous, decadent texture that makes these some of the Best Gooey Dessert Bars out there. You absolutely must resist the urge to leave them in for an extra five minutes!
If you want to see what a few of my texture tests look like—especially how to tell if you’ve hit that sweet spot—check out some of my baking breakdowns over at my baking tips page. I show the difference between a bar that’s set and one that’s ready!
Achieving Thick Layered Dessert Bars Height
If you’re eyeing those recipes online that show bars an inch thick and you wonder how they did it, well, they likely cheated the spreading! In the recipe notes, I mentioned chilling the dough as optional, but honestly, if you want those tall, hefty squares—the kind that feel like a giant, luxurious cookie—you need to chill. After you mix everything together and before you press it into that 9×13 pan, cover the bowl and pop it in the fridge for about 30 minutes. This solidifies some of that butter, making the dough stiffer. When you press that stiffer dough down, it resists spreading out during the initial bake, resulting in those wonderfully substantial Thick Layered Dessert Bars we all crave. It’s worth the 30 minutes of waiting, trust me!
Step-by-Step Guide to Making Your Ooey Gooey Bars
Ready to turn this batter into pure gold? The process is straightforward, but the order matters so much for maximizing that gooey factor. We’re going to make sure we get tons of air in early and then *stop* mixing the second the flour disappears. Don’t worry if you’re new to baking; these Rich Fudgy Sheet Pan Desserts are forgiving, as long as you don’t overwork that flour!
Remember, we want thick, soft bars, not tough ones. That means patience during the creaming process and then an intense resistance against mixing once we add the dry ingredients. Keep an eye on the oven timer because that last step before cooling is what seals the deal on our Molten Center Bar Recipes!
Preparing the Pan and Creaming the Base
First things first: get that oven humming at 350 degrees Fahrenheit. While it warms up, grab your 9×13 inch pan and line it with parchment paper. Make sure you leave some overhang on two sides—that’s your handle to lift the whole slab out later! This is so much better than greasing and flouring, especially when dealing with something this rich.
Now for the creaming magic! In your big bowl, beat that softened butter with both the light brown sugar and the granulated sugar. You have to beat this until it gets visibly lighter in color and fluffy, like soft whipped frosting. Don’t rush this part! That fluffiness is trapped air, and air equals a better, lighter crumb, even in our dense bars.
Mixing Wet and Dry Ingredients for Ooey Gooey Bars
Once you have that gorgeous, airy butter base, beat in your room-temperature eggs, one at a time, making sure each one is fully incorporated before adding the next. Mix in that vanilla extract right after. You’re looking for a smooth, cohesive mixture now.
In a separate bowl, just give your flour, baking soda, and salt a quick whisk—this ensures the leavening is evenly spread, which is critical for even baking. Now, add those dry ingredients to the wet ingredients gradually, mixing on low speed. As soon as you see no more streaks of dry flour, STOP! Seriously, stop stirring. If you keep mixing, you develop gluten, and gluten makes tough, chewy bars instead of our desired soft, gooey ones. Time to fold in those two cups of semi-sweet chips and the single cup of milk chocolate chips by hand!
Baking and Cooling the Decadent Baked Squares
Press that thick dough evenly into your prepared pan. It’s going to feel a little stiff, but that’s what we want for these Decadent Baked Squares. Slide it into the 350°F oven for 25 to 30 minutes. I always pull mine closer to the 25-minute mark. Remember what we talked about? The edges should look set, but the center needs to look slightly underdone—maybe still a little shiny or soft when you gently tap the pan.
The absolute hardest part comes next: cooling. Take the pan out and let those bars chill completely on a wire rack *in the pan*. I know, I know, you want to slice them warm, but if you cut them now, they’ll just be chocolate soup. Cooling completely allows that molten center to firm up just enough so that when you lift them out using the parchment paper, they hold their shape perfectly, ready to be cut into those amazing squares. No crumbling allowed!
If you need help knowing when icing has fully set up on other cookies, check out my guide on why icing dries hard—it’s a different lesson, but good to know the science!
Storage and Reheating Instructions for Ooey Gooey Bars
Storing these bars properly is crucial because we spent so much time perfecting that gooey interior! If you wrap these beauties up while they are still warm, you’re going to end up with a soggy mess, and that defeats the whole purpose of making Ultra Rich Dessert Bars, right?
For maximum gooiness, you must wait until they are completely cool—and I mean stone cold—before you even think about slicing them. Once they are cut into squares, store them in an airtight container. I usually layer mine with a piece of wax paper between the layers so the chocolate doesn’t glue everything together into one giant slab.
Room temperature is actually best for maintaining that soft, chewy texture we’re aiming for. They should stay fantastic for about three to four days this way. If your kitchen is super hot, or if you added any fussy swirls or soft toppings, popping them in the fridge might be safer, but fair warning: sometimes the cold can make them a little firmer than you want.
If you do store them in the fridge and they feel a bit stiff the next day, don’t panic! You can absolutely bring them back to life. Just take one square—just one!—and pop it in the microwave for about 10 to 12 seconds. That little burst of heat reactivates the chocolate and softens the butter just enough to bring back that fresh-out-of-the-oven, melt-in-your-mouth feeling. Don’t push the time though, or hello, molten disaster!
Variations on Classic Ooey Gooey Bars
The beauty of a classic chocolate chip bar is that it works as a perfect canvas for customization! While this batch is already one of the most indulgent Pan Cookie Recipes you’ll ever meet, sometimes you just need to shake things up a little. I’ve experimented a ton with this base recipe over the years, and I’ve found a few tweaks that elevate these bars without compromising that essential gooey core. Honestly, you can’t go wrong, but these three additions are my absolute favorites when I’m feeling creative.
If you liked the caramel layering in my Twix bars that I talked about in this earlier post, you can definitely bring some of that flavor profile in here!
Here are my top three ways to make these your own:
The Nutty Crunch Upgrade: For texture contrast, always add nuts! I usually fold in about a cup of coarsely chopped pecans or walnuts right along with the chocolate chips. They toast up slightly while baking, providing a welcome crunch against the soft, yielding dough. If you use walnuts, make sure they are fresh; stale nuts ruin the whole experience!
The Chocolate Spectrum: Why stick to just semi-sweet? Try swapping one of the chip types for something completely different. I love using dark chocolate chips (the slightly bitter edge cuts through the sweetness beautifully) or even a bag of butterscotch chips for a richer, almost toffee-like flavor. Sometimes I do half semi-sweet and half white chocolate chips for a marbled look—it looks fancy but uses the exact same mixing steps!
The Peanut Butter Swirl: This one is decadent, bordering on overkill, but oh so worth it. Melt about half a cup of creamy peanut butter—maybe add a teaspoon of confectioners’ sugar to it to keep it soft—and dollop spoonfuls heavily over the batter right after you press it into the pan. Take a butter knife and gently swirl the peanut butter into the dough just a few times. Don’t over-swirl it, or you lose the distinct layers! This creates salty, gooey ribbons throughout the bar, making them truly heavenly.
No matter which path you choose, the key to keeping these Ultra Rich Dessert Bars gooey is sticking to the original baking time and letting them cool fully. Happy experimenting!
Frequently Asked Questions About Making Ooey Gooey Bars
It’s totally normal to have a few questions when you’re aiming for the absolute peak of gooey perfection! I get the same ones every time I make a batch of these Ultra Rich Dessert Bars. Getting those textures just right is what makes or breaks the experience, so I’m happy to share what I’ve learned to ensure you end up with the Best Gooey Dessert Bars on the block!
Can I use melted butter instead of softened butter in these Ooey Gooey Bars?
Oh, please don’t! This is the quickest way to ruin that perfect, thick texture we worked so hard for. If you use melted butter, the dough won’t be able to hold onto the air you incorporate when you cream it with the sugars. Melted butter spreads too much in the oven, and you end up with a thin, crispy bar, almost like a shortbread base—definitely not gooey! You need that softened butter to create the structure that cradles all that melted chocolate.
How long do these bars last?
I wish they lasted longer, but honestly, the best texture is usually within the first 24 hours. If stored properly—meaning in an airtight container at room temperature, maybe layered with wax paper—they are fantastic for about three to four days. After that, they start to firm up significantly as they absorb moisture from the air and the sugars crystallize slightly. If you’re storing them longer than four days, the fridge is the way to go, but remember what I said: they firm up when cold!
When I’m out of ideas for my baking rotation, I often look for inspiration, and if you’re curious about other soft bar textures, sometimes I look up tips on how to keep cookies soft—it offers great insight into moisture retention, which applies here too! You can find some of those general tips on my snickerdoodle page if you need them!
Estimated Nutritional Information for Ooey Gooey Bars
Look, I’m not going to lie—these bars are every bit as rich, decadent, and indulgent as they taste, so they aren’t exactly diet food! But knowledge is power, right? You deserve to know what you’re working with when you pull this amazing batch of chocolate goodness out of the oven.
Keep in mind, these numbers are just estimates based on the ingredients list I provided, and they include all that glorious chocolate and butter. This calculation breaks down the recipe yield of 24 squares.
Here is the general breakdown per serving:
- Serving Size: 1 bar
- Calories: Around 250
- Sugar: Approximately 25 grams (Yes, it’s a treat!)
- Sodium: About 120 mg
- Total Fat: Roughly 14 grams
- Saturated Fat: About 8 grams
- Carbohydrates: Around 30 grams
- Protein: A modest 3 grams
So, keep that serving size small because these Decadent Baked Squares are meant to be enjoyed slowly with a glass of cold milk or maybe a strong cup of coffee. They are meant for satisfying that deep, craving for something sweet, not for everyday consumption. Enjoy the indulgence!
Share Your Ultra Rich Dessert Bars Experience
And there you have it! You’ve armed yourself with everything you need to make the most satisfying, deeply chocolatey, and truly unforgettable Ooey Gooey Bars known to humankind. I really hope you get to experience that moment when you slice into the cooled pan and see that perfect, soft, slightly underbaked center—it’s magic, I tell you!
Now, I absolutely need to hear about it! Did you try the peanut butter swirl variation? Did you manage to resist cutting into them right away so they could cool properly? Don’t leave me hanging!
Please, if you make these Ultra Rich Dessert Bars, hop down to the comments section below and leave a star rating. Telling me how they turned out helps me know what recipes to share next, and your feedback is gold to me. And hey, if you snap a picture of your ridiculously gooey masterpiece, share it on Instagram and tag me! I love seeing your baking achievements.
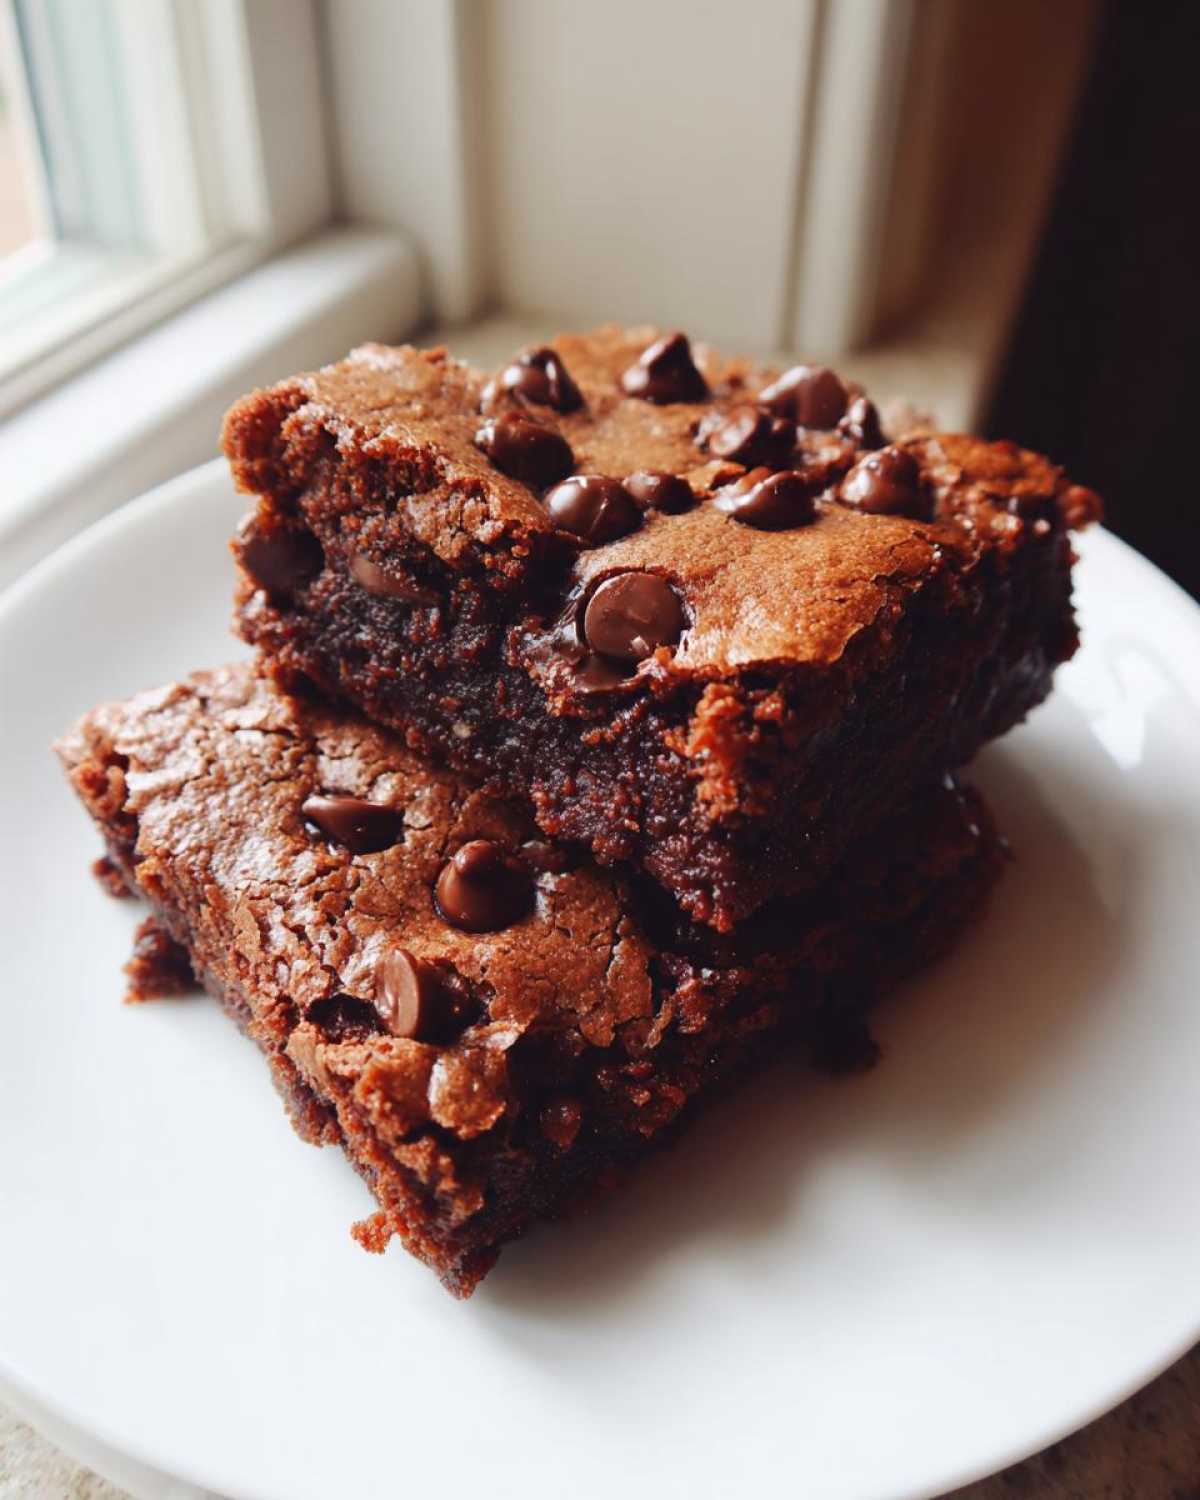
Thank you for trusting me with this beloved recipe. Happy baking, and enjoy every single messy, wonderful, gooey bite!
PrintUltra Gooey Chocolate Chip Cookie Bars
Make thick, rich dessert bars with a soft, underbaked center that stays wonderfully gooey after cooling.
- Prep Time: 15 min
- Cook Time: 30 min
- Total Time: 45 min
- Yield: 24 bars
- Category: Dessert
- Method: Baking
- Cuisine: American
- Diet: Vegetarian
Ingredients
- 1 cup unsalted butter, softened
- 1 cup packed light brown sugar
- 1/2 cup granulated sugar
- 2 large eggs
- 1 tablespoon vanilla extract
- 2 1/4 cups all-purpose flour
- 1 teaspoon baking soda
- 1/2 teaspoon salt
- 2 cups semi-sweet chocolate chips
- 1 cup milk chocolate chips
Instructions
- Preheat your oven to 350 degrees Fahrenheit. Line a 9×13 inch baking pan with parchment paper, leaving an overhang on the sides for easy removal.
- In a large bowl, cream together the softened butter, brown sugar, and granulated sugar until light and fluffy.
- Beat in the eggs one at a time, then mix in the vanilla extract.
- In a separate bowl, whisk together the flour, baking soda, and salt.
- Gradually add the dry ingredients to the wet ingredients, mixing on low speed until just combined. Do not overmix.
- Stir in both types of chocolate chips by hand.
- Press the dough evenly into the prepared baking pan.
- Bake for 25 to 30 minutes. The edges should look set, but the center should still look slightly soft and underdone for maximum gooiness.
- Remove the pan from the oven and let the bars cool completely in the pan on a wire rack before lifting them out using the parchment paper overhang.
- Cut into squares and serve.
Notes
- For the gooiest texture, slightly underbake the bars; they will firm up as they cool.
- Use room temperature eggs for better batter incorporation.
- Chill the dough for 30 minutes before pressing into the pan for thicker bars.
Nutrition
- Serving Size: 1 bar
- Calories: 250
- Sugar: 25
- Sodium: 120
- Fat: 14
- Saturated Fat: 8
- Unsaturated Fat: 6
- Trans Fat: 0
- Carbohydrates: 30
- Fiber: 1
- Protein: 3
- Cholesterol: 45