

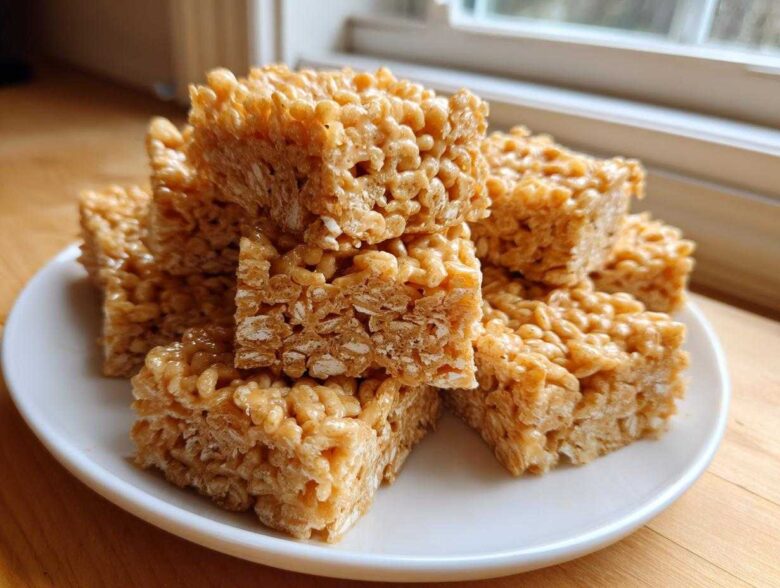
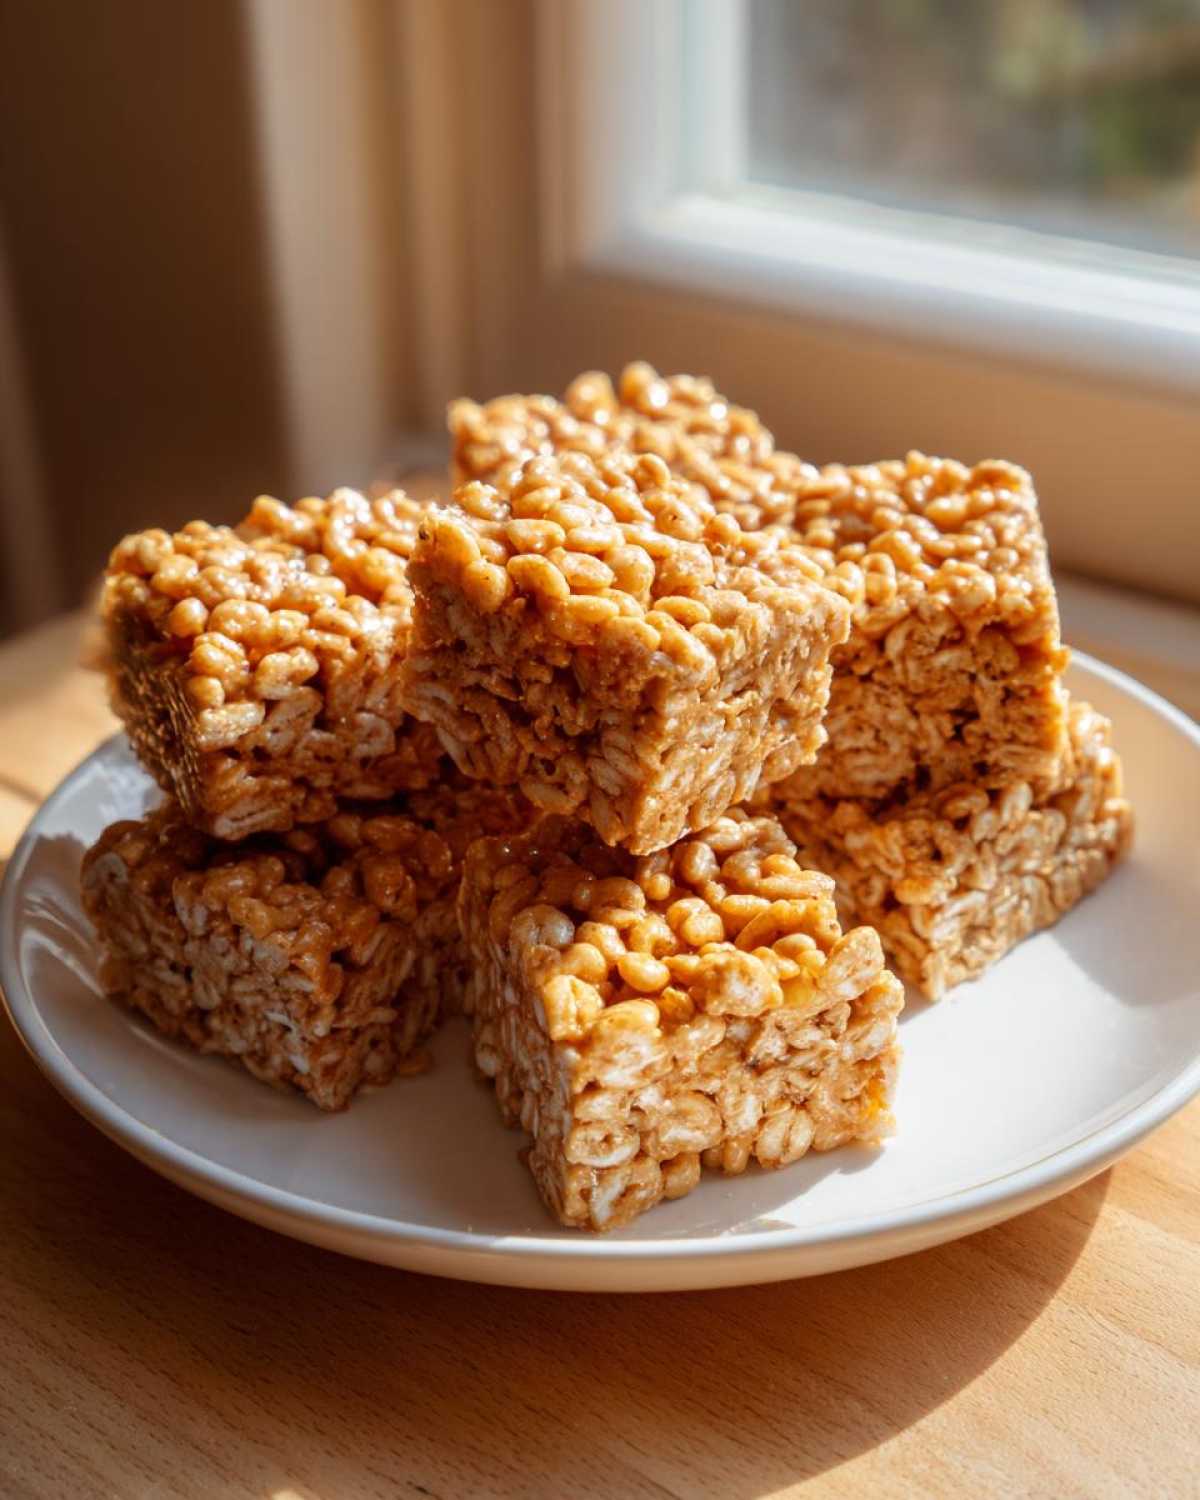
Oh, you need a dessert, like, five minutes ago? I totally get it. Some days you just cannot face turning on the oven, especially when the sun is shining or you’re just plain exhausted from, I don’t know, *living*. That’s when I pull out my undisputed champion recipe for **No-Bake Peanut Butter Rice Cereal Bars**.
Seriously, these are the only way to go for a quick snack or a last-minute party addition. I’ve made these bars hundreds of times—for school bake sales, late-night study sessions, and when the grandkids show up unexpectedly. The magic is right in the name: absolutely zero oven time required. We’re talking pantry staples coming together in under five minutes of actual work. When you master these simple, classic treats, you feel like a wizard. If you ever need something even richer that skips the oven, check out my recipe for no-bake peanut butter pie, but for bars, you simply can’t beat this recipe. Trust me, these crispy, chewy bars are foolproof and they always disappear first!
Why You Will Love These No-Bake Peanut Butter Rice Cereal Bars
Honestly, why wouldn’t you love a recipe where the active time is shorter than brewing coffee? These treats check every box for a busy weeknight.
- They are lightning fast! Prep takes maybe 10 minutes total.
- Perfect for those easy dessert recipes when you have zero patience left.
- They set up beautifully firm, making them perfect for packing. Hello, quick school snacks!
- You get that ideal chewy middle that makes all the difference in no bake treats.
- They rely entirely on pantry basics—no fancy trips to the store needed!
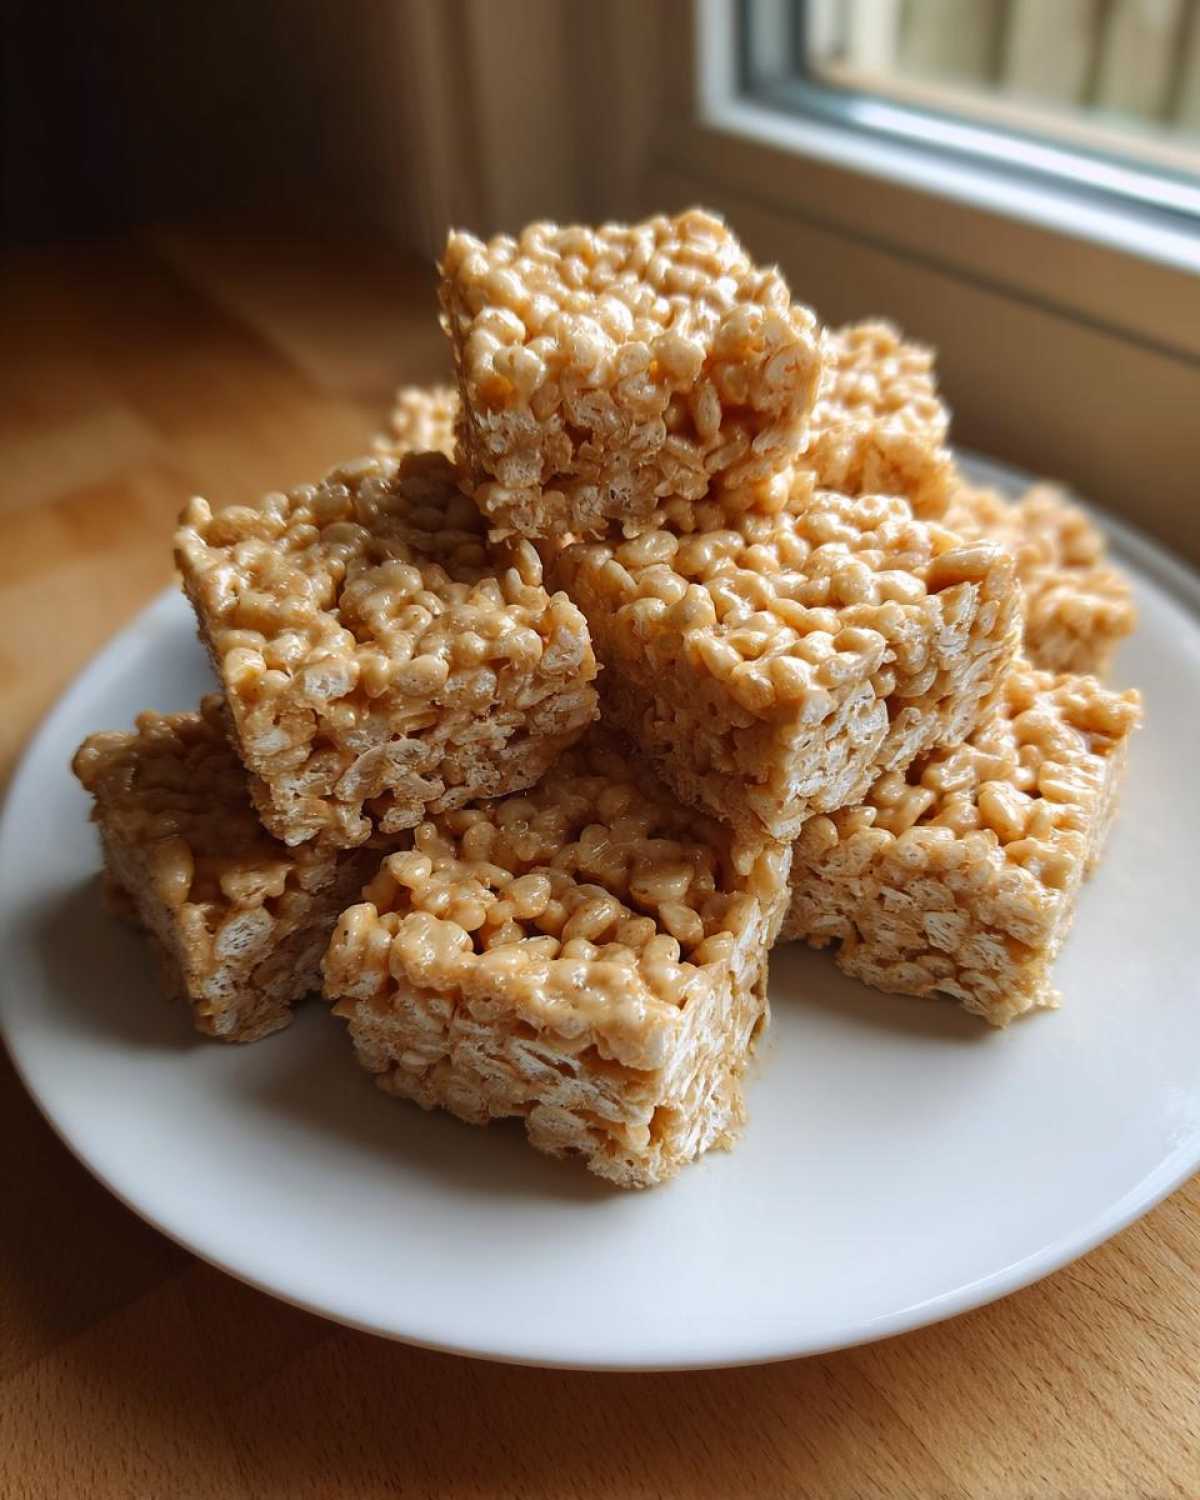
Essential Ingredients for Perfect No-Bake Peanut Butter Rice Cereal Bars
When you are making a recipe this straightforward, the ingredients are absolutely everything, right? You can’t hide behind complex steps or fancy techniques here; it all comes down to the quality and type of what you toss in the bowl. Because we are aiming for the absolute best results—those perfectly firm, chewy squares—I stick to the exact list my aunt gave me.
For the binding base, you need a full cup of smooth, creamy peanut butter—none of that natural stuff that separates and leaves oil puddles everywhere. Pair that with a cup of light corn syrup. If you’re trying to use honey instead, I won’t stop you, but know that corn syrup gives you that classic, reliably chewy texture. Also, don’t forget a tiny splash of vanilla; it makes the whole thing taste more ‘baked’ than it is!
The heavy lifter is six cups of the standard crispy rice cereal. Lastly, you need butter or margarine just to grease the pan. That’s it! If you are planning ahead, maybe check out my three ingredient no bake bars variations later on, but for this classic version, stick to the list!
Equipment Needed for Your No-Bake Peanut Butter Rice Cereal Bars
You don’t need a full arsenal of gadgets for this recipe, which is another reason I love it for a fast fix! Having these few simple items ready means you can move from craving to snacking even faster.
- A medium saucepan—this is for getting our sweet binder lovely and warm.
- A very large mixing bowl. You need room to toss all six cups of cereal without making a giant mess!
- An 8×8 inch baking pan. This gives the bars the right height and thickness for that satisfying chew.
- A sturdy spatula or wooden spoon for stirring everything together.
- Wax paper or parchment paper. Don’t skip this—it’s a lifesaver when it comes time to lift the set bars out!
Step-by-Step Instructions for Making No-Bake Peanut Butter Rice Cereal Bars
Okay, deep breaths! This is the fun part, and honestly, it goes so fast. We are aiming for perfect coating and the right temperature so these become great quick snack bars and not a sticky disaster. Remember, patience in the heating step pays off big time later when you slice them!
Preparing the Pan and Melting the Binder
First things first: pre-treat your 8×8 pan. I usually just rub the bottom and sides with a thin layer of butter—or, if you’re smart—line it with parchment paper so it hangs over the edges. That way, the whole slab lifts right out later, no fuss! Next, grab your saucepan and set the burner to low. You’re combining the peanut butter and the corn syrup (or honey). Stir constantly, just until everything is smooth and drippy, like glossy silk. This is an important moment: you must not let this mixture boil! If it boils, your bars can end up hard as rocks. Once it’s smooth, take it right off the heat and stir in that vanilla extract quickly.
Combining and Pressing the No Bake Treats
Now, grab that huge bowl with your six cups of rice cereal. Pour that warm, gooey peanut butter mixture right over the top. Don’t just stir wildly; use a gentle folding motion. We still want those crispy little bubbles intact, so you’re just tossing it until every single piece of cereal has a lovely, even coating. Don’t overmix, or they get tough!
Transfer the whole batch into your prepared pan. This next part is key for nice looking bars: you have to press it down firmly. I use the back of a lightly buttered spatula, or even better, a sheet of wax paper pressed directly onto the mix. Flatten the top until it’s perfectly even. Once it’s settled, pop it into the fridge for at least an hour to get nice and firm before you slice it up.
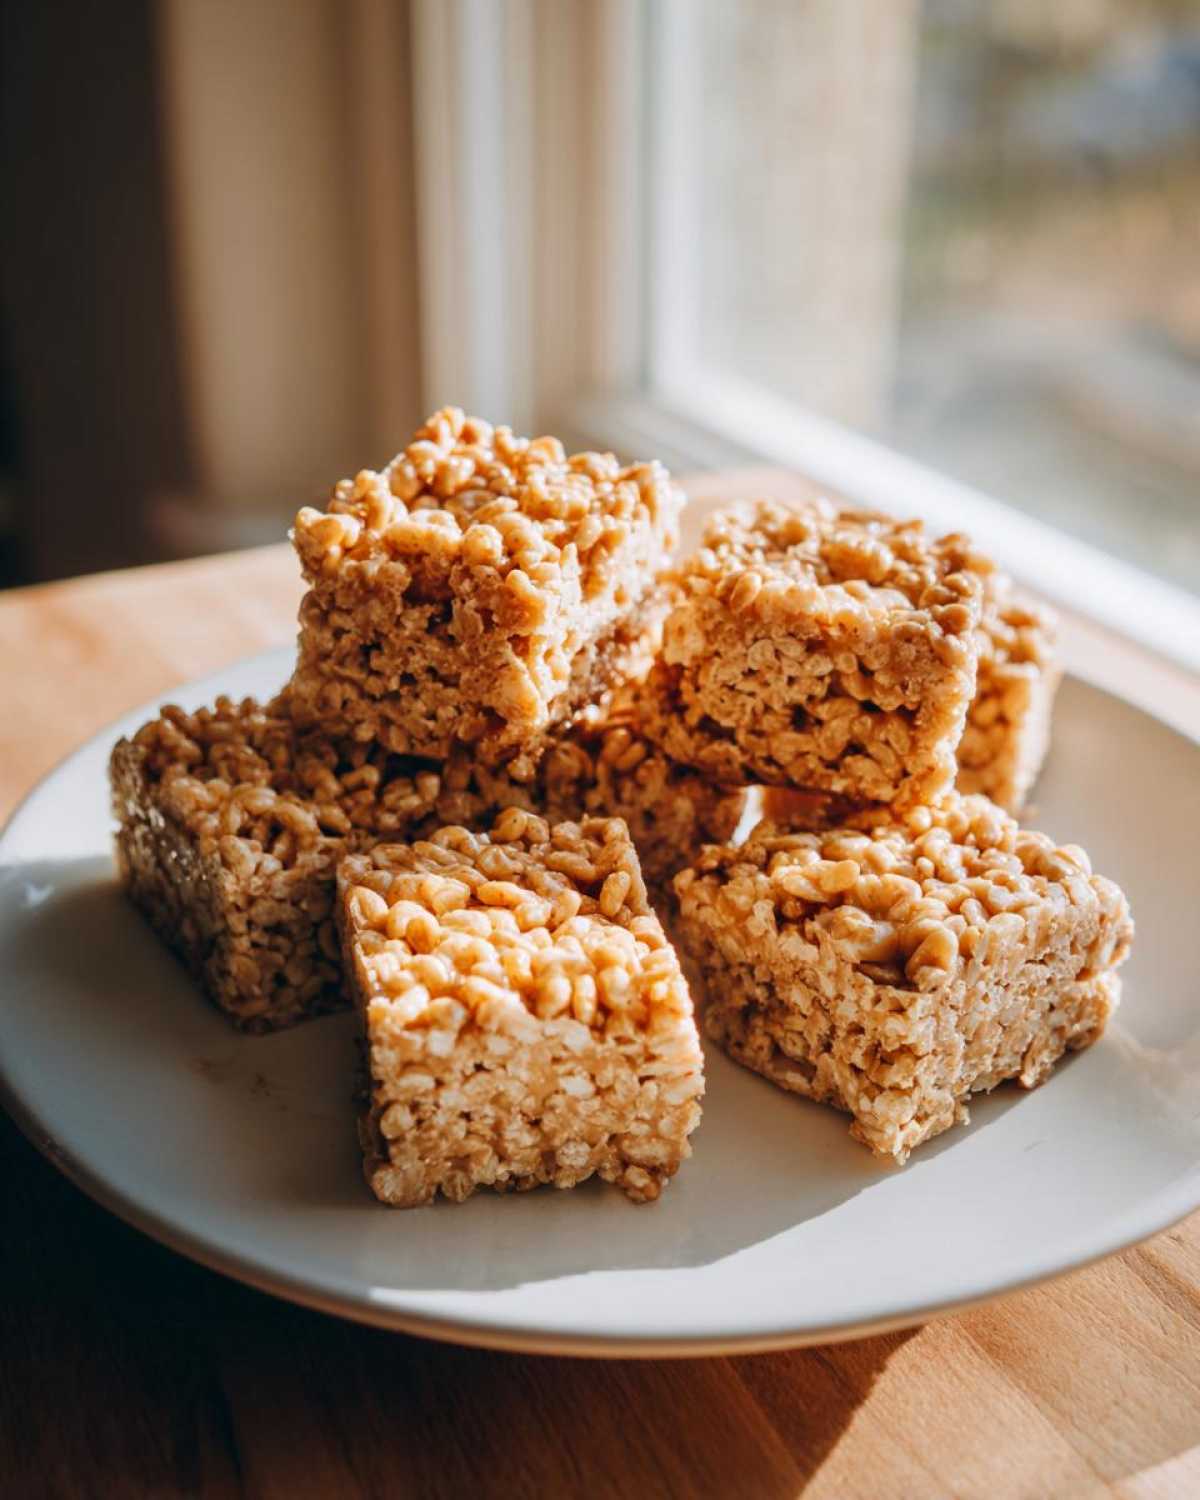
Tips for Success: Achieving the Best Peanut Butter Cereal Bars Recipe Texture
Getting the texture right is what separates a great snack bar from just a sticky mess on your fingers. My biggest piece of advice, and what I learned the hard way, involves that sweetener choice. If you want the absolute chewiest result that holds together wonderfully, stick with light corn syrup. It keeps things soft and pliable, which is perfect for cutting later on. These best no-bake peanut butter bars rely on that binding structure.
Now, if you use honey, the bars will likely be slightly firmer and maybe just a touch less sticky once they come out of the fridge. That’s totally fine—it just changes the mouthfeel a little bit! Whichever you choose, remember the firm pressing step we talked about. Really squish that mixture into the pan. A loosely packed pan leads to crumbled bars later. Be firm, be decisive, and they will reward you!
Simple Variations for Your No-Bake Peanut Butter Rice Cereal Bars
While the classic recipe is perfect—I mean, why mess with perfection, right?—it’s so fun to toss in a little something extra right before you press it into the pan sometimes! These are all simple add-ins that just require you to throw them in at the same time as the cereal. No extra cooking, no fuss!
This is where you can customize these treats to make them even more interesting. They are already fantastic easy dessert recipes, but a little something extra makes them special for holidays or just to keep things interesting around the house.
- Chocolate Drizzle: Once your bars are chilled and set—this is important, do it when they are cold!—you can melt a handful of semi-sweet chocolate chips with just a tiny teaspoon of oil. Drizzle that over the top. When it hardens, it adds a great sweet crunch.
- Salty Crunch Factor: My favorite addition when I’m feeling ambitious is throwing in broken pretzel pieces! Think about a cup of small pretzel twists or sticks mixed right in with the cereal. The saltiness cuts through the sweetness of the peanut butter perfectly. It’s addictive, be warned.
- Nut Butter Swap: If you have a serious peanut aversion, or maybe you just ran out, you can try using almond butter or sunflower seed butter instead. Just make sure the replacement is creamy and not too oily. I find sunflower seed butter pairs really nicely with a little touch of maple syrup, though you might need to slightly reduce your main sweetener if you swap too much out.
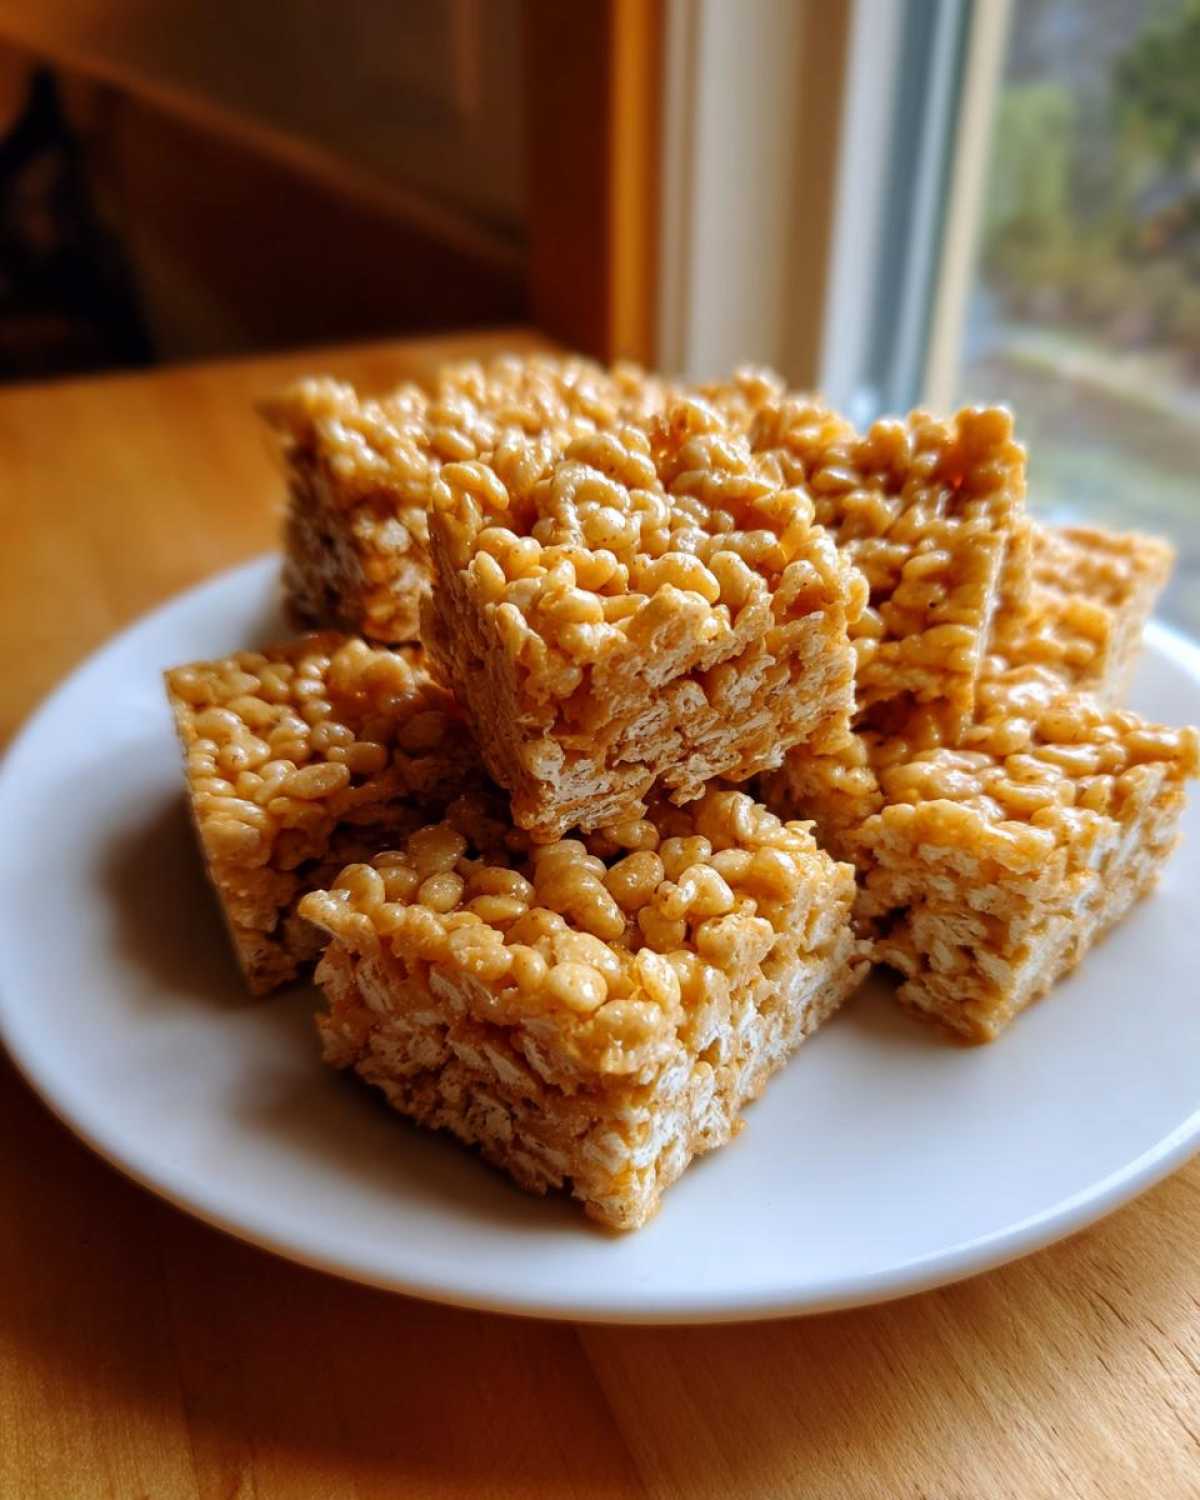
Storage and Make Ahead Desserts: Keeping Your No-Bake Peanut Butter Rice Cereal Bars Fresh
One of the huge selling points for these guys is that they are the ultimate make ahead desserts! You’ve already done the hard part—the chilling—but you need them firm to get those clean cuts, so don’t skimp on the waiting game. After you press them firmly into the pan, let them chill in the fridge for a solid hour, at least. If you cut them too soon, they will definitely get melty and stick to your knife.
Once they are cut, keep them stored in an airtight container. I usually layer them with a small piece of wax paper between layers, especially if I stack a few rows. Stored this way in the refrigerator, they stay perfectly fresh and wonderfully chewy for up to a week. They taste just as good on day five as they did right out of the pan!
Frequently Asked Questions About No Bake Treats
You’ve got questions? I’ve got answers! Since these are such staple no bake treats, people always have little tweaks they want to try. I’ve collected the most common ones I hear about making sure these bars come out perfectly every time, especially if you are making them for busy kids!
Can I substitute almond butter for peanut butter in these No-Bake Peanut Butter Rice Cereal Bars?
You totally can! Almond butter is a great swap, especially if you want to switch up the flavor ever so slightly. However, you might notice a texture difference compared to classic peanut butter. Natural nut butters (the runny kind where the oil separates) can make the mixture looser, so you might need to add just a little bit more cereal—maybe half a cup more—to get the same firm hold. If you use a standard, heavily processed creamy almond butter, the texture will be really close to the original recipe.
How do I stop my homemade crispy bars from being too sticky?
Stickiness is the enemy of a good *bar*! If you’re worried about that, my best piece of advice centers on the sweetener you choose. Corn syrup generally gives a little more stability than honey, making them less sticky overall, especially at room temperature. But the real trick is chilling time! Don’t rush this step. Make sure they chill for at least a full hour, maybe even 90 minutes, before you try to cut them. Once they are truly cold and firm, the stickiness goes way down. Also, when pressing them into the pan, use that wax paper or a light layer of butter on your spatula—that prevents your hands from getting covered!
Are these considered kid friendly peanut butter snacks?
Oh, one hundred percent yes! These are the definition of kid friendly peanut butter snacks because they are sweet, crunchy, and totally customizable. The no-bake factor means they are fun for older kids to help make, too. Since they don’t use marshmallows, they have a very straightforward flavor that most children adore. Just make sure you are using a creamy peanut butter so there are no chunks they might object to!
Can I leave out the corn syrup and use only honey for these cereal bar recipe ideas?
You can definitely use only honey, but I need to give you a heads-up! Using strictly honey tends to result in a finished bar that is slightly softer at room temperature than when you use corn syrup. If you use only honey, I highly recommend that full hour (or more!) in the fridge to set up before cutting. Also, honey is sweeter than corn syrup, so the finished product will taste a touch more intense. They won’t fall apart, but they might be a little goopier!
Estimated Nutritional Snapshot for No-Bake Peanut Butter Rice Cereal Bars
Look, I won’t lie to you, these brilliant no bake snacks are definitely a treat! Since they are packed with peanut butter and syrup binding everything together, they aren’t exactly light salad fare. But hey, since they are so easy to make ahead, you can control exactly how big you cut those squares, which helps a ton!
I looked through the estimates, and here’s what you can generally expect per bar, keeping in mind that portion size really is up to you. Remember, this is just a ballpark idea based on standard measuring cups and ingredients. If you make yours bigger or use a different brand of peanut butter, these numbers change!
- Calories: Around 220 per serving
- Total Fat: About 12 grams
- Sugar: Roughly 18 grams (That’s where that delicious binding power comes from!)
- Protein: A decent little boost, usually around 6 grams
- Carbohydrates: About 27 grams
Think of these as a wonderful, quick sugar and energy boost for after-school activities or a satisfying bite when you need something sweet right now. They are quick, easy, and totally worth the calories!
PrintNo-Bake Peanut Butter Rice Cereal Bars
Make these simple, no-bake bars using peanut butter and crispy rice cereal. They set quickly and require no oven time.
- Prep Time: 10 min
- Cook Time: 5 min
- Total Time: 75 min
- Yield: 16 bars
- Category: Dessert
- Method: No-Bake
- Cuisine: American
- Diet: Vegetarian
Ingredients
- 1 cup creamy peanut butter
- 1 cup light corn syrup or honey
- 1 teaspoon vanilla extract
- 6 cups crispy rice cereal
- 1/4 cup butter or margarine (for pan)
Instructions
- Lightly grease an 8×8 inch baking pan with butter or line it with parchment paper.
- In a medium saucepan, combine the peanut butter and corn syrup or honey over low heat. Stir constantly until the mixture is smooth and fully melted. Do not let it boil.
- Remove the saucepan from the heat and stir in the vanilla extract.
- Pour the warm peanut butter mixture over the crispy rice cereal in a large bowl. Stir gently until the cereal is evenly coated.
- Press the mixture firmly and evenly into the prepared baking pan. Use a piece of wax paper or the back of a spoon to flatten the surface.
- Refrigerate the bars for at least 1 hour, or until firm.
- Cut the mixture into squares or bars before serving.
Notes
- For firmer bars, chill them for 2 hours before cutting.
- If you prefer a slightly less sticky texture, use honey instead of corn syrup.
- Store leftovers in an airtight container in the refrigerator for up to one week.
Nutrition
- Serving Size: 1 bar
- Calories: 220
- Sugar: 18
- Sodium: 150
- Fat: 12
- Saturated Fat: 3
- Unsaturated Fat: 9
- Trans Fat: 0
- Carbohydrates: 27
- Fiber: 1
- Protein: 6
- Cholesterol: 5