

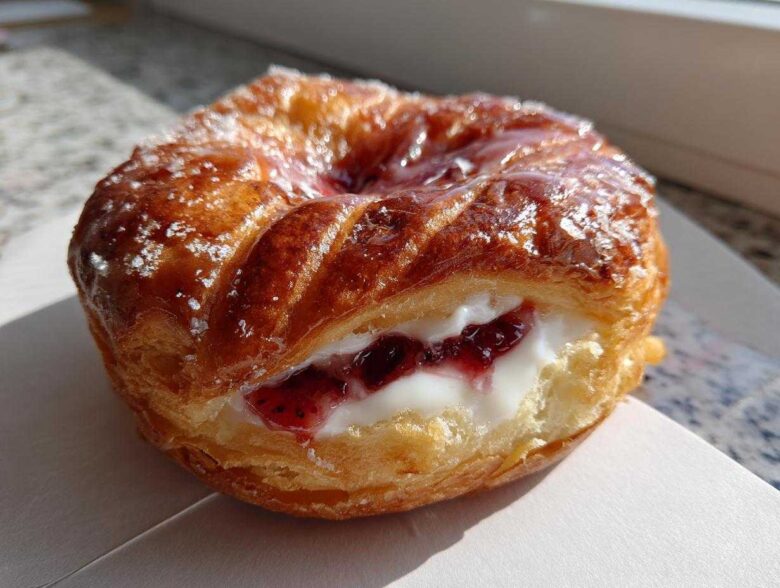
Oh my goodness, let me tell you, finding a truly satisfying, flaky pastry when you’re avoiding gluten can feel like hunting for buried treasure! For years, I thought those buttery, crispy layers of a real Danish were totally out of reach for us gluten-free folks. We’ve all had those GF bakes that turn out dense or crumbly, right? Well, I worked on this recipe until my kitchen looked like a flour bomb went off, and I cracked the code! I finally nailed the perfect technique to get that authentic, airy texture using amazing store-bought pastry. These Gluten-Free Strawberry Cream Cheese Danishes are buttery, bright, and honestly the best flaky breakfast treat I’ve made since going wheat-free. Trust me, you won’t believe they’re gluten-free!
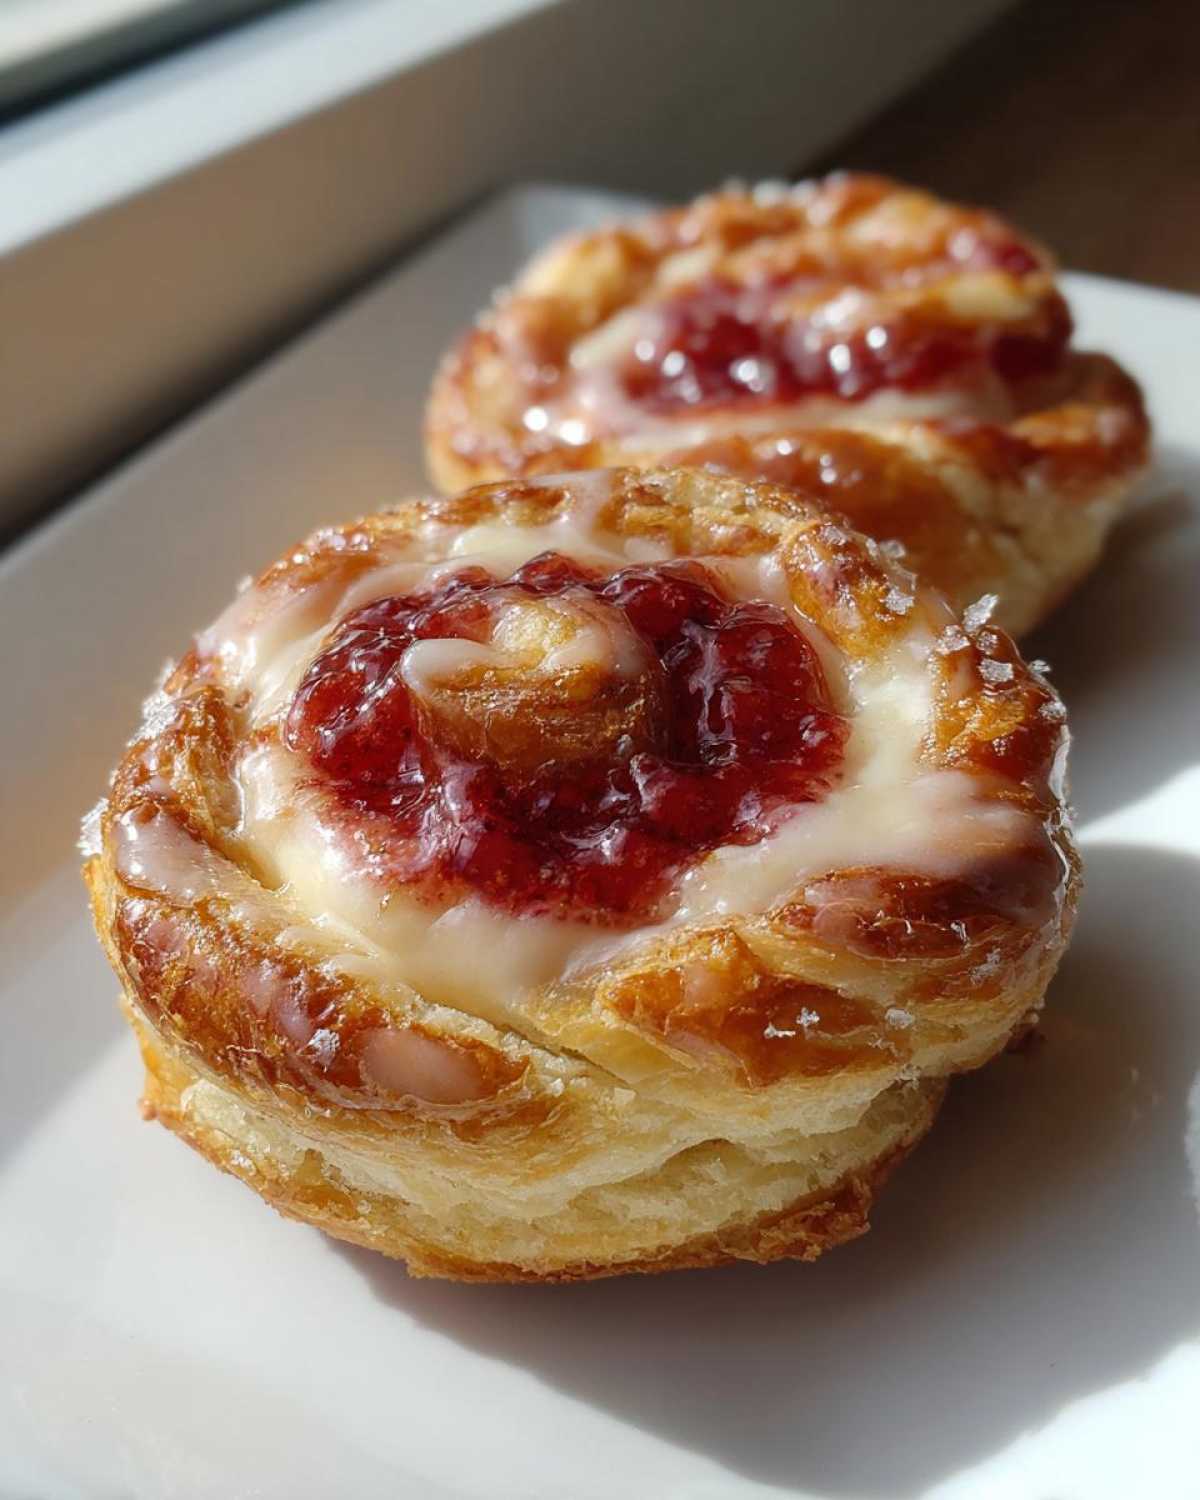
If you’re curious about the rest of my GF baking exploits, you can always check out my latest posts over on the main blog page. But for now, let’s get covered in powdered sugar while making these beauties!
Why You Will Love These Gluten-Free Strawberry Cream Cheese Danishes
I know you’ve been burned by GF doughs before, but seriously, stick with me! These danishes are everything you dream about when you crave a real bakery treat. They are fast, they are so flavorful, and they actually puff up!
- They taste like you spent all day laminating dough—that’s the magic of using the right pastry!
- The filling is the perfect sweet-and-tangy balance; really bright from the strawberries.
- Honestly, they come together faster than most yeasted bakes, making them perfect for a busy morning.
Achieving Authentic Flaky Gluten Free Baking
The biggest hurdle with any wheat-free pastry is getting those delicate layers, and that’s where we lean into the heavy hitters! Because we use pre-made gluten-free puff pastry, we skip the massive headache of folding butter into flour repeatedly. This shortcut gives you amazing lift and texture. This is truly my secret weapon for Flaky Gluten Free Baking without the arm workout.
Perfect for Gluten Free Brunch Ideas
These look so fancy, but they are so simple to pull off. I always make a double batch when company comes over because they disappear instantly. They seriously elevate any spread and make you look like a pastry wizard. They are my go-to for easy Gluten Free Brunch Ideas that everyone loves.
Essential Ingredients for Perfect Gluten-Free Strawberry Cream Cheese Danishes
Okay, let’s talk about what actually goes into these dreamy little pastries. Because we’re relying on store-bought puff pastry, this list stays beautifully short, but every single item matters. We need the good stuff for that tangy filling!
Here is what you’ll need for 12 perfect pastries:
- One package (about 10 ounces) of gluten-free puff pastry, making sure it’s fully thawed per package notes—this is vital!
- 8 ounces of cream cheese, softened until it’s really mashable and yielding.
- 1/4 cup of regular white granulated sugar for sweetness.
- One large egg yolk, just the yolk, for richness in the filling.
- One teaspoon of vanilla extract, don’t skimp on the good vanilla!
- 1/2 cup of strawberry preserves OR fresh strawberries, diced small.
- One tablespoon of lemon juice if you decide to use fresh berries.
- One large egg for the egg wash, beaten up.
- 2 tablespoons of milk or water to mix in with that egg wash.
- 1/2 cup of powdered sugar for the final drizzle.
- 1 tablespoon of milk or water for thinning the glaze.
Ingredient Notes and Substitutions for Your Gluten Free Strawberry Cream Cheese Danishes
Listen, the pastry is the star here, so please, read the directions on your box of GF puff pastry very carefully! Some brands thaw better on the counter, others need the fridge. My absolute favorite for lift is usually the one that uses a tapioca starch blend, but honestly, any decent quality brand will work for these Gluten Free Strawberry Cream Cheese Danishes.
For the fruit, I usually swing towards preserves because they are thicker, but if you use fresh strawberries, dice them teeny-tiny, and that splash of lemon juice helps them keep their color and brightens up the whole flavor profile. Don’t skip that step if you go fresh!
Step-by-Step Instructions: How To Make Gluten Free Danishes
This is where the magic happens! Now that you have your ingredients ready, put on some good music and let’s whip these up. Remember, the biggest secret to making these work is honoring the timing—especially that chilling step! If you follow these steps carefully, you’ll learn exactly How To Make Gluten Free Danishes that rival any bakery case.
We’ve got a good chunk of prep here, so let’s break it down into manageable steps. And hey, if you’re looking for more amazing breakfast inspiration, check out the full breakfast section on the site!
Preparing the Homemade Strawberry Cream Cheese Filling
This filling should be smooth as silk, so we need to make sure the cream cheese is perfectly soft before we even start. If it’s cold, lumps will happen, and we don’t want lumps!
First, take your softened cream cheese and your quarter cup of sugar. Beat them together until they look pale, fluffy, and absolutely smooth. You want to see no grainy sugar remaining. Next, gently mix in just the egg yolk and the vanilla extract. Stop mixing as soon as everything is combined. We aren’t whipping air in; we are just blending for a creamy texture.
Now, focus on the strawberry element. If you’re using preserves, just stir in that lemon juice if you want a little tang—it cuts the sweetness nicely. If you’re using fresh strawberries, dice them really small, toss them with the preserves and the lemon juice. This whole mixture is your beautiful, vibrant Homemade Strawberry Cream Cheese Filling!
Assembling and Shaping Your Gluten-Free Strawberry Cream Cheese Danishes
This is the part where speed matters because the gluten-free dough gets sticky fast. Dust your surface lightly with GF flour—dusting with rice flour or extra GF blend works great. Unroll those beautiful sheets of thawed puff pastry. Cut each sheet neatly into six squares. You should have 12 squares total.
For each square, put a small spoonful of the cream cheese mix right in the middle, don’t spread it out too much! Then, top that with a little dollop of the strawberry mixture over the cream cheese. We don’t want too much filling, or it spills out everywhere.
Now for the shaping! You have two great options for making these look like real Gluten-Free Strawberry Cream Cheese Danishes. Option one: take two opposite corners and pinch them together right over the filling. Option two: cut from the corners toward the center, maybe an inch deep, but don’t cut all the way. Then, fold those flaps over the filling, alternating them. Honestly, no matter how you fold it, when it bakes up, it’s going to look amazing!
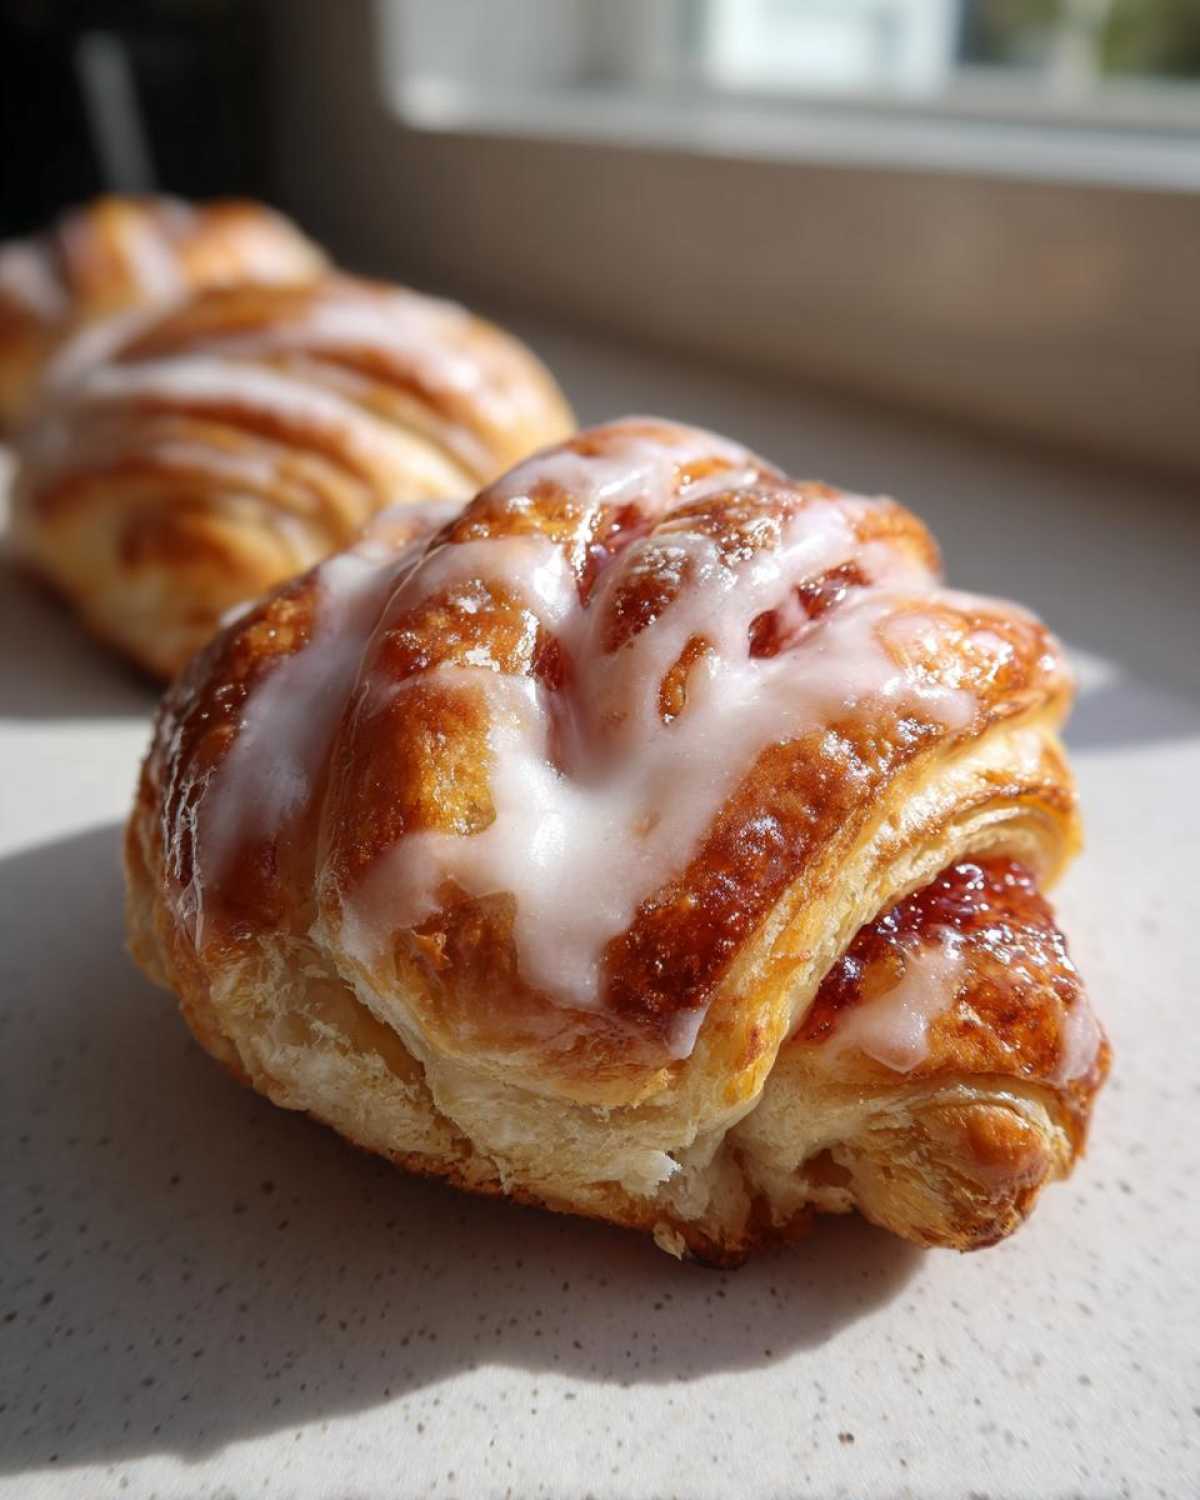
Once they are shaped, line a baking sheet with parchment paper—you MUST use parchment, trust me on this—and place your assembled pastries on it. Now, pop them in the fridge for 15 minutes. Chilling them helps the pastry hold its shape and gives you that crucial puff when they hit the hot oven!
Baking and Glazing the Pastries
Preheat your oven to a nice hot 400 degrees Fahrenheit. That high heat is what causes the pastry to steam and lift into those flaky layers we worked so hard for! Before they go in, do up your egg wash. Just whisk that one egg with the 2 tablespoons of milk or water. Brush this gently all over the tops and sides of your chilled danishes. The wash gives them that gorgeous, deep golden color.
Bake them for about 15 to 20 minutes. Keep an eye on them after 15—you want them puffed high and golden brown all over. Once they come out, let them cool down a little bit, maybe 10 minutes on the pan. While they are still warm, mix up your simple glaze: just whisk the powdered sugar and the last tablespoon of milk or water together until it’s drippy but not watery.
Drizzle that glaze dramatically over the tops. It hardens just slightly as the danishes cool completely. Enjoy that buttery crunch!
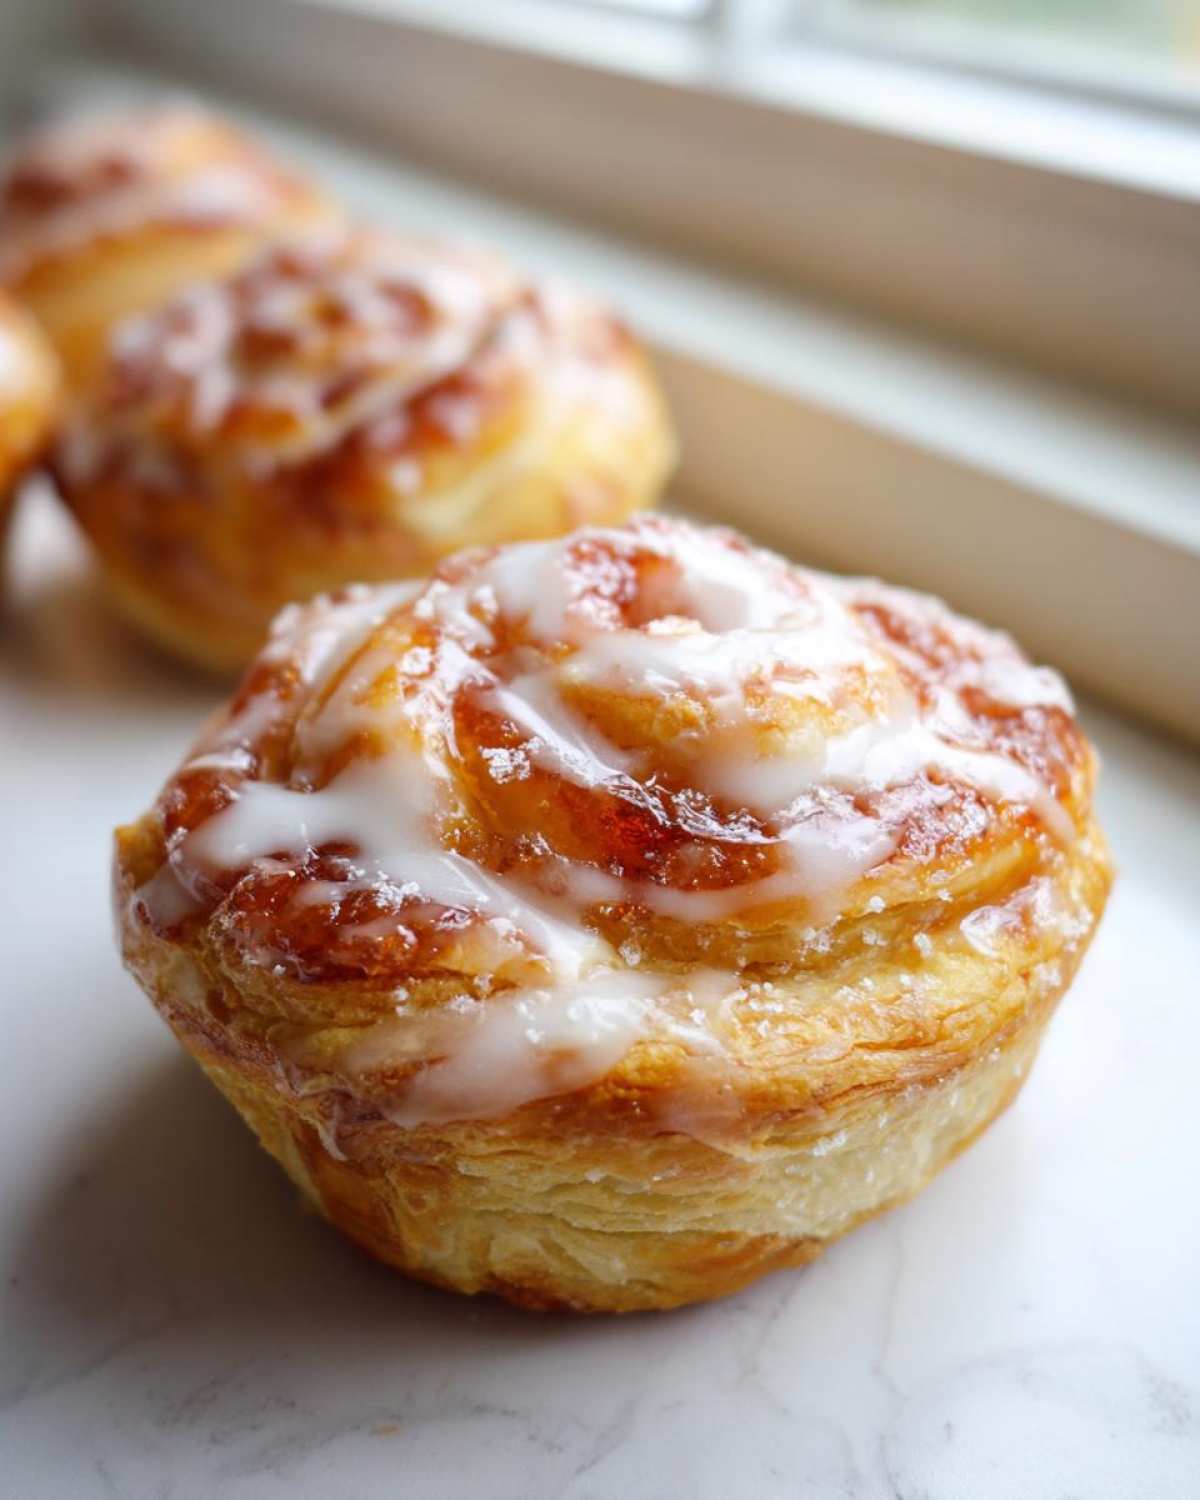
Tips for Best Gluten Free Danish Dough Results
Okay, let’s get real here for a second. Even though we are using pre-made gluten-free puff pastry, handling it requires a little finesse, especially if you are working in a warm kitchen like mine! You can’t treat this dough like regular flour dough; it handles differently. But if you follow these last few pointers, you’ll achieve the Best Gluten Free Danish Dough results possible, resulting in something truly flaky and light.
Working with Cream Cheese Pastry Gluten Free Dough
The number one thing I learned the hard way? Speed! Gluten-free pastry shells out a lot of moisture quickly, and that butter inside hates getting warm. Work on a cool surface if you can, and don’t linger over the cutting and folding process. If you find the dough getting sticky or starting to tear when you move it, just stop! Throw the whole piece back in the freezer for five minutes. Seriously, five minutes is all it takes to stiffen it back up so you can handle it without tearing.
Another thing—if you noticed in the instructions I said to brush the egg wash on lightly, that’s key! Too much liquid on the outside can make the edges soft instead of crisp. We want crispy edges that shatter when you bite into them. Don’t try to force the dough if it resists; chill it back down, and it will cooperate. If you want to see more of my deep dives on flour science, check out my post here on baking with gluten-free flour blends for pastry!
Serving Suggestions for Your Gluten-Free Strawberry Cream Cheese Danishes
These danishes are fantastic all on their own, hot out of the oven with that glaze dripping down the sides, but they also pair beautifully with other things! Since they are so rich with cream cheese, I often serve them in the late morning. They feel substantial enough to be the star of a lighter meal.
For brunch, try serving them alongside some fresh fruit salad—the tartness from berries or kiwi cuts through the richness perfectly. Or, if you are leaning into the dessert side, a light dusting of cocoa powder on top instead of the full glaze is sophisticated. They really shine as a great companion to a hot cup of coffee or strong tea!
If you love a good fruit combination as much as I do, you absolutely have to check out my recipe for easy baked apple recipe with cinnamon oat crumble; it captures that same cozy, sweet feeling, marking them as a wonderful Sweet Gluten Free Breakfast Bake option!
Storage and Reheating Instructions for Gluten-Free Strawberry Cream Cheese Danishes
They are so amazing fresh, but let’s be real, sometimes you bake a whole dozen of these Gluten-Free Strawberry Cream Cheese Danishes and you can’t eat them all in one sitting! That’s okay, but we have to be careful how we store them because GF pastry gets sad fast if you don’t treat it right.
If you have leftovers, the best way to store them is on the counter, uncovered, for just about 24 hours. Why uncovered? Because if you seal them up tight in plastic, the moisture stays trapped, and the lovely flaky texture turns soggy on you in hours—and we cannot have that!
If you need to keep them longer, say for two or three days, you must refrigerate them. Place them in an airtight container, but here’s a trick: put a small paper towel on the bottom of the container first. That paper towel will wick away any surface condensation that tries to turn those layers soft. Pop them in the fridge, and they should hold up well for about 72 hours.
When it’s time to eat the refrigerated ones, reheating them is key to bringing back some of that original crispness. Don’t grab the microwave; that’s the enemy of flakiness! Instead, pop them onto a baking sheet and warm them in a 300-degree oven for about 5 to 7 minutes. This firms up the pastry again. If you put the glaze on before chilling, you might want to give them a quick fresh drizzle of glaze once they come out of the oven.
Freezing is possible too, but only before you add the glaze! Wrap each individual danish tightly in plastic wrap, then tuck them into a freezer bag. They keep great for up to a month. Thaw them overnight in the fridge and then follow the reheating steps above!
Frequently Asked Questions About Gluten-Free Strawberry Cream Cheese Danishes
I know you bakers out there always have questions, especially when it comes to making flaky pastries without the gluten structure! It’s totally normal to wonder about substitutions or whether this recipe is truly safe for everyone. I’ve gathered the most common things people ask me about these Gluten-Free Strawberry Cream Cheese Danishes right here.
Can I make the cream cheese pastry gluten free dough from scratch?
You absolutely *can* make gluten-free puff pastry from scratch, but honestly, why would you put yourself through that torture when you’re trying to make Easy Gluten Free Breakfast Pastries?
The beauty of this recipe is the speed and texture we get from high-quality pre-made GF puff pastry. If you try to make your own butter block and laminate it using standard GF blends, you’ll lose the structure and end up with something closer to a scone than a Danish. Stick to the box for guaranteed flakiness here; it saves major time and heartbreak!
Are these danishes suitable for celiac diets?
Yes, they are totally safe, provided you are careful about your sourcing! Since we aren’t using any wheat, barley, or rye, the foundation is sound. But, you must use puff pastry that is explicitly labeled and certified gluten-free—never assume one brand is safe just because it says “no wheat.”
Cross-contamination is a real concern with celiac, so make sure your preserves, your powdered sugar, and your pastry are all certified. If you follow those checks, these make fantastic, worry-free Celiac Friendly Strawberry Treats!
Why does my cream cheese filling seem watery?
Usually, this happens if your cream cheese wasn’t soft enough when you started, or if you mixed too long after adding the egg yolk. If the cream cheese is too cold, it incorporates more liquid from the mixture just to become smooth, making it runnier. Next time, make sure that block is truly soft to the touch before beating it! Also, if you used really juicy fresh strawberries instead of preserves, they release extra water, so make sure you drain them well before piling them on top of the filling. A little extra chilling time before baking might help firm things up, too!
What’s the best way to store leftover glaze?
Since the glaze is just powdered sugar and milk/water, it lasts okay at room temperature for a day or two if you keep it covered tight. But honestly, I prefer to store any leftovers in the fridge in a tiny sealed container. Before I use it next time, I just let it sit on the counter for about 20 minutes to soften up again. If it gets too stiff, just stir in one or two tiny drops of milk until it’s drizzly again! You can always reach out on our contact page if you have any other last-minute baking questions!
Estimated Nutritional Overview of This Gluten-Free Strawberry Cream Cheese Danish
I always try to keep things as transparent as possible in my kitchen, even when we are dealing with rich pastries like these! Since we are using processed ingredients like store-bought gluten-free puff pastry and preserves, these numbers are strong estimates based on standard portion sizing.
Keep in mind that if you use a different brand of GF pastry or swap out the sugar for a substitute, these numbers will certainly shift. This gives you a general idea of what you are enjoying for this wonderful weekend treat, or as part of your collection of Gluten Free Brunch Ideas!
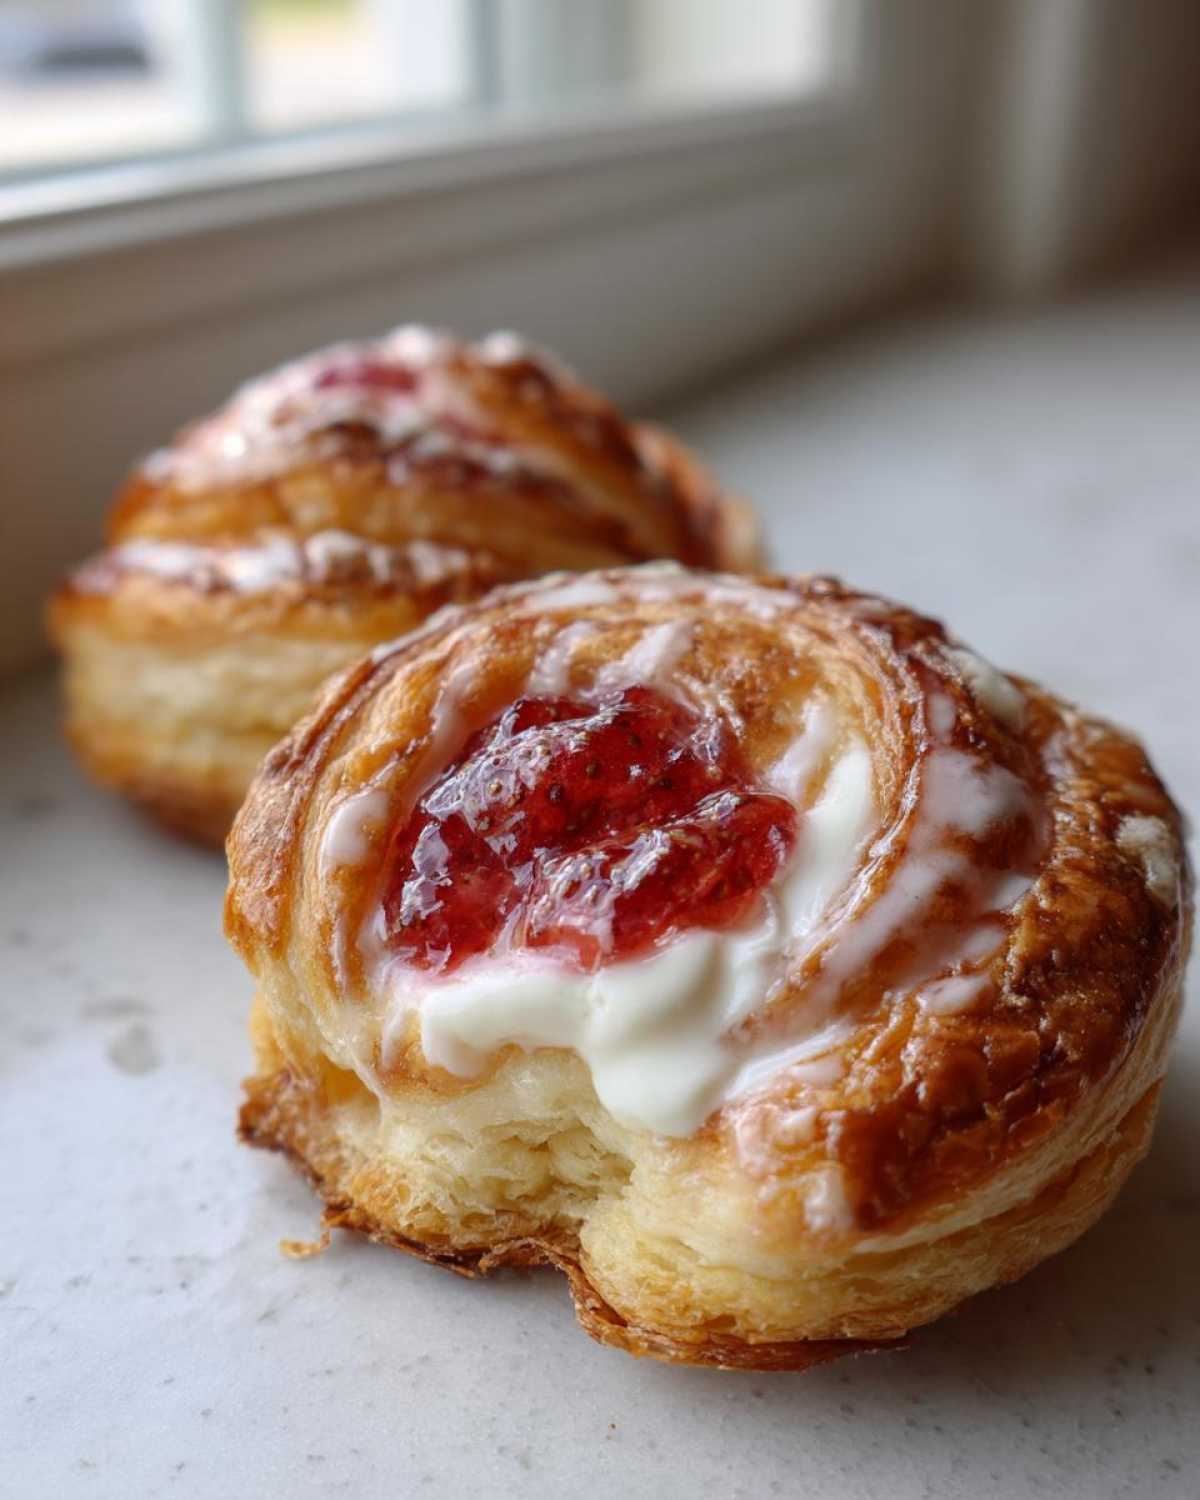
Here is a snapshot of the estimated nutrition facts per one Danish:
- Serving Size: 1 danish
- Calories: 300
- Sugar: 20g (Yep, sugar is up there, it’s a pastry!)
- Sodium: 150mg
- Fat: 18g
- Saturated Fat: 10g
- Trans Fat: 0g
- Carbohydrates: 30g
- Fiber: 1g
- Protein: 4g
- Cholesterol: 50mg
For the full details on how I approach sharing this kind of information on the site, please always feel free to check out my full site disclaimer.
Share Your Gluten-Free Strawberry Cream Cheese Danishes Creations
Whew! We made it to the finish line, and I sincerely hope your kitchen smells as amazing as mine does right now. Seeing those beautiful, flaky layers come out of the oven is the best reward after tackling any Gluten-Free Strawberry Cream Cheese Danishes recipe, especially when they’re an upgrade from the usual.
But the real fun starts after the baking is done! I absolutely live to see what you all create. Did you try folding the corners in a unique way? Did you add a little almond extract like I mentioned in the notes? Hearing about your successes—or even how you tweaked things for your own family—keeps my passion for gluten-free baking going strong!
Please, don’t be shy! Leave a star rating right below this section if you loved this recipe and tell me about your experience in the comments. If you snapped a photo of your gorgeous pastries, tag me on social media! It means the world to me to see these treats traveling from my kitchen to yours.
And hey, as you share your baking adventures, just remember to stay kind and respectful in the comments section—we’re all here to learn and enjoy amazing food together. You can always review our Terms and Conditions if you have any questions about participating in the community discussion!
PrintGluten-Free Strawberry Cream Cheese Danishes

A recipe for making flaky, buttery gluten-free danishes filled with a sweet strawberry and cream cheese mixture.
- Prep Time: 20 min
- Cook Time: 20 min
- Total Time: 55 min
- Yield: 12 danishes
- Category: Breakfast
- Method: Baking
- Cuisine: American
- Diet: Gluten Free
Ingredients
- 1 package (10 oz) gluten-free puff pastry, thawed according to package directions
- 8 oz cream cheese, softened
- 1/4 cup granulated sugar
- 1 large egg yolk
- 1 teaspoon vanilla extract
- 1/2 cup strawberry preserves or diced fresh strawberries
- 1 tablespoon lemon juice (if using fresh strawberries)
- 1 large egg, beaten (for egg wash)
- 2 tablespoons milk or water (for egg wash)
- 1/2 cup powdered sugar (for glaze)
- 1 tablespoon milk or water (for glaze)
Instructions
- Prepare the cream cheese filling: In a medium bowl, beat the softened cream cheese and granulated sugar until smooth. Mix in the egg yolk and vanilla extract until just combined. Set aside.
- If using fresh strawberries, dice them and mix them with the strawberry preserves and lemon juice. If using only preserves, skip the lemon juice.
- Unroll the thawed gluten-free puff pastry sheets onto a lightly floured surface dusted with gluten-free flour. Cut each sheet into 6 equal squares.
- Place a spoonful of the cream cheese mixture in the center of each pastry square. Top the cream cheese with a spoonful of the strawberry mixture.
- To shape the danishes, bring two opposite corners of the square up to meet in the center over the filling, pressing the edges together lightly. Alternatively, cut small slits from the corners toward the center and fold the flaps over the filling.
- Place the shaped danishes on a baking sheet lined with parchment paper. Chill them in the refrigerator for 15 minutes.
- Preheat your oven to 400 degrees Fahrenheit (200 degrees Celsius).
- Prepare the egg wash by whisking the beaten egg with 2 tablespoons of milk or water. Brush the tops and sides of the chilled danishes lightly with the egg wash.
- Bake for 15 to 20 minutes, or until the pastry is puffed and golden brown.
- While the danishes cool slightly, prepare the glaze by whisking the powdered sugar with 1 tablespoon of milk or water until smooth.
- Drizzle the glaze over the warm danishes before serving.
Notes
- Work quickly when handling gluten-free pastry dough to prevent it from becoming sticky or tearing.
- If your puff pastry does not puff well, ensure your oven temperature is accurate, as high heat is necessary for proper lift.
- For a richer flavor, you can add 1/4 teaspoon of almond extract to the cream cheese filling.
Nutrition
- Serving Size: 1 danish
- Calories: 300
- Sugar: 20
- Sodium: 150
- Fat: 18
- Saturated Fat: 10
- Unsaturated Fat: 8
- Trans Fat: 0
- Carbohydrates: 30
- Fiber: 1
- Protein: 4
- Cholesterol: 50