

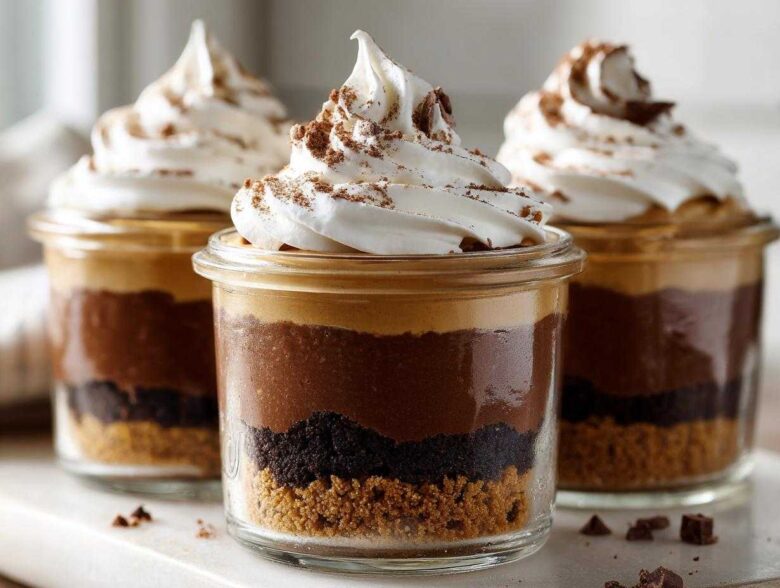
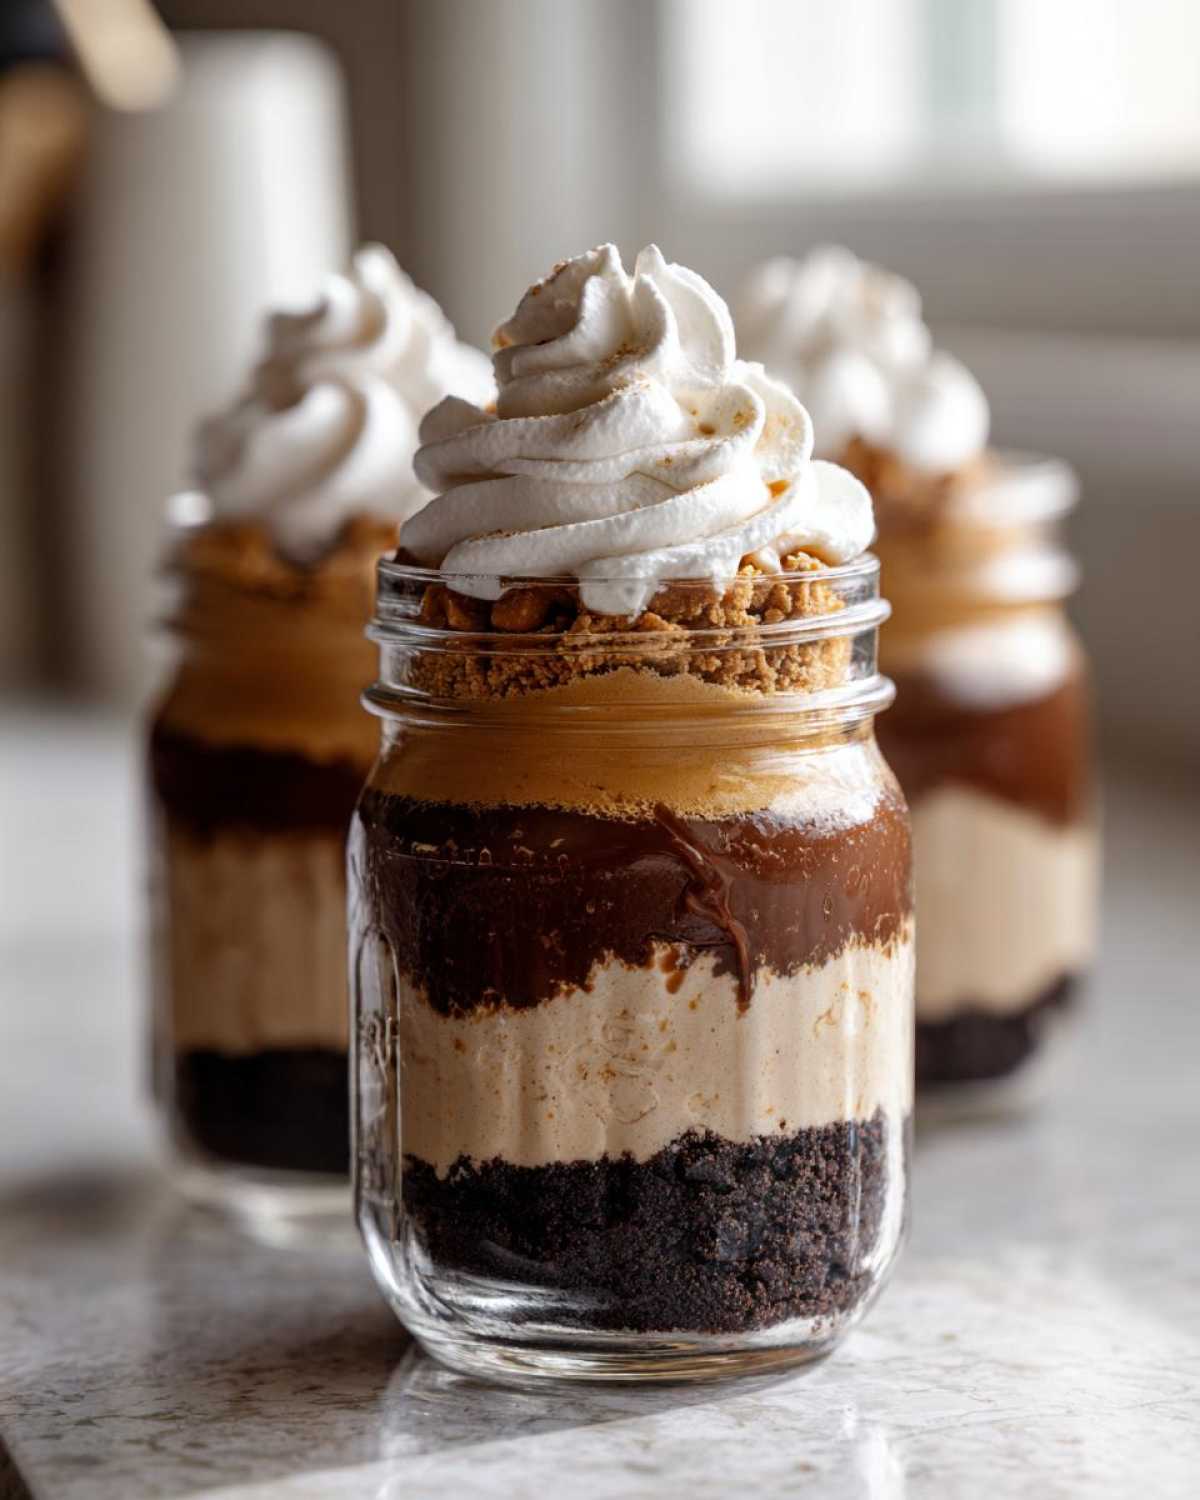
If you’re anything like me, sometimes you just need that rich, decadent flavor without turning on the oven for one second. And honestly, who doesn’t love perfect, pre-portioned treats? That’s why I’m obsessed with these No-Bake Chocolate Peanut Butter Pie Jars. Seriously, they are my go-to for last-minute gatherings or just when a craving hits mid-week. Making them in individual jars means everything layers beautifully—I’ve tested the ratios time and time again to make sure that peanut butter filling sets up just right against that chocolate crust.
There’s no fuss, no messy slicing, and they are incredible for packing up for a picnic or taking to a friend’s house. This recipe delivers everything you want from a classic peanut butter pie right in a cute little glass.
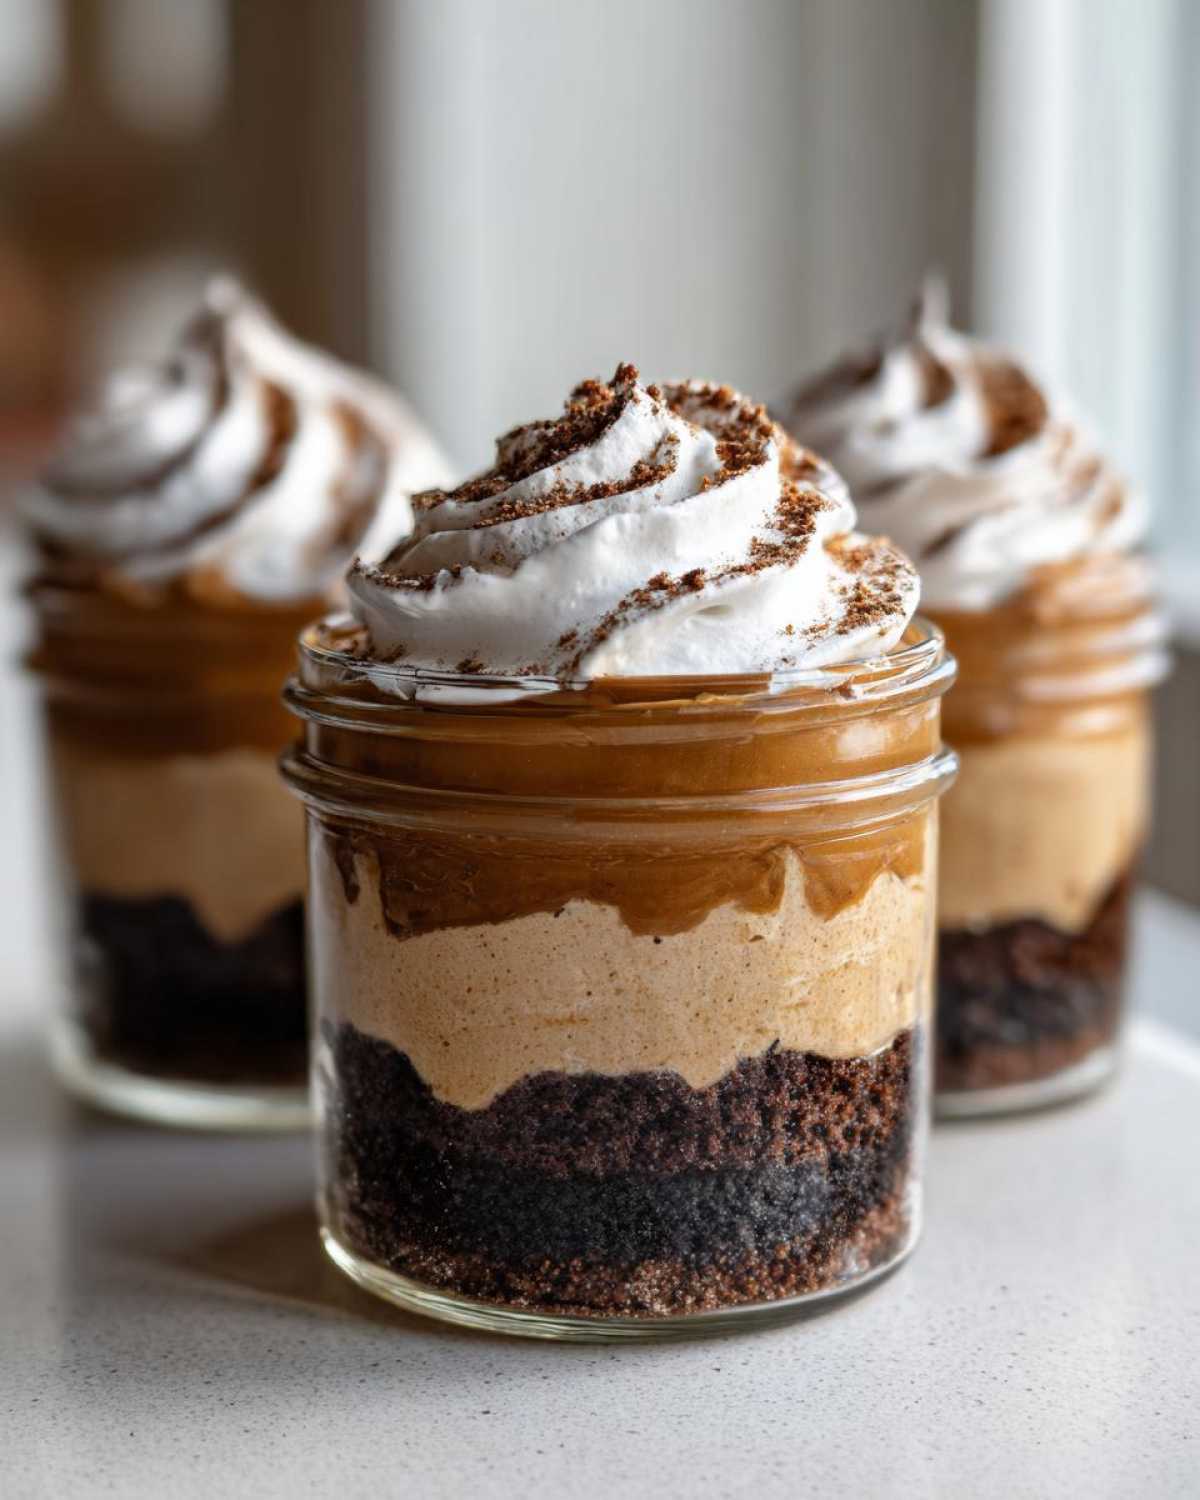
Why You Will Love These No-Bake Chocolate Peanut Butter Pie Jars
I swear, every time I make these, they disappear way too fast, but that’s the beauty of portion control! It’s hard to eat five servings when they are already perfectly contained in their own little jars. Here’s why I know you’re going to fall head over heels for this Single Serving Pie,
- These are true No Bake Desserts; you only need about 20 minutes of active time and then the magic happens in the fridge!
- They are amazing Make Ahead Dessert Jars—I often whip them up the day before an event, and they are even better the next day!
- Presenting them in little jars makes them look super fancy, but honestly, they are incredibly easy to assemble.
- The texture contrast is divine: a crunchy, buttery crust against the super Easy Creamy Dessert filling.
- Portability is key! Pop a lid on them and take them anywhere—no more trying to keep a whole pie stable during travel.
- It’s the ultimate flavor profile: rich chocolate paired with salty, sweet peanut butter. You just can’t beat it!
Essential Ingredients for No-Bake Chocolate Peanut Butter Pie Jars
The magic of these Layered Jar Desserts really lies in how simple the components are. We aren’t messing around with gelatin or eggs here, just pure, delicious creaminess layered over a snappy crust. Make sure you have your ingredients measured out before you start, because once you mix the pudding layer, things happen fast!
Here’s what you need for six beautiful jars:
For the Crust:
- 1 1/2 cups chocolate graham cracker crumbs (make sure they are fine!)
- 6 tablespoons unsalted butter, melted
For the Creamy Filling:
- 1 (8 ounce) package cream cheese, softened up nicely
- 1 cup creamy peanut butter (no natural or runny stuff, trust me on this one!)
- 1 cup powdered sugar
- 1 teaspoon vanilla extract
- 1/2 cup cold heavy whipping cream
- 1/2 cup cold milk
- 1 (3.4 ounce) package instant chocolate pudding mix
For Topping:
- 1/2 cup whipped topping (like Cool Whip or homemade stabilized whipped cream)
Ingredient Notes and Substitutions for Your No-Bake Chocolate Peanut Butter Pie Jars
I always encourage folks to mess around a little bit once they nail the basic structure, and this recipe is perfect for it. If you run out of chocolate graham crackers, grab those Oreos! Seriously, just crush up the whole cookie—the filling is so rich that the extra chocolate kick from Oreo crumbs is fantastic. It makes for a richer Chocolate Graham Cracker Crust, but it works perfectly.
The other big thing is thickness. If you want a super dense, almost cheesecake-like center, trust what I say in the notes. You can bump that peanut butter up to 1 1/2 cups, but you need to compensate by dropping that milk down to just 1/4 cup. This results in a very firm Creamy Peanut Butter Filling that holds its shape beautifully even when layered.
Equipment Needed for Layered Jar Desserts
You don’t need a ton of fancy gear for this, which is part of why I love it so much! It’s perfect for those days when you want a treat but don’t want to drag out every mixer and whisk in the house. Since we are building these layer by layer, having the right containers for assembly makes all the difference.
Here are the must-haves for successfully assembling your Individual Dessert Cups:
- Mixing Bowls: You need at least two—one medium bowl for the crust mixture and one large bowl for whipping up that spectacular filling.
- Electric Mixer: This is key for getting the cream cheese and peanut butter smooth and lump-free. A hand mixer works perfectly fine, or you can use your stand mixer if you’re feeling fancy.
- Jars: I use 8-ounce standard Mason jars, but any small glass cup or tumbler works! They look so cute lined up on a counter before going into the fridge.
- Spatula: A sturdy rubber spatula is your best friend for folding the pudding into the cream cheese mixture gently. We don’t want to deflate all that air we just whipped in!
- Piping Bag (Optional but Encouraged!): For that perfect, clean professional look, transfer your filling into a large piping bag fitted with a wide round tip. If you don’t have one, don’t worry—a large spoon works beautifully for rustic layering.
- Measuring Cups and Spoons: Precision matters here, especially with the milk and pudding mix, so make sure your tools are ready to go!
That’s it! No rolling pins, no springform pans to worry about greasing. It’s pure, straightforward assembly for a satisfying No-Oven Dessert.
Step-by-Step Instructions for No-Bake Chocolate Peanut Butter Pie Jars
Alright, let’s get into the assembly phase! This is where the fun starts and you get to see why these No-Bake Chocolate Peanut Butter Pie Jars are so picture-perfect. Remember, the key to a great layered dessert isn’t rushing; we want distinct layers, not just one muddy brown mix. If you want a better overview of general techniques for layered sweets, check out my main dessert guide!
Preparing the Chocolate Graham Cracker Crust for Your No-Bake Chocolate Peanut Butter Pie Jars
First up, the base layer. In a medium bowl, just combine your chocolate graham cracker crumbs with the melted butter. You’re looking for that sandy, damp texture—like wet sand on the beach. Once it’s mixed thoroughly, divide that mixture evenly among your six jars. Don’t pack it down with too much force! Use the back of a small spoon or your fingers to press it down lightly. We just want enough pressure so it stays put and doesn’t crumble everywhere when you dig in later. Pop those babies in the fridge to hang out while we make the star of the show.
Creating the Creamy Peanut Butter Filling for No-Bake Chocolate Peanut Butter Pie Jars
Time for the filling! In your big bowl, beat that softened cream cheese, your peanut butter, and the powdered sugar until it’s genuinely smooth—no lumps allowed! Mix in the vanilla. Now, here’s the slightly separate step: in a clean bowl, whisk the cold heavy cream, cold milk, and the instant chocolate pudding mix together until it starts getting thick. This only takes a minute or two. The most important part is what happens next: gently, *gently*, fold that pudding mixture into your peanut butter base. You want to keep the air in there, so fold until just combined. Then, spoon or pipe that decadent filling right over your chilled crusts in each jar. Smooth the tops off nicely, and then you absolutely must refrigerate them for at least four hours. That chilling time is non-negotiable if you want that perfect set!
Tips for Perfect No-Bake Chocolate Peanut Butter Pie Jars
Getting these layers to look spectacular without resorting to a full pie is all about technique, even when the recipe is super simple! If you’re looking for another fantastic way to use those peanut butter skills without the oven, definitely check out my recipe for Easy No-Bake Peanut Butter Pie.
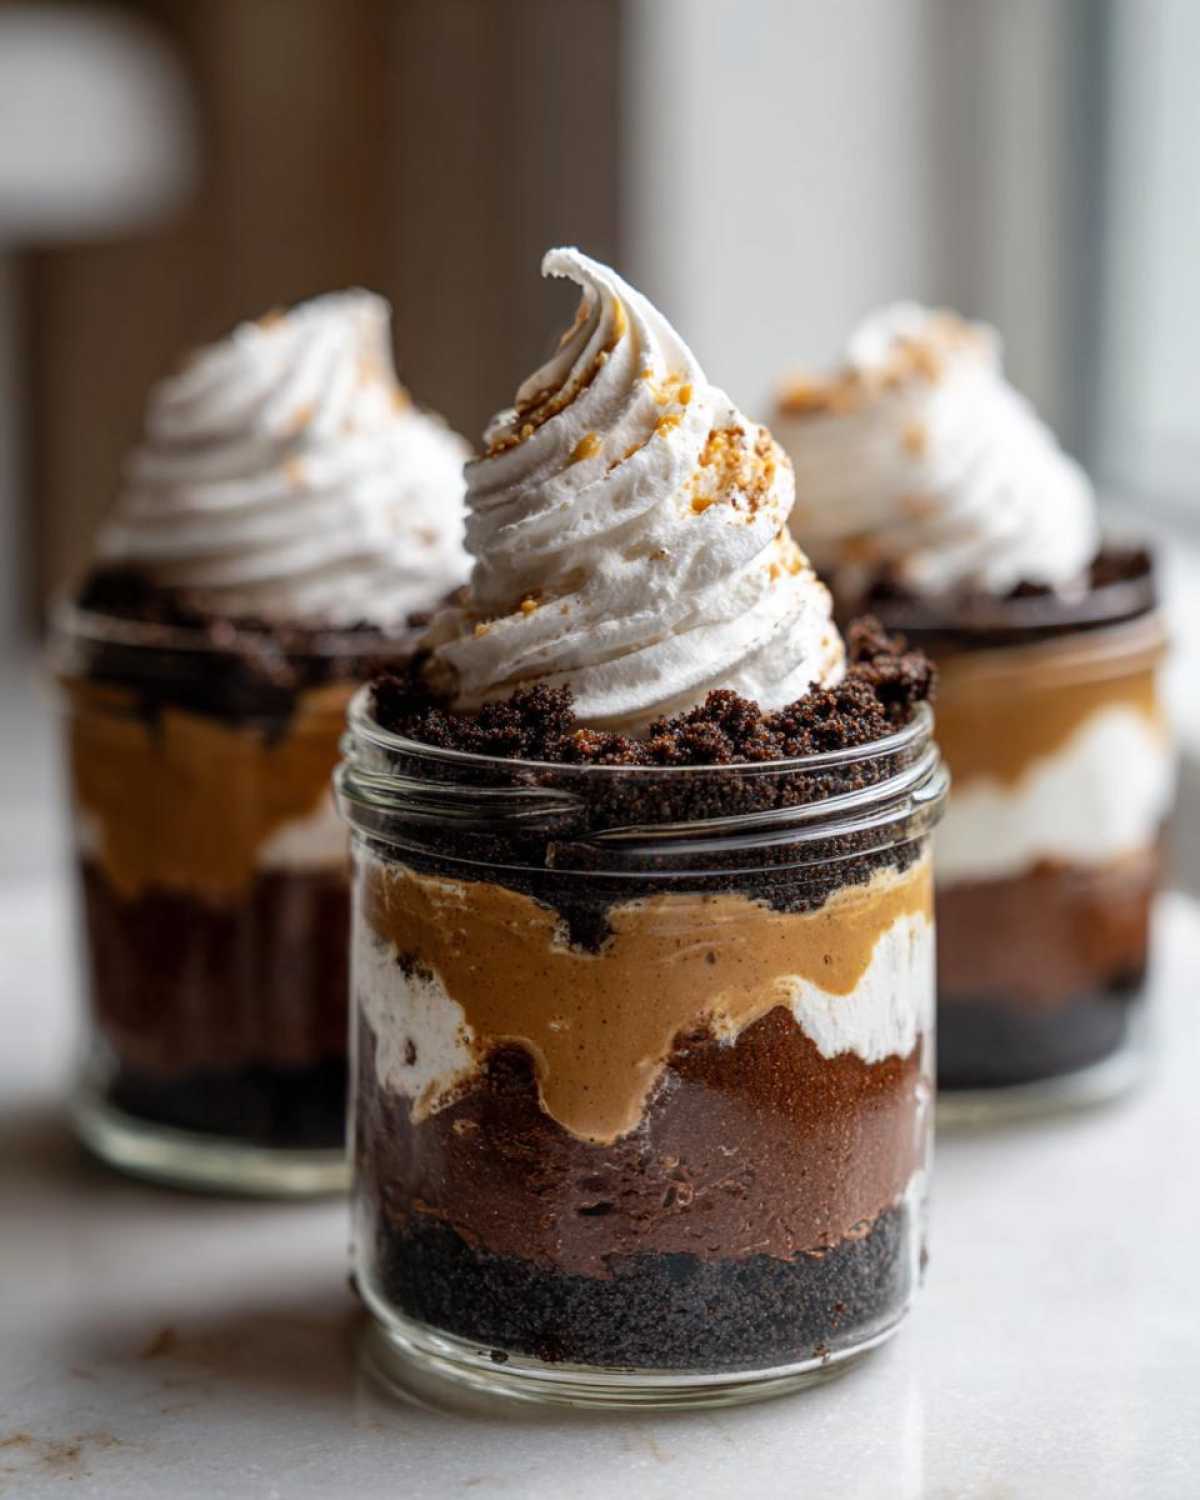
When you’re folding in that pudding mixture into the peanut butter base? Go slow! I mean it. If you stir too vigorously, you’ll deflate all the lift you got from the cream cheese and heavy cream, and you’ll end up with a dense brick instead of a light, fluffy center. Don’t worry if you see a tiny streak or two left—it’ll incorporate itself as it chills.
Also, for presentation, I can’t stress enough: use a piping bag, even if you just snip the end off a large Ziploc bag. Spooning the filling can sometimes drag and ruin the crust layer underneath, but piping gives you that beautiful, clean edge right down to the chocolate base. And please, let them chill! Four hours is the minimum, but honestly, six hours lets those flavors really marry, and that filling firms up perfectly.
Storage and Make Ahead Dessert Jars
The best part about these little beauties is that they are absolute champions when it comes to planning ahead! Life gets busy, right? Sometimes I make a massive batch of these No Bake Desserts on a Sunday afternoon, and then I don’t have to worry about dessert for days.
According to the recipe notes, these jars keep really well in the refrigerator for up to three days. Three days! That’s a huge win for busy weeks or parties where you just want to grab the sweets and go.
For the best results, you need to seal them up tight. If you’re using Mason jars, screw those lids on securely. If you’re using small glasses or cups, plastic wrap works fine, just make sure it seals tightly to prevent any weird fridge odors from creeping into that delicate filling. I always recommend taking the final dollop of whipped topping off until right before serving, as whipped topping can weep a little if it sits too long.
These truly shine as Make Ahead Dessert Jars because that chilling time doesn’t just firm up the filling—it lets the chocolate and peanut butter flavors really mingle and deepen. It’s like they get better overnight! If you’re interested in more make-ahead tricks for individual treats, I have a whole post about different techniques for Make Ahead Dessert Jars that you might enjoy!
Serving Suggestions for Your No-Bake Chocolate Peanut Butter Pie Jars
So, you’ve chilled your jars, and that creamy peanut butter layer is finally firm and ready for its close-up! While the recipe calls for a simple dollop of whipped topping, and honestly, that’s perfect on its own, I can never resist adding just one more tiny touch of decadence to these Chocolate Dessert Jars before serving them up.
Think of that whipped topping as the perfect canvas for whatever makes your chocolate-and-peanut-butter-loving heart sing. You want something a little extra salty? Try sprinkling a few flakes of sea salt right over the white topping—it seriously elevates the whole thing!
Here are my favorite ways to dress these up:
- Mini Peanut Butter Cups: Simply chop a few miniature peanut butter cups and drop them right on top. They look adorable when nestled into the whipped topping.
- Chocolate Shavings: Grab a vegetable peeler and shave some high-quality dark chocolate over the top. The contrast in color is gorgeous, and the slight bitterness cuts through the richness perfectly.
- A Nutty Crunch: If you have any leftover, very finely chopped peanuts that didn’t go into the crust mixture, a tiny sprinkle adds fantastic texture contrast.
- The Ultimate Drizzle: My absolute favorite indulgence is a homemade chocolate sauce. It sounds complicated, but my recipe for Easy, Silky Smooth Chocolate Sauce takes five minutes, and drizzling just a little bit over the whipped topping and letting it drip down the side of the jar? That’s pure glamour!
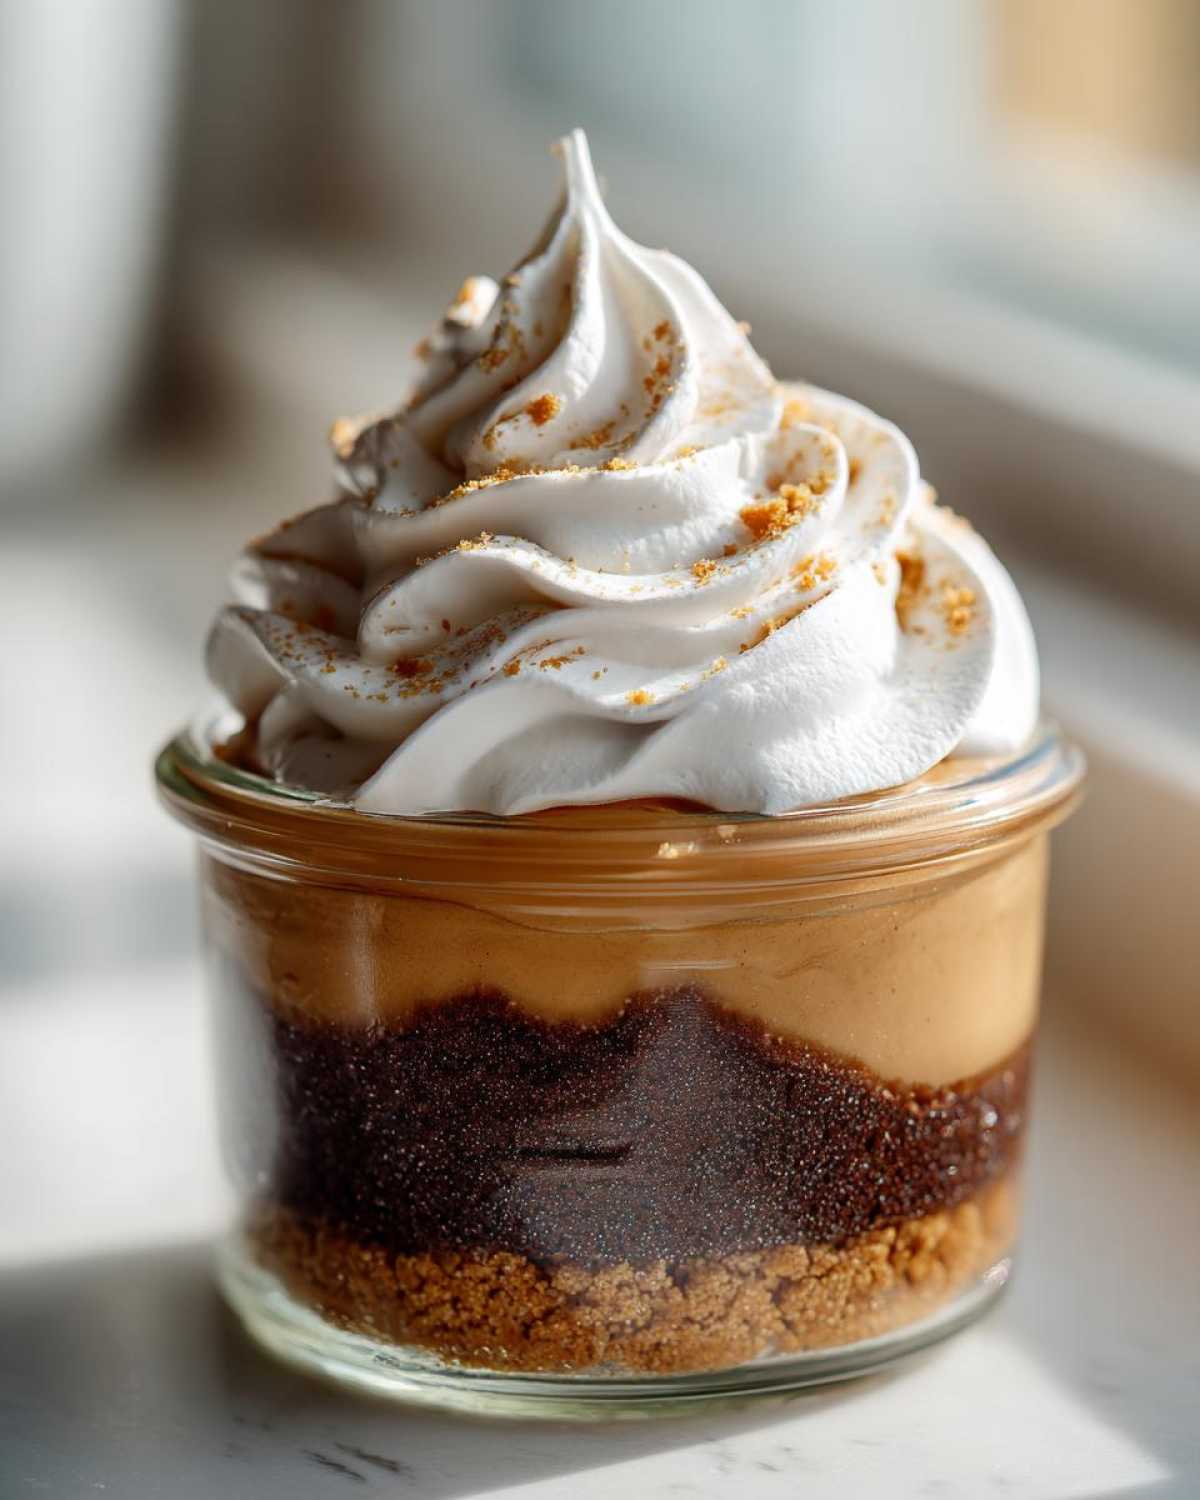
Because these are single servings, you can customize each jar, too! Maybe one person wants a few peanut butter chips sprinkled on, and another wants only chocolate shavings. It’s the ultimate easy hosting trick because everyone gets exactly what they’re craving without you having to cut and plate an entire pie.
Frequently Asked Questions About No-Bake Chocolate Peanut Butter Pie Jars
I know you might have a few last-minute thoughts swirling around after reading through the steps! That’s totally normal when you’re dealing with great No Bake Desserts. Since these No-Bake Chocolate Peanut Butter Pie Jars have become one of my most requested recipes, I’ve gathered a few of the questions I get asked most often about ingredients and structuring that filling.
Can I use a different crust besides chocolate graham crackers?
Oh absolutely, feel free to experiment! As I mentioned earlier, Oreos are a fantastic swap if you want something a little richer and darker. But if you don’t have any chocolate crumbs on hand, you can absolutely use standard honey graham crackers mixed with a tiny bit of cocoa powder—maybe a tablespoon or two—to give it that chocolate background flavor. Just make sure your melted butter ratio is right; you still want that crumb to hold together when chilled!
How can I make this recipe dairy-free?
That’s a great question! Making these dairy-free requires swapping out a few key items, but it’s totally doable since it’s a no-bake situation. You’ll want to use a non-dairy cream cheese substitute (there are some great ones out there now), a good quality dairy-free dark chocolate cookie for the crust, and swap the heavy cream and milk for unsweetened coconut cream or a rich oat milk blend. The basic structure of the Creamy Peanut Butter Filling holds up well to these changes!
How long do the jars actually need to chill to set properly?
This is the step that users rush the most, and it ruins the texture! I know waiting is hard when a dessert smells this good, but you need a minimum of four hours for the peanut butter layer to firm up enough to support the topping without melting or oozing out. If you are making them overly thick by adding that extra peanut butter (like I suggested in the substitution section), you might even want to let them chill for six hours or, even better, overnight! That ensures a perfect, stable slice when you dig in.
Can I skip the instant chocolate pudding mix in the center?
You certainly *can*, but then you miss out on that delightful, light texture! The pudding mix, when whisked rapidly with cold liquid, helps stabilize the filling and gives it a slightly mousse-like quality when chilled, which is what makes this recipe so much lighter than a pure cream cheese/peanut butter mix. If you skip it, you need to rely almost entirely on the heavy cream being whipped stiffly, and you’ll end up with something much denser—closer to a baked cheesecake consistency, which is good, but different from this recipe’s intention.
Nutritional Estimates for No-Bake Chocolate Peanut Butter Pie Jars
Okay, let’s talk numbers for a second. Because these are rich, decadent, and filled with all the good stuff like peanut butter and chocolate, they aren’t exactly diet food. But hey, they are portion-controlled, right? Knowing the estimates helps when you’re planning out your day—and because they are individual servings, you know exactly what you’re getting!
Here are the estimated nutritional breakdowns based on the full batch of six jars. Remember, these numbers can change wildly depending on the brand of peanut butter or whipped topping you use, so take these as a good guideline!
- Serving Size: 1 jar
- Calories: 450
- Sugar: 35g
- Sodium: 310mg
- Fat: 30g
- Saturated Fat: 10g
- Unsaturated Fat: 20g
- Trans Fat: 0g
- Carbohydrates: 40g
- Fiber: 2g
- Protein: 12g
- Cholesterol: 45mg
Just a quick reminder here: these percentages are just estimates. I always suggest checking the labels on the specific ingredients you buy, especially the cream cheese and the peanut butter, because those can swing the totals quite a bit! For a full breakdown of how I calculate these things and why dietary information matters, you can peek at my Nutritional Disclaimer page. Enjoy these glorious No Bake Desserts responsibly!
PrintNo-Bake Chocolate Peanut Butter Pie Jars
Make individual servings of creamy chocolate and peanut butter pie layered in jars. This no-bake dessert is simple to assemble and perfect for make-ahead serving.
- Prep Time: 20 min
- Cook Time: 0 min
- Total Time: 4 hr 20 min
- Yield: 6 servings
- Category: Dessert
- Method: Chilling
- Cuisine: American
- Diet: Vegetarian
Ingredients
- 1 1/2 cups chocolate graham cracker crumbs
- 6 tablespoons unsalted butter, melted
- 1 (8 ounce) package cream cheese, softened
- 1 cup creamy peanut butter
- 1 cup powdered sugar
- 1 teaspoon vanilla extract
- 1/2 cup cold heavy whipping cream
- 1/2 cup cold milk
- 1 (3.4 ounce) package instant chocolate pudding mix
- 1/2 cup whipped topping (for topping)
Instructions
- Combine the chocolate graham cracker crumbs and melted butter in a bowl. Mix until the crumbs are evenly moistened.
- Divide the crumb mixture evenly among 6 small (8-ounce) serving jars, pressing the mixture lightly to form the crust layer in the bottom of each jar. Place jars in the refrigerator while you prepare the filling.
- In a large bowl, beat the softened cream cheese, peanut butter, and powdered sugar until smooth. Mix in the vanilla extract.
- In a separate bowl, whisk together the cold heavy whipping cream, cold milk, and instant chocolate pudding mix until the mixture thickens slightly, about 2 minutes.
- Gently fold the pudding mixture into the peanut butter cream cheese mixture until just combined. Do not overmix.
- Spoon or pipe the peanut butter filling evenly over the crust layer in each jar. Smooth the top layer.
- Refrigerate the jars for at least 4 hours, or until the filling is firm.
- Before serving, top each jar with a dollop of whipped topping.
Notes
- You can substitute Oreo cookie crumbs for chocolate graham cracker crumbs for a richer crust.
- For a thicker peanut butter layer, use 1 1/2 cups of peanut butter and reduce the milk to 1/4 cup.
- These jars keep well in the refrigerator for up to 3 days.
Nutrition
- Serving Size: 1 jar
- Calories: 450
- Sugar: 35
- Sodium: 310
- Fat: 30
- Saturated Fat: 10
- Unsaturated Fat: 20
- Trans Fat: 0
- Carbohydrates: 40
- Fiber: 2
- Protein: 12
- Cholesterol: 45