

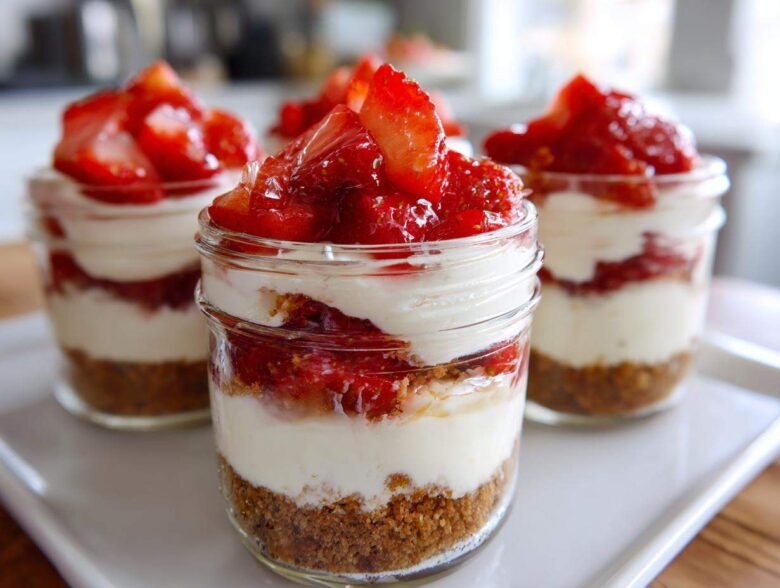
When the summer insists on high temperatures, the last thing I want to do is babysit the oven! Honestly, if a dessert takes more than 30 minutes of active time, it better be worth it, right? That’s why this recipe for No-Bake Strawberry Cream Pie Jars has become my absolute go-to when company drops by unexpectedly. Forget fiddly pie crusts that shrink or fillings that weep; these jars are individual servings of pure, chilled bliss.
We’re talking fluffy cream cheese filling, bright, sweet strawberries, and a buttery graham cracker crunch—all layered up in pretty little vessels. Seriously, if you can stir ingredients together, you can conquer this. My nephew, who is completely new to baking, nailed these last weekend on his first try. I promise you, these creamy strawberry dessert cups are the definition of a quick strawberry treat! If you love light, citrusy no-bake treats, you should also check out my recipe for creamy no-bake lemon pie while you’re here.
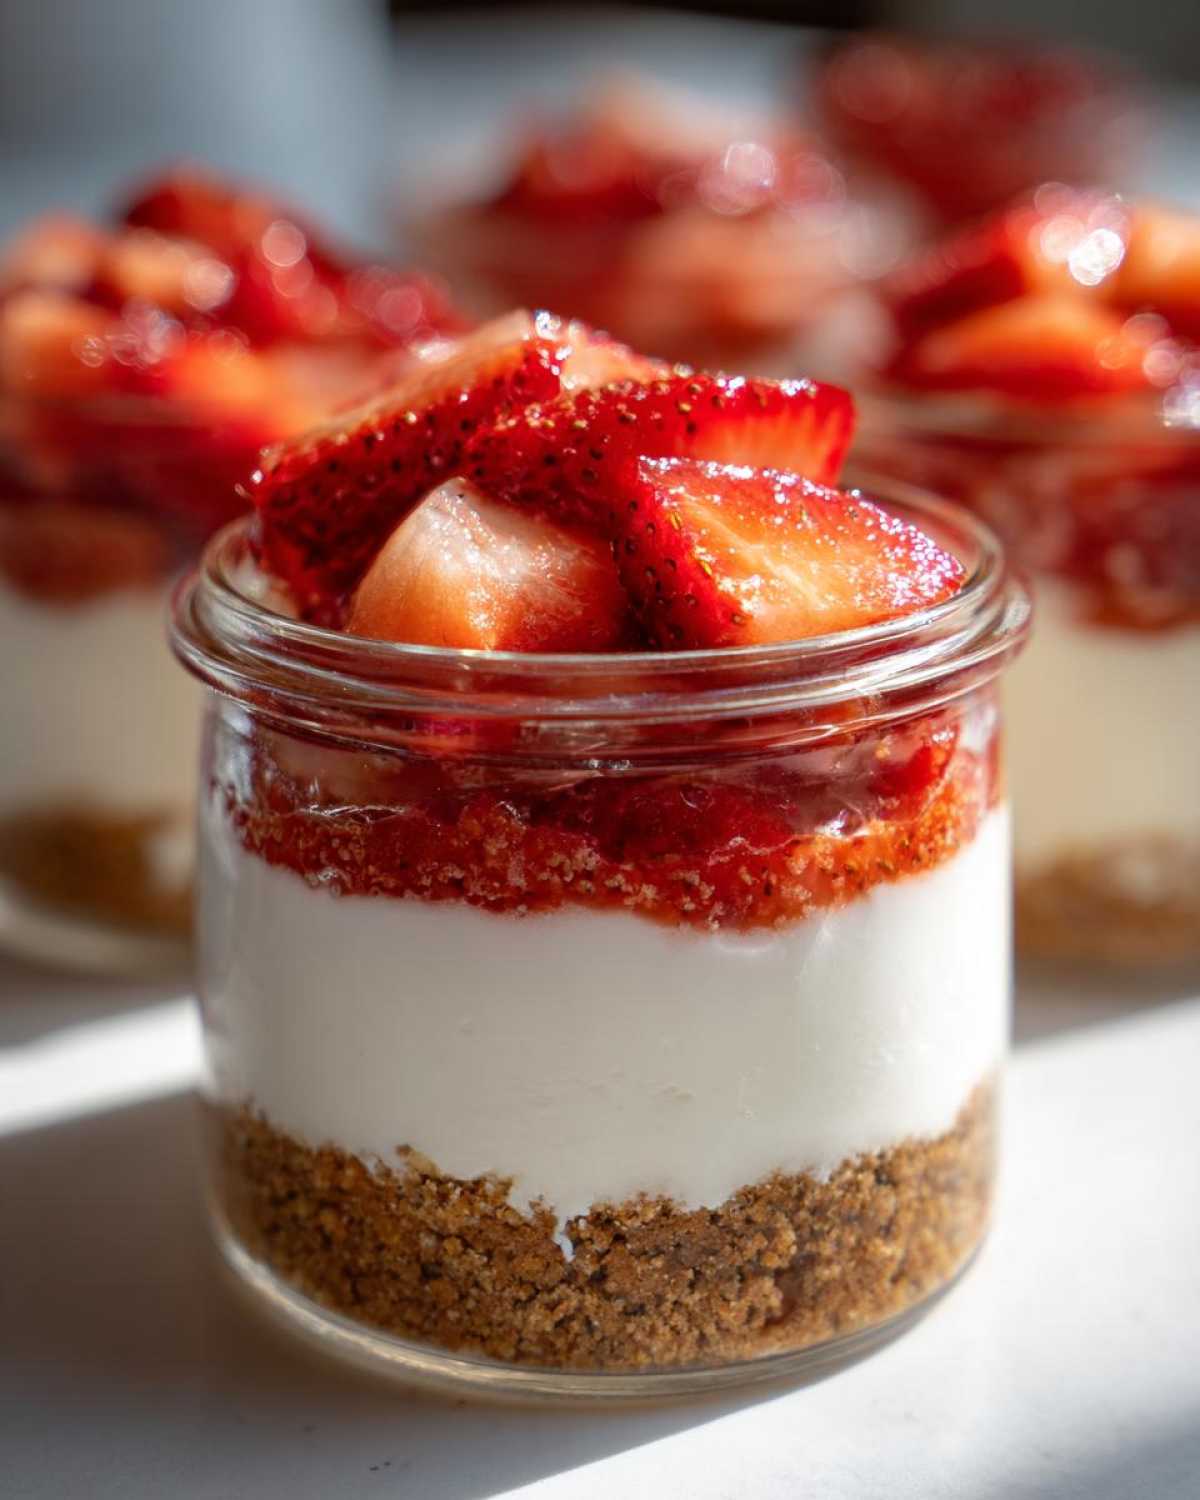
Why You Will Love These No-Bake Strawberry Cream Pie Jars
I mean, what’s not to love? These little dessert jars check every single box for perfect summer eating. They look fancy, but honestly, they are one of the easiest no bake dessert options around.
- Zero Oven Required: Set the oven off and relax! We only need the fridge for these.
- Perfectly Portioned: Instant gratification! They are beautiful **individual cream pie recipes** ready to grab.
- Super Fast Assembly: You can have these assembled in under 30 minutes—a true **quick strawberry treat**.
- Creamy Perfection: That fluffy filling is what makes this such a satisfying **creamy strawberry dessert cup**.
Ingredients for Perfect No-Bake Strawberry Cream Pie Jars
Okay, now for the fun part: gathering our building blocks! When you’re making something where the texture is everything—like these beautiful No-Bake Strawberry Cream Pie Jars—measurements really do count. You don’t want a runny filling or a crumbly crust, right? That is why I always stress that your cream cheese needs to be really soft, and your heavy cream must be ice cold. Nothing ruins a no-bake recipe faster than a lumpy center!
We need three simple components to make these layered dessert cups shine. Don’t worry, there’s no fancy equipment needed, just a mixer for the creamy stuff! Before you start assembling, make sure you have your jars ready to go. If you’re interested in another decadent no-bake treat, my Pecan Pie Dip is always a crowd-pleaser!
For the Graham Cracker Crust
- 1 1/2 cups graham cracker crumbs (make sure they are finely ground!)
- 1/4 cup granulated sugar
- 6 tablespoons unsalted butter, melted (this is what binds it all together!)
For the Cream Filling
This is where the magic happens! The key here is that the cream cheese absolutely must be fully softened—room temperature is your friend.
- 8 ounces cream cheese, softened
- 1 cup powdered sugar (sifted if you worry about lumps, but I usually just beat it hard!)
- 1 teaspoon vanilla extract
- 1 cup heavy whipping cream, cold
- 1/4 cup granulated sugar (for sweetening the whipped cream)
For the Strawberry Layer
Fresh is always best for that vibrant, summery flavor in these mason jar desserts no bake. We use them for both the bottom layer and the topping!
- 2 cups fresh strawberries, sliced
Step-by-Step Instructions for No-Bake Strawberry Cream Pie Jars
Putting these No-Bake Strawberry Cream Pie Jars together is just like building a miniature masterpiece! Since we aren’t baking, the precision comes from how we layer and chill things. If you follow these steps exactly, you’ll get perfectly stable layers that look incredible when you serve these up. Trust me, a sturdy base is key for these **easy summer jar desserts**!
Preparing the Crust Layer
- Get your graham cracker crumbs, 1/4 cup of sugar, and melted butter into a bowl. Don’t just stir it—use your fingers or a fork to really mix it until every crumb is coated and it looks like wet, dark sand.
- Now, divide that buttery crumb mixture evenly across your four to six jars. You want about a 1/3 cup amount per jar.
- This is the important part for structure: press that crust down *firmly*! I always use the bottom of a small glass or a measuring cup to really compact it into a solid layer. Give those jars about 10 minutes in the fridge while you tackle that amazing filling.
Making the Cream Cheese Base
We need this part silky smooth, so don’t rush the mixer here!
- In a clean bowl, dump in your softened cream cheese, the powdered sugar, and the vanilla extract.
- Beat it—and I mean *really* beat it—on medium speed until it’s completely uniform and there isn’t a single lump left. It should look perfectly spreadable. Set this lovely base aside for a minute.
Whipping the Cream
For proper volume in this **layered strawberry dessert cup**, the bowl and the cream have to be cold!
- Get your cold heavy whipping cream and the remaining 1/4 cup of sugar into a chilled bowl.
- Whip it up! Keep going until you have stiff peaks. You’ll know it’s done when you can lift the whisk out and the peak stands straight up without flopping over.
Assembling Your No-Bake Strawberry Cream Pie Jars
- Retrieve those chilled crusts. Toss a layer of your sliced strawberries right on top of the crust in each jar.
- Now, take your fluffy whipped cream and gently fold it into the cream cheese mixture you made earlier. Remember: gently! We don’t want to knock the air out of that whipped cream.
- Spoon or pipe this beautiful cream filling right over the strawberries in the jars. Get it smooth on top!
- Finish by topping each jar with the remaining fresh strawberry slices. Don’t forget to chill them for at least two hours before anyone scoops a bite. Time in the fridge lets those layers settle perfectly! You can find some fun presentation ideas over at easy summer jar desserts if you’re looking for inspiration!
Tips for Making the Best No-Bake Strawberry Cream Pie Jars
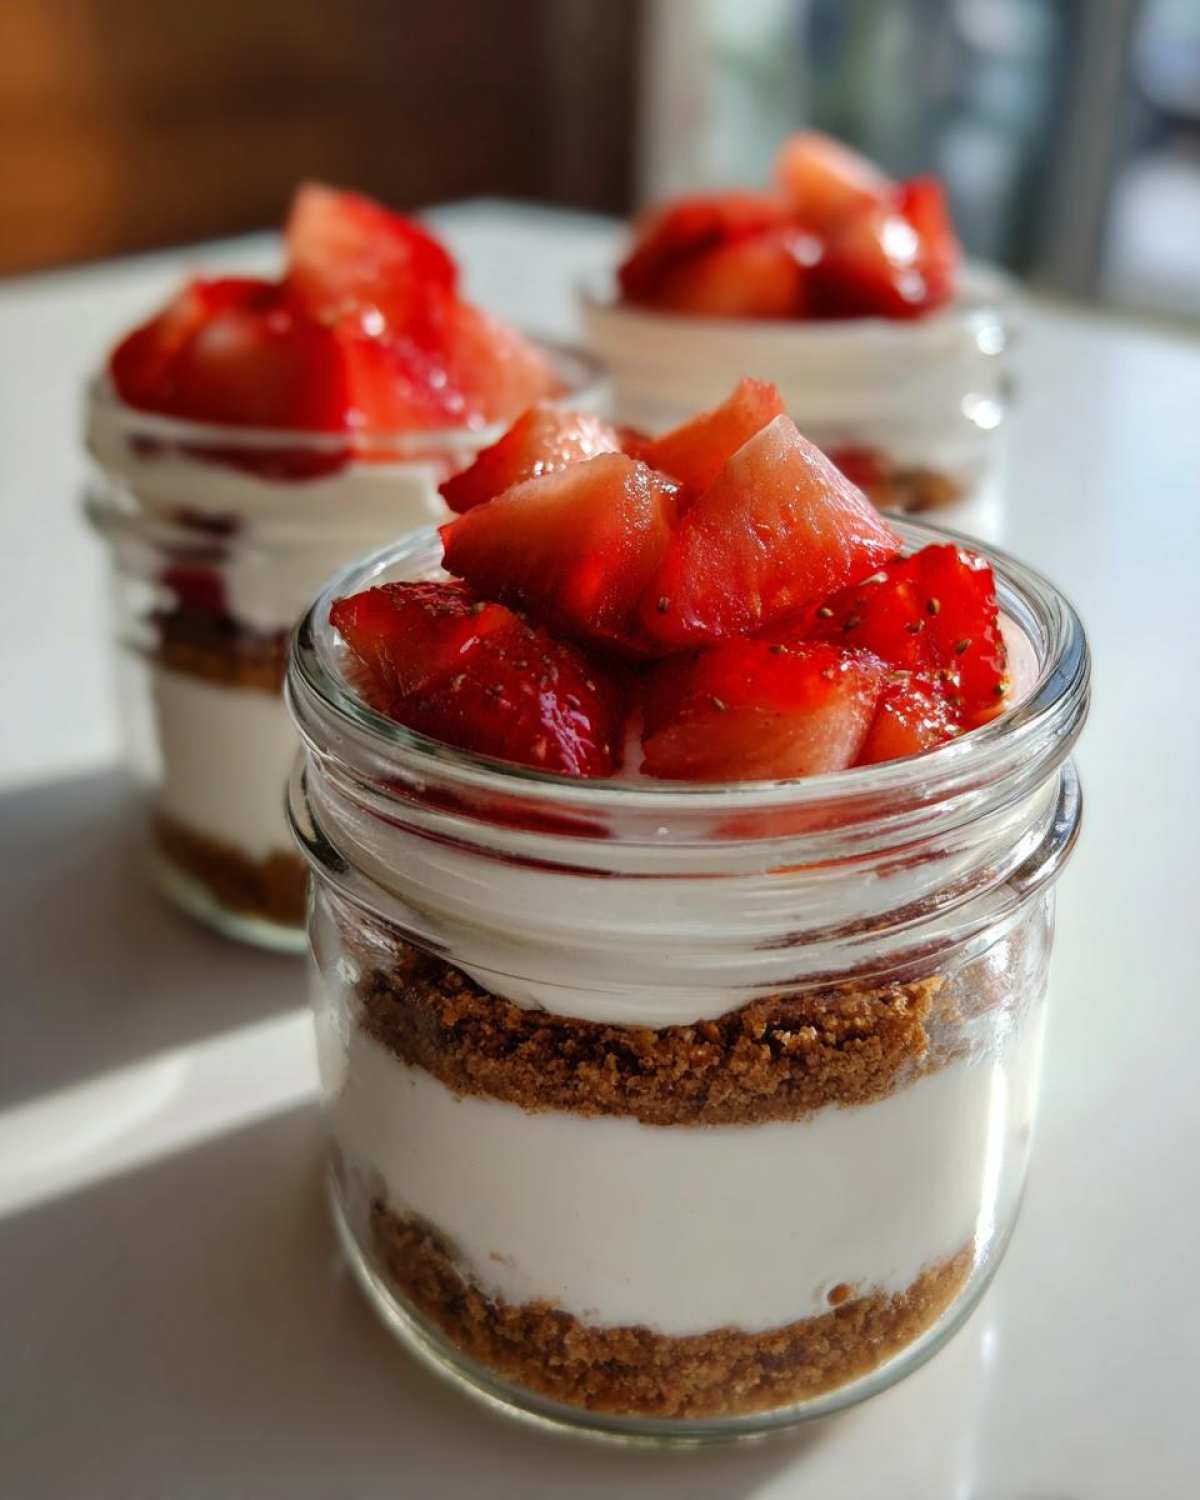
Since we can’t rely on the oven to set things up, our technique has to be spot-on! To get that unbelievably airy, fluffy filling, you absolutely must treat the whipped cream gently. When you fold the stiff peaks into the cream cheese base, use a spatula and cut straight down the middle, then scrape up the side of the bowl. You’re trying to incorporate them, not beat them into submission! It’s a delicate dance, but it makes all the difference between a dense blob and a cloud.
Handling the strawberries correctly is another big tip, especially if your berries happen to be extra juicy. If you notice them weeping a lot of liquid when you slice them, lightly toss them with just a teaspoon of sugar and let them sit on a paper towel for five minutes. Blotting off that excess moisture stops your layers from turning soupy before chilling time is up! Also, if you have extra strawberries, you should check out my strawberry freezer jam recipe—it’s amazing on toast.
Oh, and if you are truly short on time and need a **quick strawberry treat**, I sometimes skip the whole cream cheese process and just use 3 cups of vanilla instant pudding mixed with 1 cup of mashed strawberries instead. It’s delicious and way faster!
Ingredient Notes and Substitutions for Your No-Bake Strawberry Cream Pie Jars
One of the best things about making **No-Bake Strawberry Cream Pie Jars** is that they are really forgiving! We’re keeping it simple here with fresh strawberries and a cream cheese base, but I totally get it—sometimes you need to swap things out based on what’s in the fridge or what’s in season. Transparency is everything in the kitchen, so let’s talk about making smart changes without losing the essence of this **creamy strawberry dessert cup**.
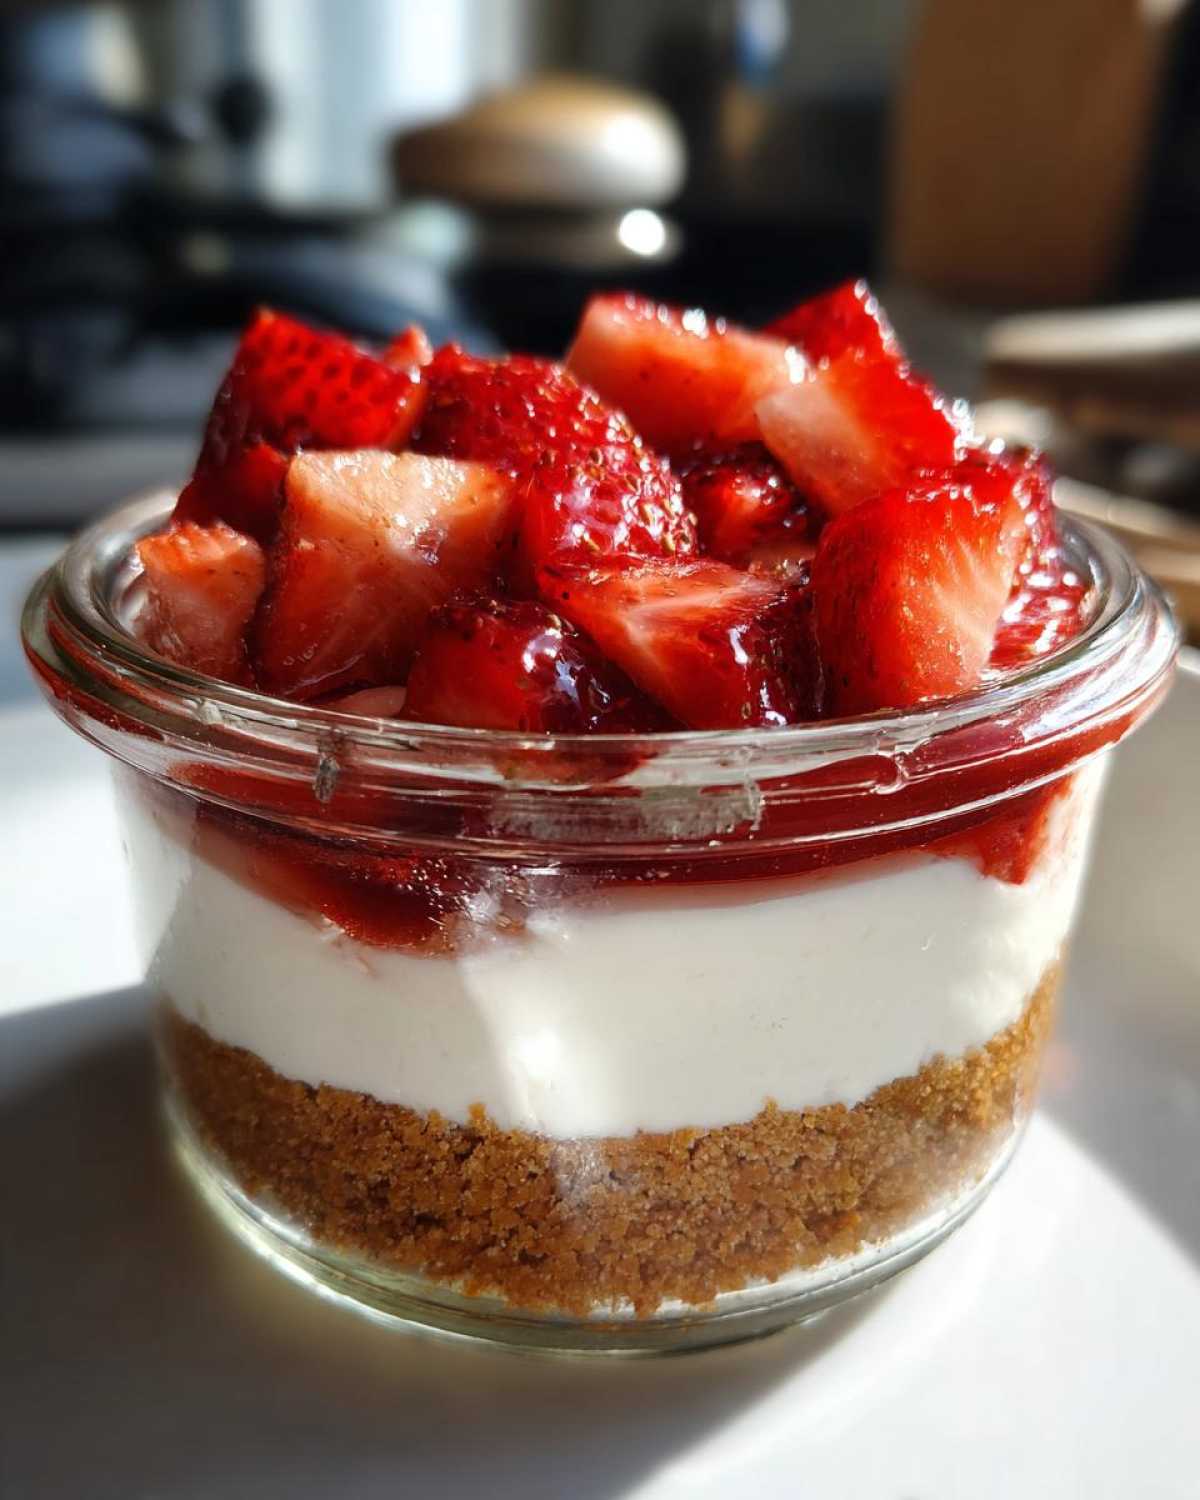
The crust is the easiest part to switch up. If you aren’t a fan of the slight honey flavor of graham crackers, just grab some vanilla wafers! You’ll crush those up the same way you would the grahams, and they work just as beautifully to form that solid base for your **individual cream pie recipe**. You can even check out my recipe for creamy homemade pudding if you wanted to go a completely different direction next time!
Now, about the star player: the strawberries. I insist on fresh because they hold their shape better when chilled, but I know they aren’t always available. If you need to use frozen berries for your **summer strawberry dessert jars**, you absolutely can! The trick is you have to thaw them completely first. Once thawed, put them in a fine-mesh sieve lined with a paper towel and gently press out *all* the excess liquid. If you skip that draining step, your beautiful cream filling will end up swimming, and we certainly don’t want sad, soupy layers.
Also, if you happen to be short on heavy cream for whipping, remember that quick fix I mentioned earlier? You can substitute the entire cream cheese/whipped cream component with about 3 cups of good quality, prepared vanilla instant pudding mixed with 1 cup of mashed strawberries. It moves this recipe into the **5 minute strawberry dessert** category, though the texture won’t be as rich as the cream cheese version. Either way, enjoy the ease of these **no bake chilled strawberry pie** cups!
Storage and Serving Suggestions for Your Creamy Strawberry Dessert Cups
We all know the hardest part about making these **No-Bake Strawberry Cream Pie Jars** is resisting digging into them immediately! But trust me, resisting that urge is crucial for getting the best result. You absolutely must give these babies the full chilling time. The recipe calls for at least two hours in the fridge, but truthfully? If you can manage four hours, or even better, make them the morning before you plan to serve them, the layers firm up beautifully, making them easy to eat with just a spoon.
These treats are fantastic for making ahead, which is why they are such a lifesaver for parties. They keep really well in the refrigerator for up to two days. Since the crust is packed down tightly and the filling is dense, they hold up great! Just make sure the lids are on tight to keep that creamy top from absorbing fridge smells. I’ve even made them 24 hours in advance, and they were still amazing!
When it comes to serving these **layered strawberry dessert cups**, presentation is half the fun! Since you’ve done all the hard work layering them beautifully in the glass, you don’t need much else. I love grabbing a little sprig of fresh mint—it adds a gorgeous pop of contrasting green against the pink and white filling. A tiny dusting of powdered sugar right before they head to the table is another simple trick that makes them look professional. Serve them straight from the fridge; these are definitely best enjoyed super chilled!
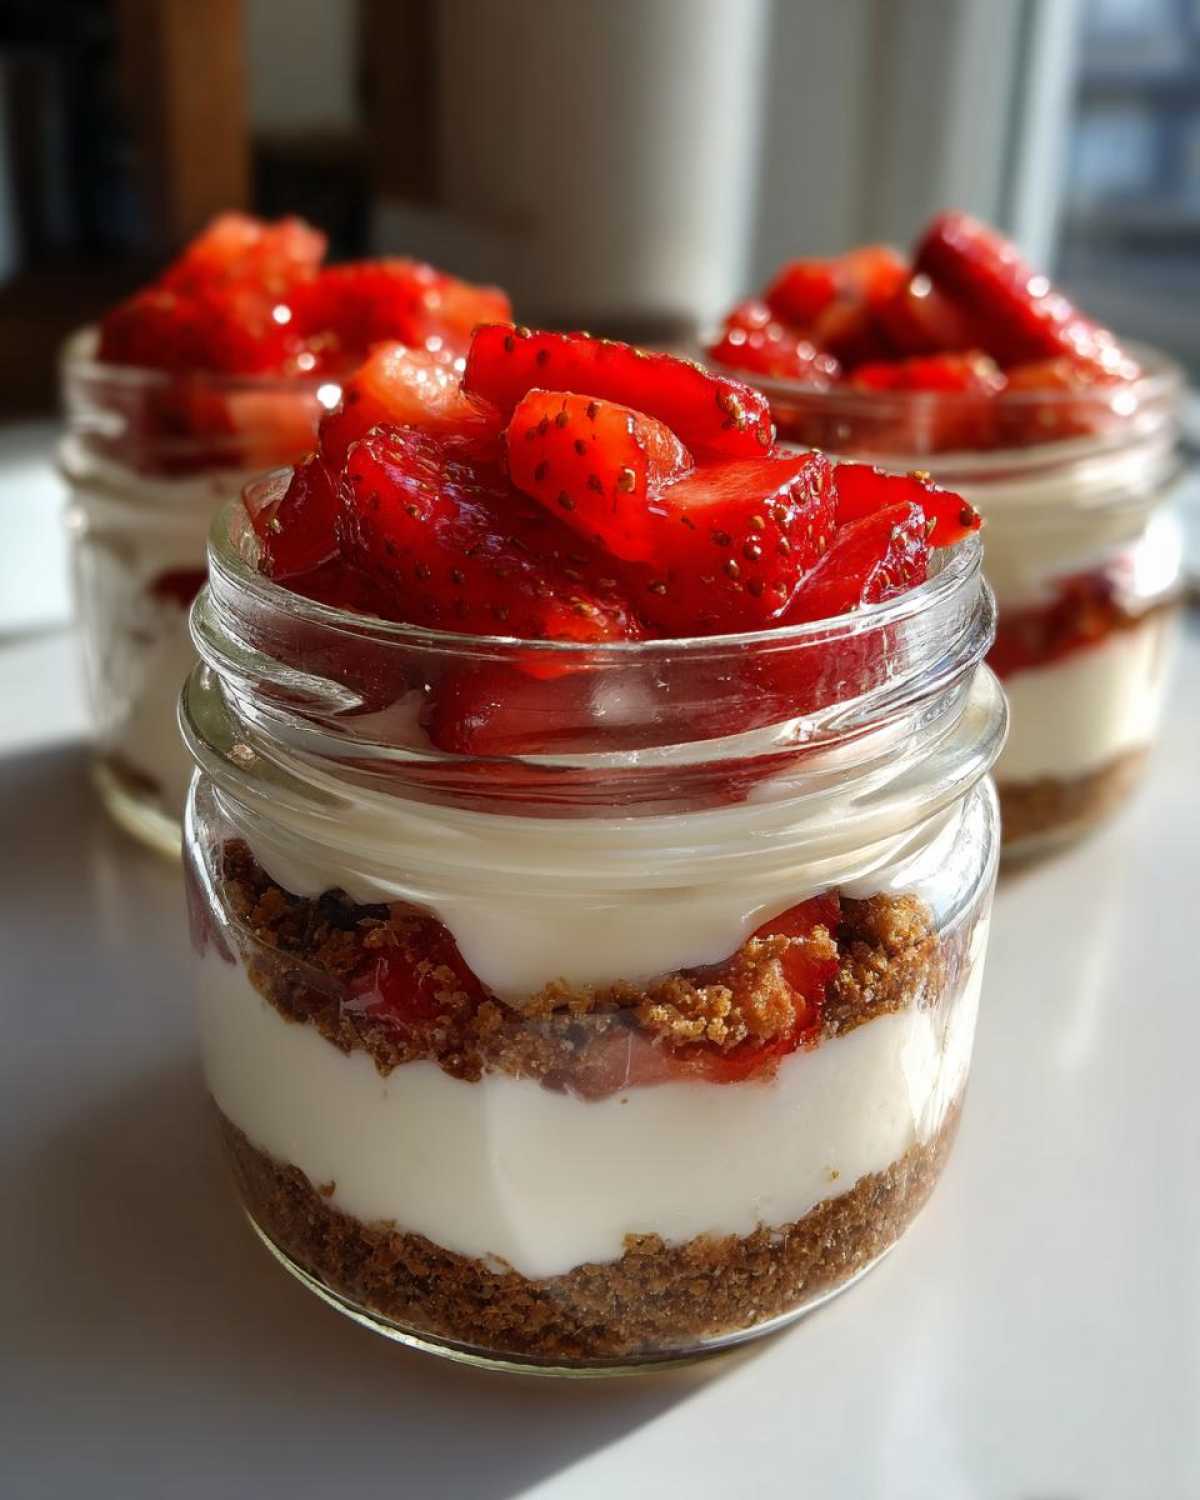
If you’re prepping a spread of desserts, make sure you check out my guide on layered strawberry dessert cups for more styling ideas that go beyond just the pie jars!
Frequently Asked Questions About No Bake Strawberry Dessert Jars
I know when you find a great recipe like this, you probably have a few little questions brewing! It’s natural, especially when you’re dealing with no-bake items. I’ve answered the most common ones I get about these **No-Bake Strawberry Cream Pie Jars** so you can whip them up stress-free. If you’re looking for more simple assembly, my full guide to mason jar desserts no bake is a great next step!
Can I make these No-Bake Strawberry Cream Pie Jars ahead of time?
Yes, absolutely! That’s one of my favorite things about them. They actually taste better after settling a bit. You can totally assemble these up to 24 hours ahead of time. If you assemble them the night before dessert, just make sure to keep them tightly sealed in the fridge. That chilling time allows the crust to absorb a tiny bit of moisture from the strawberries and filling, making the whole thing easier to eat with a spoon.
What kind of jars work best for this individual cream pie recipe?
Presentation is everything with these, isn’t it? I usually stick to standard 8-ounce (half-pint) mason jars. They give you enough real estate for three solid layers—crust, filling, and topping—without being too overwhelming for one person. Clear glass works best, obviously, because you want to show off those beautiful layers that make this an **individual cream pie recipe**. Regular small drinking glasses or small Pyrex containers work fine too if you don’t have the jars handy!
How can I make this a quicker strawberry treat?
The active assembly time is already super fast—like 25 minutes tops! The biggest time drain is the chilling, and you really shouldn’t skip that, or your filling will just ooze out everywhere. However, if you need this faster than the 2-hour chill time, you can cheat slightly by using pre-made vanilla pudding instead of going the cream cheese/whipped cream route. That cuts the prep time down significantly and turns it into an instant **quick strawberry treat**, though the texture will be slightly less rich.
Estimated Nutrition for No-Bake Strawberry Cream Pie Jars
Okay, so these little beauties taste like cheating, but they do clock in with some real numbers! Since these are **No-Bake Strawberry Cream Pie Jars** assembled by hand with specific measurements, we can get a good idea of what you’re getting in each serving. Remember, these are estimates, so if you swap out the butter for coconut oil or use extra-sweet strawberries, the final count will shift a bit! This data is based on the recipe yielding 4 standard servings.
It’s crucial to know what you’re eating, even when it’s a fantastic summer strawberry dessert. For the full picture of what’s in your **creamy strawberry dessert cups**, here is the breakdown:
- Serving Size: 1 Jar
- Calories: Around 450 (That’s surprisingly reasonable for a pie!)
- Fat: 28g (Most of this comes from that rich cream cheese and butter crust.)
- Saturated Fat: 17g
- Carbohydrates: 45g
- Sugar: 35g (The natural sweetness of the berries helps balance this out, I swear!)
- Protein: 6g
- Sodium: 210mg
A little disclaimer because I want you to have all the facts: these nutrition details are just estimates based on standard brand products. If you use diet cream cheese or substitute the sugar elsewhere, your final numbers will change. But overall, for a dessert this decadent, I think these **no bake pie jars** are a winner!
Share Your No-Bake Strawberry Dessert Creations
Now that you’ve got the secrets to these perfect **No-Bake Strawberry Cream Pie Jars**, I really, truly want to see what you whip up!
Baking—or in this case, *no-baking*—is one of those things that gets so much better when you share the results. Did you try adding a little lemon zest to the filling? Did you use vanilla wafers instead of graham crackers? I am so curious about your successful variations!
Please, if you make these delicious **no bake strawberry desserts**, snap a picture! Tag me on social media so I can admire your beautifully layered **strawberry dessert in a jar**. It genuinely makes my day to see my recipes coming to life in your kitchen.
And don’t be shy about leaving a comment right here on the page. Tell me how long you chilled them, how many you managed to serve, or if you found a secret ingredient that made them even better. If you have any lingering questions about technique or substitutions, drop them below! I pop in often to answer things right there. Happy chilling, and don’t forget to give this recipe a star rating if you loved how simple and creamy these **no bake chilled strawberry pie** cups turned out. You can find more of my latest kitchen adventures over at my main blog page!
PrintNo-Bake Strawberry Cream Pie Jars
Prepare individual servings of creamy strawberry pie without using your oven. This recipe uses a graham cracker crust and a simple cream cheese filling.
- Prep Time: 25 min
- Cook Time: 0 min
- Total Time: 25 min
- Yield: 4 to 6 servings
- Category: Dessert
- Method: Chilling
- Cuisine: American
- Diet: Vegetarian
Ingredients
- 1 1/2 cups graham cracker crumbs
- 1/4 cup granulated sugar (for crust)
- 6 tablespoons unsalted butter, melted
- 8 ounces cream cheese, softened
- 1 cup powdered sugar
- 1 teaspoon vanilla extract
- 1 cup heavy whipping cream, cold
- 1/4 cup granulated sugar (for whipped cream)
- 2 cups fresh strawberries, sliced
Instructions
- Combine graham cracker crumbs, 1/4 cup sugar, and melted butter in a bowl. Mix until the crumbs are evenly moistened.
- Divide the crumb mixture evenly among 4 to 6 small jars (about 1/3 cup per jar). Press the mixture down firmly to form the crust layer. Chill the jars for 10 minutes.
- In a separate bowl, beat the softened cream cheese, powdered sugar, and vanilla extract until smooth and creamy. Set aside.
- In another bowl, whip the cold heavy cream and 1/4 cup sugar until stiff peaks form.
- Gently fold the whipped cream into the cream cheese mixture until just combined. This is your cream filling.
- Place a layer of sliced strawberries over the chilled crusts in each jar.
- Spoon or pipe the cream filling over the strawberry layer in each jar.
- Top each jar with remaining sliced strawberries.
- Chill the jars for at least 2 hours before serving.
Notes
- If you prefer a quicker filling, substitute the cream cheese mixture with 3 cups of prepared vanilla instant pudding mixed with 1 cup of mashed fresh strawberries.
- Use small mason jars or clear glasses for the best presentation.
- You can substitute graham crackers with vanilla wafer crumbs for a different crust flavor.
Nutrition
- Serving Size: 1 jar
- Calories: 450
- Sugar: 35g
- Sodium: 210mg
- Fat: 28g
- Saturated Fat: 17g
- Unsaturated Fat: 11g
- Trans Fat: 0.5g
- Carbohydrates: 45g
- Fiber: 2g
- Protein: 6g
- Cholesterol: 85mg