

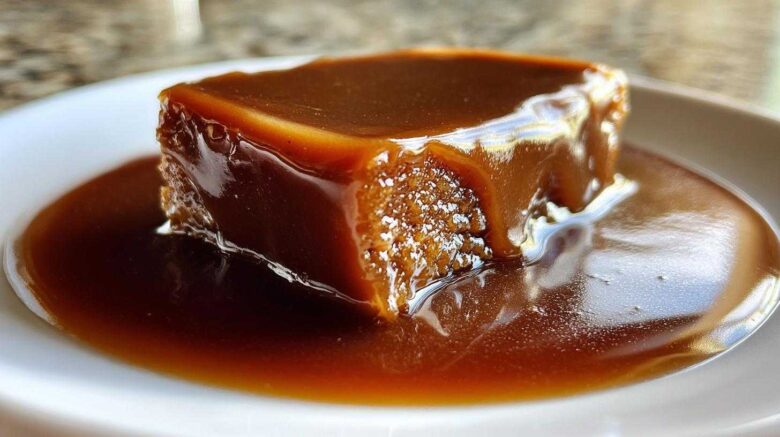
There is nothing sadder than sad gravy, right? I remember Amelia’s early cooking attempts. They were always perfectly planned disasters.
For me, Jacob, cooking is instinct. For Amelia, it’s a project blueprint. This recipe is our perfect collaboration.
We spent weeks perfecting this amazing homemade brown gravy. It delivers deep, restaurant-quality savoriness.
The best part? You need zero pan drippings. This makes it incredibly versatile for any meal.
This recipe is now a trusted piece in our Taste Portfolio collection. It’s ready in under 15 minutes!
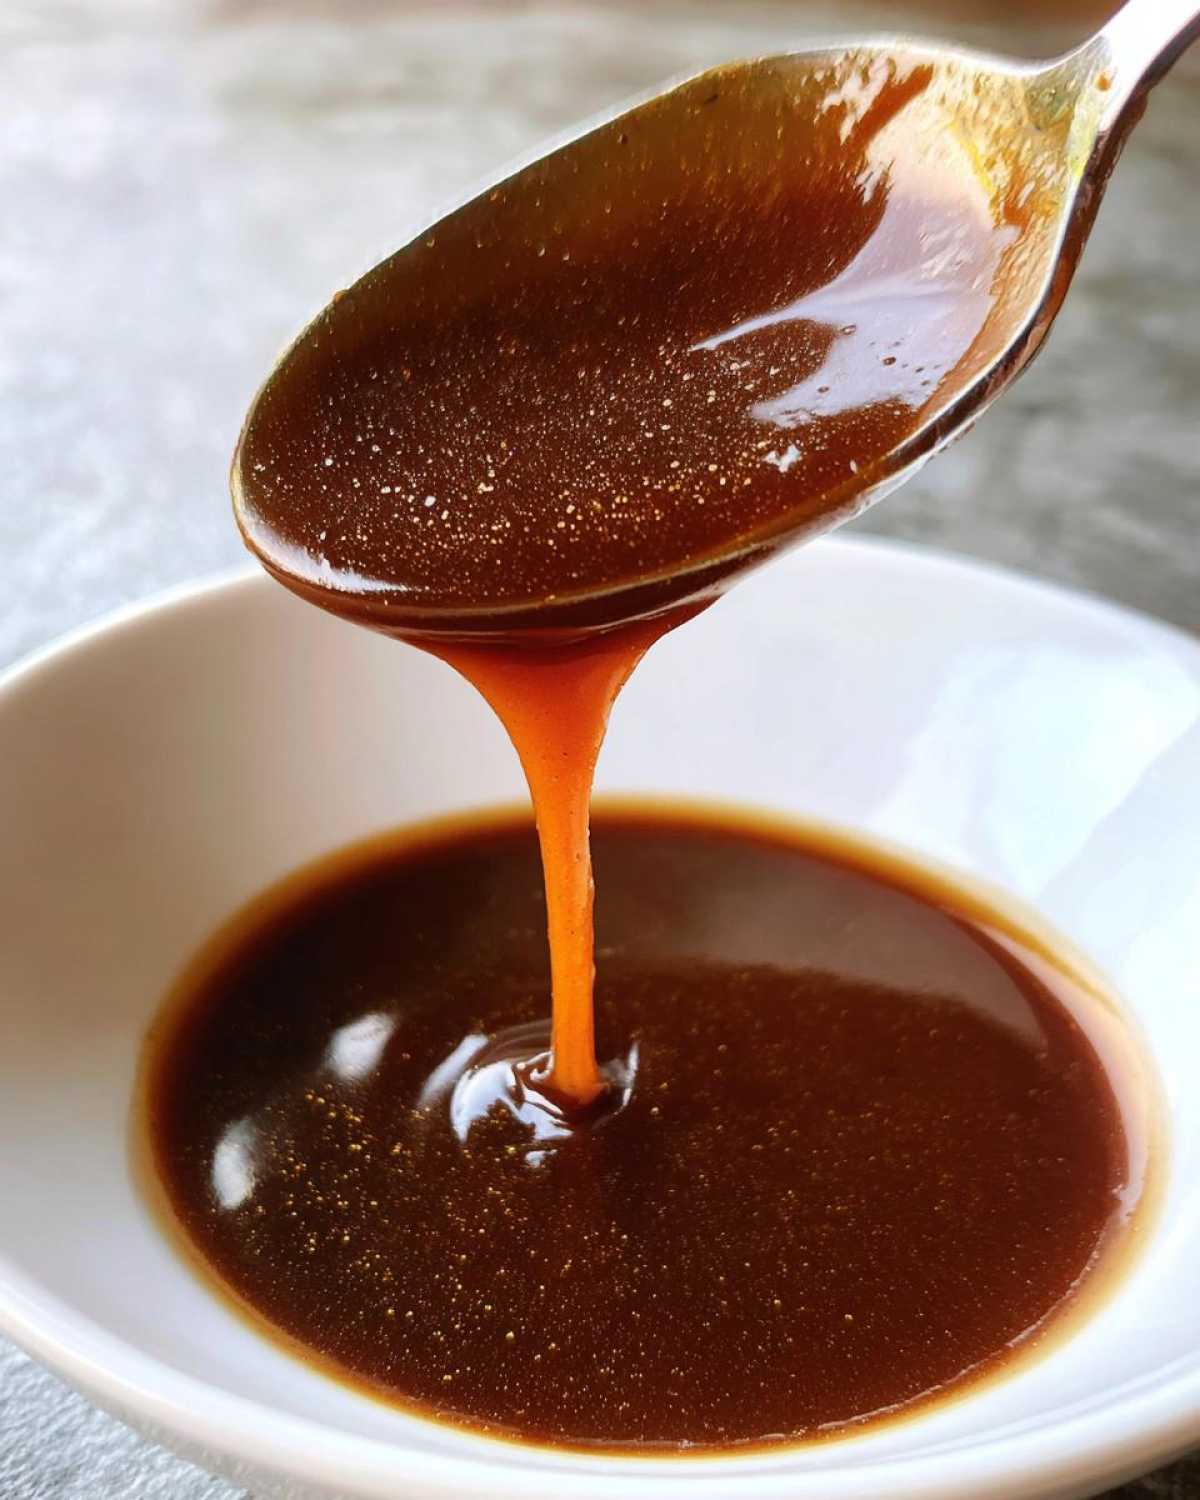
Why You’ll Love This homemade brown gravy Recipe
I promise you will adore making this gravy. It solves so many weeknight dinner problems. It tastes like it cooked all day long. Yet, it comes together super fast.
Here is why this recipe earns its permanent spot:
Speed and Simplicity
- Total time is only fifteen minutes flat.
- It is simple enough for any beginner cook.
Unmatched Flavor Profile
- We use secret ingredients for deep taste.
- The Worcestershire sauce adds great savory notes.
Versatility with No Drippings Required
- You make it anytime, not just after roasting meat.
- It works great over anything you need smothered!
Equipment List for Your homemade brown gravy
You don’t need a huge arsenal of gadgets for this. Making a fantastic gravy is about technique, not fancy gear. Jacob always says simple tools work best.
We keep our list short and sweet. These items are likely already waiting in your kitchen drawer.
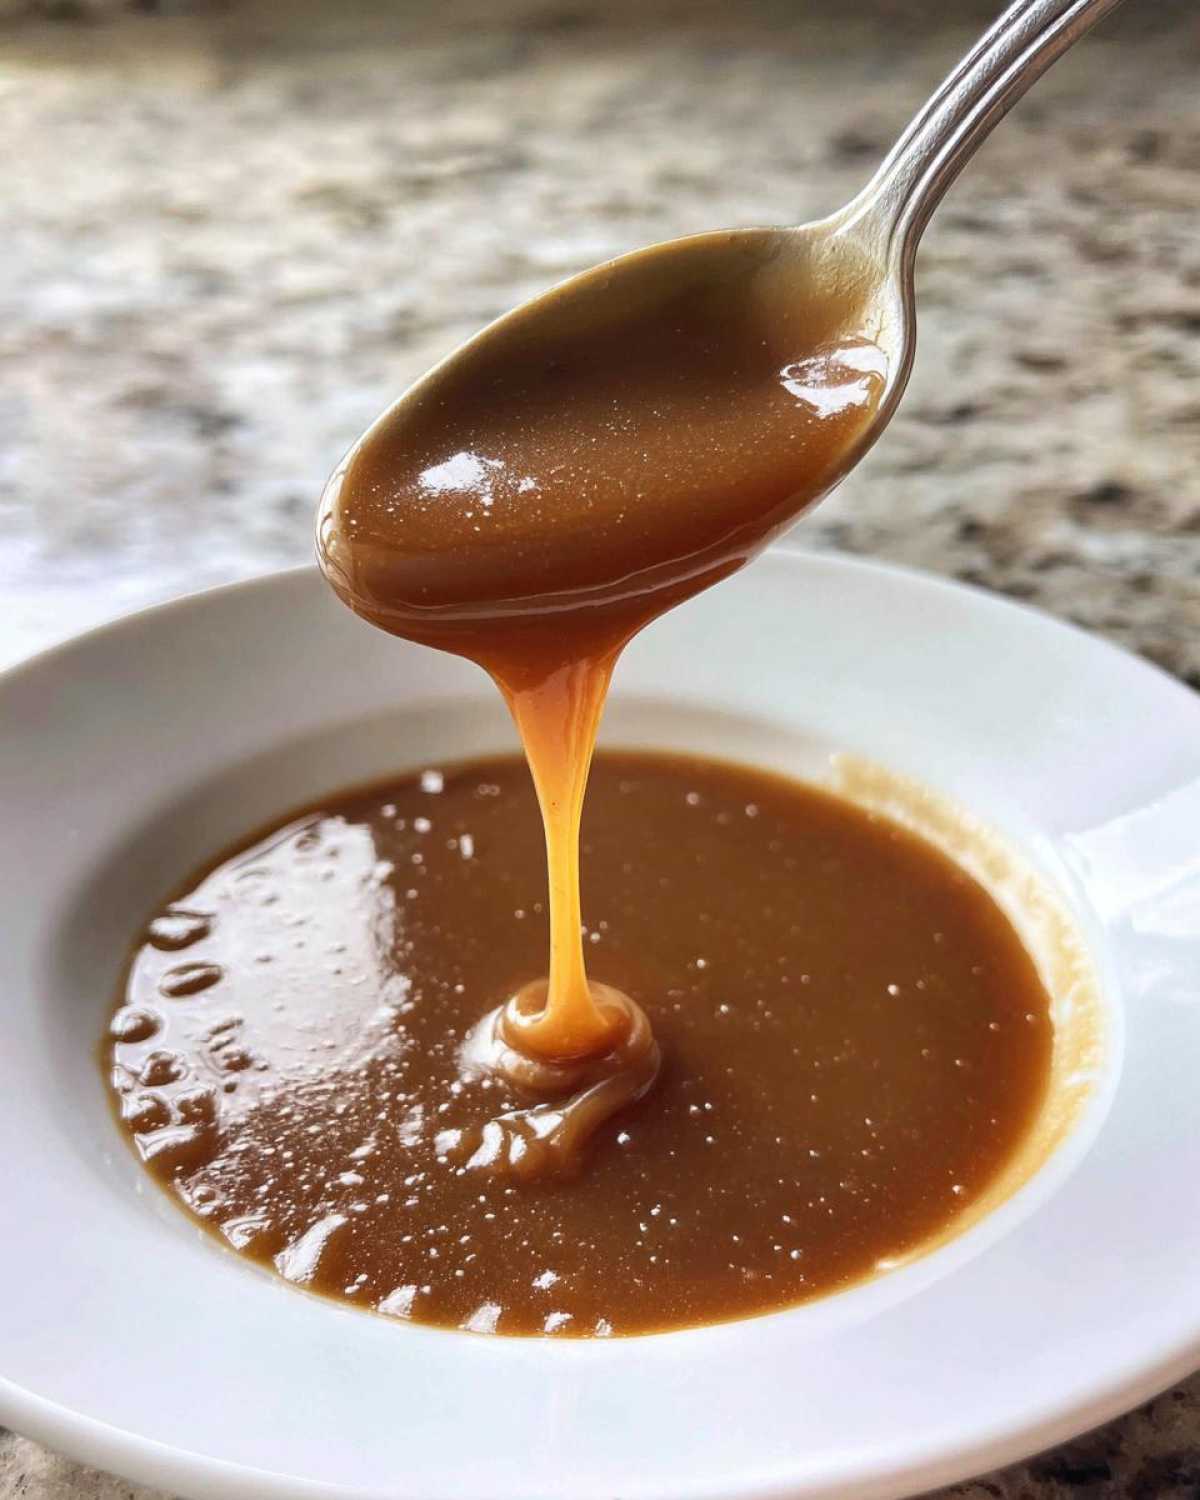
Essential Kitchen Tools
- A medium saucepan.
- A good whisk for smooth results.
- Measuring cups for accuracy.
- Measuring spoons for spices.
- A rubber spatula for scraping down sides.
Ingredients for Perfect homemade brown gravy
Getting phenomenal flavor starts with quality components. Amelia likes to organize everything first. This prevents frantic searching later on. We measure everything precisely here.
This simple list makes the richest gravy you’ve had. Even without pan drippings, it shines.
Building the Flavor Base
- Three tablespoons of all-purpose flour.
- Three tablespoons of unsalted butter.
- One teaspoon of onion powder.
- One half teaspoon of garlic powder.
- One quarter teaspoon of black pepper.
- One quarter teaspoon of salt, or adjust to taste.
Achieving Rich Liquid Depth
- One and three quarter cups of cold beef broth. Low sodium is always preferred here.
- One teaspoon of Worcestershire sauce.
- One half teaspoon of soy sauce, if you want extra color.
Step-by-Step Instructions for Quick homemade brown gravy
Follow these steps closely for velvety smooth success. No lumps allowed in our kitchen, ever. This process moves fast, so have everything ready to go.
Creating the Roux
Melt the butter in your saucepan now. Use medium heat until it’s fully liquid. Whisk in the flour and all the dry spices. Cook this mixture for one to two minutes. You want it to look light peanut butter colored. Don’t let it burn!
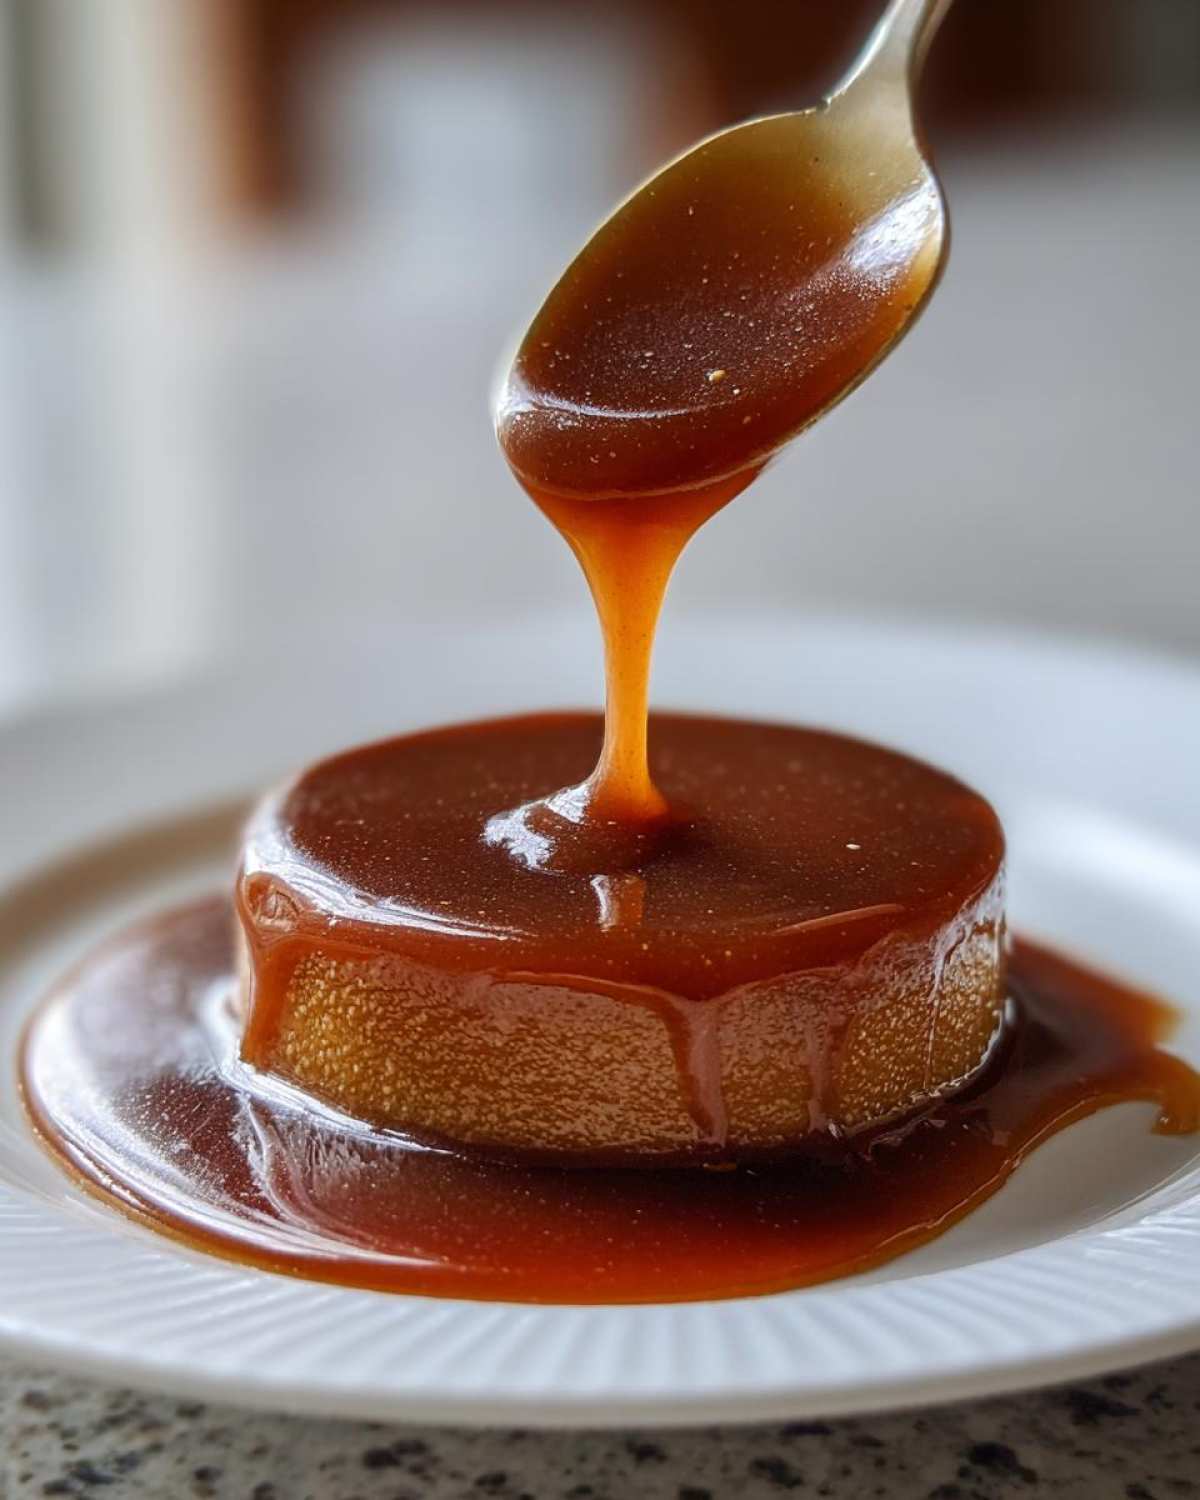
Whisking in the Liquid
This part needs your full attention, friends. Slowly pour in the cold beef broth. Whisk constantly without stopping. This slow addition prevents any flour clumps from forming. It shows your expertise.
Simmering and Thickening
Keep whisking until the mixture starts to bubble gently. Reduce the heat right away to low. Let it simmer for three to five minutes. Watch it closely. It thickens as it cooks down.
Final Seasoning Check for homemade brown gravy
Once it’s the right thickness, turn the heat off. Stir in the salt and pepper now. Add the Worcestershire sauce and soy sauce too. Taste your creation. Adjust seasonings before serving piping hot.
Tips for Achieving Expert homemade brown gravy Results
Even with a great recipe, little tweaks make a huge difference. I learned this early on with Jacob’s high standards. Perfecting the color and texture takes just a moment.
Don’t panic if your gravy looks pale. We have simple fixes for that deep brown look. Here are my favorite pro tips for a flawless finish every time.
Controlling the Color
Since we skip the drippings, color control is key. Want that deep, rich mahogany hue? Add a few drops of dark soy sauce. Browning sauce works wonders too. Just a tiny amount goes a long way. This adds visual appeal instantly.
Fixing Gravy Consistency
Gravy thickens up as it sits, which is normal. If yours gets too stiff later, don’t throw it out! Simply whisk in a splash of warm broth. Stir until it loosens up again. Warm liquid blends better than cold.
Quick Answers about Your brown gravy Recipe
I know you have questions. We did too when we started this project. Cooking from scratch feels different. Here are the common things people ask us.
These quick answers help you serve the best gravy possible. No guesswork needed here.
Can I use water instead of beef broth for this homemade brown gravy?
Please don’t use only water. That’s the biggest mistake.
Broth brings the flavor we need. Water just steams the flour. You need that savory depth. Use good broth! Use good broth!
How long does this from scratch gravy last in the refrigerator?
This fresh gravy keeps well for a few days. Store it in an airtight container. It lasts about four days total. Reheat gently on the stove.
What makes this gravy different from packet mixes?
Packet mixes taste artificial, frankly. This recipe uses real butter. We use actual spices like onion powder. You taste real food richness. It’s a true flavor upgrade.
Serving Suggestions for Your Rich brown gravy
Now that you have this fantastic sauce, what should you pour it over? This gravy sings with classic comfort foods. It truly anchors any holiday plate.
Jacob always insists on making extra just for dipping!
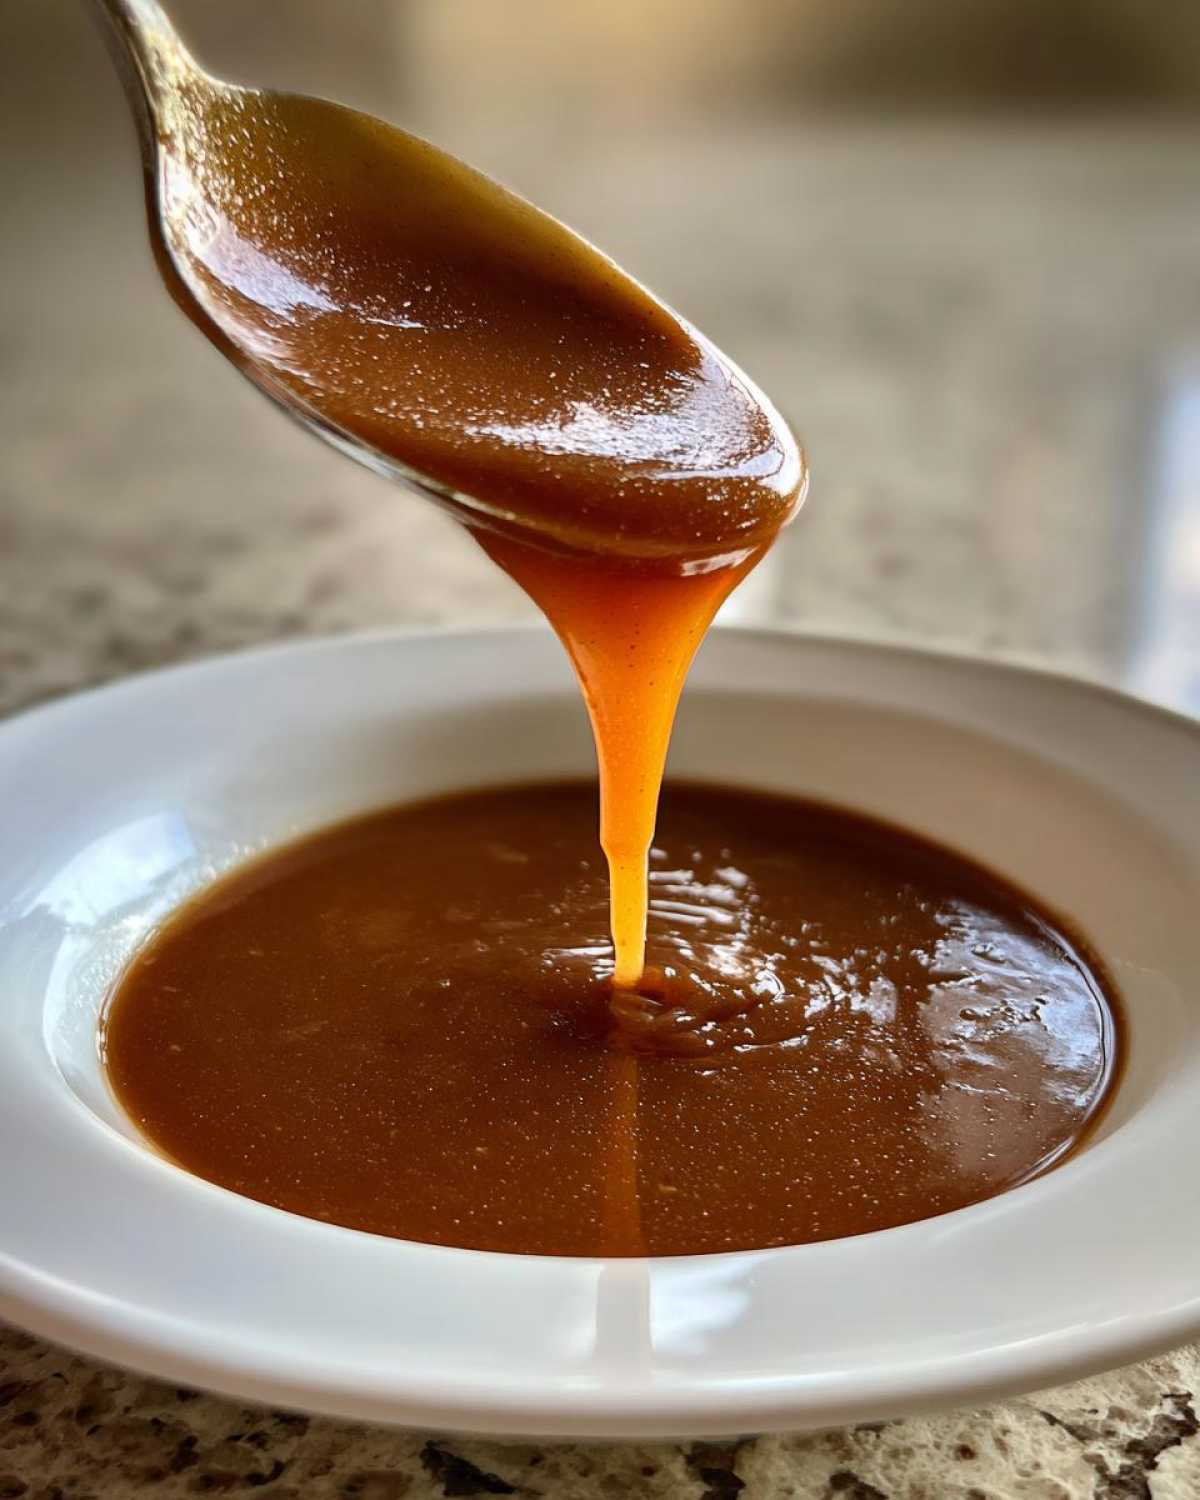
Classic Comfort Pairings
- Creamy mashed potatoes are a must-have base.
- Pour generously over meatloaf slices.
- It’s perfect for roast chicken or beef.
- Try it spooned over biscuits and gravy.
Estimated Nutritional Data for homemade brown gravy
I always get asked about the nutrition facts for our recipes. While Amelia plans the logistics, I handle the taste testing, which means I watch the numbers too.
Remember, this is a from scratch gravy recipe. The numbers change based on your broth choice. These figures are based on the ingredients listed.
We calculated this data based on a quarter cup serving size. Think of this as a helpful guide, not a strict rule.
Here is the estimated breakdown for this homemade brown gravy:
- Serving Size: 1/4 cup
- Calories: Around 60 per serving
- Total Fat: Approximately 4 grams
- Carbohydrates: About 4 grams
- Protein: Roughly 1.5 grams
- Sodium: Near 220mg (this varies with your broth)
This quick gravy keeps the richness high and the carbs low. It’s a great addition to any meal.
Share Your Taste Portfolio Project
We put a lot of love into this recipe. Now it’s your turn to play Lead Artist!
Did this quick gravy work for your dinner plans? Did you try the soy sauce trick?
We want to see your finished project. Share your photos with us online. Tag us in your culinary successes.
Jacob and I love seeing your results. Your feedback helps our portfolio grow. Tell us how you served your amazing brown gravy!
Happy cooking, everyone. We can’t wait to hear from you soon.
PrintAmazing homemade brown gravy in 15 minutes
Create the ultimate homemade brown gravy from scratch. This recipe delivers a rich, savory flavor comparable to restaurant quality, perfect for mashed potatoes or meatloaf, and it requires no meat drippings for ultimate convenience.
- Prep Time: 5 minutes
- Cook Time: 10 minutes
- Total Time: 15 minutes
- Yield: About 2 cups
- Category: Sauce
- Method: Stove Top
- Cuisine: American Comfort
- Diet: Vegetarian
Ingredients
- 3 tablespoons all-purpose flour
- 3 tablespoons unsalted butter
- 1 teaspoon onion powder
- 1/2 teaspoon garlic powder
- 1/4 teaspoon black pepper
- 1/4 teaspoon salt (or to taste)
- 1 3/4 cups cold beef broth (low sodium preferred)
- 1 teaspoon Worcestershire sauce
- 1/2 teaspoon soy sauce (optional, for color/depth)
Instructions
- Melt the butter in a medium saucepan over medium heat.
- Whisk in the flour, onion powder, and garlic powder. Cook this roux, whisking constantly, for 1 to 2 minutes until it turns a light peanut butter color. Do not let it brown too much.
- Slowly pour in the cold beef broth while whisking continuously to prevent lumps.
- Bring the mixture to a simmer, continuing to whisk. The gravy will begin to thicken as it simmers.
- Reduce the heat to low and cook for 3 to 5 minutes until the gravy reaches your desired thickness.
- Stir in the salt, pepper, Worcestershire sauce, and soy sauce (if using).
- Taste and adjust seasonings before serving immediately over your favorite dishes.
Notes
- Using cold broth prevents the roux from clumping.
- For a darker brown color without drippings, add a few drops of dark soy sauce or a pinch of browning sauce (if available).
- If the gravy becomes too thick upon standing, whisk in a splash of warm broth until smooth.
Nutrition
- Serving Size: 1/4 cup
- Calories: 60
- Sugar: 0.5g
- Sodium: 220mg
- Fat: 4g
- Saturated Fat: 2.5g
- Unsaturated Fat: 1.5g
- Trans Fat: 0g
- Carbohydrates: 4g
- Fiber: 0.3g
- Protein: 1.5g
- Cholesterol: 10mg