

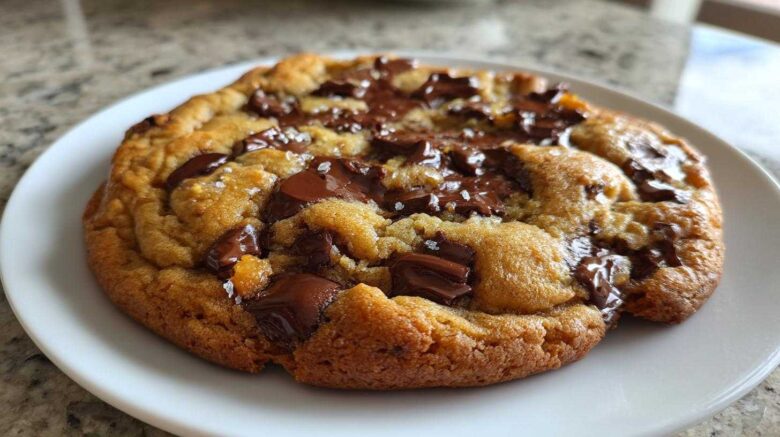
The Ultimate Brown Butter Bakery Style chocolate chip cookie
Are you tired of thin, sad cookies? I totally get it. You search for the perfect chocolate chip cookie. You want thick, chewy centers, and edges that hold up. So many recipes disappoint, right?
No heading needs to be written for the introduction.
That search for texture is exactly what led Jacob here. I’m Amelia, the planner. Jacob is the artist. When we started Taste Portfolio, we knew we needed a signature bake.
This brown butter bakery style chocolate chip cookie is that signature piece. Jacob spent weeks testing for that ultimate gooey center. This recipe guarantees thick, crowd-pleasing results every time you bake one.
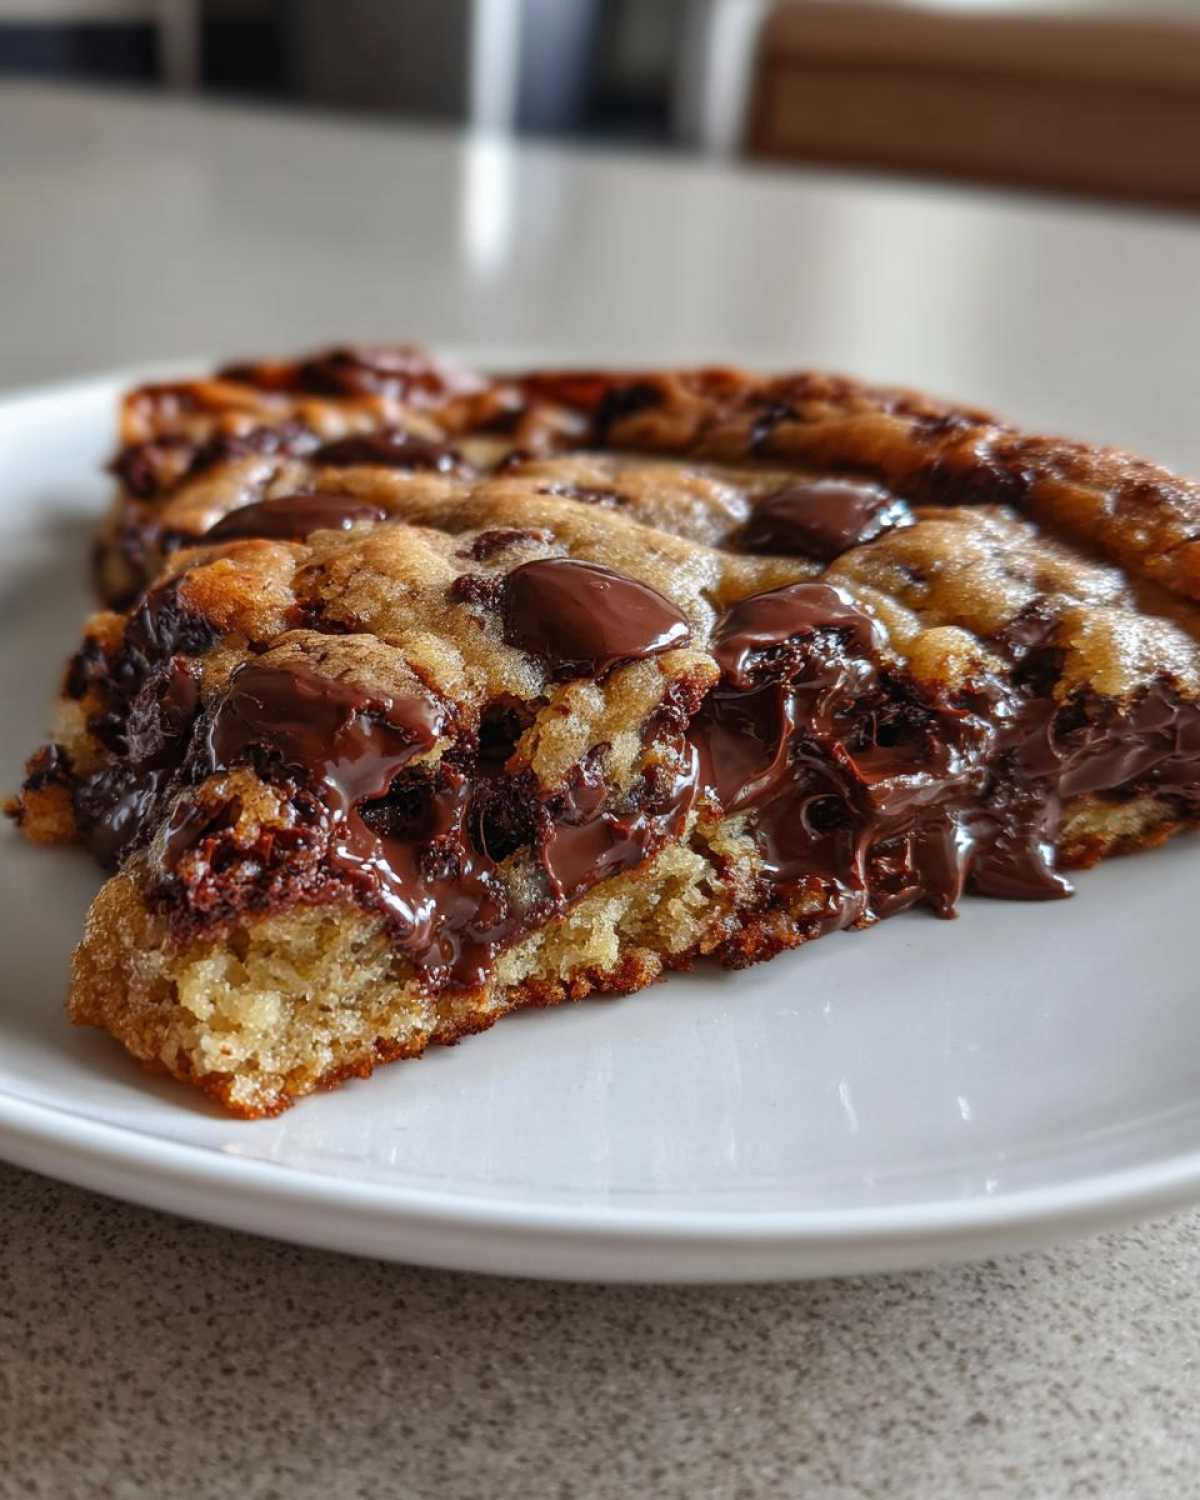
Why This chocolate chip cookie Recipe Stands Apart
What makes this recipe truly special? It’s Jacob’s brown butter secret. Browning the butter adds incredible depth. It gives the cookie a rich, nutty background flavor. This chemical process is key to flavor development.
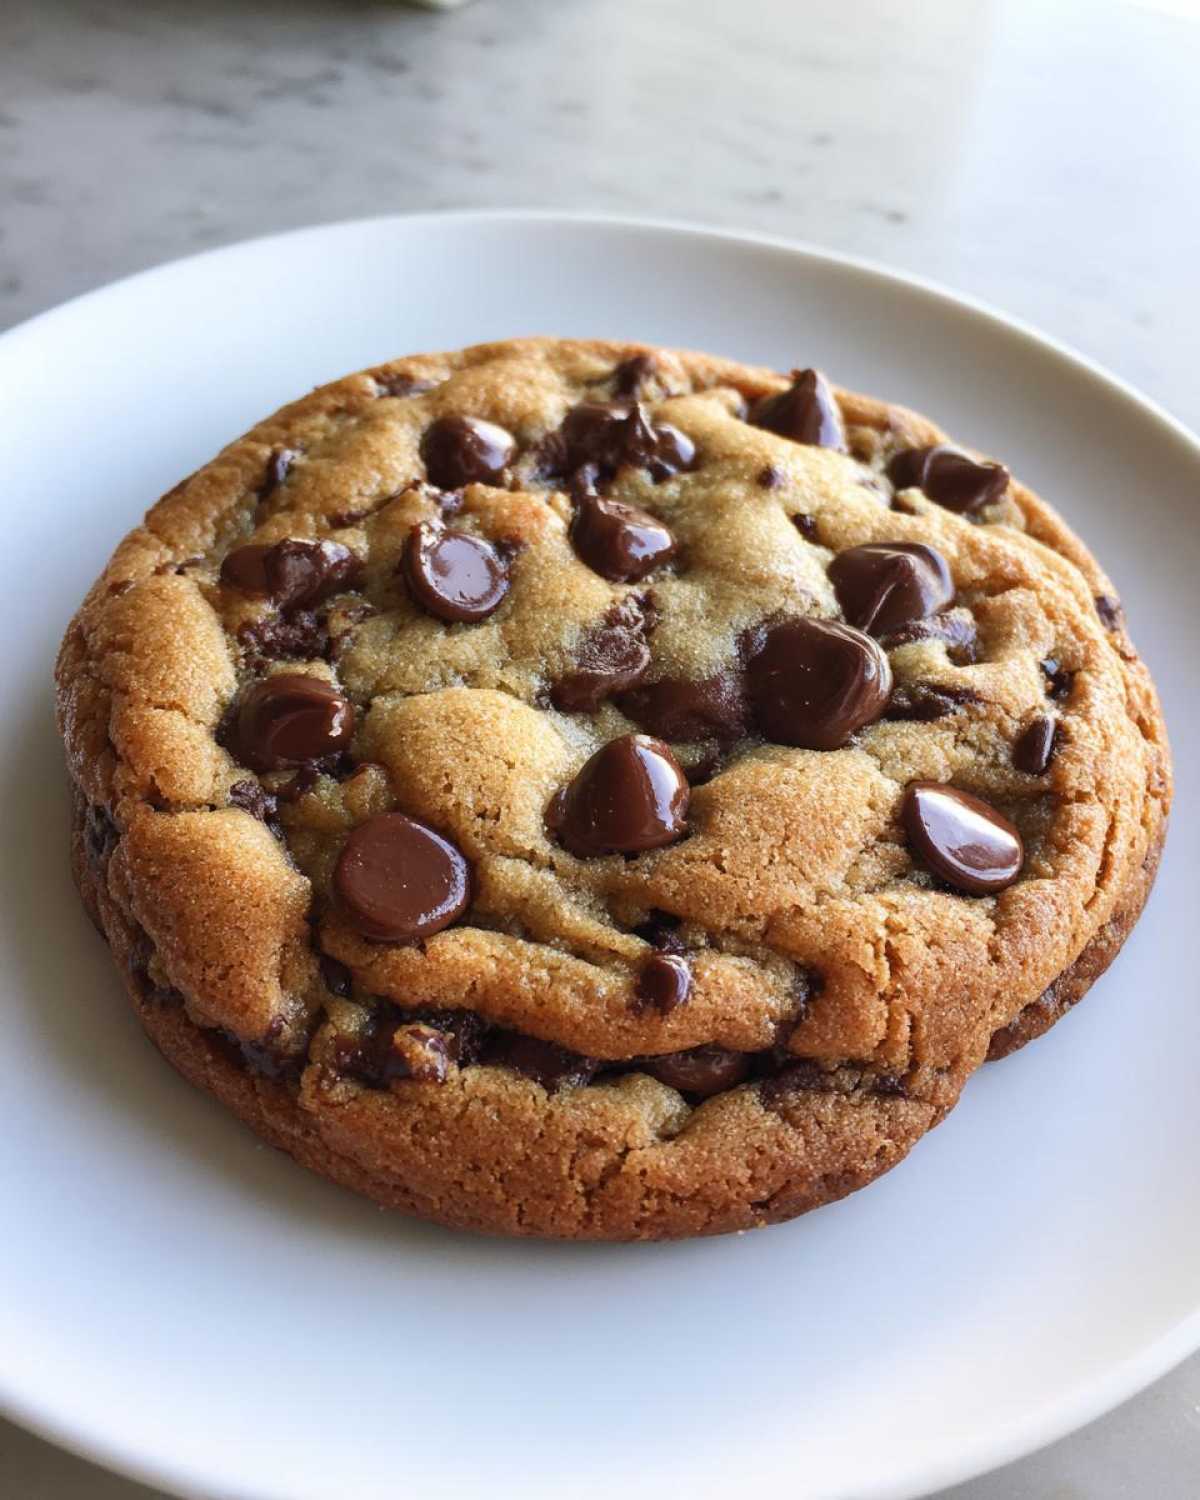
This isn’t just another recipe. We guarantee a thick profile. You’ll get those coveted chewy edges. The center stays wonderfully soft and gooey.
This expertise comes from many kitchen experiments. We perfected the sugar ratios for texture. Follow these steps precisely. You’ll see why this is our best chocolate chip cookie yet.
Equipment Needed for Your chocolate chip cookie Project
Baking demands the right tools. Having everything ready makes the process so much smoother. I love having my setup planned out first. This keeps the kitchen flow quick.
Don’t worry if you don’t have fancy gear. Most of this is standard kitchen stuff. Here are the essentials for this project.
Essential Baking Tools
- Stand mixer or hand mixer
- Heatproof saucepan for browning butter
- Large mixing bowls
- Heatproof bowl for cooling butter
- Baking sheets
- Parchment paper
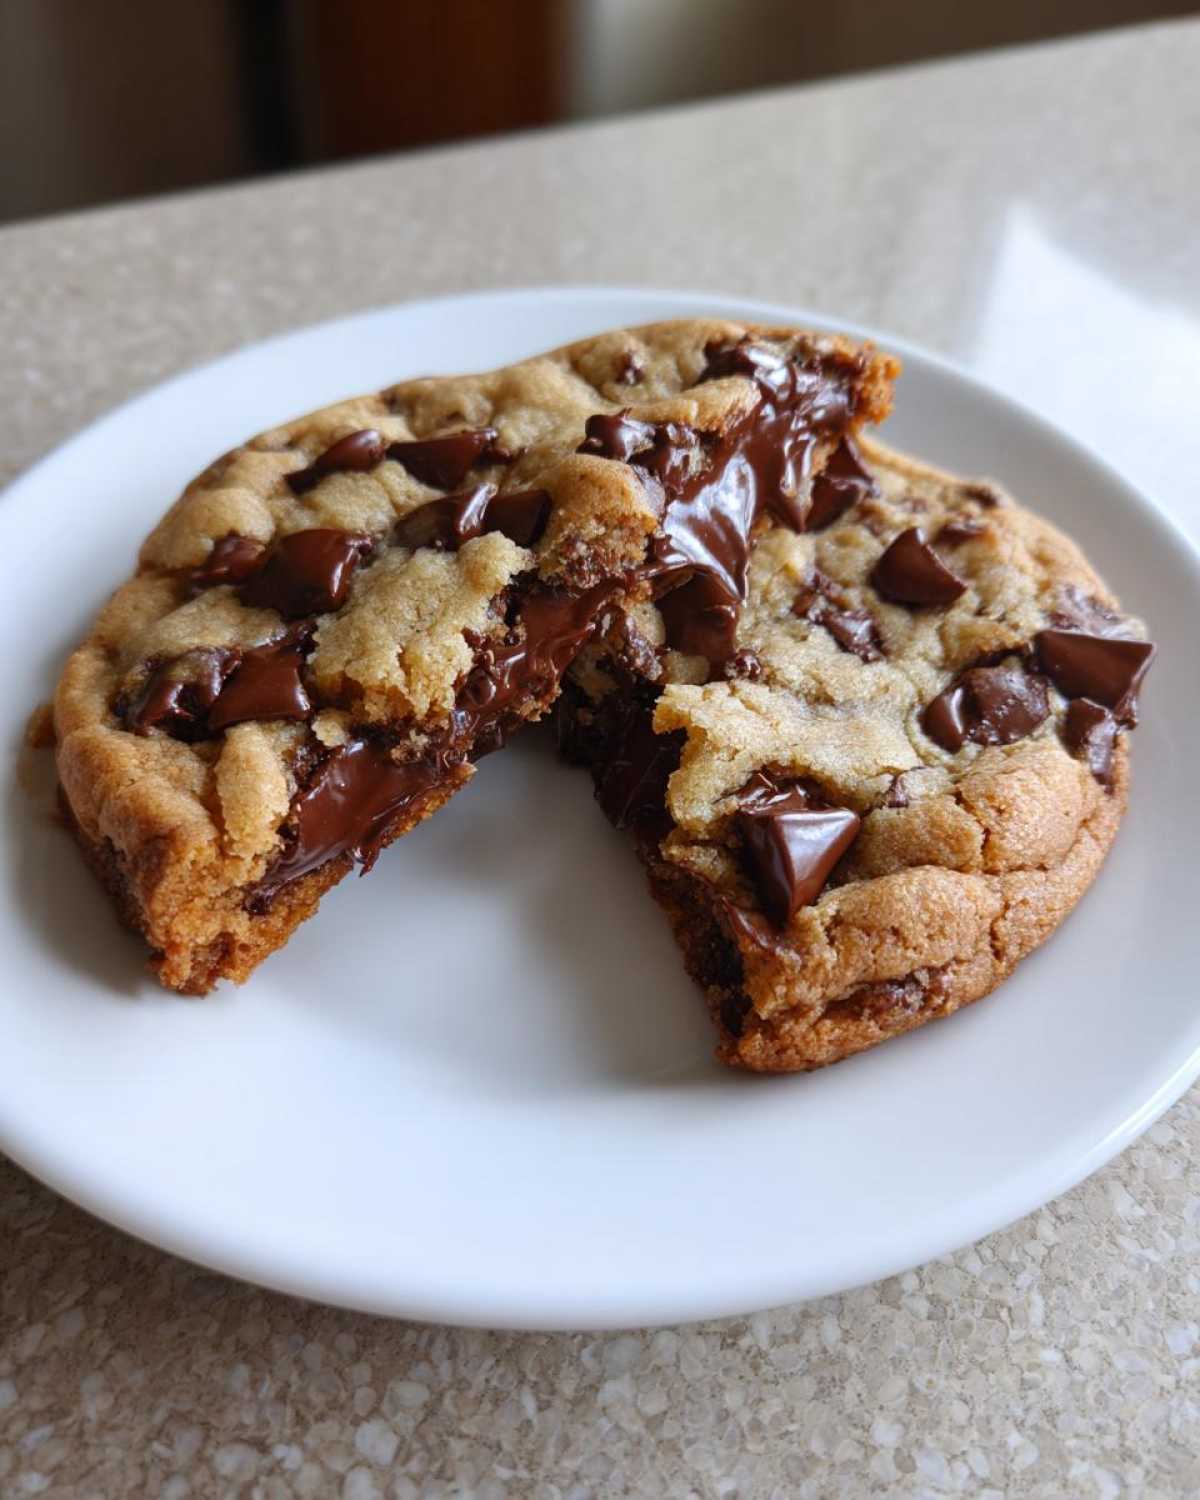
Ingredients for the Perfect thick chocolate chip cookie
Getting the right texture starts right here. Ingredient quality truly matters here. For this bakery style cookie, precision helps a ton. Please measure everything carefully. Don’t just eyeball the flour!
We want that perfect thick cookie structure. The ratio of wet to dry ingredients is key. Jacob insists on fresh ingredients for the best flavor payoff.
Butter and Sugars
We start with one cup of unsalted butter. You must melt this butter first. Then, you’ll brown it until nutty. Next, grab one cup of packed light brown sugar. Also measure out half a cup of regular granulated sugar.
Wet and Dry Components
You need two large eggs for binding power. Add one teaspoon of pure vanilla extract. For the dry mix, use two and a quarter cups of all-purpose flour. Don’t forget one teaspoon of baking soda. Finally, add half a teaspoon of salt.
The Chocolate
I use one and a half cups of semi-sweet chocolate chips. For a really gourmet feel, try using chopped chocolate bars instead. High-quality chocolate melts beautifully. It gives you those amazing, gooey pockets inside.
Step-by-Step Instructions for Your brown Butter chocolate chip cookie
Ready to turn simple ingredients into magic? This is where Jacob’s technique really shines. Don’t rush this part. The process builds flavor layers. We move from simple butter to liquid gold first. Pay close attention to the dough chilling step too. It’s non-negotiable for thickness.
Mastering the Brown Butter
Start by melting your butter in a saucepan. Use medium heat only. Swirl the pan often while it melts down. You’ll see it foam up first. Keep watching it closely now. Brown bits will start forming at the bottom. Smell that? It should smell wonderfully nutty. Immediately pour this hot butter into a heatproof bowl. Let it cool down a bit first.
Combining Wet Ingredients
Take your slightly cooled brown butter. Whisk it well with both sugars. Keep whisking until the mixture looks smooth. Now, add your eggs one at a time. Beat each egg in fully before adding the next one. Finish by mixing in the vanilla extract quickly.
Mixing Dry Ingredients and Dough Assembly
Use a separate bowl for your dry stuff. Whisk the flour, baking soda, and salt together well. Next, add these dry parts to your wet mixture slowly. Mix on low speed only. Stop mixing when you see no more streaks of flour. Do not overmix the dough ever! Fold in those chocolate chips by hand gently. We don’t want tough cookies.
The Crucial Rest: Chilling the chocolate chip cookie Dough
This part takes patience, but it’s worth it. Cover your dough tightly. Place it in the refrigerator now. You must chill it for at least two hours. Honestly, chilling it overnight yields the best results. This step stops the cookie from spreading too much. It also deepens the brown butter flavor beautifully.
Baking and Cooling for Gooey Centers
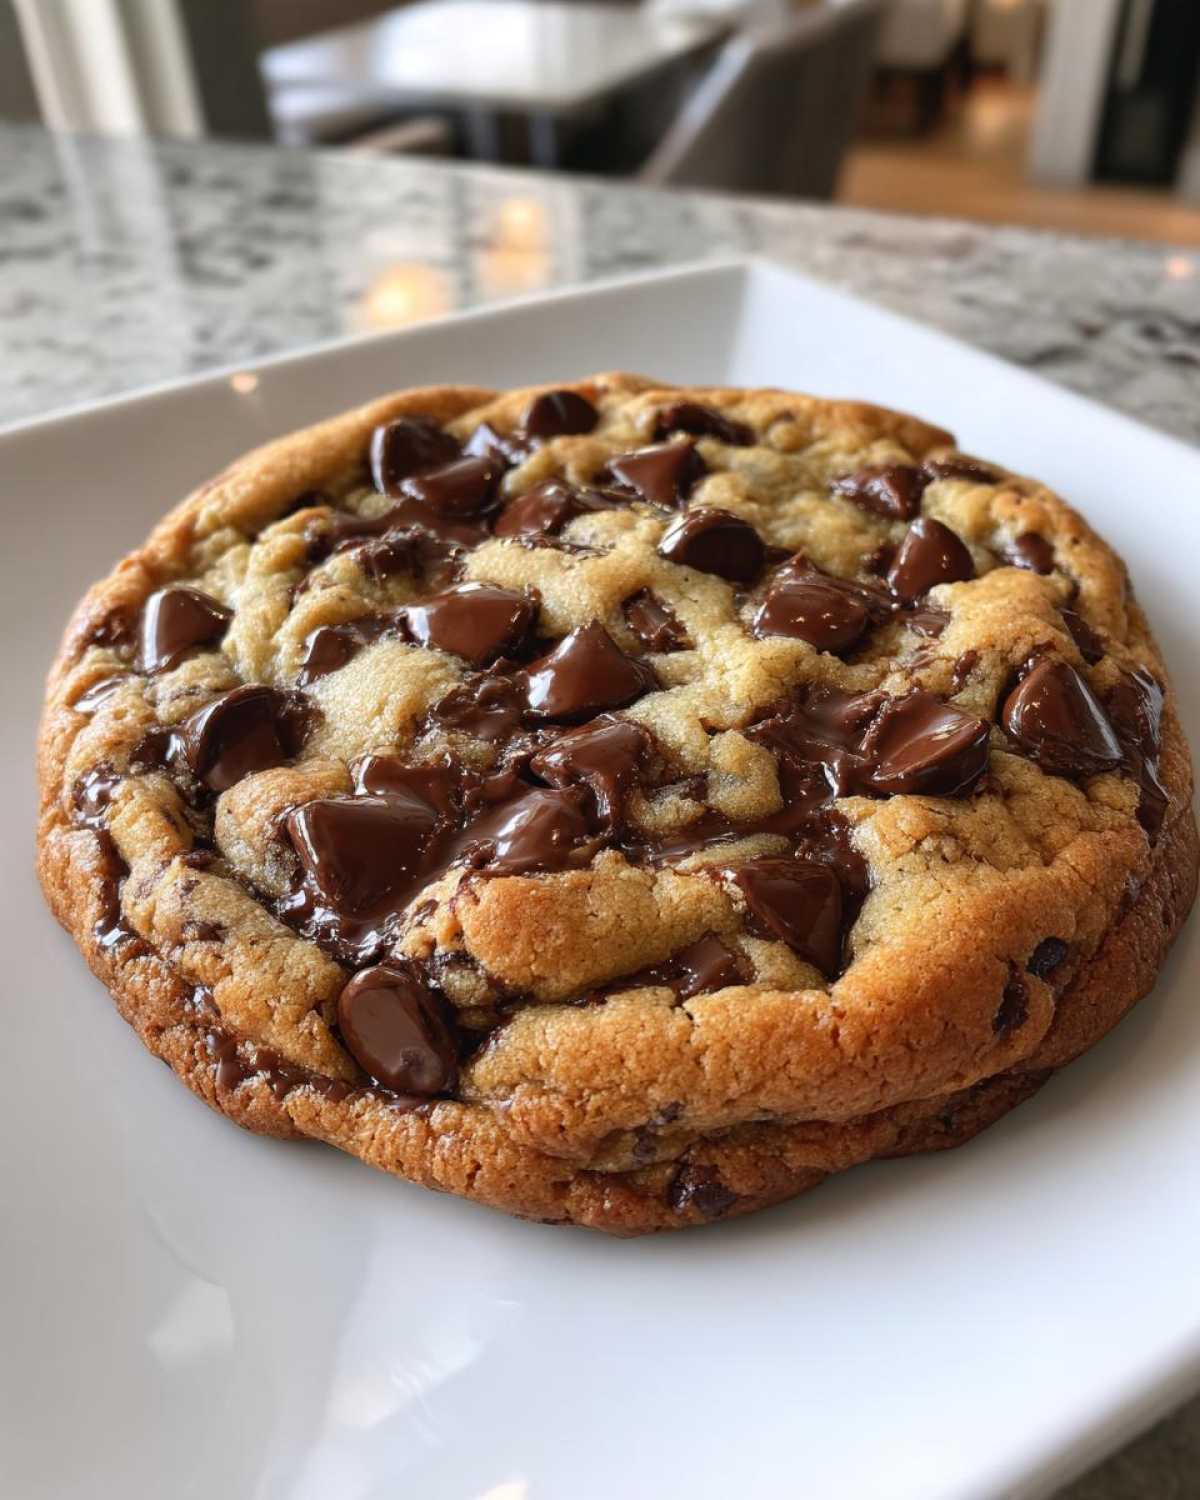
Preheat your oven to 375°F (190°C). Line your baking sheets using parchment paper. Scoop the dough into large balls. I use about three tablespoons of dough per cookie. Space them two inches apart. For that bakery style look, press a few chips onto the tops. Bake for 10 to 13 minutes. Look for set edges. The centers should still look soft. Let them rest on the warm sheet for five minutes. Then, move them to a wire rack to cool down.
Tips for the Best chocolate chip cookie Results
Baking is science, but flavor is art. Jacob has a few key secrets. These tips separate good cookies from truly great ones. Trust me on these small changes. They make a huge difference in the final texture.
We want texture control above all else. Ingredient choices also play a big role here. Follow these final pointers for success. If you are looking for other great baking projects, check out our blog.
Why Chilling the Dough Matters
I mentioned this before, but it bears repeating. Chilling the dough is essential. It stops your cookies from spreading wide. This keeps them beautifully thick. Cold dough also lets the flour fully hydrate. This deepens the flavor profile immensely. Don’t skip this step!
Achieving Bakery Style Appearance
Want that professional look? It’s easy. When you scoop the dough balls, take a few extra chips. Press those right onto the top surface. They melt nicely during baking. This gives you those lovely pools of chocolate. It looks amazing coming out of the oven.
Frequently Asked Questions About This chocolate chip cookie Recipe
I know you might have questions before you start baking. That’s normal when trying a new signature recipe. We’ve gathered the most common queries here. These answers help you nail that perfect texture.
Think of this as our final consultation before you hit the oven. Let’s make sure your batch is amazing. For more baking inspiration, see our protein-packed chocolate chip cookies.
Can I skip browning the butter in this chocolate chip cookie recipe?
You technically can skip it. Just melt the butter instead. But you lose the signature flavor. Browning the butter gives our chocolate chip cookie its deep, nutty profile. Skipping it makes a standard cookie. We aim for bakery style here!
How do I make these chocolate chip cookies flatter or crispier?
To get flatter, crispier edges, bake a little longer. Try adding one or two extra minutes. Watch them closely though! For flatter dough, use room temperature eggs. Also, slightly soften the chilled dough before scooping.
What is the best way to store leftover chocolate chip cookies?
Store them in an airtight container. Keep them at room temperature. They stay soft for about four days this way. For longer storage, freeze the baked cookies. They reheat beautifully in the microwave for a few seconds. Proper food storage is important for safety.
Storing and Reheating Your Finished chocolate chip cookie Batch
Once these beauties cool, you need to store them right. Keep your finished chocolate chip cookie batch airtight. Room temperature is just fine. Don’t refrigerate them!
Want that fresh-from-the-oven feel later? I have a trick. Microwave one cookie for about 10 seconds. This revives the gooey center perfectly. Enjoy your leftovers!
Share Your Taste Portfolio Project
Did you bake this amazing chocolate chip cookie?
I really hope you loved the process.
Come back and leave a rating below. Tell us how thick they turned out!
Share your photos with us online. Show off your finished project!
Print3 Gooey chocolate chip cookie Secrets Guaranteed
Bake bakery-style chocolate chip cookies that are thick, chewy, and have gooey centers using Jacob’s perfected brown butter technique. This recipe delivers superior, crowd-pleasing results.
- Prep Time: 20 minutes
- Cook Time: 13 minutes
- Total Time: 2 hours 33 minutes (includes required chilling time)
- Yield: About 18 large cookies
- Category: Dessert
- Method: Baking
- Cuisine: American
- Diet: Vegetarian
Ingredients
- 1 cup (2 sticks) unsalted butter
- 1 cup packed light brown sugar
- 1/2 cup granulated sugar
- 2 large eggs
- 1 teaspoon vanilla extract
- 2 1/4 cups all-purpose flour
- 1 teaspoon baking soda
- 1/2 teaspoon salt
- 1 1/2 cups semi-sweet chocolate chips
Instructions
- Melt the butter in a saucepan over medium heat. Cook, swirling often, until the butter foams, then brown bits form at the bottom and it smells nutty. Immediately pour the brown butter into a heatproof bowl and let it cool slightly.
- In a large bowl, whisk together the cooled brown butter, brown sugar, and granulated sugar until smooth.
- Beat in the eggs one at a time, then mix in the vanilla extract.
- In a separate bowl, whisk together the flour, baking soda, and salt.
- Gradually add the dry ingredients to the wet ingredients, mixing on low speed until just combined. Do not overmix.
- Fold in the chocolate chips by hand.
- Cover the dough and chill in the refrigerator for at least 2 hours, or preferably overnight. This step is key for thickness and flavor.
- Preheat your oven to 375°F (190°C). Line baking sheets with parchment paper.
- Scoop the dough into balls (about 3 tablespoons each) and place them 2 inches apart on the prepared sheets. For extra bakery style, press a few extra chocolate chips onto the tops of the dough balls.
- Bake for 10 to 13 minutes. The edges should be set, but the centers should still look slightly soft and gooey.
- Let the cookies cool on the baking sheet for 5 minutes before transferring them to a wire rack to cool completely.
Notes
- Chilling the dough is essential for achieving a thick cookie that doesn’t spread too much.
- Use high-quality chocolate chips or chopped chocolate bars for the best melt and flavor.
- If you prefer crispier edges, bake for an additional 1-2 minutes, watching closely.
Nutrition
- Serving Size: 1 cookie
- Calories: Approx. 250
- Sugar: Approx. 20g
- Sodium: Approx. 110mg
- Fat: Approx. 14g
- Saturated Fat: Approx. 8g
- Unsaturated Fat: Not specified
- Trans Fat: Not specified
- Carbohydrates: Approx. 30g
- Fiber: Approx. 1g
- Protein: Approx. 3g
- Cholesterol: Approx. 50mg