

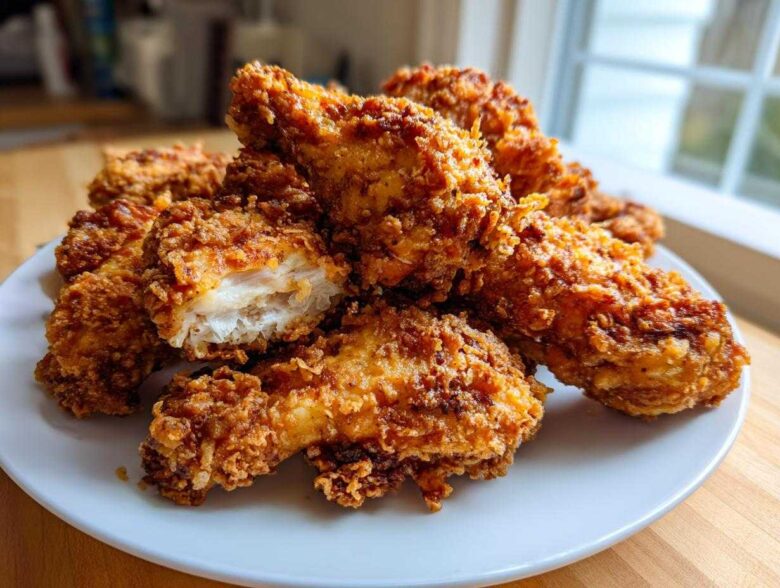
If you’re anything like me, you’ve spent years trying to unlock the secret to restaurant-quality crunch. You know the sound—that sharp, satisfying shatter when you bite into perfect fried chicken wings? Well, forget every floury, soggy, or dry batch you ever made because Jacob finally cracked the code. This method, which relies heavily on a crucial double-fry technique, guarantees you get those shatteringly crispy fried chicken wings with the perfectly juicy inside every single time. Seriously, watching Jacob manage the oil temperature is like watching an artist; his confidence in making the best homemade fried chicken wings is contagious, and now, that confidence is yours too! Looking for more of our collaborative projects? Check out our main Recipe Portfolio for all our tested favorites.
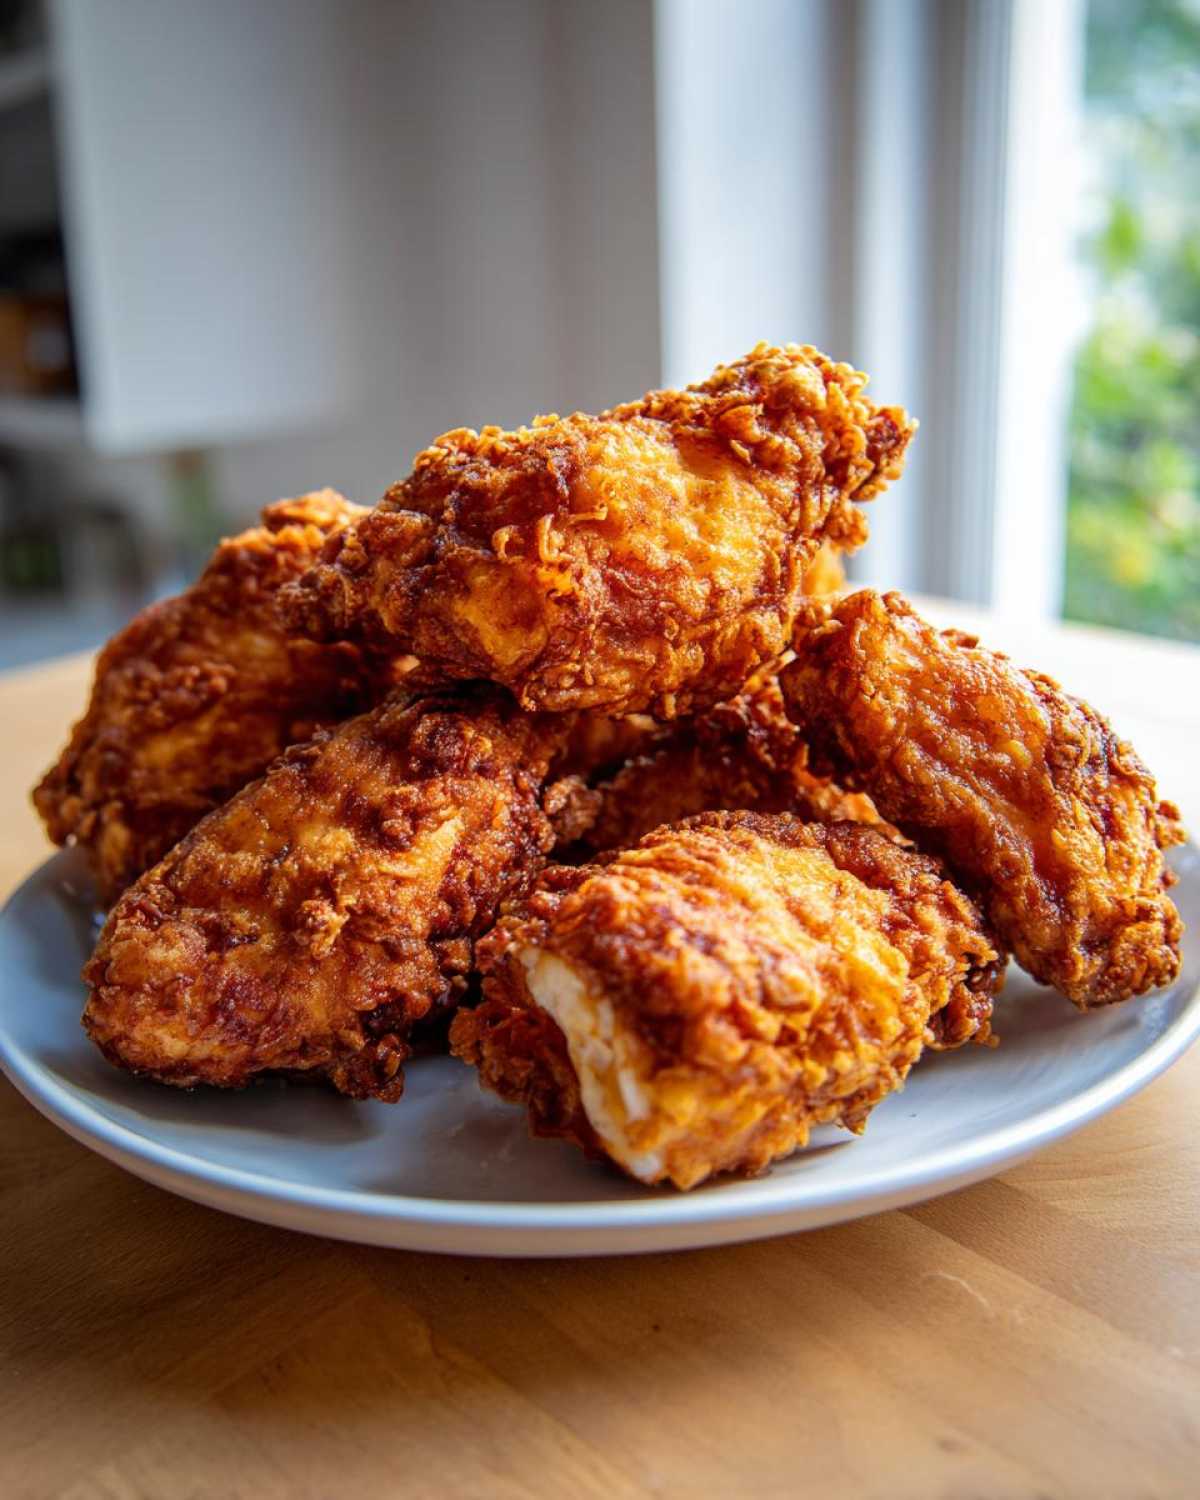
Why You Will Make the Best Fried Chicken Wings Every Time
I know you’ve had those moments of sadness when your wings looked great coming out of the fryer, only to deflate into sad little pillows of disappointment five minutes later. That won’t happen here! We designed this recipe specifically to tackle those problems head-on. When you follow Jacob’s method for these fried chicken wings, you are setting yourself up for success.
- Guaranteed Restaurant Style Fried Wings Crunch
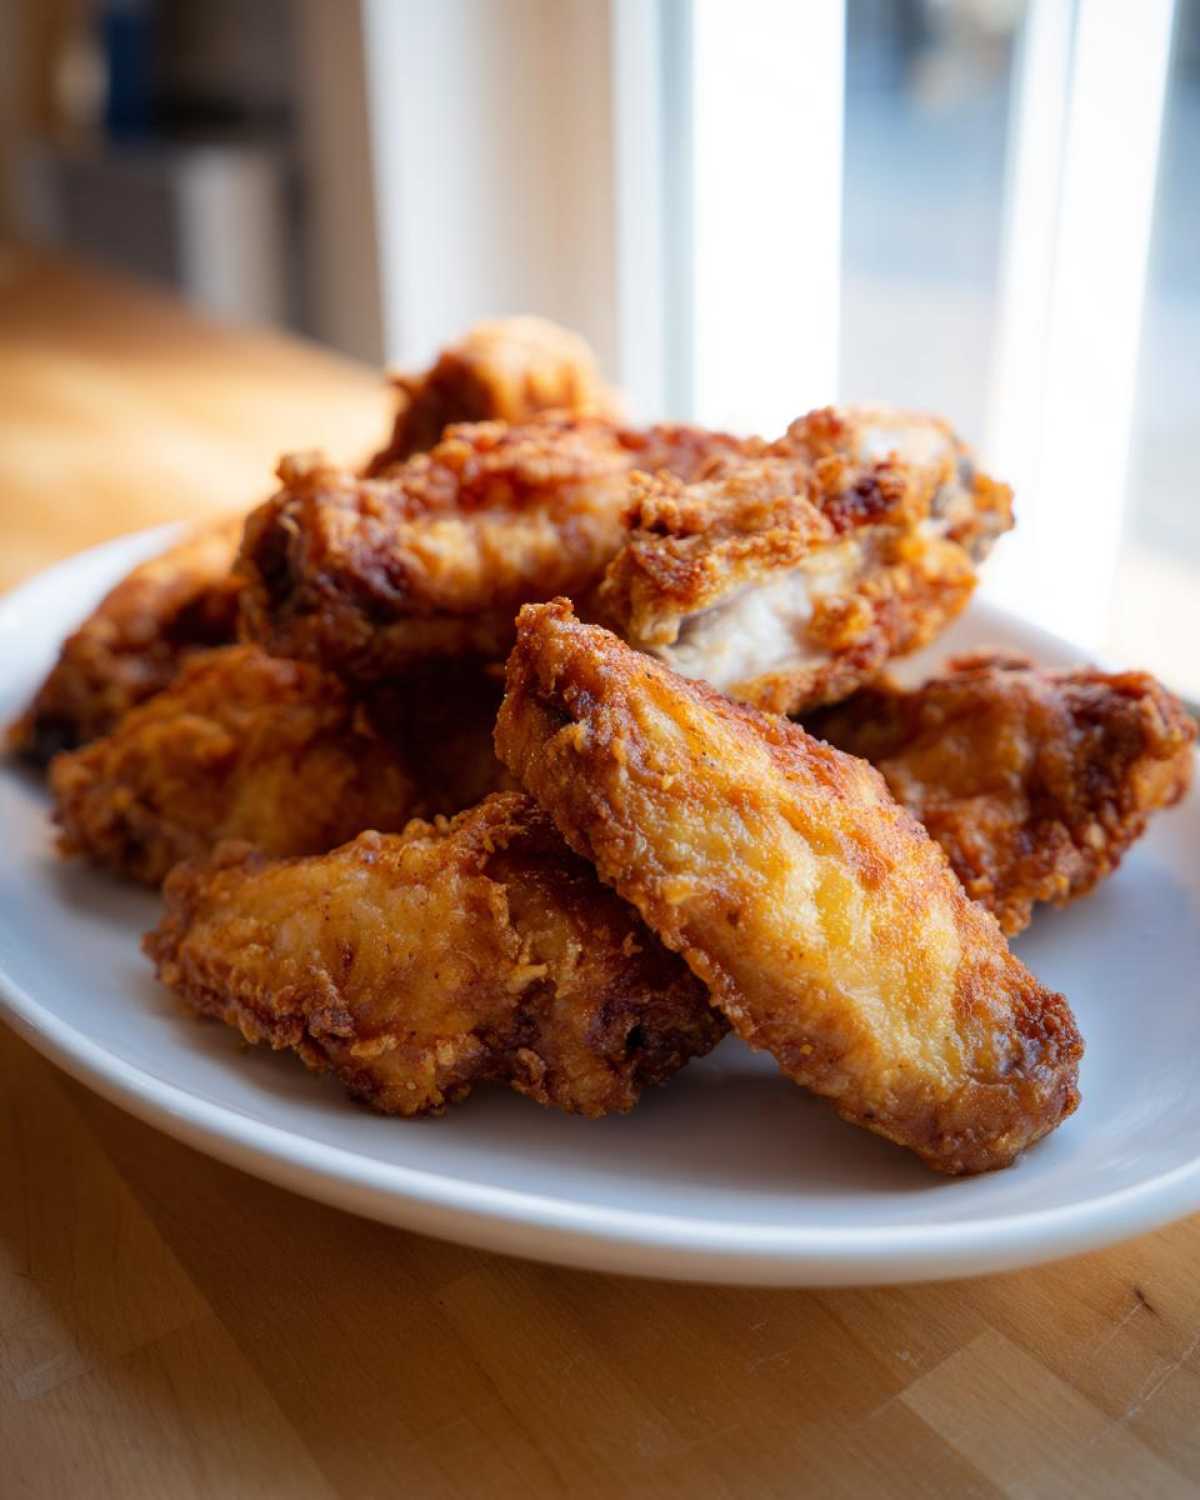
It all comes down to the double fry, folks! This patient, two-step process renders the fat perfectly and locks in that shatteringly crisp crust you normally only get at your favorite spot.
- Juicy Inside Crispy Outside Wings Texture
The buttermilk and egg binder doesn’t just help the coating stick; it creates a protective layer that seals in all that lovely chicken moisture while the cornstarch in the dredge works overtime to make sure you get those juicy inside crispy outside wings.
- Perfectly Seasoned Fried Chicken Wings Base
We kept the initial seasoning simple but bold. It’s the perfect foundation! You can toss these babies in anything later—Buffalo, Asian glaze—it doesn’t matter, the flavor base is already spot on.
Essential Ingredients for Ultimate Crispy Fried Chicken Wings
Okay, the planning phase! I learned the hard way that cutting corners on ingredients, especially when aiming for these ultra-crispy fried chicken wings, is a disaster waiting to happen. This list is the blueprint Jacob swears by. Make sure you have everything measured and ready to go before the oil even thinks about heating up. This prep ensures our dredging process is clean and fast!
The Chicken and Oil
You need about 3 lbs of chicken wings. Make sure you separate them into flats and drumettes—that gives you consistent pieces that cook evenly. For safety and success in deep frying, you must use at least 4 cups of a neutral oil like vegetable or peanut oil. It has to be enough oil to completely submerge the wings later, so use a heavy-bottomed pot!
Wing Coating Secrets: Dry Dredge Components
This is where the magic crust comes from! You need 1 cup of all-purpose flour, but the real game-changer for that shatteringly crisp texture is adding in a full 1/2 cup of cornstarch. Don’t skip that! Then, we season heavily but smartly: 1 tablespoon salt, 1 teaspoon black pepper, 1 teaspoon garlic powder, 1 teaspoon onion powder, 1/2 teaspoon paprika, and just a pinch of cayenne if you want a little kick. These are our wing coating secrets!
Buttermilk and Egg Binder
For the wet mix that helps everything adhere, keep it simple but effective. We use 2 large eggs and 1/2 cup of buttermilk. The buttermilk slightly tenderizes the meat at the surface, and when mixed with the egg, it creates the perfect sticky layer for that dry dredge to cling to. It’s amazing how well this combination works to hold that coating on!
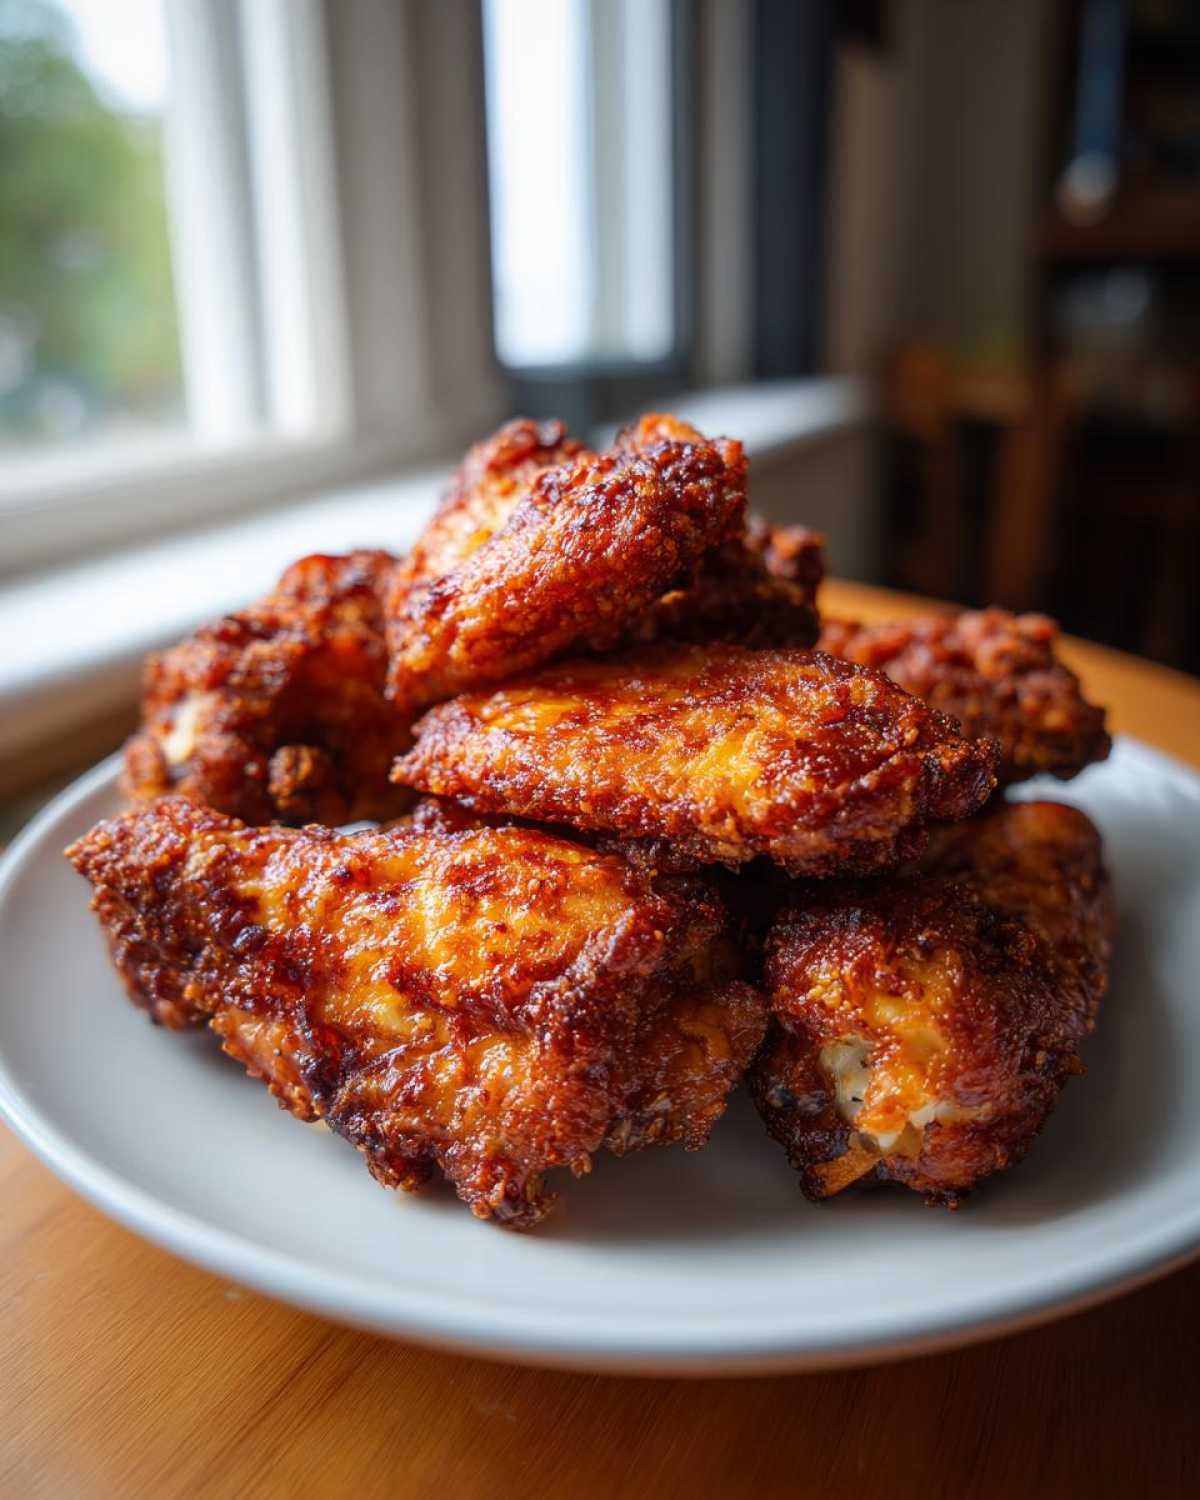
If you want to see what we pair with these wings, I recently perfected a recipe for a super easy garlic butter that is divine for tossing post-fry! Check out my easy homemade garlic butter recipe.
Deep Fried Wings Recipe How To: Step-by-Step Instructions
This is it—the part where planning meets execution! Making truly great fried chicken wings comes down to respecting the process, especially temperature control. Safety first, always! Since Jacob is the lead artist here, he insists on setting up a little assembly line. Trust me, taking these steps seriously is the secret to keeping the outside crunchy and the inside tender.
Preparation: Drying and Mixing the Coating
The first rule for crispiness? Your wings must be bone dry! Take your separated wings and pat them aggressively dry with paper towels. I mean it—get every drop of surface moisture off! Then, set up your stations: one dish for the flour dredge and one shallow bowl for your egg/buttermilk binder. When you’re ready, dip each wing first into the wet mix, then press it firmly and completely into the dry dredge. Make sure that coating really grabs on!
The First Fry: Cooking Through to Perfection
Now for the hot oil! Heat your oil safely to 325 degrees Fahrenheit (160 Celsius). We fry in batches—never overcrowd the pot, or the oil temperature will drop and you’ll get soggy wings! Fry for about 6 to 7 minutes. They should be cooked through and just starting to turn pale gold. Pull them out and let them rest on a wire rack for a full 10 minutes. This resting period is vital; it redistributes the juices and sets the crust slightly. It’s a major secret for how to keep fried wings crispy!
The Second Fry: Achieving Maximum Crunch
Okay, crank up that heat! Increase the oil temperature to 375 degrees Fahrenheit (190 Celsius). Now, quickly return those rested wings to the hot, hot oil. We are only frying them for 2 to 3 minutes here. This second pass is all about color and creating that deep, audible crunch. They should transform into a beautiful deep gold color almost instantly. This is what separates the good fried chicken wings from the GREAT ones!
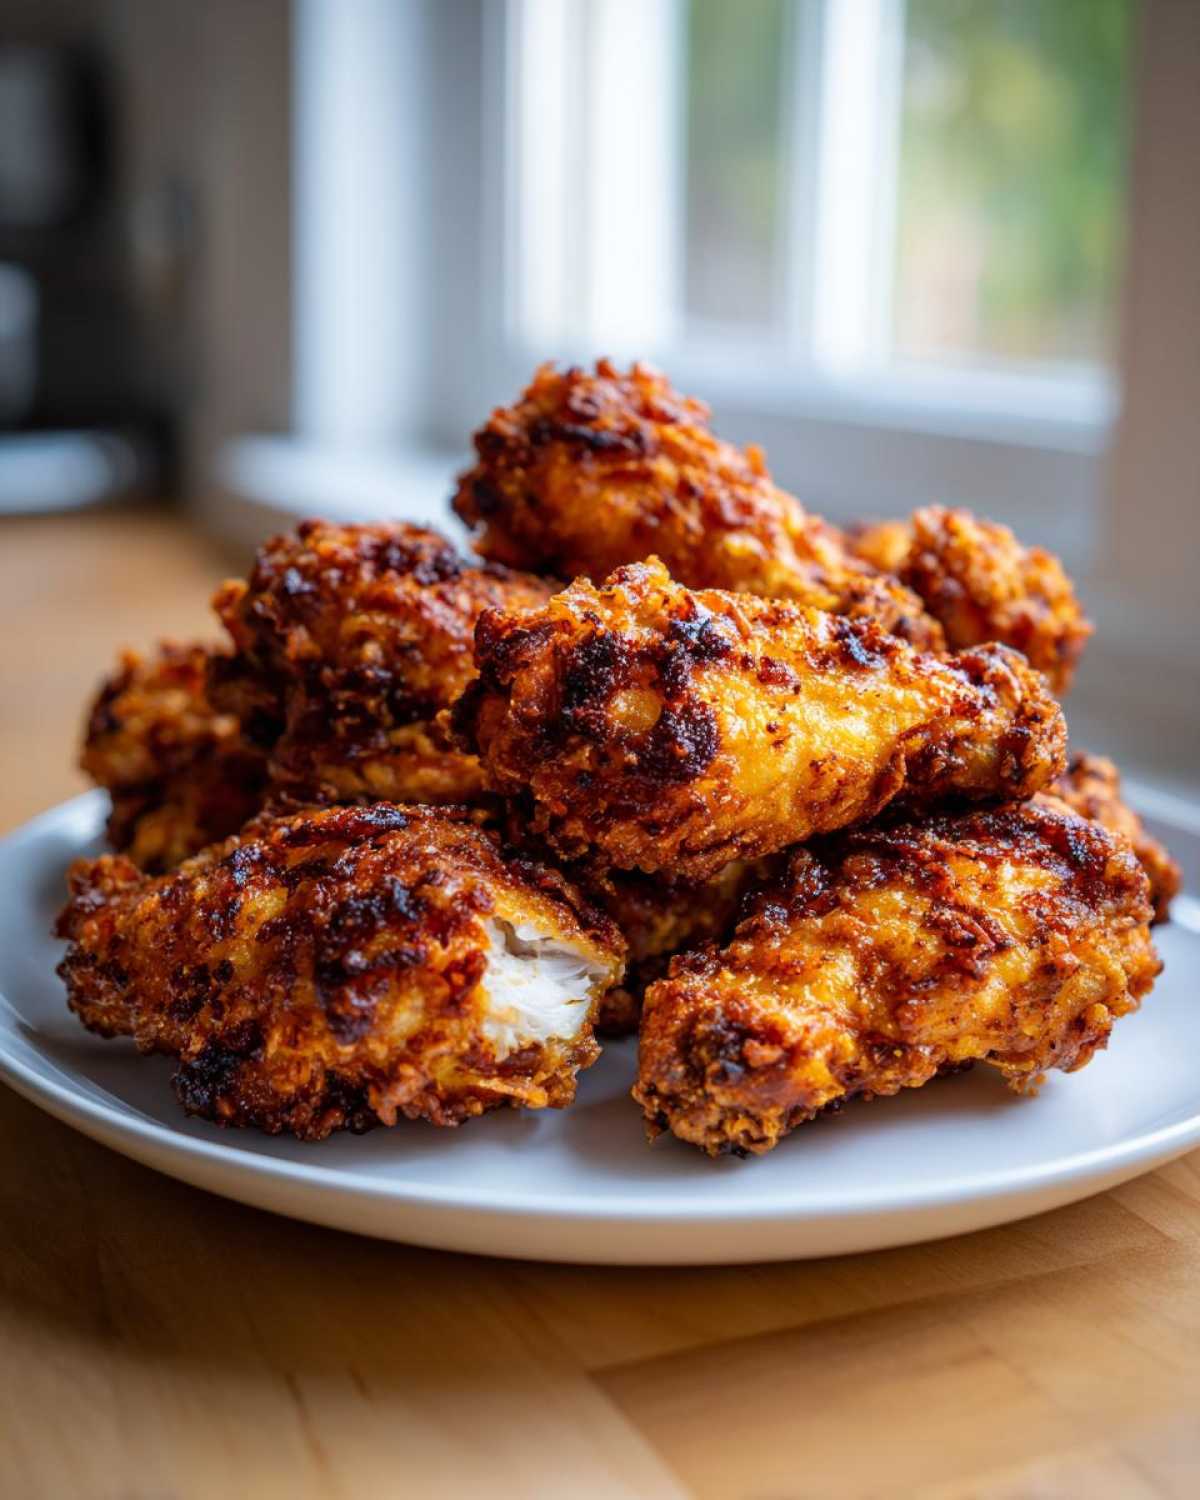
Final Draining and Seasoning
As soon as they look perfect and deep golden, get them out of the oil immediately! Don’t let them sit in the fryer. Place them right back onto a clean wire rack set over a baking sheet. This keeps the bottoms from steaming. Sprinkle them right away with a little extra salt while they’re screaming hot. If you want to see how we pair fried things with baked goodness, check out my crispy southern fried cornbread recipe—it’s a perfect Southern match!
Tips for Success: Mastering Your Fried Chicken Wings
We’ve nailed the method, but honestly, even the best blueprint needs a little tweaking depending on your kitchen environment, right? Jacob and I found a few extra little secrets over the years that really elevate these fried chicken wings from home-style to absolute perfection. These aren’t hard new steps, just little nudges that make a huge difference in that final crunch factor.
Ingredient Adjustments for Extra Crispiness
If you are like me and occasionally obsess over getting just a little more crunch—and who isn’t when making best homemade fried chicken wings?—here is your secret weapon. Go back to your dry dredge mixture and whisk in 1 teaspoon of baking powder. Don’t use more than that! The baking powder reacts with the hot oil to create microscopic bubbles in the crust, making the coating even more light and shatteringly crisp. It’s a small adjustment, but it makes the exterior stand up beautifully.
Oil Management and Batch Frying
This is where I used to always mess up when I used to just eyeball things! Oil temperature is everything we’ve talked about, but I have to stress this again: DO NOT OVERCROWD THE POT. When you dump too many cold wings into 375 degrees F oil, the temperature crashes hard, and that oil soaks into the crust instead of frying it instantly. That’s how you get greasy wings! Work in small batches, giving each batch plenty of space. Allow the oil temperature time to recover between batches. It might add five extra minutes to your total cook time, but it’s worth it for truly crispy results.
If you’re looking for side dishes that match this Southern-inspired crunch, you absolutely have to try my buttermilk cornbread recipe. It soaks up sauce beautifully!
Variations: From Spicy Fried Chicken Wings to Chinese Style Fried Wings
Once you’ve mastered this base recipe for fried chicken wings, the possibilities are endless! We designed this dredge so it stands up perfectly, whether you want to keep it mild and savory or turn up the heat. It’s all about what you do *after* they come out of that second, glorious fry. Jacob loves experimenting with sauces, and these methods give you the best starting point for any flavor profile you can dream up.
Creating Spicy Fried Chicken Wings
If you want spicy fried chicken wings, the easiest way is *not* to mix the cayenne into the dry dredge, though you can if you like a mild background heat. For real, satisfying heat, wait until the wings have drained from that second fry. Toss them immediately while they are piping hot in a classic Buffalo sauce or your favorite hot sauce mixture. The heat helps the sauce cling perfectly to that crunchy exterior!
Flavoring for Chinese Style Fried Wings
To hit that flavor profile of Chinese Style Fried Wings we see all over Pinterest, you need a sticky, savory coating. Right after that second fry, toss the wings lightly in a homemade teriyaki or a simple soy, ginger, and garlic sauce. I have an absolutely killer recipe for homemade teriyaki sauce that works perfectly as a glaze for that takeout taste. You can find my homemade teriyaki sauce recipe on the site if you want to try it!
Serving Suggestions for Your Party Wing Recipes
So, you’ve made the absolute best fried chicken wings known to mankind. Now what? You need things to dip them in, obviously! Since these are perfect game day chicken wing recipes or wonderful easy fried chicken wings appetizers, plating them correctly makes all the difference.
Jacob insists that perfectly crispy wings need a cool, creamy counterpart. We always have a big bowl of ranch or blue cheese dressing ready to go. But if you’re looking for something warm and cheesy to scoop up any leftover crispy bits? You absolutely must try my easy 3-ingredient chili cheese dip recipe. It’s decadent and pairs surprisingly well with spicy wings!
For vegetable crunch, skip the sad celery stalks and go for some fresh, crisp carrots and maybe some crunchy pickles. Serving them piled high on a big platter makes them look like the star of the show they truly are!
Storage and Reheating Instructions for Fried Chicken Wings
I’ll be honest, these fried chicken wings disappear so fast at our house that usually, there are zero leftovers! But when we *do* manage to hide a few—maybe just to test Jacob’s theory on how long they really stay crispy—storage is everything. If you’re planning these for a big party, you need a strategy for keeping them amazing for the next day!
The absolute number one destroyer of crispiness is steam. If you seal them up hot in plastic, you are basically investing in soggy sadness. So, step one for any leftovers is cooling them completely on a wire rack—not a plate—to let air circulate underneath. If you don’t let them cool down completely, the residual heat will steam them right in the container.
Storing After the Double Fry
Once they are totally, completely cool, layer them into an airtight container, but use parchment paper or paper towels between the layers. This keeps them from sticking together and absorbs any fridge condensation. They’ll keep nicely in the fridge for about three or four days, but honestly, that amazing crunch starts fading after day two unless you reheat them correctly.
The Crispy Reheat Technique
Tossing them in the microwave? Please don’t! That guarantees limp skin. Reheating is where we bring back that restaurant-quality crunch we worked so hard for. You have two main options, both relying on dry heat to evaporate any lingering moisture in the crust.
My favorite way, and Jacob’s too, is using the oven or, even better, an air fryer. If you use an oven, preheat it to at least 400 degrees Fahrenheit. Lay the wings out in a single layer on a baking sheet lined with foil (for easy cleanup!). Bake them for about 8 to 10 minutes. If you have an air fryer, even better—set it to 380 degrees F and let them sit for just 4 to 6 minutes. Trust me, that dry blast of hot air crisps up the coating like they just came out of the fryer the first time! If you need a side dish that works well with reheating methods, you have to try my air fryer baked potato recipe—it’s the perfect partner!
Frequently Asked Questions About Deep Fried Wings Recipe How To
I always get so many questions when people try to replicate Jacob’s legendary fried chicken wings—which is great! That tells me you are ready to move past just snacking and start mastering your appetizers. Over the years, we’ve worked out the kinks on a few common roadblocks, so let me clear those up for you right now. We want your results to be as reliably crispy as ours!
Can I skip the second fry when making fried chicken wings?
Oh, you *can*, but please don’t, at least not if you’re aiming for that truly satisfying crunch! The first fry (at 325°F) is for cooking the meat through so it gets nice and juicy inside. The second fry (at 375°F) is the crucial step where the coating immediately dehydrates, puffs up, and turns that perfect deep golden color. Skipping it means you’ve made good, cooked wings, but you miss out on the shatteringly crispy texture we are famous for!
What is the best oil to use for deep-fried wings?
This is a safety and flavor issue all in one! You need an oil with a high smoke point because we use high temperatures, especially for that second fry. I lean heavily on vegetable oil or peanut oil. Canola works too. You want something that can handle the heat without breaking down or smoking violently. Skip the delicate olive oils for this project! The oil you choose is key to achieving that golden, non-greasy finish on your deep fried wings recipe.
Can I prepare the coating mixture ahead of time?
This is a great question for folks prepping for big party wing recipes! You can absolutely mix your dry dredge ingredients (flour, cornstarch, spices) ahead of time. Keep it in an airtight container on the counter or in the fridge. However, the wet mixture (eggs and buttermilk) must be mixed right before you start dredging. If the eggs sit too long in the buttermilk, the consistency changes, and it won’t adhere to the chicken skin as effectively. We want the absolute best adhesion possible!
Speaking of great sides for your wings, if you’re hosting a crowd, you need to check out my recipe for chicken salad chick grape salad. It’s always the first thing gone!
Recipe Timing and Estimated Nutrition for Fried Chicken Wings
When Jacob and I plan our menu, we always look at the timing first, especially when we are making appetizers for a big event. It’s all about getting those beautiful, crispy fried chicken wings to the table hot and ready without stressing out! Having the blueprint laid out makes a huge difference in keeping our kitchen studio running smoothly.
Timing Breakdown
This recipe might seem complicated because of the double-fry method, but when you break down the hours, it’s surprisingly fast! We work efficiently, so you can get these wings ready for your Game Day Chicken Wing Recipes lineup.
- Prep Time: 20 minutes (This is mostly patting the wings dry and mixing your dredge!)
- Cook Time: 20 minutes (That’s 7 minutes for the first fry and 3 minutes for the second fry, repeated in batches.)
- Total Time: 50 minutes (Don’t forget that 10-minute crucial rest period in between!)
If you’re looking for another recipe that fits perfectly into a tight 30-minute window, check out my honey garlic chicken recipe. It’s another fast favorite!
Nutritional Disclaimer
Now, let’s look at the numbers. We’ve calculated the estimated nutrition based on the specified ingredients—that means 4 servings of 4 wings each, seasoned lightly as written. But listen, because these are homemade, deeply flavorful fried chicken wings, the final count can swing based on your oil absorption and how much sauce you decide to toss them in later.
- Serving Size: 4 wings
- Calories: 450
- Protein: 30g
- Fat: 30g
- Carbohydrates: 15g
Please remember that these nutritional values are just estimates calculated from the listed ingredients only. They do not account for any extra seasonings added during the final toss or dips you serve alongside them. We focus on flavor first, but it’s good to have a general idea!
PrintUltimate Crispy Deep Fried Chicken Wings: Juicy Inside, Restaurant Crunch
Learn Jacob’s method for making the best homemade fried chicken wings. We focus on achieving shatteringly crispy skin using a simple dredge and double-fry technique, keeping the meat juicy inside. These are perfect for game day or any party appetizer.
- Prep Time: 20 min
- Cook Time: 20 min
- Total Time: 50 min
- Yield: 4 servings
- Category: Appetizer
- Method: Deep Frying
- Cuisine: American
- Diet: Low Lactose
Ingredients
- 3 lbs chicken wings (flats and drumettes separated)
- 1 cup all-purpose flour
- 1/2 cup cornstarch
- 1 tablespoon salt
- 1 teaspoon black pepper
- 1 teaspoon garlic powder
- 1 teaspoon onion powder
- 1/2 teaspoon paprika
- 1/4 teaspoon cayenne pepper (optional, for heat)
- 2 large eggs
- 1/2 cup buttermilk
- 4 cups vegetable oil or peanut oil, for deep frying
Instructions
- Prepare the chicken: Pat the chicken wings completely dry using paper towels. This step is key for crispiness.
- Mix the dry dredge: In a shallow dish, whisk together the flour, cornstarch, salt, pepper, garlic powder, onion powder, paprika, and cayenne pepper.
- Mix the wet mixture: In a separate bowl, whisk the eggs and buttermilk together until combined.
- Dredge the wings: Dip each wing first into the wet mixture, letting excess drip off. Then, press the wing firmly into the dry dredge mixture, ensuring it is fully coated. Set the coated wings on a wire rack.
- First Fry (Cooking): Heat the oil in a deep, heavy-bottomed pot or deep fryer to 325 degrees Fahrenheit (160 degrees Celsius). Carefully place the wings into the hot oil, working in batches to avoid overcrowding. Fry for 6 to 7 minutes until the wings are cooked through but still pale golden. Remove the wings and place them back on the wire rack. Let them rest for at least 10 minutes. This resting period allows the internal moisture to redistribute and prepares the crust for the final crisping.
- Second Fry (Crisping): Increase the oil temperature to 375 degrees Fahrenheit (190 degrees Celsius). Return the rested wings to the hot oil in batches. Fry for 2 to 3 minutes until they are deep golden brown and extremely crispy.
- Drain and serve: Remove the wings from the oil and place them immediately on a clean wire rack set over a baking sheet to drain excess oil. Season lightly with extra salt immediately after frying. Serve hot with your favorite dipping sauce.
Notes
- For extra crispy skin, substitute 1 teaspoon of baking powder into the dry dredge mixture.
- If you prefer a spicy fried chicken wings flavor, toss the finished wings immediately after the second fry in your favorite Buffalo sauce.
- To keep wings crispy longer for a party, place them on a wire rack in a 200 degree Fahrenheit oven after frying until you are ready to serve.
Nutrition
- Serving Size: 4 wings
- Calories: 450
- Sugar: 1
- Sodium: 550
- Fat: 30
- Saturated Fat: 8
- Unsaturated Fat: 22
- Trans Fat: 0
- Carbohydrates: 15
- Fiber: 0
- Protein: 30
- Cholesterol: 110