

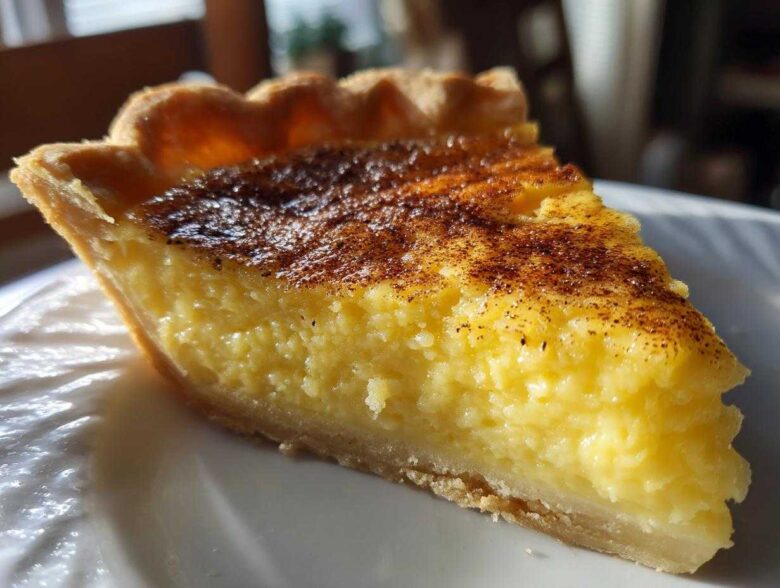
There’s just something about those truly old fashioned desserts that hits different, isn’t there? They don’t have fancy layers or complicated techniques, but they taste exactly like comfort and reliability. For me, as the planner obsessed with lists, achieving that perfect, velvety texture in an egg custard used to feel like pure guesswork. I’d research every recipe out there, trying to figure out the magic trick for a smooth finish, especially in a pie!
Well, Jacob finally walked me through his family’s secret, and now I’m thrilled to share our Old Fashioned, Fail-Proof Baked Egg Custard Pie. This isn’t just another recipe; it’s a completed project—a guaranteed success we add straight to our Taste Portfolio. We’ve taken the guesswork out so you can skip the frustration and dive right into making a truly creamy egg custard filling. Trust me, pairing my planning with his intuition gets the job done every time!
This simple custard recipe is what I turn to when I need something reliably delicious without spending all day in the kitchen. It’s perfect for beginners, and honestly, it’s quicker than most cookie recipes. Head over and check out our guide for the best soft chewy classic snickerdoodles if you need a cookie counterpart for dessert night!
Why This Old Fashioned Egg Custard Pie is Your New Go-To
When I was starting out, any recipe labeled ‘classic’ felt intimidating. But this egg custard pie breaks that barrier down completely! It’s an old fashioned dessert that tastes like tradition but is engineered for modern, busy kitchens. You get that cozy, nostalgic flavor without any of the usual baking drama.
- It is genuinely fail-proof—I promise! We even have a guide on fail proof baking tips that helped us perfect this.
- The result is always a beautiful, perfectly set dessert.
- It uses standard pantry staples, so you don’t need a special shopping trip.
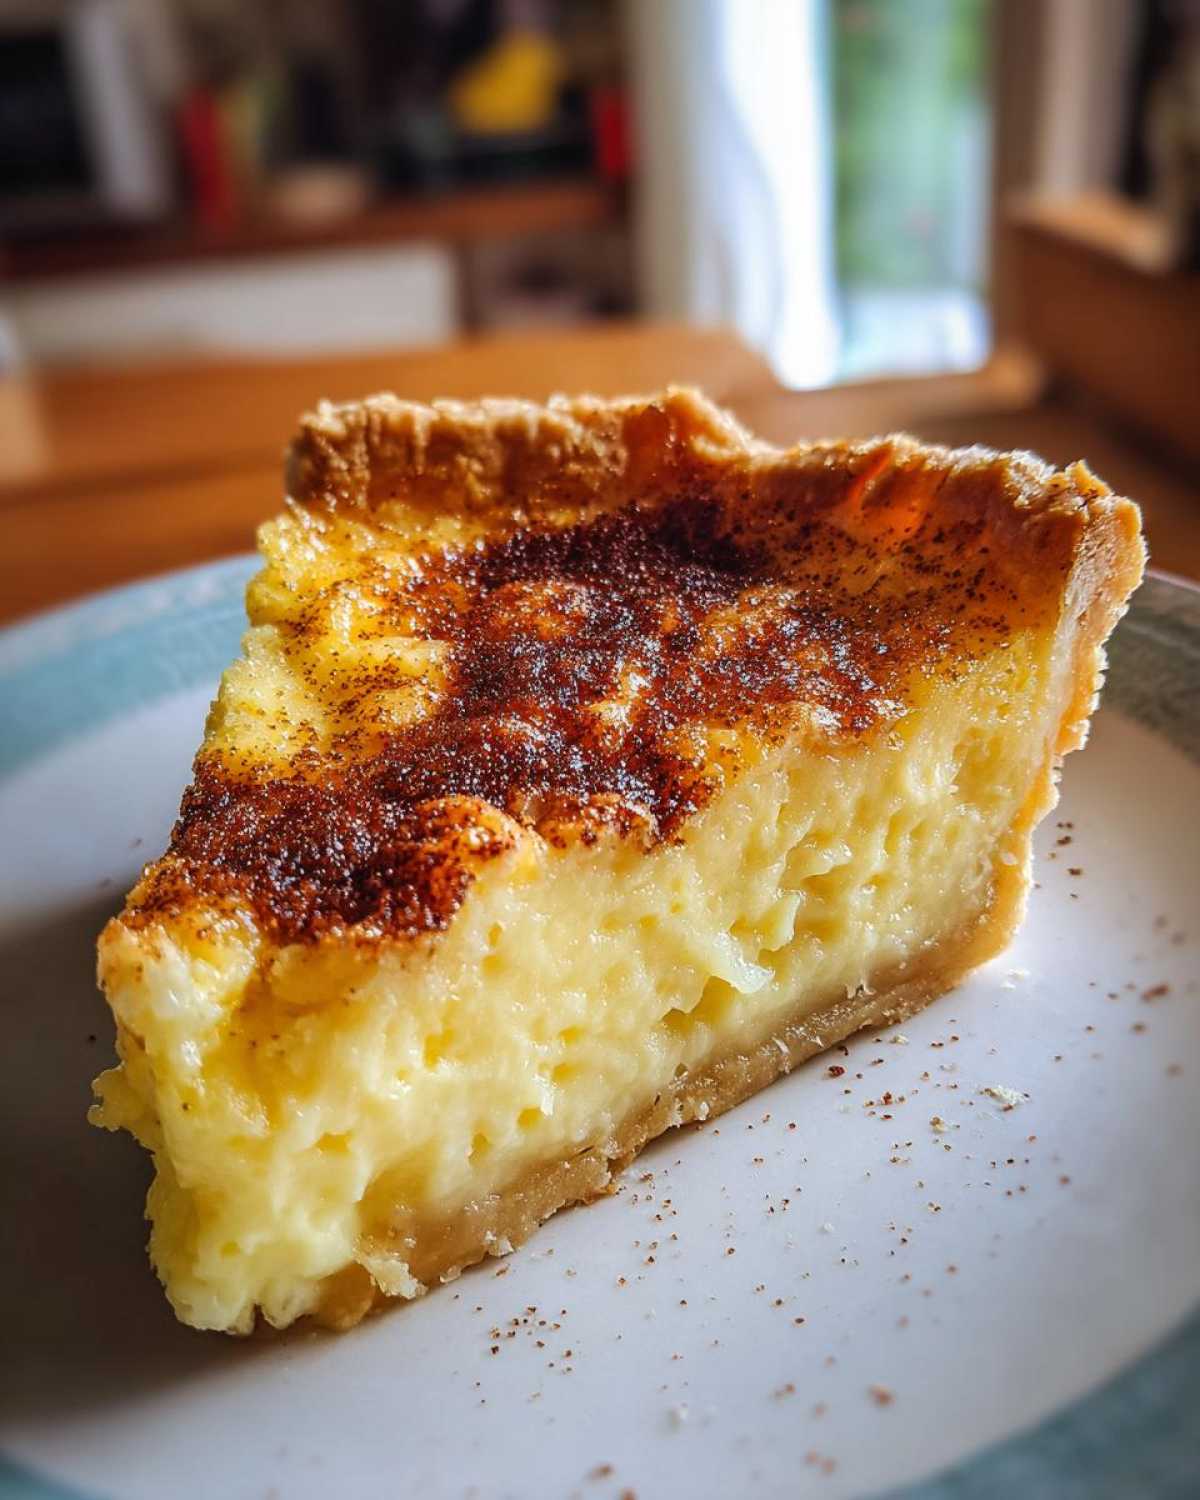
Achieving the Perfect Creamy Egg Custard Filling
If you dream about that velvety smooth texture, this is where we deliver. The secret to a perfect creamy egg custard filling is simple: we don’t introduce air. We gently whisk everything, and then, the most important step—we strain it! That straining action sifts out any tiny bits of unbeaten egg white or bubbles that would look like cracks later. It’s the ultimate guarantee for smoothness.
Simple Custard Recipe for Beginners
Honestly, if you can measure milk and crack an egg, you can make this. It’s truly an easy egg custard recipe! We’re only dealing with about five core ingredients, aside from the crust. There’s no tempering, no complicated water bath needed unless you want extra insurance (we cover that later!), and the active prep time is barely anything. It’s my favorite kind of project: quick start, amazing finish!
Ingredients for Your Fail-Proof Egg Custard
Okay, time to look at what we need for this classic baked custard. Because this is such a simple recipe, the quality of what you put in really shines through. Jacob always jokes that if I planned my grocery list this carefully for other projects, our pantry would look like a magazine spread!
For the filling, you’ll need 3 large eggs, 1/2 cup of good old granulated sugar, and 2-2/3 cups of whole milk. Don’t skip the salt—just 1/4 teaspoon cuts the sweetness perfectly—and make sure you have 1/4 teaspoon of ground nutmeg ready for mixing, with extra for that final sprinkle on top. And, of course, the flavor backbone: 1 teaspoon of pure vanilla extract. These are the heart of our homemade egg custard!
I’ve linked to our recipe for fluffy old-fashioned pancakes if you’re looking for another cozy recipe to try next week!
Pie Crust Preparation Note
Here’s a crucial detail for this custard pie from scratch method: You need one unbaked 9-inch pie crust. That’s right, we don’t fuss with blind baking or pre-baking for this traditional custard dessert. We pour the liquid egg custard right into the shell, raw crust and all. This is part of why it’s so easy! The oven handles setting both the crust and the filling beautifully together.
How to Prepare the Classic Baked Custard
Alright, deep breath! This is where Jacob’s intuitive kneading meets my meticulous instruction manual. Don’t worry, even though it’s a full list, this process for making the egg custard is remarkably straightforward. First things first, we get the oven ready: preheat it to 350°F and make sure that center rack is where you want it, ready to go.
Next, take your 9-inch pie crust—remember, unbaked—and set it right in the plate. We’re going to mix the filling in a separate bowl. Now, listen closely, because this is where we earn that ‘fail-proof’ title. In a medium bowl, we only lightly whisk the 3 large eggs. I mean *lightly*. We just want the yolks and whites combined. If you get all foamy, you’re inviting cracks later on!
Once they’re combined, gently whisk in your sugar, salt, and that 1/4 teaspoon of nutmeg until the sugar starts feeling like it’s dissolving. Then, slowly stream in that whole milk and pure vanilla extract. Whisk gently until everything looks unified. This gentle approach is the secret to our smooth custard technique.
The Importance of Gentle Whisking for Your Egg Custard
I used to whisk everything like I was fighting a battle! But Jacob showed me that incorporating too much air when making any egg custard is the enemy of a smooth pie. Think of it like shaking a soda bottle instead of gently stirring it. All those tiny bubbles you create get trapped. When the pie bakes, those bubbles expand, and what do they do? They pop near the surface, leaving those awful, dry little cracks on your beautiful dessert. We want velvety, not cratered!
Baking and Setting the Homemade Egg Custard
Before pouring the liquid, strain that entire mixture through a fine-mesh sieve. Seriously, don’t skip that! It catches any lumps and gets rid of extra air—pure professionalism for this homemade egg custard. Carefully pour the strained mixture into the unbaked shell. Sprinkle a touch more nutmeg over the top so it looks gorgeous when it comes out.
Bake it for about 40 to 50 minutes. You’ll know it’s done when the edges look set, but if you gently shake the pie plate, the very center still has a tiny bit of wobble—like firm gelatin. Let it cool on a rack for a solid two hours. Then, it absolutely MUST chill in the fridge for at least four hours, or better yet, overnight. This cooling time is essential; it finishes setting that filling into pure silkiness. If you want to see another amazing, time-saving project we perfected, check out how we make ultimate creamy shrimp crab seafood lasagna!
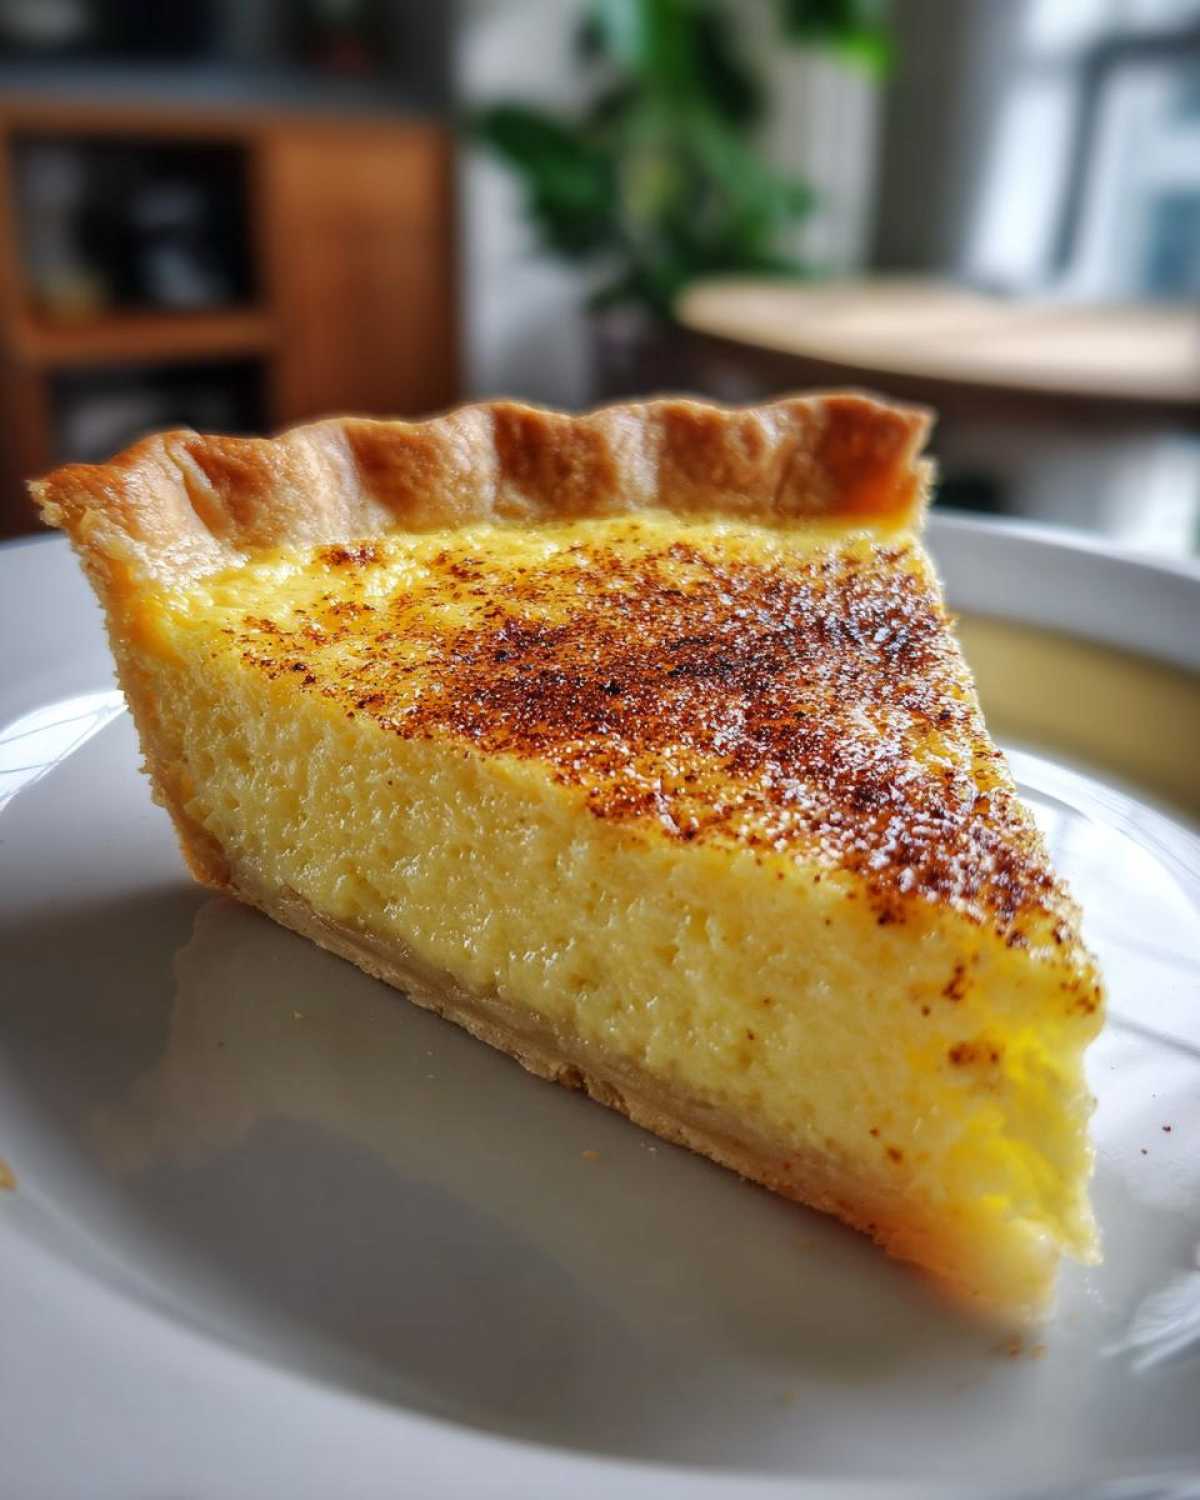
Expert Tips for a Fail-Proof Egg Custard
Now we are getting into the truly professional territory for making this egg custard the best it can be. I’m so happy I get to share these little secrets from the ‘Notes’ section of the recipe card, because these little tweaks are what separate a good pie from a guaranteed showstopper. If you’re worried about the surface cracking—and who isn’t?—we have the ultimate security blanket for you.
My biggest piece of advice, which falls right under the umbrella of fail proof baking tips, is trying the water bath. I know it sounds fussy, but it’s actually super easy insurance! You just place your pie plate inside a larger roasting pan, pour hot water into that big pan until it comes about halfway up the side of your pie dish, and *then* pop the whole thing in the oven. That steam surrounding the pie keeps the heat gentle and even everywhere.
It keeps the custard from baking too quickly around the edges, which is what causes the dreaded separation and cracking. It’s magic, I tell you! Also, if you happen to be using a pre-baked crust for some reason, just remember to pull the bake time back a little bit. For other reliable recipes that use similar gentle heat, you should look at our recipe for the ultimate loaded potato casserole!
Variations on the Traditional Custard Dessert
This traditional custard dessert is so wonderfully simple that it begs for a little personalization! While Jacob and I adore the classic vanilla and nutmeg combination—that signature nutmeg sprinkled dessert scent is just intoxicating—you might want to switch things up for a different holiday or just because you’re feeling a little adventurous. This simple custard recipe takes flavor additions beautifully.
One of the easiest ways to deepen the flavor is to use richer dairy, which we mentioned in the notes. If you swap out about half a cup of that whole milk for heavy cream, the whole rich factor goes way up. It makes the homemade egg custard almost decadent!
For a quick flavor boost, consider checking out how we make our cranberry orange cake—those bright citrus notes sometimes inspire me when I’m working with vanilla-based desserts.
Flavor Enhancements: Beyond Vanilla and Nutmeg Sprinkled Dessert
If you want to stick to the standard easy egg custard recipe but just shake up the spice profile, try these small tweaks! You only need a tiny change for a big impact.
- A small grating of fresh lemon zest blended in with the sugar adds a surprising brightness that cuts through the richness perfectly.
- Swap out half of the vanilla extract for pure almond extract—it pushes the flavor profile toward a lovely, slightly marzipan note. Just use sparingly, as almond extract is potent!
- If you’re a big fan of spice, try adding just a pinch of ground cardamom along with the nutmeg. It gives it a warmer, slightly more complex background note that Jacob insists is amazing.
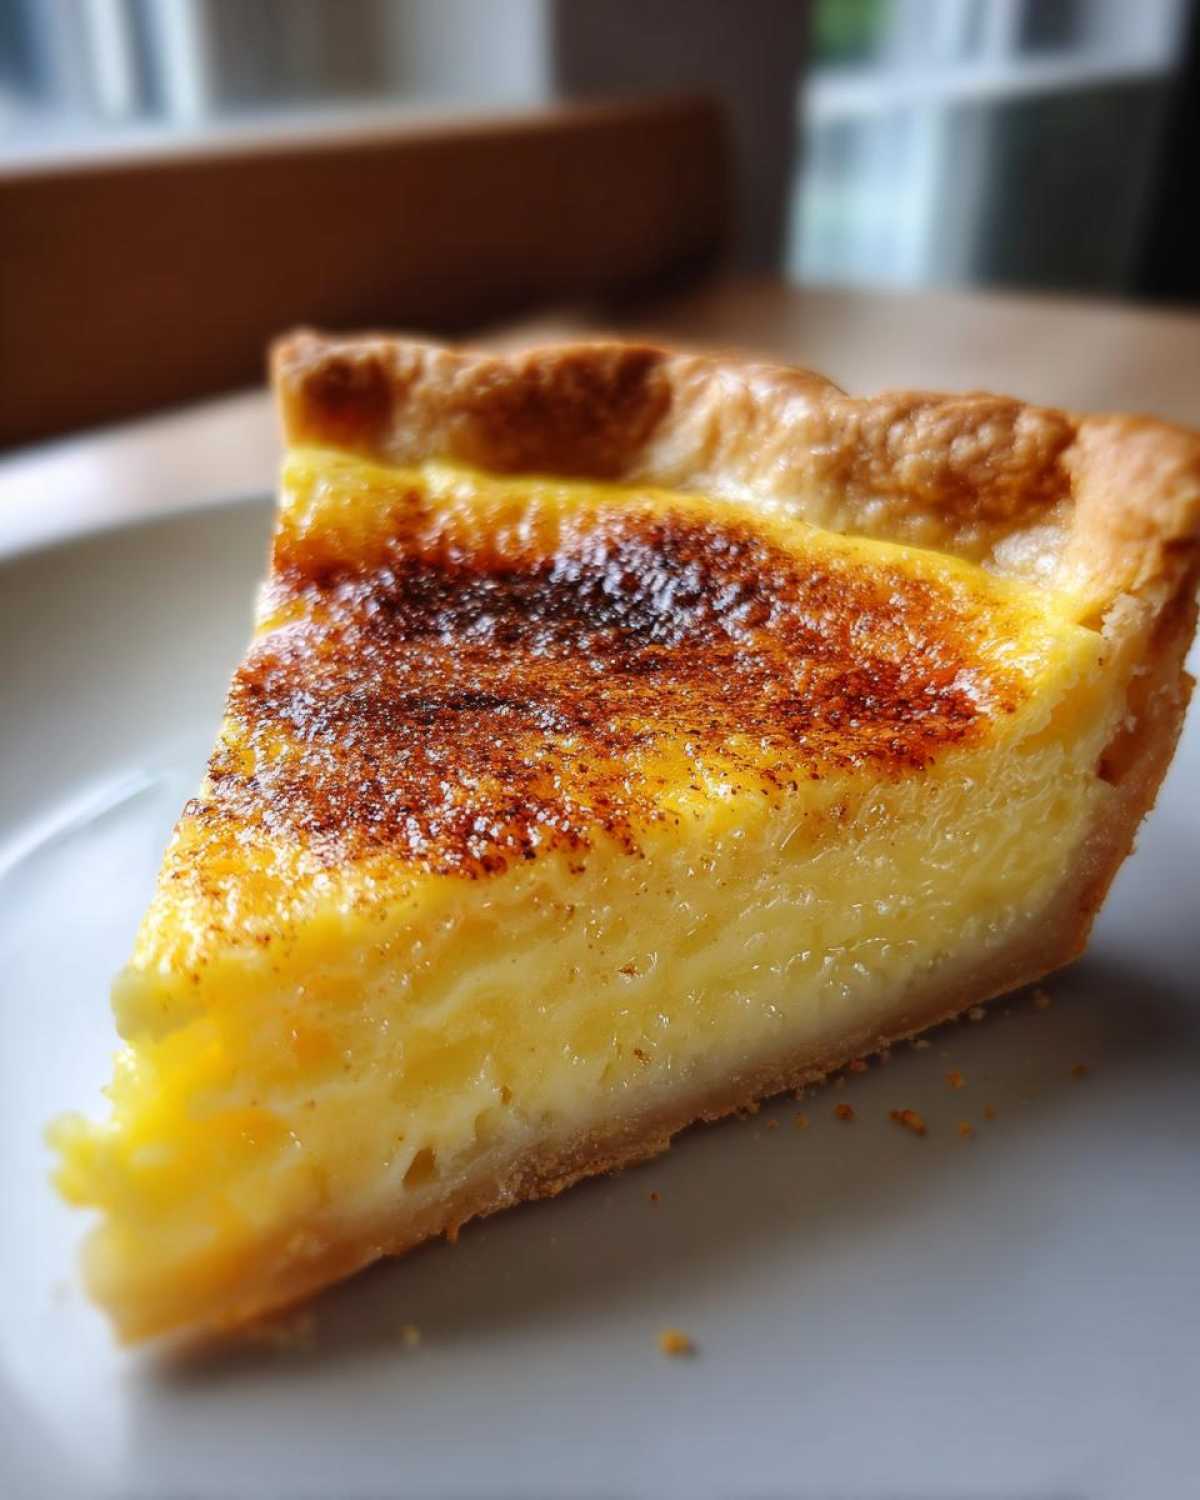
See? It’s still fundamentally the same reliable old fashioned dessert, but now it has your signature on it!
Storing and Serving Your Creamy Egg Custard Pie
Now that you’ve mastered this beautiful egg custard, the best part is setting aside a slice for later! Because this is a delicate filling, refrigeration is absolutely key. You want that pie to chill for a good four hours minimum after cooling on the counter, giving you that firm, luscious slice. Truthfully, I prefer leftovers cold—it makes for a fantastic breakfast, don’t judge!
If you do need to warm it up, a few seconds in the microwave does the trick, but honestly, the pie shines when served cool. It pairs perfectly with a dollop of homemade whipped cream or maybe some fresh, slightly tart berries to cut the richness of this old fashioned dessert. If you need a savory recipe to balance out all that sweetness, check out our recipe for horseradish sauce for prime rib. It’s the perfect opposite!
Frequently Asked Questions About Egg Custard
I totally get it; baking a classic dessert like this can bring up questions! That’s why Jacob and I put together this section to cover the most common worries people have when trying an easy egg custard recipe for the first time. Don’t let anything intimidate you—we have a solution for every potential hiccup!
Why did my egg custard crack on top?
This is the number one question I get, and usually, the answer is air and heat! If your egg custard cracked, it usually means you whisked too vigorously when mixing the eggs, incorporating way too much air, or your oven temperature was just a little too aggressive. Remember how I stressed gentle whisking for that perfect smooth custard technique? That’s step one!
Step two for guaranteed smoothness, especially if you are nervous: use that water bath we talked about! Baking the pie gently nestled in hot water completely prevents the aggressive, dry heat from punishing the delicate top of the custard. That steam is magic, plain and simple.
Can I make this egg custard pie recipe ahead of time?
Yes, please! This is actually the best way to enjoy this pie, in my opinion. This homemade egg custard needs time to set completely. You can absolutely make it the day before you plan to serve it. After it cools on the counter for those two hours, cover that pie loosely and send it straight to the fridge. Chilling sets the filling to the absolute best texture for slicing. Trying to slice it warm or slightly cooled will result in a messy plate, and we want clean slices for an elegant finish!
What is the best way to test if the simple custard recipe is done?
Forget just relying on a toothpick; with custard, you need to trust your eye and your hand! For this simple custard recipe, the edges should look firm and baked, but when you gently tap the side of the pie plate, the very center should still have a noticeable, delicate jiggle—like firm Jell-O! I would never serve it if the center didn’t wobble a bit.
If you slide a thin knife right near the center, it should come out looking mostly clean, perhaps with a few moist, cooked crumbs clinging to it, but never wet batter. That slight residual heat will finish the cooking process once you pull it out of the oven. If you’re looking for another easy dish to master, you have to try our easy oven baked BBQ chicken recipe!
Estimated Nutritional Profile for this Egg Custard
Every project in our Taste Portfolio needs to be fully documented, and that includes a rough idea of what we’re eating! Now, please remember this is just the blueprint, not a certified lab result. Since this is a very traditional dessert recipe, the figures below are estimates based on standard store-bought ingredients, assuming you use a standard pastry crust (not a low-fat crust) and the specified amounts of sugar and milk.
When I planned this ingredient list, I focused on making an accessible, easy holiday pie option, so the sugar content is classic for this style of dessert. If you need to adjust anything for dietary reasons, you probably know where to look—maybe using heavy cream cuts down on the overall volume you need, or swapping sugar for a substitute will change the profile entirely!
For another simple favorite that pairs wonderfully with a lighter side, take a look at how Jacob makes his air fryer baked potato—it’s the perfect base for a cozy meal!
Here is the estimated breakdown per slice (based on 8 servings):
| Nutrient | Amount |
|---|---|
| Serving Size | 1 slice |
| Calories | 250 |
| Sugar | 20g |
| Sodium | 180mg |
| Fat | 10g |
| Saturated Fat | 5g |
| Unsaturated Fat | 5g |
| Trans Fat | 0g |
| Carbohydrates | 30g |
| Fiber | 1g |
| Protein | 10g |
| Cholesterol | 105mg |
Share Your Perfect Egg Custard Experience
Now that you’ve successfully completed this project, I absolutely can’t wait to hear about it! Part of the fun of building our Taste Portfolio is seeing how this reliable recipe fits into your life and your kitchen. Did you manage to get that perfect, silky egg custard texture we talked about? Tell me everything!
Please take a moment to leave a rating and a comment below. I want to know if your family noticed the difference when you followed our smooth custard technique. Did it truly feel fail-proof for you? Jacob always checks the comments to see what kind of milk people successfully substituted, so don’t be shy about sharing your little victories!
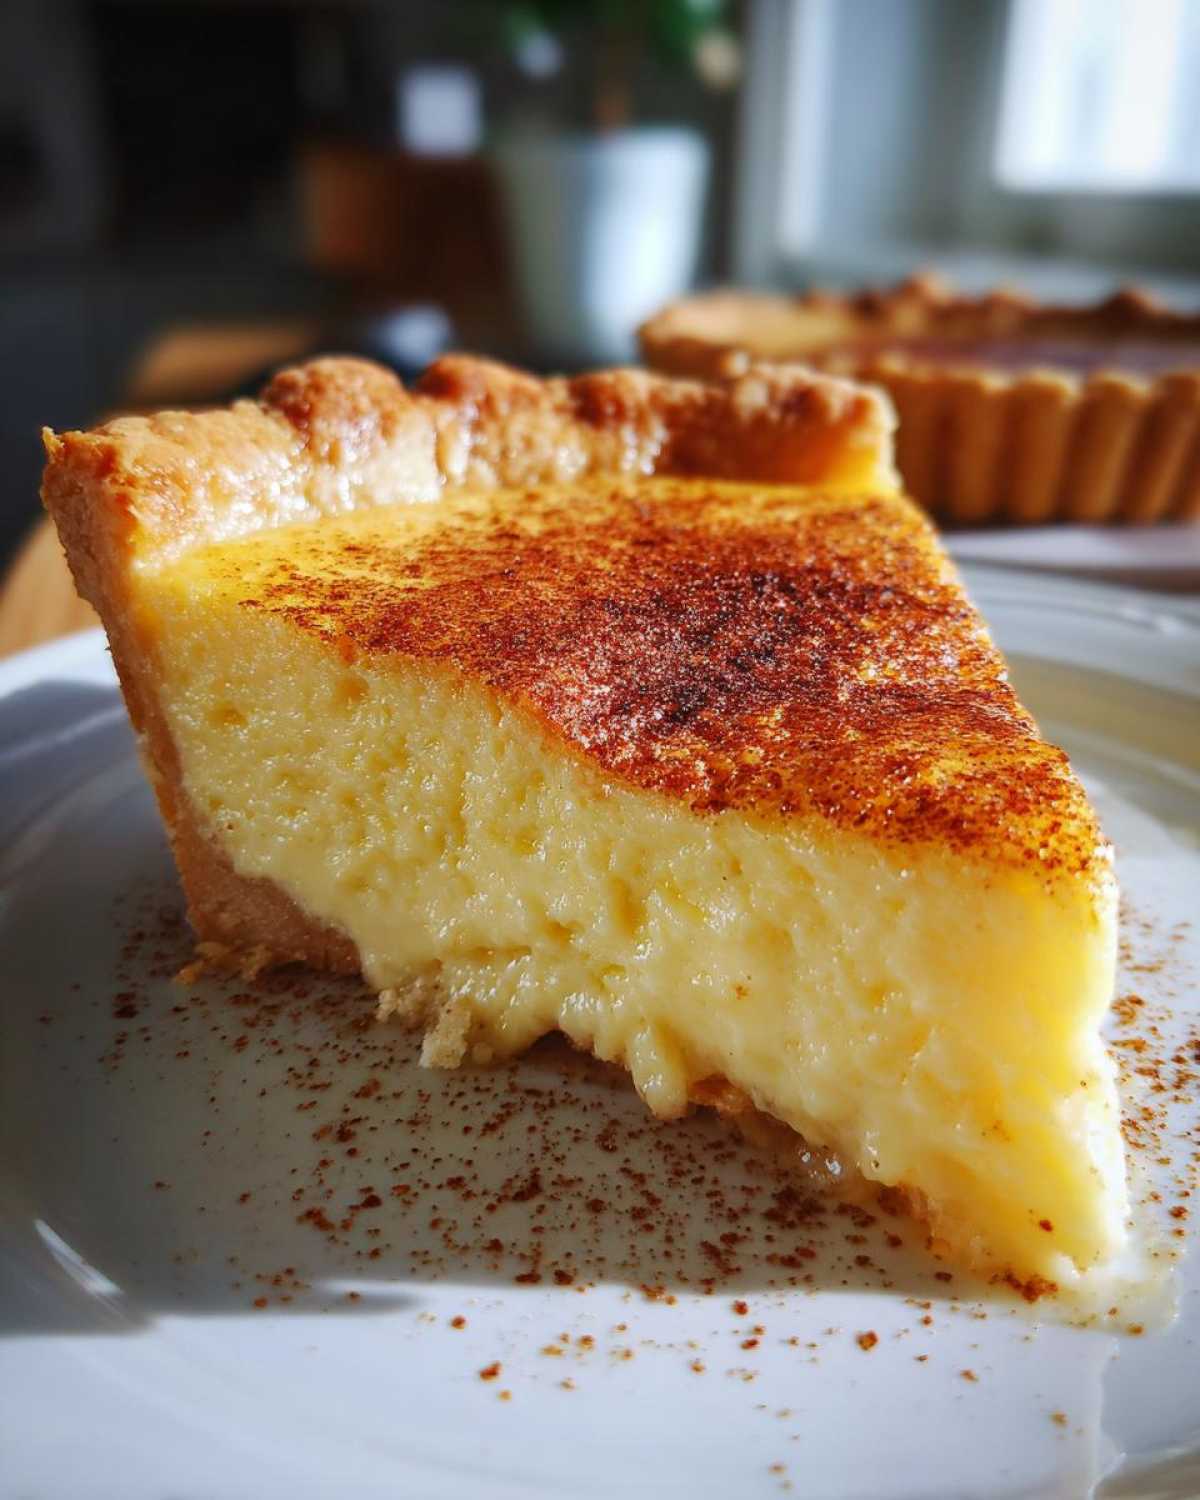
If you snapped a picture of your finished, beautiful classic baked custard—especially that perfect, nutmeg-dusted top—please share it on social media and tag us! Seeing your beautiful finished projects is the best payoff for all my meticulous planning. If you’re looking for other finished projects we’re proud of, you can browse our main page here: Our Full Recipe Portfolio!
Happy baking, friends. We hope this old fashioned dessert brings as much comfort to your table as it does to ours!
PrintFail-Proof Old Fashioned Egg Custard Pie

Follow this easy, classic recipe for a smooth, creamy baked egg custard pie. We provide the simple steps to achieve a perfect, velvety texture every time you bake this traditional dessert.
- Prep Time: 15 min
- Cook Time: 50 min
- Total Time: 65 min
- Yield: 8 servings
- Category: Dessert
- Method: Baking
- Cuisine: American
- Diet: Vegetarian
Ingredients
- 3 large eggs
- 1/2 cup granulated sugar
- 2-2/3 cups whole milk
- 1 teaspoon pure vanilla extract
- 1/4 teaspoon salt
- 1/4 teaspoon ground nutmeg (plus extra for topping)
- 1 unbaked 9-inch pie crust (use your favorite homemade or store-bought crust)
Instructions
- Preheat your oven to 350 degrees Fahrenheit. Place an oven rack in the center position.
- Prepare your 9-inch pie crust in a pie plate. Do not pre-bake the crust.
- In a medium bowl, lightly whisk the 3 large eggs until the yolks and whites are just combined. Do not over-whisk, as this incorporates too much air, which can cause cracking.
- Add the sugar, salt, and nutmeg to the eggs. Whisk gently until the sugar begins to dissolve.
- Slowly pour in the milk and vanilla extract. Whisk just until the mixture is uniform and smooth. This is the key to a creamy egg custard filling.
- Strain the custard mixture through a fine-mesh sieve directly into a large measuring cup or bowl with a spout. This removes any unmixed bits or air bubbles, helping you achieve a smooth custard technique.
- Carefully pour the strained custard mixture into the unbaked pie shell.
- Sprinkle a light, even layer of extra nutmeg over the top of the liquid custard.
- Bake for 40 to 50 minutes. To prevent the edges of the crust from burning, you can cover them loosely with aluminum foil halfway through baking.
- The custard is done when the edges are set, but the center still has a slight jiggle (like gelatin). A knife inserted near the center should come out mostly clean.
- Remove the pie from the oven and let it cool completely on a wire rack for at least 2 hours before slicing. The custard will continue to set as it cools.
- Chill the pie in the refrigerator for at least 4 hours, or preferably overnight, before serving for the best texture.
Notes
- For a truly fail-proof result, bake the custard in a water bath (bain-marie). Place the pie plate inside a larger roasting pan. Pour hot water into the roasting pan until it reaches about halfway up the side of the pie plate before placing it in the oven.
- If you are using a pre-baked or blind-baked crust, reduce the baking time slightly, checking for doneness around the 35 to 40-minute mark.
- This recipe makes a traditional, slightly sweet custard. If you prefer a richer flavor, you can substitute 1/2 cup of the milk with heavy cream.
Nutrition
- Serving Size: 1 slice
- Calories: 250
- Sugar: 20
- Sodium: 180
- Fat: 10
- Saturated Fat: 5
- Unsaturated Fat: 5
- Trans Fat: 0
- Carbohydrates: 30
- Fiber: 1
- Protein: 10
- Cholesterol: 105