

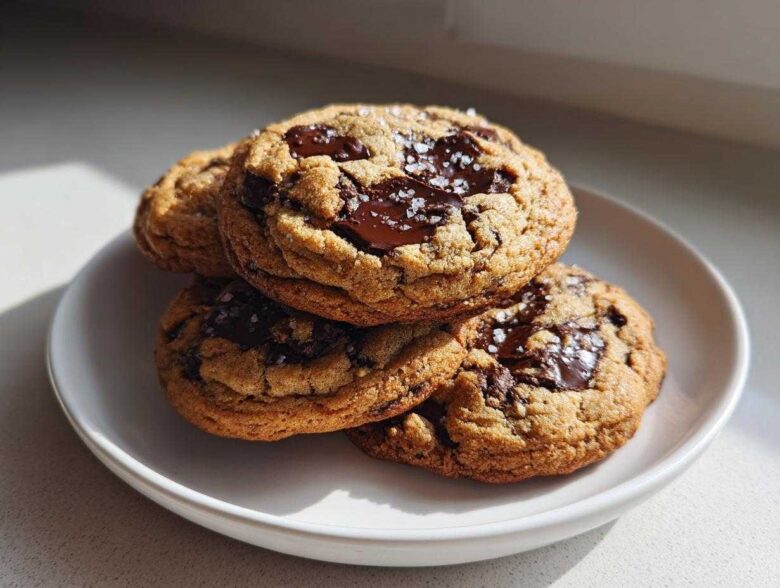
I used to spend hours doing research, making spreadsheets, and building mood boards for recipes I was too nervous to even attempt. Jacob would just grab ingredients and somehow turn them into magic. That’s how this whole blog started, right? He’s the artist, and I’m the project manager trying to pin down his intuitive genius! Well, friends, after weeks of testing and charting ingredient ratios, we finally did it. We captured the perfect texture in this batch of The Ultimate Soft and Chewy chocolate chip Cookies. These aren’t just cookies; these are bakery-style cookies, and I promise you, they are worth every second of our planning!
If you’ve ever been disappointed by cookies that spread too thin or baked up hard as rocks, you need to stick close with this one. We cracked the code on getting those gloriously soft centers and just-barely-crisp edges. You can find the details on our journey in our snickerdoodle testing, but this chocolate chip version is definitely our current champion.
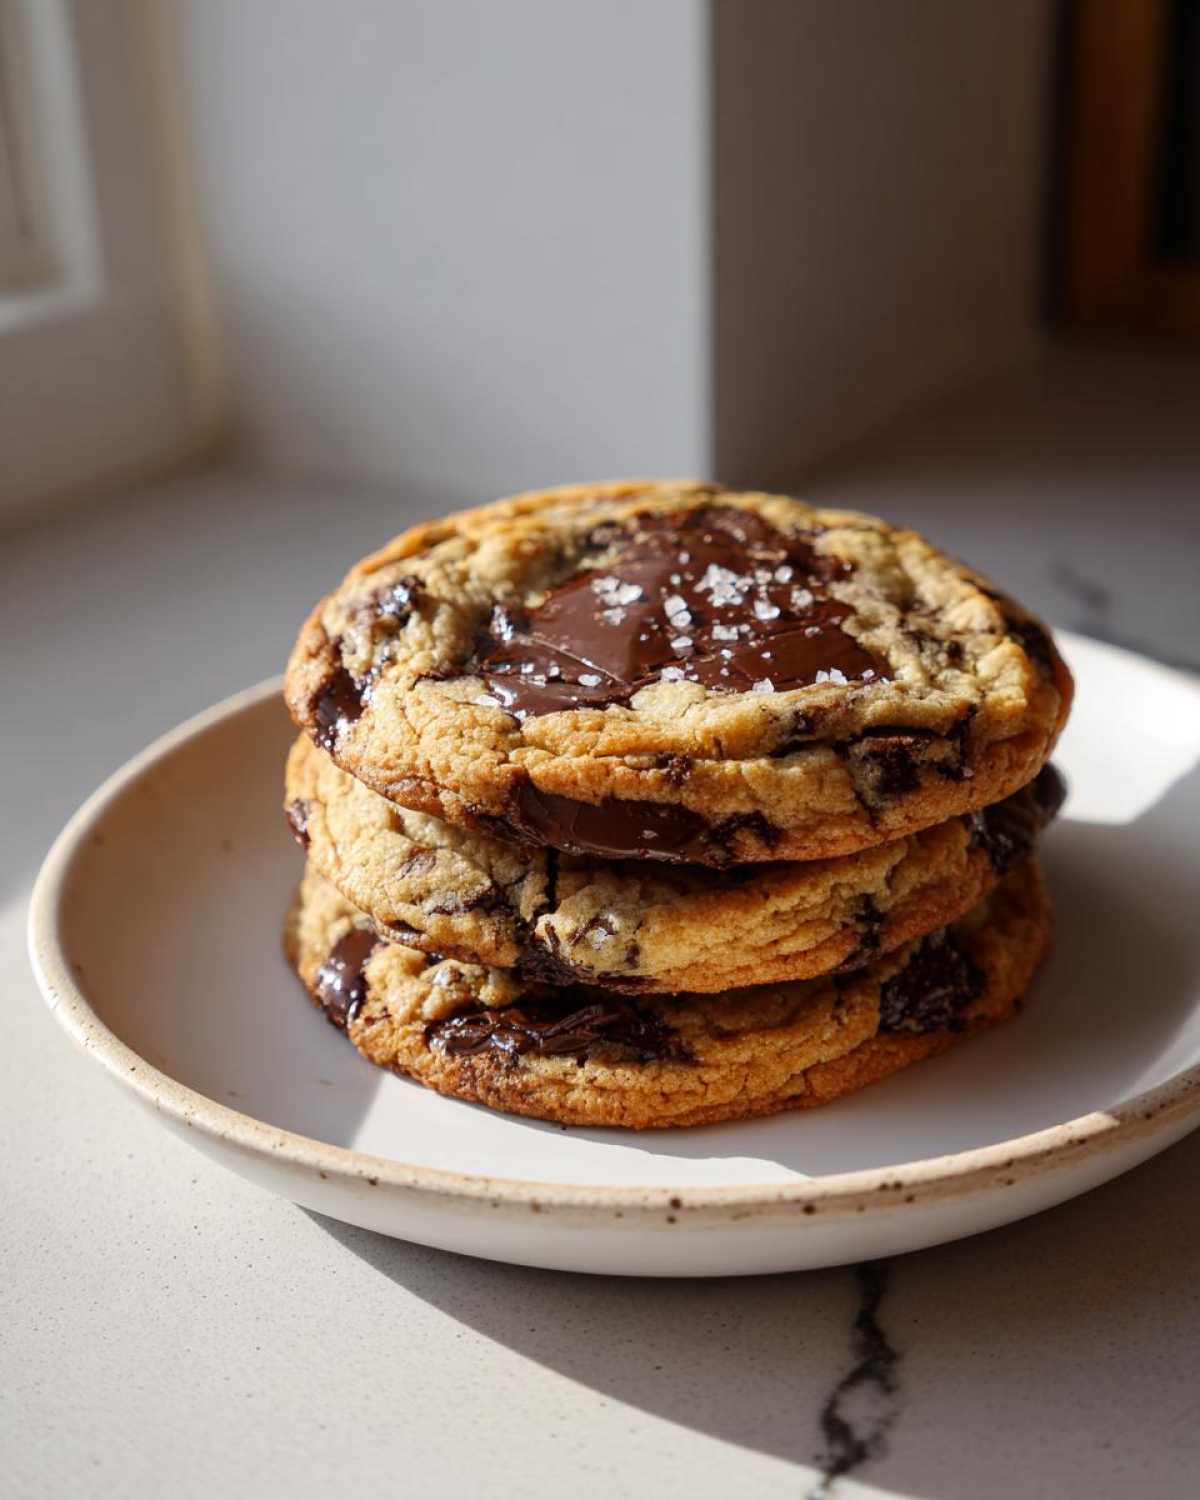
Why This is The Ultimate chocolate chip Cookie Recipe
Okay, here is where Jacob and I really flex our planning muscles. If you just throw standard ingredients together, you get a standard cookie, right? We didn’t want standard; we wanted the absolute Best Chocolate Chip Cookies on the block. That required specific techniques that make this recipe truly a Foolproof Cookie Recipe because the science works for us. We even wrote a whole deep-dive guide on just the browned butter steps!
What separates these from the rest is relying on two game-changing steps that sound intimidating but are actually super easy once you follow our blueprint. Trust me, these two things transform the whole experience.
The Secret to Gooey chocolate chip Cookies: Browned Butter
You absolutely have to brown the butter first. Don’t skip this! When you gently cook the butter until those little milk solids toast up, it unlocks this unbelievable, deep, nutty, almost caramel flavor. It adds this complexity that you can’t get any other way. That richness is exactly what makes these cookies achieve that dreamy, Gooey chocolate chip Cookies texture we are aiming for. It’s worth the extra five minutes, I promise!
Achieving Chewy chocolate chip Cookies Through Dough Chilling
The second crucial step is chilling the dough. If you try to bake this dough right away, it spreads out into a thin, flat wafer. Yuck! But when you let it rest—ideally overnight—the flour fully hydrates and the fats firm up again. This means the cookies bake up thick, developing those delicious Crispy Edge Soft Center Cookies, delivering that perfect Chewy chocolate chip Cookies bite every single time we pull a tray out. It’s pure texture perfection waiting to happen.
Gathering Ingredients for Your Classic chocolate chip Recipe
Alright, this is the blueprint phase! Since Jacob and I treat every bake like a curated project, we need the right materials. Getting these ingredients ready is half the battle in producing amazing Classic chocolate chip Recipe results. You’ll notice right away that we are calling for butter that needs to be browned first, which, as we discussed, is vital for the depth of flavor. Take your time when browning it; you want that deep, nutty smell!
When it comes to eggs, this is non-negotiable for Amelia’s planning system: make sure your two large eggs are at room temperature! Jacob gets antsy if they are cold because cold eggs can sometimes shock the creamed butter mixture, which makes the texture less uniform. Also, make sure you have all your dry stuff measured out before you start melting that butter. A good setup makes the actual mixing so much less stressful. If you want to check out how we handle ingredients for our peanut butter cup cookies, that’s a great place to see our system in action!
- 1 cup (2 sticks) unsalted butter, browned and cooled slightly
- 1 cup packed light brown sugar
- 1/2 cup granulated sugar
- 2 large eggs, room temperature
- 1 tablespoon vanilla extract
- 2 1/4 cups all-purpose flour
- 1 teaspoon baking soda
- 1/2 teaspoon salt
- 1 1/2 cups semi-sweet chocolate chips (a mix of milk and dark is great)
- Flaky sea salt, for topping (optional)
Ingredient Notes and Substitutions for chocolate chip Cookies
Let’s talk chocolate chips for a second. I’ve been experimenting, and using a mix of semi-sweet and maybe a few milk chocolate chips gives you that lovely contrast between deep flavor and pure sweetness. Don’t just stick to one—mix it up!
If you see flaky sea salt on the finished cookie, that’s my personal touch. Sprinkle just a tiny bit right after they come out of the oven. It cuts through the sweetness perfectly. Now, about the butter: if you are tempted to just melt the butter in the microwave or skip the browning step entirely and use regular melted butter, please don’t! It will drastically change the flavor and might cause these cookies to spread way too much, resulting in a less structured, less flavorful cookie than the one we designed here.
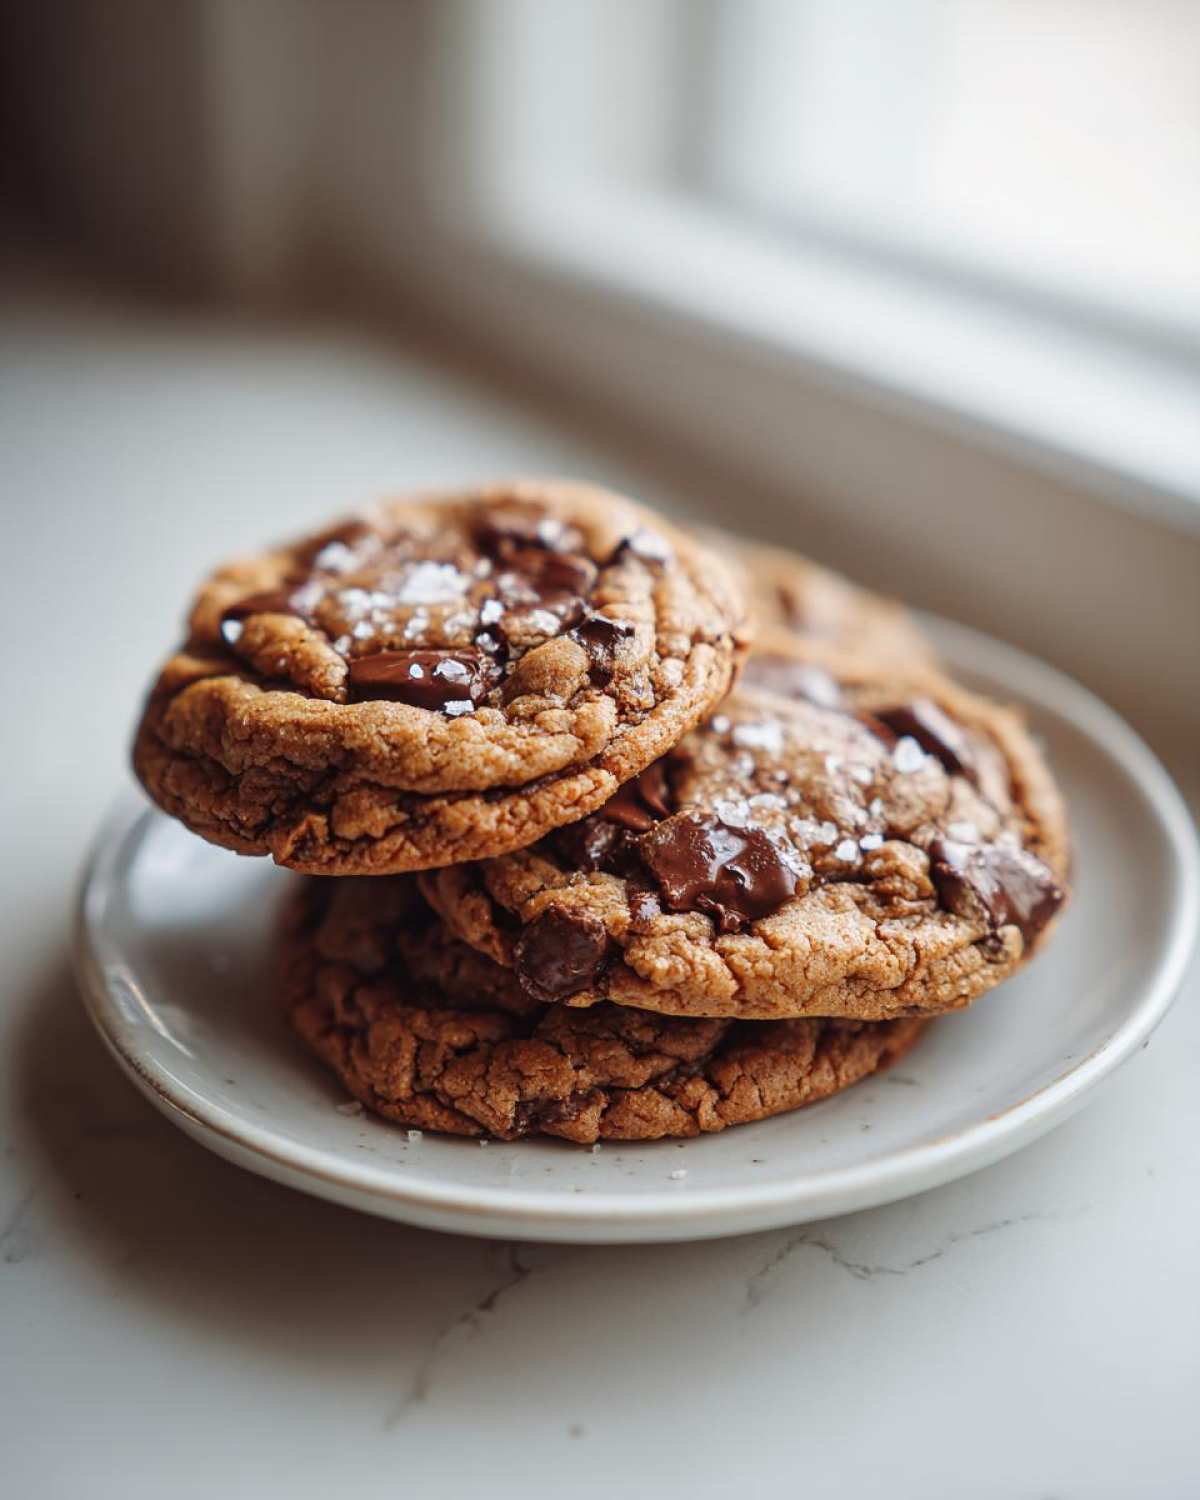
How to Prepare The Best chocolate chip Cookies Step-by-Step
Now we get to the actual assembly process, which is where Jacob really shines because he’s so great at pacing himself! Since we’ve already done the prep work—browning that butter and letting it cool down for about 15 minutes—we can move straight into the mixing. Remember, we are looking for Easy Homemade Cookies, and having the butter just right makes this part smooth sailing. You’ll want to have everything ready to go so we can move quickly soon!
Mixing the Wet Ingredients for Soft Baked chocolate chip Cookies
First thing: take that slightly cooled, nutty brown butter and whisk it well with your brown sugar and granulated sugar. You need to whip this until it looks lighter and creamy. Then, add your room temperature eggs. This is where I always get nervous! Beat them in one at a time, making sure the first one is totally incorporated before adding the second. I always watch the mixture here; I know it’s right when it stops looking grainy and starts looking sort of homogeneous and slightly fluffy. Then splash in the vanilla and you’re set!
Combining Dough and Folding in the chocolate chip Mix-ins
In a separate bowl, quickly whisk your flour, baking soda, and salt together. Now, add the dry ingredients to the wet mixture slowly. Pay attention here, because this is critical! Mix on low speed until you *just* see no more flour streaks. Stop immediately! Seriously, stop right there. Overmixing at this stage develops too much gluten, and we want soft cookies, not tough ones. Once it’s barely combined, fold in those glorious chocolate chips using a spatula. Keep that folding gentle! If you want to see another great recipe where we talk about careful mixing, check out my guide for protein-packed chocolate chip cookies.
The Essential Rest: Chilling the chocolate chip Dough
This is the big one—the main chocolate chip cookie secret for thickness! Cover the bowl of dough and get it into the fridge. You must chill it for a minimum of two hours, but if you can hold out until the next day (up to 72 hours), that’s the gold standard. Chilling concentrates the flavor and prevents spreading, guaranteeing those Chewy chocolate chip Cookies you’re dreaming about.
Baking Your Bakery Style Cookies Perfectly
When you’re ready to bake, set your oven to 375 degrees Fahrenheit and line your pans with parchment paper—gotta keep things clean, right? Scoop out balls that are about three tablespoons each. Pop them in to bake for 10 to 12 minutes. You are looking for the edges to be golden brown, but the centers should still look a little pale and gooey. The moment they come out, sprinkle them with flaky salt if you’re using it. Let them sit on that hot pan for five full minutes before trying to move them. They’ll firm up just enough during that rest period. Try checking out our Twix cookie recipe for another great shaping tip!
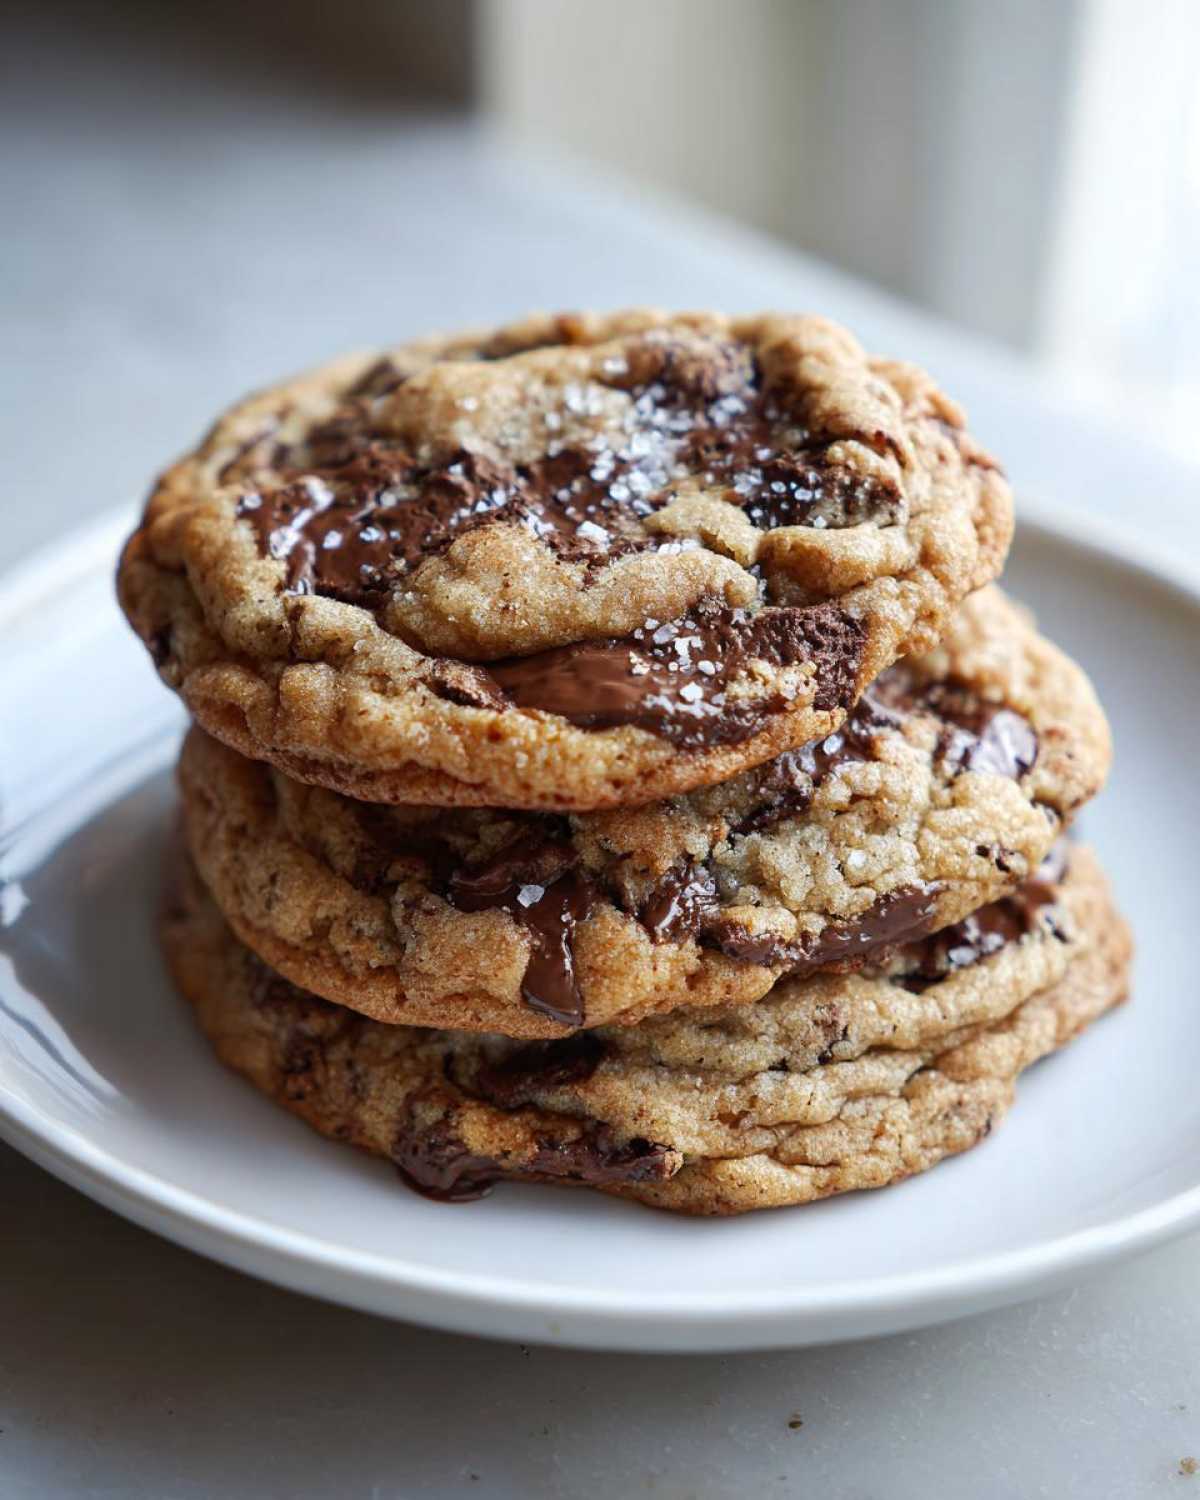
Tips for Guaranteed Bakery Style chocolate chip Success
Honestly, I think people get so overwhelmed by the idea of Bakery Style Cookies when they are just a few tiny tweaks away from perfection. Jacob and I obsessively tested things like leaving out the chilling step (disaster!) or using lukewarm eggs (also a disaster!), so I have a few quick rules for you. These tips don’t change the core recipe, but they ensure you get that professional-looking, amazing texture every single time you mix up this dough.
First, if you want those beautiful crinkly tops that look like they came straight from a glass case, try gently tapping your baking sheet twice on the counter right after you pull the cookies out of the oven. This sudden temperature change makes the edges set faster while the center sinks just a bit more, creating that sought-after ripple effect. It’s totally dramatic, but it works like a charm!
Also, don’t be shy with the chocolate chips! We call for 1 1/2 cups, but honestly, if you can sneak in a bit more, do it. Nobody ever complained their cookie had too much chocolate. For the ultimate presentation, which feels very ‘art-project’ to me, take a few extra chips—maybe a mix of milk and dark—and gently press them onto the tops of your dough balls right before they go into the oven. They melt beautifully on top, making every cookie look magazine-ready.
Finally, use parchment paper without fail. I know buttering and flouring pans seems easier sometimes, but for cookies, paper ensures even heat transfer across the bottom, which prevents those centers from getting gummy while the edges burn. It’s the simplest way to control the heat profile for consistent results. Trust me on the parchment paper; it’s one of those essential tools in my chocolate chip cookie secrets toolkit!
Making Variations of Your Favorite chocolate chip Recipe
Even though we’ve perfected the blueprint for the ultimate classic, sometimes you just need to switch things up, right? Jacob always says that once you master the fundamental structure of the dough, you have a blank canvas! This recipe is so sturdy thanks to the chilling and the browned butter, meaning it handles mix-ins beautifully without totally falling apart in the oven. We love keeping a dough base chilled and then trying out different flavor profiles every time we decide to bake.
You don’t need to adjust the main dry or wet ratios at all—just start folding in these amazing additions when you fold in the chips. If you’re looking for something rich and decadent that still feels homemade, you should definitely check out how we handle dates in our fudgy date brownies; it gives you an idea of how a hearty addition changes the profile!
Here are a few simple swaps and additions we use to keep our chocolate chip cookie rotation exciting:
- Triple Chocolate Chip: Instead of just semi-sweet, try 1 cup of semi-sweet, 1/2 cup of milk chocolate chunks, and 1/2 cup of white chocolate chips. The different melting points create amazing rivers of chocolate throughout the dough.
- Chai Spice Infusion: If you like warm flavors, add about 1 and 1/2 teaspoons of pumpkin pie spice (or a blend of cinnamon, cardamom, and ginger) right in with your flour. It makes the whole house smell incredible while they bake!
- Toffee Crunch: Mix in 1/2 cup of English toffee bits (the kind you usually use for ice cream topping) along with your main chips. The buttery toffee melts slightly and adds a wonderful crunch and caramelized sweetness that pairs perfectly with the browned butter base.
- Extract Swap: If you’re feeling adventurous, swap out half the vanilla extract for almond extract. Be careful, though! Almond is strong, so start small; it gives the cookie a wonderful, sophisticated background note without tasting like marzipan.
See? It’s so easy to customize your perfect cookie without messing up the science we worked so hard to establish. Happy experimenting!
Storing and Reheating Your Soft Baked chocolate chip Cookies
Jacob and I learned this the hard way: there is nothing sadder than thinking you have a perfect, gooey cookie waiting for you the next day, only to find it has hardened into a sad little disc. Since we put so much effort into achieving that perfect soft and chewy texture, we need a storage plan that respects all that hard work! If you manage to have any leftovers, which is a huge accomplishment in our house, here is how we keep them absolutely perfect.
The key really is locking in that moisture we built into the cookie with the browned butter and the chilling time. For short-term storage—meaning the next one to five days—you need an airtight container. I usually place a small paper towel or a slice of soft bread in with the cookies. Seriously, the bread trick works! It keeps the cookies softer because they share their moisture with the bread.
For longer storage, we freeze them! You MUST freeze them once they are completely cooled, otherwise, they steam in the container and get soggy. Lay the cookies flat on a baking sheet and flash-freeze them until solid—maybe an hour? Once they are hard little pucks, transfer them to a heavy-duty freezer bag. You can freeze them like this for up to three months. Head over to check out how we handle storing our fudgy treats in our fudgy Oreo brownies post; the principles are surprisingly similar!
Now, the best part: reheating! Forget the microwave unless you need a 5-second fix that leaves you with a slightly chewy center but maybe a tough edge. If you want that amazing, just-pulled-it-from-the-oven texture? Pop a frozen (or thawed) cookie on a baking sheet and warm it up in a 350-degree oven for about four to six minutes. That little bit of dry heat reactivates the butter inside, making the chocolate ooze again without drying out the dough. It’s the ultimate five-minute project revival!
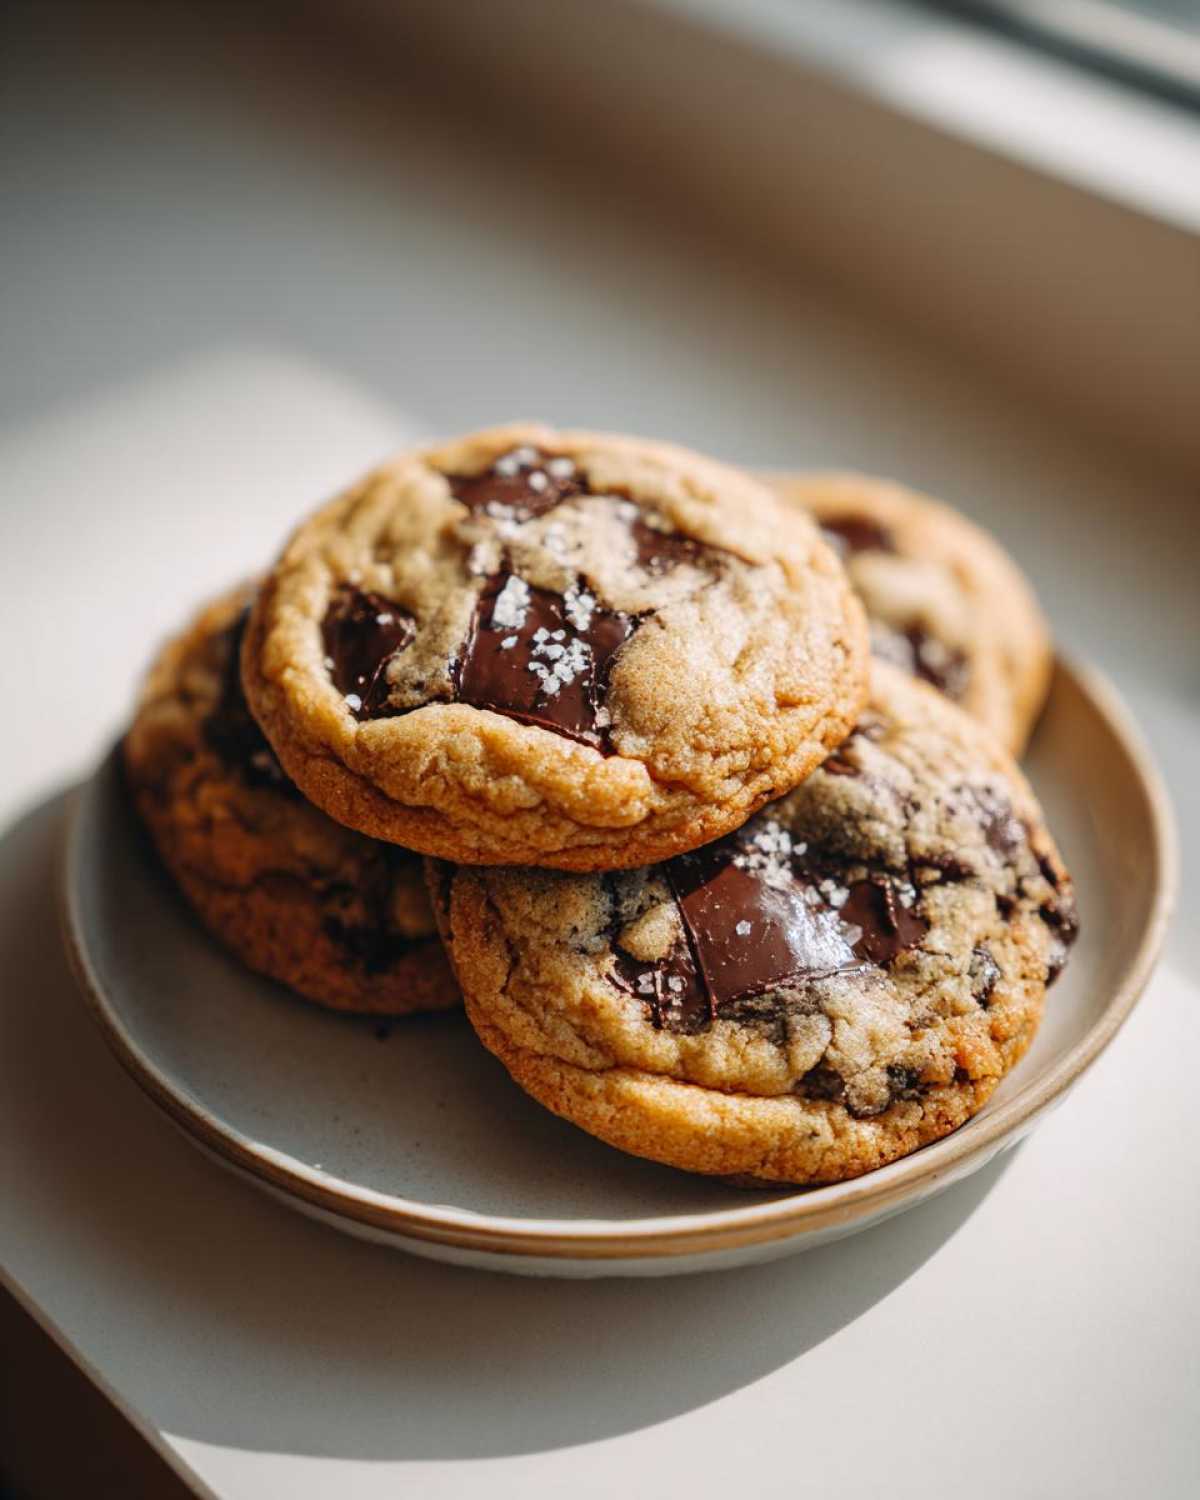
Frequently Asked Questions About chocolate chip Cookies
I knew as soon as I published this recipe that the questions would start flying in. Honestly, I bombard Jacob with questions too, but that’s kind of how we work! Most of the questions center around texture because that’s what we spent all that time perfecting. If you’re aiming for those perfectly Chewy Chocolate Chip Cookies without tons of effort, read on—these cover the biggest hang-ups people have.
Can I make these chocolate chip cookies without chilling the dough?
Oh, the eternal question for us impatient bakers! The short answer is yes, you technically can, but you are sacrificing the entire reason we developed this specific recipe. If you skip the chilling time, your cookies are going to spread out a lot more because the browned butter and the fats are too soft when they hit the heat. They will bake up thinner and definitely crunchier overall. You’ll still get a decent cookie, but it won’t have that glorious thick center that defines the Best Chocolate Chip Cookies in my opinion!
How do I get maximum chocolate melt in my chocolate chip cookies?
If you want those beautiful, messy pools of chocolate—what I sometimes call that ‘lava flow’ effect—you need to trick the dough a little bit right before they bake. Chips are designed to hold their shape fairly well. So, my favorite trick is what I mentioned before: scoop your dough balls, and then press about five or six extra chips right onto the top surface of each ball. They’ll melt beautifully on top during baking, giving you that decadent, Melted Chocolate Chip Cookies look. Another pro tip Jacob taught me is to use high-quality chocolate bars chopped into chunks instead of chips; the varied surface area melts way faster and more dramatically!
What is the best way to freeze chocolate chip cookie dough?
Our freezer stash is my emergency project backup! Freezing the dough is honestly the best way to control when you get to enjoy these. First, you have to roll your dough into the serving size balls—I use a three-tablespoon scoop. Place those dough balls on a baking sheet lined with parchment paper, making absolutely sure they aren’t touching each other. Stick that sheet into the freezer for at least an hour or two until they are completely solid. Once they are rock hard, you can move them into a labeled, heavy-duty freezer bag. That way, they don’t stick together later. When you want cookies, just pull out what you need—no need to thaw; just add a couple of extra minutes to the bake time!
Nutritional Information Estimate for chocolate chip Cookies
Now, I know we are here for the taste and that gorgeous gooey texture, not for counting calories! Jacob and I certainly don’t worry about this stuff when we present a fresh batch of cookies at a weekend gathering. But, since I am the planner, I made sure we tracked the ingredients for you. It’s important to know what’s in these, even if we decide to ignore it later!
Please remember, because we are using specific elements like browned butter and high-quality dark brown sugar, these figures are just estimates based on the ingredients we used. If you swap out your butter for a different fat, or if you use different brands of chocolate chips, these numbers will definitely shift. This information is here for accountability, not perfection, okay? We baked these for joy, after all!
Here is the estimated nutritional breakdown per single cookie (assuming the recipe yields 18 large cookies):
- Serving Size: 1 cookie
- Calories: 250
- Sugar: 22g
- Sodium: 150mg
- Fat: 14g
- Saturated Fat: 9g
- Unsaturated Fat: 5g
- Trans Fat: 0.2g
- Carbohydrates: 30g
- Fiber: 1g
- Protein: 3g
- Cholesterol: 45mg
If you want to browse some of our other recipes where the nutritional information is slightly less dessert-focused (though still delicious!), you can check out the full recipe index over on my blog page. Enjoy these amazing cookies!
Share Your Perfect chocolate chip Creations
We did the planning, we did the testing, and now, truly, the project is in your hands! I cannot wait for you to pull your first tray of these Ultimate Soft and Chewy chocolate chip Cookies out of the oven. When you take that first bite—especially if you nailed that chewy center—I really want to know about it!
Please, please, please leave a comment down below. Tell me how long you chilled your dough, tell me if you used a mix of chocolate or stuck to semi-sweet, and most importantly: tell me about the texture! Did we hit that perfect bakery-style mark? Your feedback helps Jacob and me refine our portfolio, and it helps other bakers planning their own projects, too!
If you took a photo of your beautiful, gloriously melted-chocolate creation, share it with us on social media! Tag us so we can admire your work. We love seeing how our culinary plans come to life in other kitchens. If you need some inspiration on presentation, you might want to peek at the techniques used over at Inquiring Chef for those crispy edges!
If you have any burning questions that this massive guide didn’t cover, or maybe you want to collaborate on a future project, don’t hesitate to reach out through our contact page. Happy baking, everyone!
With love and sugar,
Amelia
The Ultimate Soft and Chewy Chocolate Chip Cookies
Follow this foolproof recipe to make bakery-style chocolate chip cookies with soft, gooey centers and slightly crisp edges. This is the best homemade cookie you will ever bake.
- Prep Time: 20 min
- Cook Time: 12 min
- Total Time: 2 hours 32 min (includes minimum chilling time)
- Yield: 18 large cookies
- Category: Dessert
- Method: Baking
- Cuisine: American
- Diet: Vegetarian
Ingredients
- 1 cup (2 sticks) unsalted butter, browned and cooled slightly
- 1 cup packed light brown sugar
- 1/2 cup granulated sugar
- 2 large eggs, room temperature
- 1 tablespoon vanilla extract
- 2 1/4 cups all-purpose flour
- 1 teaspoon baking soda
- 1/2 teaspoon salt
- 1 1/2 cups semi-sweet chocolate chips (a mix of milk and dark is great)
- Flaky sea salt, for topping (optional)
Instructions
- Brown the butter: Melt the butter in a saucepan over medium heat. Continue cooking, swirling often, until the milk solids toast and turn deep brown and the butter smells nutty. Pour into a heatproof bowl and let cool for 15 minutes.
- In a large bowl, whisk together the cooled browned butter, brown sugar, and granulated sugar until smooth.
- Beat in the eggs one at a time, mixing well after each addition. Stir in the vanilla extract.
- In a separate medium bowl, whisk together the flour, baking soda, and salt.
- Gradually add the dry ingredients to the wet ingredients, mixing on low speed until just combined. Do not overmix.
- Fold in the chocolate chips.
- Cover the dough and chill in the refrigerator for at least 2 hours, or up to 72 hours, for the best texture. Chilling is a secret to bakery-style cookies.
- Preheat your oven to 375 degrees Fahrenheit. Line baking sheets with parchment paper.
- Scoop the dough into balls, about 3 tablespoons each, and place them 2 inches apart on the prepared sheets.
- Bake for 10 to 12 minutes, or until the edges are golden brown but the centers still look slightly underbaked.
- Remove from the oven. Immediately sprinkle the tops with flaky sea salt, if using. Let the cookies cool on the baking sheet for 5 minutes before transferring them to a wire rack to cool completely.
Notes
- Browning the butter adds a deep, nutty flavor that makes these cookies taste like they came from a famous bakery.
- Chilling the dough is essential for preventing the cookies from spreading too much and developing a chewier texture.
- For extra gooey centers, press a few extra chocolate chips onto the tops of the dough balls right before baking.
Nutrition
- Serving Size: 1 cookie
- Calories: 250
- Sugar: 22
- Sodium: 150
- Fat: 14
- Saturated Fat: 9
- Unsaturated Fat: 5
- Trans Fat: 0.2
- Carbohydrates: 30
- Fiber: 1
- Protein: 3
- Cholesterol: 45