

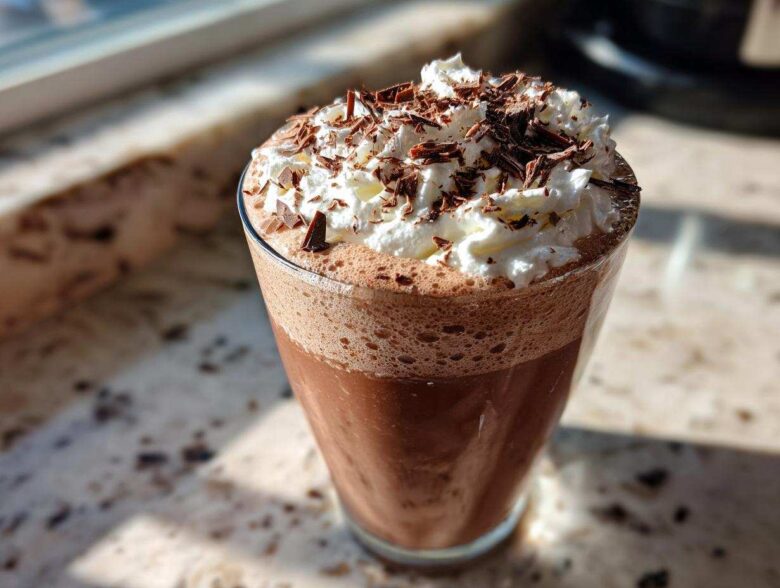
Is the weather just stubbornly refusing to cooperate, or maybe you just have that serious chocolate craving that nothing else satisfies? When Jacob and I hit that afternoon slump, we don’t reach for actual cooking projects; we need instant gratification. That’s why this frozen hot chocolate recipe is filed immediately under our “Emergency Comfort” project folder! Forget fussy layered drinks or complicated syrups; this is genuinely The Easiest 3-Ingredient Creamy Frozen Hot Chocolate Recipe. In five minutes flat—way less time than it takes me to organize my grocery list—we have a thick, frosty, chocolatey dream in hand. Trust me, this little trick is now mandatory for summer afternoons!
Why This Frozen Hot Chocolate Recipe is Your New Favorite
I love finding recipes that work perfectly within my planning structure, and this one is a dream because it requires almost zero foresight. It totally hits that spot where you want something truly decadent but you need it *now*. Jacob usually calls this our “Instant Mood Booster Project!”
- It’s budget-friendly—we almost always have these items on hand.
- It works whether it’s 100 degrees outside or we are having a cozy movie night in December.
- It skips the messy step of making homemade chocolate syrup, moving straight to the blending phase.
It’s the perfect definition of a Quick Blended Chocolate Dessert.
Speed and Simplicity: The 5-Minute Frozen Hot Chocolate
Honestly, the prep time is basically zero. You’re just gathering three things from the fridge or the pantry. We usually have this poured and blended in less time than it takes to decide what movie to watch! Seriously, less than two minutes of hands-on time means this fits seamlessly into any busy schedule.
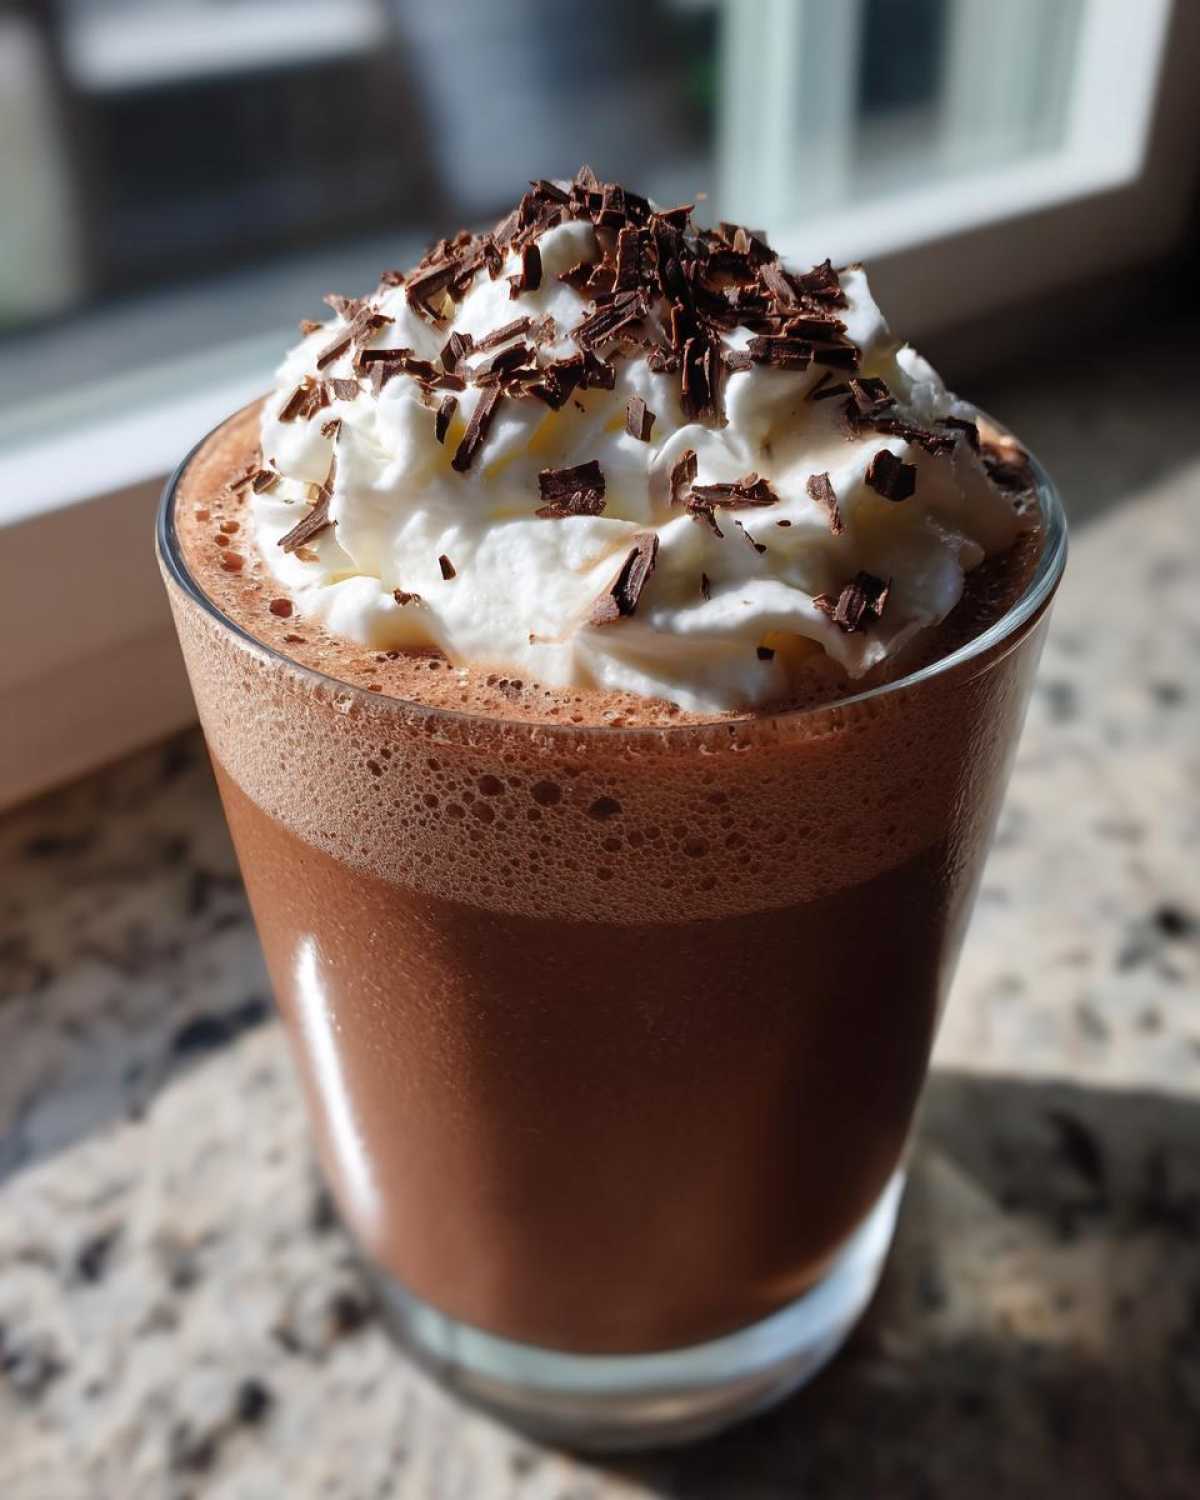
Achieving the Perfect Creamy Frozen Chocolate Shake Texture
The secret to that magnificent frosty thickness isn’t a secret at all—it’s how you blend! Because we are using milk and ice, you have better control over the texture than if you started with just chocolate powder and milk. Jacob’s trick, which I’ve officially adopted, is to pulse the blender a few times first. This breaks up the ice just enough before going to high speed. That initial pulsing prevents overworked blending and gets you that dreamy Creamy Frozen Chocolate Shake right away. Just scrape down the sides if you need to, but don’t over-blend, or you risk melting it!
Essential Ingredients for the Easiest Frozen Hot Chocolate Recipe
Okay, I love Jacob’s intuitive cooking style, but I need a solid blueprint, and this recipe delivers! You only need three core components to make this work, which is why I call this our “Zero-Stress Dessert Project.” Keep these stocked, and you are always ready for an emergency chocolate craving.
- 1 cup milk (any variety works well—whole milk is richest, but any kind is fine!)
- 1 cup ice cubes (don’t skimp on the ice, please!)
- 1/2 cup hot cocoa mix (this is key—use the powder packet, not prepared hot chocolate)
- Whipped cream and chocolate curls for topping (This is the mandatory fun part, obviously.)
See? That’s it! It’s beautifully simple. If you want to take your planning up a notch, consider making a double batch; trust me, you’ll regret it if you don’t.
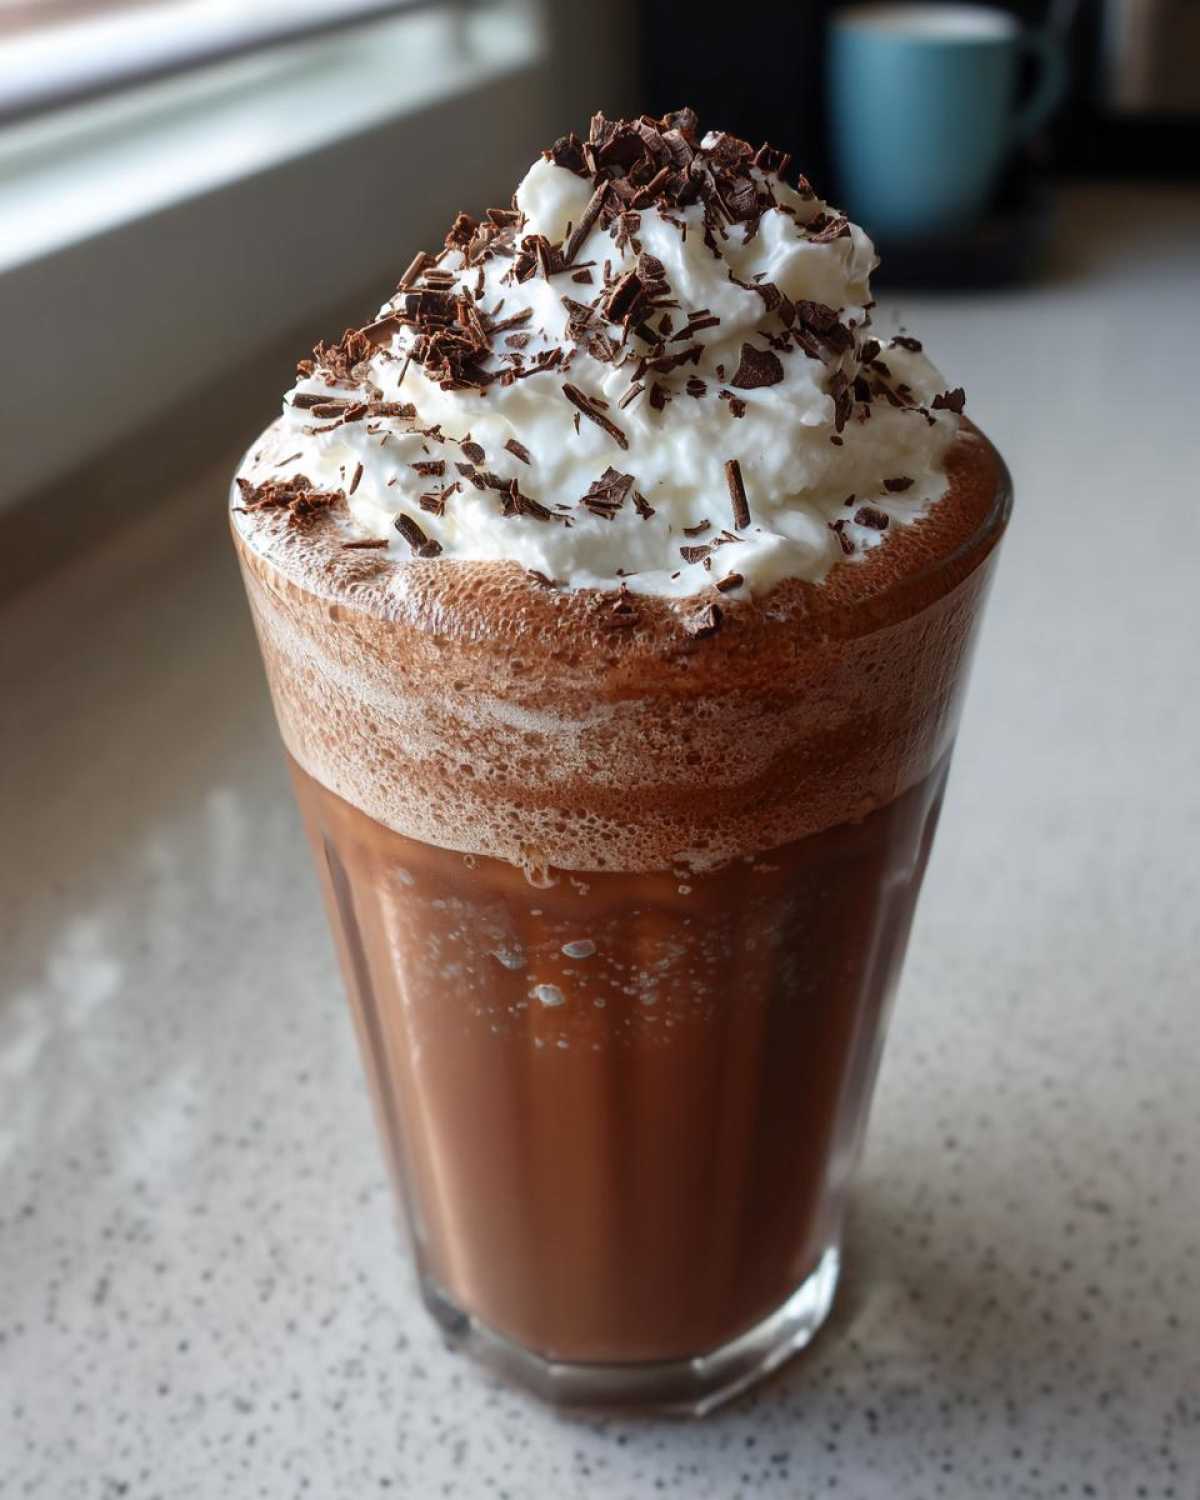
Ingredient Notes and Substitutions for Your Frozen Hot Chocolate
While the base is super simple, you can tweak it to make it exactly what you want. If you’re looking for that ultra-decadent, café-style experience, you need to know about enhancements. I always suggest using a hot cocoa mix you already love because that flavor profile is what carries the whole drink.
If the standard recipe feels a little too light, here’s how you punch up the flavor to mimic the famous ones out there. To nail that rich, slightly deeper chocolate flavor you often find in places like Panera, sneak in a little extra richness. You can swap out a quarter cup of milk for chocolate milk, or simply drop in about a tablespoon of chocolate syrup before you blend. That makes this the perfect Copycat Frozen Hot Chocolate experience without any extra planning!
Also, don’t use pre-made chocolate milk if you are using chocolate syrup already, or it gets a little too sweet too fast. When in doubt, stick to the base three—it works every single time!
Step-by-Step Instructions for Perfect Frozen Hot Chocolate
Now for the best part—the actual making! Since Jacob handles the blending part (he’s better at securing the lid the first time, I swear!), I usually manage the ingredient measuring. Precision matters here, even for something this simple. Don’t rush the loading process; you want everything balanced in the pitcher of your Blender Chocolate Recipe right from the start.
- First, gather your three main players: the cold milk, the ice cubes, and that essential hot cocoa mix. Make sure your milk measurement is level, because that liquid-to-ice ratio is critical!
- Carefully introduce everything to the blender jug. Milk goes in first usually, then the ice, and finally, the cocoa mix on top.
- Secure that lid *super* tight—yes, I’m looking at you, Jacob! Start the blender on a low setting or pulse a few times just to break up the ice before moving up to high speed.
- You are looking for a texture that stops flowing freely. Blend until it’s completely seamless and thick, almost like soft-serve ice cream. This usually takes about 45 seconds to a minute max. Stop blending the second it looks perfectly thick!
- Scrape it down into your favorite tall glass immediately. This treat melts fast, so you want to serve it right away.
If you wait too long, you just end up with fancy iced chocolate milk, and we are aiming for frosty perfection here!
Tips for the Best Thick Frozen Chocolate
Okay, sometimes things don’t go exactly to plan, right? That’s when we have to pivot! While Jacob and I are usually pretty good at nailing the ratios, if your blender is a little weaker, or maybe your ice cubes were smaller than average, you might end up with something that’s closer to chocolate water than dessert. No panic needed!
If you hit that runny stage, here’s my top tip for salvaging the situation and getting that amazing Thick Frozen Chocolate texture we are aiming for. First, don’t add more milk if it’s already too thin! That just makes it worse.
Instead, you have two fantastic options:
- The Ice Cube Trick: Add 1/4 cup more ice cubes and blend for just 20 seconds. If it still isn’t thick enough, add another quarter cup. This works if you like a lot of ice flavor in your final drink.
- The Frozen Base Secret: This is my absolute favorite hack, and it requires one millimeter of planning! If you want the richest, thickest texture without watering down the flavor, start using frozen milk cubes instead of regular ice. You just pour the milk into an ice tray and freeze overnight. When you blend those cubes with the cocoa mix, the resulting drink is dense, creamy, and stays frosty longer. It really cuts down on that watery melt factor.
If, by some extreme blender malfunction, you end up with a soupy mess that just won’t thicken, scrape the whole batch into a shallow, freezer-safe dish. Pop it in for 30 minutes. When you pull it out, give it a quick scrape with a fork to break up the ice crystals, and you’ve essentially turned it into an instant chocolate slushie! It just needs a little extra love sometimes.
Serving Suggestions for Your Frozen Hot Chocolate
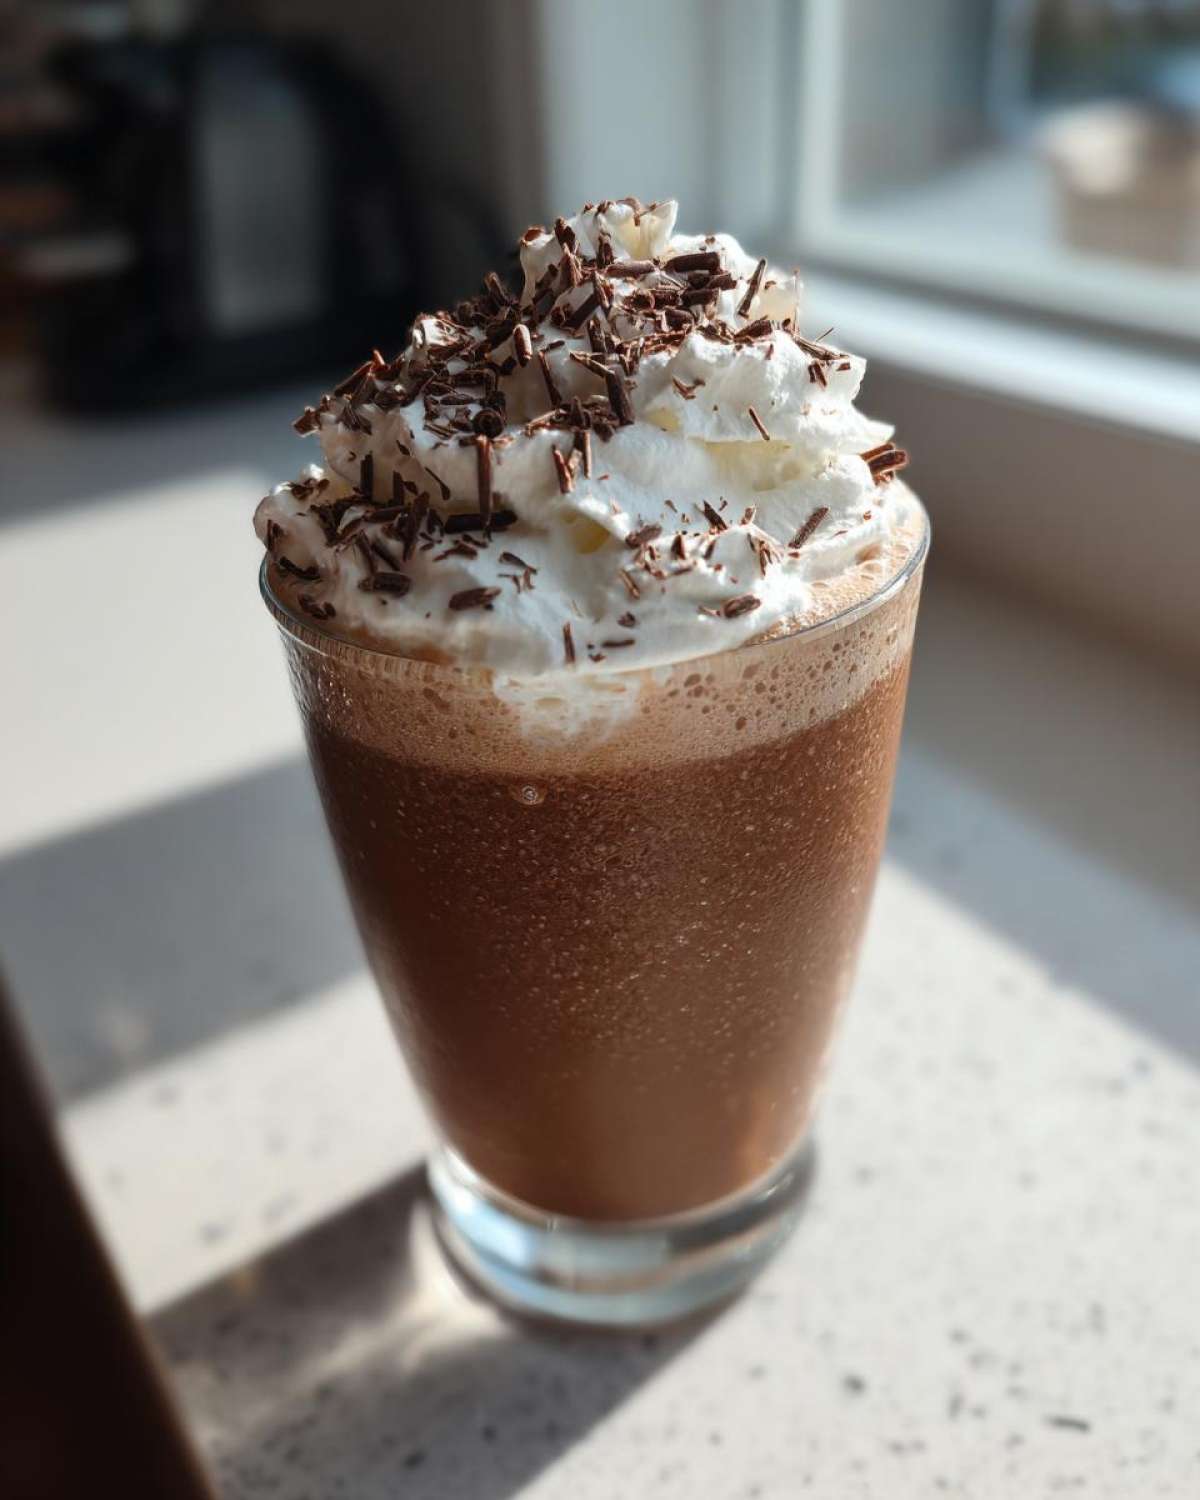
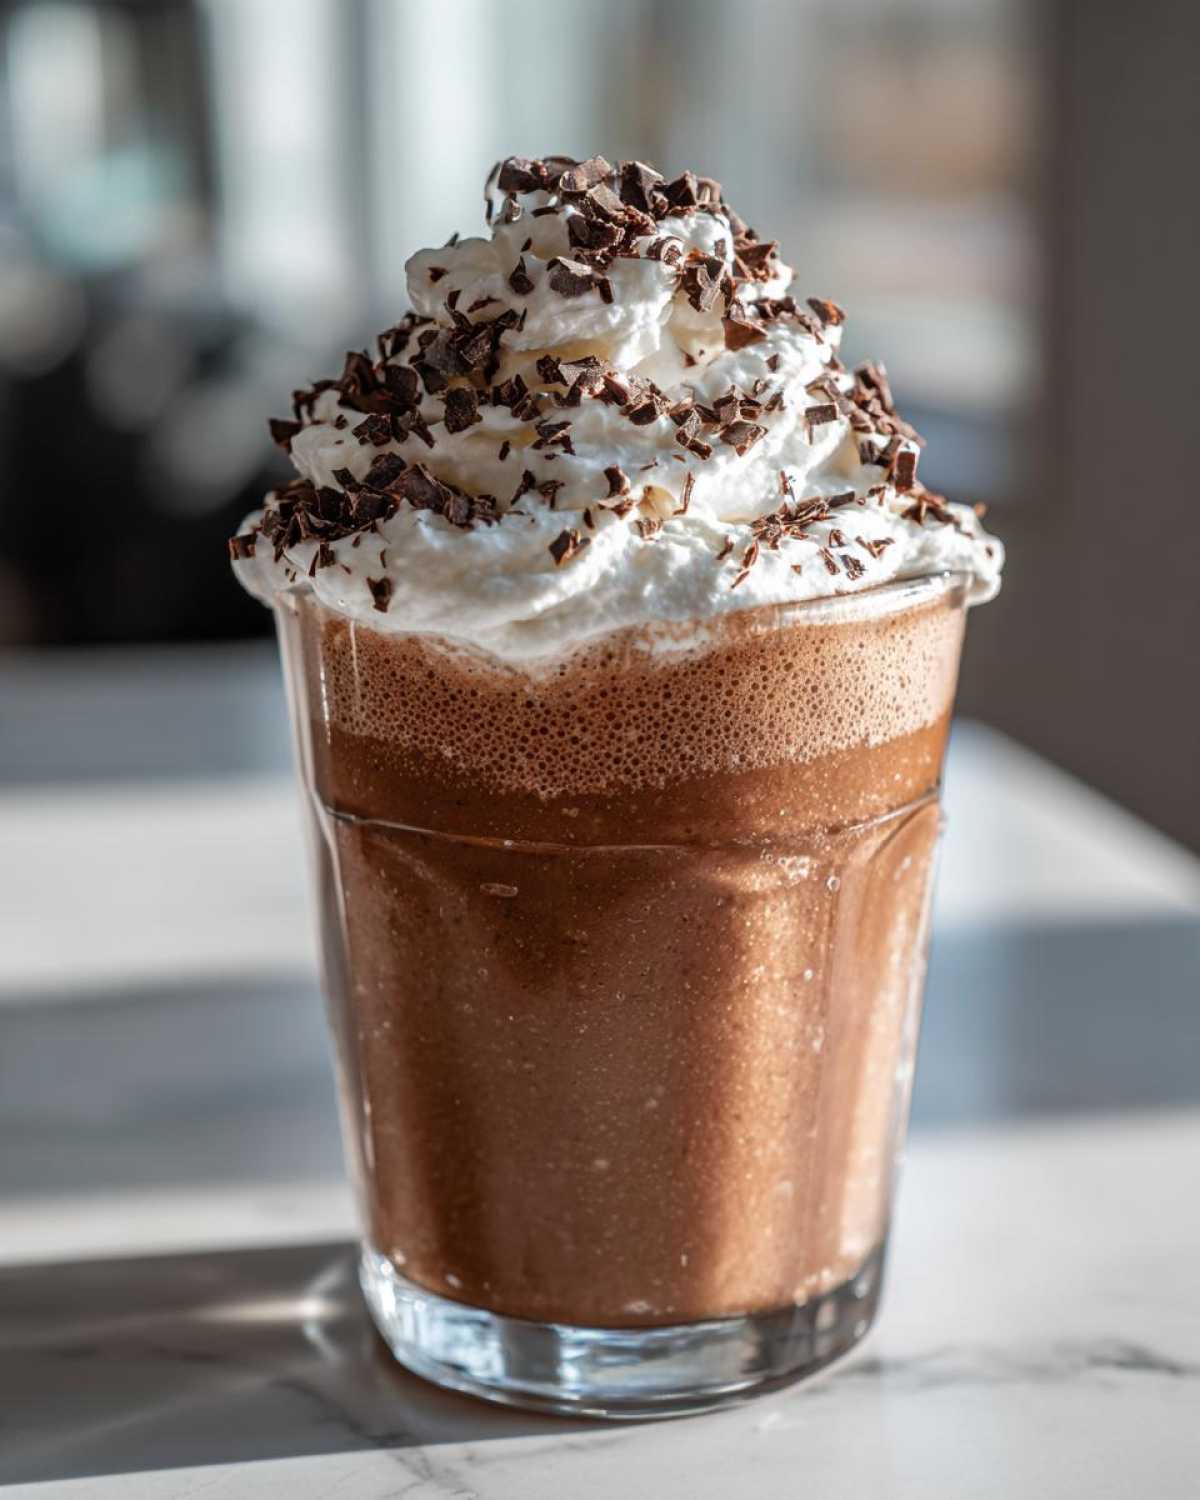
Presentation is everything, especially when you’re making something this indulgent! Listen, this amazing Summer Chocolate Drink deserves to look as good as it tastes. I’m not kidding when I say a mountain of whipped cream and a generous shower of dark chocolate curls makes this feel like a million-dollar dessert. Serve it immediately in tall, chilled glasses so everyone can admire the texture before diving in. Whether you’re cooling down on a scorching day or settling in for a family movie night, presenting a perfect glass of frozen hot chocolate just makes the moment feel special.
Making Your Frozen Hot Chocolate Kid Friendly
Kids absolutely adore this recipe, which is why it’s one of my go-to projects when Jacob’s nephews are over. The easiest way to make it kid-friendly is to dial back on intensity—use a milder hot cocoa mix, or skip the optional chocolate syrup addition we talked about earlier. For maximum fun, give them their own station for toppings! Marshmallows, sprinkles, mini chocolate chips—let them decorate their glass however they like. It turns dessert into a creative activity, and honestly, they eat (drink?) it up faster when they’ve been in charge of the final look!
Storage and Make-Ahead Advice for Frozen Hot Chocolate
Okay, let’s talk reality here. Since this is a blended treat made with ice, it falls into the category of things that are 100% best when served the second they come out of the blender. If you have leftovers, I won’t tell anyone, but you need to know they probably won’t be the amazing, thick, creamy texture we worked so hard to achieve.
If you end up with anything left in the glass, just pour it into a small freezer-safe container and stick it in the back of the freezer. When you want to eat it later, you’ll need to scrape it with a fork to break up those hard ice crystals. It turns into more of a slushy texture, but hey, it’s still chocolate!
However, I’ve learned that a solid plan beats a scramble any day. If you’re hosting a gathering, you can absolutely turn this entire concept into a prepped, No Bake Frozen Dessert waiting to happen. Here’s what I learned from Jacob after he tried to prep large batches the night before a BBQ:
- Pre-Mix Your Dry Ingredients: Measure out all your hot cocoa mix into a sealed container or zip-top bag. You can store this right on the counter for weeks. When you’re ready to serve, just dump the mix, the milk, and fresh ice into the blender. This saves you time when the heat is on!
- The Frozen Milk Base Hack: Remember how I told you to freeze your milk into cubes for a thicker result? Do that ahead of time! Store those frozen milk cubes in a large freezer bag. When you decide to make the chocolate drink, just grab the milk cubes, the cocoa mix, and blend. You skip both the ice and the initial chilling time for the liquid, which is a huge win.
My advice is this: never try to store the blended drink itself. Always build it fresh. But if you prep the ingredients ahead of time, you’re back to that 5-minute magic window, and that feels like a successful project to me!
Frequently Asked Questions About Frozen Hot Chocolate
I know you might have a few specific questions floating around before you dive in. Planning means anticipating problems, right? Jacob usually teases me for having a question ready for every possible outcome, but honestly, prepping for contingencies is why our projects usually go smoothly! Here are some of the most common things people ask when they want to make this Easy Frozen Hot Cocoa.
Can I make this Easy Frozen Hot Cocoa without a Blender?
That’s a super honest question! While the blender is what creates that signature, impossibly creamy texture, you *can* make a version without one—it just won’t be quite as thick. If you don’t have a blender, my advice is to use crushed ice instead of whole cubes. Put your milk, cocoa mix, and crushed ice into a sturdy jar with a tight-fitting lid. Then, shake it like you mean it! Shake hard for at least two minutes. It will be closer to an iced chocolate milk, but shaken vigorously with good ice, it will develop a nice froth and chill down nicely. It’s not the same as our favorite Quick Cold Chocolate Beverage, but it satisfies the craving in a pinch!
How do I turn this into a Quick Cold Chocolate Beverage for a Crowd?
Scaling is where planning really pays off! You can’t just quadruple everything and dump it into a standard home blender; you risk burning out the motor, and you certainly won’t get a uniform blend. My rule is to only fill your blender about two-thirds full. If you need four servings, you’ll want to blend two separate batches back-to-back. Keep Batch One in a pre-chilled glass; it doesn’t take long for the ice to melt slightly, so you want it to go straight to drinking!
If you are seriously making this for a party, I’d recommend prepping everything ahead of time (like those frozen milk cubes we talked about!), storing the mixed ingredients in the fridge, and then just running back-to-back blends as your guests arrive. Make sure you clean the blender pitcher quickly between batches so the residue doesn’t affect the flavor of the next round. That way, you keep that “made-to-order” perfection, no matter how many people you’re serving!
Nutritional Snapshot of This Homemade Frozen Treats
Okay, since Jacob and I treat every recipe here like a serious project, that includes knowing what we are putting into our bodies! While I usually obsess over calories when planning, sometimes you just need a truly indulgent treat. This Homemade Frozen Treats recipe is definitely in the indulgent category because of the hot cocoa mix sometimes, but it’s so quick, it’s worth it.
Here is a general snapshot of what you’re looking at for one serving based on our standard ingredients (using whole milk and a standard 2-tablespoon cocoa mix serving). Remember, this is just an estimate, just like when Jacob guesses how long to roast a chicken!
These numbers will change depending on the brand of mix you use, so take this as a friendly guideline, not gospel:
- Serving Size: 1 serving
- Calories: About 280
- Fat: 8g (with 5g being saturated fat)
- Carbohydrates: 48g
- Sugar: 45g (Yes, it’s high! It’s a dessert shake, after all.)
- Protein: 7g
See? Definitely a treat! But because you control the ingredients—you can swap whole milk for skim, or use a lower-sugar hot cocoa mix—you have total control over the final plan. That’s the beauty of making things at home!
Share Your Perfect Frozen Hot Chocolate Creation
That’s it, friend! You have successfully executed The Easiest 3-Ingredient Creamy Frozen Hot Chocolate Recipe! I’m so genuinely excited for you to taste this. If you followed our little plan, you should be sitting there right now with the best frozen hot chocolate you’ve ever made—and seriously, it took barely any time at all!
Here is where you step in and turn this recipe from just a plan on paper into a completed project for our portfolio. I would be absolutely thrilled if you would try this out today. If you loved the creamy texture and the speed, please, please come back and leave us a rating! Five stars is always nice, but honestly, just constructive feedback helps Jacob and me keep improving our collection.
And if you snap a photo of your magnificent, whipped-cream-topped creation? Tag us! We live for seeing how you style your finished dishes. We love sharing our successes, and you can find a link to another one of our favorite simple projects right here: Easy Oven Baked BBQ Chicken Recipe. If you want to see how others are enjoying their summer sips, check out this fun one I found while researching; it’s similar but maybe gives you another fun weekend twist to try out later: Frozen Hot Chocolate inspiration.
We build this portfolio one delicious success at a time, and you being part of that means the world to us. Go grab that chocolatey goodness, enjoy every sip, and know we cheered you on from afar! Don’t forget to save these steps if you want to make it again next week!
Until our next kitchen project, happy blending!
PrintThe Easiest 3-Ingredient Creamy Frozen Hot Chocolate Recipe
Make this incredibly creamy frozen hot chocolate in under five minutes using only three simple ingredients. It is the perfect quick blended chocolate dessert for beating the summer heat or enjoying as a decadent, no bake frozen dessert anytime.
- Prep Time: 2 min
- Cook Time: 0 min
- Total Time: 2 min
- Yield: 1 large serving
- Category: Dessert Drink
- Method: Blending
- Cuisine: American
- Diet: Vegetarian
Ingredients
- 1 cup milk (any kind works)
- 1 cup ice cubes
- 1/2 cup hot cocoa mix (use your favorite brand)
- Whipped cream and chocolate curls for topping (optional)
Instructions
- Gather your three main ingredients: milk, ice, and hot cocoa mix.
- Place the milk, ice cubes, and hot cocoa mix into your blender.
- Secure the lid and blend on high speed until the mixture is completely smooth and thick, resembling a frosty shake. This should take about 30 to 60 seconds.
- Pour the creamy frozen hot chocolate immediately into your serving glasses.
- Top generously with whipped cream and a sprinkle of chocolate curls, if desired, for the ultimate treat. Serve right away.
Notes
- For a richer, Panera-style copycat frozen hot chocolate, substitute 1/4 cup of the milk with 1/4 cup of chocolate milk or add one tablespoon of chocolate syrup before blending.
- If the mixture is too thick, add milk one tablespoon at a time until you reach your desired consistency.
- Use frozen milk cubes instead of regular ice for an even thicker, less watery result.
Nutrition
- Serving Size: 1 serving
- Calories: 280
- Sugar: 45g
- Sodium: 150mg
- Fat: 8g
- Saturated Fat: 5g
- Unsaturated Fat: 3g
- Trans Fat: 0g
- Carbohydrates: 48g
- Fiber: 2g
- Protein: 7g
- Cholesterol: 25mg