

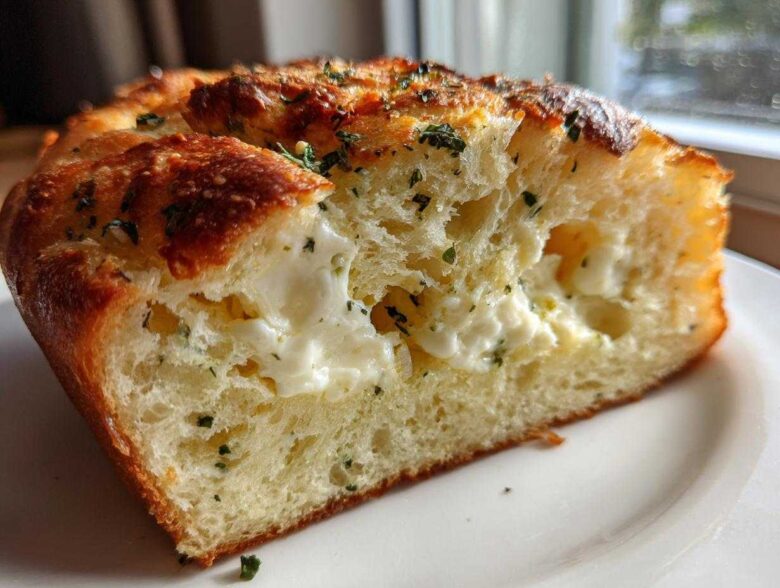
Oh my goodness, have you ever walked into your kitchen when a fresh loaf of bread is baking? That aroma of toasted grains mixed with savory herbs? It’s instantly comforting, right? Well, Jacob and I have perfected a way to get that amazing smell with almost zero effort, which is huge for me since I love planning everything down to the minute. Forget kneading and shaping; this recipe is all about setting the timer and walking away! This easy Italian herb and cheese bread recipe is a game-changer for any new baker. It proves that Amelia’s planning skills and Jacob’s artistic touch can create something truly delicious, even when the machine does most of the heavy lifting for us.
Why This Italian Herb and Cheese Bread is Your Next Beginner Bread Machine Favorite
When I first started documenting our cooking projects, I needed something foolproof, and that’s exactly what this bread machine herb bread turned out to be. It’s one of our go-to easy bread machine recipes because it manages the tricky rising and baking cycles perfectly for us. You just load it up and trust the process! This recipe is designed specifically for the beginner bread machine user!
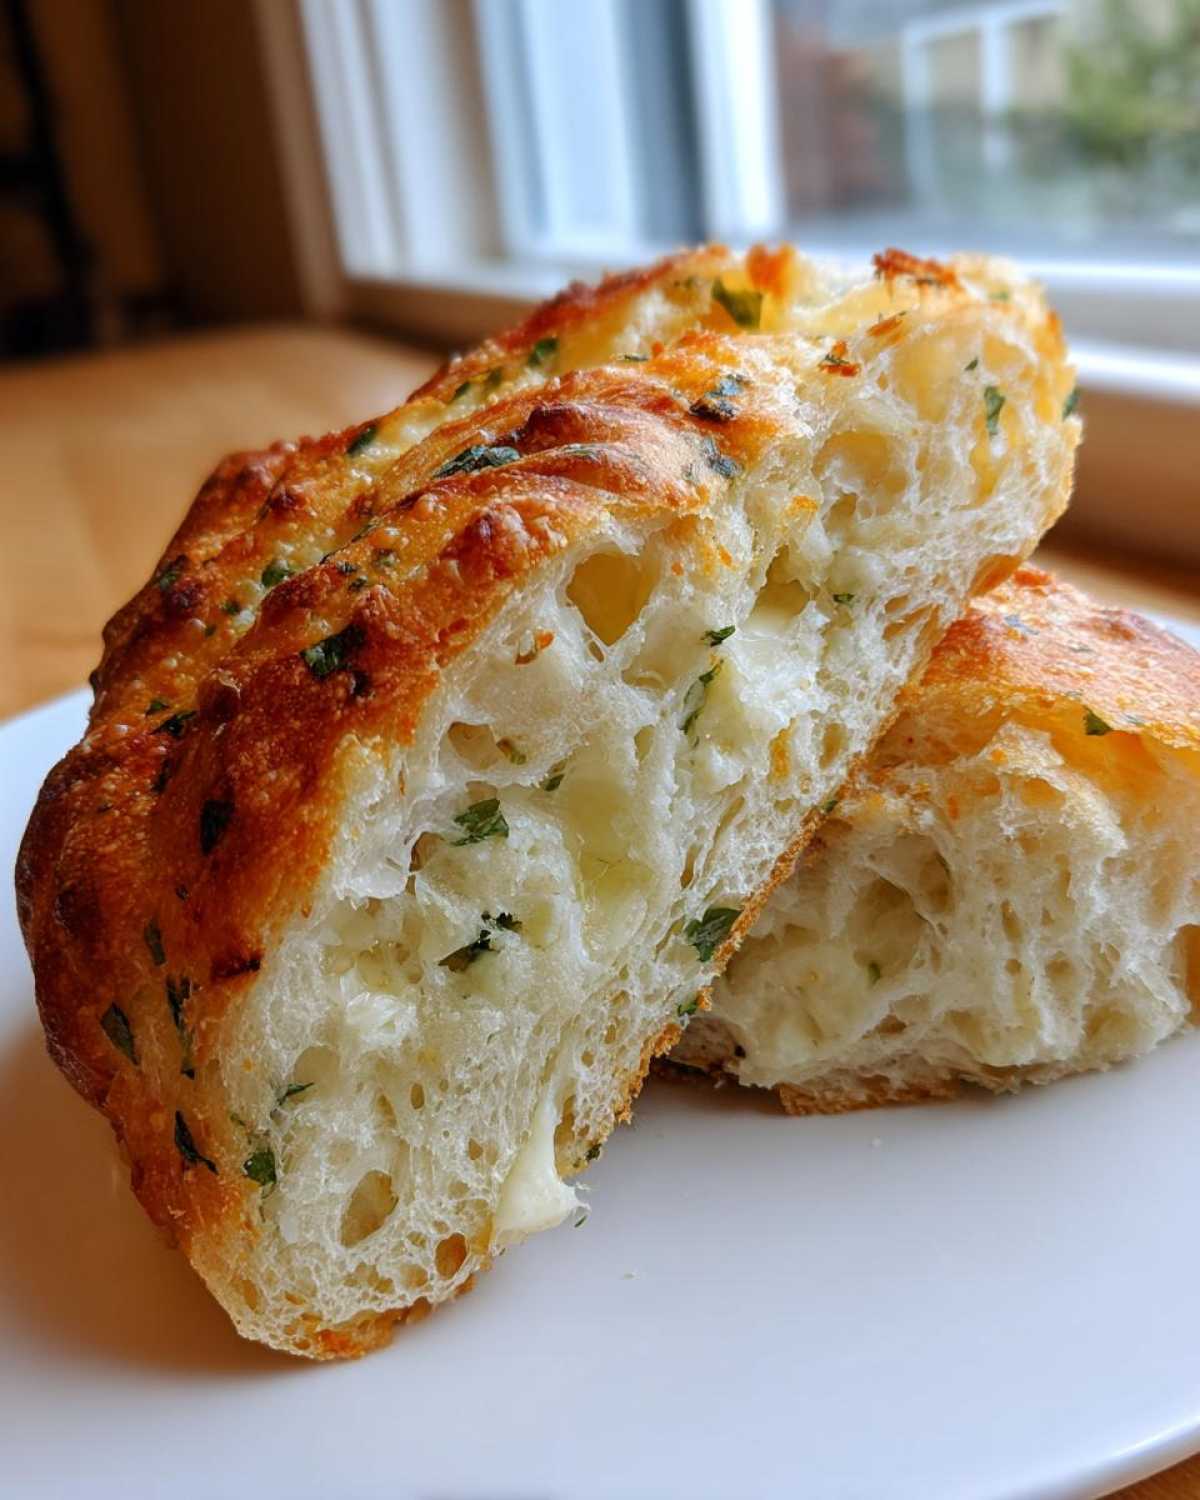
Perfectly Sliceable Sandwich Loaf Texture
One of my biggest worries when baking savory bread was getting a crumb that collapsed when sliced. But because the bread machine controls the kneading and rising so precisely, this loaf comes out beautifully structured every time. It’s the perfect density for making an amazing sandwich loaf, holding up nicely to turkey or even a thick smear of butter without getting squashed.
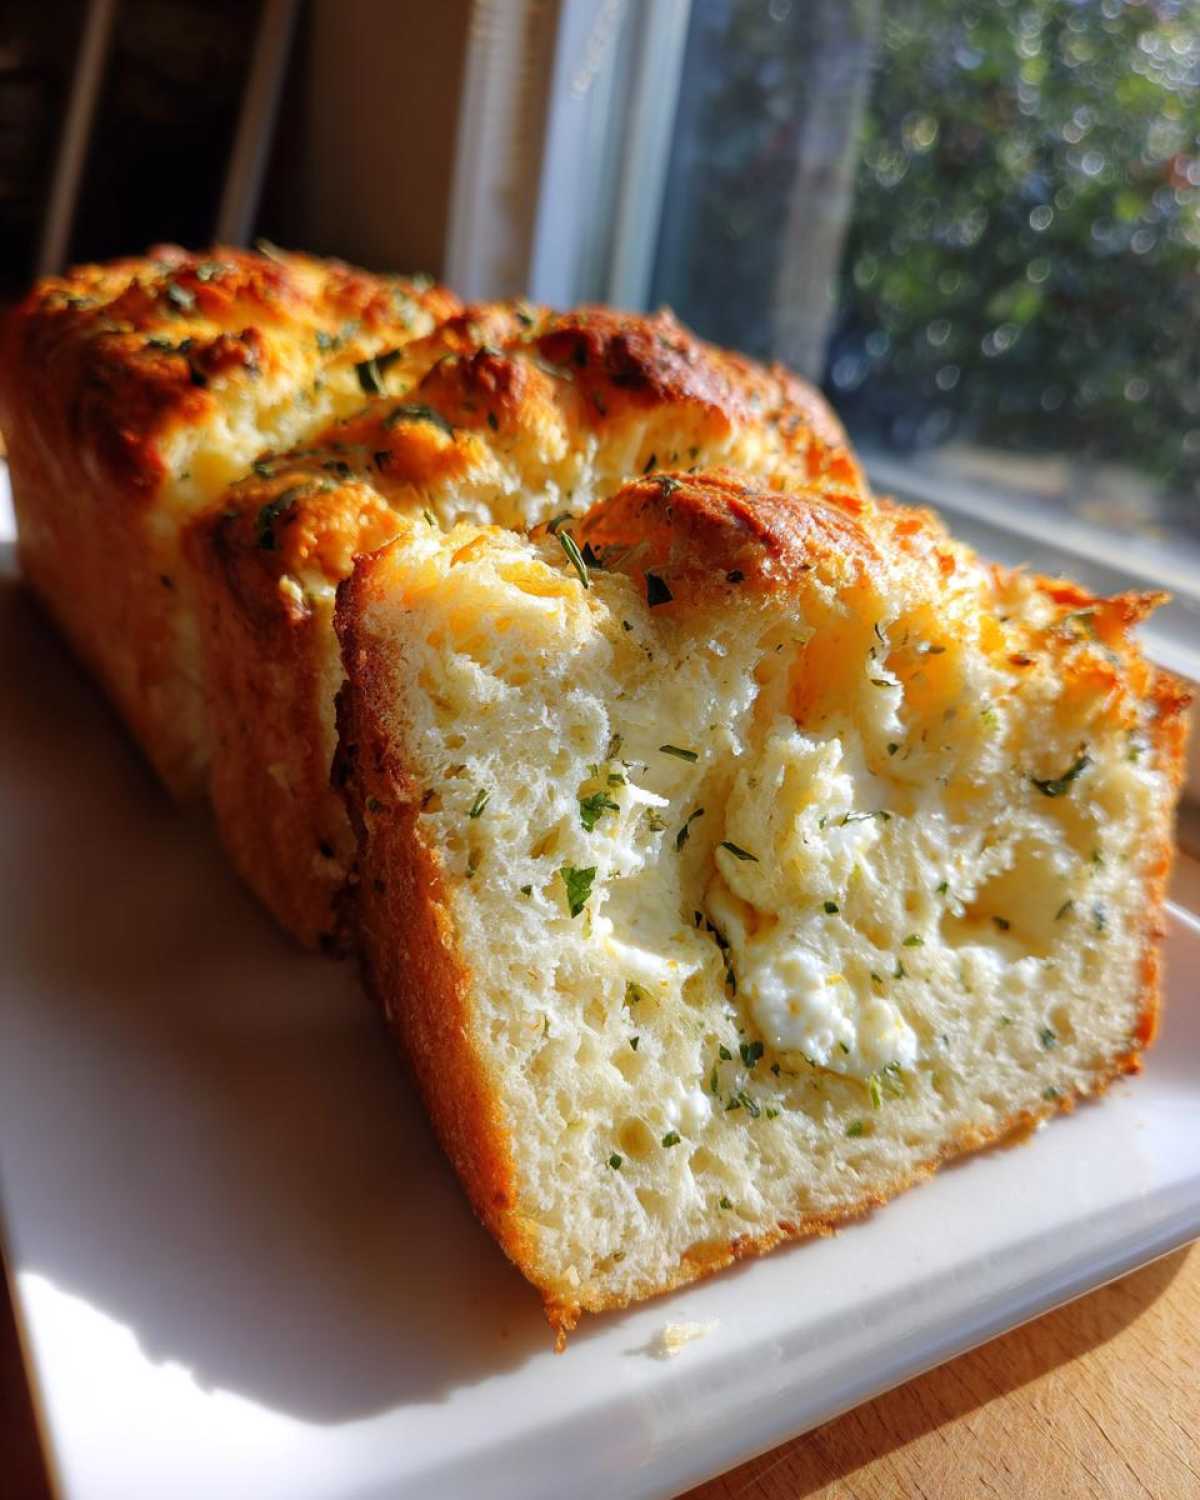
Gathering Ingredients for Your Italian Herb and Cheese Bread
When Jacob and I planned this project, the first step was making sure every ingredient was exactly right. I can’t stress enough how important a quality list is for success—that’s just how my planning brain works! For this amazing Italian herb and cheese bread, you need that warm water between 105 and 115°F so the yeast wakes up happy. Make sure both your Parmesan and mozzarella cheeses are beautifully shredded.
Ingredient Clarity and Notes
Listen, use bread flour; don’t even think about swapping it for all-purpose here unless you absolutely have to. Bread flour builds the structure we need for a good rise! Also, notice we divide the Parmesan—it’s crucial! You’ll use a quarter cup during the first mix-in signal, and the last quarter cup goes in near the very end. That Italian seasoning blend gives us that wonderful rosemary oregano bread flavor profile we were aiming for.
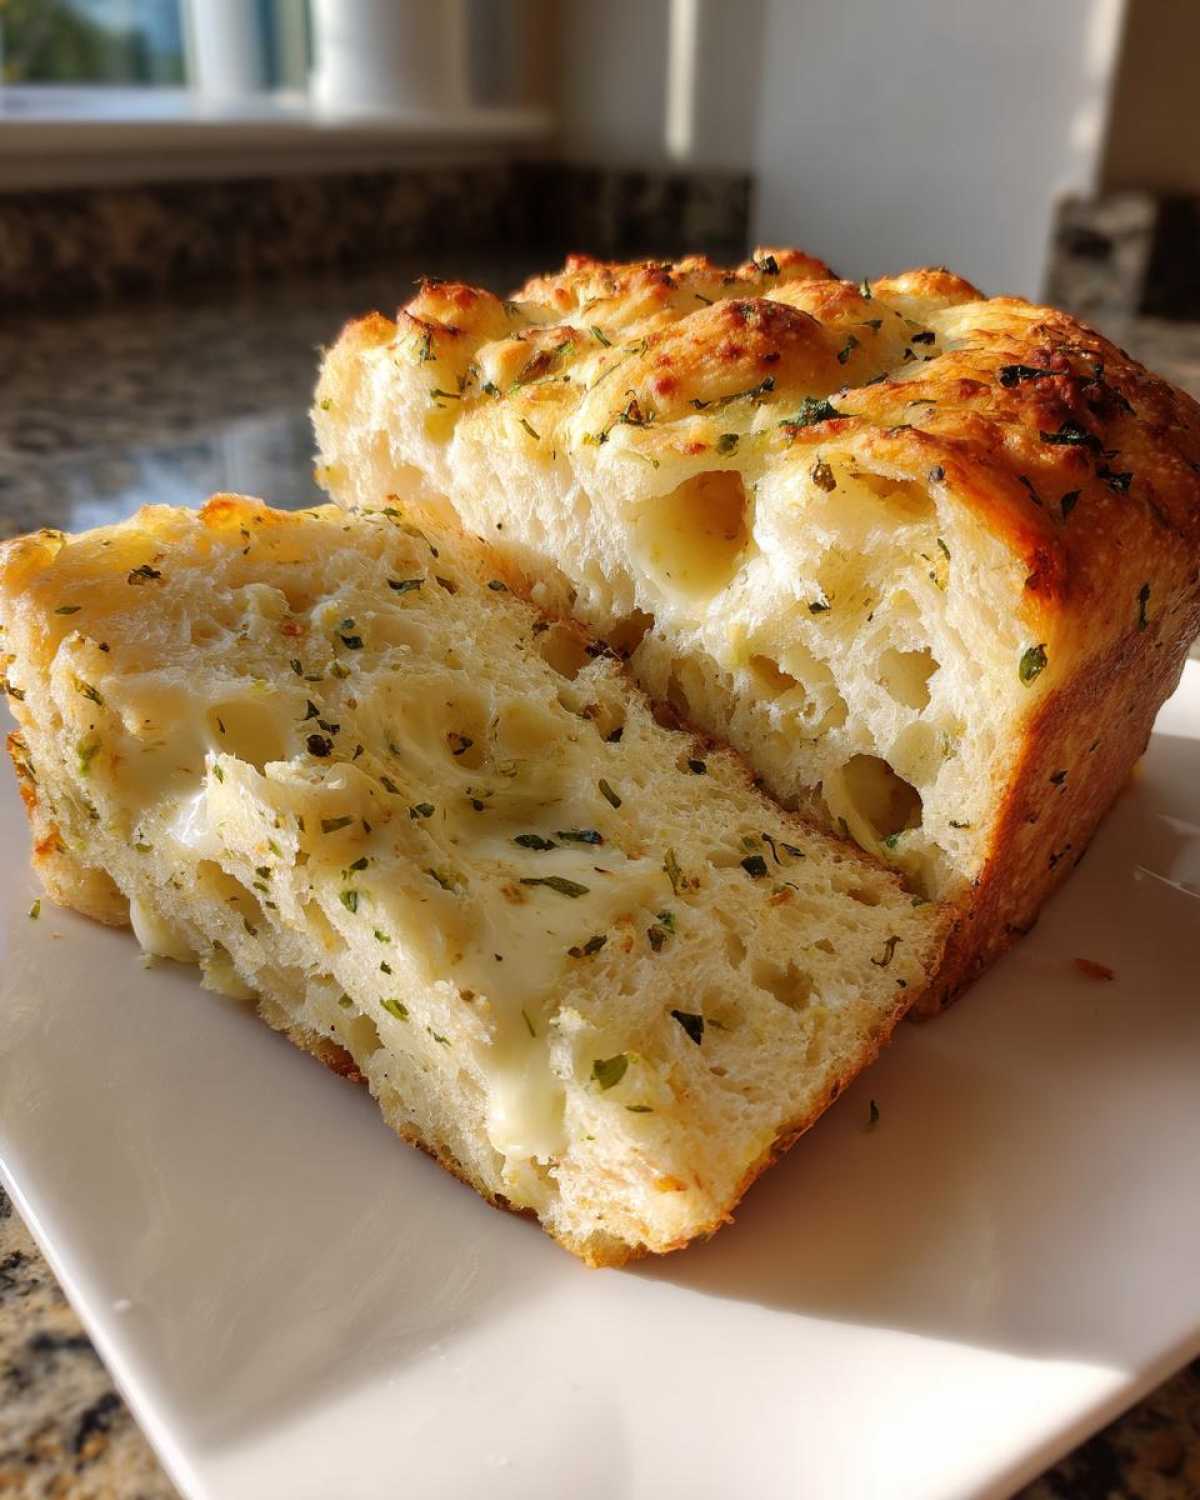
Step-by-Step Instructions for Your Bread Machine Herb Bread
Okay, Jacob always jokes that my instruction charts are highly detailed, but trust me, when dealing with a machine, precision in layering is everything for a successful bread machine herb bread. If your machine is anything like ours, the order you load things in definitely impacts the final rise. We’re sticking to the standard procedure here, but definitely double-check your machine’s specific guide just in case!
Loading Liquids and Dry Ingredients First
First things first: liquids go in! Pour in your warm water and that lovely olive oil. Then, dump in all your dry goods—that’s the bread flour, the salt, and the sugar. Now, here’s the trick according to my diagrams: create a little crater, or well, right in the middle of the flour mound. Your yeast gets dropped *gently* into that well. We want the yeast to wait patiently and not touch the liquid until the machine starts mixing things up!
Timing the Herb and Parmesan Herb Bread Additions
This is where the magic happens, and you have to listen for the machine’s beep! Once the initial kneading is done, you’ll get the first signal. That’s when you toss in the Italian seasoning, the garlic powder, and the first quarter cup of your Parmesan. Then, you wait again! The second, later signal—usually right before the final rest before baking—is for the soft stuff. Drop in the mozzarella and the remaining Parmesan. Don’t stir or poke; just let the machine fold those cheesy pockets in during that last gentle knead. It gives the final loaf that perfect parmesan herb bread swirl.
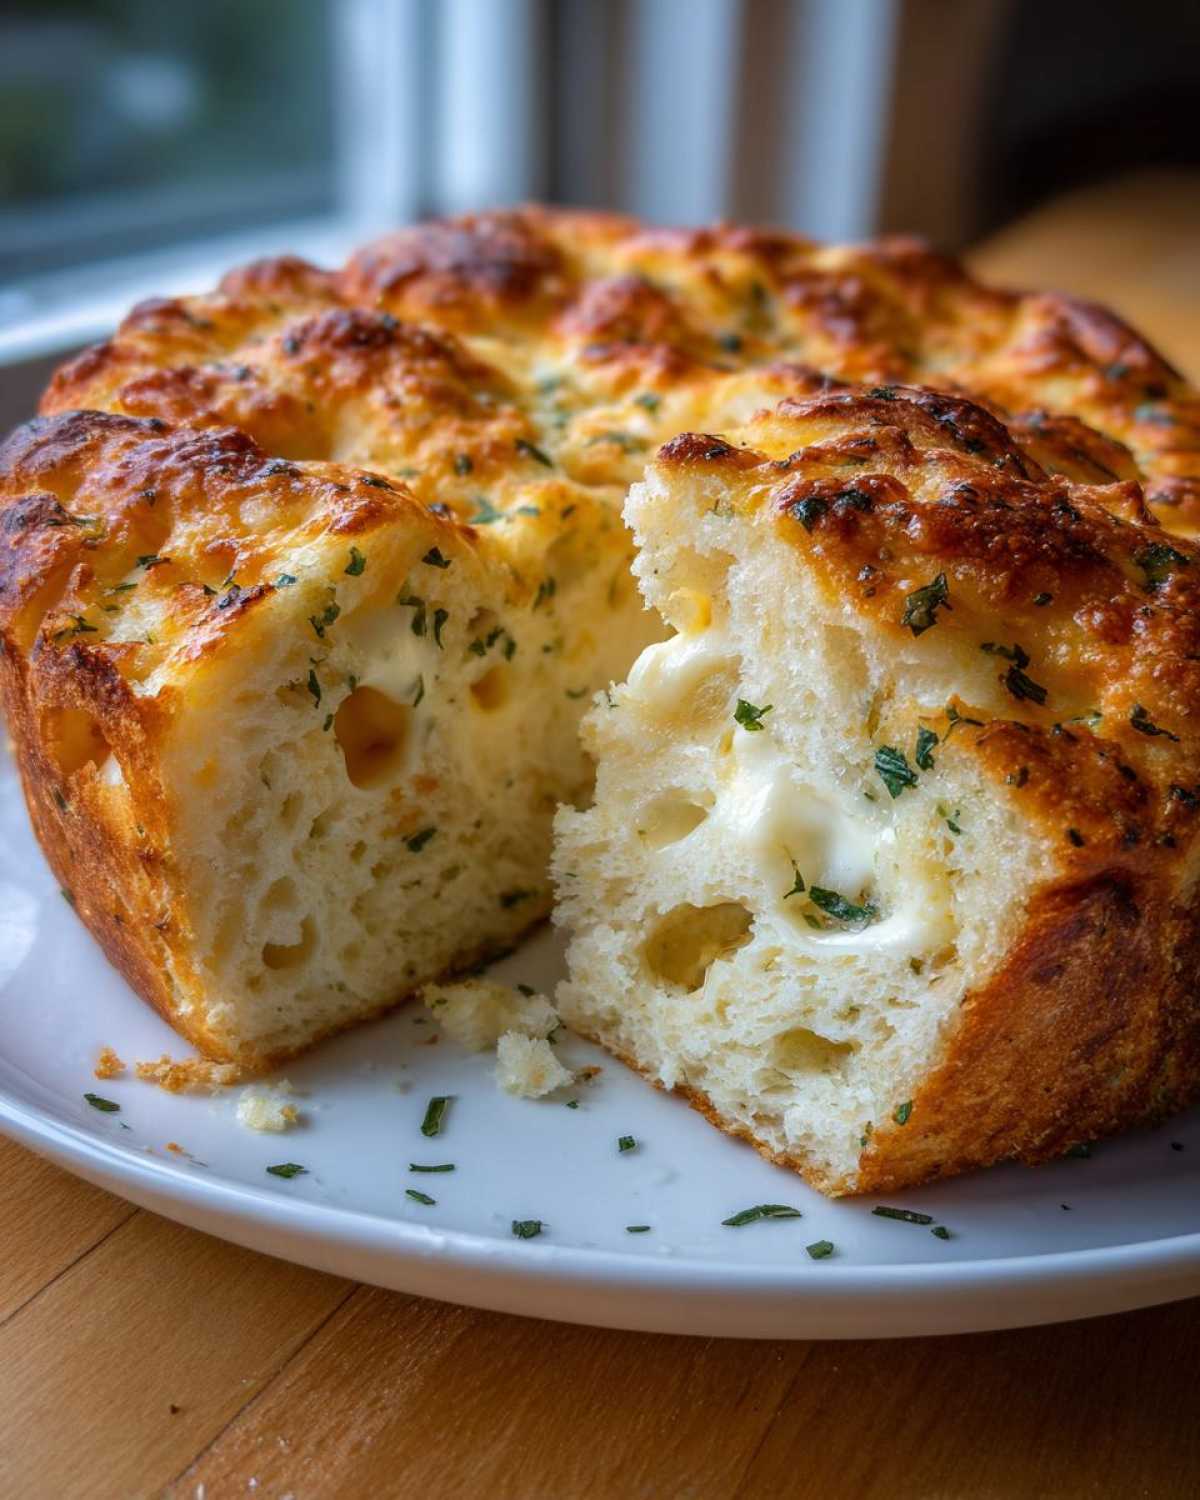
Once all the beeps are done, carefully turn the pan out onto a cooling rack. Don’t be tempted to slice it hot, or you’ll just end up with mushy slices! If you want a lovely companion for this bread, check out my notes on making the easiest homemade garlic butter!
Expert Tips for Perfect Parmesan Herb Bread Every Time
Even with a machine doing the hard work, there are a few little things Jacob and I learned early on that elevate this recipe from good to *wow*. It’s all about quality control, which is right up my planning alley! We found that using fresh yeast makes a huge difference in that final rise; if your yeast is old, your beautiful parmesan herb bread might just turn into a dense brick, and nobody wants that failure on their portfolio!
Achieving the Best Garlic Herb Bread Flavor
If you want to really punch up the savory notes, try this little trick Jacob suggested when we were testing for stronger flavor profiles. If your machine has a very short initial mix phase, try stirring your dried Italian seasoning and garlic powder together in a dry, warm skillet for about thirty seconds before adding them. Warming the herbs slightly releases so much more aromatic oil. It really maximizes that garlic herb bread taste before the machine even starts its real kneading!
If you want to see more of our project successes, check out the rest of our recipe portfolio. Sometimes a little structure helps unlock amazing creativity!
Serving and Storing Your Cheesy Dinner Bread
The biggest challenge after baking this loaf is waiting for it to cool! Seriously, slicing this beautiful cheesy dinner bread when it’s hot is a recipe for disaster—the steam needs to settle, or you just get crumbs everywhere. Make sure you let it cool completely on that wire rack; it’s non-negotiable for a perfect sandwich loaf!
Once it is totally cool, this bread is versatile. It’s fantastic sliced thick and served alongside soup or stew—perfect for dipping! Or, you can use it for your everyday sandwiches. For storage, we keep leftovers in an airtight container right on the counter for about three days. It stays surprisingly soft! If you want to really dress it up for dinner, try spreading some homemade garlic goodness on top; Jacob loves using the garlic butter we perfected last month!
Troubleshooting Common Italian Herb and Cheese Bread Issues
Even when I plan meticulously, sometimes the bread machine has other ideas! Don’t panic if your beautiful Italian herb and cheese bread doesn’t look perfect right out of the pan, though. A dense loaf usually means one of two things: your yeast wasn’t active, or maybe the water was too hot and killed it off before it could work its magic. If your yeast didn’t activate, try warming your water slightly hotter next time, or making sure that yeast is fresh!
If the machine beeped for mix-ins but nothing seemed to happen, check your yeast placement—it really needs to be perched on top of the flour. Also, ensure those cheeses don’t creep into the yeast well prematurely, or you’ll end up with a very cheesy, very flat spot in the middle of your otherwise perfect savory loaf!
Frequently Asked Questions About This Bread Machine Herb Bread
I know when I start a new project, I have a million little questions that just pop up! Jacob always tells me to write them down immediately, so I tried to compile the ones we get most often about our various easy bread machine recipes. This takes all the guesswork out of making your best bread machine herb bread yet!
Can I use regular All-Purpose Flour in this Italian Cheese Bread?
You technically can, but I strongly advise against it for structure. Bread flour has more protein, which develops better gluten strands to hold up the cheese and herbs. If you absolutely must use AP flour, try adding about a teaspoon of vital wheat gluten to the dry mix. That little boost helps it stand up better to the heavy additions!
What cycle setting is best for this Rosemary Oregano Bread?
Stick to the ‘Basic White’ cycle if you can! It gives us those longer, slow rises that result in the fluffiest loaf texture. If your machine doesn’t have a standard basic cycle but has a ‘Whole Wheat’ setting that skips a long initial rise time, you can try that, but be prepared for a slightly denser result based on how your machine handles the extra weight.
Nutritional Estimates for Your Italian Herb and Cheese Bread
Now, one thing Jacob always reminds me when I’m cataloging ingredients is that these numbers are just estimates based on standard calculations—they aren’t laboratory-tested, of course! But knowing the basics helps when planning meals for the week. Based on 14 slices per loaf, here is a snapshot of what you are looking at for this savory loaf.
- Serving Size: 1 slice
- Calories: 180
- Fat: 5g (including 2g saturated)
- Carbohydrates: 28g
- Protein: 7g
It’s a wonderfully tasty side that doesn’t totally derail your weekday nutrition goals, which is a win in my book!
Share Your Italian Herb and Cheese Bread Masterpiece
Okay, project complete! I’ve planned it, Jacob made it happen in the machine, and now it’s time for you to try it! We love seeing your finished loaves. Once you’ve sliced into this amazing Italian herb and cheese bread, please jump down below and leave a rating right on the recipe card.
Tell us if you used the Basic White cycle or tweaked it for your specific model. Every comment helps us curate the perfect portfolio for everyone! Happy baking, my friends!
PrintEasy Bread Machine Italian Herb and Cheese Loaf
Make a flavorful, sliceable Italian herb and cheese bread right in your bread machine. This recipe is perfect for beginners and yields a great sandwich loaf or dinner side.
- Prep Time: 10 min
- Cook Time: 3 hr 30 min (machine cycle time)
- Total Time: 3 hr 40 min
- Yield: 1 loaf
- Category: Baking
- Method: Bread Machine
- Cuisine: Italian
- Diet: Vegetarian
Ingredients
- 1 cup warm water (105-115°F)
- 2 tablespoons olive oil
- 2 1/2 cups bread flour
- 1 1/2 teaspoons salt
- 2 tablespoons granulated sugar
- 1 1/2 teaspoons active dry yeast
- 1 tablespoon dried Italian seasoning blend
- 1 teaspoon garlic powder
- 1/2 cup shredded Parmesan cheese, divided
- 1/2 cup shredded mozzarella cheese
Instructions
- Add the warm water and olive oil to your bread machine pan in the order recommended by your manufacturer.
- Add the bread flour, salt, and sugar to the pan. Create a small well in the center of the flour.
- Add the active dry yeast into the well you created. Do not let the yeast touch the liquid yet.
- Select the Basic White Bread cycle on your machine. Set the crust color to medium.
- When the machine signals for mix-ins (usually after the initial kneading phase), add the dried Italian seasoning blend, garlic powder, and 1/4 cup of the Parmesan cheese.
- When the machine signals for the final additions (usually before the last rise), add the mozzarella cheese and the remaining 1/4 cup of Parmesan cheese. Do not stir them in; let the machine incorporate them during the final kneading.
- Allow the bread machine to complete the full cycle.
- Once the cycle is finished, carefully remove the bread pan and turn the loaf out onto a wire rack to cool completely before slicing.
Notes
- For the best results with your bread machine herb bread, use bread flour for a better rise and texture.
- If you prefer a stronger garlic flavor, you can substitute 1/2 teaspoon of garlic powder with 1 teaspoon of dried minced garlic.
- Store leftover cheesy dinner bread in an airtight container at room temperature for up to three days. It slices well for sandwiches even after a day or two.
Nutrition
- Serving Size: 1 slice
- Calories: 180
- Sugar: 2
- Sodium: 350
- Fat: 5
- Saturated Fat: 2
- Unsaturated Fat: 3
- Trans Fat: 0
- Carbohydrates: 28
- Fiber: 1
- Protein: 7
- Cholesterol: 10