

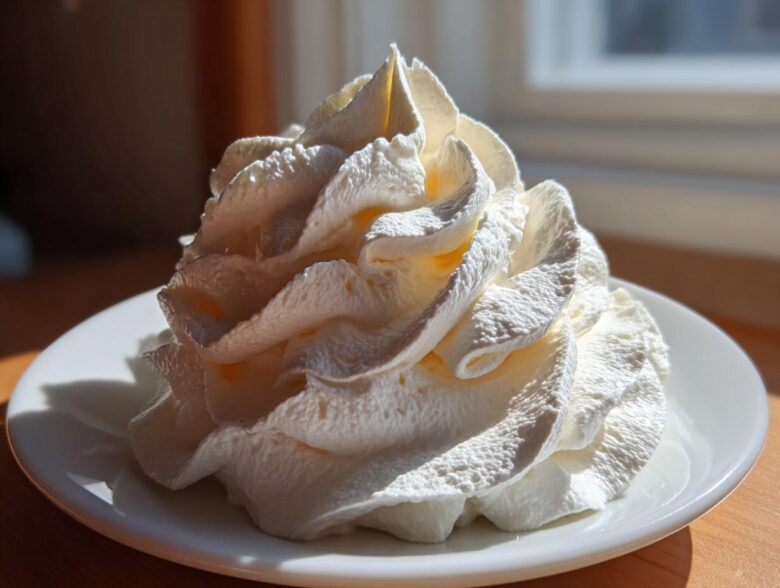
Okay, let’s talk glaze. Or, more specifically, let’s talk about the absolute king of sweet toppings: cream cheese frosting. I used to think anything that came out of a can was fine, but my focus on planning everything perfectly forced me to confront the reality: frosting is make-or-break! When Jacob and I started Taste Portfolio, achieving that elusive balance—rich flavor without being tooth-achingly sweet—was paramount. We went through countless batches, trying to eliminate lumps and get that perfect, pipeable texture, until we landed on this version. Trust me when I say this is the Best Classic Cream Cheese Frosting. It’s reliable, deeply flavorful, and it never fails us, whether it’s covering a cake or drowning warm cinnamon rolls!
Why This Cream Cheese Frosting Recipe is Your New Go-To
I know you’re probably looking for an easy cream cheese frosting recipe that actually works, right? Jacob and I spent weeks making sure this version checks every single box. We tested it until it was totally foolproof. You need something quick, something that tastes amazing, and something that holds its shape when you put it on a cupcake!
- It’s genuinely ready in under 10 minutes—a truly quick homemade frosting!
- It’s ridiculously smooth, so you never have to worry about annoying lumps.
- It has that signature, lovely tang that keeps it out of the ‘too sweet’ category.
- It whips up beautifully and sets just enough to be perfectly pipeable cream cheese frosting for decorating.
Achieving Fluffy Cream Cheese Frosting Texture
The secret to getting that gorgeous, light, impossibly fluffy cream cheese frosting texture isn’t just the ingredients; it’s the very last step! We whip this mixture on high speed for a good two to three minutes right at the end. Honestly, this step is what elevates it above a basic spread. It incorporates just enough air to make it a fantastic and smooth buttercream alternative. Say goodbye to that grainy, sad frosting forever!
The Perfect Balance in Your Tangy Cream Cheese Icing
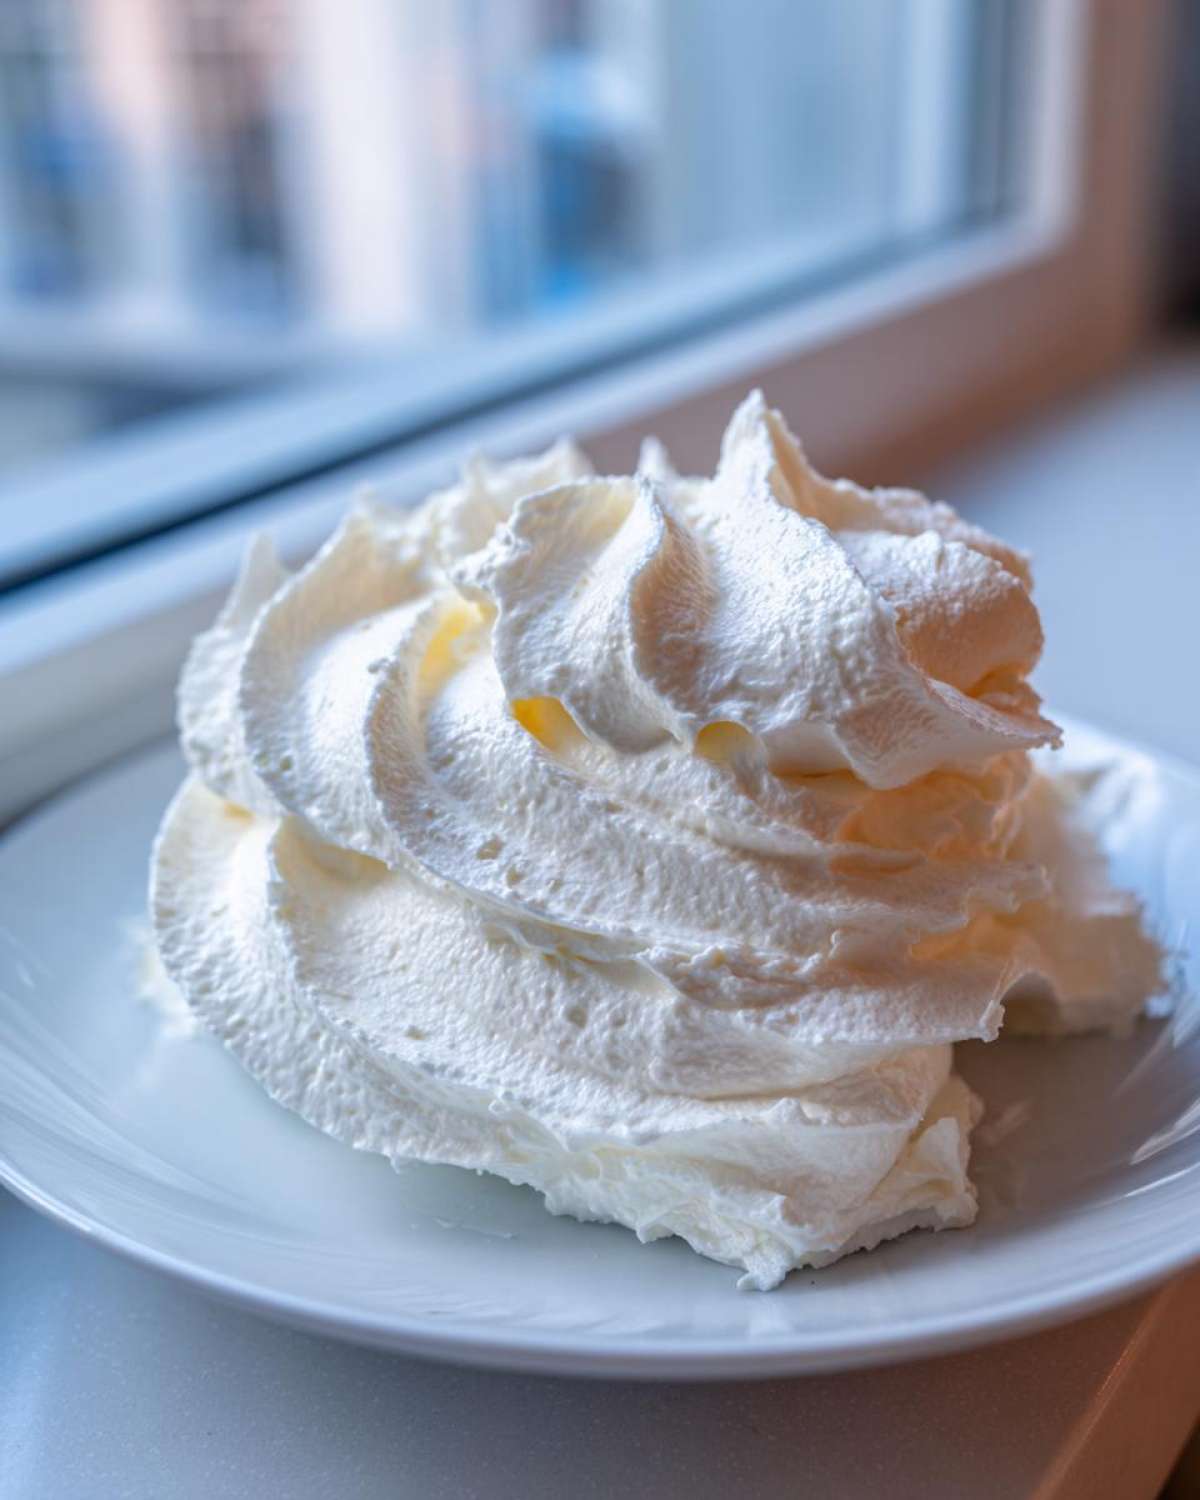
This is where most recipes go wrong. They’re either too sour or just pure sugar. My goal with this tangy cream cheese icing was pure sophistication! We use just a hint of salt and the full amount of cream cheese to cut through the sweetness of the powdered sugar. The result is rich, creamy, and it tastes like it took hours, even though it took mere minutes. It’s the perfect match for anything heavy, like carrot cake or red velvet.
Essential Ingredients for Classic Cream Cheese Frosting
Jacob always says that cheating on ingredients is like cheating on a blueprint—it just leads to collapse! For this frosting to behave perfectly, especially if you want that pipeable cream cheese frosting finish, you need the right stuff. We only use full-fat cream cheese here; anything else leaves you with a liquidy mess, which is certainly not what you want for a whipped cream cheese topping!
Here’s our required lineup for about three cups of pure magic:
- 1 cup (2 sticks) unsalted butter, must be properly softened.
- 8 ounces full-fat cream cheese, also softened—this is non-negotiable for smoothness!
- 4 cups powdered sugar, and yes, you absolutely have to sift it.
- 1 teaspoon vanilla extract.
- 1/4 teaspoon salt to balance everything out.
Making sure that butter and cream cheese aren’t cold from the fridge is the single most important step we learned making this fluffy cream cheese frosting. If they’re cold, you get lumps, and we’ve already promised you a smooth result!
Step-by-Step Guide to Making Quick Homemade Frosting
This recipe is designed to be fast—that’s why I love it for those last-minute baking emergencies! Jacob usually handles the mixer while I keep an eye on the clock. The key here is patience during the first part, even though the total time is short. We are building a structure here, so don’t rush the mixing stages!
Creaming the Base for Smooth Cream Cheese Frosting
First things first: get your softened butter and cream cheese into a good-sized bowl. You need to work these two ingredients until they are absolutely, completely smooth and creamy. I mean it! Scrape down the sides of your bowl often—this is important—and keep beating for about two full minutes. See? This initial step is the cornerstone of getting that no lump frosting later on. If you skip this and add sugar while they are still uneven, you’re setting yourself up for graininess later. We want zero graininess!
Incorporating Sugar for Pipeable Cream Cheese Frosting
Next, grab that sifted powdered sugar. You have to sift it, trust me! Start adding it in, one cup at a time, but keep your mixer speed set low. This stops a dusty explosion in your kitchen. Mix it just until it disappears into the buttery base after each addition. Once all the sugar is in, drop in your vanilla and salt. Now, crank that speed up to medium-high and beat it hard for a solid two to three minutes. That final whipping stage is what introduces the air needed to create a light, quick homemade frosting that’s sturdy enough to decorate with.
Tips for Achieving Perfect Pipeable Cream Cheese Frosting
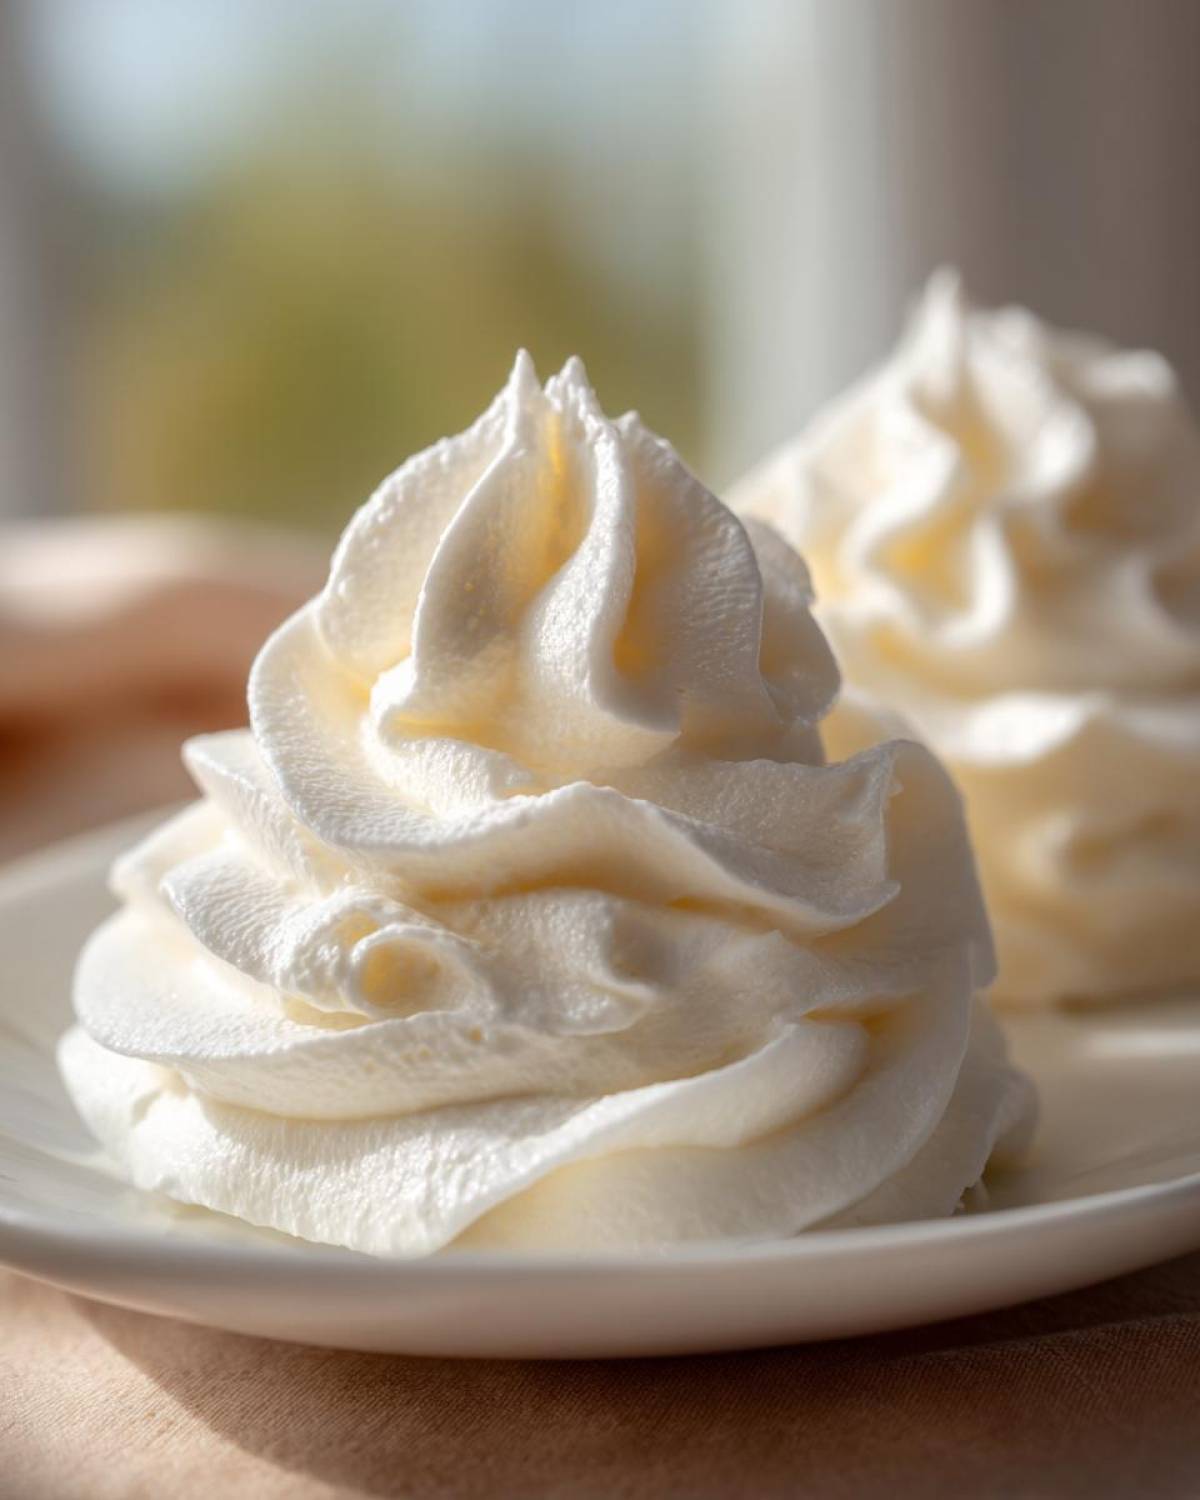
When I’m planning a big bake, stability is my main concern. If this cream cheese frosting won’t hold its shape on a cupcake tower, the whole design falls apart! My key insight, learned the hard way, is that temperature control is everything when you are aiming for that beautiful, pipeable cream cheese frosting.
Temperature Control: The Key to No Lump Frosting
I mentioned that both the butter and cream cheese must be softened, but let me emphasize *why*. If you try to beat cold cheese into butter, you instantly get those little butter chunks suspended in the frosting—it turns into the exact opposite of that ideal no lump frosting we want! If you accidentally went too far and your base got greasy or warm, don’t panic! Just pop the whole bowl (mixer blades out, of course!) into the fridge for about 10 minutes. A quick chill firms things up just enough to get that essential, smooth mixture.
Adjusting Consistency for Cakes and Cinnamon Rolls
Sometimes, depending on humidity or just if you want a drizzle versus a thick layer, you might need an adjustment after the main whipping is done. If your frosting looks a bit too soft for piping sharp edges, just pop it in the fridge for 10 to 15 minutes; it firms up fast! Conversely, if you’re aiming for that gooey cream cheese topping for warm cinnamon rolls, you might need to slowly beat in a teaspoon of milk or heavy cream until it’s slightly looser. It’s that flexible!
Versatile Applications for Your Cream Cheese Frosting
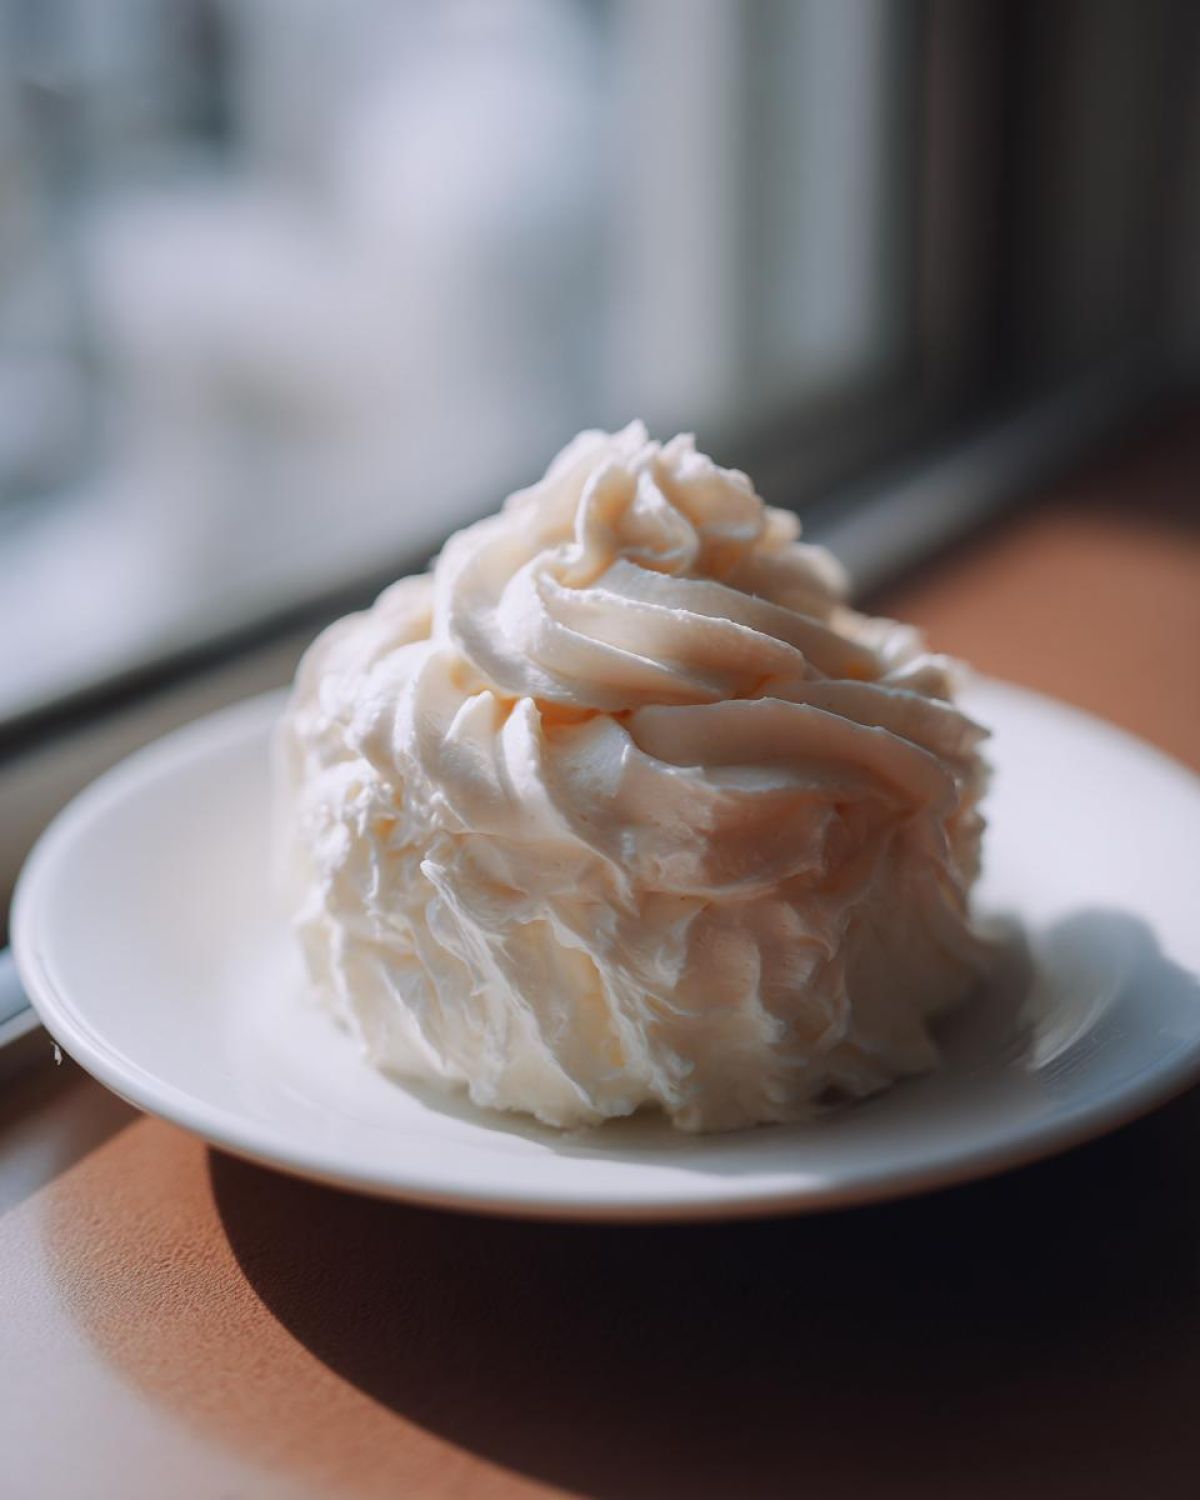
The best part about mastering this recipe is realizing you just made an all-purpose superstar topping! I love having this recipe in my back pocket. It works beautifully on almost anything that needs a rich, slightly tangy hug. This isn’t just a one-trick pony; it’s ready for red velvet, carrot cake, or just a random Tuesday evening snack.
Cream Cheese Frosting for Cinnamon Rolls
Oh, Jacob requests this specifically when he makes his giant batch of morning buns. When you use this cream cheese frosting for cinnamon rolls, you want it slightly thinner than if you were piping decorations. That lovely tang cuts right through the warmth and spice. It melts just enough to seep into all those gooey layers, making it seriously addictive! It’s the ultimate warm cream cheese topping.
The Perfect Frosting for Red Velvet Cake
If you’re making anything red velvet, stop scrolling—this is your match made in heaven. Red velvet cake batter is rich, slightly chocolatey, and often has that lovely buttermilk tang already built in. My cream cheese frosting is the only counterpoint it really needs. The slight tartness from the cream cheese truly enhances the depth of the cake flavor without making the whole thing one-note sweet. It’s a classic pairing for a reason!
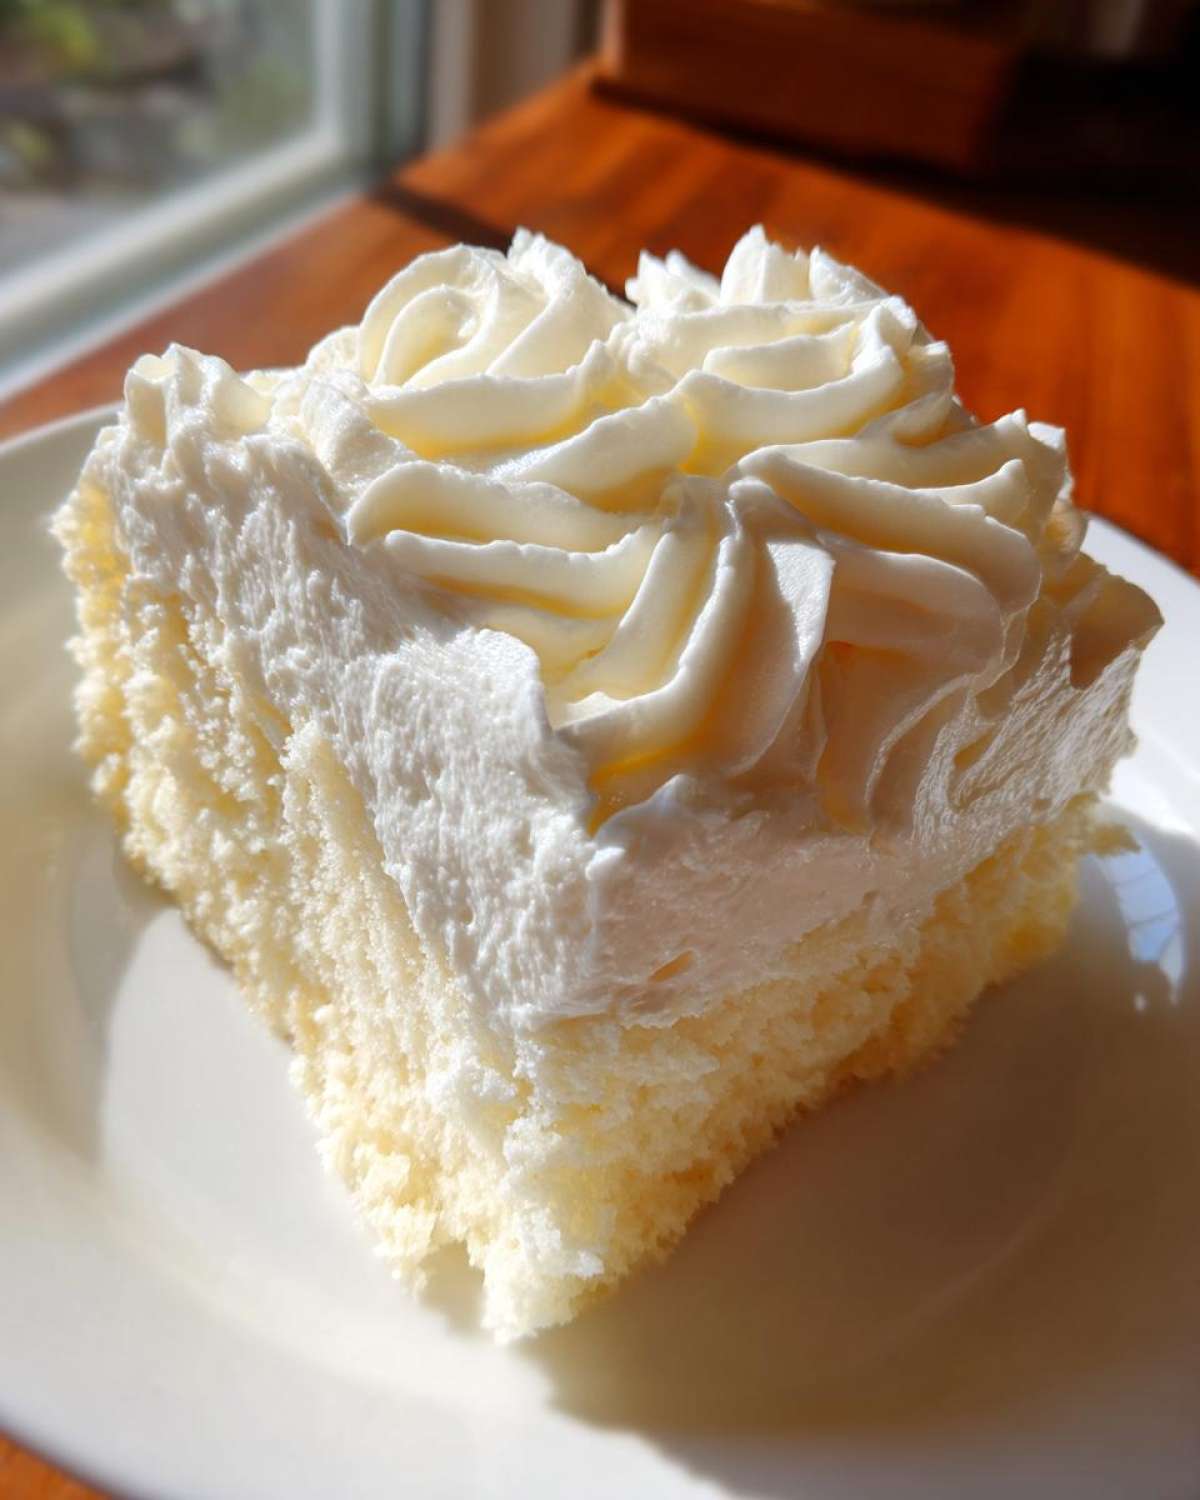
Storing and Reheating Your Homemade Cream Cheese Frosting
Since this is a dairy-based topping, storage requires a little planning, which I always appreciate! Keep any leftover cream cheese frosting in a completely airtight container. It’s good in the fridge for about three to five days. Honestly, that’s usually more than enough time since it’s so good!
When you pull it out later, it’ll be super firm—that’s totally normal. Just let it sit out on the counter for about 30 minutes to warm up a touch. Then, use your mixer to give it just a quick whip again on medium speed. That little beat reactivates the fluffiness and gets it back to that beautiful, spreadable consistency we worked so hard for!
Frequently Asked Questions About Cream Cheese Frosting
I compiled a bunch of questions I usually get when people ask for my easy cream cheese frosting recipe. If you’re still unsure about anything—especially if you want to turn this into a drizzle—here are the quick answers! Building confidence in the kitchen is what this blog is all about, so get ready to master this topping!
Can I make this a cream cheese glaze instead of frosting?
Oh, absolutely! You can whip up a lovely cream cheese glaze. You just need to subtract about a cup of powdered sugar from the total, and then slowly beat in extra milk or heavy cream, a teaspoon at a time, until it gets runny enough to pour beautifully over warm pastries. It’s perfect when you want a thin wash rather than a thick layer.
How long does this easy cream cheese frosting recipe last?
Because this is full of real dairy—butter and cream cheese—it needs to stay refrigerated. If you seal it up tightly in an airtight container, it should keep well for about three to five days. Just remember what I said earlier: when you bring it out, give it a good quick whip to bring back that airy, whipped cream cheese topping texture before spreading it around!
Can I use low-fat cream cheese for this recipe?
My strict answer here is no, dear reader! You really shouldn’t mess with the cream cheese fat content if you want this to work as mentioned in my best cream cheese frosting guide. Low-fat cream cheese has extra water solids, and that water has nowhere to go during whipping. You’ll end up with a soupy, thin mess that won’t pipe and just won’t behave the way you want it to!
Nutritional Estimate for This Cream Cheese Frosting
Okay, so Jacob knows my planning instincts apply to everything—even the rough nutritional breakdown! Just keep in mind that since we are using standard ingredients, these numbers are just an estimate based on what we typically use week to week. If you swap out butter brands or use a different type of sugar, these values will shift a bit. This is just a helpful guideline, not a doctor’s recommendation, so please take it with a grain of salt (which we used 1/4 teaspoon of!).
Here is what you can generally expect per 1/4 cup serving of this amazing cream cheese frosting:
- Serving Size: 1/4 cup
- Calories: 380
- Sugar: 38g
- Sodium: 110mg
- Fat: 25g
- Saturated Fat: 15g
- Trans Fat: 0.5g
- Carbohydrates: 39g
- Protein: 2g
- Cholesterol: 75mg
Honestly, eating this glorious topping is worth every bit of the 380 calories. It’s just pure happiness spreadable on a cookie or a slice of cake! Remember, these figures really depend on your exact ingredients, but they give you a solid ballpark idea when you’re planning out your desserts.
Share Your Cream Cheese Frosting Creations
Whew! Now that you have the blueprint for what I genuinely believe is the best cream cheese frosting recipe out there, I really, truly want to know how it went for you! Jacob and I put so much time into perfecting that balance of tang and sweetness so that you wouldn’t have to guess or troubleshoot.
When you tackle this recipe—whether you spread it thick over warm rolls or pipe those sharp little stars onto a cupcake—please come back and tell me all about it! Did you use it on red velvet? Did you find it was the best homemade cake icing you’ve ever made?
Leave a rating right below this section. Your feedback helps other planners like me trust the project! And if you snap a picture of your finished dessert, tag us on social media. I absolutely love seeing our digital portfolio grow into real-life delicious moments! You can always find us popping around on the main blog page for more projects we’re working on!
PrintThe Best Classic Cream Cheese Frosting: Smooth, Tangy, and Pipeable
This recipe delivers the best classic cream cheese frosting. It is smooth, creamy, and has the perfect balance of tang and sweetness. It is quick to make and holds its shape well for decorating cakes or topping cinnamon rolls.
- Prep Time: 10 min
- Cook Time: 0 min
- Total Time: 10 min
- Yield: About 3 cups
- Category: Dessert Topping
- Method: Mixing
- Cuisine: American
- Diet: Vegetarian
Ingredients
- 1 cup (2 sticks) unsalted butter, softened
- 8 ounces cream cheese, full fat, softened
- 4 cups powdered sugar, sifted
- 1 teaspoon vanilla extract
- 1/4 teaspoon salt
Instructions
- Place the softened butter and softened cream cheese in a large bowl. Beat them together with an electric mixer on medium speed until the mixture is completely smooth and creamy, about 2 minutes. Scrape down the sides of the bowl.
- Gradually add the sifted powdered sugar, one cup at a time, mixing on low speed until just combined after each addition.
- Add the vanilla extract and salt. Increase the mixer speed to medium-high and beat for 2 to 3 minutes until the frosting is light, fluffy, and smooth. This whipping step helps prevent lumps.
- If the frosting seems too soft for piping, chill it for 10 to 15 minutes before using. If it is too stiff, add one teaspoon of milk or heavy cream and beat briefly.
- Use immediately to frost your favorite cakes, cupcakes, or cinnamon rolls.
Notes
- For the smoothest texture, make sure both your butter and cream cheese are truly at room temperature. Cold ingredients cause lumps.
- Sifting the powdered sugar is a key step to achieving a lump-free, pipeable cream cheese frosting.
- This frosting is perfect for red velvet cake and makes an excellent cream cheese topping for warm cinnamon rolls.
Nutrition
- Serving Size: 1/4 cup
- Calories: 380
- Sugar: 38
- Sodium: 110
- Fat: 25
- Saturated Fat: 15
- Unsaturated Fat: 10
- Trans Fat: 0.5
- Carbohydrates: 39
- Fiber: 0
- Protein: 2
- Cholesterol: 75