

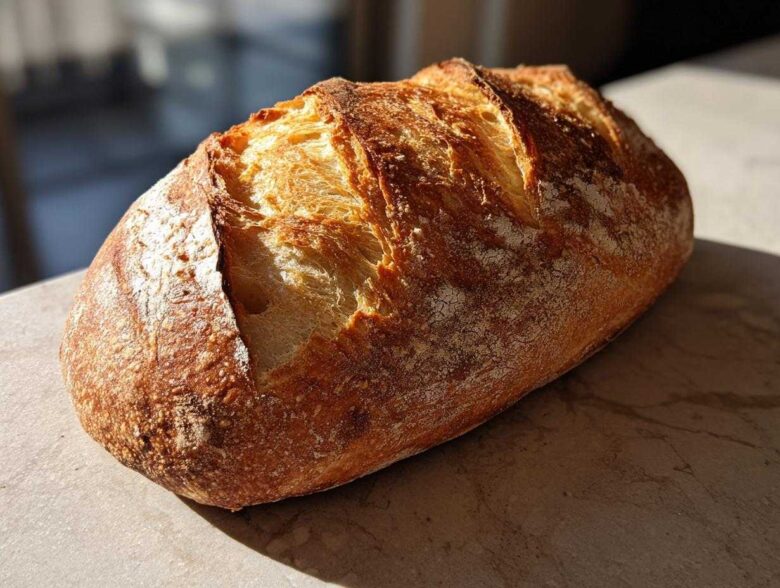
Oh, that smell! There is nothing, and I mean *nothing*, that makes our little apartment feel cozier than the aroma of fresh Italian bread baking in the oven. When Jacob cooks, it’s pure magic, but when I plan, it’s organized magic! For years, I dreamed up the perfect list of recipes to make, and this loaf was high on my list. Trust me, even though I’m the planner and he’s the intuitive artist, this recipe is so straightforward that even I can pull off a bakery-style crusty loaf on my first try. I really think this is the best thing we’ve added to our collection, and you can read more about how we organize our kitchen adventures over on our About Us page. I can’t wait to share our blueprint with you!
Why This Easy Crusty Italian Bread Recipe is a Must-Try
Honestly, sometimes I just want bread that tastes like it came from that little Italian bakery down the street, but without having to wake up at 4 AM to buy it! This recipe is the answer to that craving, and it fits perfectly into our busy schedule. Jacob always says that the best recipes are the ones where the results drastically outweigh the effort, and this Italian bread definitely fits that bill!
- It uses everyday pantry staples—no fancy imported buckwheat flour here!
- The process includes that super important steam trick that creates magic in the oven.
- It’s shockingly fast for a real loaf of bread, which is why I love it for weeknight dinners.
Achieving the Perfect Bakery Style Italian Loaf
Listen, the goal here is that crackly, golden exterior that makes a sound when you squeeze it—that *crunch*! That’s what sets this loaf apart. We achieve that signature Bakery Style Italian Loaf texture by baking it hot and introducing steam right at the start. Don’t skip that step in the instructions; that water bath is the whole secret to that gorgeous, crisp shell while keeping the inside perfectly soft and chewy. It’s seriously satisfying!
Beginner Bread Making Success with This Italian Bread
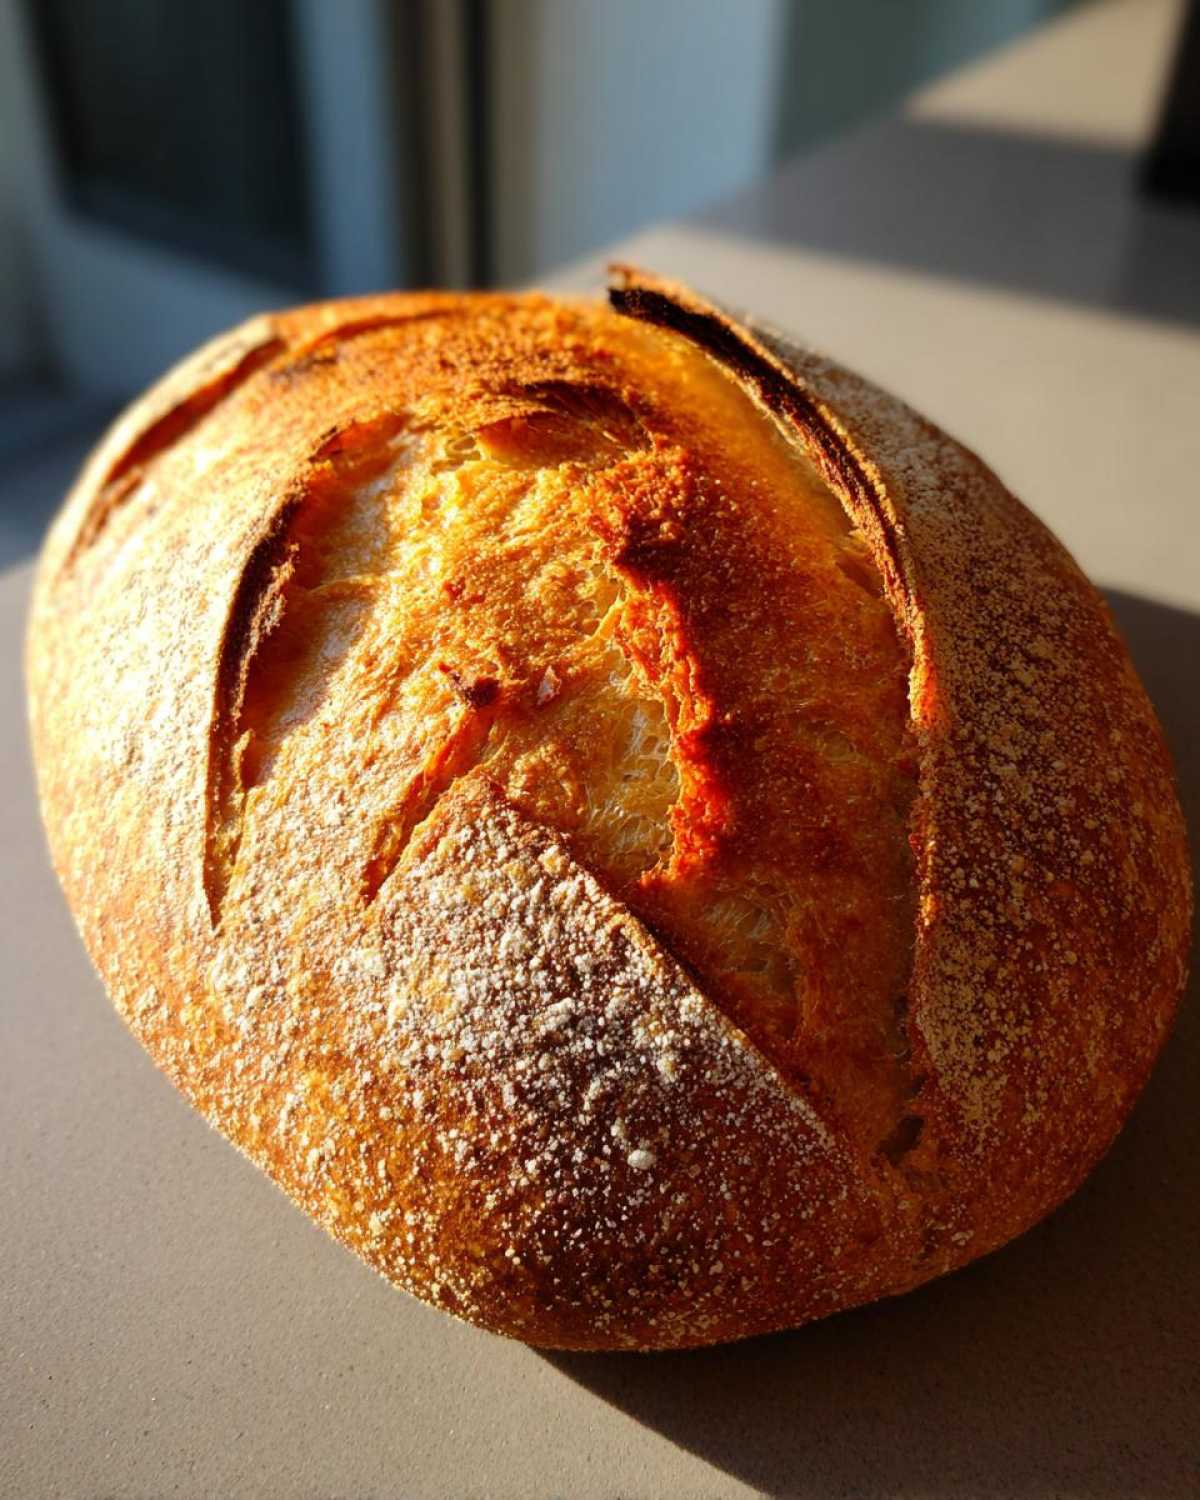
If you’ve been intimidated by yeast or think kneading means ten hours of hard labor, stop right there! I designed the organization system for this recipe to be foolproof. This section is all about Beginner Bread Making success. You just mix the ingredients, let the yeast do its thing, and knead until it feels right. If you can stir things in a bowl, you can absolutely nail this. Plus, if you’re looking for another easy win, check out how we organize our foolproof pizza dough!
Ingredients for Your Homemade Italian Bread Recipe
Okay, now for the planning phase! This is where Jacob always tells me to relax because the list is short. I love that this Homemade Italian Bread Recipe relies on things I already have sitting in the pantry. No panic grocery runs needed! We only need six core things to make this beautiful loaf. Remember, clarity in the blueprint is how Amelia keeps Jacob on track!
Here is what you need:
- 3 1/2 cups all-purpose flour
- 1 1/2 teaspoons salt
- 1 teaspoon granulated sugar
- 2 1/4 teaspoons active dry yeast (that’s exactly one standard packet!)
- 1 1/4 cups warm water (and this temperature check is crucial—aim for 105-115°F!)
- 1 tablespoon olive oil, plus a little extra for greasing the bowl later
Ingredient Notes and Substitutions for Italian Bread
We are aiming for that Soft Inside Crusty Outside Bread texture, and every ingredient plays a role. The warm water is non-negotiable because it wakes up that little packet of yeast; too cold and it just sleeps, too hot and you kill it off! The small amount of sugar feeds the yeast, making sure we get a nice, airy rise. The olive oil is super important because it adds a tiny bit of richness and helps the dough stay pliable during kneading. We stick to standard all-purpose flour here because this isn’t an overly complicated artisan recipe; it’s pure comfort baking!
Step-by-Step Instructions for the Quick Italian Bread Tutorial
Alright, time to get our hands messy! This is where Jacob usually takes over because he can just *feel* when the dough is ready, but I follow the timings precisely, and wow, the results are amazing. You’ll find that even with just a quick rise, you get incredible flavor in this Italian bread. Don’t worry; I’ve broken down every phase so you know exactly what to look for to get that perfect texture.
Mixing and Kneading the Italian Bread Dough
First, grab your biggest bowl! Whisk together the flour, salt, and sugar—just get them combined. In another little cup, proof your yeast in that warm water until it gets nice and foamy. Once it’s bubbling happily, pour that right into the dry stuff, along with your tablespoon of olive oil. Mix it all with a sturdy spoon until it gets shaggy. Now, dust your counter, turn the dough out, and knead! You need to work it for about five to seven minutes until it stops fighting you and feels wonderfully smooth and elastic. If you’re getting stuck, just remember that Jacob says the dough should feel soft, almost like a firm cheek!
First Rise and Shaping Your Chewy Italian Loaf
After all that work, the dough deserves a rest! Lightly oil a big bowl—just a little swipe with oil so it doesn’t stick—and tuck the dough ball inside, flipping it once to coat. Cover it up snuggly, and find a warm spot—maybe near the dishwasher if it’s running! You need this dough to double in size, which usually takes about an hour to an hour and a half. When it wakes up, gently punch it down—it’s very dramatic, I know—and then shape it into a tight round or oval. Make sure it’s a tight shape so you get that beautiful structure.
Second Rise, Scoring, and Baking for a Golden Brown Crust Bread
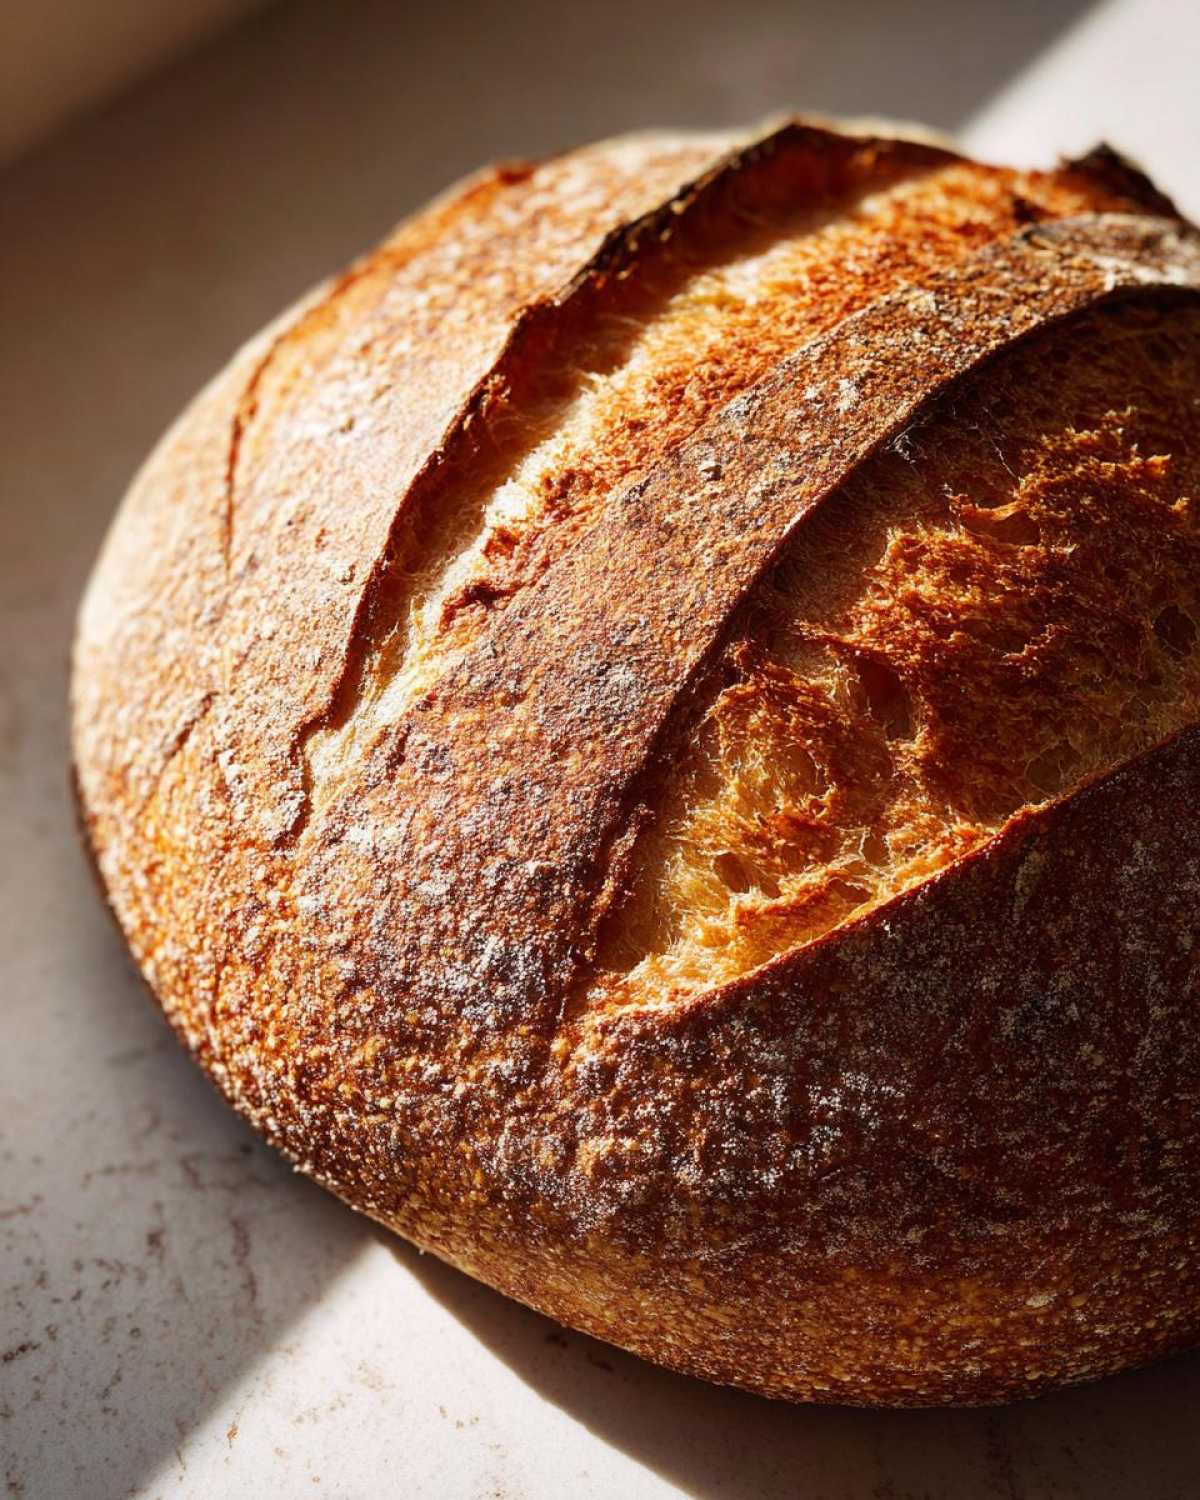
Place your shaped loaf onto your parchment-lined baking sheet (or into your bread pan) and let it rest again, puffy this time, for about 30 to 45 minutes. During the last 15 minutes of this second rise, crank that oven up to 400°F (200°C)! If you want that incredible crust, this is crucial: place a metal or shallow oven-safe pan on the bottom rack while it preheats. When you slide your bread in, quickly pour a cup of hot water into that bottom pan—hello, steam! That steam sets the crust, making it that perfect Golden Brown Crust Bread texture. Score the top with two or three quick diagonal slashes just before baking, and bake for 30 to 35 minutes until it sounds hollow when you tap the bottom. While you wait for it to cool, maybe check out our recipe for garlic butter—you’ll need it!
Tips for Success Baking Artisan Bread at Home
Baking that perfect Italian bread at home is often about managing the environment, not just the dough! I learned this from Jacob; he’s obsessed with making sure the steam is right. If you want that authentic, crackly crust, don’t cheat the steam pan trick we talked about. It makes such a difference between a soft top and a glorious, crunchy one!
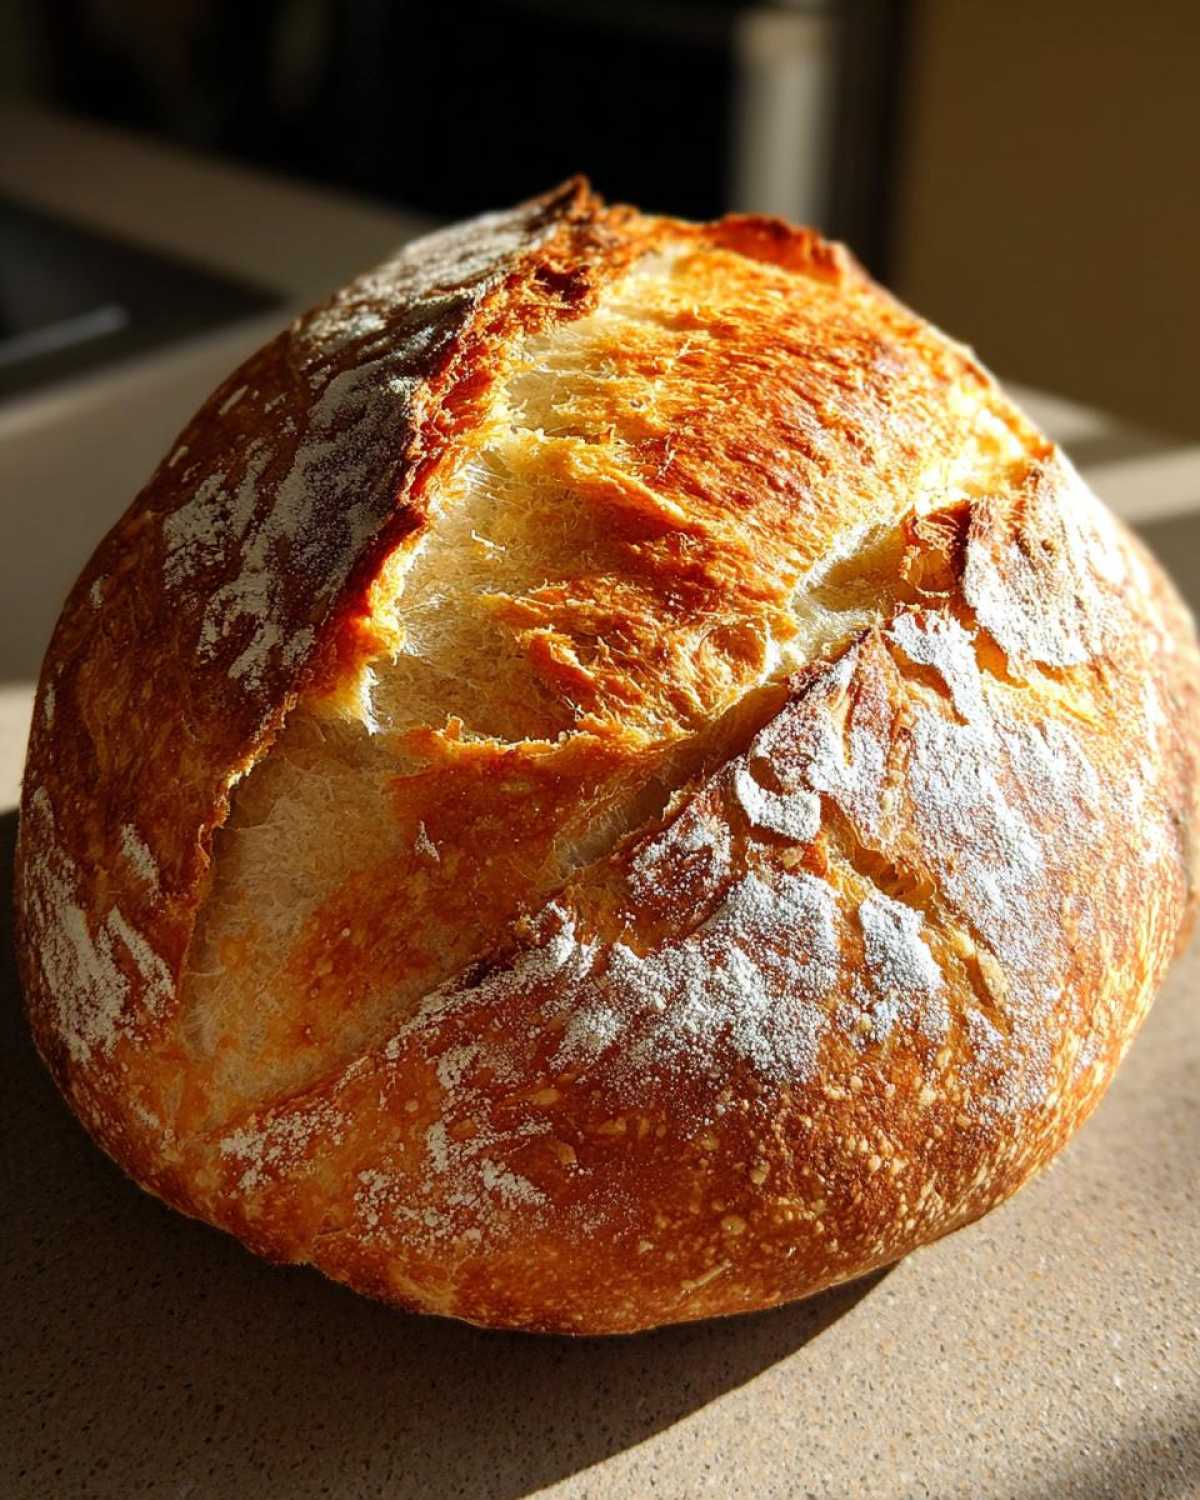
Another thing I’ve figured out through my list-making: temperature matters for that rise. If your kitchen is chilly, try placing your covered bowl in the oven *with only the light on*. It creates that perfectly warm, cozy spot for the yeast to thrive. We want to build that chewy interior texture, so don’t rush the kneading!
If you want even more crusty inspiration, I always check out highly-rated external guides—look at this one detailing how to bake the perfect crust, too! And if you ever dabble in other baked goods, my recipe for moist pistachio muffins is another winner for texture control!
Serving Suggestions for Your Delicious Italian Bread
Okay, the hard part—the baking—is done! Now we get to the absolute best part: eating this incredible loaf. Since we worked so hard for that crunchy exterior and soft middle, you have to use the bread correctly! It makes fantastic Dipping Bread Recipes, especially when it’s still warm enough for the olive oil to melt right in. Trust me, this is the perfect pairing for any hearty meal.
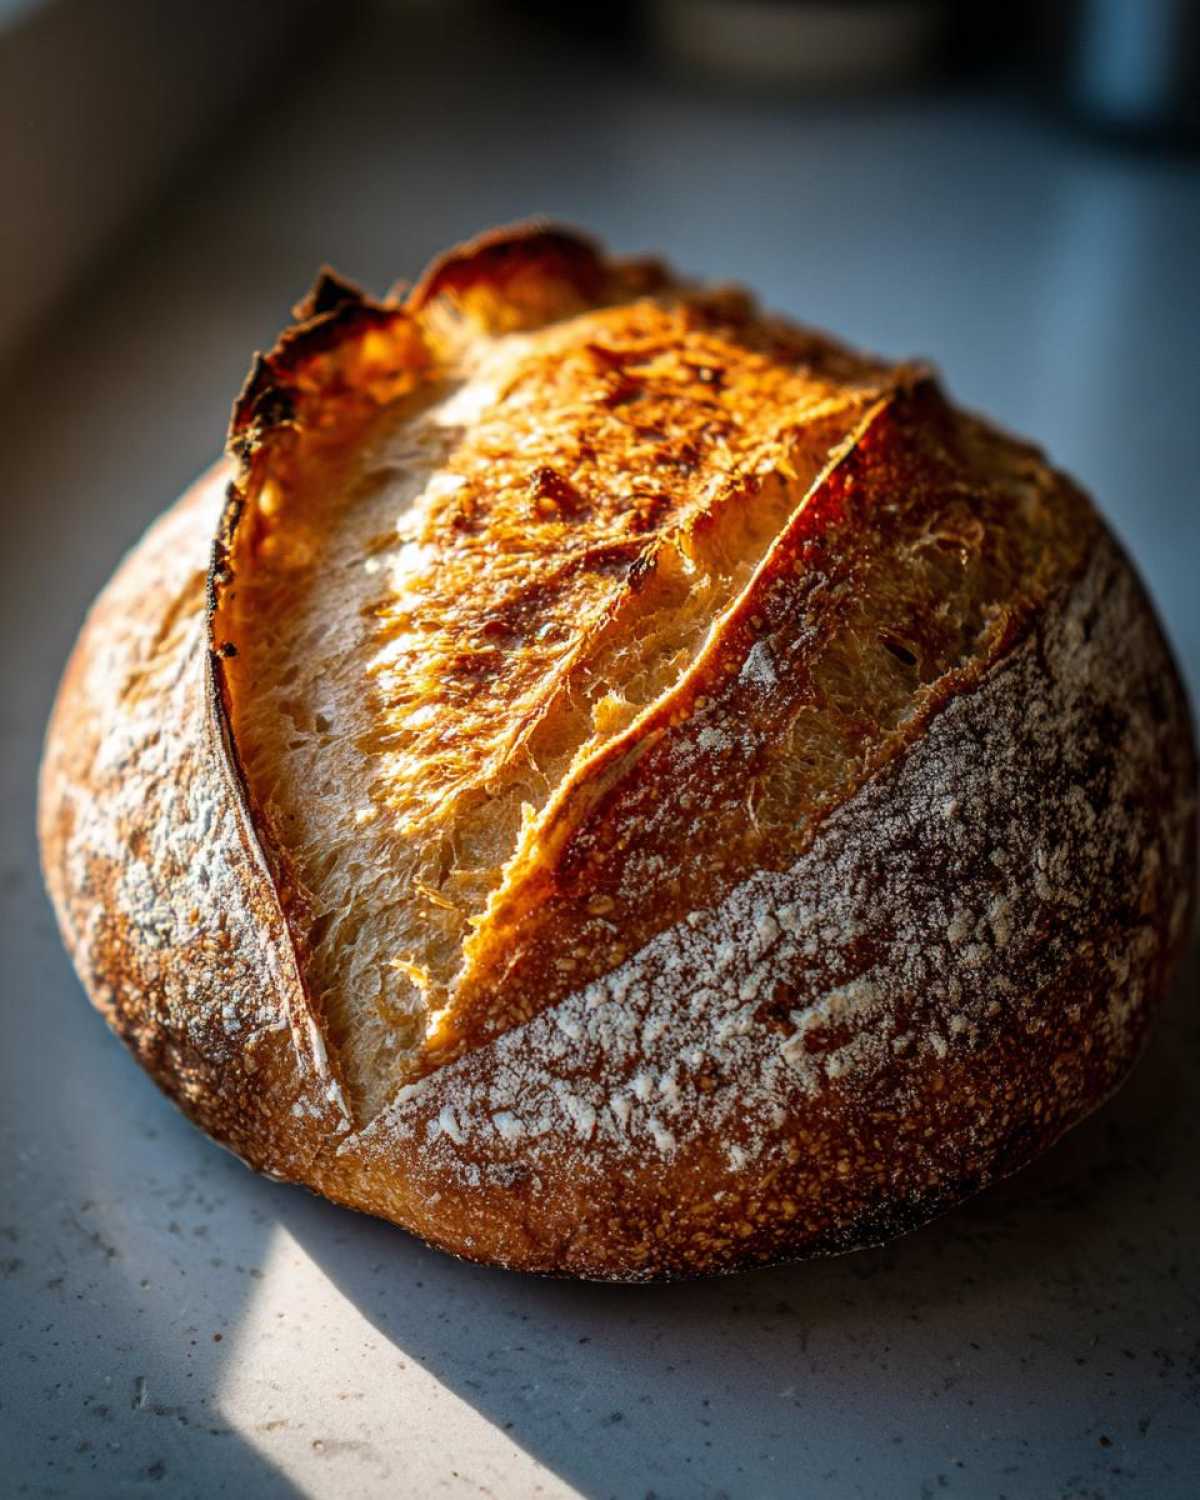
Of course, this loaf is my go-to favorite among all Dinner Side Bread Recipes. It’s sturdy enough to hold up to spaghetti with sauce—we always make a big batch of our slow-simmered Bolognese right before baking bread! And because it has such a great texture, it makes the world’s best, non-soggy sandwich base the next day. You’ll love pulling off big chunks of this fresh bake.
Storage and Reheating Instructions for Leftover Italian Bread
If you miraculously have any Italian bread left over the next day—which I highly doubt, since Jacob usually polishes off half a loaf while it’s cooling—you need a plan! The main goal is keeping that beautiful crust from turning tough. Don’t wrap it up tightly in plastic wrap right away! That traps the moisture and softens the crust.
For one day, I just leave it cut-side down on a board, loosely covered with a linen towel. If it has to last longer, you must wrap it tightly in foil before freezing.
When you want to revive that crunch? Pop the loaf—foil off, if frozen—into a 350°F oven for about ten minutes. That little blast of dry heat brings back that golden, crispy exterior like magic. It’s the best way to enjoy this delicious loaf again!
Frequently Asked Questions About This Italian Bread Recipe
I absolutely love getting your questions! It means you’re getting ready to bake, which thrills me! Bread making can sometimes feel like a secret society, but Jacob and I want to keep everything totally transparent for you. Here are a few things people ask me most often when they tackle this Italian bread for the first time.
Can I make this Italian bread without kneading?
That’s a great question, especially if you’re looking for more of a No Knead Italian Bread type of recipe! For this particular loaf, though, I really stick to the kneading step. Kneading is what develops the gluten in the flour network, and that gluten is precisely what gives us that wonderful, slightly chewy texture we talk about—the hallmark of a great Chewy Italian Loaf. If we skip it, the texture gets way too crumbly. Trust me, those 5 to 7 minutes of kneading are worth the effort!
How long does it take to make this bread?
This is a fantastic question for my fellow planners! We list the total time as just over two hours, but let’s break down the actual hands-on work. Your active prep and kneading time is super quick—maybe 20 minutes total. The rest of the time is the dough hanging out, doing its thing! So while it’s a perfect Quick Italian Bread Tutorial for getting a fresh loaf in a single afternoon, just budget about 30 minutes of your actual active time for this recipe.
What is the best way to get a very hard crust on my Italian bread?
If you want that beautiful, audible crackle when you slice into it, you need steam! This is the secret to any amazing Artisan Bread at Home. When you put your loaf into the hot oven, you have to trap that moisture in there with it using hot water in a shallow pan on the bottom rack. That steam keeps the crust soft just long enough for the loaf to expand (oven spring!). Then, once the steam dissipates, the crust dries out quickly and gets super crunchy and golden. It’s the best way to finish your Golden Brown Crust Bread!
If you run into any trouble during your bake, don’t hesitate to reach out to us via our contact page; we love troubleshooting!
Nutritional Estimates for Homemade Italian Bread
Okay, so Jacob and I are definitely not trying to be nutritionists—we’re bakers and planners! But because I like to keep a detailed portfolio of *everything* that goes into our creations, I pulled the estimated nutritional data for one slick slice of this beautiful loaf. Just know that these numbers are rough estimates based on standard ingredients, so your brand of flour or oil might make these figures shift a little bit.
If you want to review our full guidelines on recipe accuracy, you can check out our general disclaimer page.
- Serving Size: 1 slice
- Calories: 150
- Fat: 1.5g
- Saturated Fat: 0.2g
- Trans Fat: 0g
- Cholesterol: 0mg
- Sodium: 280mg
- Carbohydrates: 30g
- Fiber: 1g
- Sugar: 0.5g
- Protein: 4g
See? Simple ingredients lead to simple nutrition! It’s mostly carbs to fuel you up for your next big planning project!
Share Your Taste Portfolio Italian Bread Creations
Now that you have the blueprint for this amazing Italian bread, I want to hear all about it! Seriously, sending Jacob a photo of your perfectly scored loaf or hearing about how you served it makes my day. We built this blog to be a collection of *our* successful projects, and that has to include yours!
Did it come out with the exact golden-brown crust you were hoping for? Did you manage to save any for sandwiches the next day? Please take a moment to jump back to the top of the recipe and give it a star rating—that feedback is so important to me as I plan our next bake. And I always love seeing your beautiful bakes popping up on social media; tag us so we can cheer you on!
If you loved this recipe, keep building up your own collection! You can always browse all the other finished projects we’ve added to our portfolio right here on the blog. And if you tried this one out, let us know in the comments below! If you need more easy baking inspiration, you absolutely have to check out this highly-rated guide to easy crusty Italian bread that also gets fantastic reviews. Happy baking, everyone!
PrintEasy Homemade Crusty Italian Bread Recipe
Bake bakery-style Italian bread at home with this simple recipe. You get a golden, crunchy crust and a soft, chewy interior using basic pantry ingredients. This recipe is perfect for beginners.
- Prep Time: 20 min
- Cook Time: 35 min
- Total Time: 2 hours 5 minutes
- Yield: 1 large loaf
- Category: Baking
- Method: Baking
- Cuisine: Italian
- Diet: Vegetarian
Ingredients
- 3 1/2 cups all-purpose flour
- 1 1/2 teaspoons salt
- 1 teaspoon granulated sugar
- 2 1/4 teaspoons active dry yeast (1 packet)
- 1 1/4 cups warm water (about 105-115°F)
- 1 tablespoon olive oil, plus more for greasing
Instructions
- In a large bowl, mix the flour, salt, and sugar.
- In a separate small bowl, dissolve the yeast in the warm water. Let it sit for 5 minutes until foamy.
- Pour the yeast mixture and the olive oil into the dry ingredients. Mix with a wooden spoon until a shaggy dough forms.
- Turn the dough out onto a lightly floured surface. Knead the dough for 5 to 7 minutes until it becomes smooth and elastic. You are looking for a soft, chewy texture.
- Lightly grease a large bowl with olive oil. Place the dough in the bowl, turning to coat. Cover the bowl with plastic wrap or a clean kitchen towel.
- Let the dough rise in a warm place for 1 to 1.5 hours, or until it doubles in size. This is your first rise.
- Gently punch down the dough. Shape it into a tight loaf (a round boule or an oval shape).
- Place the shaped loaf on a baking sheet lined with parchment paper or in a loaf pan. Cover loosely.
- Let the dough rise again for 30 to 45 minutes, or until it looks puffy. This is your second rise. Preheat your oven to 400°F (200°C) during the last 15 minutes of the second rise. For a crispier crust, place a shallow pan on the bottom rack while preheating to create steam later.
- Lightly brush the top of the loaf with water or an egg wash if desired for color. Score the top of the loaf with a sharp knife (two or three diagonal cuts).
- Bake for 30 to 35 minutes, or until the crust is deep golden brown and sounds hollow when tapped. If using the steam pan, carefully pour 1 cup of hot water into the pan immediately after placing the bread in the oven, then quickly close the door.
- Transfer the baked Italian bread to a wire rack to cool completely before slicing. Enjoy this homemade bread warm with olive oil for dipping.
Notes
- For an extra crunchy exterior, place a pizza stone or heavy baking sheet in the oven while preheating.
- If your kitchen is cold, place the dough in the oven with just the light on to create a warm proofing spot.
- This bread is excellent for making sandwiches or serving alongside pasta meals.
Nutrition
- Serving Size: 1 slice
- Calories: 150
- Sugar: 0.5
- Sodium: 280
- Fat: 1.5
- Saturated Fat: 0.2
- Unsaturated Fat: 1.3
- Trans Fat: 0
- Carbohydrates: 30
- Fiber: 1
- Protein: 4
- Cholesterol: 0