

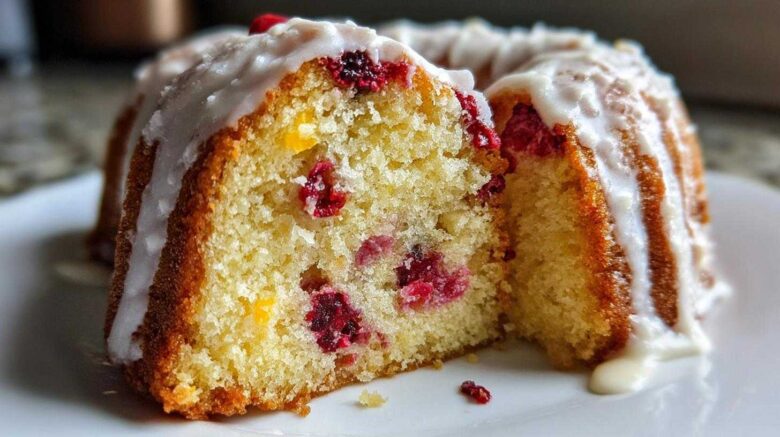
Why This Cranberry Orange Cake is Our Signature Piece
When I first started planning recipes, this cranberry orange cake felt like a mountain. I had the perfect blueprint. Jacob, though, he brought the magic. This recipe truly became ours during a chilly November week. I wanted that bright, zesty flavor. Jacob wanted a crumb that stayed soft for days. We argued over the right amount of sour cream!
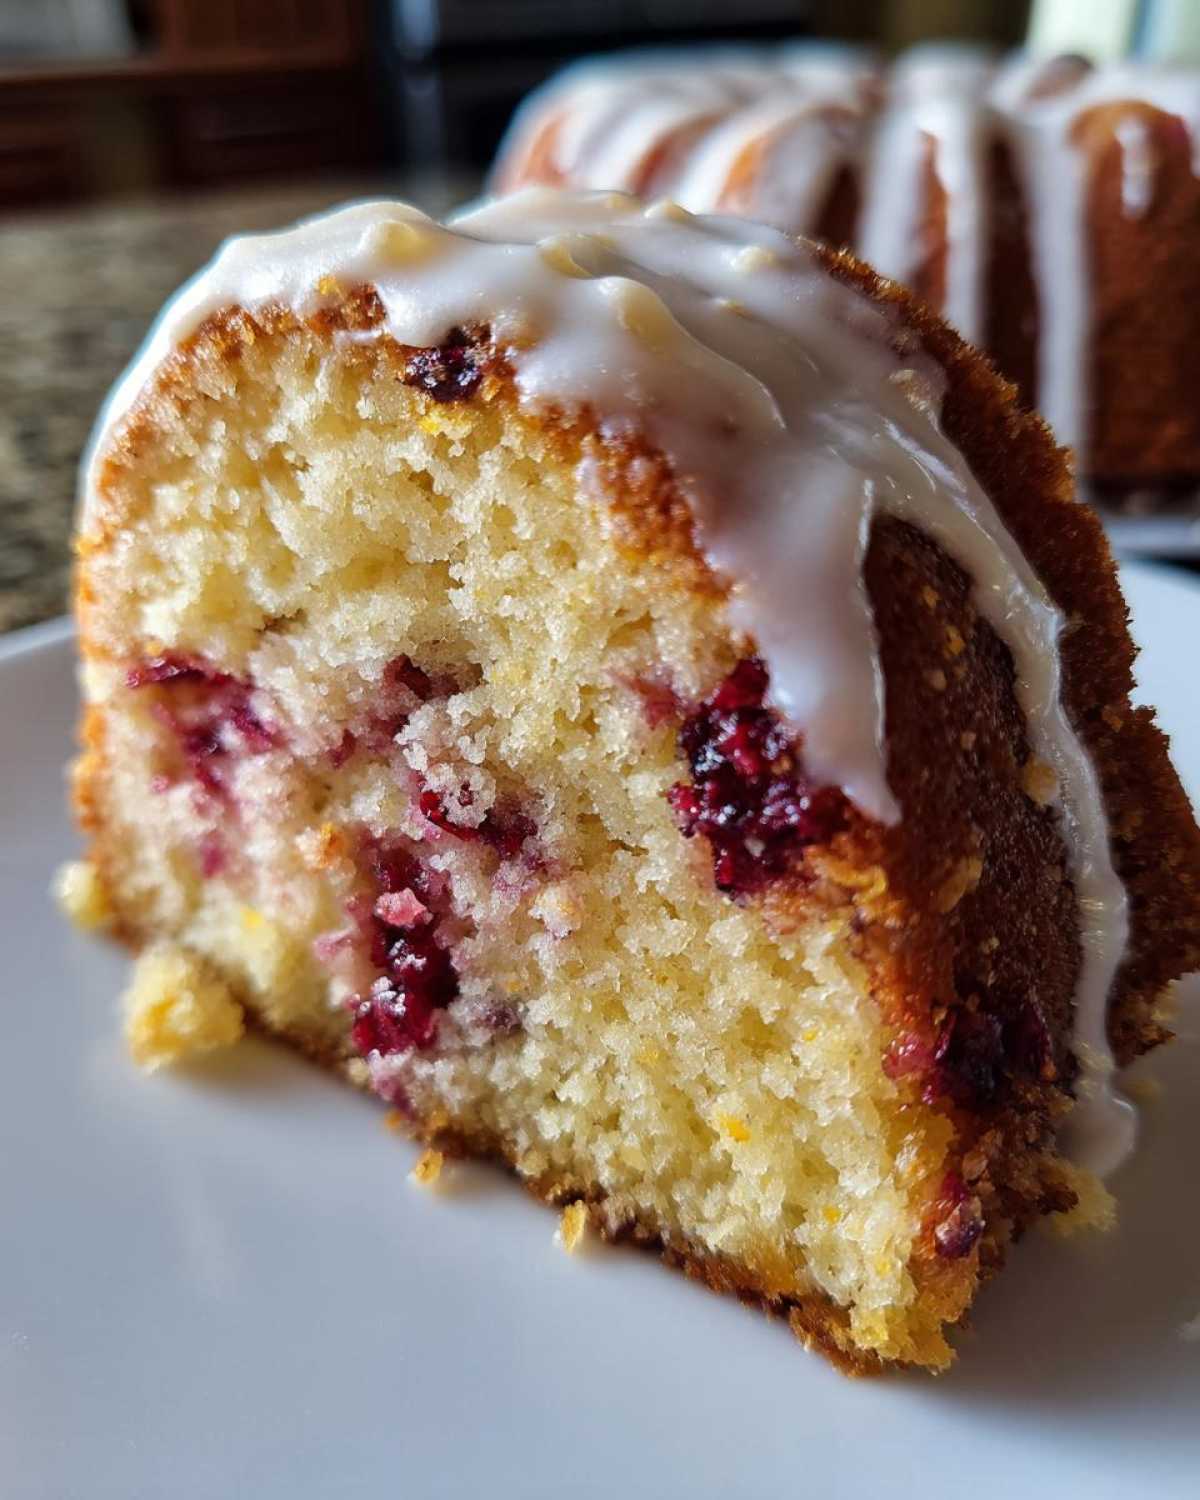
What sets this apart is the texture. It’s not just good; it is unbelievably moist. Jacob finally nailed the creaming method. He insists it creates the best air pockets. My planning ensured every flavor note sings. The tartness balances the sweet glaze perfectly. This specific cranberry orange cake is our teaching moment. It shows structure meets intuition beautifully.
We tested this version until it was flawless. It’s now our go-to holiday bake. It represents our kitchen partnership so well. You will see why it earned its spot in our Taste Portfolio collection.
The Essential Components for a Perfect Cranberry Orange Cake
Getting this cranberry orange cake right depends on quality components. Good ingredients make a huge difference here. We learned this through many kitchen experiments. Texture and flavor start right here, friends.
Preparing the Dry Ingredients
First, grab your flour, baking powder, and salt. Whisk these together well in a separate bowl. This step aerates the flour. It keeps the final cake from being too dense.
Creating the Flavor Base
Next, we focus on the zest and sugar. Cream that soft butter with the sugar until it is truly light. Then, add lots of fresh orange zest. That zest releases the best oils. Fresh juice follows to brighten everything up.
Wet Binders and Texture Agents
Eggs add structure to our cake batter. Sour cream or Greek yogurt brings that amazing moisture. Don’t forget the vanilla extract. These agents fight off any dryness.
Incorporating the Cranberries
We like to chop our berries slightly. This helps them distribute better. If you use frozen cranberries, skip thawing them first. Just fold them in gently at the very end.
Step-by-Step Baking Instructions for Your Cranberry Orange Cake
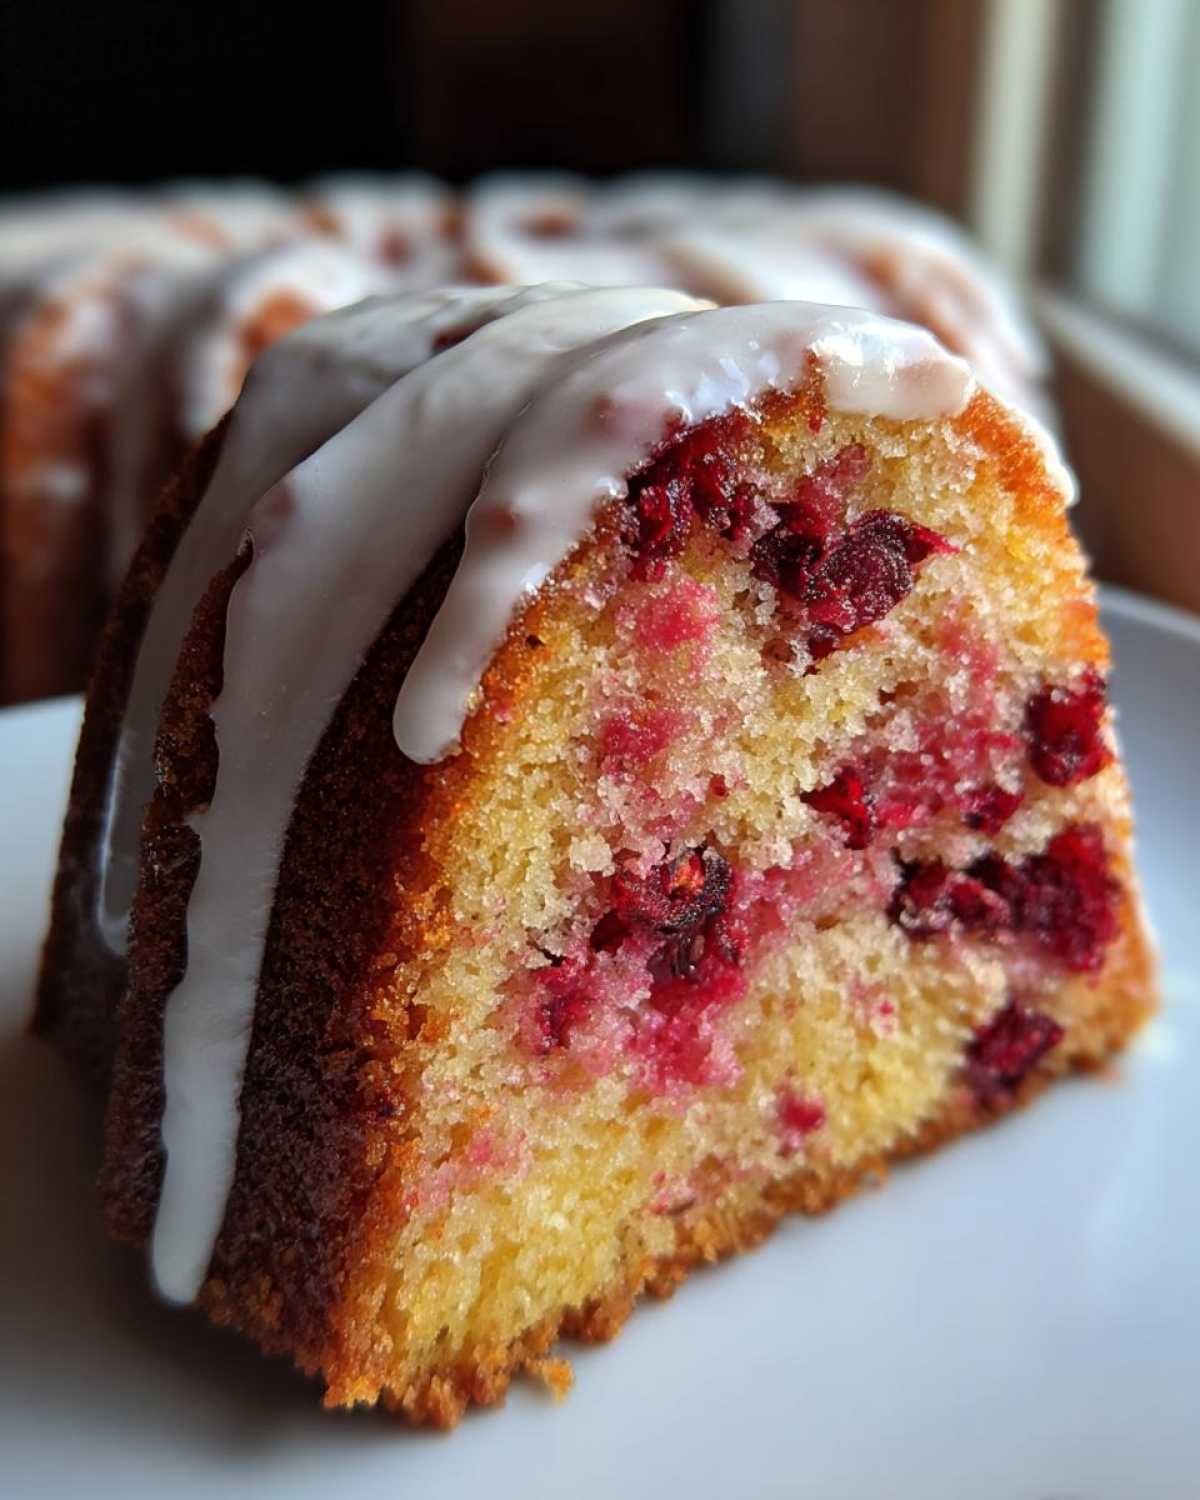
Now for the fun part. Following these steps ensures your cranberry orange cake turns out perfectly. I promise, it’s straightforward baking. Treat your batter gently here.
Oven Setup and Pan Preparation
Start by preheating your oven right to 350°F (175°C). This heat needs to be steady. Now, tackle that Bundt pan. Grease it well, really well. Then, dust it generously with flour. This prevents sticking later.
Mixing the Batter Correctly
Remember those dry ingredients we whisked? Set them aside for now. Take your creamed butter and sugar mixture. Add the eggs one at a time. Mix them in completely after each addition. Then, incorporate the liquids and zest. Next, add your dry mix slowly. Mix only until just smooth. Overmixing is the enemy of moist cake!
Baking Time and Doneness Test
Pour the batter evenly into the prepared pan. Pop it into the oven for baking. It usually takes 50 to 60 minutes. Check for doneness with a wooden skewer. It must come out clean. That means your cake is ready to go.
Cooling Procedures for the Cranberry Orange Cake
Cooling is a two-part process. Let the cake rest in the hot pan first. Give it a solid 15 minutes on a wire rack. After that time, carefully flip it out. Let it cool completely on the rack. Never glaze a warm cake. That messes up the pretty drizzle.
Crafting the Simple Orange Glaze
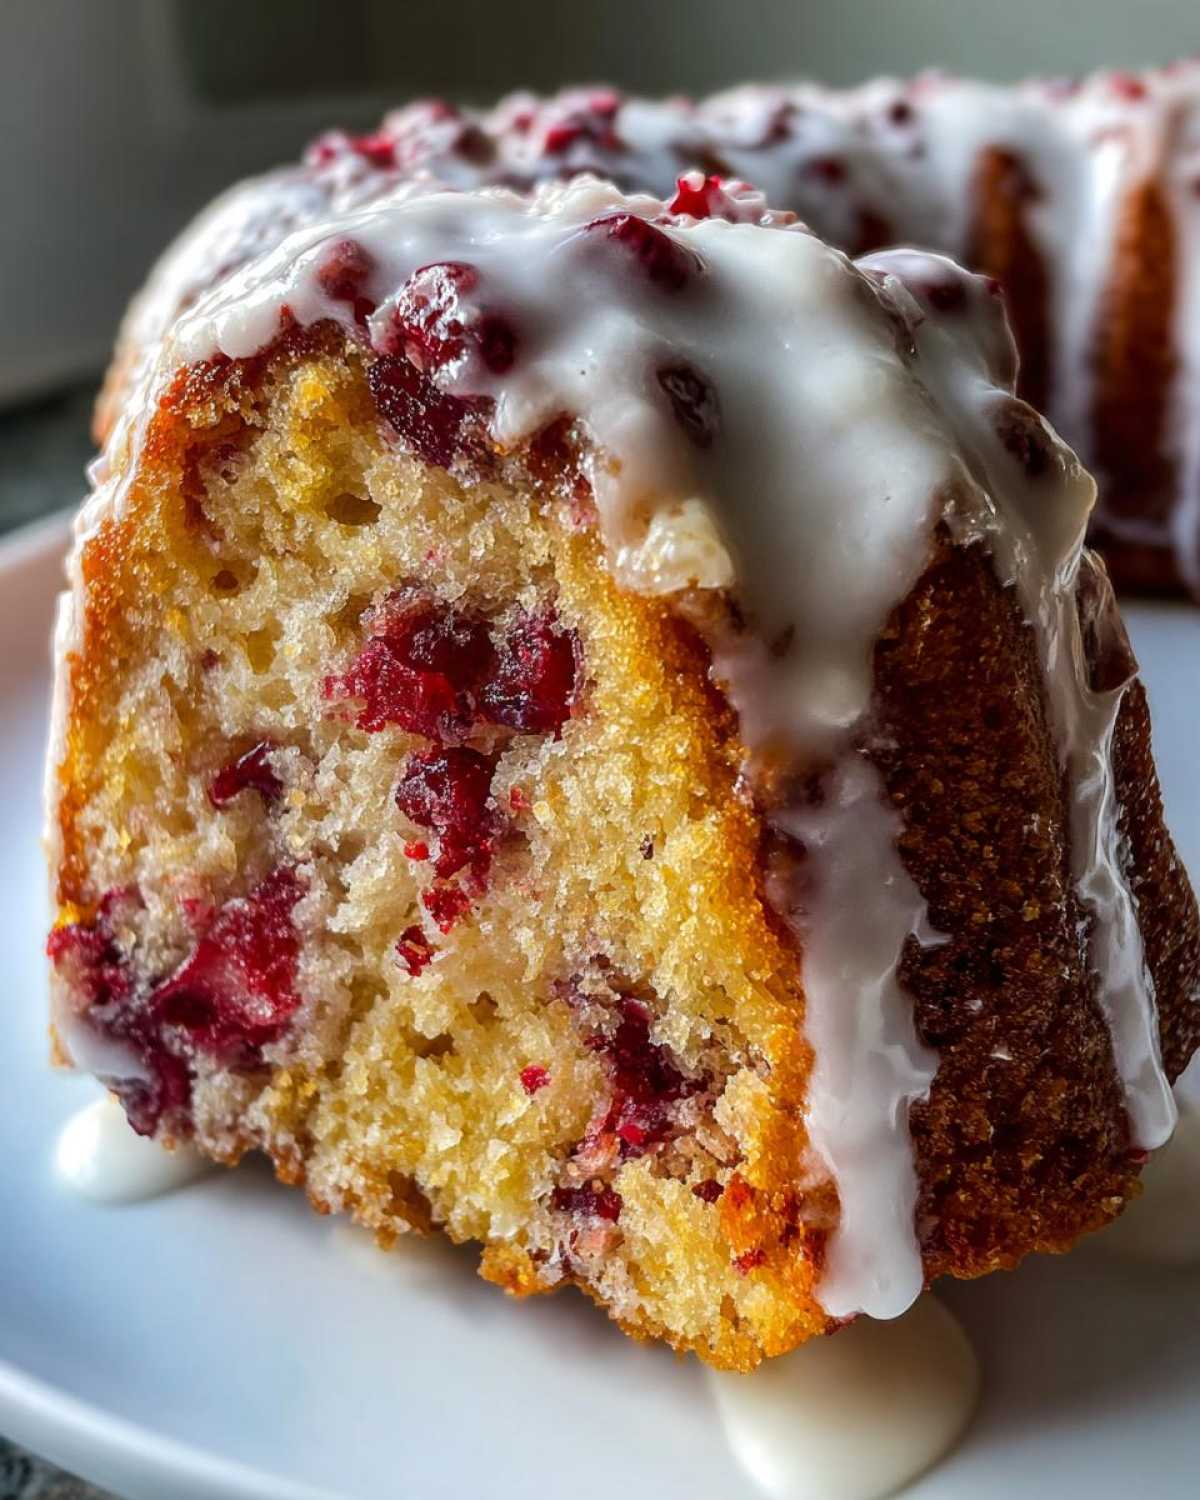
The final touch for our beautiful cranberry orange cake is the glaze. This sweet topping seals in the moisture. It also adds a lovely, bright finish. Don’t skip this step!
A good glaze makes this dessert look professional. It’s so easy to make, too. Jacob always says the glaze is the cake’s little party hat.
Glaze Ingredients and Whisking Technique
You only need two main things here. Powdered sugar is the base. You need about 1 1/2 cups of it. Start by adding just two tablespoons of milk or water.
Whisk these together until they combine. The mixture will look thick at first. That’s perfectly normal, trust me. Now, add the liquid slowly. Add it one teaspoon at a time. Keep whisking constantly as you go. Stop adding liquid when it pours slowly. You want a thick ribbon, not a watery mess. Drizzle it over the cooled cake. Watch it set up nicely.
Tips for the Ultimate Moist Cranberry Orange Cake
We all want that dreamy, tender crumb in our bakes. Jacob has a few secrets. These tips make the difference. They guarantee a wonderfully moist cranberry orange cake every time you bake.
I used to rush these steps. Jacob made me slow down. Now I see his point completely. Baking is mostly patience, honestly.
Ingredient Temperature Matters
This is non-negotiable for a great emulsion. Make sure your butter is truly softened. Your eggs must also be at room temperature. Cold ingredients fight each other. They won’t blend properly. This leads to a heavy, uneven texture. Room temperature items mix smoothly together.
Handling Frozen Fruit
Do not thaw those frozen cranberries. I learned that the hard way once. Thawed berries bleed color everywhere. They also make the batter too wet. Just fold the frozen fruit straight in. They bake up perfectly fine inside the batter.
Flavor Intensification Tip
For the brightest taste, skip bottled juice. Use only fresh-squeezed orange juice here. The flavor from fresh zest is amazing too. It really makes the citrus pop against the tart berries. This small switch elevates the whole cake.
Recipe Specifics and Timing
As the project manager here, I love seeing all the hard work boiled down. Numbers make things clear. They help us schedule baking time perfectly. This overview helps you fit this beautiful bake into your day.
We timed everything precisely during testing. This ensures you get the best result possible. It’s satisfying to see the plan laid out cleanly.
Key Metrics
- Prep Time: 20 minutes
- Cook Time: 60 minutes
- Total Time: 1 hour 35 minutes
- Yield: 12 servings
Frequently Asked Questions About Your Cranberry Orange Cake
Do you have lingering questions about the bake? I get it. Every recipe has little quirks. Here are a few things readers often ask us. We hope this helps your baking adventure.
Can I use dried cranberries instead of fresh or frozen?
You absolutely can swap them out. Dried cranberries are less tart, though. If you use dried ones, consider soaking them first. Soak them in a bit of warm orange juice for 15 minutes. This plumps them up nicely. It stops them from drying your cake out.
What makes this such a great holiday cake?
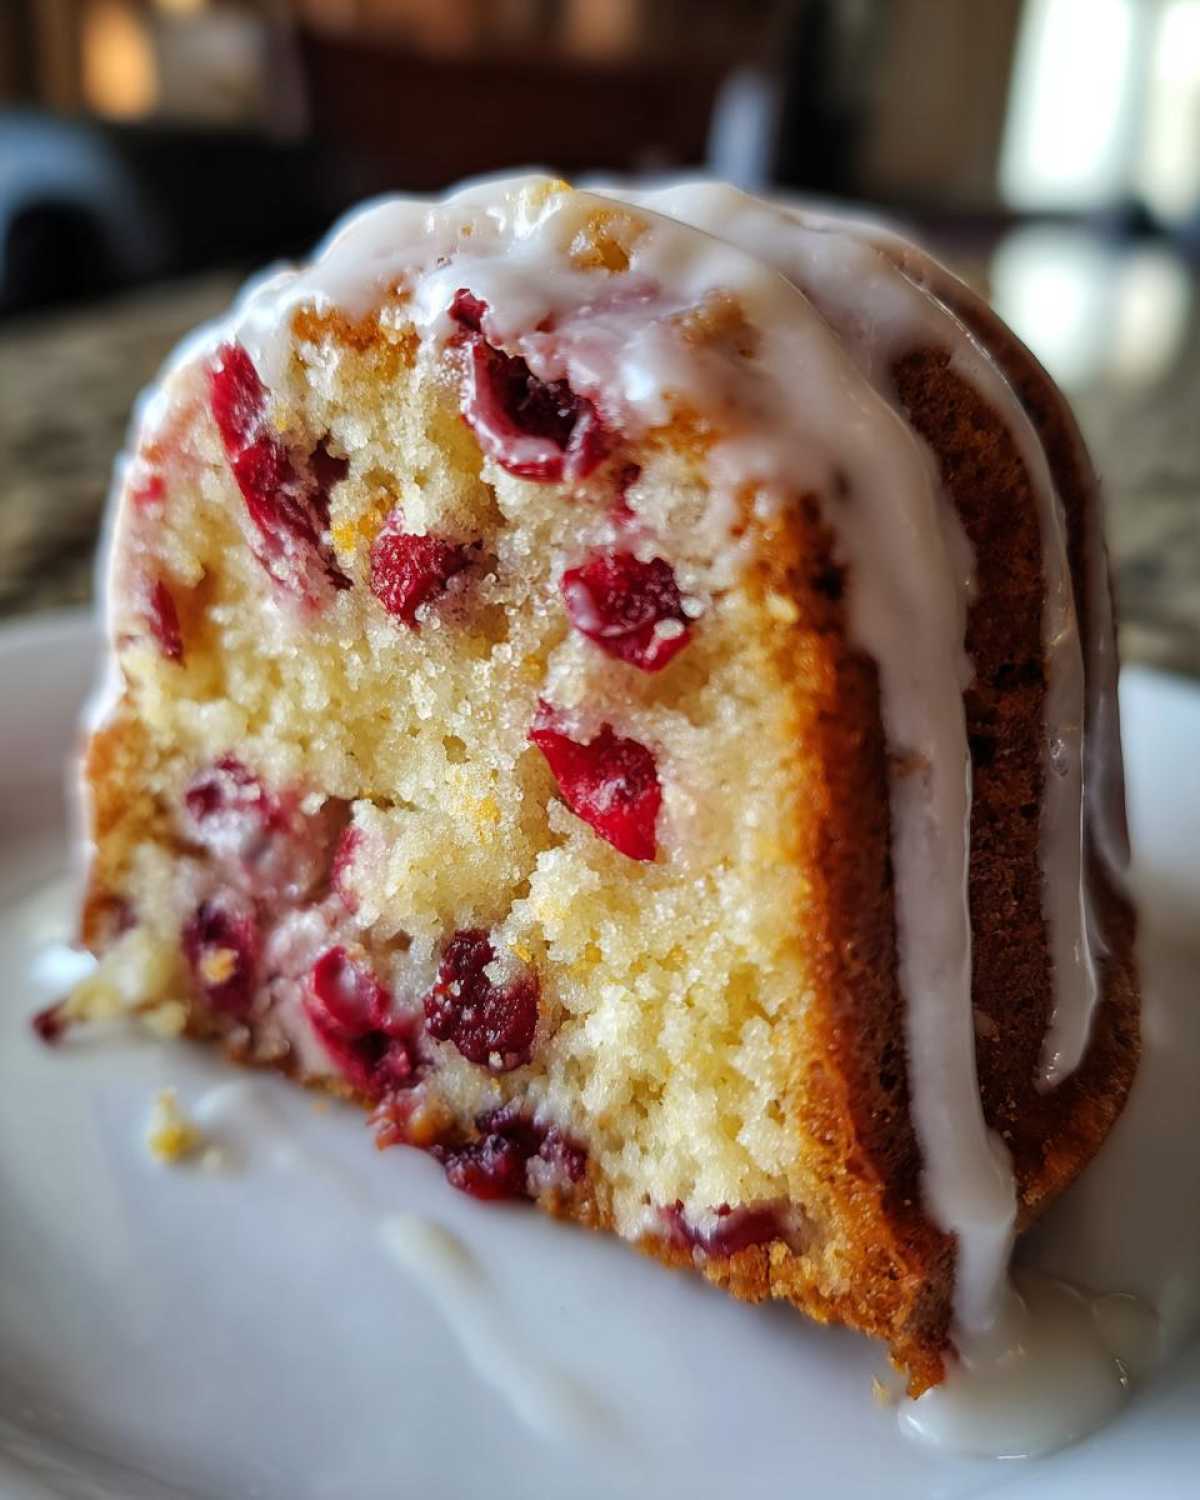
The flavor combination screams holiday cheer. Tart cranberries pair well with rich winter spices. This cranberry orange cake looks stunning too. The bright glaze shines on any festive table. It’s an easy showstopper for guests.
My batter split when I added the eggs. What went wrong?
That usually means your butter was too cold. Cold eggs hitting warm creamed butter causes separation. The emulsion breaks apart quickly. Next time, check your ingredient temperatures thoroughly. Room temperature ingredients keep the batter smooth.
Can this recipe be made as a layer cake instead of a Bundt cake?
Yes, you can adapt this batter. Divide the batter between two 8-inch round pans. You will need to reduce the baking time slightly. Check them around 35-40 minutes. They might need a little extra glaze, too!
Storing Your Perfect Cranberry Orange Cake
The best part about this bake? It tastes great even the next day. We learned proper storage keeps the crumb soft. Nobody wants a dry cake later on. Jacob’s notes say airtight containers are key.
This cranberry orange cake stays wonderfully moist. You don’t need to refrigerate it right away. That cold air can actually dry it out faster. Keep it covered at room temperature.
It keeps well for several days this way. We usually wrap slices tightly in plastic wrap. Then, we place them inside a sealed container. This traps all that lovely moisture inside.
If you really need longer storage, try freezing. Wrap individual slices well. Use plastic wrap, then foil for protection. It lasts about two months frozen. Thaw them slowly on the counter first. Enjoy that homemade flavor for longer!
Share Your Taste Portfolio Project
We poured our hearts into this recipe. Now it’s your turn to bake it!
Creating this cranberry orange cake was a joy for us. We hope you loved making it. Did it turn out perfectly moist for you?
Tell us about your experience below. Did you decorate your Bundt cake differently? Maybe you added nuts to the batter. We love hearing your twists. Check out our general recipe blog for more inspiration.
Please leave us a rating when you finish baking. Your feedback helps others find great recipes. It makes our planning worthwhile.
Share photos of your finished work online. Tag us in your posts, please. Show off your delicious success story. We can’t wait to see your portfolio piece!
PrintCraving 1 amazing cranberry orange cake
This Cranberry Orange Bundt Cake delivers a moist crumb and bright, zesty flavor, perfect for any festive gathering. Jacob perfected this recipe, marrying the tartness of cranberries with fresh orange zest under a simple, sweet glaze.
- Prep Time: 20 minutes
- Cook Time: 60 minutes
- Total Time: 1 hour 35 minutes
- Yield: 12 servings
- Category: Dessert
- Method: Baking
- Cuisine: American
- Diet: Vegetarian
Ingredients
- All-purpose flour: 2 1/2 cups
- Baking powder: 1 teaspoon
- Salt: 1/2 teaspoon
- Unsalted butter, softened: 1 cup (2 sticks)
- Granulated sugar: 1 3/4 cups
- Large eggs: 4
- Orange zest: 2 tablespoons (from about 2 oranges)
- Fresh orange juice: 1/2 cup
- Sour cream or plain Greek yogurt: 1/2 cup
- Vanilla extract: 1 teaspoon
- Fresh or frozen cranberries, roughly chopped: 1 1/2 cups
- Powdered sugar (for glaze): 1 1/2 cups
- Milk or water (for glaze): 2-3 tablespoons
Instructions
- Preheat your oven to 350°F (175°C). Generously grease and flour a 10-cup Bundt pan.
- In a medium bowl, whisk together the flour, baking powder, and salt. Set this dry mixture aside.
- In a large bowl, beat the softened butter and granulated sugar with an electric mixer until light and fluffy. This takes about 3 minutes.
- Beat in the eggs one at a time, mixing well after each addition. Mix in the orange zest, orange juice, sour cream, and vanilla extract until just combined.
- Gradually add the dry ingredients to the wet ingredients, mixing on low speed until the batter is smooth. Do not overmix.
- Gently fold in the chopped cranberries using a spatula.
- Pour the batter evenly into the prepared Bundt pan.
- Bake for 50 to 60 minutes, or until a wooden skewer inserted into the center comes out clean.
- Let the cake cool in the pan on a wire rack for 15 minutes.
- Invert the cake onto the wire rack and allow it to cool completely before glazing.
- To make the glaze, whisk together the powdered sugar and 2 tablespoons of milk or water until smooth. Add more liquid, one teaspoon at a time, until you reach a thick but pourable consistency.
- Drizzle the glaze over the cooled cake. Let the glaze set before slicing and serving.
Notes
- If using frozen cranberries, do not thaw them before folding them into the batter.
- Ensure your butter and eggs are at room temperature for the best cake texture.
- This cake stays very moist for several days when stored in an airtight container at room temperature.
- For a deeper orange flavor, use fresh orange juice only, avoiding any bottled varieties.
Nutrition
- Serving Size: 1 slice
- Calories: 380
- Sugar: 30g
- Sodium: 250mg
- Fat: 19g
- Saturated Fat: 11g
- Unsaturated Fat: 8g
- Trans Fat: 0.5g
- Carbohydrates: 50g
- Fiber: 2g
- Protein: 5g
- Cholesterol: 85mg