

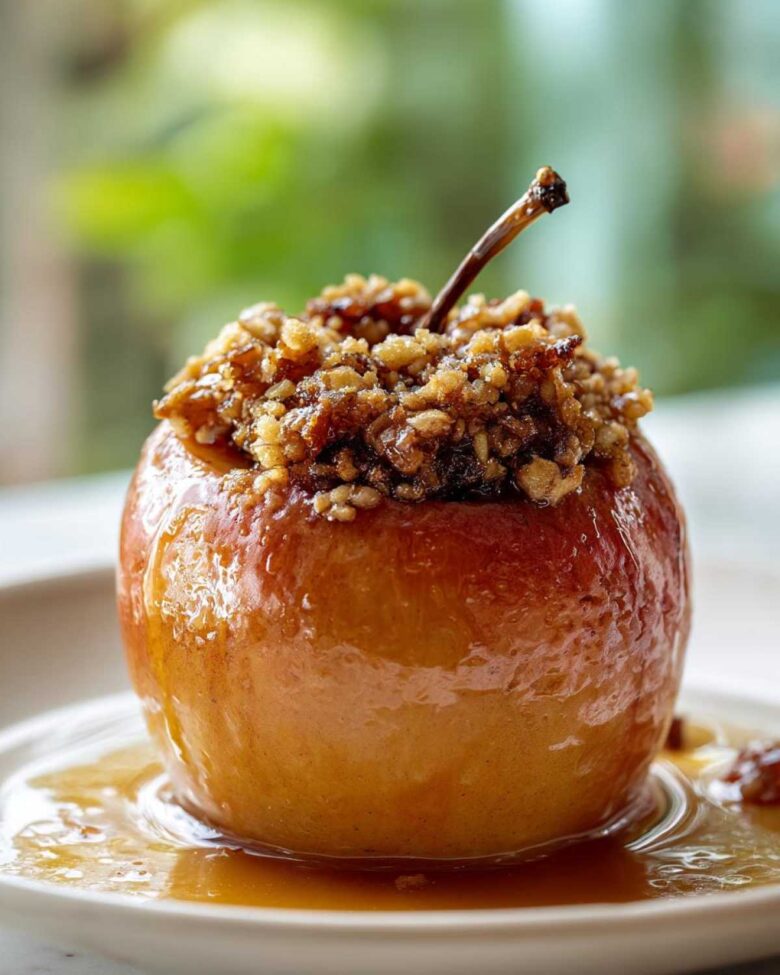
The Ultimate Easy Baked Apples: A Taste Portfolio Classic
When the air gets crisp, my planning brain immediately screams for comfort food. And nothing whispers ‘cozy’ like perfectly tender baked apples. I used to just pin recipes. Jacob, though, he just cooks them.
He approaches this dessert with such natural confidence. It’s the perfect marriage for us. I plan the blueprint; he executes the flavor. These baked apples are our family’s favorite fall staple now.
We found this method to be incredibly simple. It delivers that warm, spicy hug every time. You get tender fruit and a sweet, oat-filled center. It’s truly a masterpiece project.
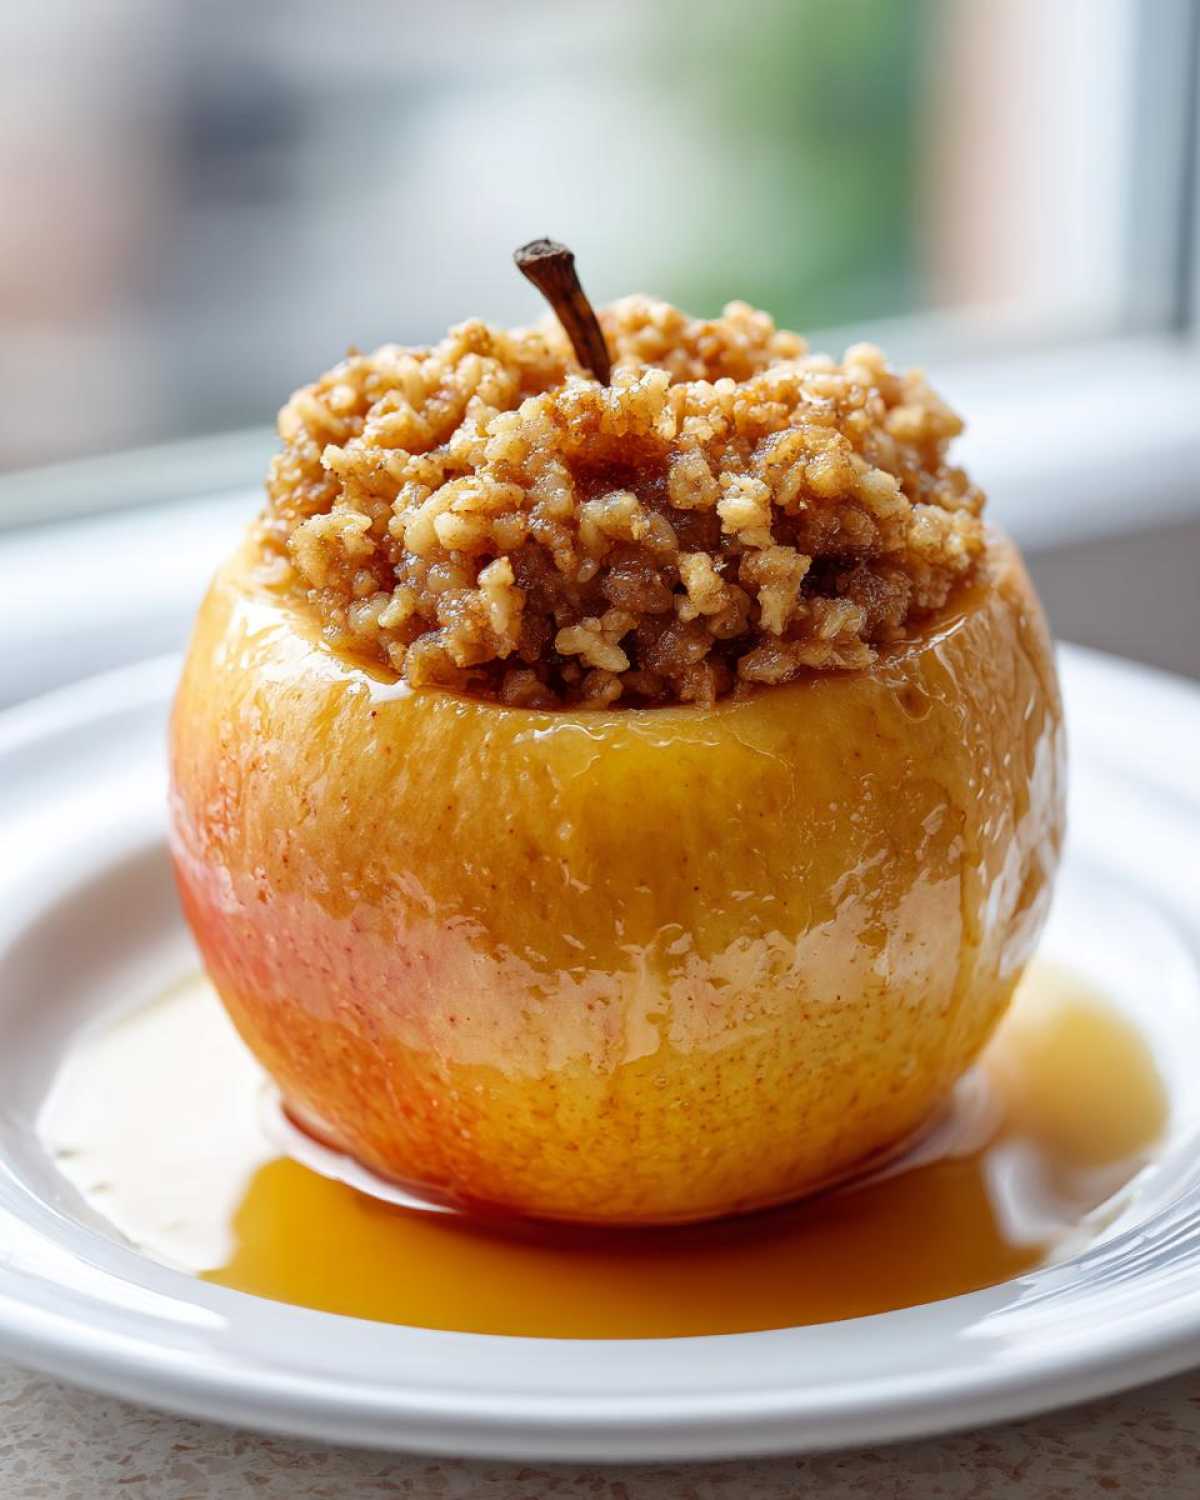
Gather Your Components for Perfect Baked Apples
Before Jacob even touches a mixing bowl, I make sure every component is ready. Getting organized prevents kitchen chaos. This recipe for baked apples needs just a few pantry staples. Check your list twice!
Having everything measured out makes the process feel smooth. It’s like setting up the perfect canvas before you paint.
Essential Ingredients for Our Baked Apples
We need firm apples that won’t turn to mush. Think Gala or Honeycrisp for structure. The filling uses simple brown sugar and cinnamon. Don’t forget the oats for texture!
- Four medium baking apples.
- Brown sugar and cinnamon for spice.
- Rolled oats add a nice chew.
- Small pats of cold butter melt perfectly.
Equipment Required for Making Baked Apples
You won’t need fancy gadgets here. A small baking dish works great. Make sure you have a small knife or corer handy. A simple mixing bowl completes the setup.
- Small baking dish (lightly greased).
- Small bowl for mixing the filling.
- Measuring spoons and cups.
- An apple corer or sharp paring knife.
How Jacob Prepares Our Signature Baked Apples
Now for the fun part. This is where Jacob shines, turning my list into pure kitchen magic. He makes preparing these baked apples look effortless. Watch how he handles the fruit.
He always starts with the oven. Organization is key for him too. Then, he focuses on the apples themselves. Precision here matters greatly for success.
Step 1: Oven Setup and Apple Preparation
First, preheat your oven to 375 degrees F. Lightly grease your baking dish now. Jacob carefully washes the apples first. He uses a corer or small knife. He removes the core from the top. Stop before piercing the bottom skin. This creates a perfect little cup.
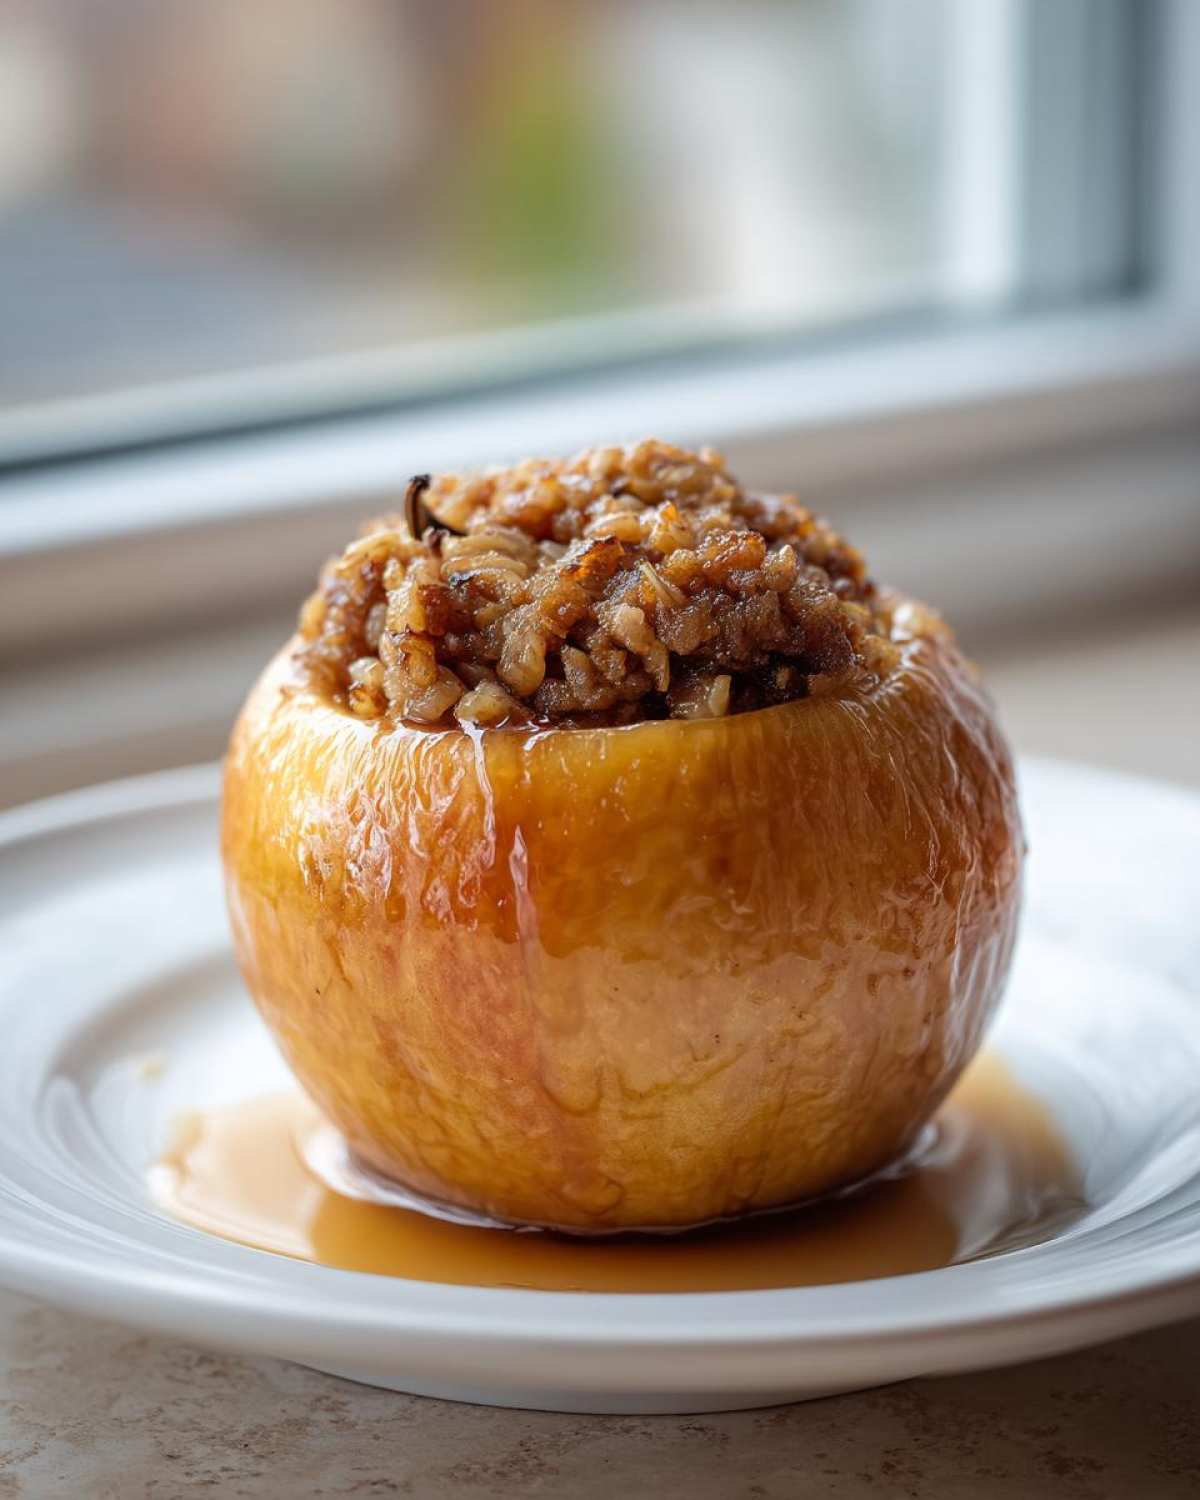
Step 2: Creating the Cinnamon Brown Sugar Filling
In a separate small bowl, mix everything dry. Combine the brown sugar, cinnamon, and oats well. This mixture smells like pure autumn air. Feel free to add chopped pecans here. Jacob sometimes tosses in walnuts for crunch.
Step 3: Stuffing and Butter Placement
Spoon that sweet oat mixture into each apple. Press the stuffing down gently inside. Now, top each one with small butter pieces. These melt down beautifully during baking. They keep the filling moist and rich.
Step 4: Baking the Baked Apples
Place the filled apples in the prepared dish. Pour hot water into the dish bottom. This steam keeps things from drying out. Bake them for 30 to 40 minutes. If you see them drying, baste them once. This keeps your baked apples wonderfully tender.
Tips for Perfect Baked Apples Every Time
Even simple recipes need a few expert nudges. Jacob insists on small details for the best results. Following these tips guarantees delicious baked apples. You want tender fruit, not mushy applesauce.
These little tricks elevate the final dish. They show the difference between good and truly memorable baking. We learned these from many kitchen experiments.
Selecting the Right Apples for Baking
The apple choice is super important here. You need firm apples that hold their shape. Soft apples break down too fast. We always reach for Honeycrisp or Gala apples. They offer a great balance of sweet and tart.
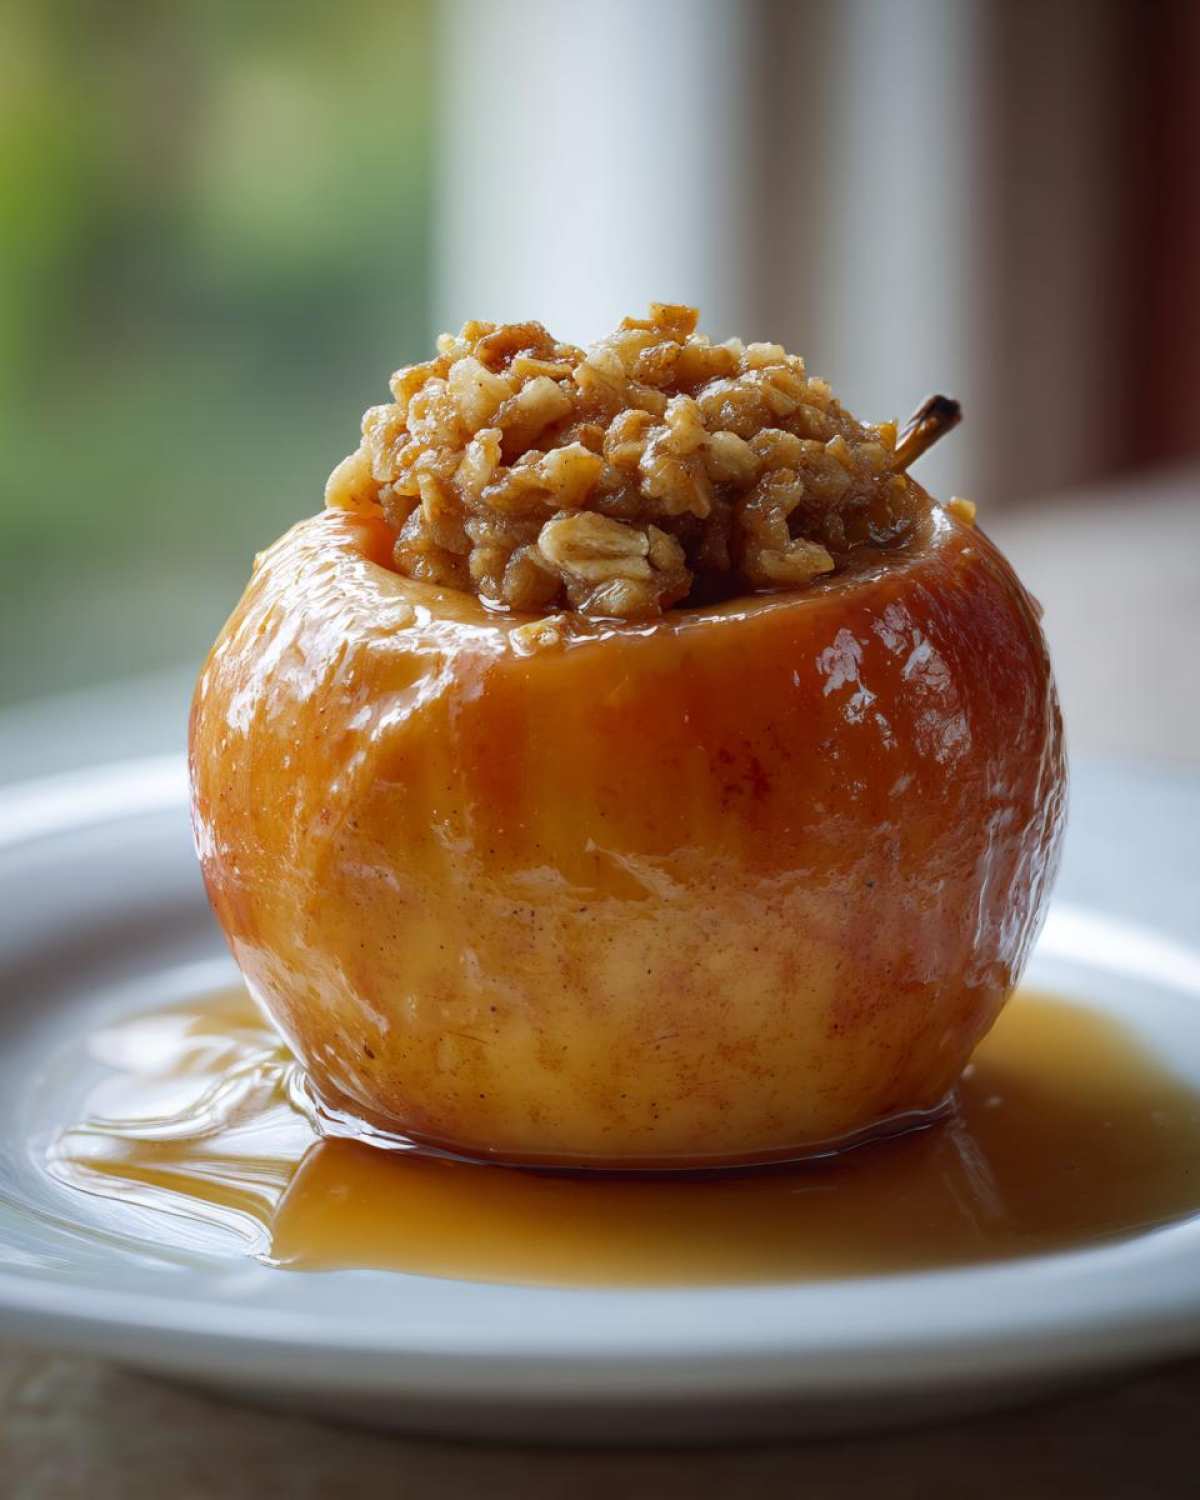
Adjusting Texture with Foil Covering
Do you prefer your fruit very soft? We have a simple fix for that. Cover the baking dish loosely with foil. Do this for the first twenty minutes. This traps steam inside the dish. It gently coaxes the apples to soften faster. Then, remove the foil to let them finish.
Ingredient Decisions and Substitutions for Baked Apples
Sometimes we run out of something mid-recipe. It happens to the best planners! Don’t panic if you are missing an ingredient for these baked apples. We have a few easy swaps.
These adjustments keep the flavor profile strong. They ensure your dessert is still amazing. You can easily customize your baked apples.
Swapping Out Oats or Nuts
If you skip the oats entirely, use more brown sugar. You might need a tiny bit of butter more. This keeps the filling from being too dry. For nuts, pecans are excellent. Walnuts work just as well too. Add about a quarter cup total for flavor.
Serving Suggestions for Your Baked Apples
Once these beauties come out of the oven, they need the right partner. The warm cinnamon spice begs for something cool. This contrast is just heavenly.
I always grab the vanilla bean ice cream. Jacob prefers a dollop of Greek yogurt. Spoon that extra pan juice over everything. It makes the perfect simple dessert.
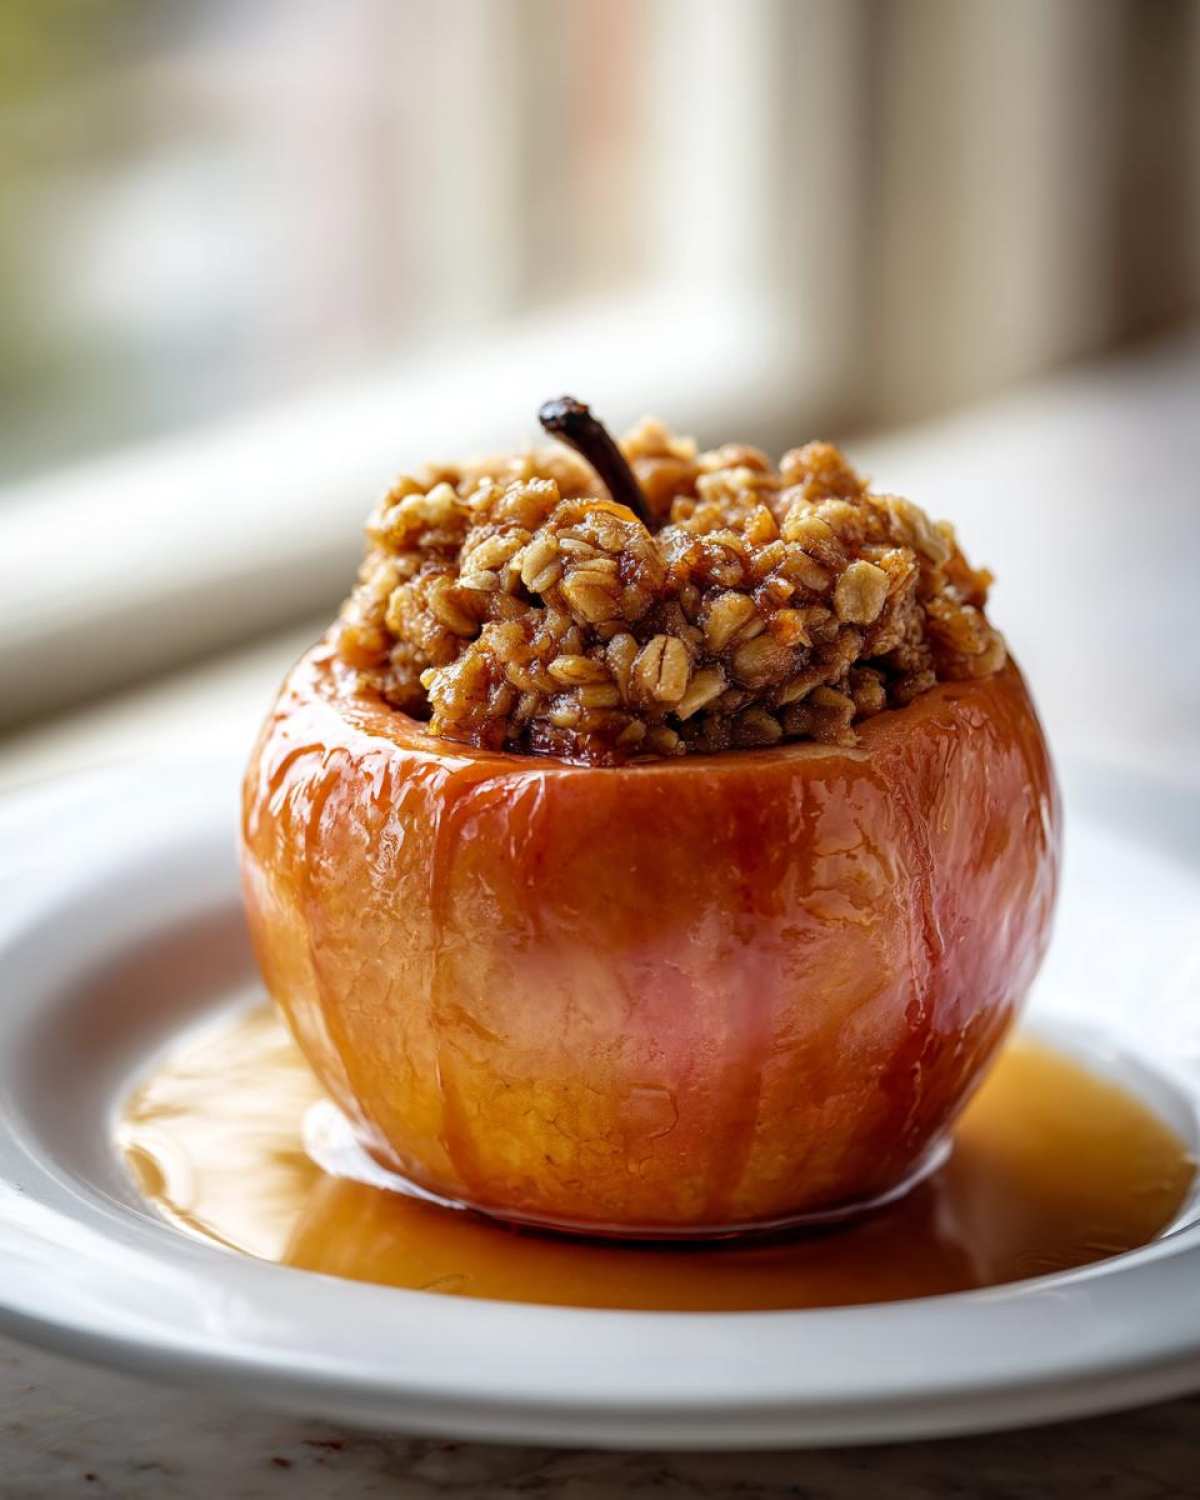
Storing and Reheating Your Baked Apples
Leftovers happen, which is a good thing! Store any remaining baked apples in the fridge. Keep them in an airtight container. They should last about three days easily.
Reheat them very gently. A low oven setting works best for texture. You want them warm, not cooked again. Spoon some extra syrup on top before serving.
Frequently Asked Questions About Baked Apples
We get so many questions about these tasty treats. Do you have a quick query about your baked apples? I gathered the most common ones here. Let’s clear things up quickly.
Sometimes, a little extra knowledge makes baking fun. Jacob and I tackle these often. Here are our best answers for your stuffed apples.
Can I make these baked apples without refined sugar?
Yes, you absolutely can make healthier cinnamon apples. Try using pure maple syrup instead of brown sugar. You can also use coconut sugar. Adjust the liquid slightly if needed. This keeps the cozy flavor profile.
How long do baked apples last in the refrigerator?
These baked apples keep well for three days. Store them covered tightly in the fridge. They are still delicious reheated gently. Always check for off smells first, though.
What is the best apple to use for baking?
Firm apples are your best friend here. Avoid Red Delicious; they get too soft. We love Honeycrisp or Gala apples best. They keep their shape nicely during the bake time.
Share Your Taste Portfolio Project
We hope this recipe joins your collection. Did you and your planner or artist nail this project? Tell us how they turned out. Rate these baked apples below. We love seeing your success stories!
PrintUltimate Easy Baked Apples: 4 Cozy Secrets

Enjoy these simple, cozy baked apples stuffed with a classic brown sugar and cinnamon mixture. This recipe is perfect for a comforting fall dessert or a simple, warm treat on a chilly evening. You will easily core, fill, and bake these apples until tender.
- Prep Time: 15 minutes
- Cook Time: 35 minutes
- Total Time: 50 minutes
- Yield: 4 servings
- Category: Dessert
- Method: Baking
- Cuisine: American
- Diet: Vegetarian
Ingredients
- 4 medium baking apples (such as Honeycrisp or Gala)
- 1/4 cup packed brown sugar
- 1 teaspoon ground cinnamon
- 1/4 cup old-fashioned rolled oats
- 2 tablespoons unsalted butter, cut into small pieces
- 1/4 cup hot water
Instructions
- Preheat your oven to 375°F (190°C). Lightly grease a small baking dish.
- Wash the apples. Use a small knife or apple corer to carefully remove the core from the top of each apple, leaving about 1/2 inch at the bottom intact. Do not cut all the way through.
- In a small bowl, mix together the brown sugar, cinnamon, and oats. This is your stuffing.
- Spoon the oat mixture evenly into the center cavity of each cored apple. Gently press the mixture down.
- Place 3 or 4 small pieces of butter on top of the stuffing in each apple.
- Place the filled apples into the prepared baking dish. Pour the hot water into the bottom of the dish around the apples.
- Bake for 30 to 40 minutes, or until the apples are tender when pierced with a fork. Basting them with the pan juices halfway through baking helps keep them moist.
- Carefully remove from the oven. Serve warm, spooning any remaining pan juices over the top.
Notes
- Use firm apples that hold their shape well during baking.
- For extra flavor, add 1/4 cup of chopped pecans or walnuts to the oat mixture.
- If you prefer a softer apple, cover the baking dish loosely with foil for the first 20 minutes of baking.
Nutrition
- Serving Size: 1 apple
- Calories: 250
- Sugar: 35g
- Sodium: 5mg
- Fat: 10g
- Saturated Fat: 6g
- Unsaturated Fat: 4g
- Trans Fat: 0g
- Carbohydrates: 42g
- Fiber: 5g
- Protein: 1g
- Cholesterol: 25mg