

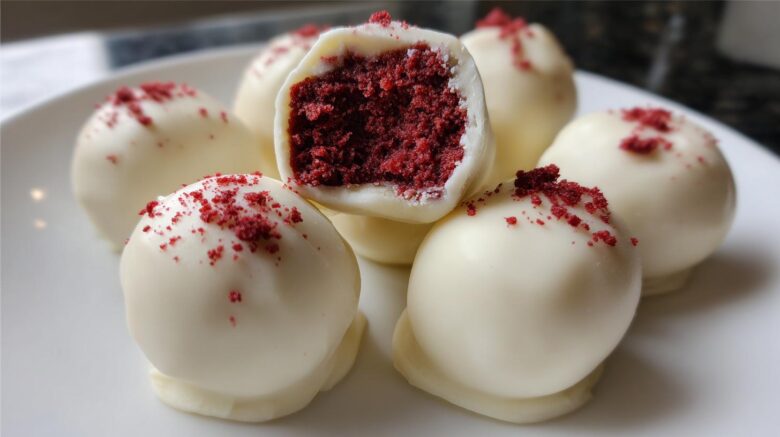
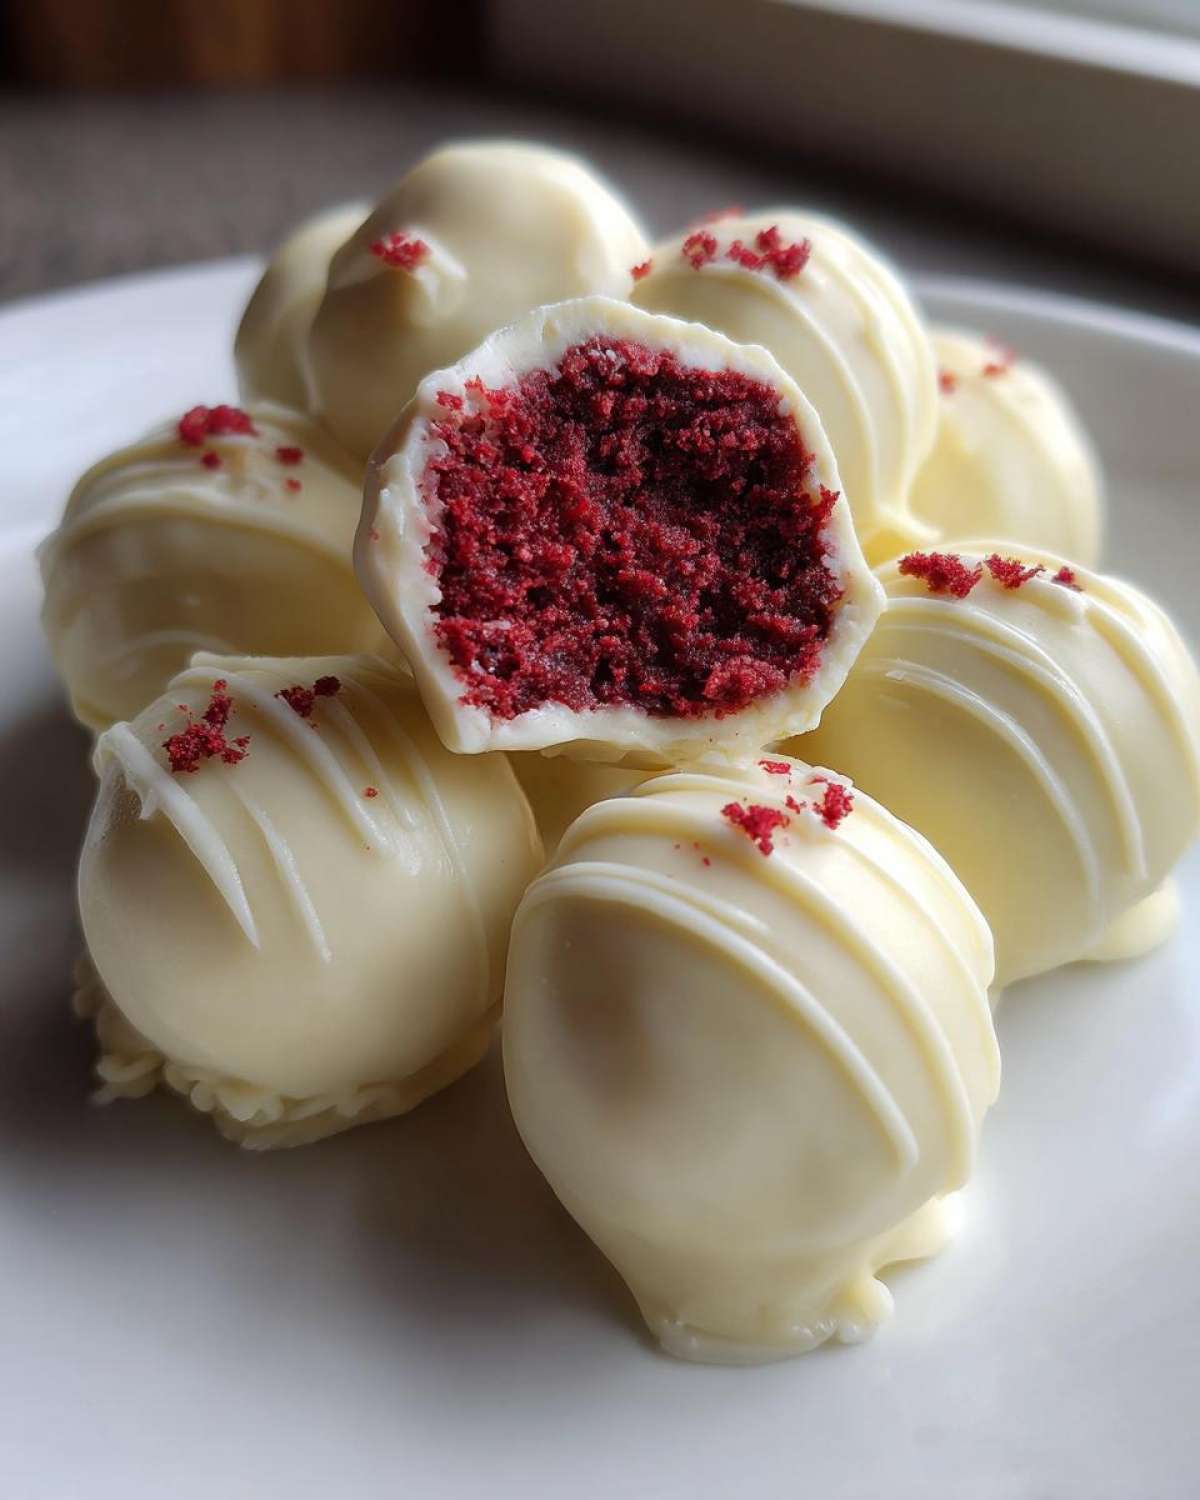
I love a good plan. Jacob just loves to eat the results! When I first started dreaming up recipes for Taste Portfolio, I wanted pure magic without the fuss. Enter the easiest, most delightful treat we’ve perfected: red velvet cake balls. Seriously, these little bites are pure, unadulterated joy.
Forget turning on the oven. We are skipping the baking step entirely. These are no-bake wonders. They taste just like rich red velvet cake. But they come together fast. I usually make a big batch for holidays. They disappear long before the main dessert is served. This recipe for red velvet cake balls became an instant family favorite.
If you crave that deep red color and tangy flavor, this is for you. Prepare to be amazed by the simplicity. You’ll want to add this one to your collection right now.
Why You Will Love Making red velvet cake balls
I promise these treats are worth making.
They fit right into my planning style. They are fast and require no baking. My kitchen stays cool too. You absolutely need this recipe.
- Quick prep time fits any busy schedule.
- No oven means less heat in the kitchen.
- They are wildly crowd-pleasing every single time.
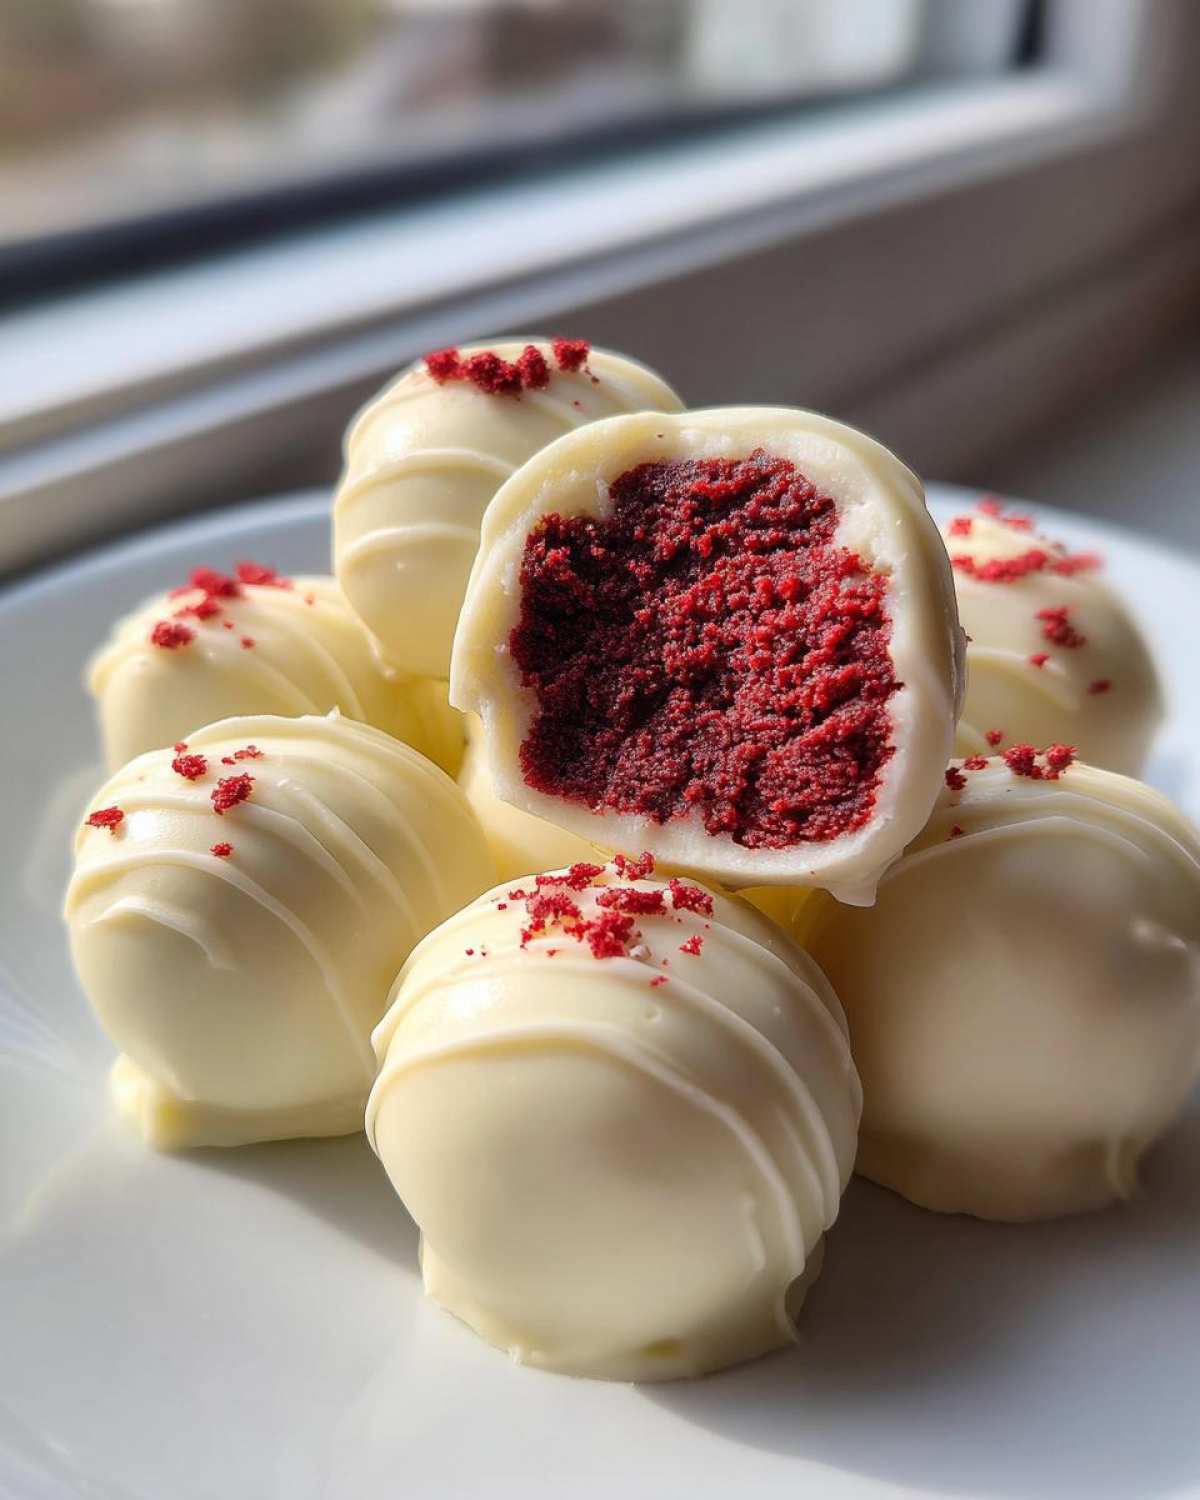
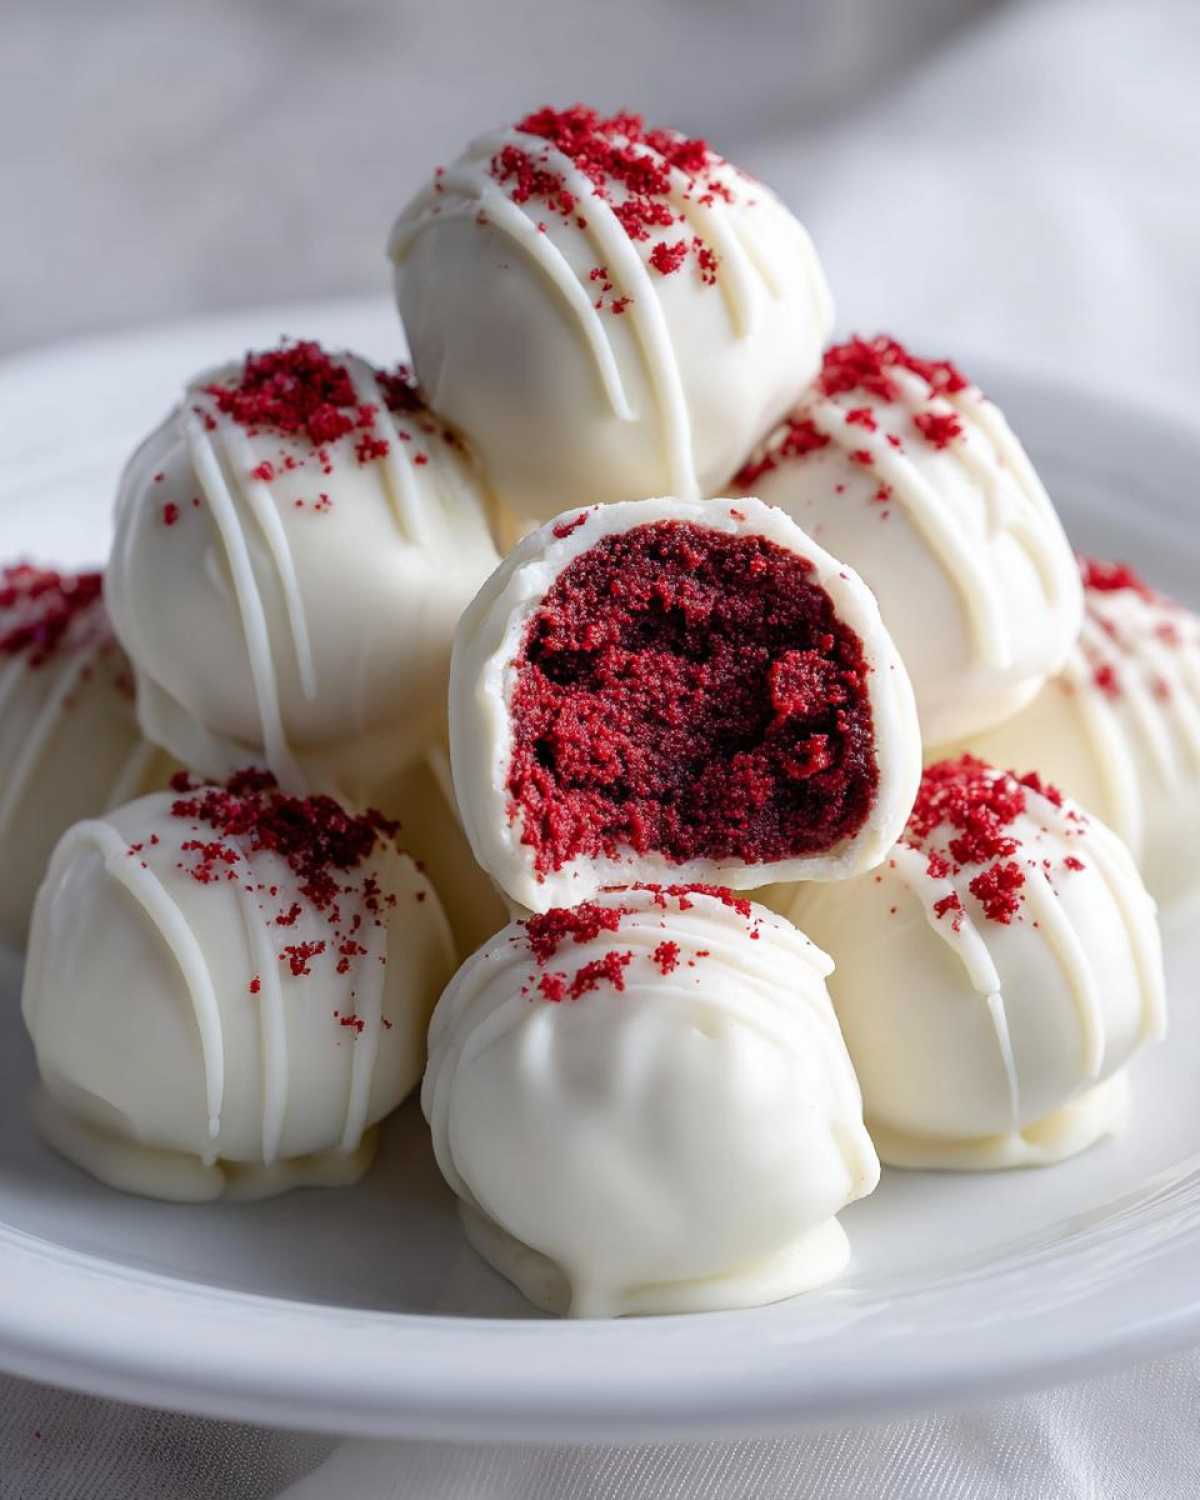
- These red velvet cake balls look so fancy!
Quick Prep Makes These red velvet cake balls Party Ready
When a last-minute party pops up, I panic a little. Jacob just laughs and heads to the pantry. We can whip up these balls quickly. They look like they took hours, honestly. They are perfect for Valentine’s Day or Christmas gatherings. You get maximum impact with minimal effort. That’s a win in my book.
Equipment Needed for Your red velvet cake balls Project
Every good project needs the right tools. I always check my list twice. Jacob says organization prevents kitchen chaos. We need very few things for this simple treat.
Here are the essentials for success:
- A large mixing bowl for combining ingredients.
- A fork or clean hands for mixing everything well.
- A standard baking sheet.
- Parchment paper to line that sheet easily.
- A small microwave-safe bowl for melting chocolate.
- A dipping tool or a regular fork for coating.
Ingredient Clarity for Perfect red velvet cake balls
Getting the ingredients right sets the stage. This recipe keeps things super simple. We rely on three main players here. Think high quality for the best result. Don’t skimp on the chocolate coating, please.
You’ll need:
- One box of red velvet cake mix. Prepare it just like the box says.
- One cup of cream cheese frosting. Store-bought is totally fine here!
- Twelve ounces of white chocolate wafers. These melt beautifully.
Remember this crucial detail. That cake must be totally cooled first. Warm cake ruins the structure, trust me on this one.
Working with Cake Crumbs and Frosting
The cake crumbs need to be fine. I mean really fine, like sand almost. This ensures a smooth dough later. If you have large chunks, the balls crumble apart.
Next is the frosting. It binds everything together perfectly. Use the full cup listed. This frosting acts like the glue. It makes the mixture pliable. You want a consistency that holds when you squeeze it tight.
How to Prepare Your Easy No-Bake red velvet cake balls
Now for the fun part, friends. We turn ingredients into something amazing. This process is straightforward. Follow these steps closely. You’ll have beautiful red velvet cake balls ready soon.
Creating the Mixture Base
First, take that cooled cake. Crumble it finely into your biggest bowl. Don’t leave big chunks behind. They make rolling impossible later on.
Then, add your cream cheese frosting. Mix it all up really well. I use a sturdy fork at first. Then I switch to my clean hands. You need to squeeze it. Does it hold its shape? If yes, you’re ready to roll.
If it feels too dry, add a tiny bit more frosting. Too wet? Add a spoonful of extra fine crumbs. We are aiming for playdough texture.
Rolling and Freezing the red velvet cake balls
Time to shape these beauties! Use a small scoop. Or just use a teaspoon measure. Roll them into balls about one inch wide. Uniformity matters here. It helps them freeze evenly.
Place these little spheres on the parchment-lined tray. Now, they need a good chill. Into the freezer they go. Thirty minutes is the minimum time needed. Freezing is non-negotiable for structure.
Warm balls melt chocolate instantly. That makes a sticky mess, trust me.
Dipping and Coating the Chocolate Shell
While they freeze, melt your white chocolate wafers. Use low heat. Microwave in short bursts only. Stir often between those short bursts. We don’t want seized chocolate. For more information on tempering chocolate correctly, check out resources from culinary institutes like The Culinary Institute of America.
Pull the firm balls from the freezer. Dip one quickly into the melted coating. Make sure it’s totally submerged. Let the excess drip off back into the bowl. A gentle tap helps here.
Set them back on that parchment paper immediately. Let the chocolate set up completely. Room temperature works fine. Or chill them for five minutes if you’re impatient like me.
Tips from Amelia and Jacob for Perfect red velvet cake balls
We’ve made mountains of these treats. Jacob has learned a few tricks. I’ve organized the troubleshooting notes. These tips make your red velvet cake balls look professional. They stop common kitchen disasters before they happen. Don’t skip this section, please!
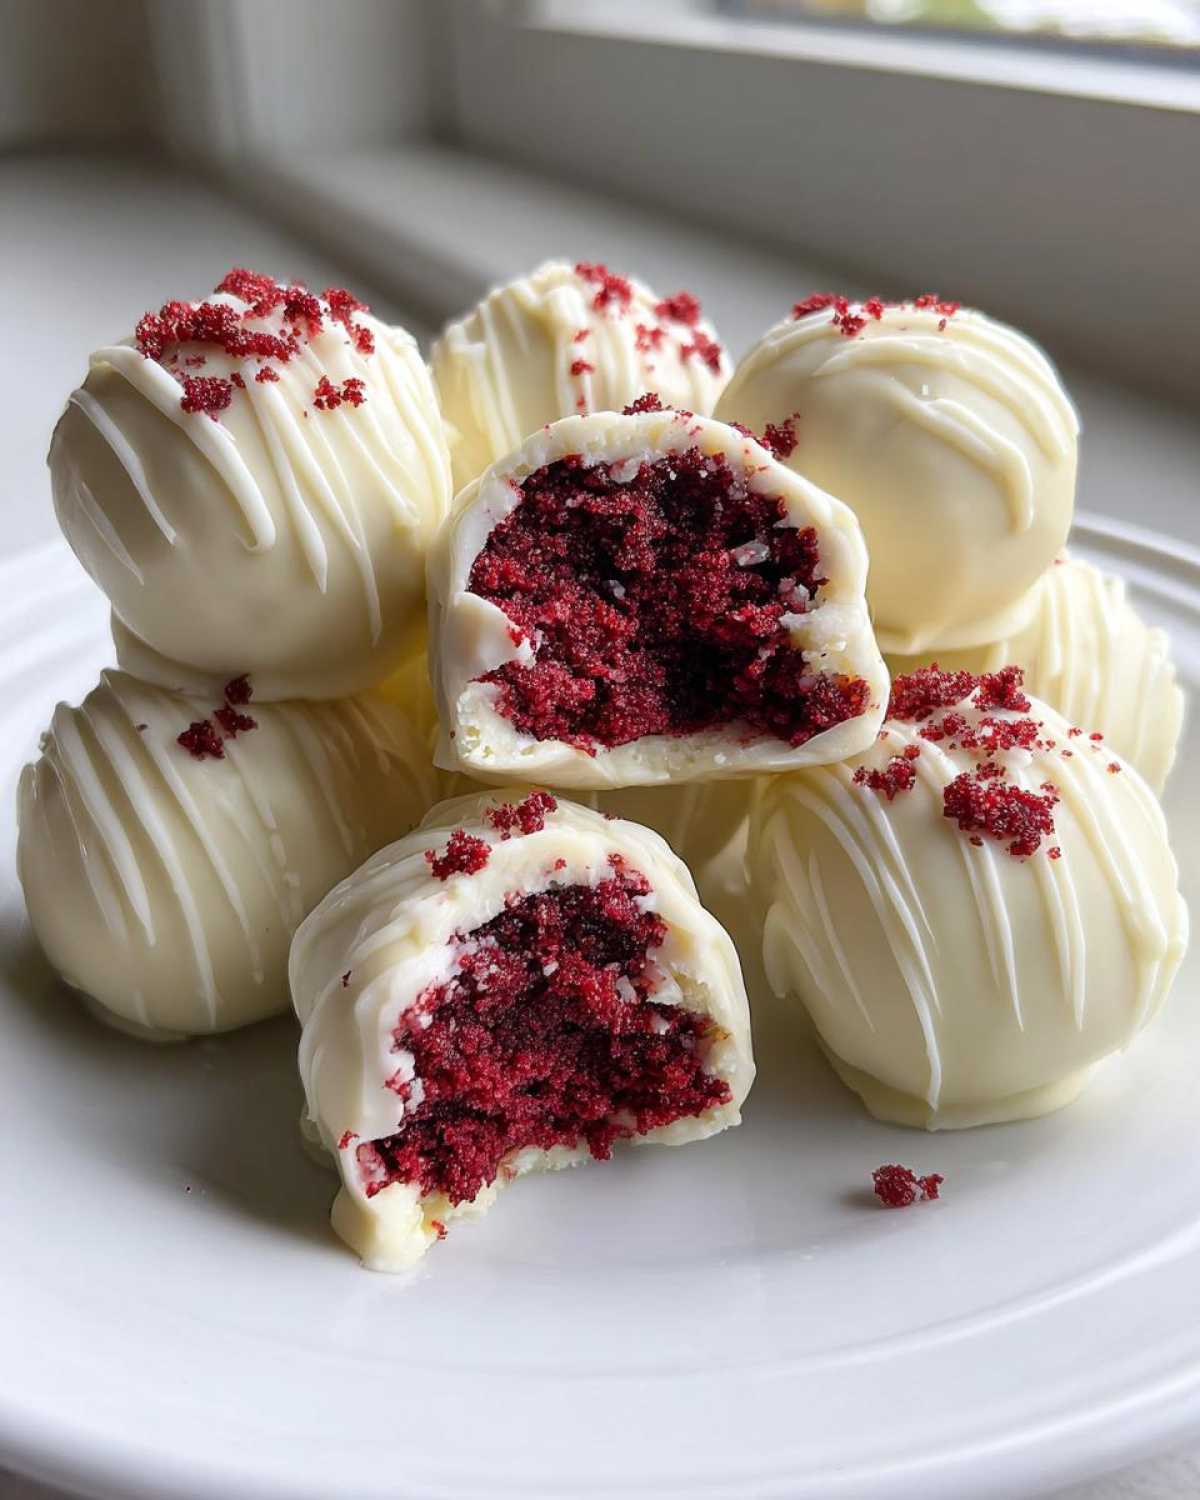
Presentation really matters for these bites. We love adding extra flair. Try drizzling melted dark chocolate over the white coating. A few red sprinkles look amazing too. Let the white chocolate set first, though. Otherwise, everything just blends into a swirl.
Remember, these are great for gifting. They travel well, too. Just keep them cool until serving time. Enjoy making your collection! If you are looking for more easy dessert ideas, check out our blog for inspiration.
Temperature Control is Key
This is the most important rule, honestly. You must start with a completely cool cake. Warm cake melts the cream cheese frosting instantly. The mixture becomes soupy, not firm. We learned that the hard way once.
Also, freezing is your best friend here. Frozen balls dip so much better. The cold stops the chocolate from melting too fast. It creates a beautiful, crisp shell around your red velvet cake balls. If they soften while dipping, pop the tray back in the freezer for ten minutes. It’s worth the small pause.
Storing and Serving Your Finished red velvet cake balls
Once your delicious treats are set, storage is simple. Keep them in an airtight container. A cool refrigerator is the best spot. They stay fresh for about a week there. I love having these ready for snacks.
These red velvet cake balls travel well for parties. Just keep them cool until serving time. Don’t leave them out for too long in summer heat.
For serving, arrange them on a pretty platter. A little drizzle of dark chocolate looks sharp. Sprinkles add festive color, too. They are perfect little dessert portions. Everyone always asks for the recipe!
Frequently Asked Questions About red velvet cake balls
I get so many messages about these no bake cake balls. Let me answer a few common ones right here. Cooking should be fun, not confusing. Here are the quick answers you need.
Can I skip the cream cheese frosting?
Honestly, I would not recommend it. The frosting is the magic binder. It holds the cake crumbs together perfectly. Without it, you get dry, crumbly messes. You need that richness too.
What is the best coating besides white chocolate?
Dark chocolate is a fantastic alternative. It gives a nice contrast to the red cake. You can also use peanut butter chips sometimes. Just melt them the same way. They set up nicely, too.
How long do I really need to freeze them?
Thirty minutes is the minimum time for firming up. I usually aim for forty-five minutes if I can wait. The colder they are, the cleaner the dip is. This prevents chocolate melting issues.
Can I use homemade cake instead of boxed mix?
Yes, absolutely! Just make sure your homemade red velvet cake is completely baked and cooled. Then, crumble it up just like the recipe says. It works just as well, maybe even better! For those interested in the history of cake mixes, resources like the Smithsonian Magazine offer interesting background.
Share Your Taste Portfolio Project
Did you try this recipe? I’d love to see your creations!
Tell us how they turned out in the comments below. Did you add sprinkles or a fancy drizzle?
Rate this project when you get a chance. We built this portfolio for you!
Print3 Shocking red velvet cake balls secrets
Make these simple, no-bake Red Velvet Cake Balls for a quick, crowd-pleasing treat. We combine cake crumbs with cream cheese frosting, then dip them in melted white chocolate. This recipe is perfect for holidays or parties.
- Prep Time: 30 minutes
- Cook Time: 10 minutes
- Total Time: 40 minutes
- Yield: 24-30 balls
- Category: Dessert
- Method: No-Bake/Chilled
- Cuisine: American
- Diet: Vegetarian
Ingredients
- 1 (15.25 oz) box red velvet cake mix (prepared according to package directions and cooled)
- 1 cup cream cheese frosting (store-bought or homemade)
- 12 ounces white chocolate melting wafers
Instructions
- Crumble the cooled red velvet cake completely into fine crumbs in a large bowl.
- Add the cream cheese frosting to the cake crumbs. Mix with a fork or your hands until fully combined and the mixture holds together when squeezed.
- Roll the mixture into small, uniform balls, about 1 inch in diameter. Place them on a baking sheet lined with parchment paper.
- Freeze the cake balls for at least 30 minutes until firm.
- Melt the white chocolate wafers according to package directions (usually in a double boiler or microwave in short intervals).
- Dip each frozen cake ball into the melted chocolate, ensuring it is fully coated. Tap off any excess chocolate.
- Return the coated cake balls to the parchment-lined baking sheet.
- Allow the chocolate coating to set completely at room temperature or chill briefly until firm.
Notes
- For an extra festive look, you can drizzle the set white chocolate with melted dark chocolate or sprinkles before it hardens.
- Ensure the cake is completely cool before crumbling; warm cake will melt the frosting.
- If the mixture is too soft to roll, chill it for an additional 15 minutes.
- These store well in an airtight container in the refrigerator for up to one week.
Nutrition
- Serving Size: 2 balls
- Calories: Approx. 200
- Sugar: Approx. 20g
- Sodium: Not specified
- Fat: Approx. 12g
- Saturated Fat: Approx. 7g
- Unsaturated Fat: Not specified
- Trans Fat: Not specified
- Carbohydrates: Approx. 22g
- Fiber: Less than 1g
- Protein: Approx. 2g
- Cholesterol: Not specified