

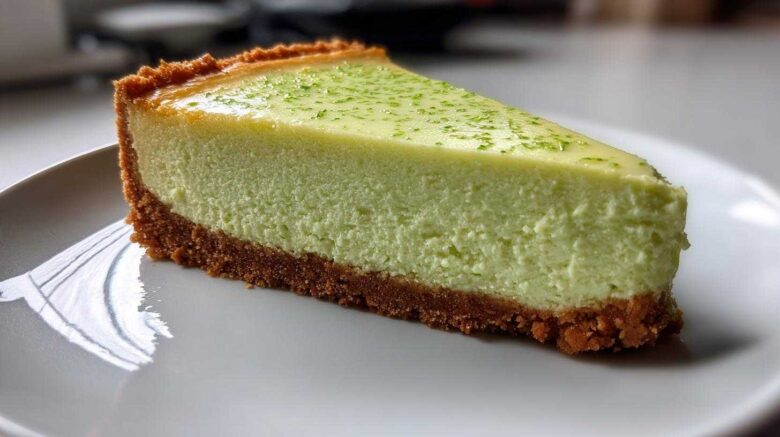
Introduction
I used to just plan meals. Now, I conquer them. When Jacob and I started Taste Portfolio, I wanted projects that truly showed off our teamwork. This key lime cheesecake recipe is one of those showstoppers. It’s the perfect marriage of my detailed planning and his intuitive baking touch. We obsessed over the texture.
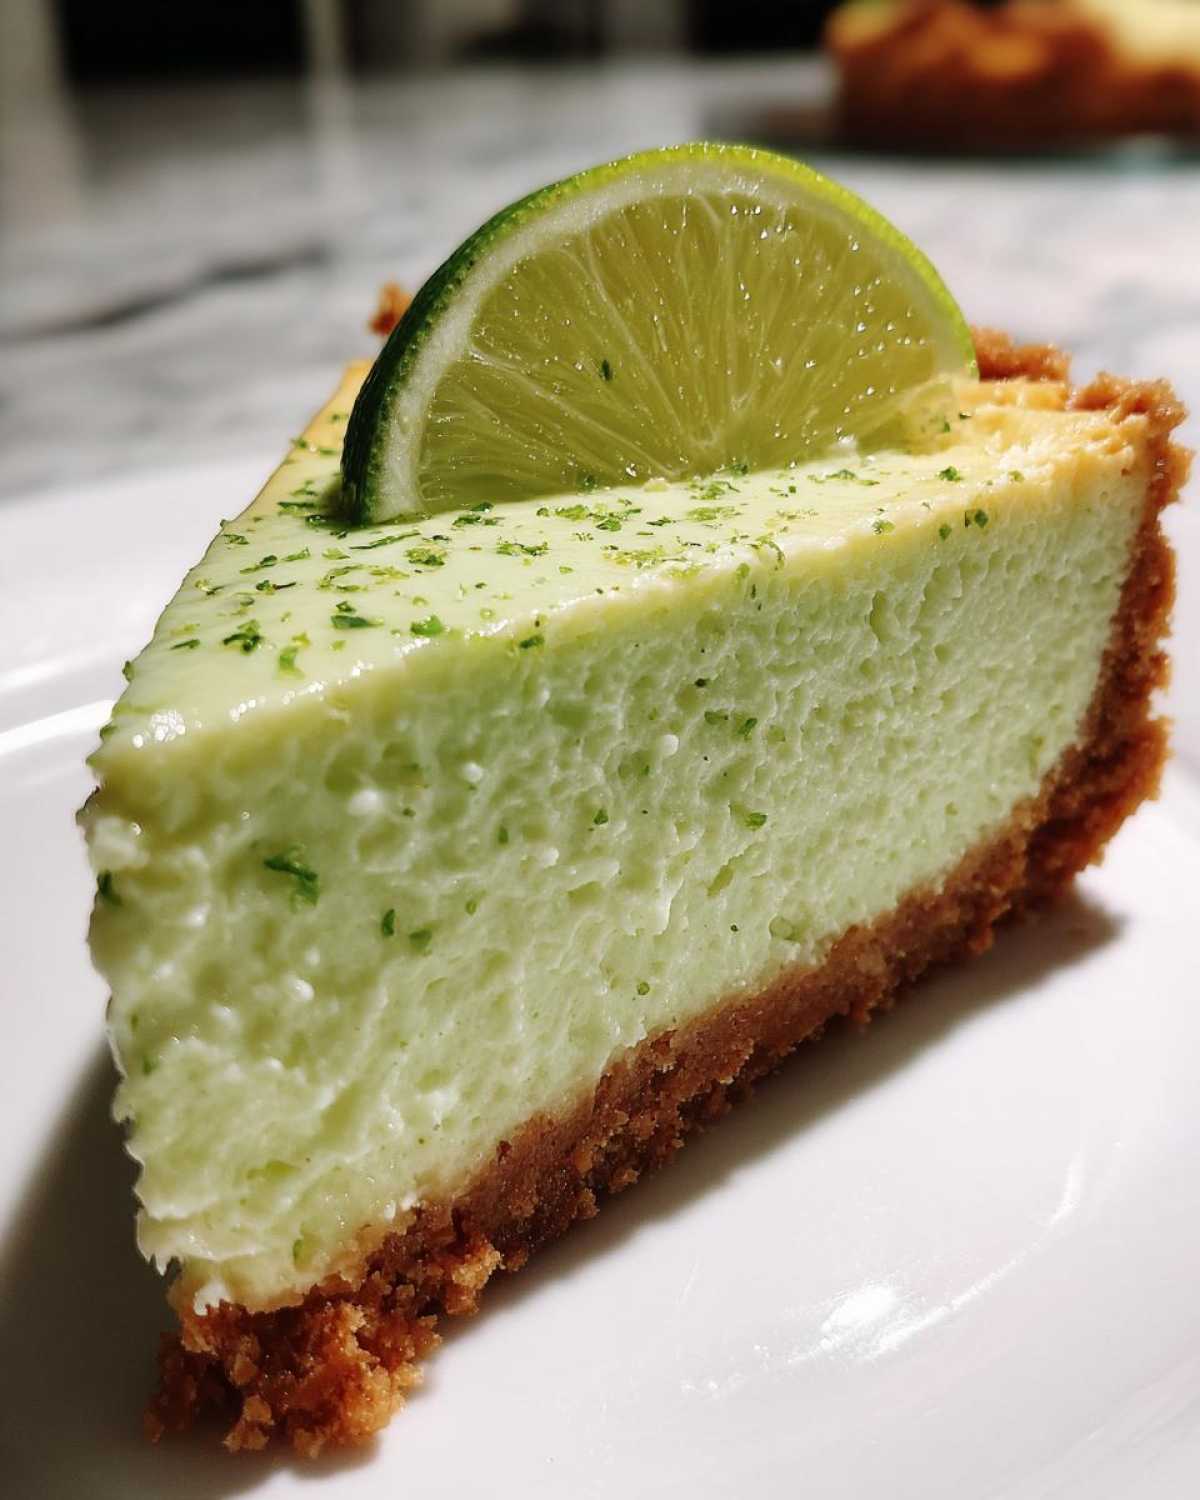
Forget dry, crumbly desserts. We aimed for something thick and wonderfully creamy. The flavor needs to pop with real, zesty lime. That’s why this recipe is so special. You get that intense, tangy sweet experience every single time. Plus, I included secret notes for a quick no-bake option too. This ultimate creamy and tangy key lime cheesecake is ready for your collection.
Why This Key Lime Cheesecake Recipe Belongs in Your Portfolio
This isn’t just another dessert recipe. It’s a blueprint for perfection. I spent weeks researching water bath techniques. Jacob refined the ratios for that unparalleled velvety texture. We nailed the balance. You won’t find a more perfectly structured key lime cheesecake.
It delivers that restaurant-quality richness. Every bite sings with bright citrus notes. This recipe proves you can manage complex baking projects. It’s structured for success. Add this masterpiece to your kitchen portfolio today.
Equipment Needed for Your Key Lime Cheesecake Project
Starting any great project needs the right tools. Baking this dessert is no different. Having everything ready makes the process smooth. I always lay out my gear first. It saves so much scrambling later on, trust me.
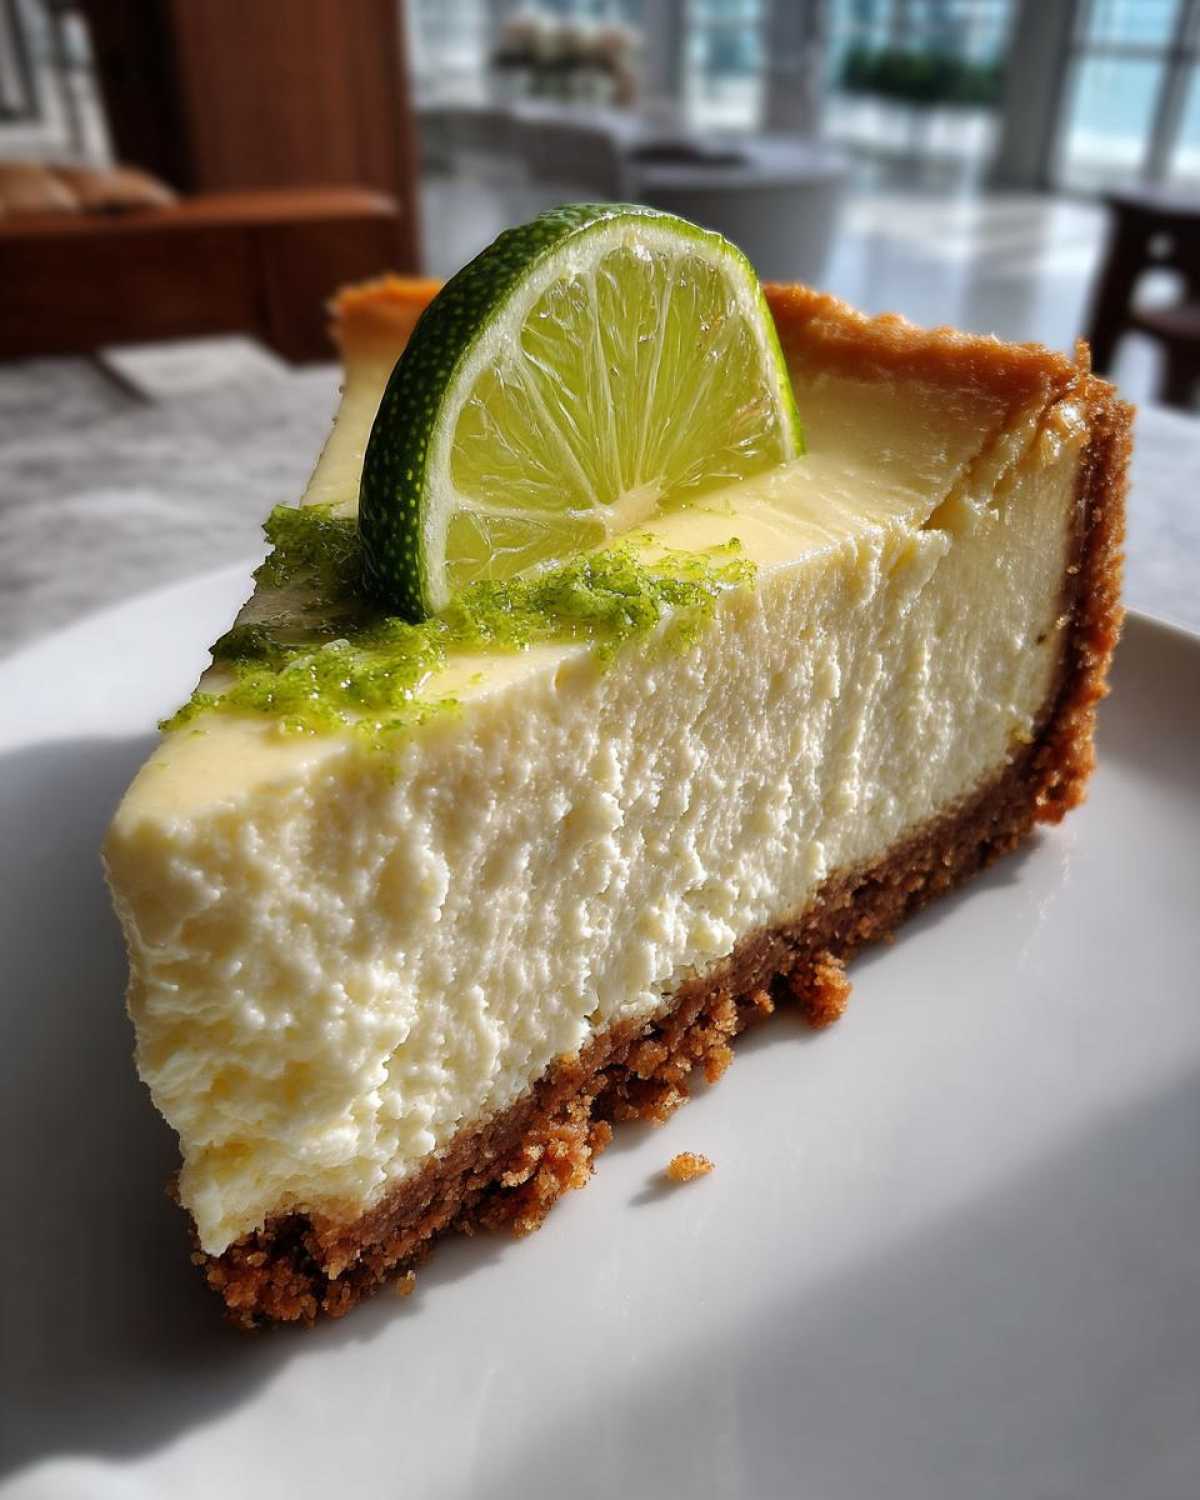
These items help us achieve that perfect texture we crave. Don’t skip preparing your workspace first!
Essential Tools for Baking Success
- 9-inch springform pan
- Electric mixer (handheld or stand)
- Large roasting pan
- Heavy-duty aluminum foil
- Measuring cups and spoons
The Ingredients for the Ultimate Creamy Key Lime Cheesecake
Getting the right ingredients is half the battle won, right? For a truly spectacular key lime cheesecake, quality matters immensely. We focused on building layers of flavor. The crust must hold up well. The filling needs that signature tartness.
I promise, using the best components makes this recipe shine. Freshness truly dictates the final outcome here. Let’s look at what we need for this project.
Crust Components Clarity
For the base, we keep things simple but firm. You need exactly 1 1/2 cups of graham cracker crumbs. Mix that with 1/4 cup of granulated sugar. Then, pour in 6 tablespoons of melted unsalted butter. Press this mixture down hard.
Velvety Filling Ingredients
The filling requires three (8 ounce) packages of cream cheese. Make sure it is fully softened first. Next, grab 1 1/2 cups of granulated sugar for sweetness. We use 4 large eggs here. Vanilla extract is just 1 teaspoon. The real magic comes from 1/2 cup of fresh key lime juice. Don’t forget the 1 tablespoon of zesty key lime zest!
Step-by-Step Instructions for Your Baked Key Lime Cheesecake
Now we turn our plans into this amazing dessert. Baking this creamy creation takes patience. But every step leads to fantastic results. Trust the process, folks. We build this beauty layer by layer.
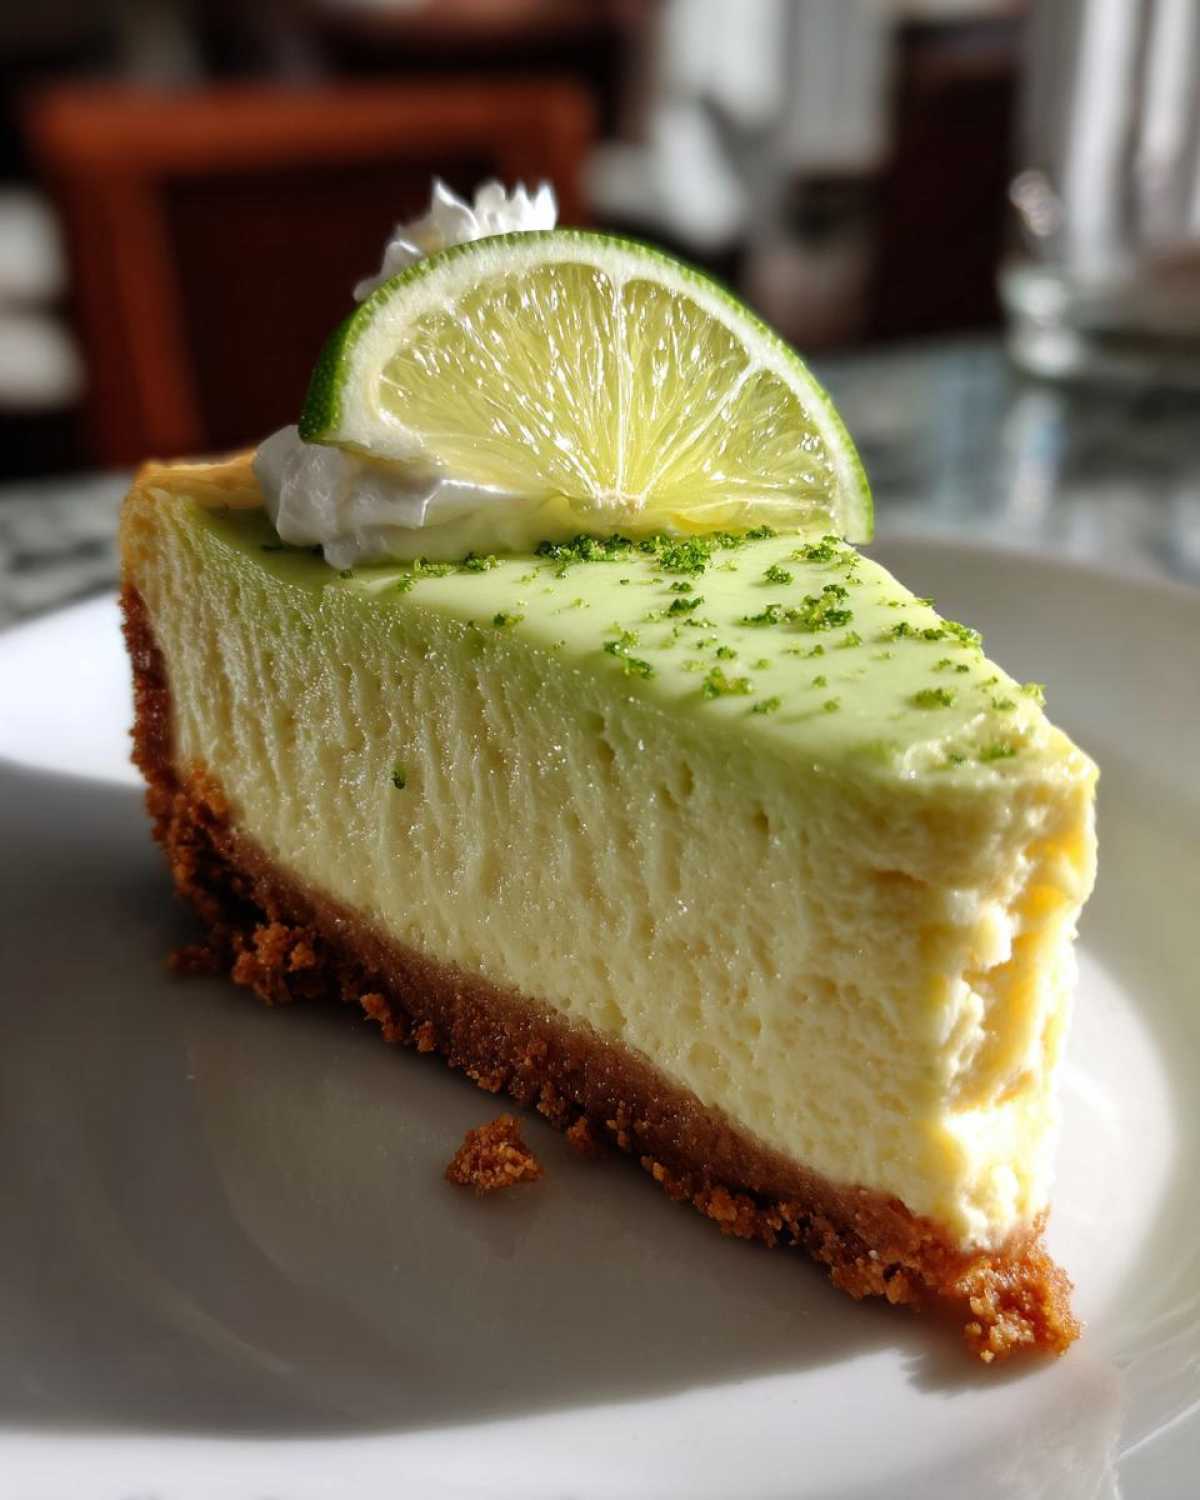
Preparing the Graham Cracker Crust
First, get that oven ready. Preheat it to 325°F. Wrap the outside bottom of your springform pan. Use heavy-duty foil, really good stuff. Mix your crumbs, sugar, and melted butter. Press this mix firmly into the pan. Bake it for just 10 minutes. Then, pull it out. Let that crust cool down completely before moving on.
Mixing the Tangy Key Lime Cheesecake Filling
Grab your softened cream cheese now. Beat it until it’s totally smooth. Scrape down the bowl sides well. Next, beat in the sugar slowly. Add your eggs one at a time, please. Mix just until each egg disappears. Do not overmix the batter here. That causes cracks later on. Stir in the vanilla, zest, and lime juice by hand. Keep stirring gently until barely blended.
Baking with the Water Bath Technique
Pour the filling over your cooled crust. Set the springform pan inside a larger roasting pan. This is key for moisture. Carefully pour hot water into the roasting pan. The water should reach halfway up the springform sides. This water bath keeps your key lime cheesecake perfectly creamy. Bake this for 50 to 60 minutes. You want the edges set. The center should still have a tiny jiggle. That jiggle means perfection.
Cooling and Chilling for Texture
Don’t rush the cooling part, okay? Turn the oven off completely. Prop the oven door open slightly. Let the cheesecake cool inside for one full hour. This gradual cool prevents sudden shrinking. Take it out after the hour. Let it cool more on a wire rack. Finally, cover it up. Chill it in the fridge for at least six hours. Overnight is always best for this rich dessert.
Making the No-Bake Key Lime Cheesecake Variation
I know some days you just need a quick win. Jacob often requests this version when time is short. This no-bake key lime cheesecake is incredibly popular for a reason. It skips the oven time entirely. We swap structure methods, not flavor, thankfully.
This adaptation is much simpler, honestly. It gives you that same tangy punch. It’s perfect for last-minute gatherings. You still get a lovely, soft texture.
Adjusting Ingredients for No-Bake
This is where the magic changes slightly. You must omit the 4 large eggs totally. Naturally, you skip all baking steps too. The structural support comes from whipped cream now. Measure 1 cup of heavy whipping cream. Whip this until stiff peaks form nicely. That’s your new binder.
Assembling the Quick No-Bake Key Lime Cheesecake
Prepare the crust as directed before. Mix the cream cheese, sugar, juice, and zest. Do not add eggs, remember that! Once smooth, gently fold in your stiff whipped cream. Use a spatula for this folding action. Pour this mixture over your prepared crust. Chill it for at least six hours. This sets up your delicious no-bake key lime cheesecake beautifully.
Tips for Perfect Key Lime Cheesecake Results
Jacob and I learned a few secrets along the way. These little tips separate a good cheesecake from a great one. Follow this advice for guaranteed success. It really elevates the final product.
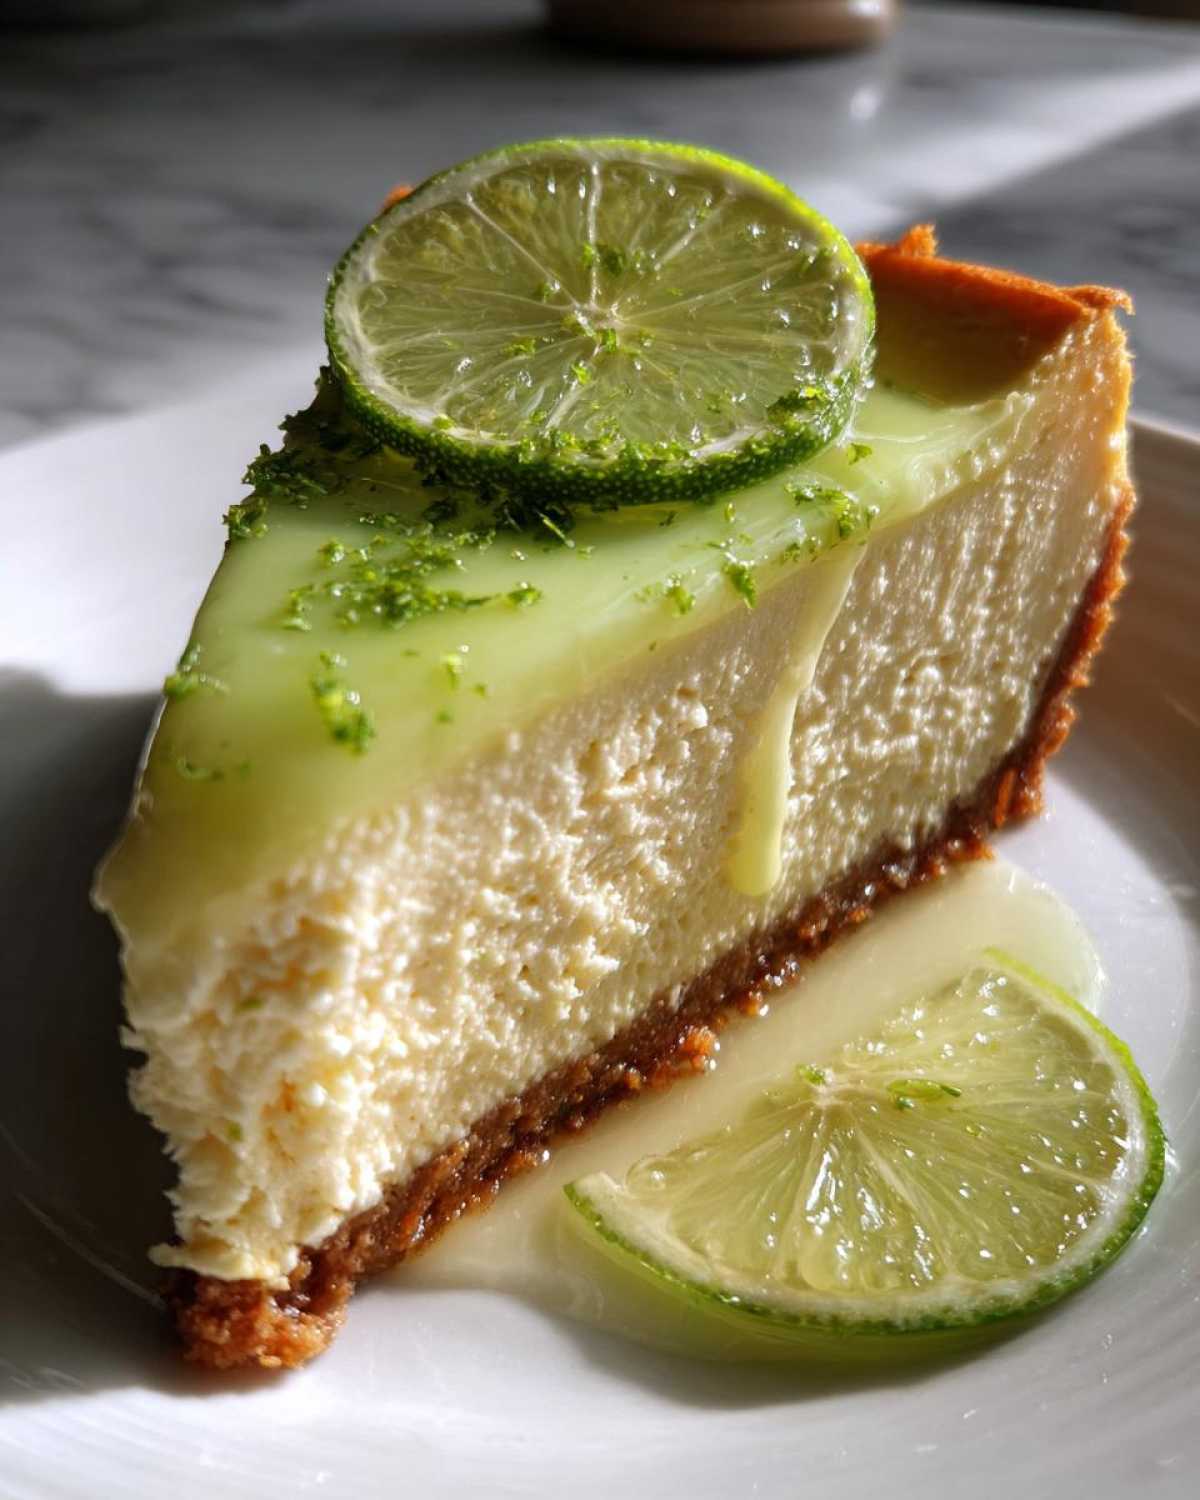
We want your project to be a huge success. These insights come from testing batches, trust us on this.
Achieving Maximum Zest and Flavor
You absolutely must use fresh key limes here. Bottled juice tastes flat and artificial. Fresh juice is bright and zesty. When zesting, only get the green part. White pith tastes bitter, which ruins everything. A microplane grater works best for fine zest. For more information on citrus handling, consult resources on zesting techniques.
Troubleshooting Texture and Cracks
The biggest texture mistake is over-mixing eggs. Mix them just until they vanish into the batter. Over-beating adds too much air. Remember the water bath always. It keeps the oven environment moist. This gentle baking prevents dry edges and cracking tops. Slow cooling is also non-negotiable for a smooth top. For general baking science on preventing cracks, check out authoritative baking guides.
Frequently Asked Questions About Key Lime Cheesecake
I always get questions after sharing a recipe. Baking can feel tricky sometimes! Let’s clear up a few common points about this dessert. Knowing these details helps you succeed easily.
We want your experience making this to be wonderful. Here are answers to the top things people ask us.
Can I use bottled key lime juice in this key lime cheesecake?
Honestly, please don’t do it. Bottled juice changes the flavor profile completely. It often tastes dull or strangely sweet. For that amazing, sharp tang, fresh juice is required. Fresh limes give you that zesty pop we love.
How do I ensure my baked cheesecake sets correctly?
The water bath is your best friend here. It creates gentle, steamy heat. This stops the edges from setting too fast. Also, look for that slight jiggle in the center. It should look like soft gelatin. It finishes setting while cooling down slowly inside the oven.
What is the best way to store leftover key lime cheesecake?
Leftovers need careful storage. Cover your slice tightly with plastic wrap. Then, place it in an airtight container. Keep it in the refrigerator always. It lasts well for about four or five days this way. Enjoying this tangy dessert later is simple! For best food safety practices, review FDA food storage guidelines.
Storing and Serving Your Finished Key Lime Cheesecake
Your amazing key lime cheesecake is finished! Now, let’s talk about keeping it perfect. This dessert tastes best when very cold. Store leftovers tightly wrapped in the fridge. A proper seal keeps it fresh longer. It holds its creamy texture well for days.
Do not try to reheat this dessert at all. It is meant to be served chilled. Enjoying this slice cold is key to the experience. This preserves the lovely structure we worked for.
Reheating and Texture Retention
Reheating ruins the rich, dense mouthfeel. This chilled dessert needs cold temperatures. Keep it refrigerated for up to five days. Serve slices straight from the cold. This maintains that thick, velvety texture. Cold serving really lets the lime flavor pop.
Share Your Completed Taste Portfolio Piece
We poured our planning into this recipe for you. Now it’s your turn to shine! We truly hope you loved making this dessert. Did it earn a spot in your own portfolio? Check out our latest blog posts for more inspiration.
We can’t wait to hear how it went in your kitchen. Let us know your success stories below!
Rate Amelia and Jacob’s Recipe
Tell us about your final creation. Was the texture wonderfully creamy? Did the lime flavor truly pop? Your feedback helps us grow our collection. We look forward to reading your success notes!
PrintAmazing key lime cheesecake: 1 creamy secret
This is the ultimate, creamy, and tangy Key Lime Cheesecake recipe. We planned every step to ensure a velvety texture and intense citrus flavor. You can make this baked version or follow our simple notes for a quick no-bake option. It is a perfect project for your kitchen portfolio.
- Prep Time: 25 minutes
- Cook Time: 60 minutes
- Total Time: 7 hours 25 minutes
- Yield: 10 servings
- Category: Dessert
- Method: Baking (Water Bath)
- Cuisine: American
- Diet: Vegetarian
Ingredients
- 1 1/2 cups graham cracker crumbs
- 1/4 cup granulated sugar (for crust)
- 6 tablespoons unsalted butter, melted
- 3 (8 ounce) packages cream cheese, softened
- 1 1/2 cups granulated sugar (for filling)
- 4 large eggs
- 1 teaspoon vanilla extract
- 1/2 cup fresh key lime juice (about 10-12 limes)
- 1 tablespoon key lime zest
Instructions
- Preheat your oven to 325°F (160°C). Wrap the outside bottom of a 9-inch springform pan tightly with heavy-duty aluminum foil.
- Combine graham cracker crumbs, 1/4 cup sugar, and melted butter. Press firmly into the bottom of the prepared pan. Bake for 10 minutes. Let cool completely.
- In a large bowl, beat the softened cream cheese with an electric mixer until completely smooth. Scrape down the sides.
- Gradually beat in the 1 1/2 cups of sugar until well combined.
- Add the eggs one at a time, mixing just until each is incorporated. Do not overmix.
- Stir in the vanilla extract, key lime juice, and key lime zest by hand until just blended.
- Pour the filling over the cooled crust.
- Place the springform pan inside a larger roasting pan. Carefully pour hot water into the roasting pan until it reaches halfway up the sides of the springform pan (water bath).
- Bake for 50 to 60 minutes, or until the edges are set but the center still has a slight jiggle.
- Turn off the oven and let the cheesecake cool in the oven with the door propped open for 1 hour.
- Remove from the water bath and cool completely on a wire rack. Chill in the refrigerator for at least 6 hours, but preferably overnight, before serving.
Notes
- For a No-Bake Version: Omit eggs and baking steps. Whip 1 cup of heavy cream to stiff peaks. Beat cream cheese with sugars, juice, and zest. Gently fold in the whipped cream. Press crust into the pan and spread filling on top. Chill for at least 6 hours until firm.
- Use fresh key lime juice for the best zesty flavor. Bottled juice changes the final taste.
- If you do not have a springform pan, you can use a regular 9-inch cake pan, but cooling and removal will be harder.
Nutrition
- Serving Size: 1 slice
- Calories: 420
- Sugar: 35g
- Sodium: 250mg
- Fat: 28g
- Saturated Fat: 17g
- Unsaturated Fat: 11g
- Trans Fat: 0.5g
- Carbohydrates: 38g
- Fiber: 1g
- Protein: 7g
- Cholesterol: 120mg