

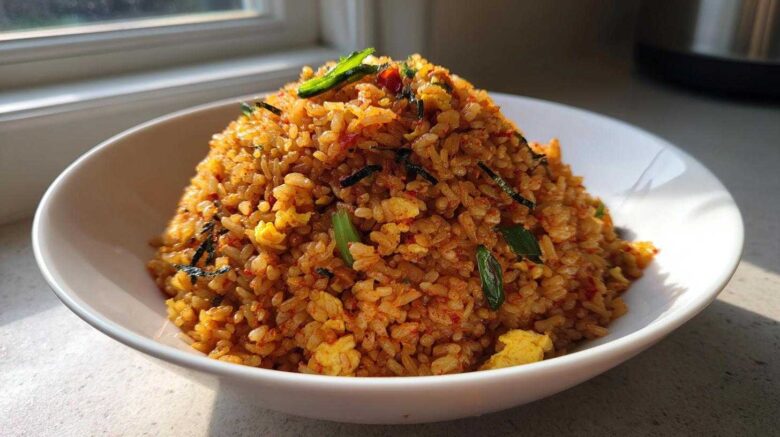
When Jacob first made this dish, it felt like magic. I had the organized plan ready, of course. This Kimchi Fried Rice (Gut-Healthy Comfort Food) is where my structure met his flair.
It is so wonderfully easy to make. Seriously, it comes together fast. We love it because it’s packed with gut-healthy fermented goodness. This recipe is truly our collaboration in a pan. It’s become a staple in our home.
Get ready to make your new favorite weeknight meal. We are so excited to share this project with you all.
Why You Will Love This Kimchi Fried Rice (Gut-Healthy Comfort Food)
This recipe is pure kitchen joy. It hits all the right notes for a busy weeknight.
You get maximum flavor with minimum fuss. Plus, that tangy kimchi is wonderful for your tummy. 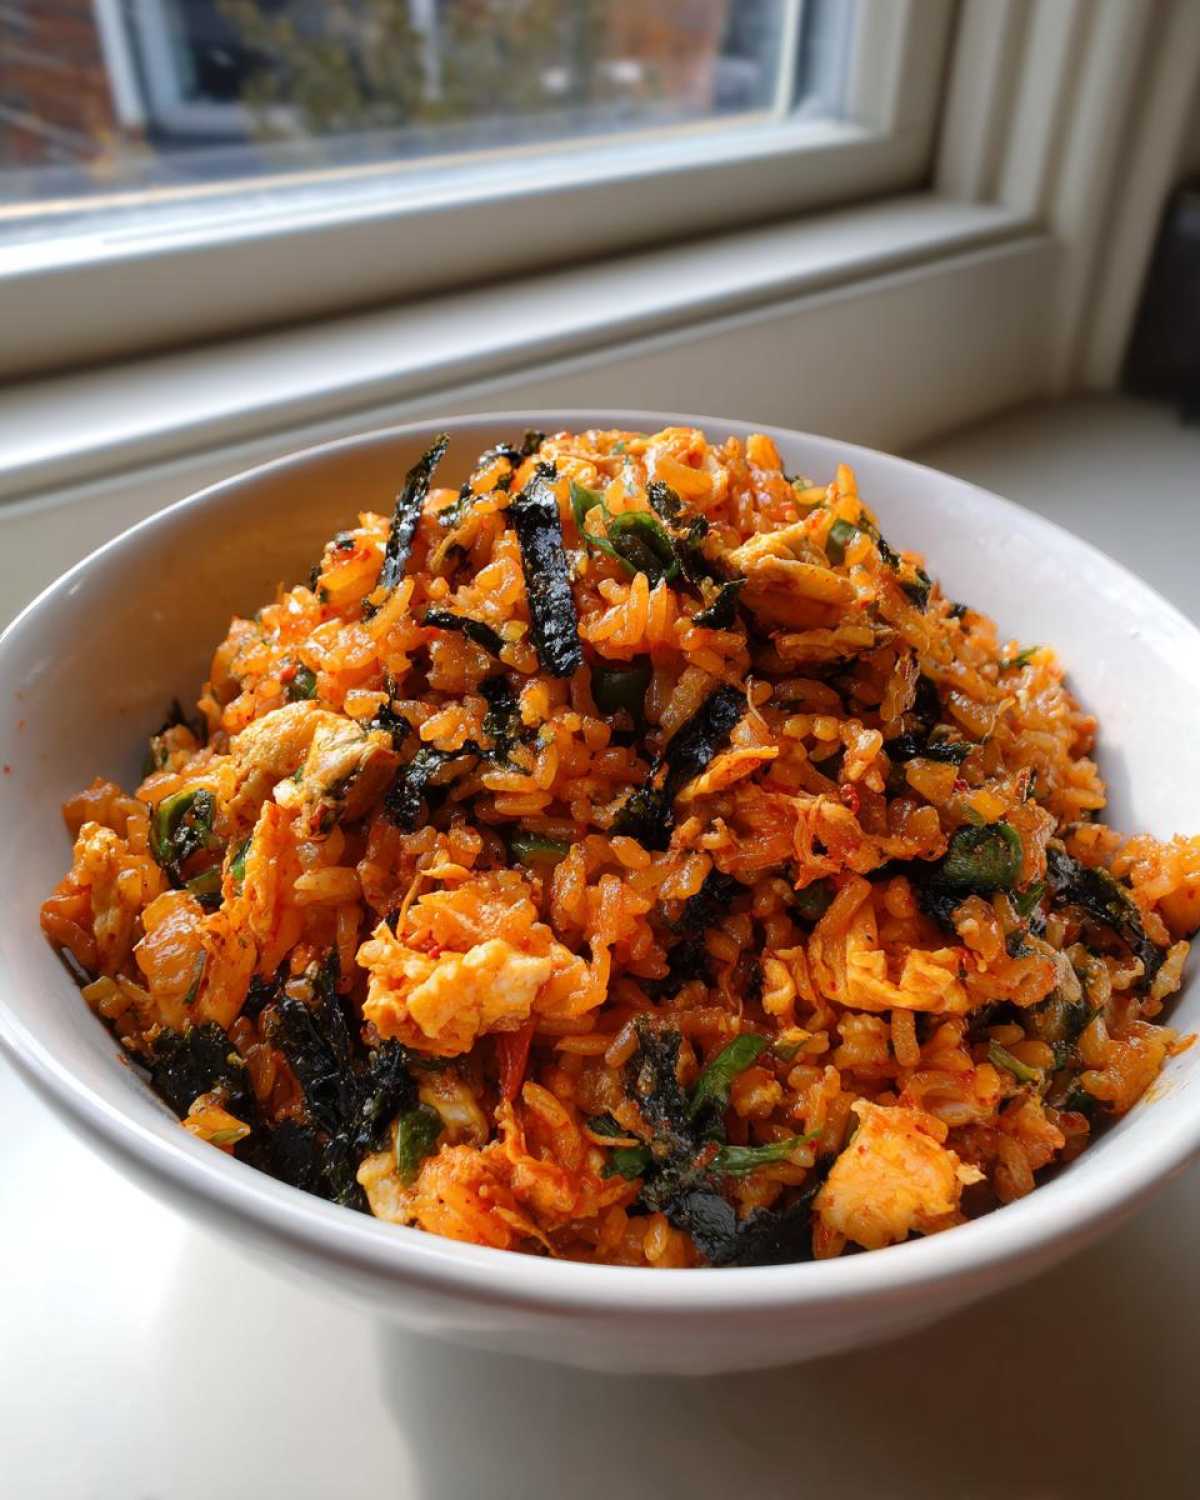
- It cooks super fast, truly.
- The steps are simple to follow, even for beginners.
- It’s a deeply satisfying comfort food experience.
Quick Prep and Cook Times for Kimchi Fried Rice (Gut-Healthy Comfort Food)
We timed this project carefully.
The timing makes this dish a lifesaver.
- Prep Time: 10 minutes
- Cook Time: 15 minutes
- Total Time: Just 25 minutes!
Equipment Needed for Perfect Kimchi Fried Rice (Gut-Healthy Comfort Food)
Jacob always says the right tool matters. Stir-frying needs high heat. You want space for everything to move around. This keeps things from steaming.
Don’t worry; you don’t need fancy gadgets here. Just a few basics will do the job perfectly.
Essential Tools
- A large skillet or a wok works best.
- A sturdy, heat-safe spatula is a must-have.
- A sharp knife for chopping your ingredients.
Ingredients for Your Kimchi Fried Rice (Gut-Healthy Comfort Food)
Gathering everything first is Amelia’s way. It keeps Jacob calm while he cooks!
For the best texture, remember the rice must be cold. Day-old rice is your secret weapon here.
It stops the final dish from getting sticky or soupy. Trust me on this rice rule.
We need quality ingredients to build flavor fast. 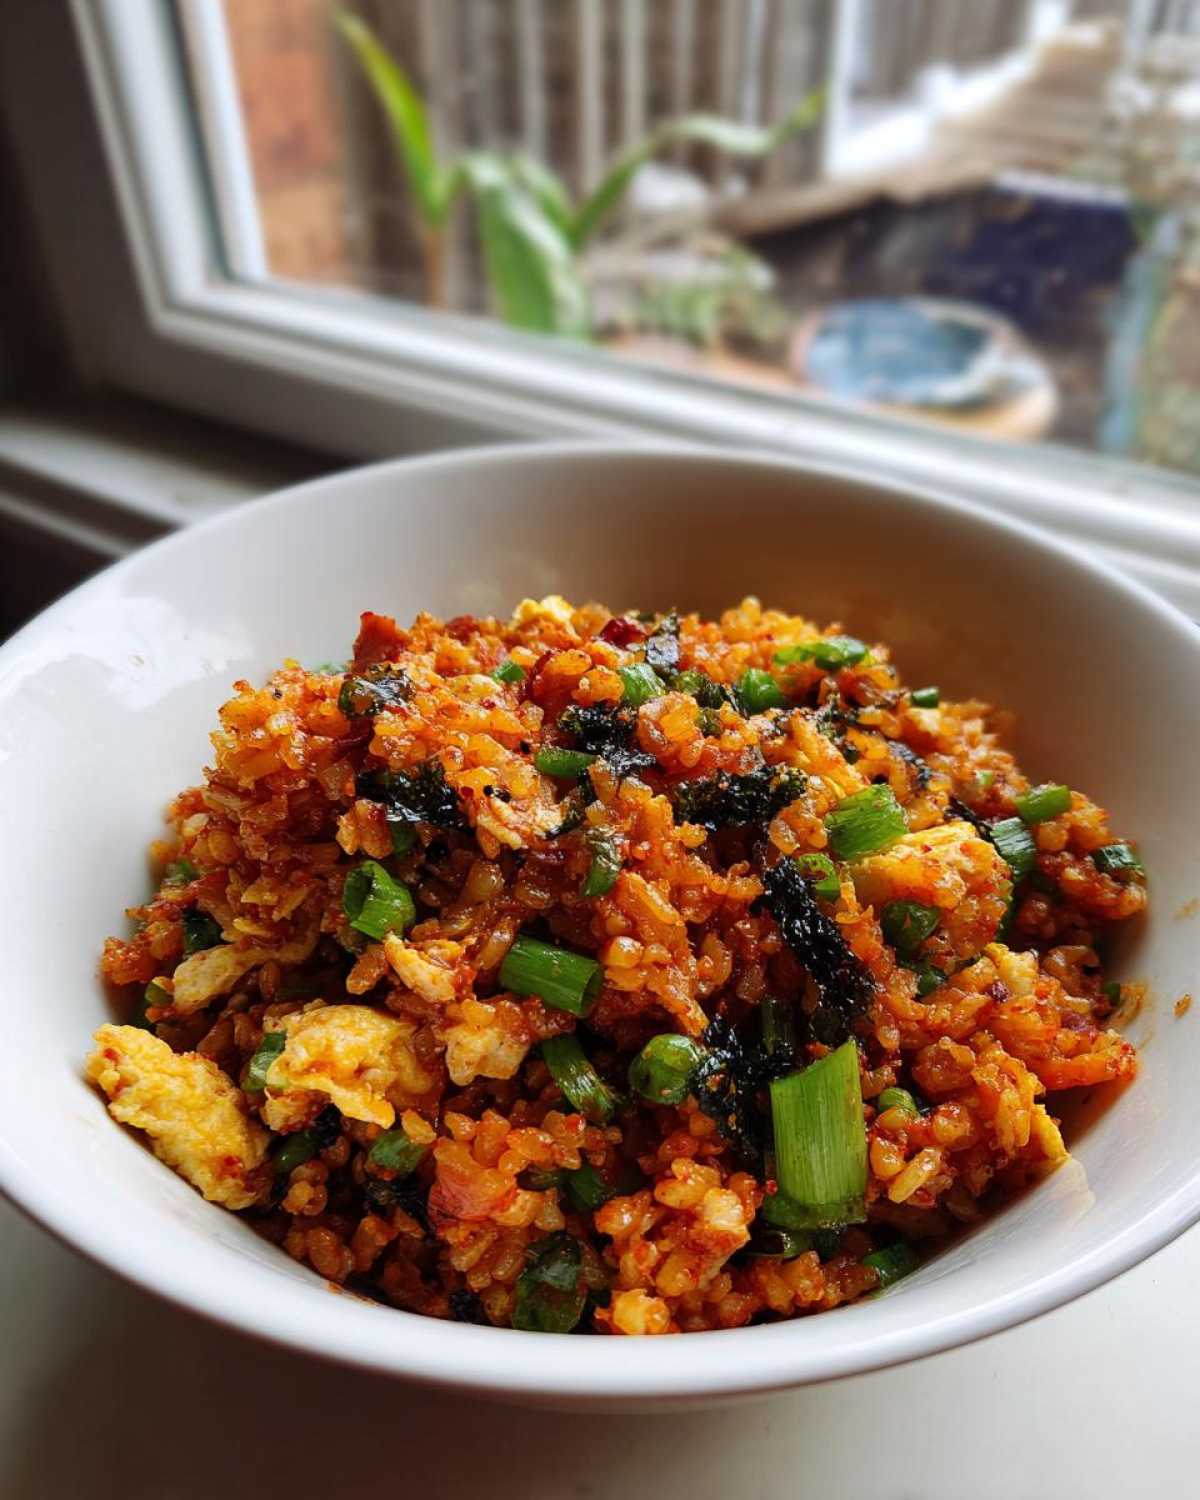
Core Components
- One tablespoon of sesame oil for that nutty aroma.
- One cup of chopped kimchi is key.
- A small onion, chopped finely.
- Two cloves of garlic, minced very small.
- Three cups of cooked, cold, day-old rice.
- One tablespoon of soy sauce for depth.
- Two large eggs for richness.
- Two scallions, thinly sliced for the top.
- One sheet of roasted seaweed (gim) for crumbling.
Optional Additions and Flavor Boosters
These bits really make the dish sing, if you like.
- One-half cup of diced pork belly or spam.
- One teaspoon of gochujang for extra heat and color.
- Two tablespoons of reserved kimchi juice.
Step-by-Step Instructions for Kimchi Fried Rice (Gut-Healthy Comfort Food)
Time to put Amelia’s plan into Jacob’s hands. This is where the magic really happens fast. Keep your heat up high for the best sear.
We are aiming for quick cooking. This keeps the ingredients from getting soggy. Stir-frying needs your attention now.
Step 1: Preparing the Base Flavors
First, get your large skillet nice and hot. Add that sesame oil and let it shimmer a bit. Medium-high heat is perfect here.
Toss in your chopped kimchi. Cook it for maybe three minutes. You want it soft, not crispy yet. If you are using meat, add it now. Cook that pork belly until it gets a nice little brown edge.
Next, add your chopped onion. Let it cook down for about two minutes. Now bring in the minced garlic. Stir it quickly for just 30 seconds. Don’t let that garlic burn, please.
Step 2: Incorporating the Rice and Seasoning
Dump in the cold rice. This is where you need that spatula ready. Break up all those rice clumps right away. Stir fry everything together hard.
Pour in the kimchi juice now. Add the soy sauce. If you want spice, mix in the gochujang too. Keep mixing it all up well. Stir until the rice color is totally even. It should look beautifully orange-red.
Step 3: Cooking the Eggs and Finishing the Kimchi Fried Rice
Make a clear space on one side of the pan. Push all the rice over to the empty half. Crack your two eggs right onto that bare spot.
Scramble those eggs quickly. Cook them until they are just set, not dry. Then, gently fold the eggs right into the rice mixture. Mix gently to combine everything. Take the pan off the heat right away.
Serve this delicious Kimchi Fried Rice immediately. Top it with those green scallions. Sprinkle on the crumbled seaweed for texture. 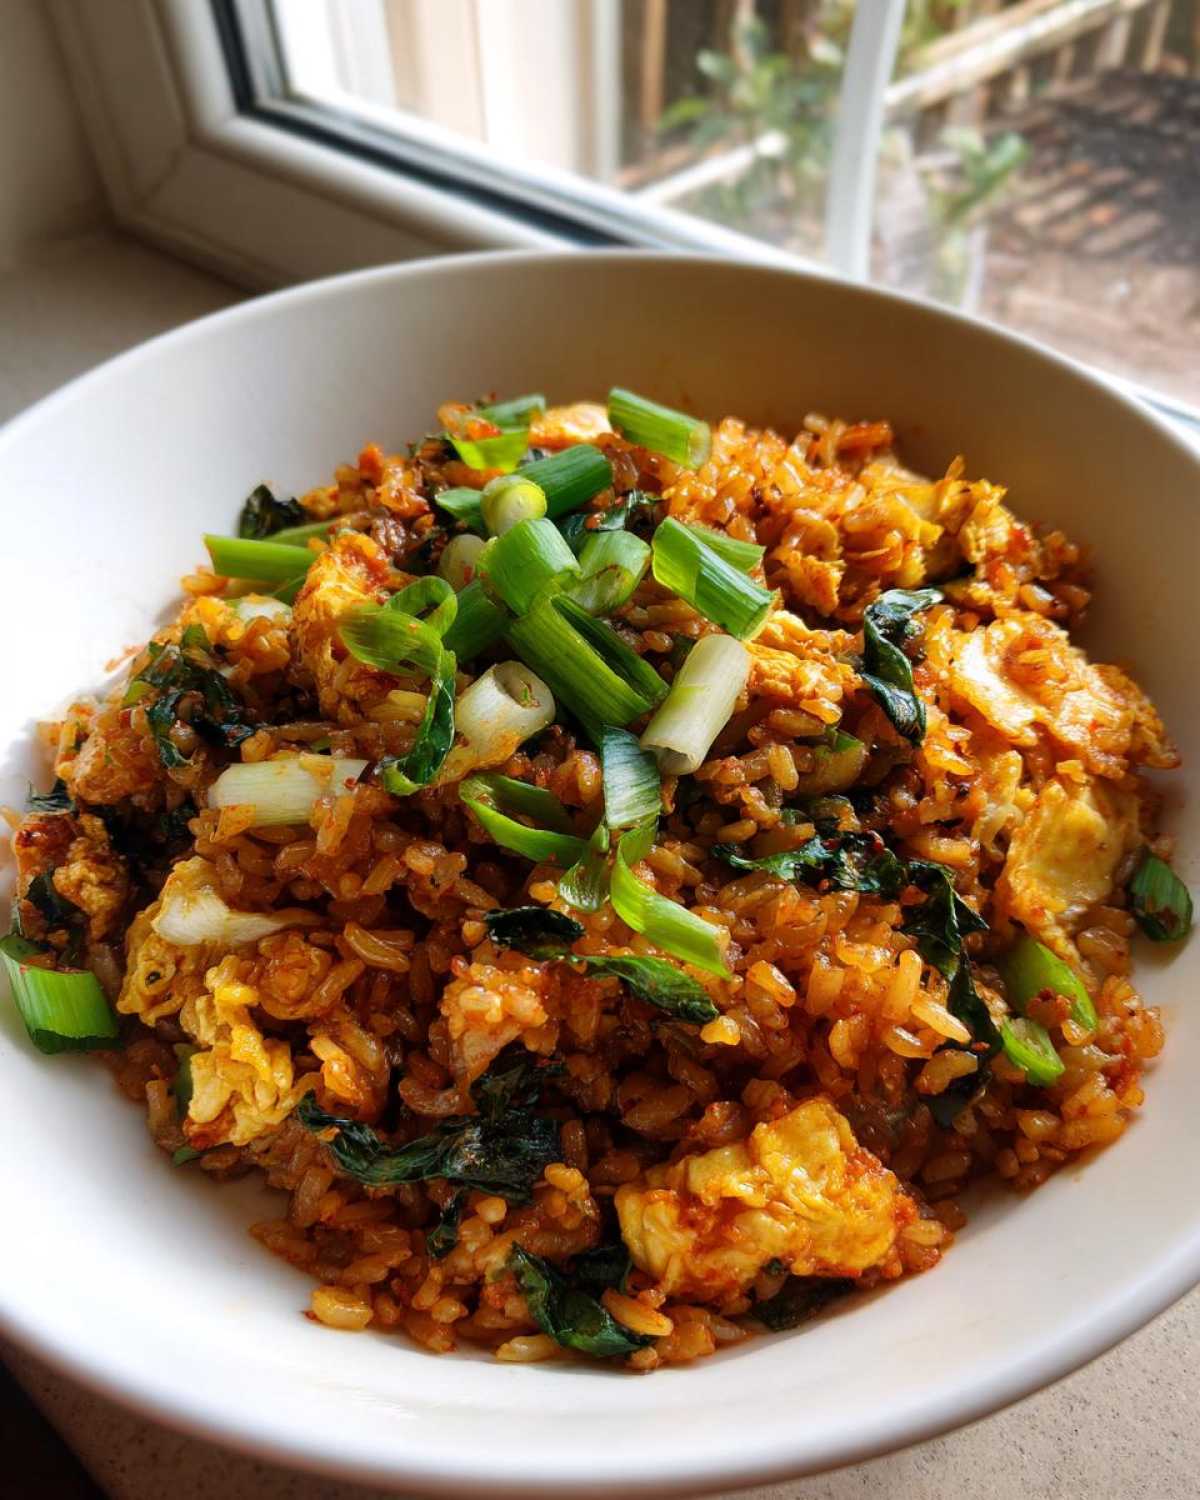
Tips for Making the Best Kimchi Fried Rice (Gut-Healthy Comfort Food)
Jacob has a few secrets for success. These little things make a huge difference. You want texture, not slop, right?
Don’t skip these simple checks. They are born from many kitchen attempts.
Rice Quality Matters
This is non-negotiable for great fried rice. Fresh rice holds too much water inside.
When you stir fry it, that water turns to steam. Steam makes everything mushy and sad. Cold, day-old rice dries out just right. It fries up perfectly instead.
Adjusting Seasoning Based on Your Kimchi
Kimchi salt levels vary wildly, honestly. Some batches are quite sharp. Learn more about kimchi fermentation and flavor profiles.
Always taste your kimchi first before adding soy sauce. If it tastes really salty already, cut back on the soy sauce. You can always add more salt later. It’s hard to take it out, though.
Ingredient Notes and Vegetarian Variations
We want everyone to enjoy this dish. Jacob always looks for ways to adapt things.
Dietary needs shouldn’t stop great flavor. This recipe is very flexible, which I love. If you enjoy spicy vegetarian options, check out our tofu stir-fry.
Think about what you have on hand, too.
Making This Kimchi Fried Rice Vegetarian
Going meatless is super simple here. Just skip the pork belly or spam entirely. That is step one.
For protein, use firm tofu instead. Cube up about half a cup of tofu. Pan-fry those cubes first. Cook them until they are nicely golden brown. Then add your kimchi.
Frequently Asked Questions About Kimchi Fried Rice (Gut-Healthy Comfort Food)
I always have questions after Amelia makes her lists. Cooking is rarely perfectly linear, right?
Here are a few things readers often ask us about this recipe. 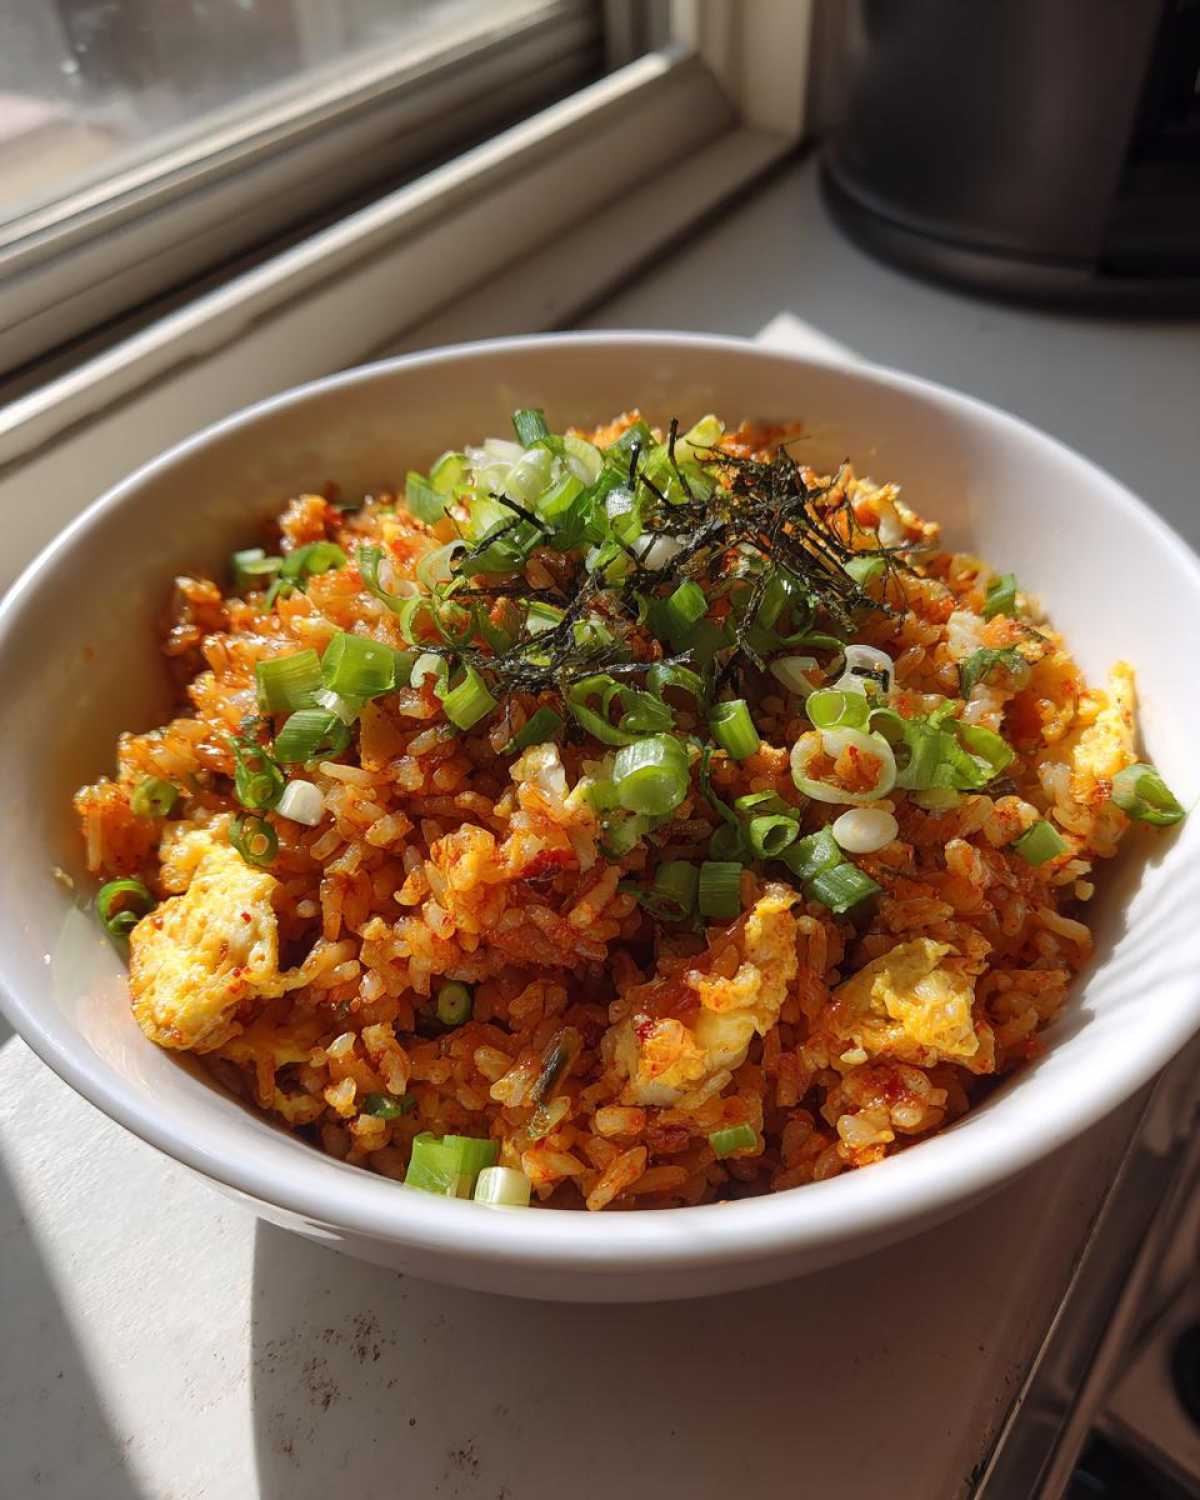
Can I use fresh rice instead of day-old rice for this easy kimchi fried rice?
You technically can try it. But I really caution against it.
Fresh rice has too much moisture inside still. It will turn your dish gummy. You won’t get that nice, separate grain texture we love.
What if I do not have gochujang?
That’s okay! Gochujang adds deep, fermented heat. If you skip it, the dish is still great.
You might lose a little color and complexity. Try a dash of sriracha instead. Or just use a tiny bit more soy sauce.
Is this dish typically served as a main course or a Korean side dish?
It really works beautifully as both options. When we make a big batch, it’s our main dinner. It’s very filling with the egg and meat. For another great rice main dish, try our Cajun Shrimp and Rice Skillet.
Storing and Reheating Your Kimchi Fried Rice
Leftovers are the best part of cooking, right? Store any extra fried rice airtight.
Keep it in the fridge for up to three days. This helps maintain the texture.
When reheating, use medium heat in a skillet. Add a tiny splash of water. This prevents it from drying out too much. Enjoy your second meal!
Share Your Taste Portfolio Project
We poured our hearts into making this recipe perfect. Now it is your turn!
Did you nail the texture of that rice? I hope so.
We love seeing your kitchen successes. Please rate this Kimchi Fried Rice below. Contact us if you have any issues!
Leave us a comment about your experience. Share a photo if you can!
PrintAmazing 25-Minute Kimchi Fried Rice Recipe
Make this easy Kimchi Fried Rice for a comforting, gut-healthy meal. Jacob brings his intuitive cooking style to Amelia’s organized plan for a perfect dish.
- Prep Time: 10 minutes
- Cook Time: 15 minutes
- Total Time: 25 minutes
- Yield: 2 servings
- Category: Main Dish
- Method: Stir Fry
- Cuisine: Korean
- Diet: Vegetarian
Ingredients
- 1 tablespoon sesame oil
- 1 cup chopped kimchi, plus 2 tablespoons of juice
- 1/2 cup cooked pork belly or spam, diced (optional)
- 1 small onion, chopped
- 2 cloves garlic, minced
- 3 cups cooked day-old rice (cold is best)
- 1 tablespoon soy sauce
- 1 teaspoon gochujang (Korean chili paste, optional)
- 2 large eggs
- 2 scallions, thinly sliced for garnish
- 1 sheet roasted seaweed (gim), crumbled for garnish
Instructions
- Heat the sesame oil in a large skillet or wok over medium-high heat.
- Add the chopped kimchi and cook for about 3 minutes until it softens slightly.
- If using, add the diced pork belly or spam and cook until lightly browned.
- Add the chopped onion and cook for 2 minutes until translucent.
- Stir in the minced garlic and cook for 30 seconds until fragrant.
- Add the cold rice to the skillet. Break up any clumps with your spatula. Stir fry everything together well.
- Pour in the kimchi juice, soy sauce, and gochujang (if using). Mix thoroughly until the rice is evenly colored.
- Push the rice to one side of the pan. Crack the two eggs onto the empty side. Scramble the eggs until just set.
- Fold the scrambled eggs into the rice mixture.
- Remove from heat. Divide the fried rice into serving bowls.
- Garnish each serving with sliced scallions and crumbled roasted seaweed. Serve immediately.
Notes
- Using day-old, cold rice prevents the fried rice from becoming mushy.
- Taste your kimchi first; if it is very salty, reduce the amount of soy sauce you add.
- For a vegetarian version, skip the pork belly and add 1/2 cup of firm tofu, cubed and pan-fried until golden before adding the kimchi.
Nutrition
- Serving Size: 1 serving
- Calories: 450
- Sugar: 6g
- Sodium: 850mg
- Fat: 20g
- Saturated Fat: 6g
- Unsaturated Fat: 14g
- Trans Fat: 0g
- Carbohydrates: 50g
- Fiber: 4g
- Protein: 20g
- Cholesterol: 150mg