

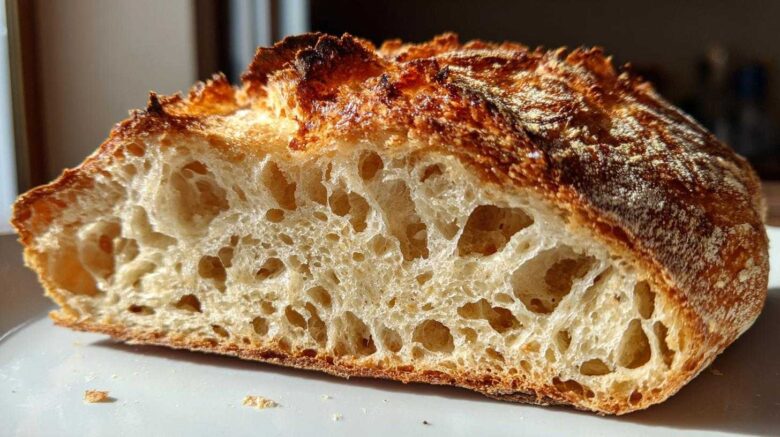
I used to stare at bakery bread. Those crusts looked impossible to make here.
I mean, truly crispy, crackly crusts felt like magic. Jacob always made it look simple. Now, I get it.
This recipe changed everything for us. We’re finally sharing our perfect No-Knead Dutch Oven Bread (Bakery-Worthy Crust).
It’s our favorite project success. Amelia plans, Jacob bakes the best version. This method skips the hard work. You get artisan quality at home.
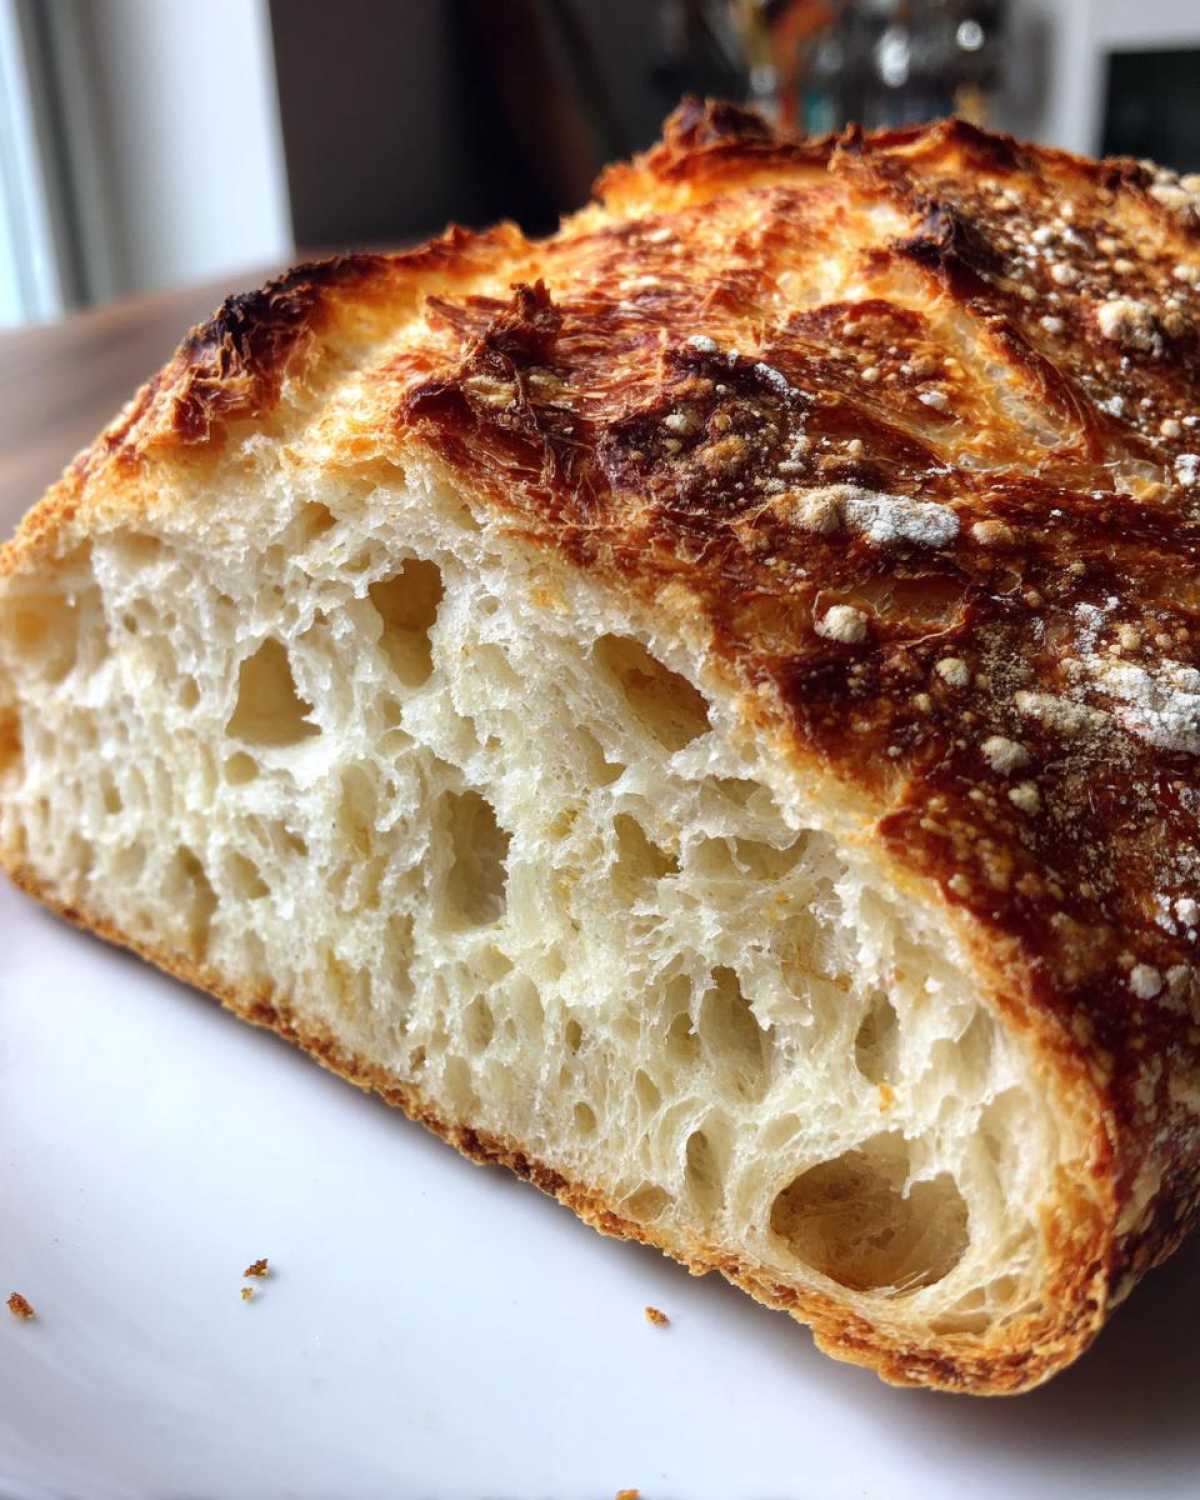
Forget heavy arm workouts. The long rest does all the heavy lifting for you. This dough develops deep flavor slowly. That results in that incredible texture. You need this simple bread in your life.
Why You’ll Love This No-Knead Dutch Oven Bread (Bakery-Worthy Crust)
Honestly, this recipe is a game-changer for busy home bakers. You get stunning results with minimal fuss. It truly feels like cheating sometimes. Here’s why this simple bread has earned its place in our Taste Portfolio. Here are more of our favorite recipes.
It’s the perfect blend of planning and ease.
Effortless Technique for Amazing Results
The best part? Zero kneading required. Seriously. You just mix four ingredients. The long, slow rest builds gluten structure. This means great texture without the arm strain. It’s baking made approachable for everyone.
The Magic of the Dutch Oven Crust
That deep, shatteringly crisp crust isn’t luck. It’s science inside that heavy pot. The Dutch oven traps all the steam. This steam keeps the dough moist initially. Then, the dry heat explodes the crust beautifully. It mimics professional baking environments perfectly. Understanding steam in baking is key to crust development.
Essential Ingredients for Your No-Knead Dutch Oven Bread (Bakery-Worthy Crust)
Gathering your ingredients is step one in our project plan. Precision matters here. This recipe uses just four simple components. Don’t let the short list fool you though. Each element plays a big role. We need quality items for this artisan bread.
Flour and Leavening
You need three cups of All-Purpose Flour. This is our base structure. For leavening, we use just 1/4 teaspoon of Instant Yeast. That tiny bit seems small. Remember, time replaces the yeast’s hard work.
Water Temperature Matters
The water must be cool. I mean cool tap water, not ice cold. Using cool water controls the slow fermentation. This long rest builds deep flavor profiles. Hot water jumps the gun too fast. That ruins the whole point of no-knead bread.
Equipment Needed for Perfect No-Knead Dutch Oven Bread
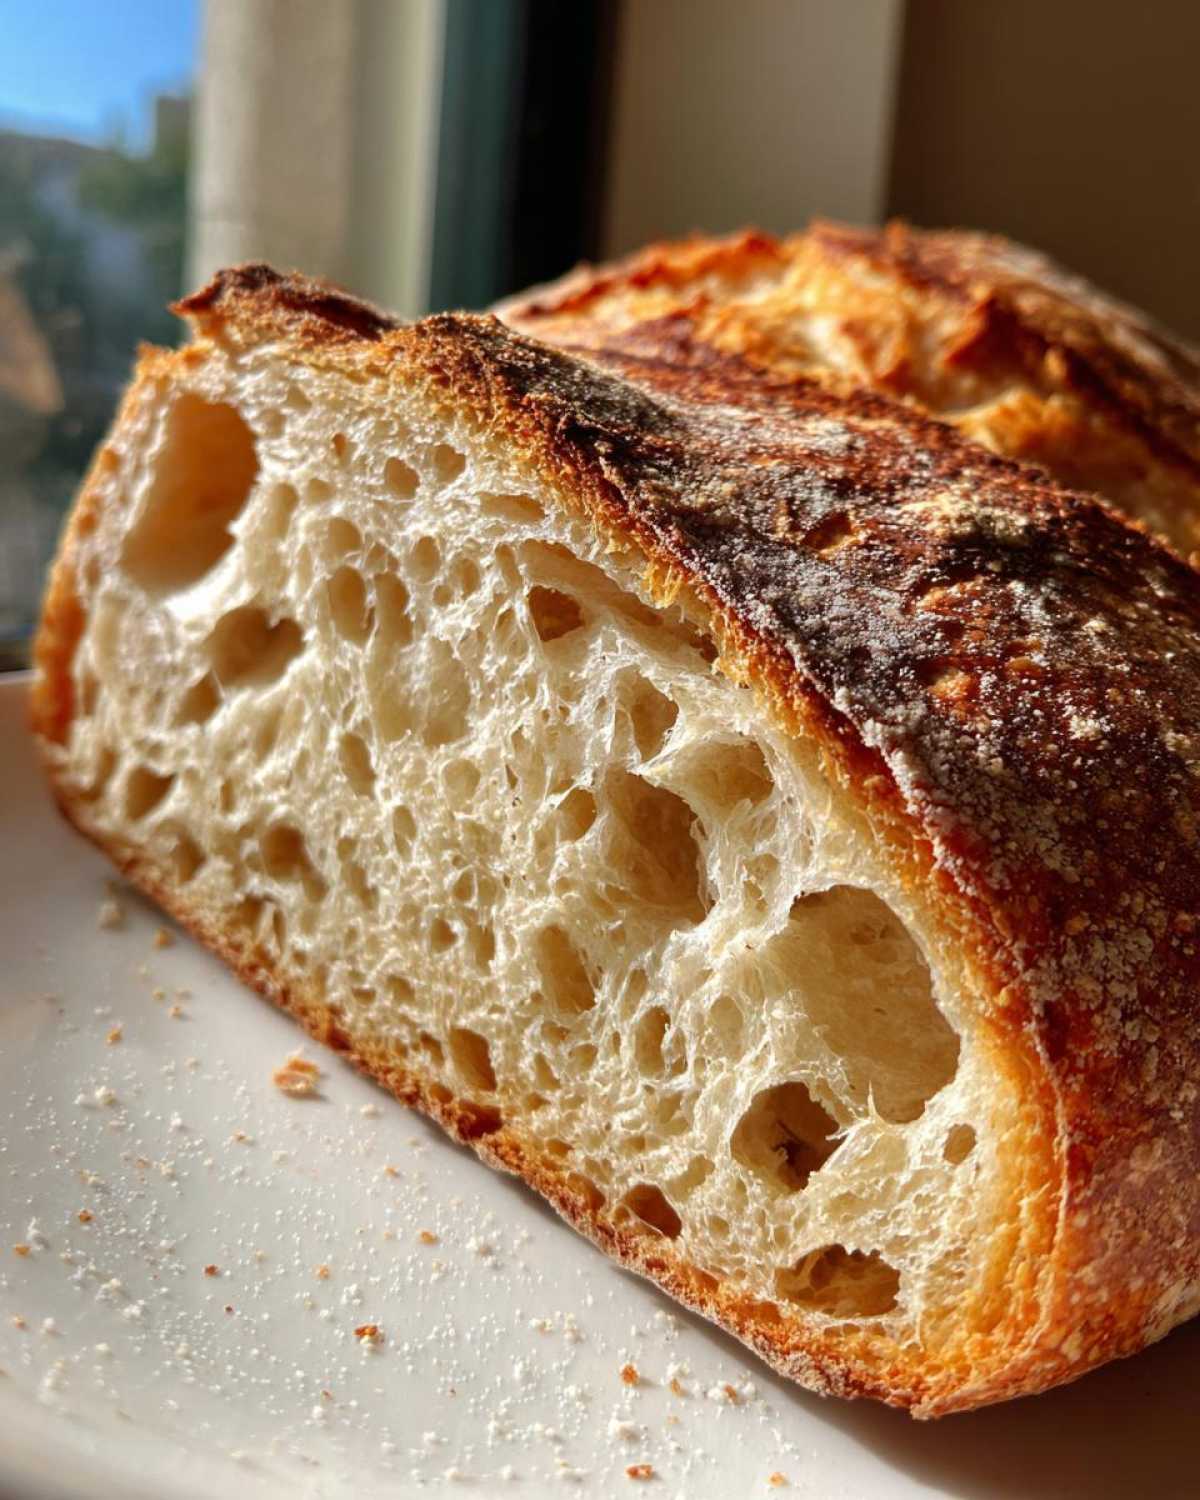
You don’t need a fancy mixer for this loaf. However, one piece of gear is non-negotiable. That heavy pot is the secret weapon here. It creates our bakery-worthy crust.
Here is what you absolutely need ready:
- A 5 or 6-quart cast iron Dutch oven.
- A large mixing bowl for the long rest.
- Parchment paper for easy transfer.
- Good oven mitts. These pots get scorching hot!
That heavy lid traps the steam perfectly. This trapped steam gives us the rise we crave.
Step-by-Step Instructions for No-Knead Dutch Oven Bread (Bakery-Worthy Crust)
Now for the fun part. We move from planning to action. Don’t worry about perfection here. This recipe is forgiving. Follow these steps closely. You will achieve that amazing crust.
Mixing and Long Fermentation
First, grab your big bowl. Whisk the flour, salt, and yeast together well. Pour in the cool water slowly. Mix it all with a wooden spoon. Stop mixing when you see a shaggy, sticky dough. Don’t knead it at all. That’s the key!
Cover the bowl tightly with plastic wrap. Now, patience begins. Let this dough rest for 12 to 18 hours. I usually leave mine overnight on the counter. This long rest builds all the flavor.
Shaping and Final Rest
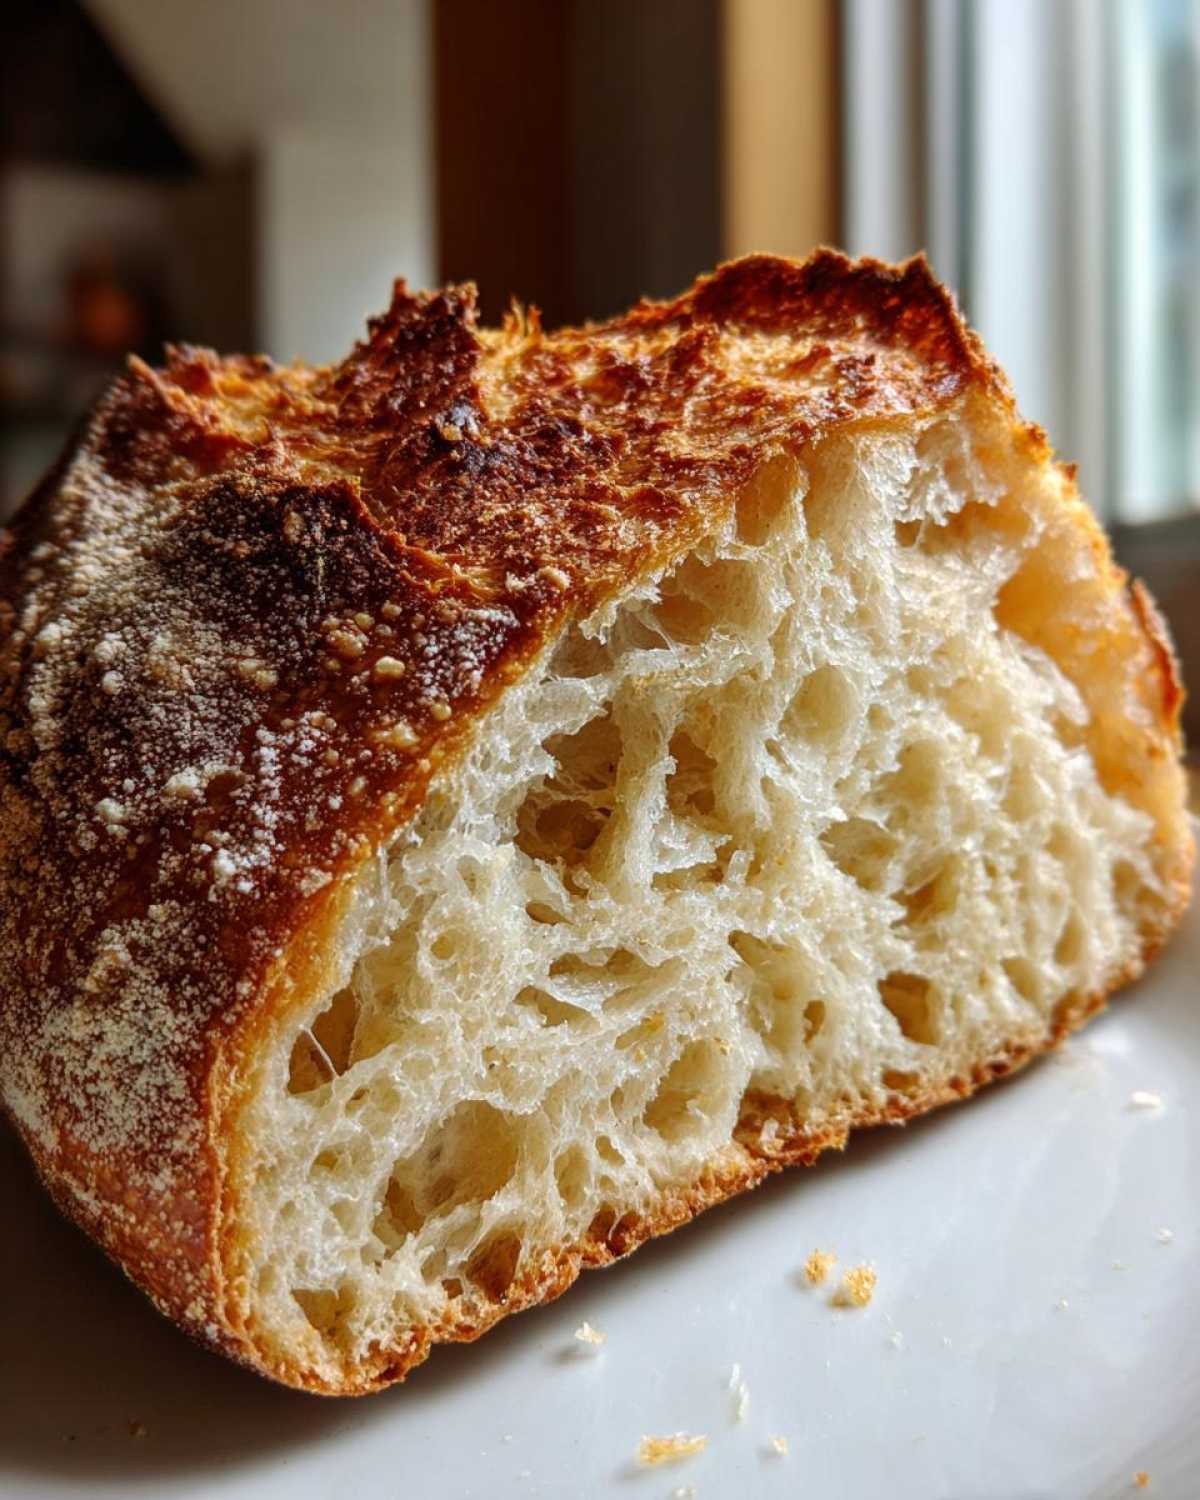
After the long rest, flour your work surface lightly. Scrape that sticky mass onto the flour. Gently fold the dough over itself a few times. Just make a rough ball shape. Don’t press the air out! Place the dough ball onto parchment paper.
Cover the dough loosely now. Let it sit for 30 minutes more. This short rest lets the dough relax again. It sets up nicely before the heat hits.
Preheating the Dutch Oven
About 20 minutes before that final rest ends, start heating things up. Place your empty Dutch oven with its lid on. Put it right into the cold oven. Preheat the oven to 450 degrees F (232 degrees C). Getting that pot screaming hot is critical. It traps the heat needed for awesome oven spring.
Baking for the Ultimate Crust
Use thick oven mitts for safety here. Carefully pull out that very hot Dutch oven. Take the lid off quickly. Use the parchment paper as a sling. Gently lower your dough right into the hot pot. Cover it again right away.
Bake it covered for 30 minutes exactly. This steamy environment helps the bread rise big. Then, remove the lid carefully. Bake for another 15 to 20 minutes uncovered. You want a deep golden brown color. That means the crust is perfect. Let it cool fully before slicing, please!
Tips for Success with Your No-Knead Dutch Oven Bread (Bakery-Worthy Crust)
Jacob always says baking is about trust. Trust the process, especially the waiting part. These few tips are what he stresses most. They stop little mistakes from ruining the final loaf. We learned these through many kitchen experiments.
These small details make a huge difference.
Why You Must Wait to Slice
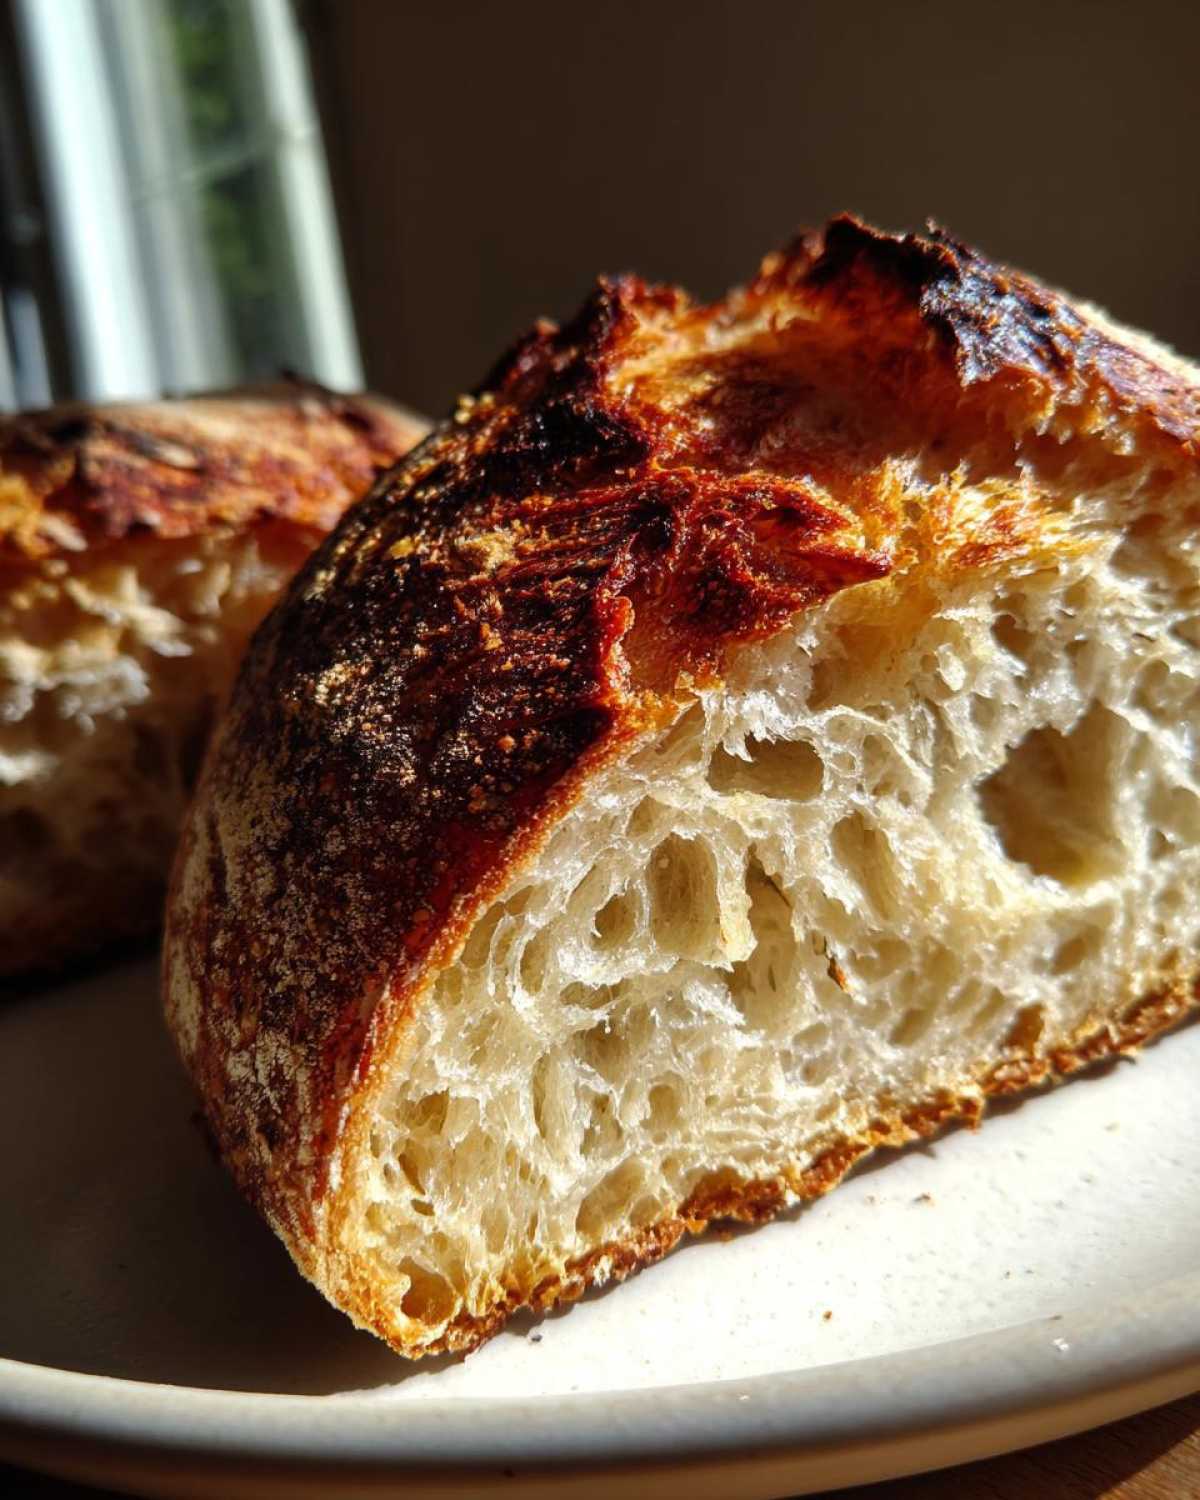
This is the hardest part, I admit. The smell is incredible right out of the oven. But slicing hot bread is a true kitchen disaster. The internal structure is still setting up inside. It’s steaming and firming up its framework.
If you cut it early, the inside gums up. You lose that beautiful airy crumb structure. Wait until it’s completely cool on a wire rack. Trust me on this one. It’s worth the agonizing wait for that perfect slice.
Ingredient Notes and Substitutions for Your Recipe
Let’s talk specifics here. Even simple recipes need attention to detail. Jacob is very particular about these few points. They separate a good loaf from a truly great one.
Remember that cool water we mentioned earlier?
That water temperature is crucial for slow fermentation. It keeps the yeast sleepy longer. This long, slow proof develops complex flavor notes. Don’t swap it for warm water lightly.
The vessel you use matters greatly too. We strongly suggest a 5 or 6-quart cast iron Dutch oven. Cast iron holds heat like nothing else. This even heat creates that even, crispy exterior crust.
If you use a smaller pot, the dough might touch the sides too much. A larger pot gives the dough room to breathe and expand. This space helps achieve that artisan look.
Frequently Asked Questions About No-Knead Bread
I know you have questions. Baking this simple bread often brings up new queries. We get asked these all the time. Let’s tackle some common issues now. We want your baking journey to be smooth.
Jacob and I have answers ready for you.
Can I use Active Dry Yeast Instead of Instant Yeast?
Yes, you can try it. Active dry yeast needs proofing first. Mix it with a little bit of warm water and a pinch of sugar. Wait five minutes until it gets foamy. Then, use that mixture instead of the cool water measurement. Instant yeast dissolves right in. It’s easier for this recipe.
What If I Don’t Have a Dutch Oven?
If you lack that heavy pot, don’t panic. You can still make crusty bread. Use a sturdy baking sheet instead. Place a metal pan on the bottom rack. Pour boiling water into that lower pan. This creates steam for the first part of baking. Then bake the dough directly on the sheet.
Can I Reduce the Long Fermentation Time?
You certainly can shorten the rest time. Just know the trade-off. That long rest develops deep, complex flavors. Shorter times mean a milder taste. You might also see less open crumb inside. For the best artisan bread, stick to the suggested hours. Tips for achieving the best crumb structure can be helpful here.
Storing and Reheating Your Crusty Loaf
We’ve made this fantastic bread. Now, how do we keep it perfect?
Storing this loaf correctly protects the crust we worked for. Do not refrigerate this bread. Cold temperatures make bread go stale fast. That ruins that beautiful exterior.
Keep the cooled bread wrapped loosely. Use a clean kitchen towel or paper bag. Store it at room temperature for about two days. This keeps the crumb soft enough.
Reheating is the trick to bring back the crunch. Slice what you need first. Pop those slices into a toaster oven. Or use a regular oven set low. Heat them for just a few minutes.
The heat blasts away moisture from the crust. It makes it shatteringly crisp again. It tastes almost freshly baked. Enjoy every single slice!
Sharing Your Taste Portfolio Creation
We poured our planning and baking skills into this loaf. Now it’s your turn!
Did you achieve that perfect, bakery-worthy crust?
We’d love to see your results. Share your finished No-Knead Dutch Oven Bread.
Tag us in your photos. Show off your latest successful project.
Amelia and Jacob can’t wait to see your delicious additions!
PrintAmazing No-Knead Dutch Oven Bread (Bakery-Worthy Crust)
Make bakery-worthy bread at home with this simple no-knead recipe using a Dutch oven. You get a fantastic crust without the effort of traditional kneading.
- Prep Time: 10 minutes
- Cook Time: 50 minutes
- Total Time: 18 hours 50 minutes
- Yield: 1 loaf
- Category: Bread
- Method: No-Knead Baking
- Cuisine: American
- Diet: Vegetarian
Ingredients
- 3 cups All-Purpose Flour
- 1 1/2 teaspoons Salt
- 1/4 teaspoon Instant Yeast
- 1 1/2 cups Cool Water
Instructions
- In a large bowl, whisk together the flour, salt, and yeast.
- Pour in the cool water. Mix with a wooden spoon until a shaggy, sticky dough forms. Do not overmix.
- Cover the bowl tightly with plastic wrap. Let the dough rest at room temperature for 12 to 18 hours.
- After resting, lightly flour a work surface. Scrape the sticky dough onto the surface. Gently fold the dough over itself a few times to form a rough ball.
- Place the dough ball on a piece of parchment paper. Cover the dough loosely with the bowl or plastic wrap. Let it rest for 30 minutes.
- About 20 minutes before the second rest ends, place your empty Dutch oven (with the lid on) into the oven. Preheat the oven to 450 degrees F (232 degrees C).
- Carefully remove the hot Dutch oven from the oven using oven mitts. Remove the lid.
- Use the parchment paper as a sling to gently lower the dough into the hot Dutch oven.
- Cover the Dutch oven with the lid. Place it back into the oven.
- Bake for 30 minutes with the lid on.
- Remove the lid. Continue baking for another 15 to 20 minutes, or until the crust is a deep golden brown.
- Carefully remove the bread from the Dutch oven and let it cool completely on a wire rack before slicing.
Notes
- Using cool water helps control the long, slow fermentation process.
- A 5 or 6-quart cast iron Dutch oven works best for this recipe.
- Do not slice this bread until it has cooled completely; the internal structure is still setting.
Nutrition
- Serving Size: 1 slice
- Calories: Approx. 180
- Sugar: Less than 1g
- Sodium: Approx. 350mg
- Fat: Approx. 1g
- Saturated Fat: 0g
- Unsaturated Fat: 1g
- Trans Fat: 0g
- Carbohydrates: Approx. 38g
- Fiber: Approx. 1g
- Protein: Approx. 5g
- Cholesterol: 0mg